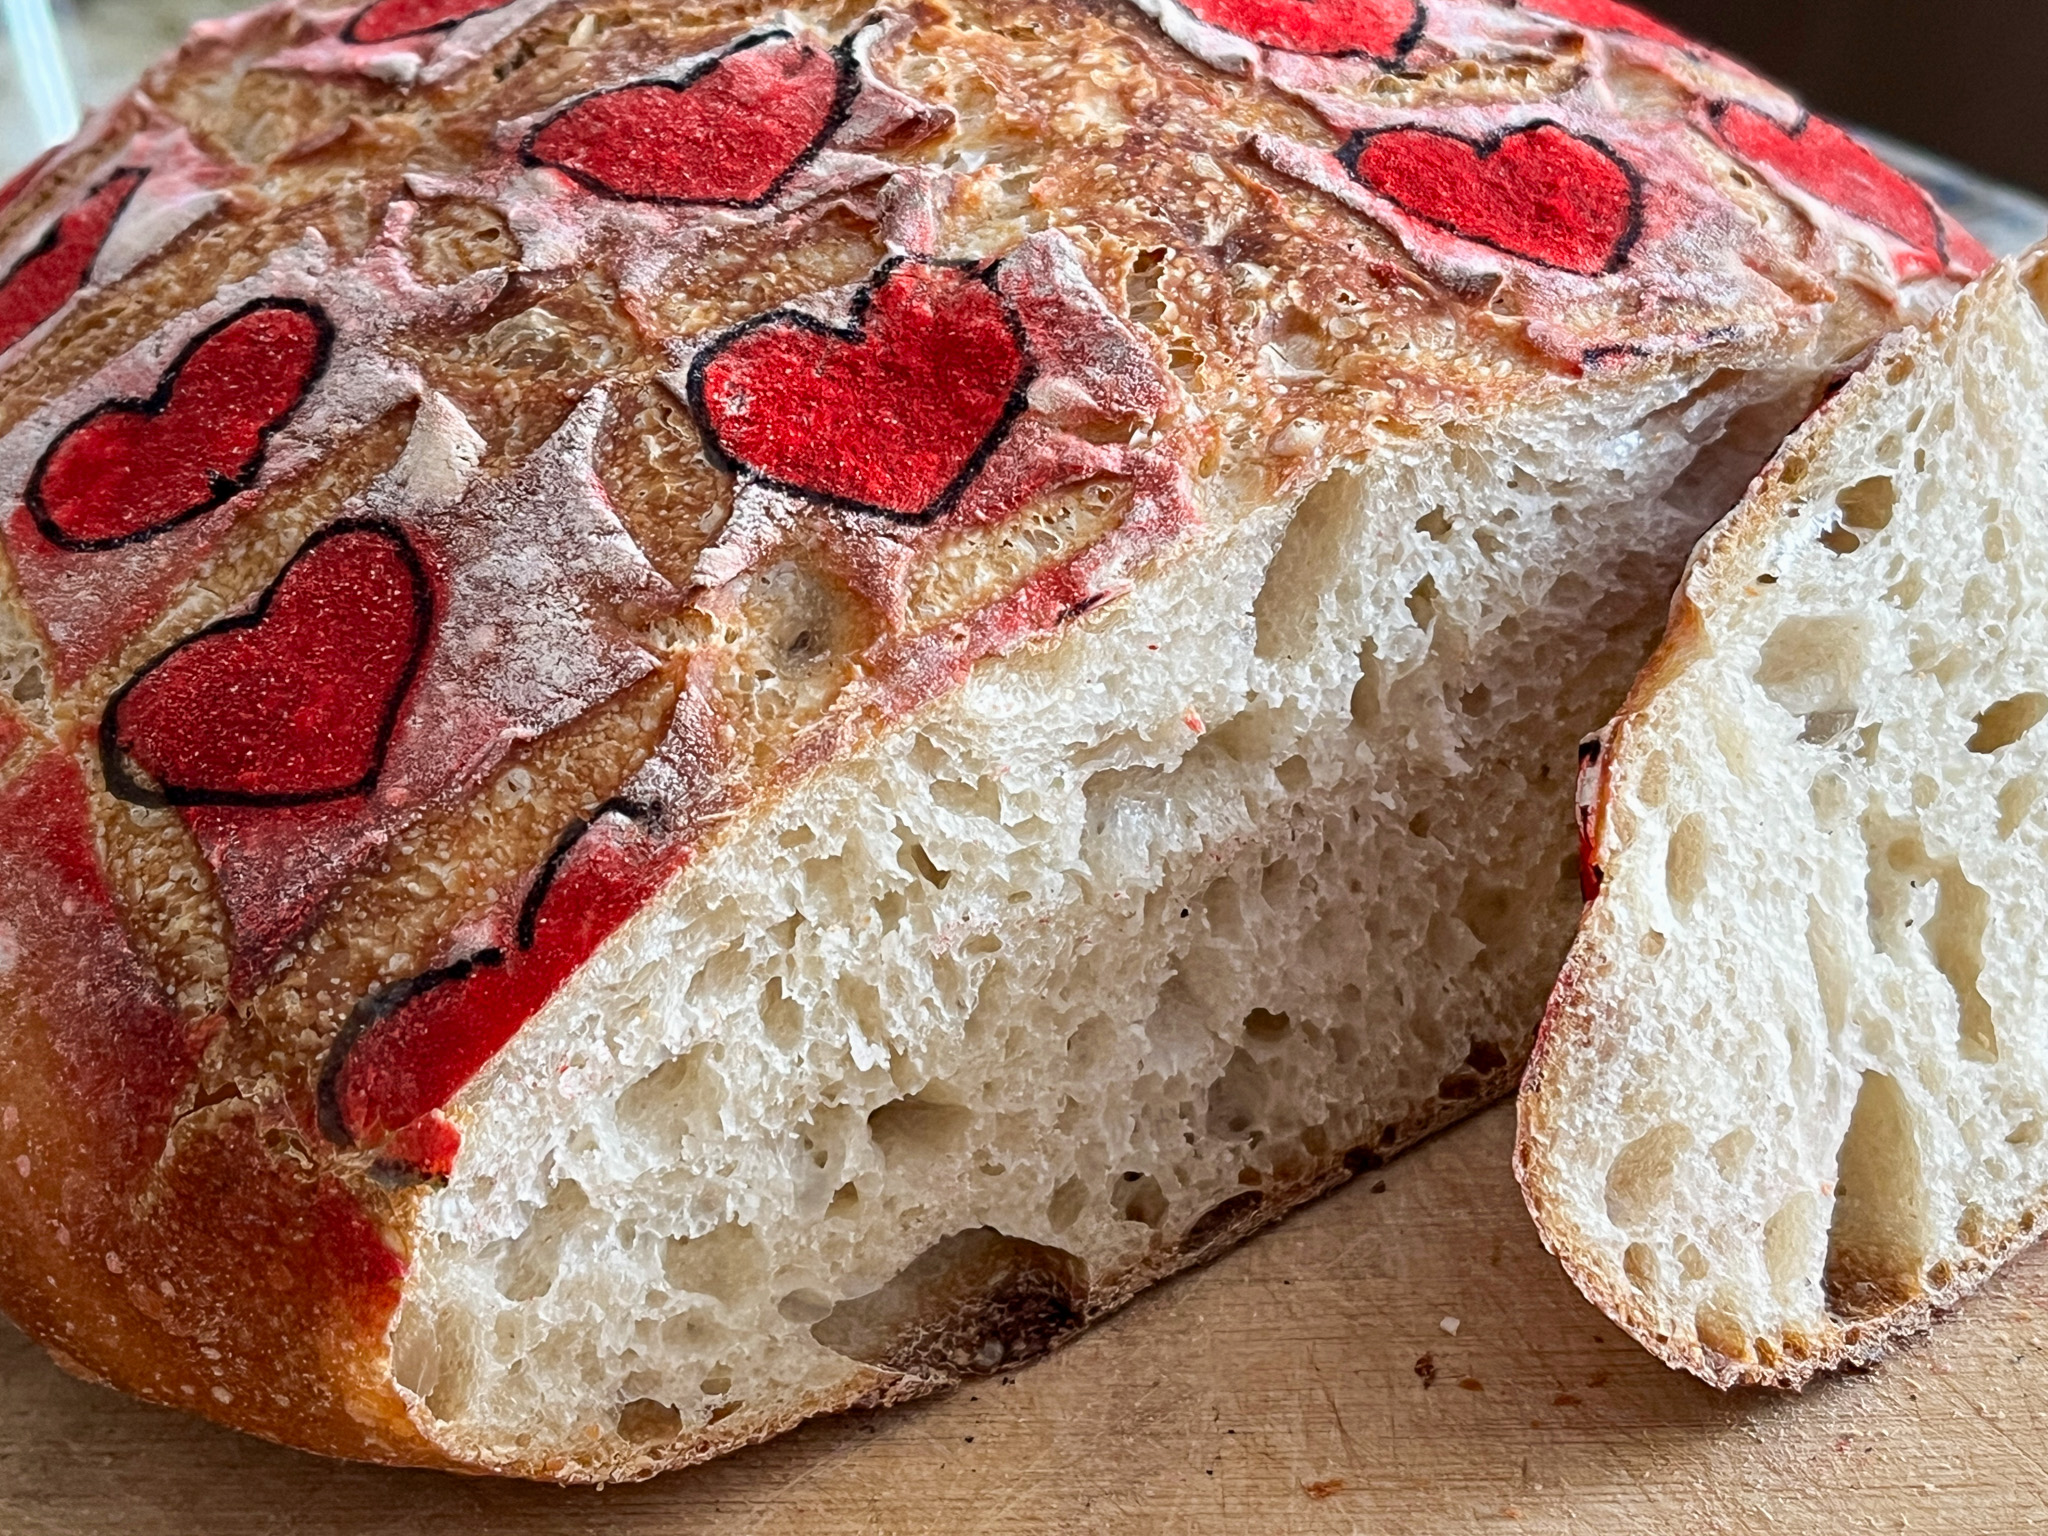
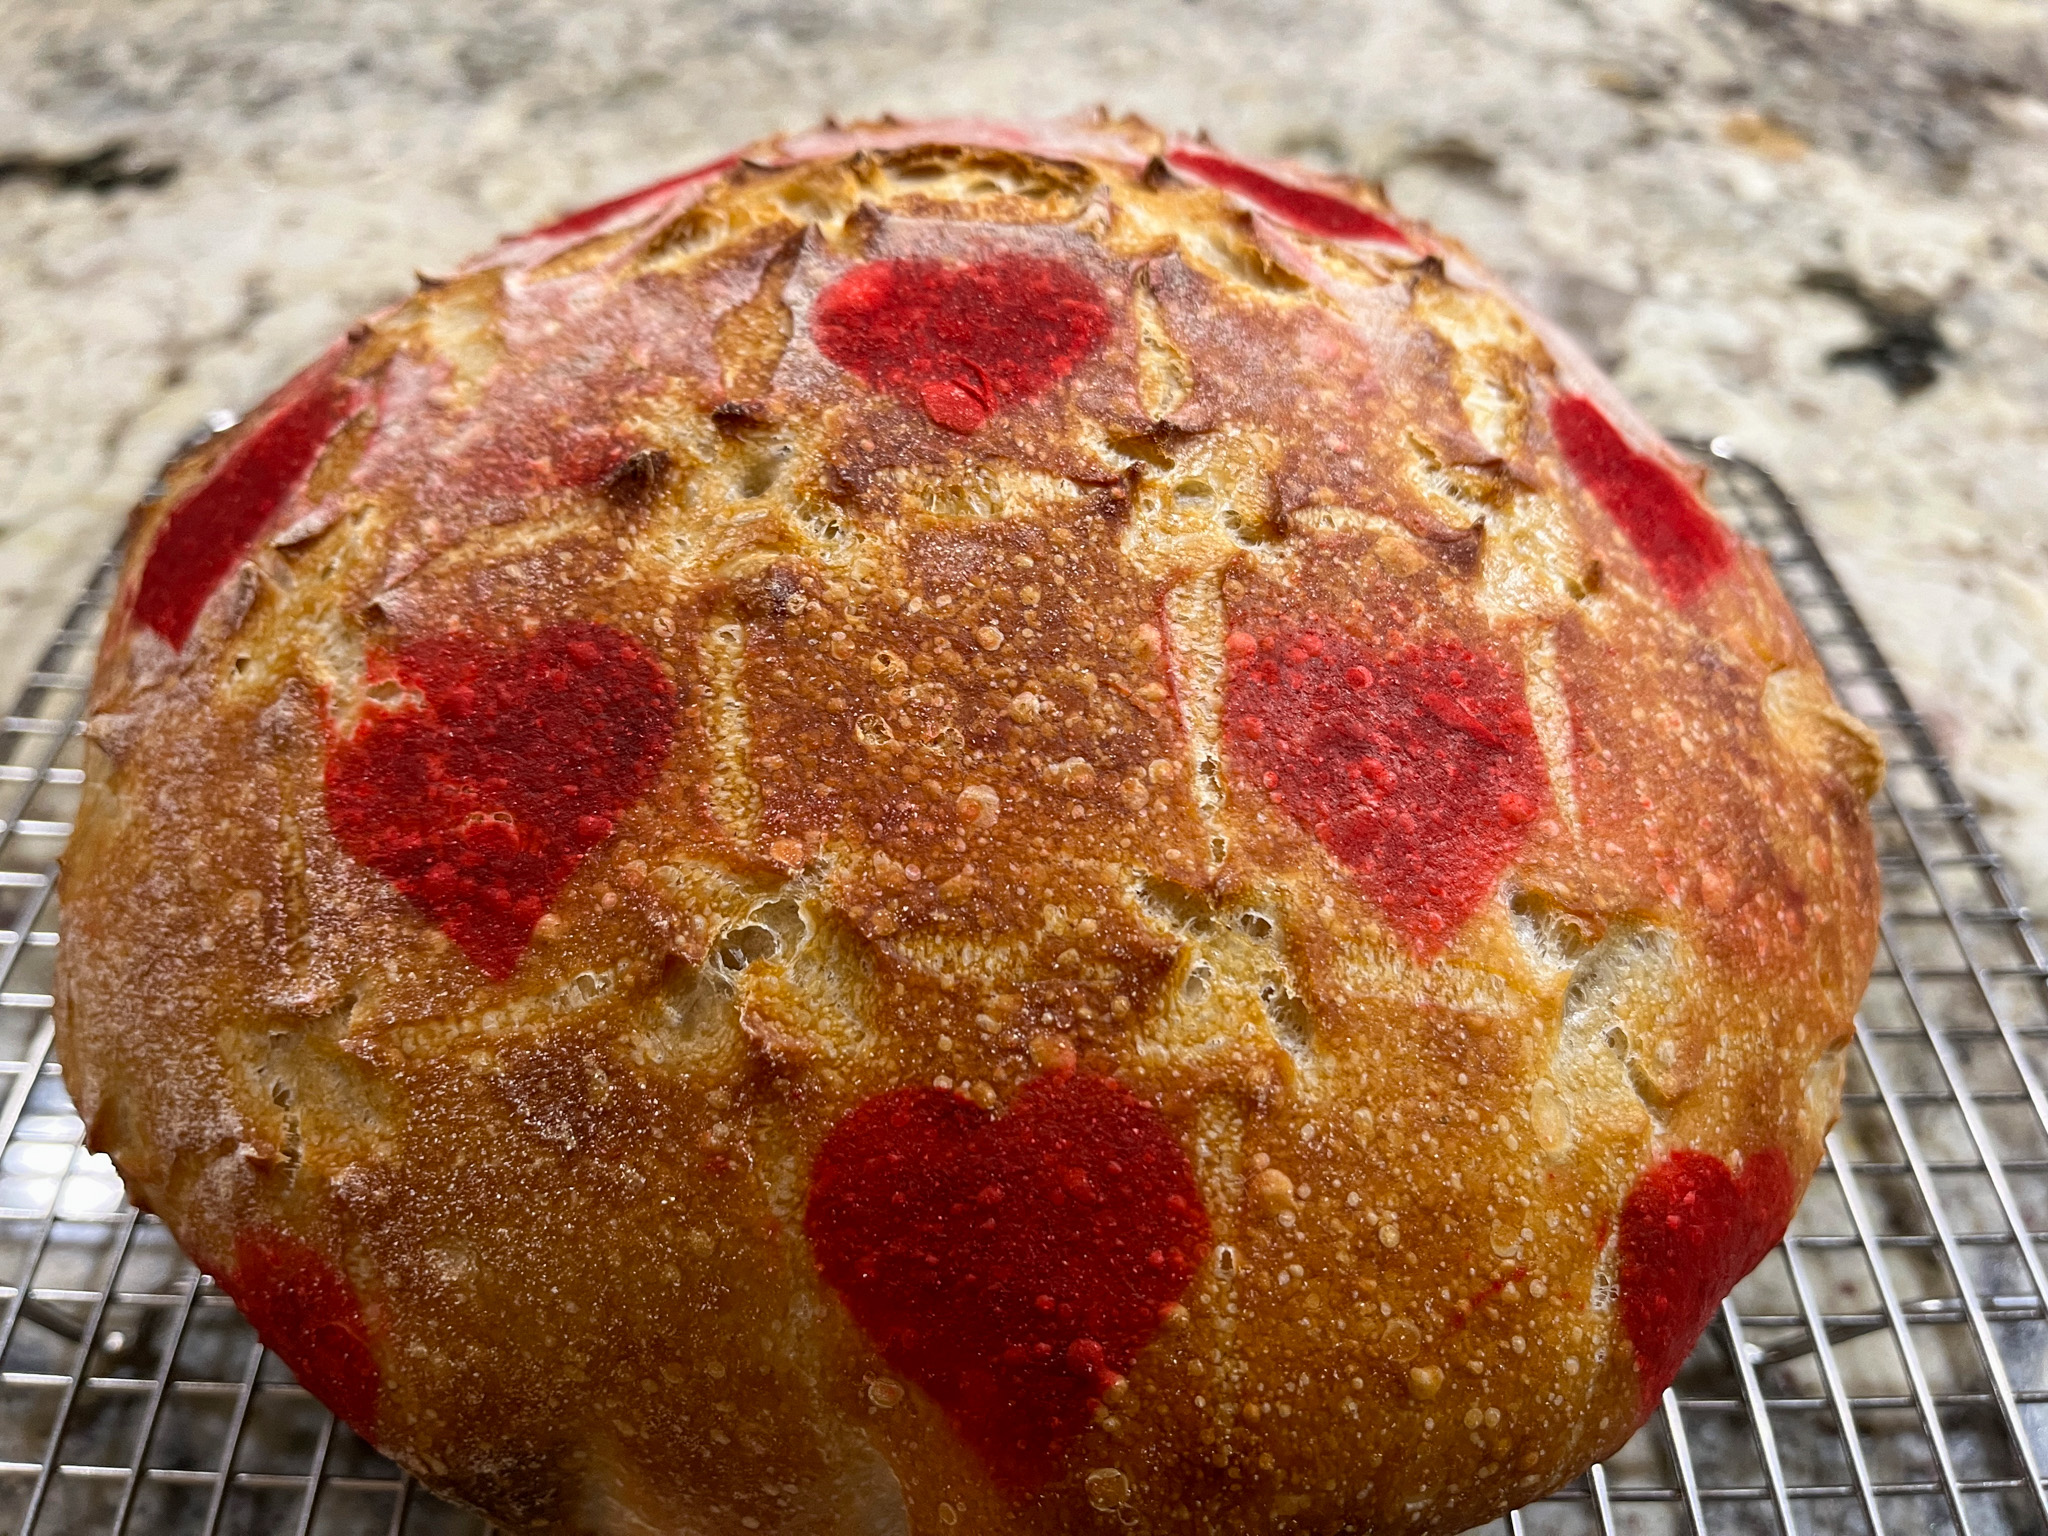
SOURDOUGH LOVE

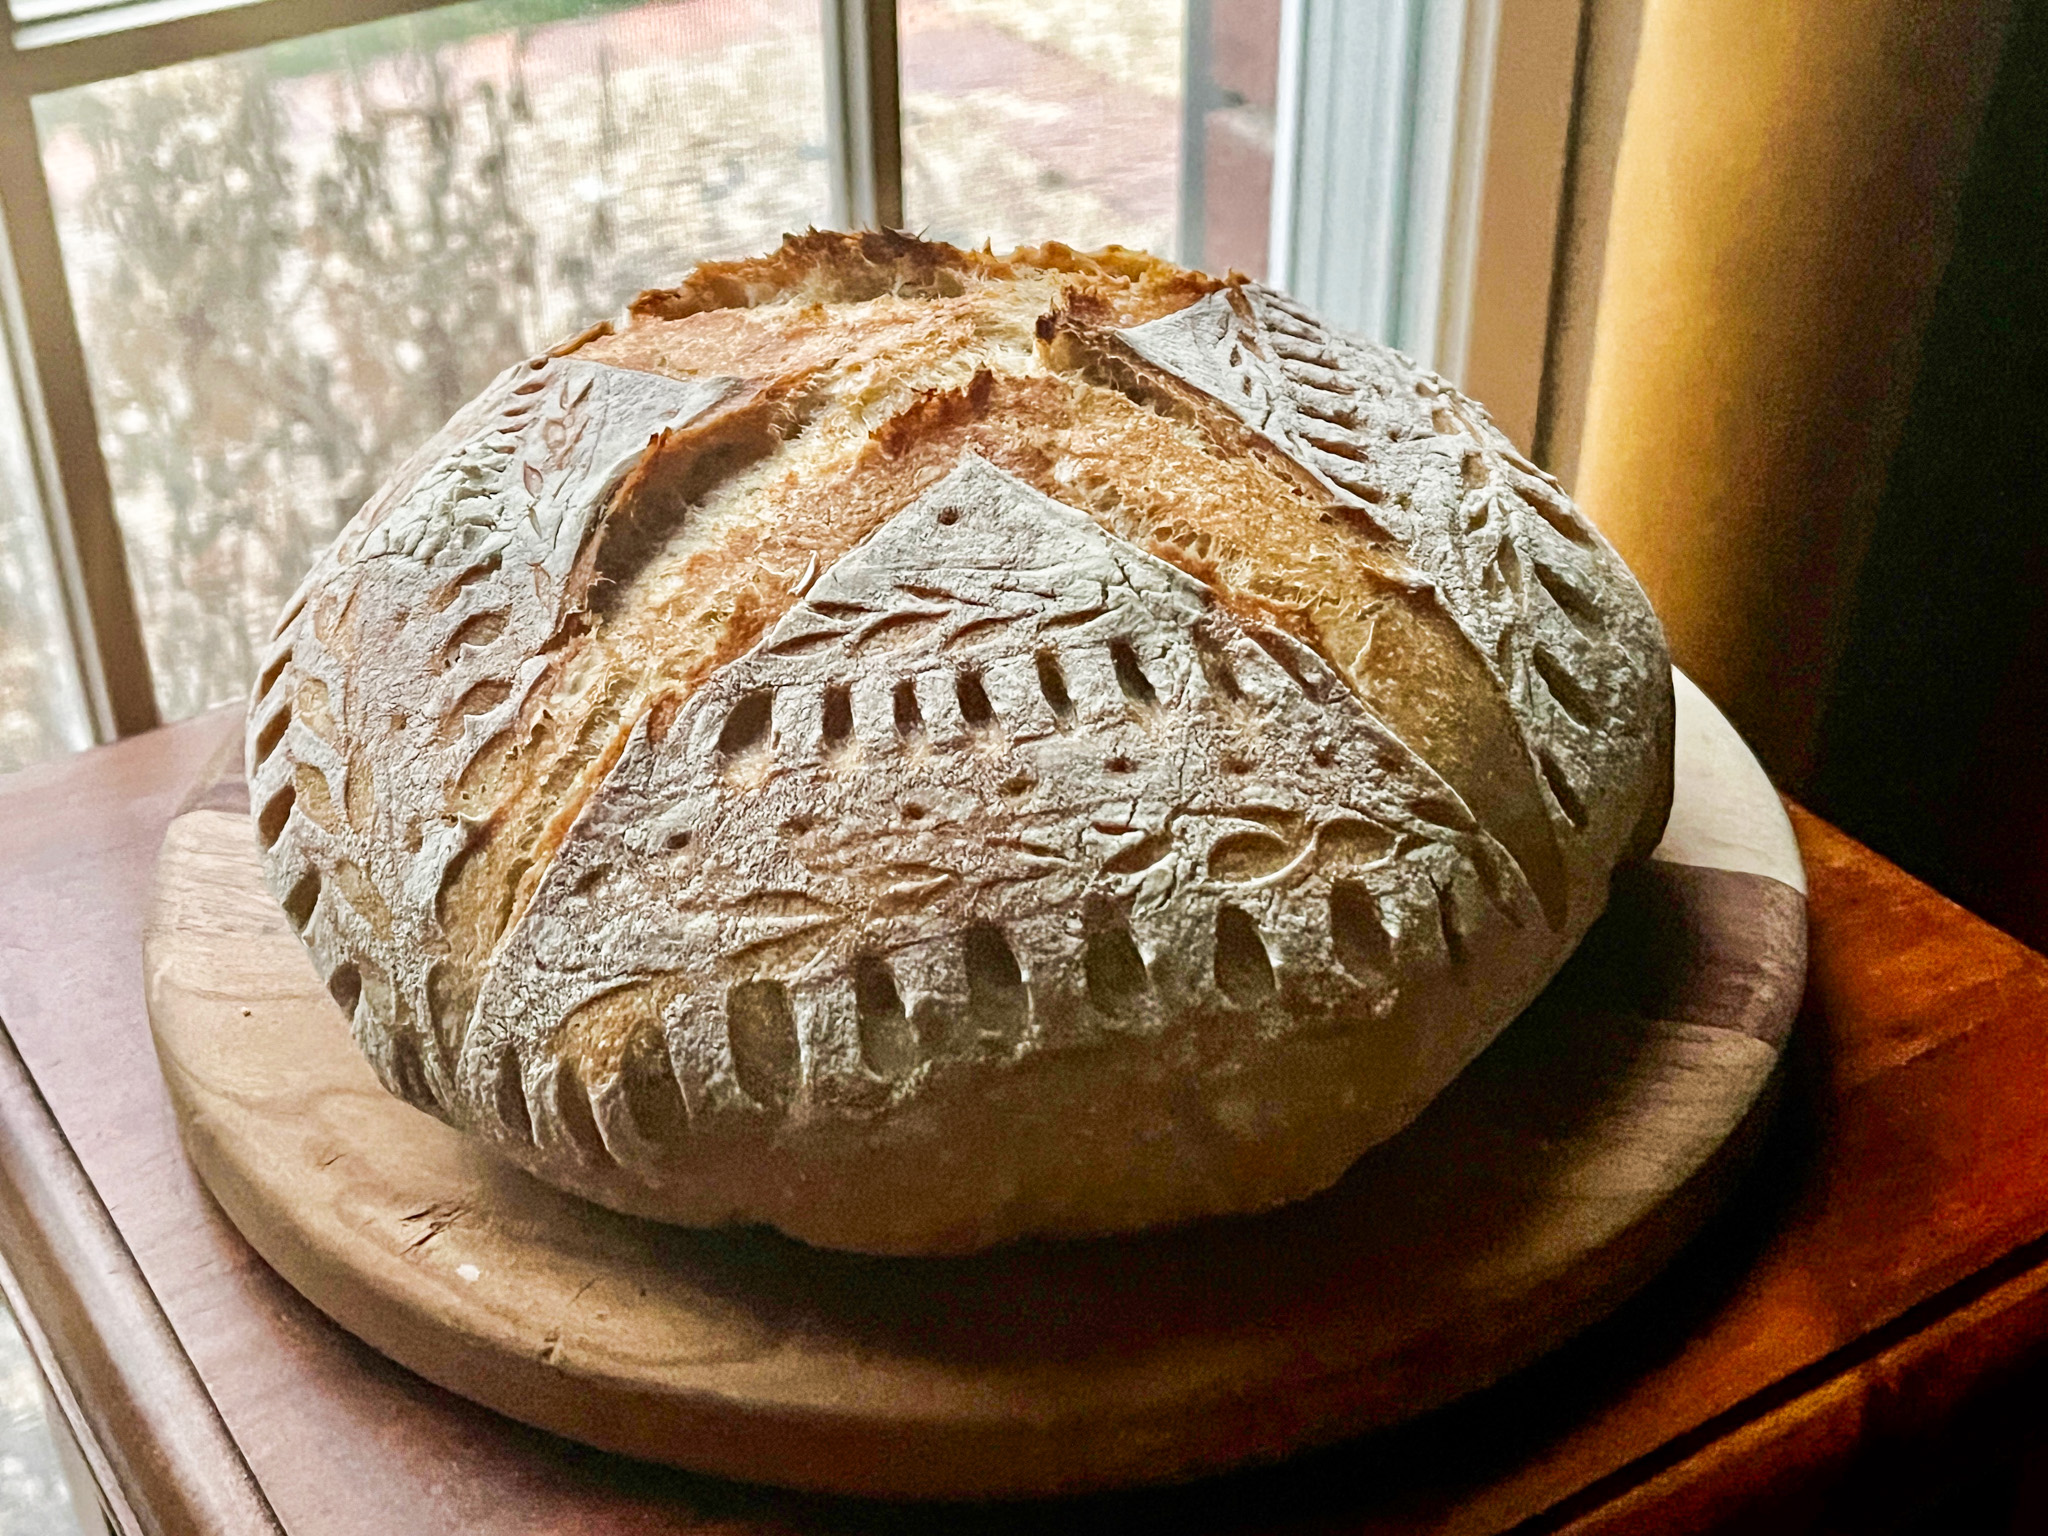
A series of sourdough bread made in the past couple of months in the Bewitching Kitchen…

BASIC SOURDOUGH FORMULA
(from the Bewitching Kitchen)

480g white bread flour
20g spelt flour
10g salt
350g water
75-90g sourdough starter at 100% hydration
1 tsp spice mix of choice (optional)

Make the levain mixture about 6 hours before you plan to mix the dough. It should be very bubbly and active.

When you are ready to make the final dough, place the water in the bowl of a KitchenAid type mixer and dissolve the starter in it, mixing with a spatula briefly, then add the two types of flour, salt and spices. Turn the mixer on with the hook attachment and knead the dough for 4 minutes at low-speed all the time. You will notice the dough will gain quite a bit of structure even with just 4 minutes in the mixer. Remove from the machine, and transfer to a container lightly coated with oil, cover lightly with plastic wrap and allow it to ferment for 4 hours, folding every 45 minutes or so. Because the dough is already a bit developed from the initial time in the mixer, you should get very good structure after 3 and a half hours, or even sooner than that.

After four hours bulk fermentation, shape the dough as a ball, and place, seam side up, in a lightly floured banetton. Leave at room temperature one hour, and then place in the fridge overnight, from 8 to 12 hours.

Next morning, heat the oven to 450F.

Place a parchment paper on top of the dough, a flat baking sheet, and invert the dough, flipping it out of the banneton. Flour the surface of the dough, add the stencil and air-brush if so desired. Score with a razor blade.

Bake at 450F for 45 minutes, preferably covered for the first 30 minutes to retain steam. Cool completely over a rack before slicing.

ENJOY!

to print the recipe, click here
Here is how to make the decorations on the loaf…
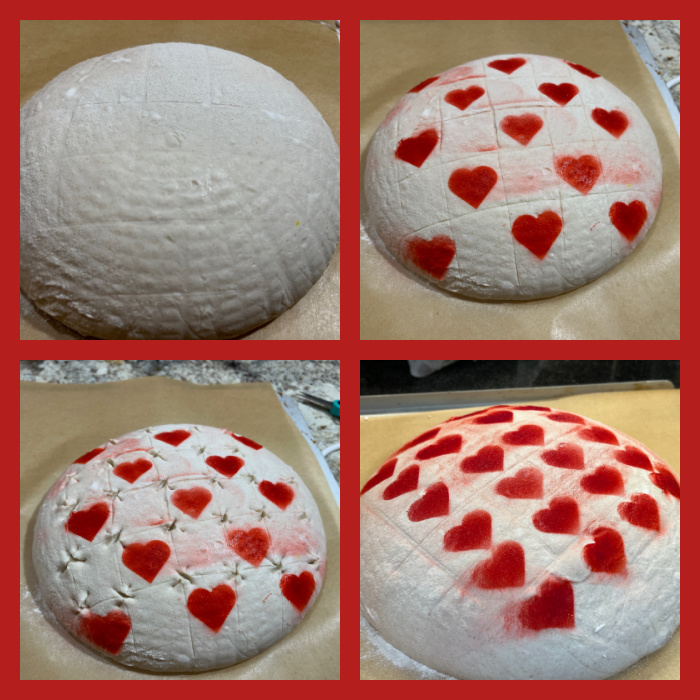
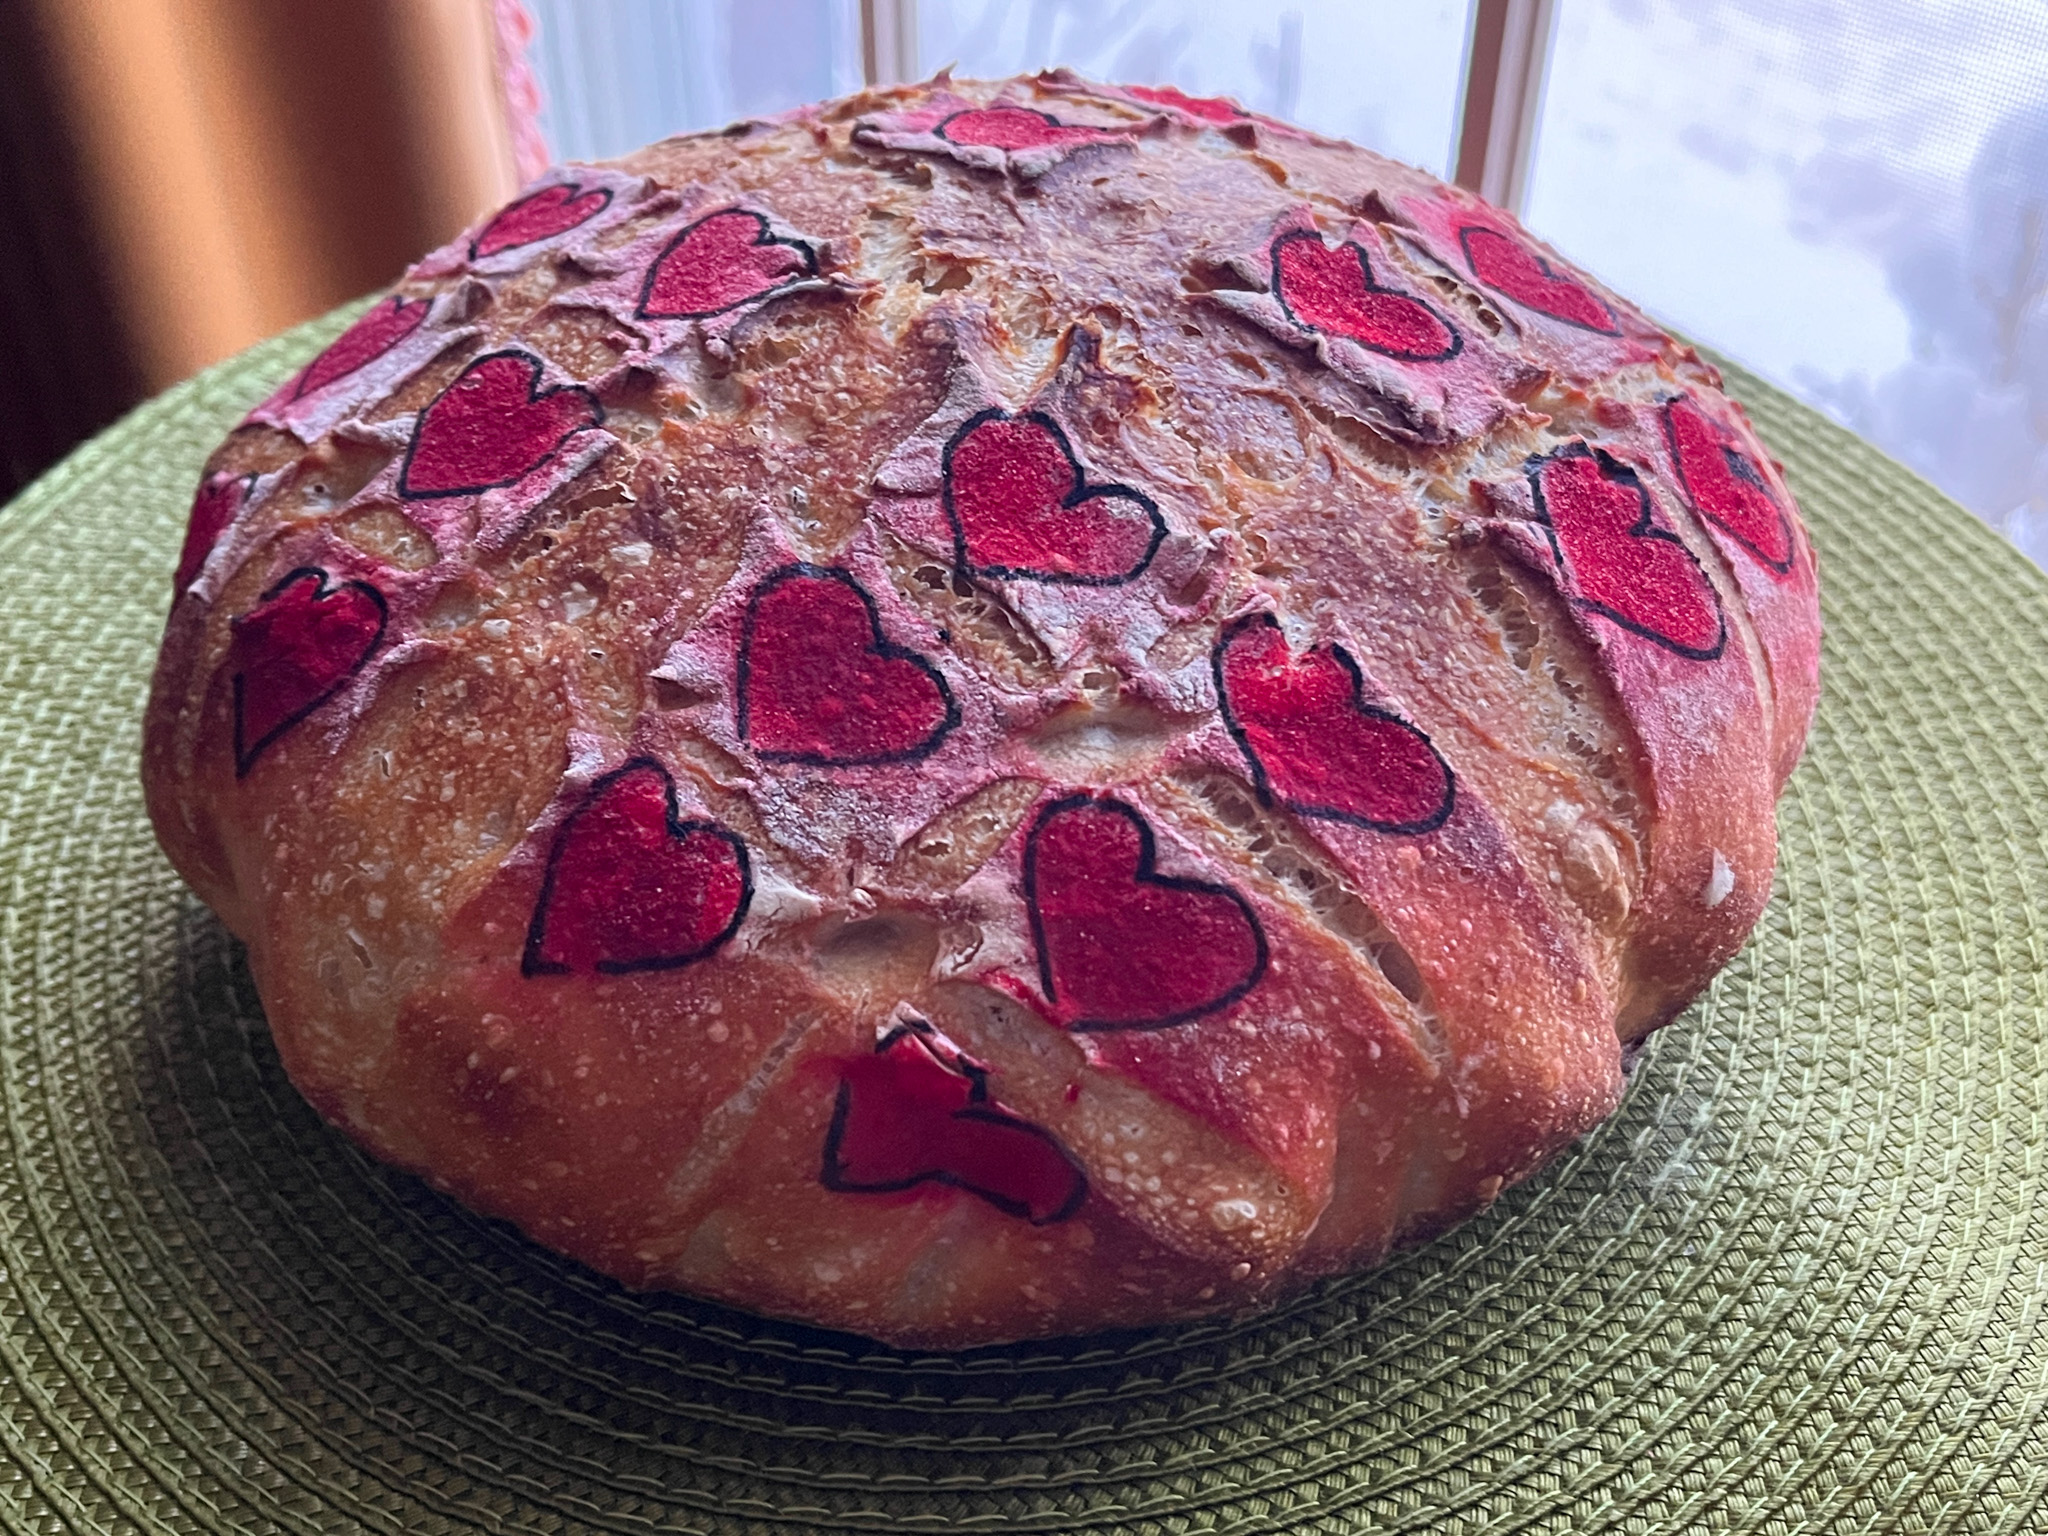
For the little hearts, the bread is painted using air-brush and a stencil, after scoring the surface with a grid pattern. The corners of each square get a small cut with scissors. One of the loaves had the little hearts outlined with black food pen, the other I left without the outline. Your kitchen, your rules…
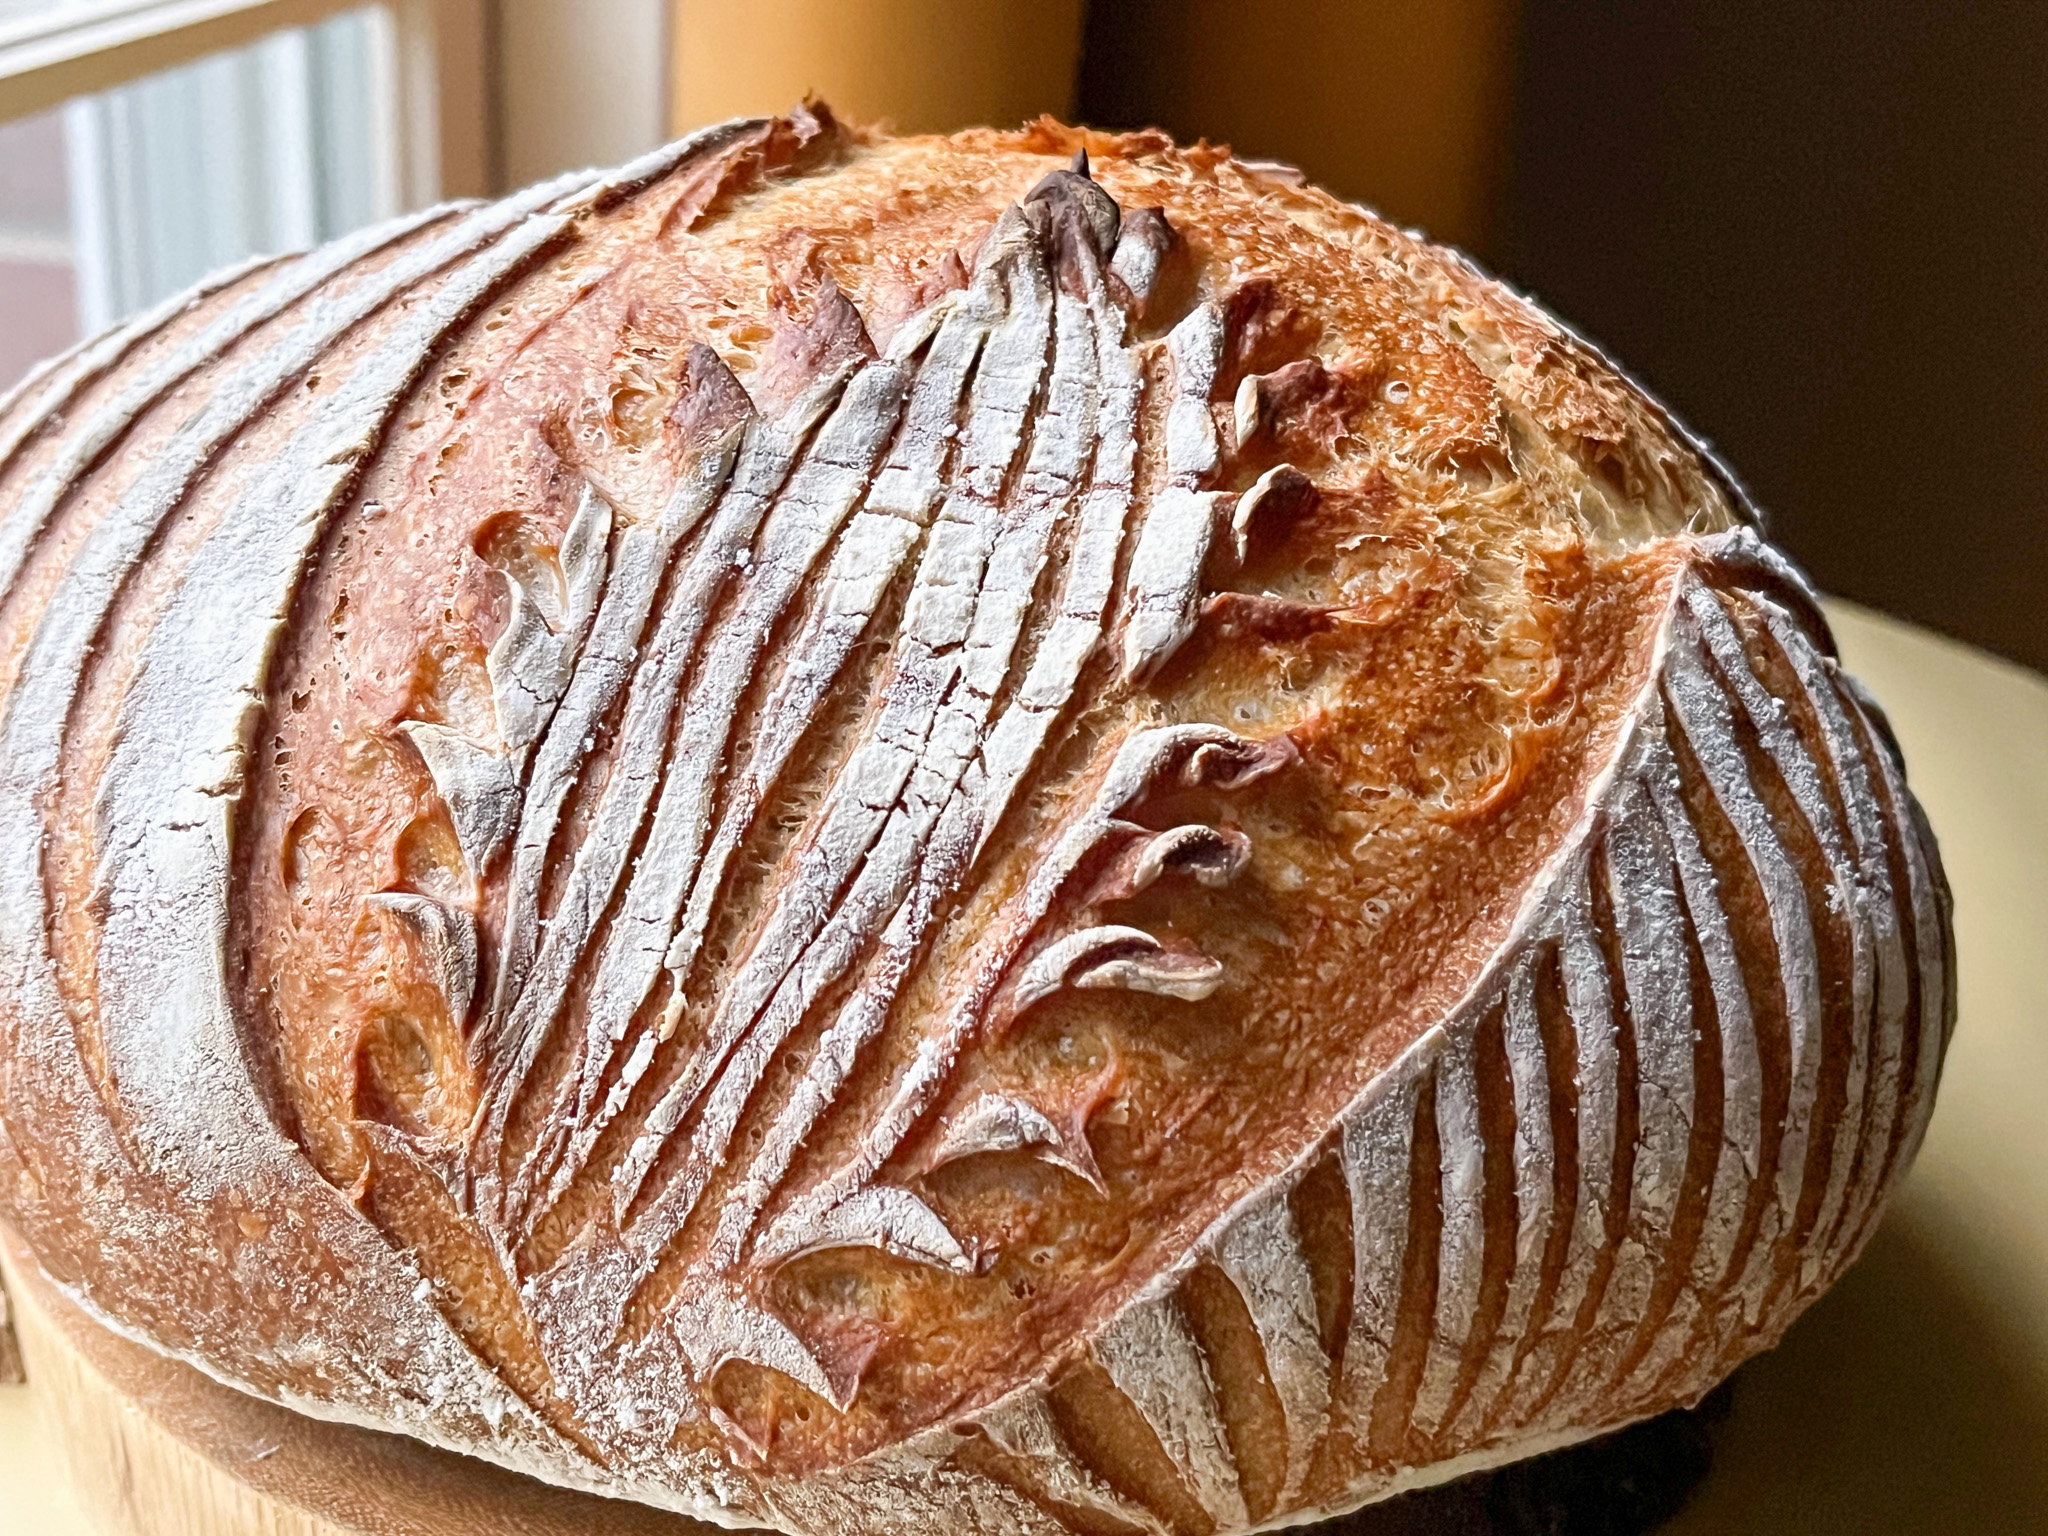
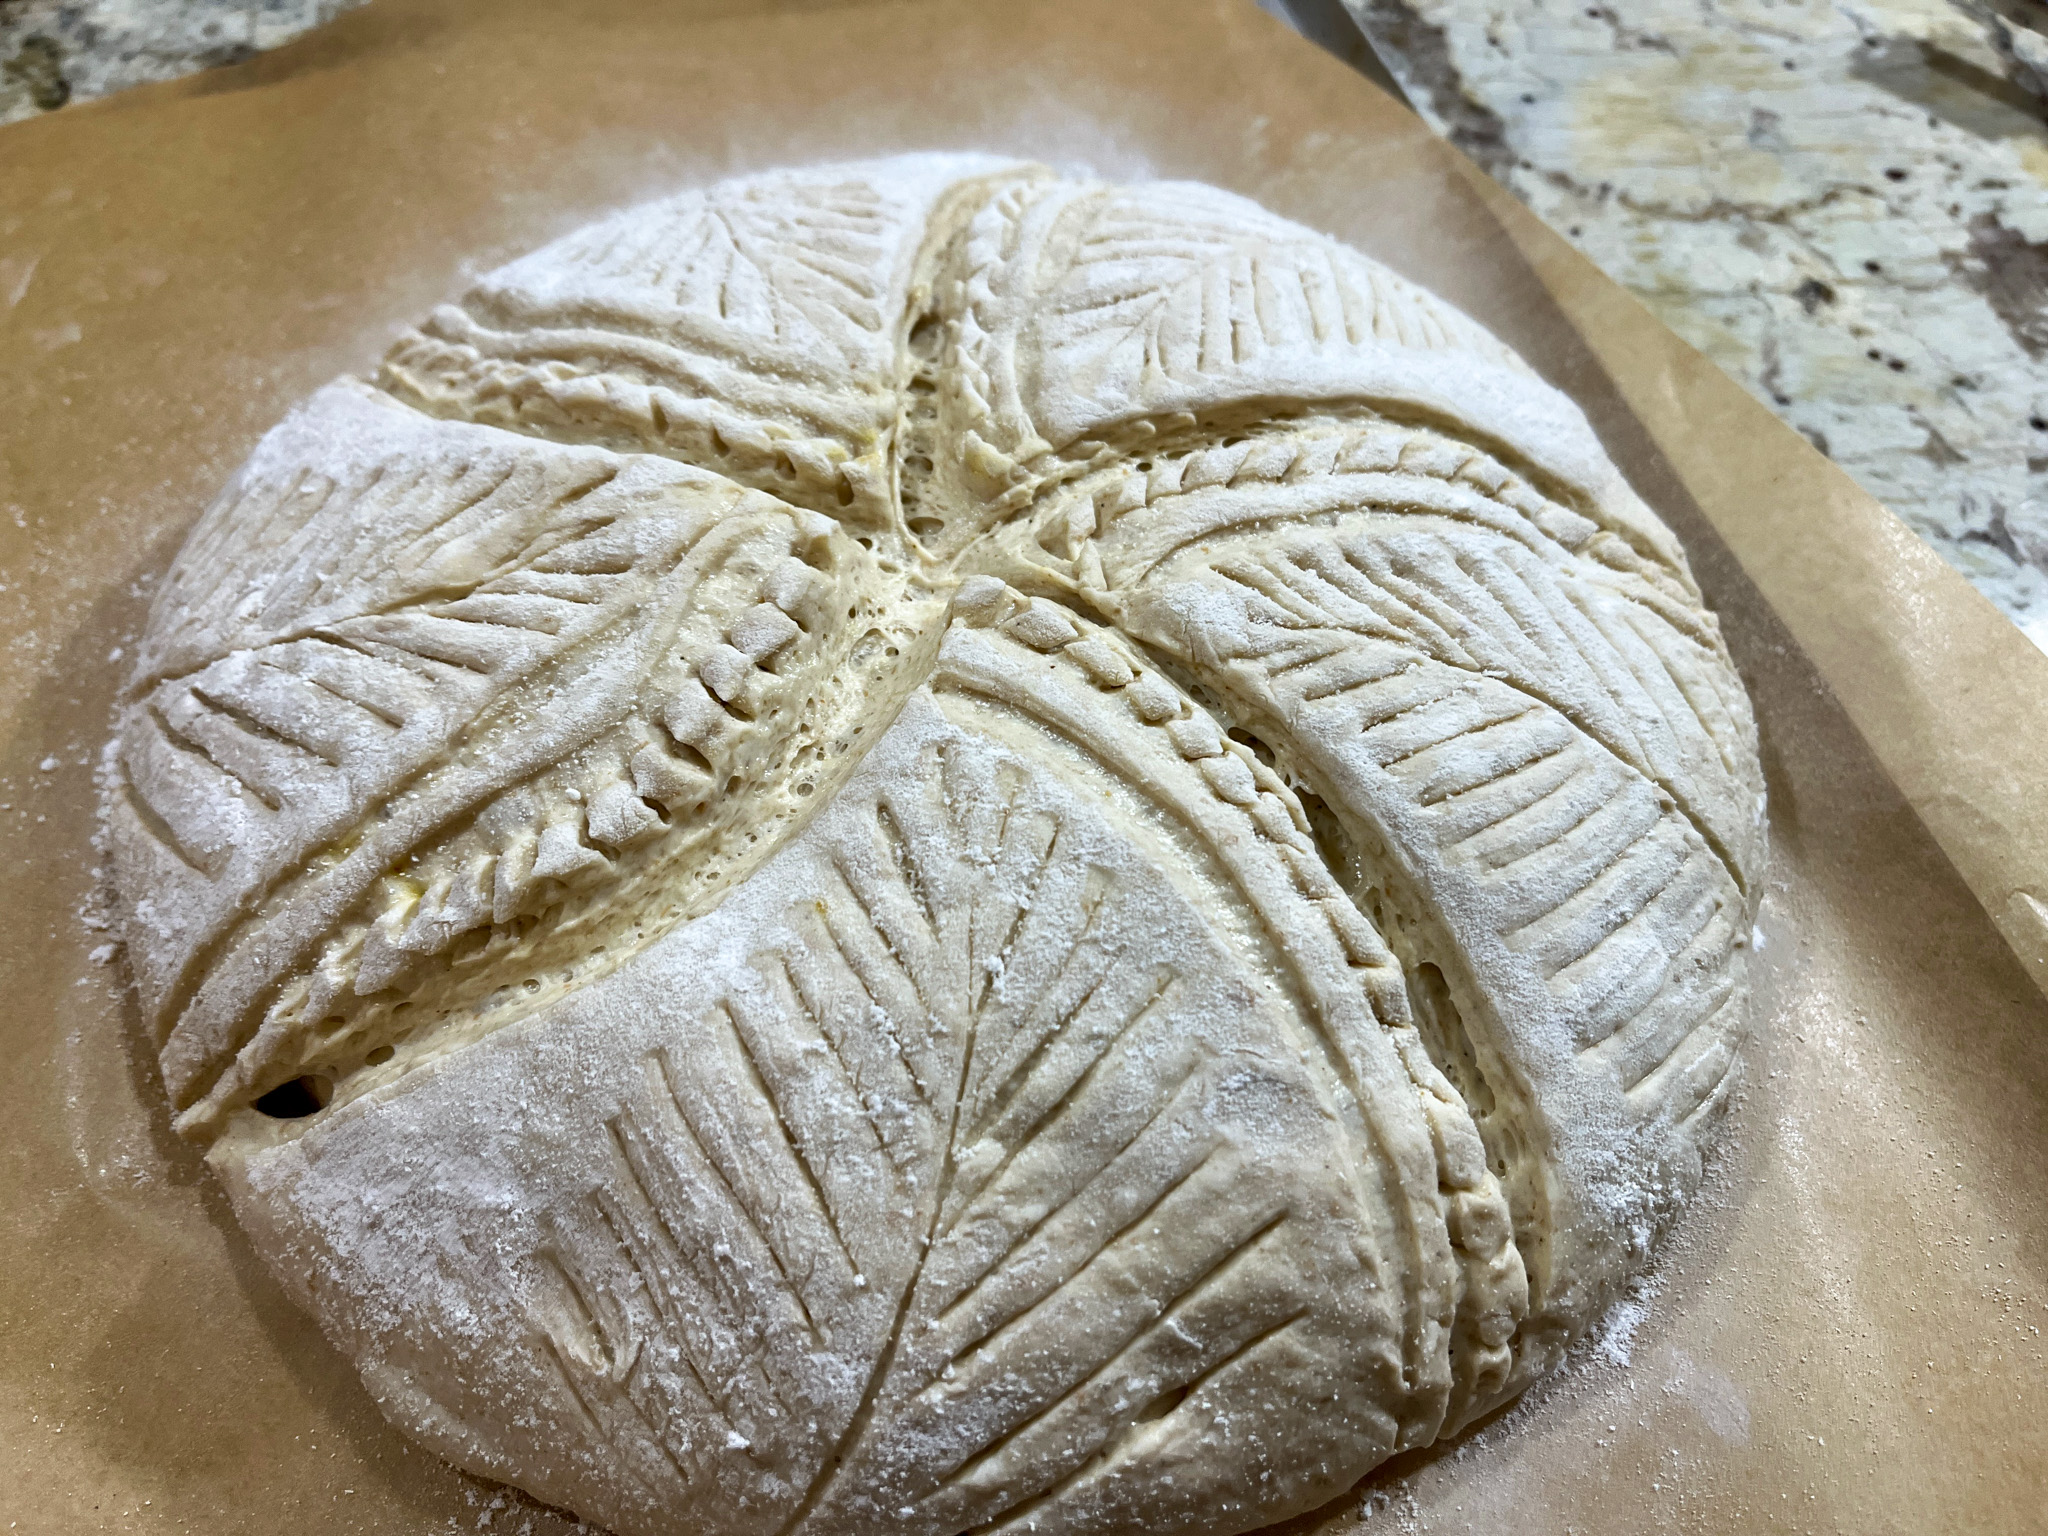
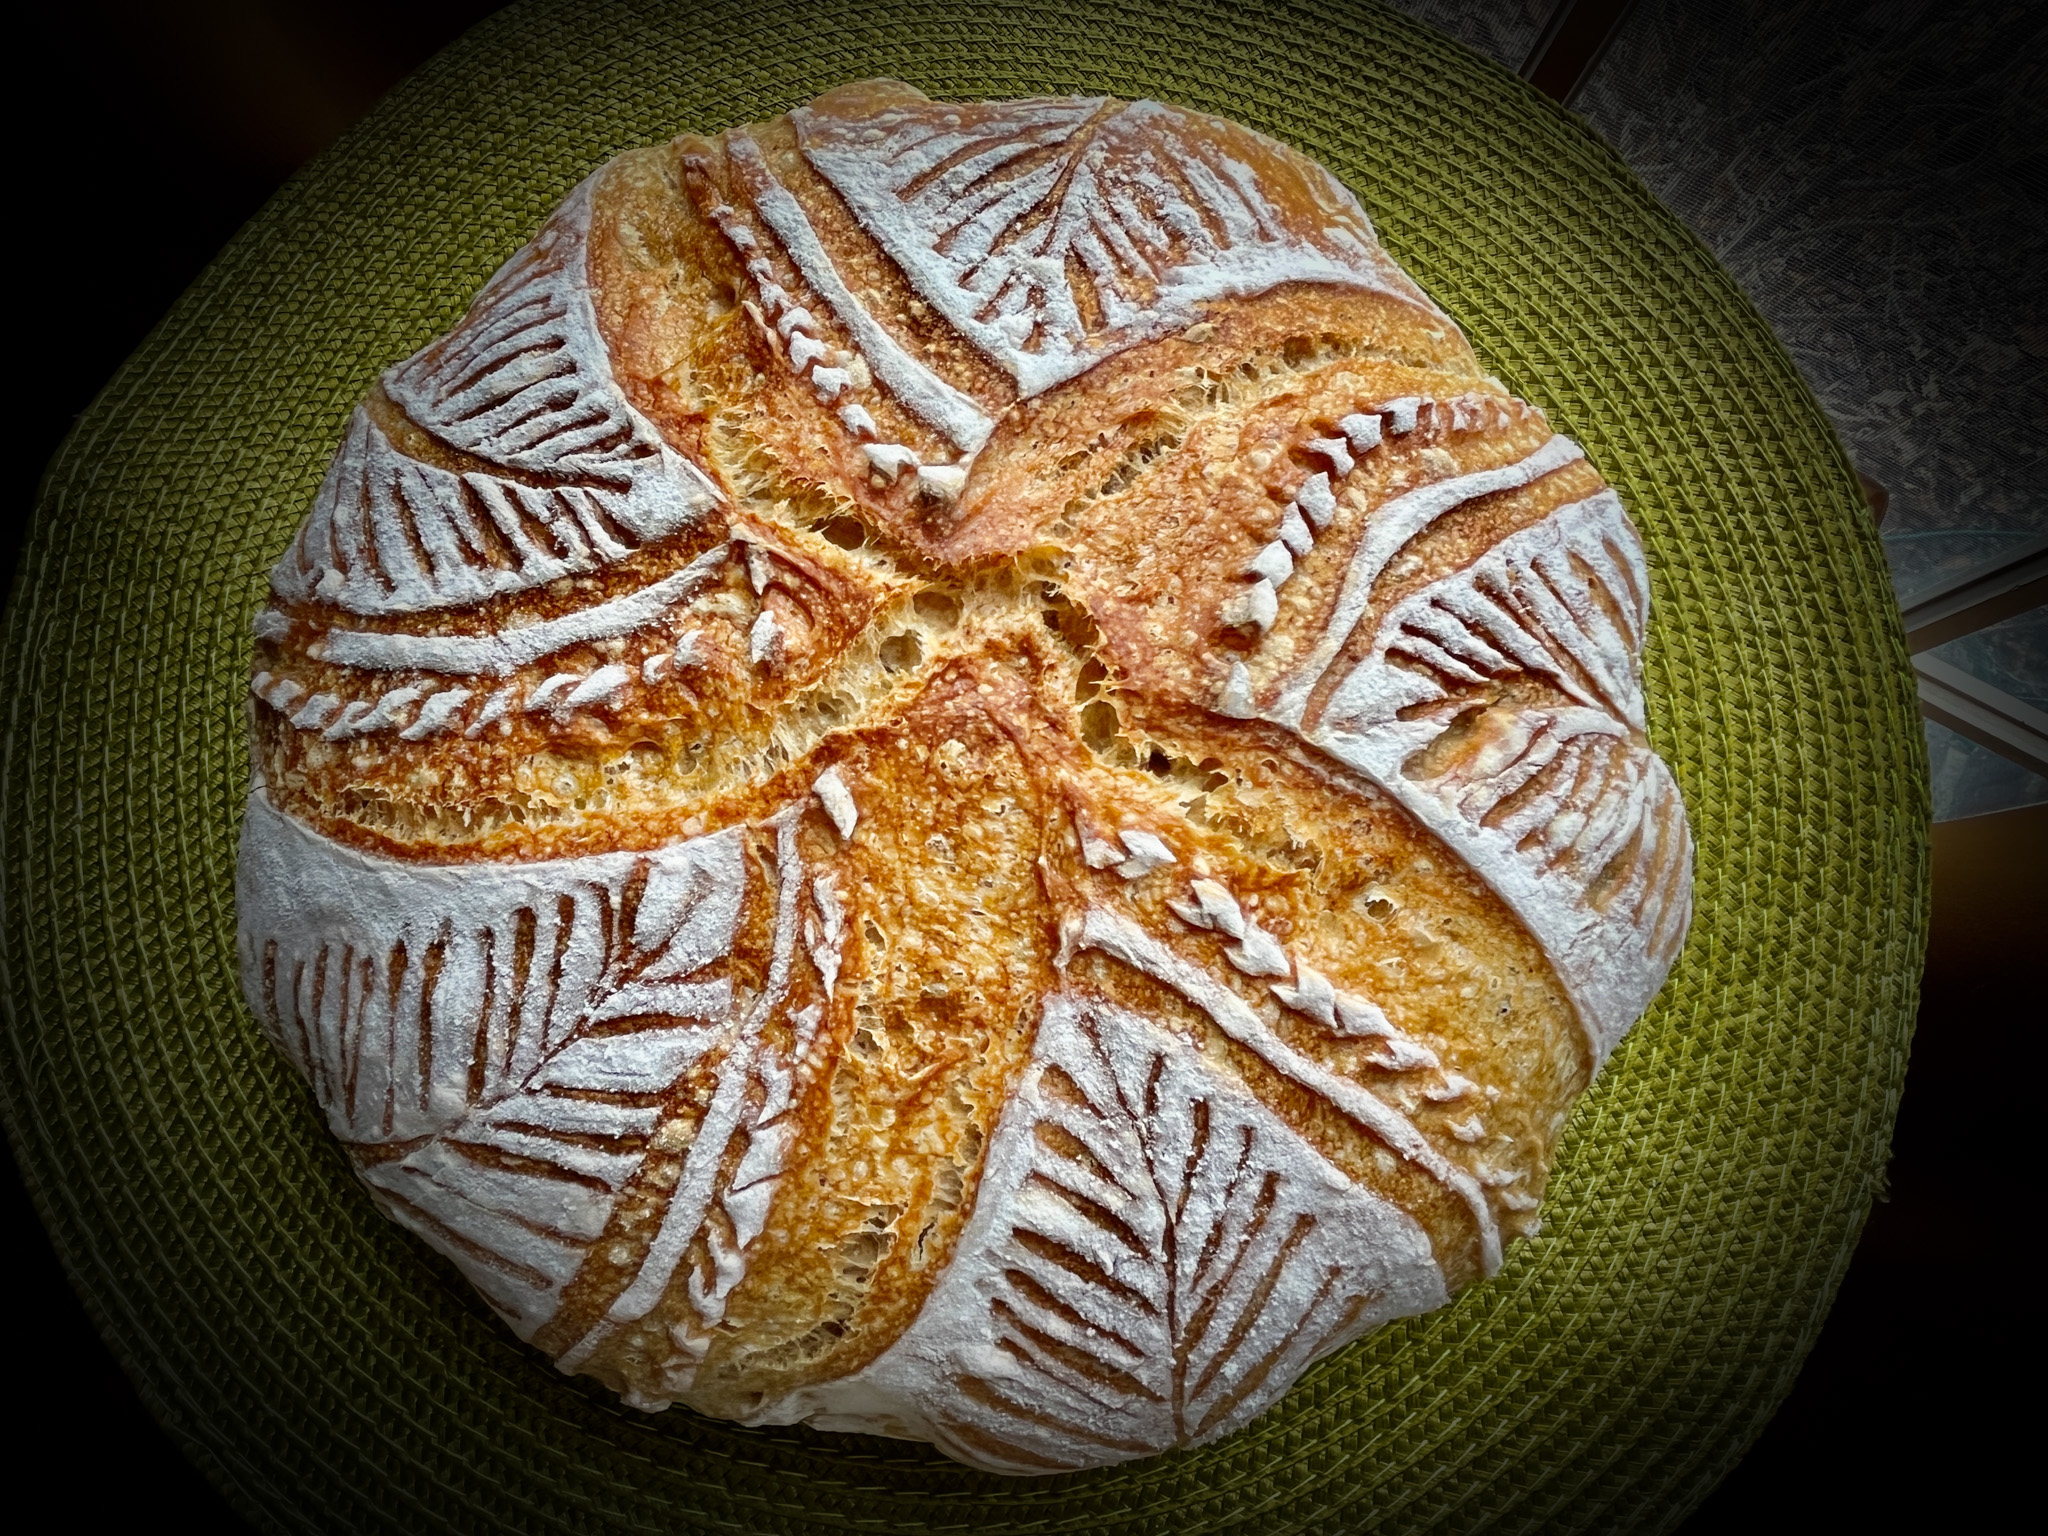
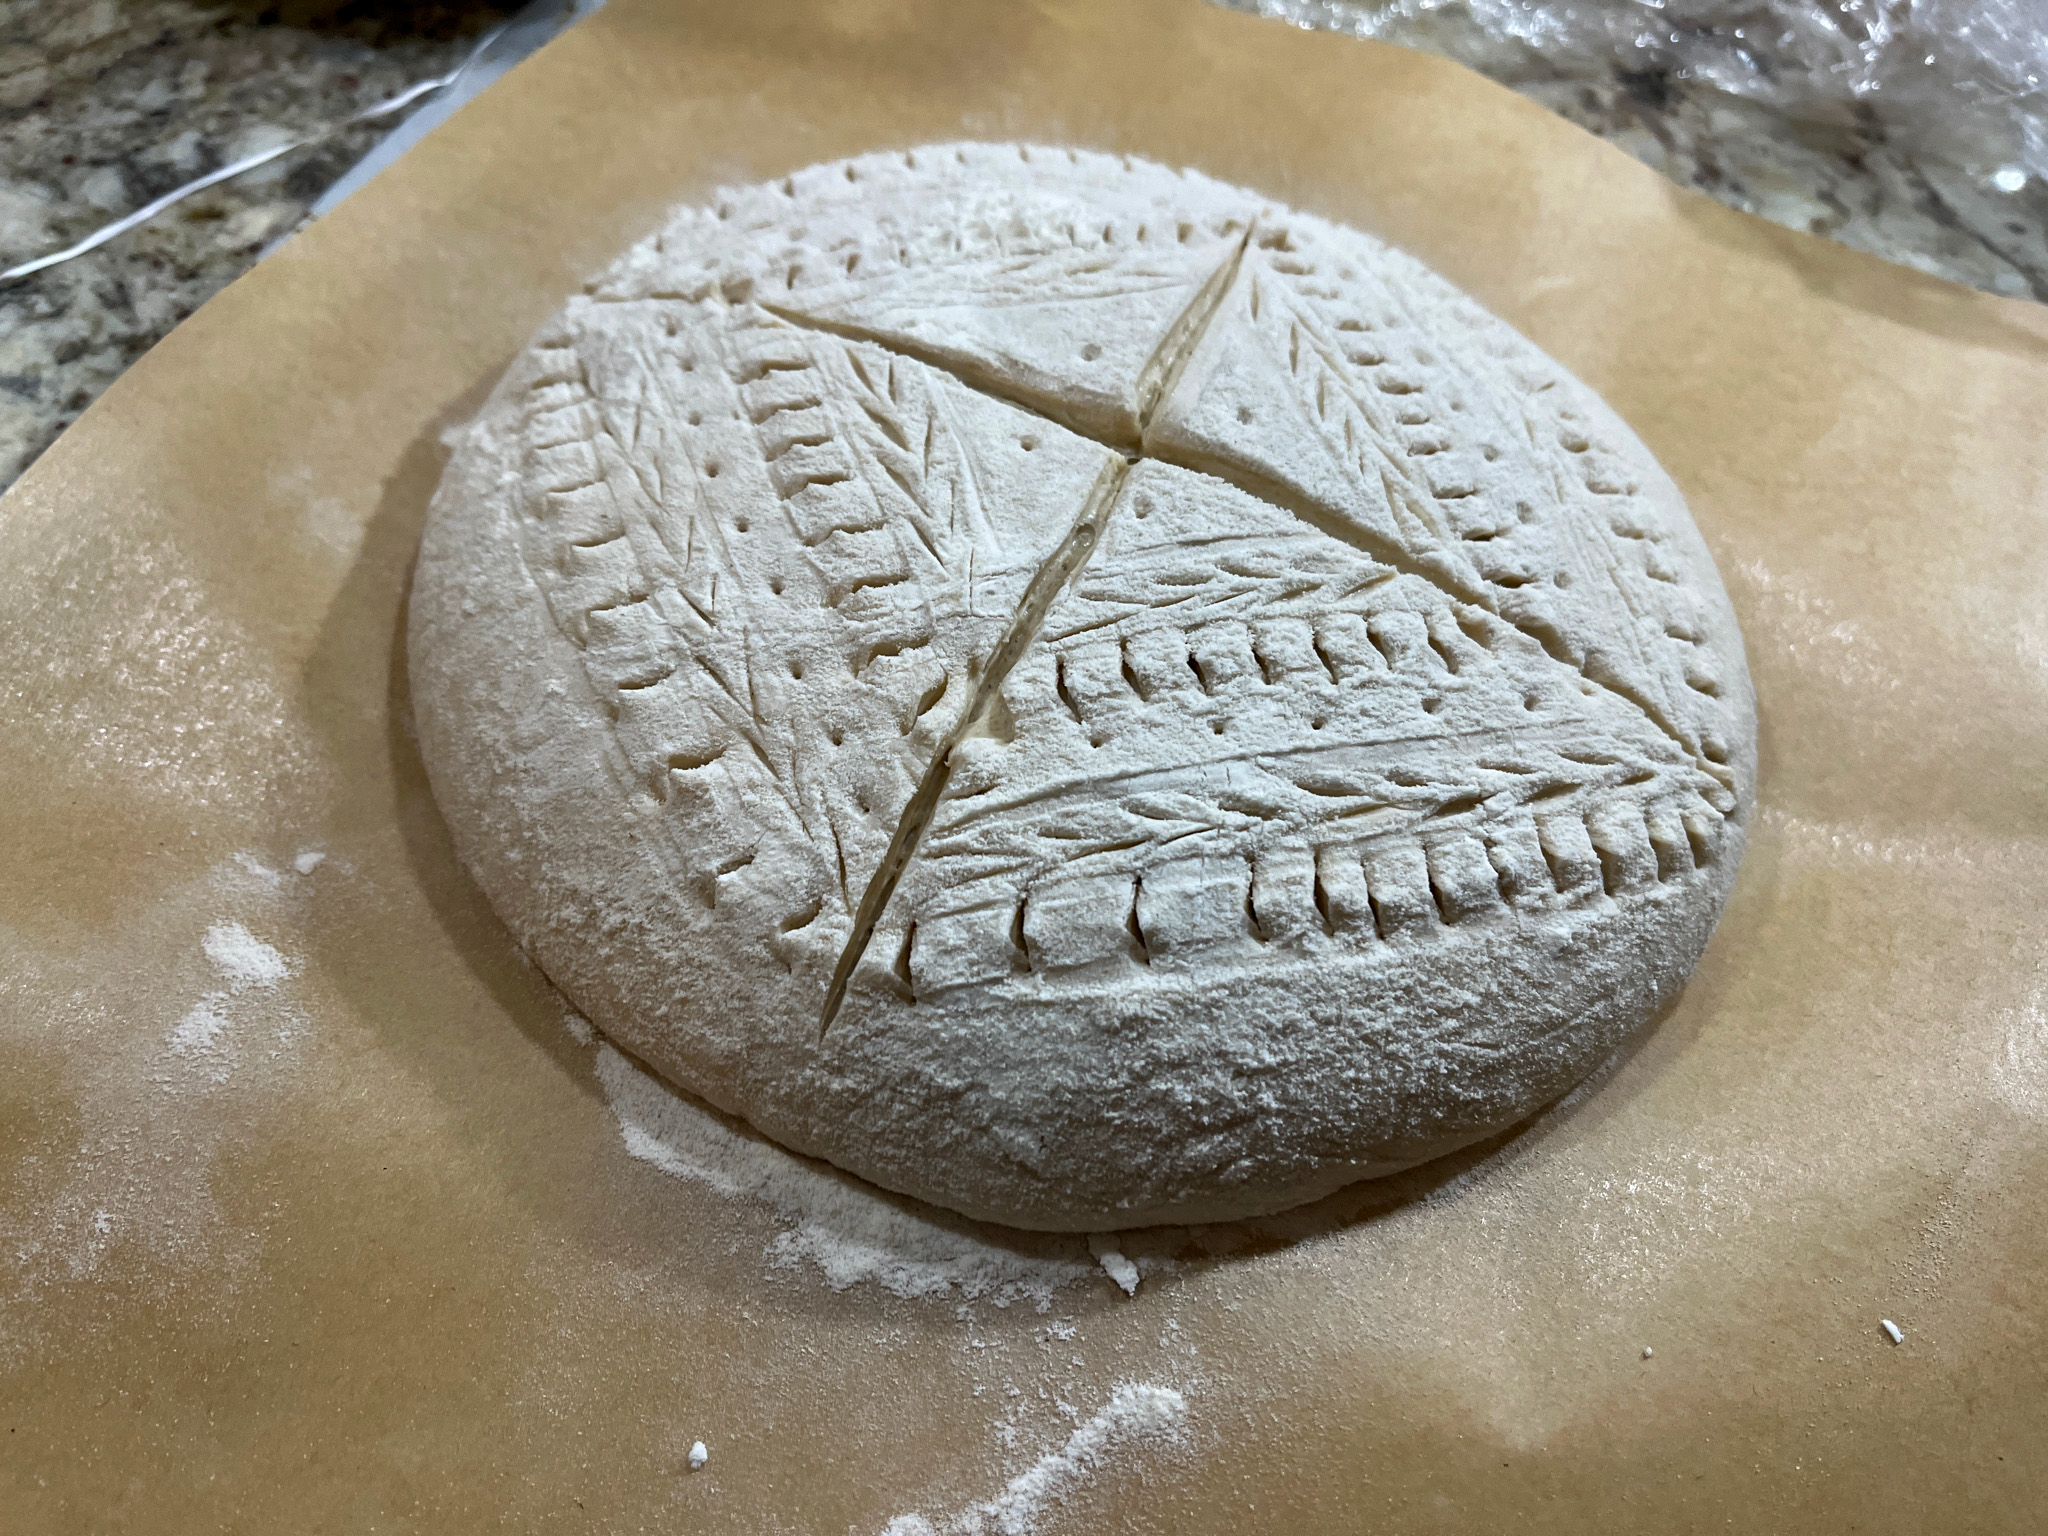
Below, a design in which a large comb was brought to play… No, I never used the comb on my hair, it was bought just to play with bread baking…
Inspired by Nicola’s recent reel on IG.
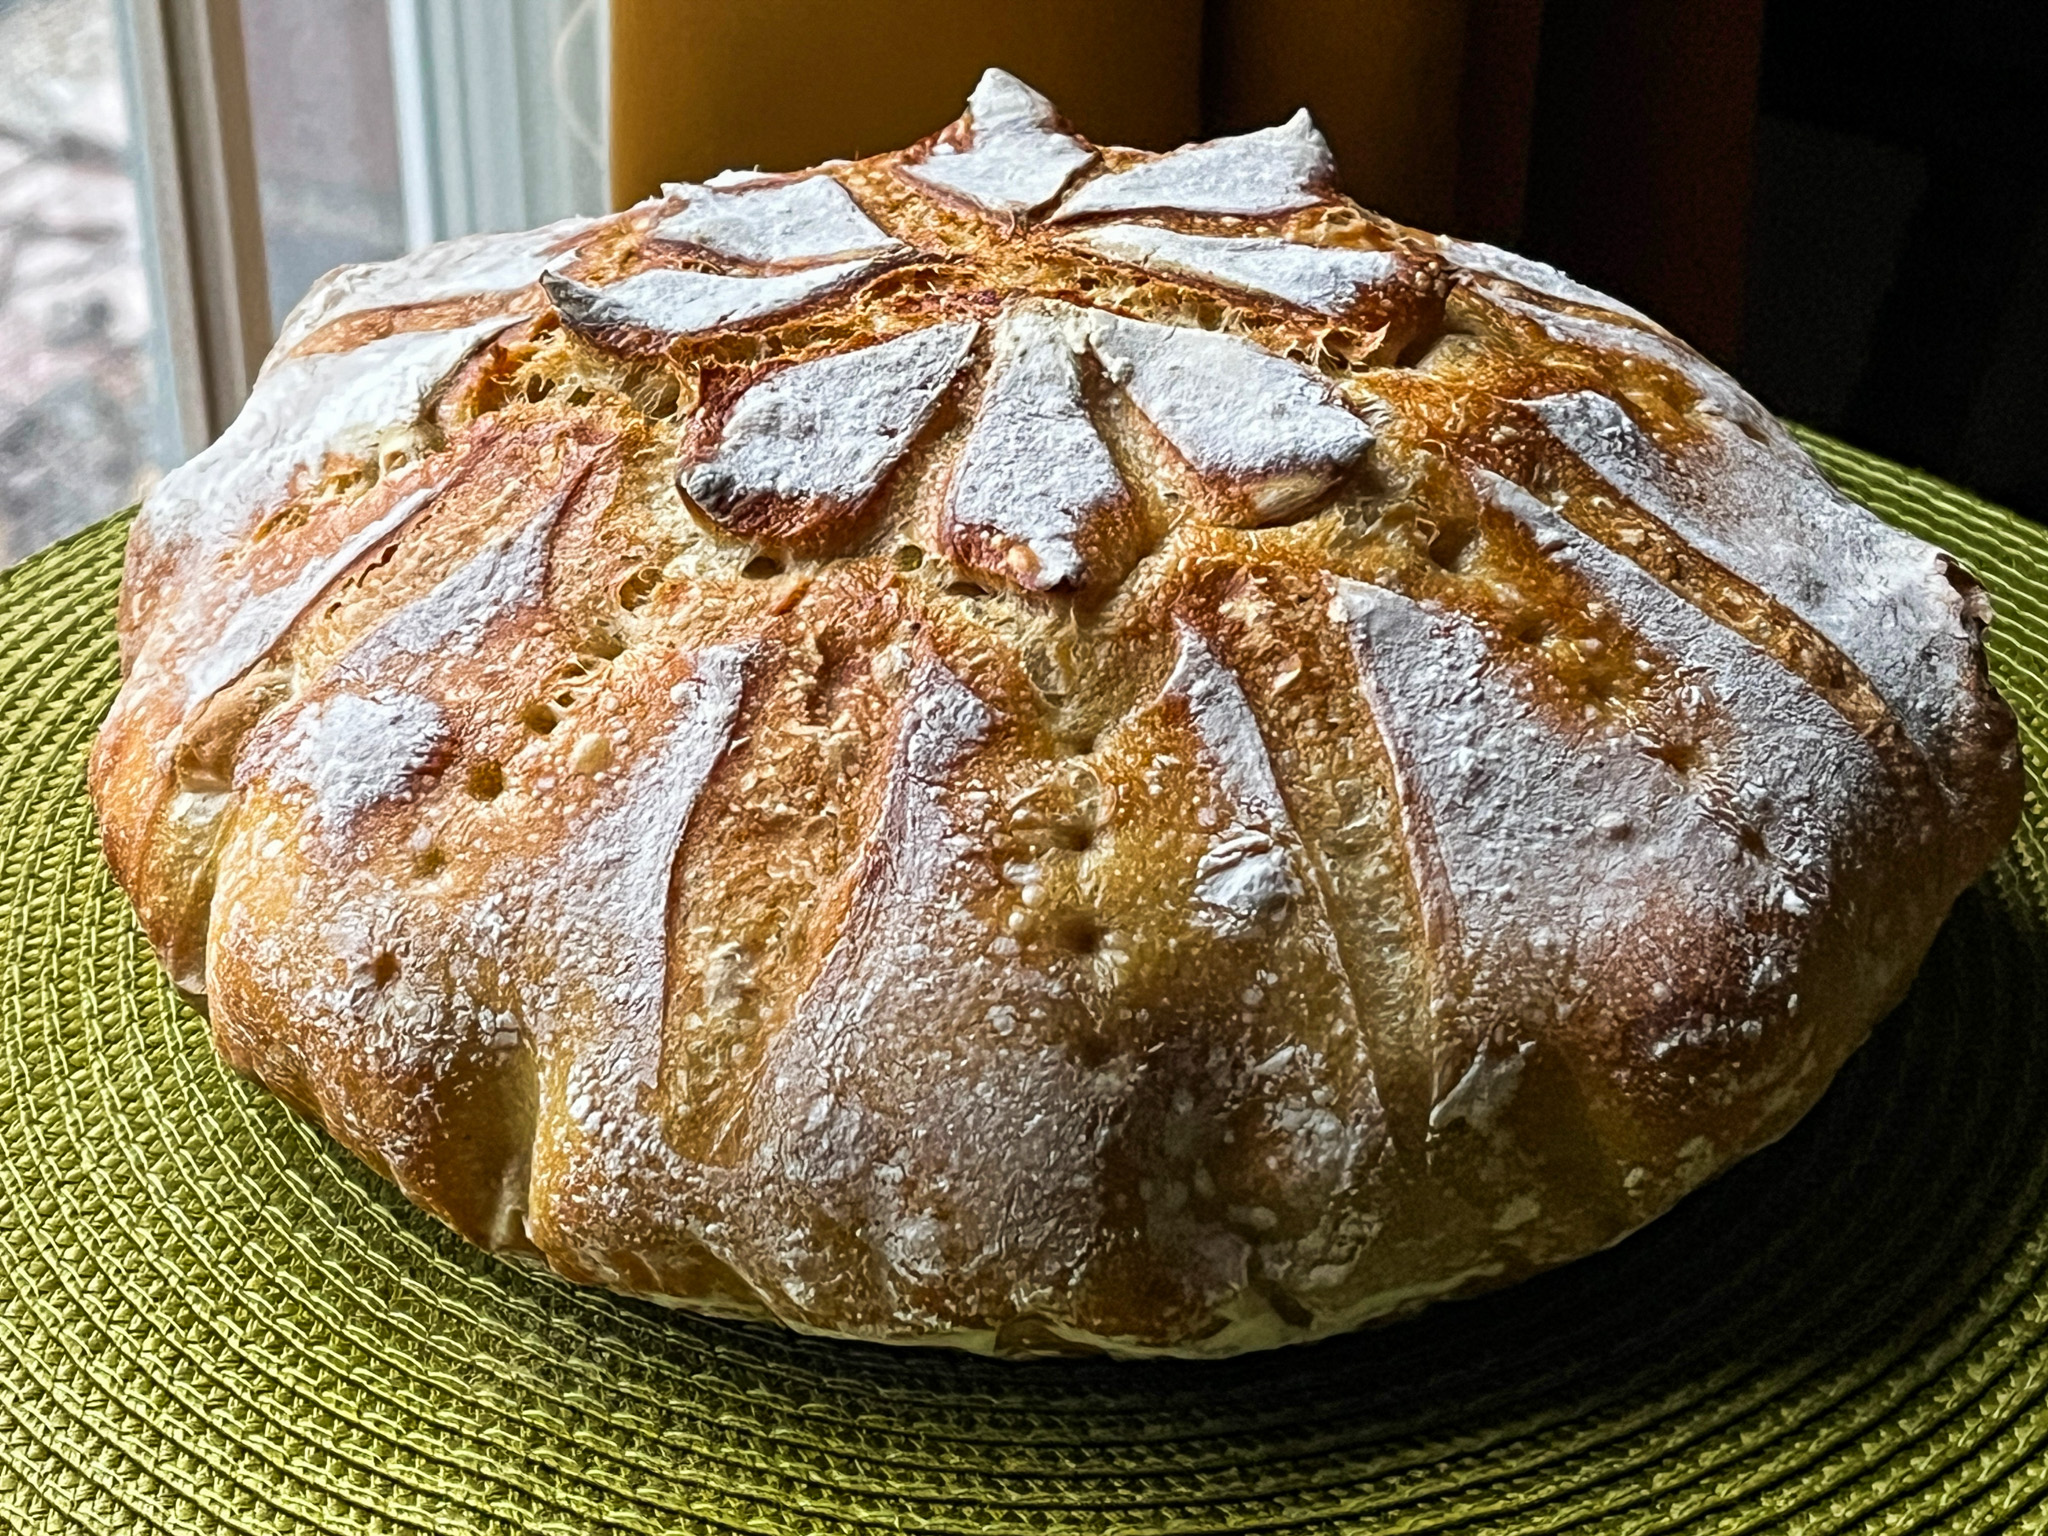
I used the Sonic blade for the scoring of this and all other loaves in this post.
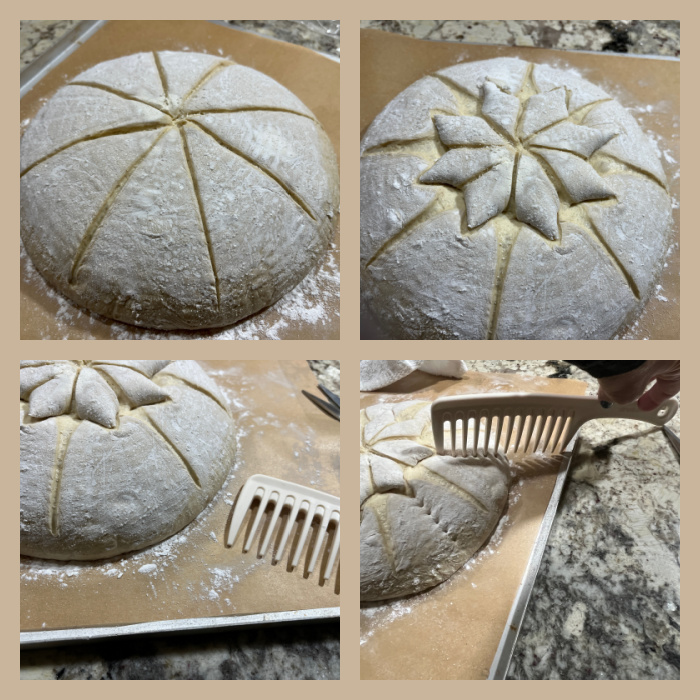
Before…
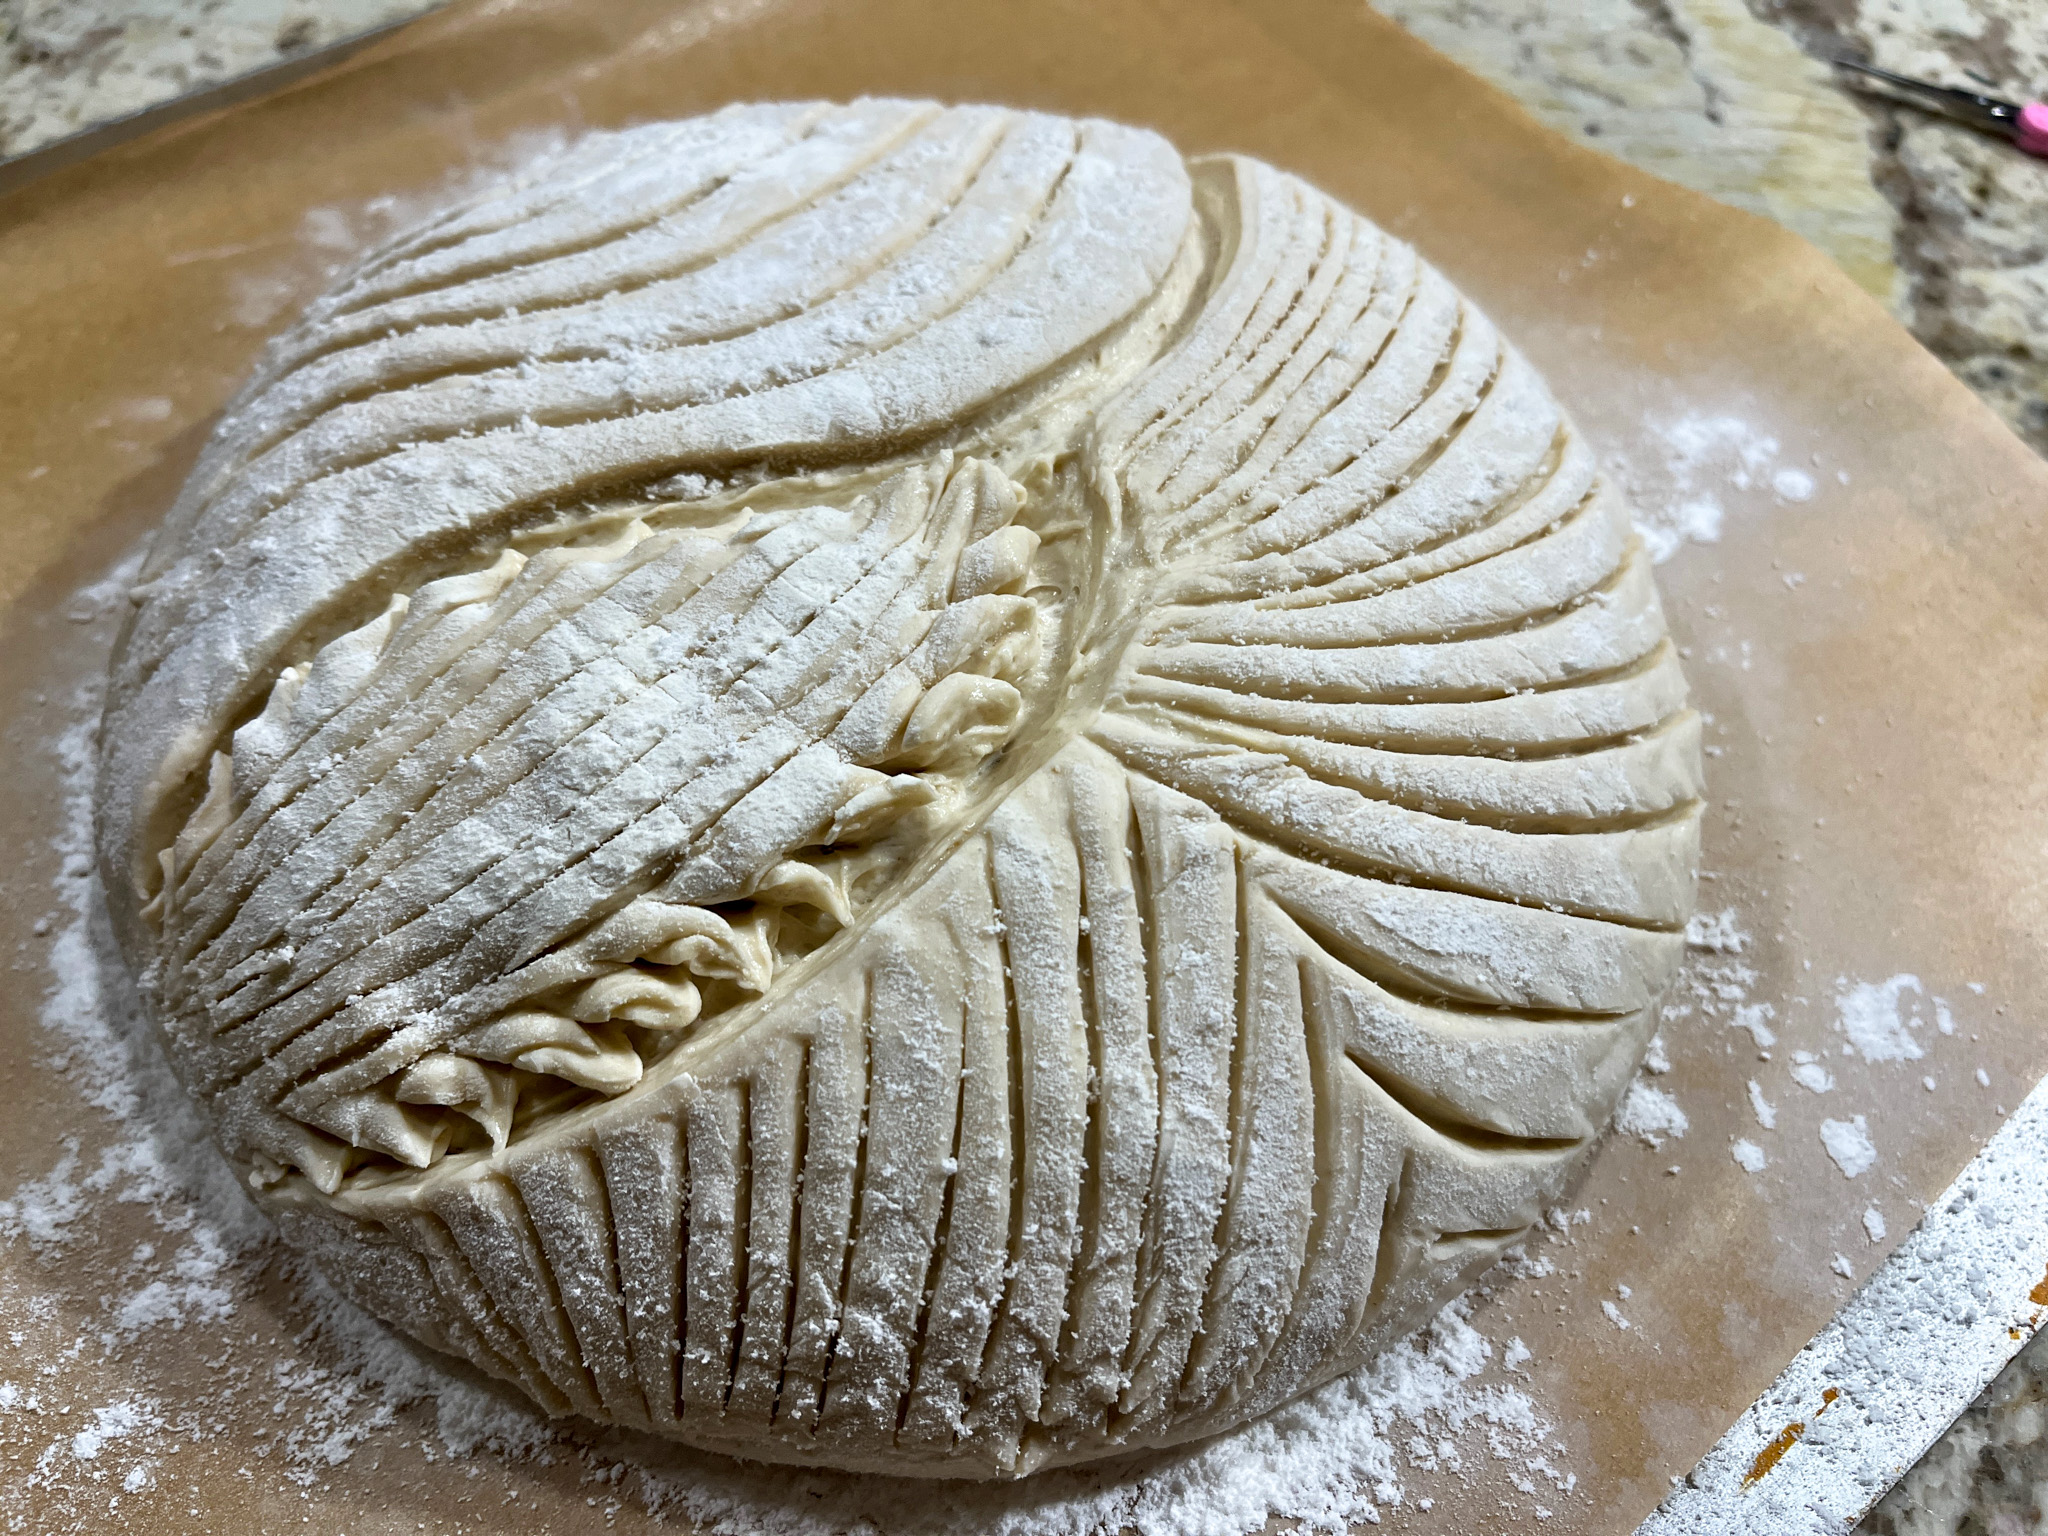
After…
Before…
After…
Before…
After…
ONE YEAR AGO: Zucchini-Prosciuto Parcels

TWO YEARS AGO: Double Peanut Sourdough Loaf

THREE YEARS AGO: Fennel-Rubbed Shrimp in Light Coconut Sauce

FOUR YEARS AGO: Puff Bread Balls, Two Salads and a Cookbook Review

FIVE YEARS AGO: Pistachio-Caramel and Apple Mousse Cakes

SIX YEARS AGO: La Couronne Bordelaise

SEVEN YEARS AGO: A Special Birthday Dinner

EIGHT YEARS AGO: Duck Confit for a Special Occasion

NINE YEARS AGO: Tuscan Grilled Chicken and Sausage Skewers

TEN YEARS AGO: Celebrate Wednesday with Pork Tenderloin & Apples

ELEVEN YEARS AGO: Salmon Wellington

TWELVE YEARS AGO: The Green Chip Alternative

THIRTEEN YEARS AGO: Weekend Pita Project

FOURTEEN YEARS AGO: Let it snow, let it snow, eggs in snow

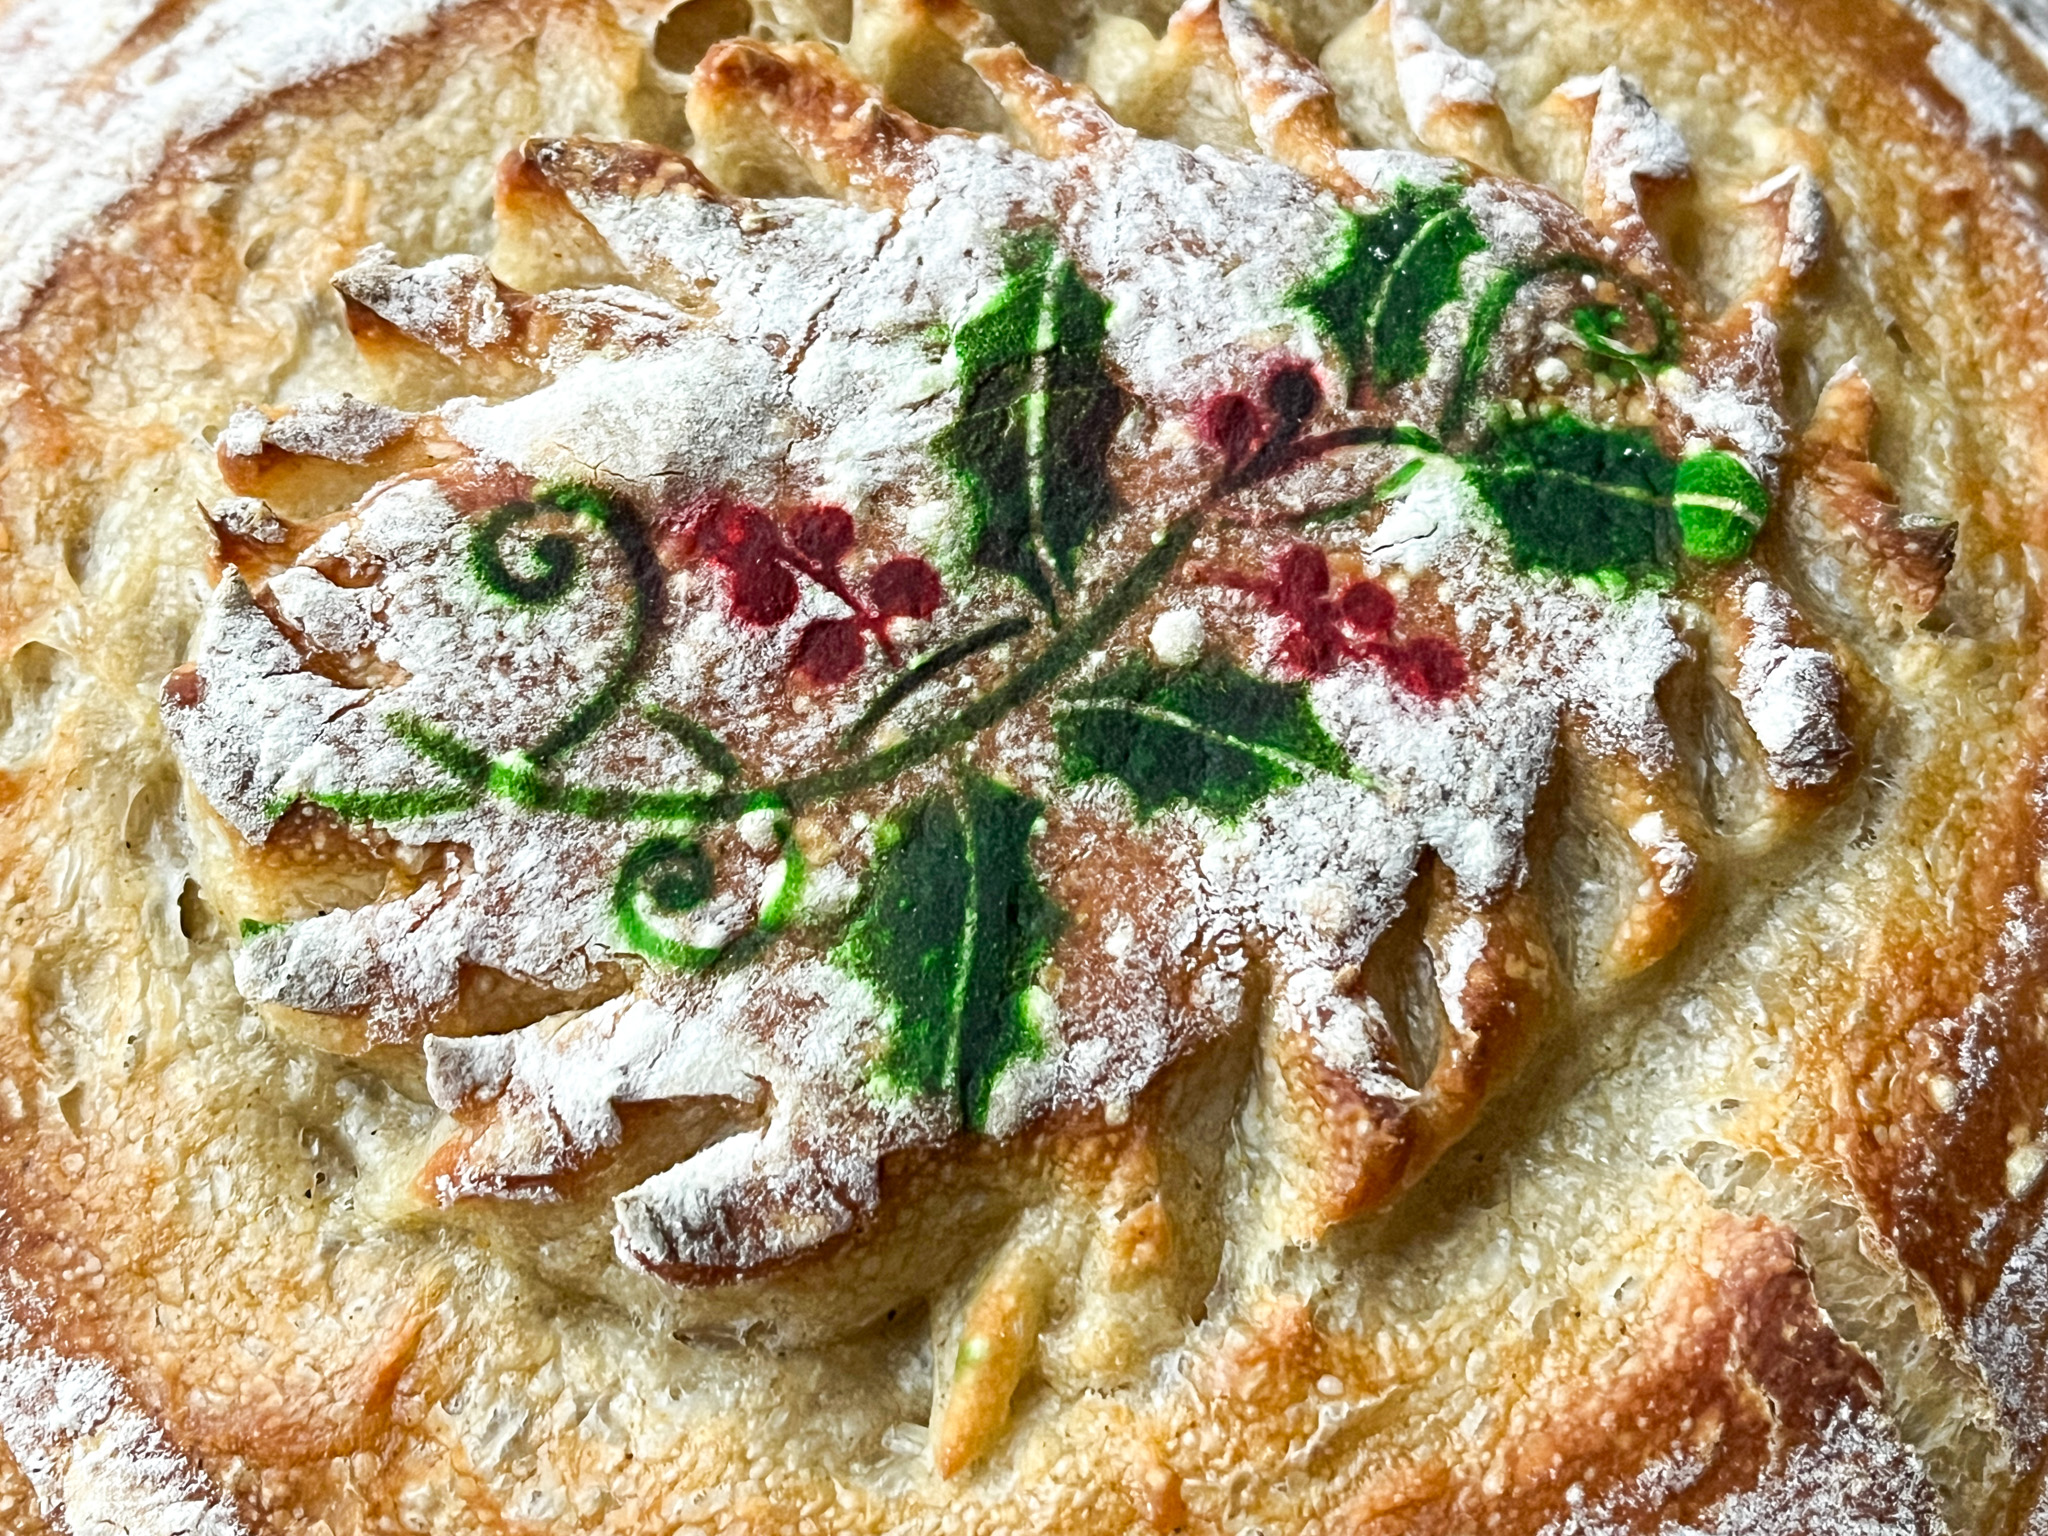
CHRISTMAS SOURDOUGH

A sourdough loaf to celebrate the season…

RAS-EL-HANOUT CHRISTMAS SOURDOUGH
(from the Bewitching Kitchen)

480g bread flour
20g spelt flour
75g sourdough starter at 100%
10g salt
335g water
1/2 tsp Ras-El-Hanout

Make the levain mixture about 6 hours before you plan to mix the dough. It should be very bubbly and active.

When you are ready to make the final dough, place the water in the bowl of a KitchenAid type mixer and dissolve the starter in it, mixing with a spatula briefly, then add the two types of flour, salt and spices. Turn the mixer on with the hook attachment and knead the dough for 4 minutes at low-speed all the time. You will notice the dough will gain quite a bit of structure even with just 4 minutes in the mixer. Remove from the machine, and transfer to a container lightly coated with oil, cover lightly with plastic wrap and allow it to ferment for 4 hours, folding every 45 minutes or so. Because the dough is already a bit developed from the initial time in the mixer, you should get very good structure after 3 and a half hours, or even sooner than that.

After four hours bulk fermentation, shape the dough as a ball, and place, seam side up, in a lightly floured banetton. Leave at room temperature one hour, and then place in the fridge overnight, from 8 to 12 hours.

Next morning, heat the oven to 450F.

Place a parchment paper on top of the dough, a flat baking sheet, and invert the dough, flipping it out of the banneton. Flour the surface of the dough, add the stencil and air-brush if so desired. Score with a razor blade.

Bake at 450F for 45 minutes, preferably covered for the first 30 minutes to retain steam. Cool completely over a rack before slicing.

ENJOY!

to print the recipe, click here

Comments: I think I’m finally getting the gist of stenciling bread. You need to really keep the stencil tightly on the surface, and get just a drop or two of air-brush color in the machine so that you can hold it vertically and get the spray to go exactly where you need. Work in small passes instead of trying to add a heavy layer all at once. I did not even wash the container, I started with green, sprayed it, emptied the air-brush, added the red and tested on a piece of paper until the color came out truly red.

For the scoring I used a razor blade combined with scissors, and after 6 minutes in the oven I opened the lid quickly and scored it deeply again around the design to make sure it would lift during baking.

We all loved this bread, I think the mixture of spices gives it a super subtle extra flavor, not overpowering at all. And of course, the stencil on top is perfect for the season!

ONE YEAR AGO: Christmas Sourdough

TWO YEARS AGO: Star-Shaped Sun-dried Tomato Bread

THREE YEARS AGO: Cranberry White Chocolate Tart

FOUR YEARS AGO: I dream of Madeleines and a Tower of Cheesecakes

FIVE YEARS AGO: Dominique Ansel’s Chocolate Mousse Cake

SIX YEARS AGO: Slow-Roasted Eye of the Round Beef

SEVEN YEARS AGO: Steam-Roasted Indian-Spiced Cauliflower

EIGHT YEARS AGO: Creamy Zucchini-Mushroom Soup

NINE YEARS AGO: Ken Forkish’s Pain au Bacon

TEN YEARS AGO: Carrot and Cumin Hamburger Buns

ELEVEN YEARS AGO: Potato Galettes a l’Alsacienne & Book Review

TWELVE YEARS AGO: Caramelized Carrot Soup

THIRTEEN YEARS AGO: Miso-Grilled Shrimp

FOURTEEN YEARS AGO: Pain Poilane

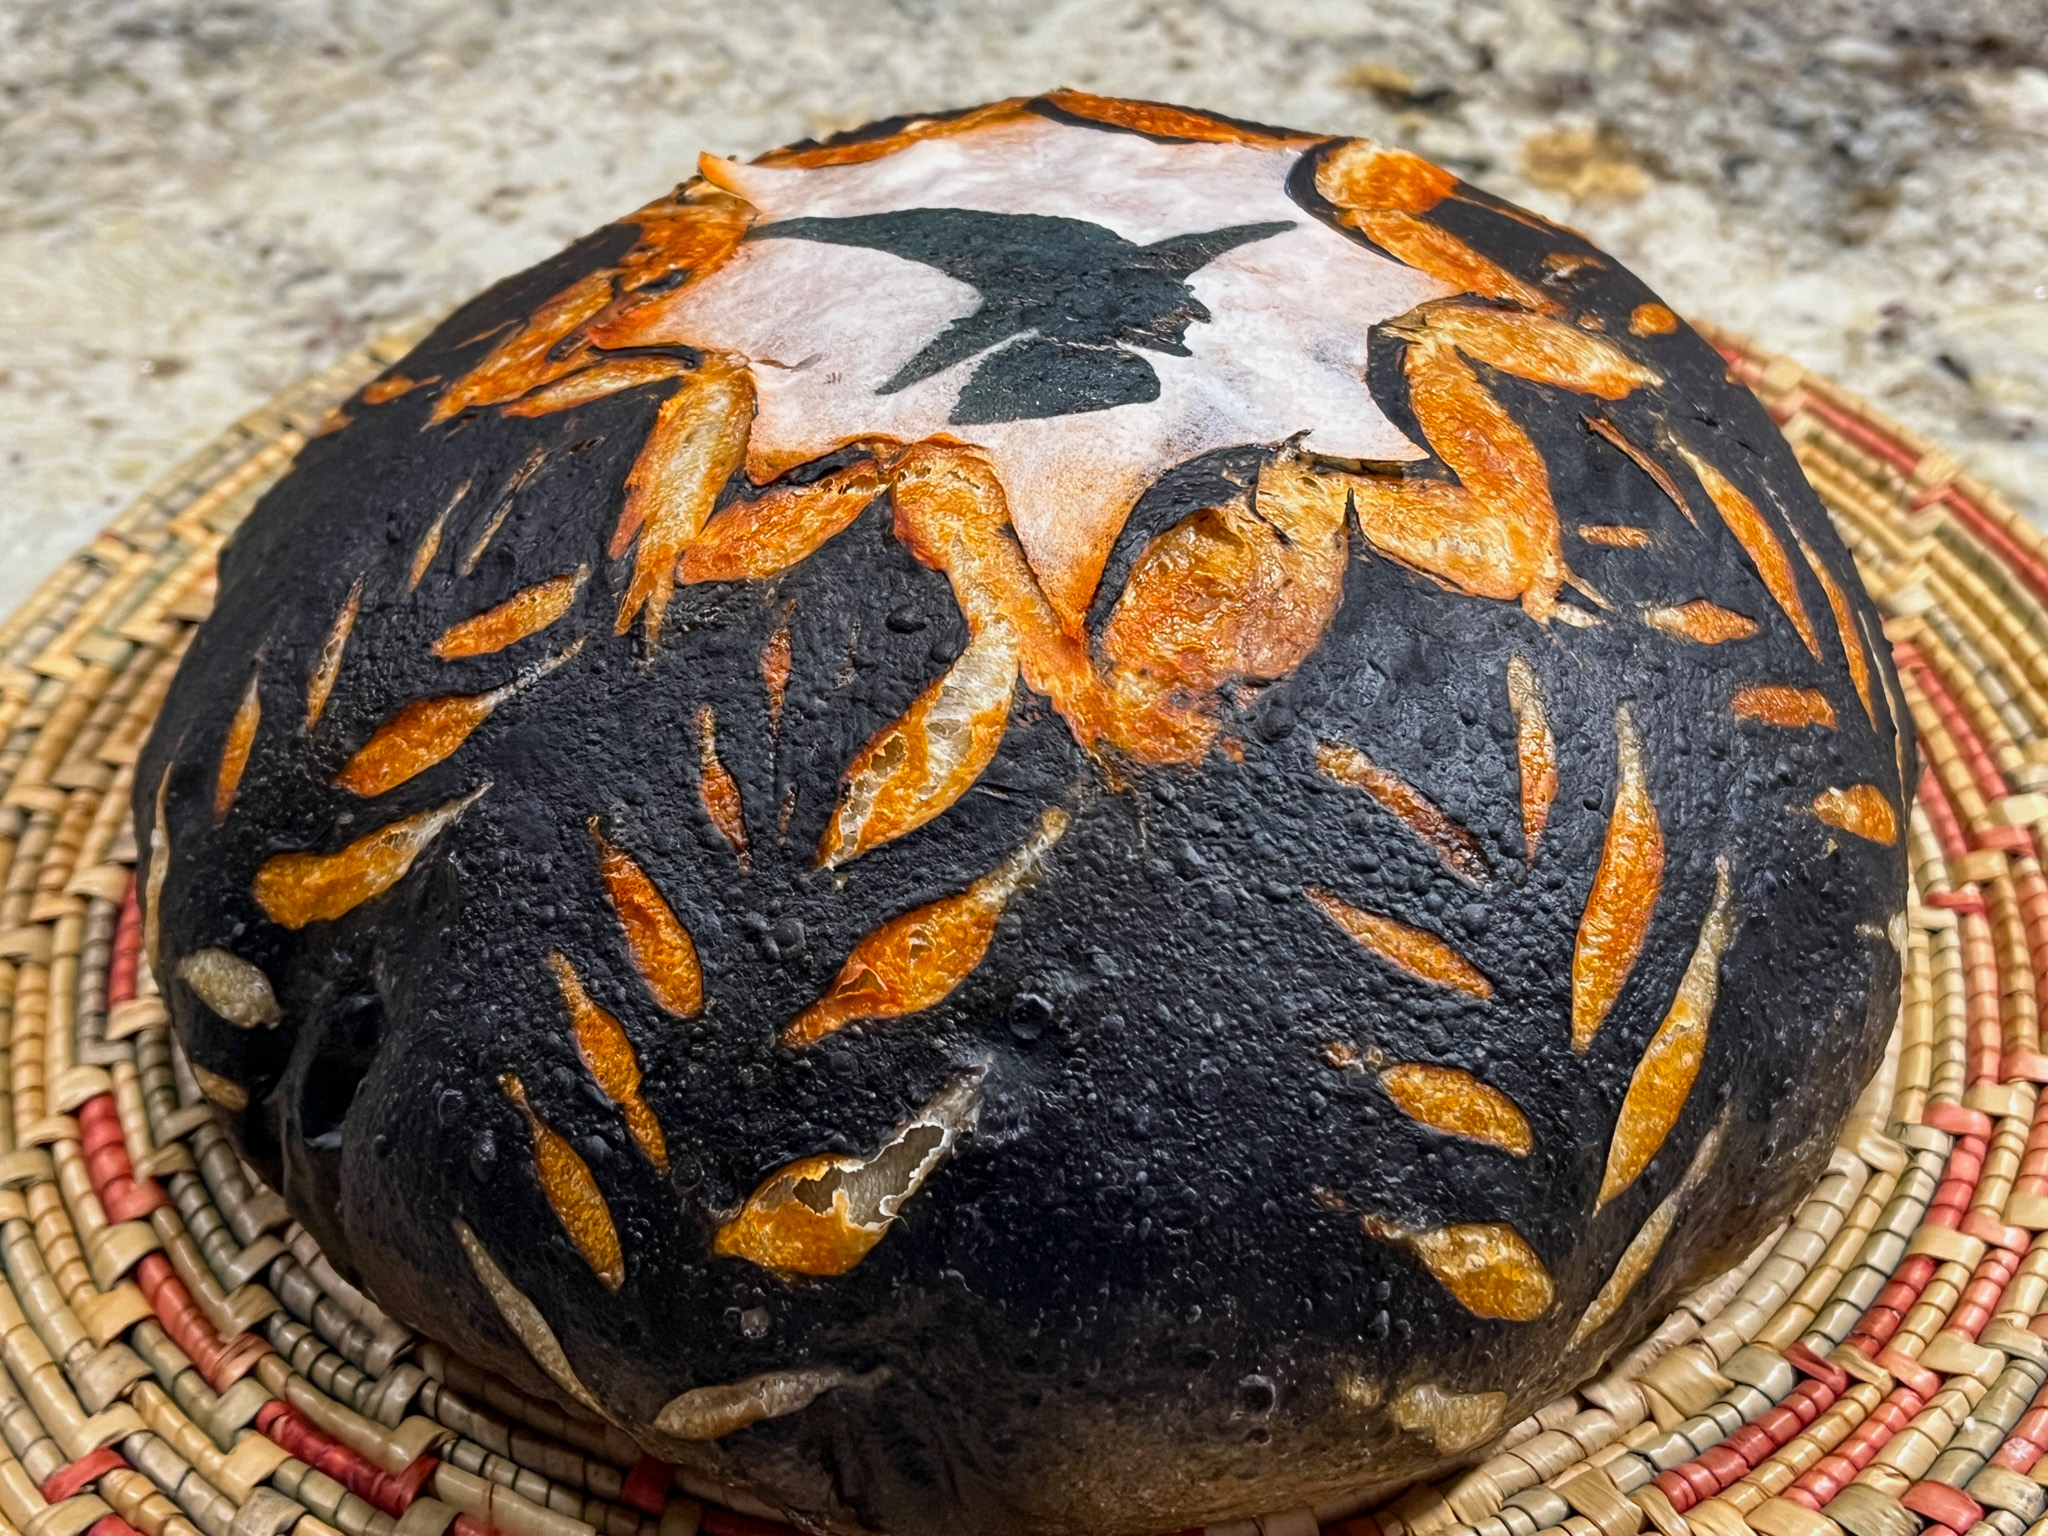
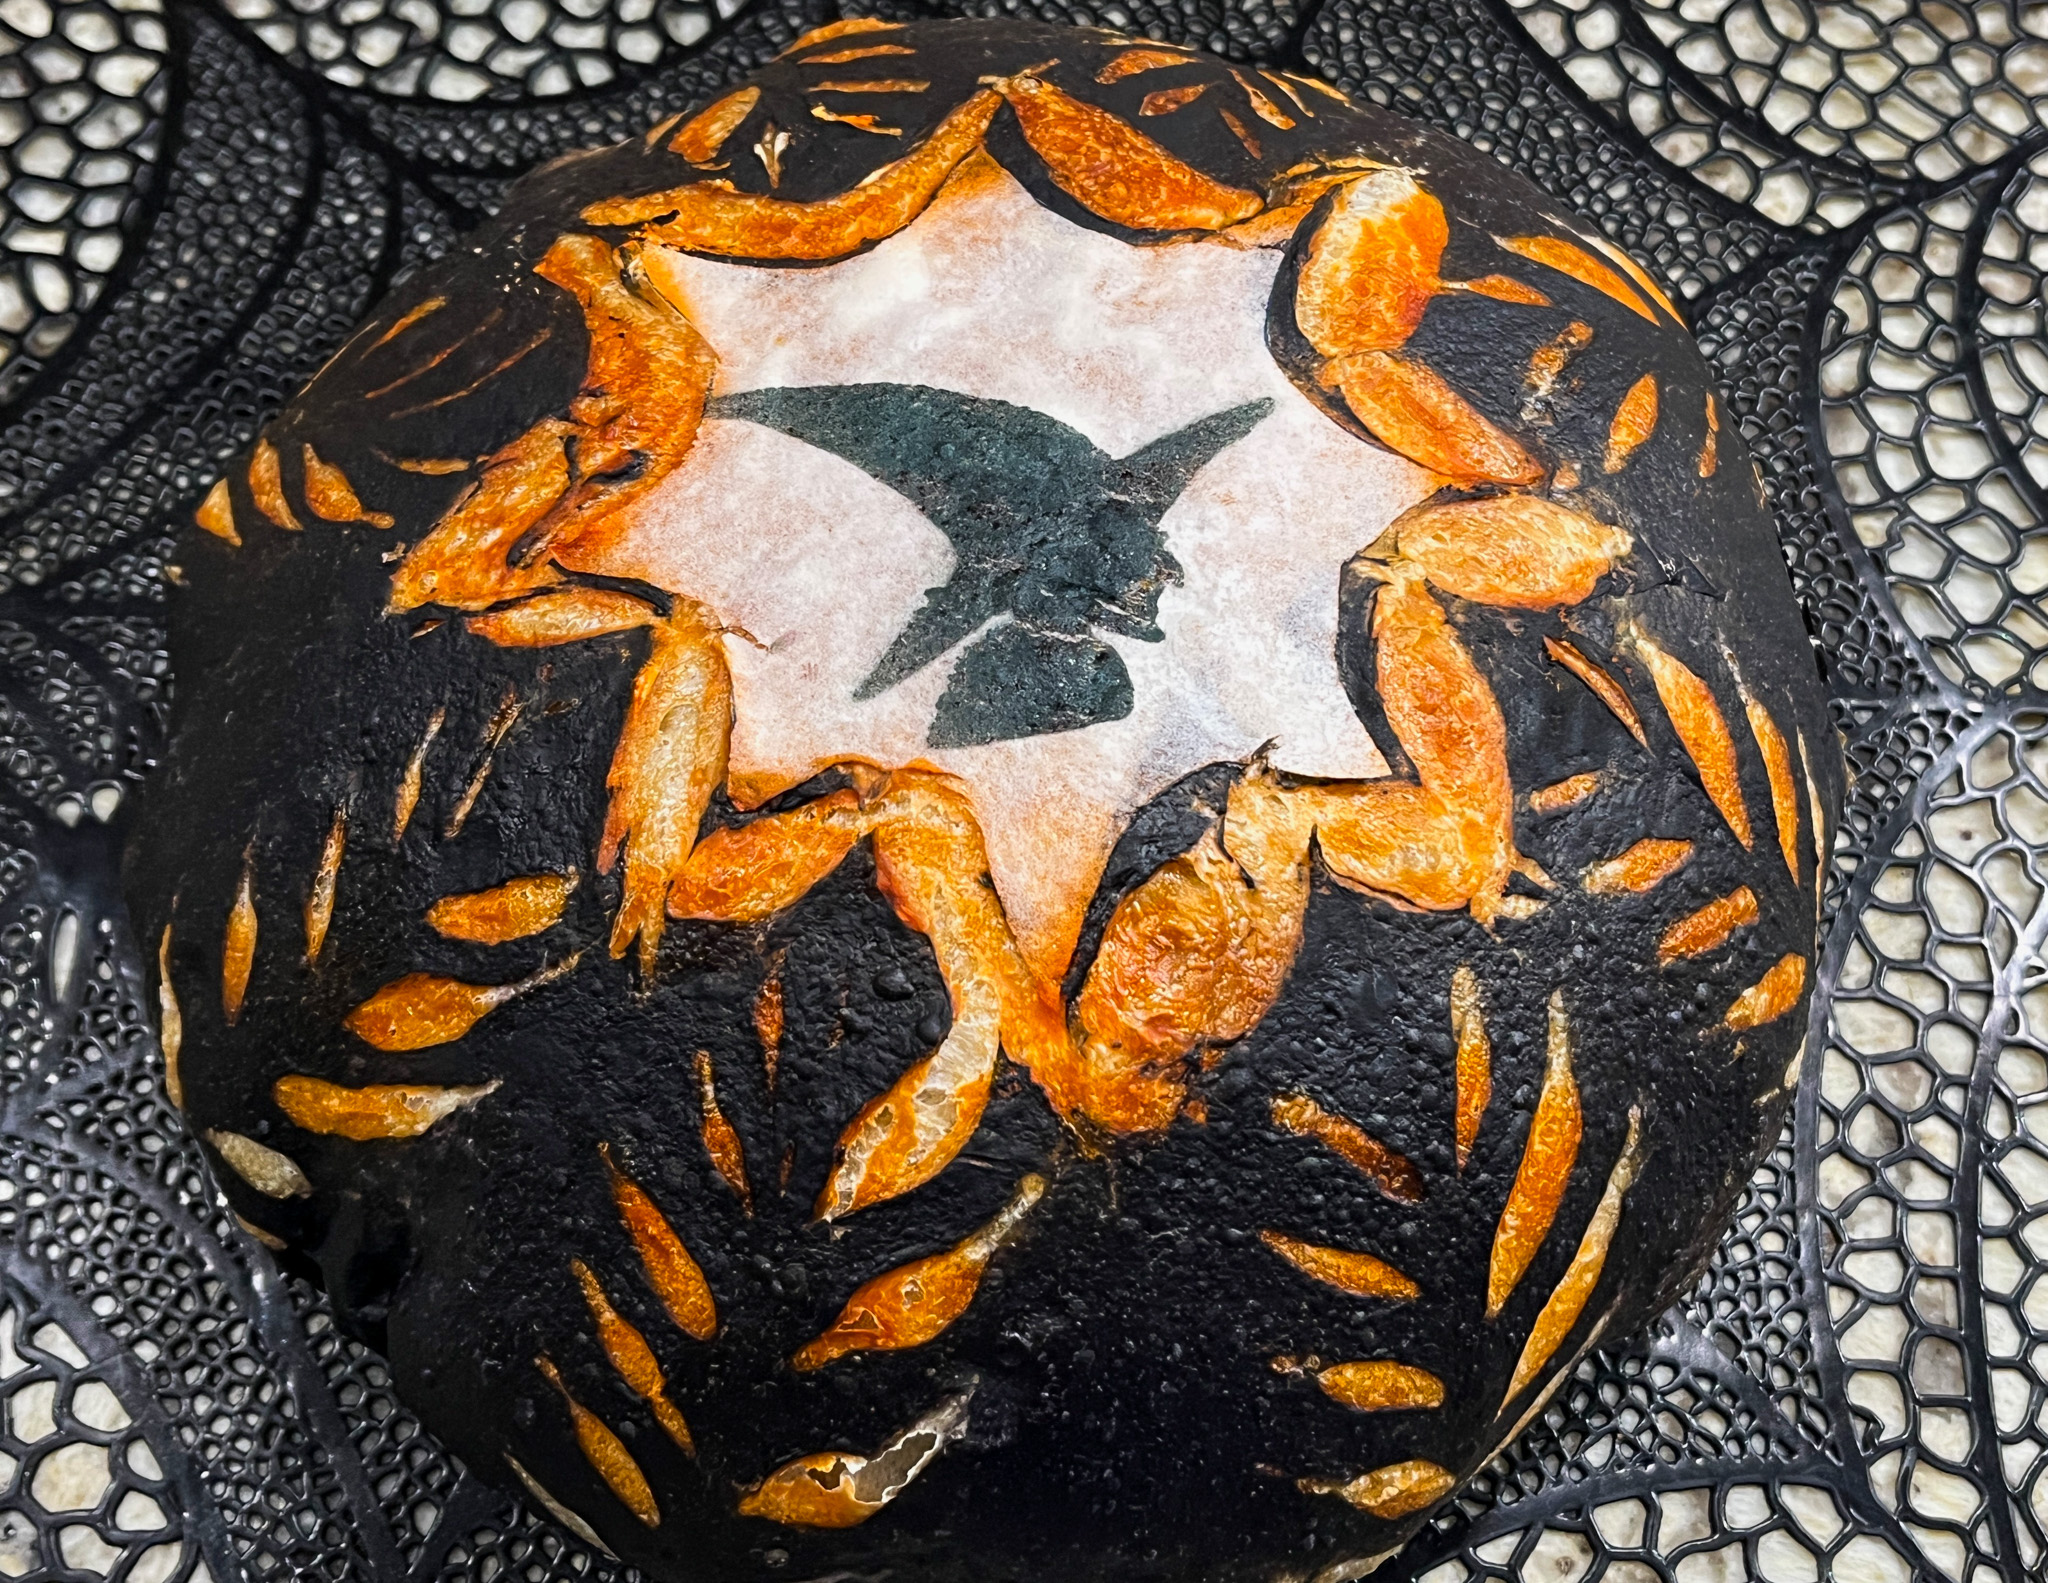
IT’S SOURDOUGH, WITCHES!

Once again I put a little wafer paper to work for some bewitched sourdough bread. I used just a basic recipe with my default method described many times in this blog of mine (click here). I lowered the hydration a bit to try to control the expansion of the design (for 500g total flour I used 335g water).

I was inspired by a Halloween bread from Kelsey (@3catsandapig) to come up with my design.
She is an incredibly talented bread artist.

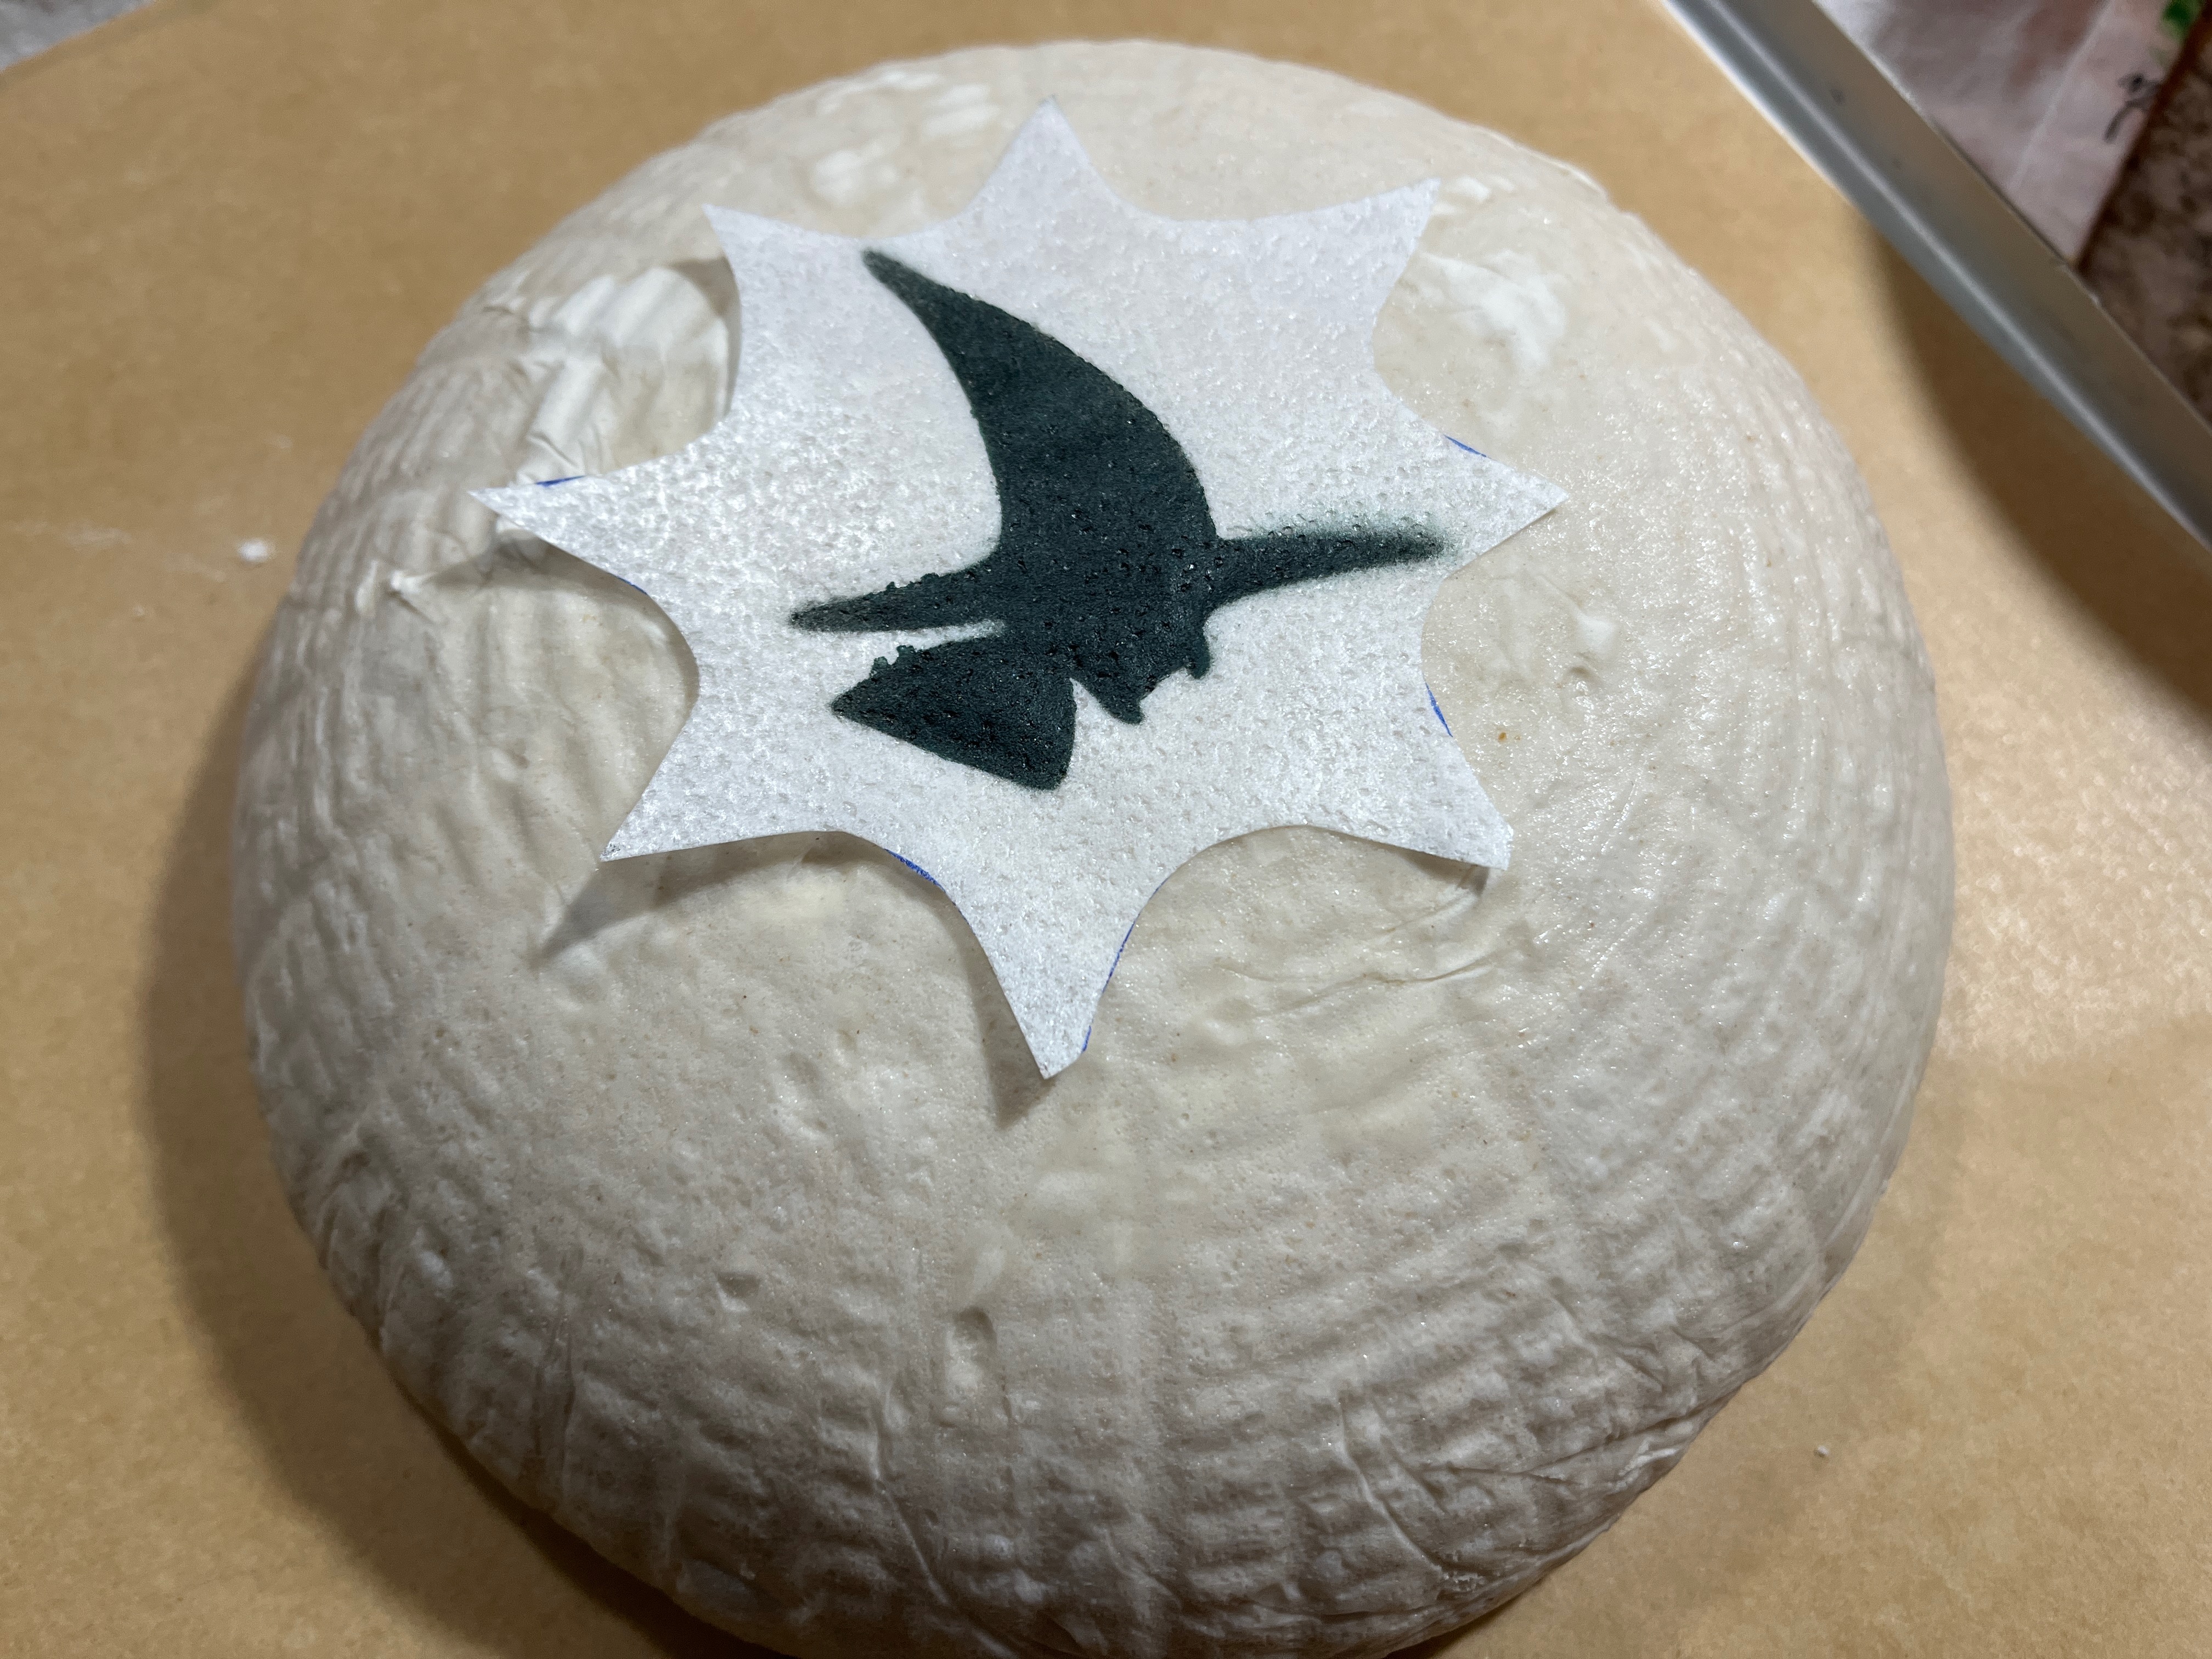
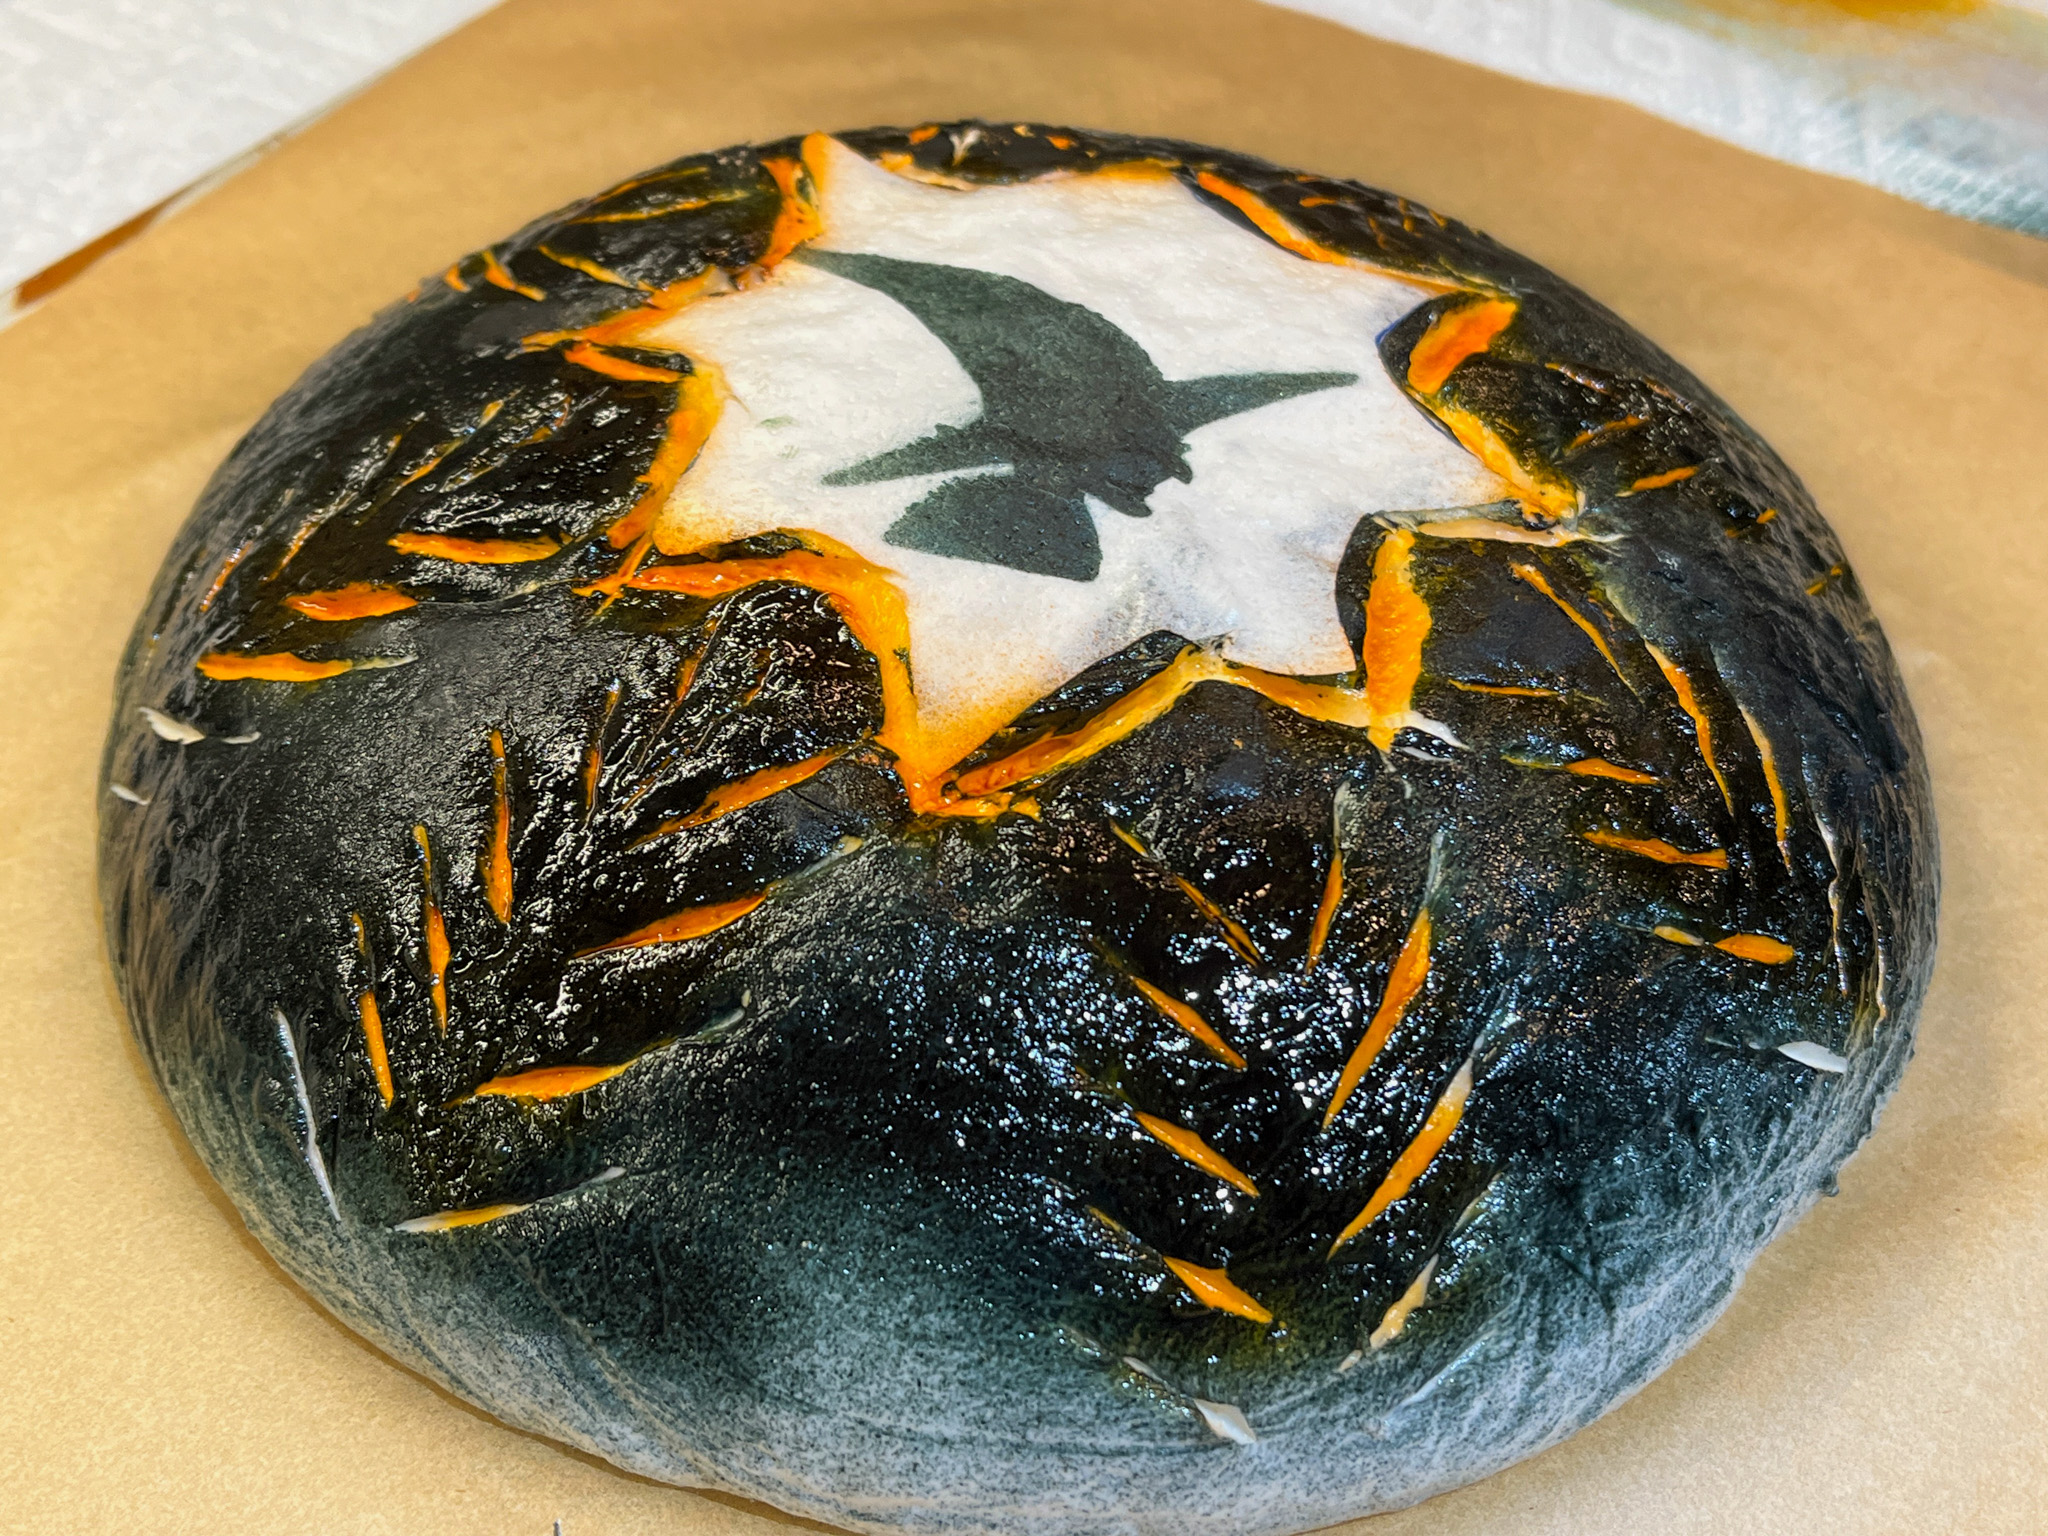
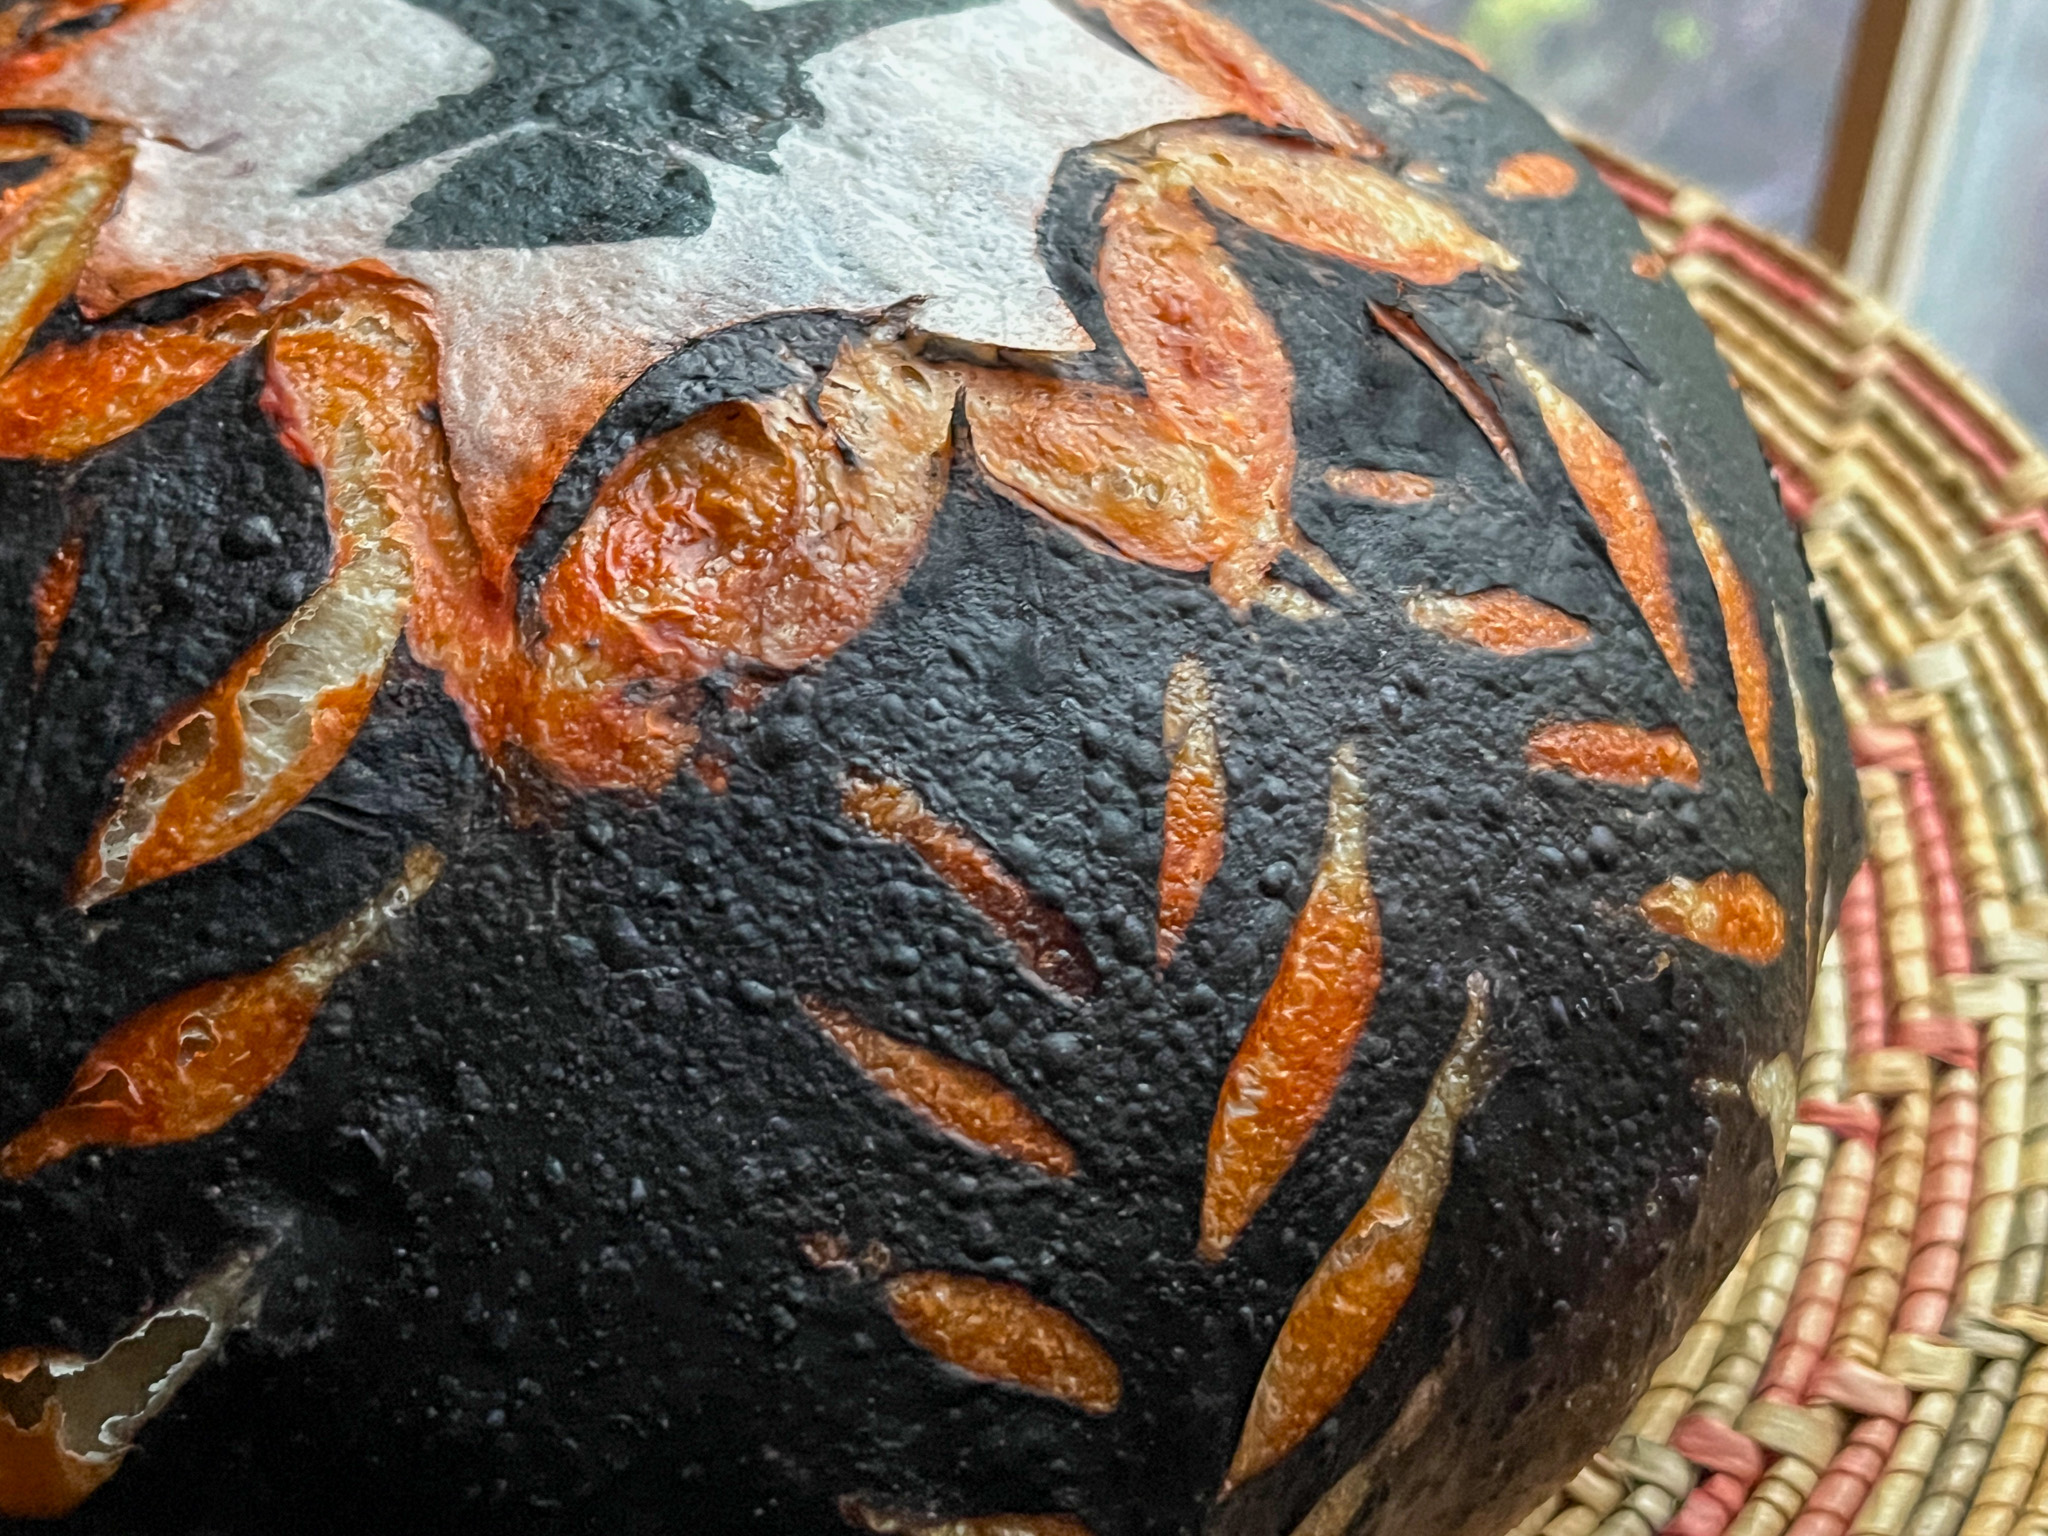
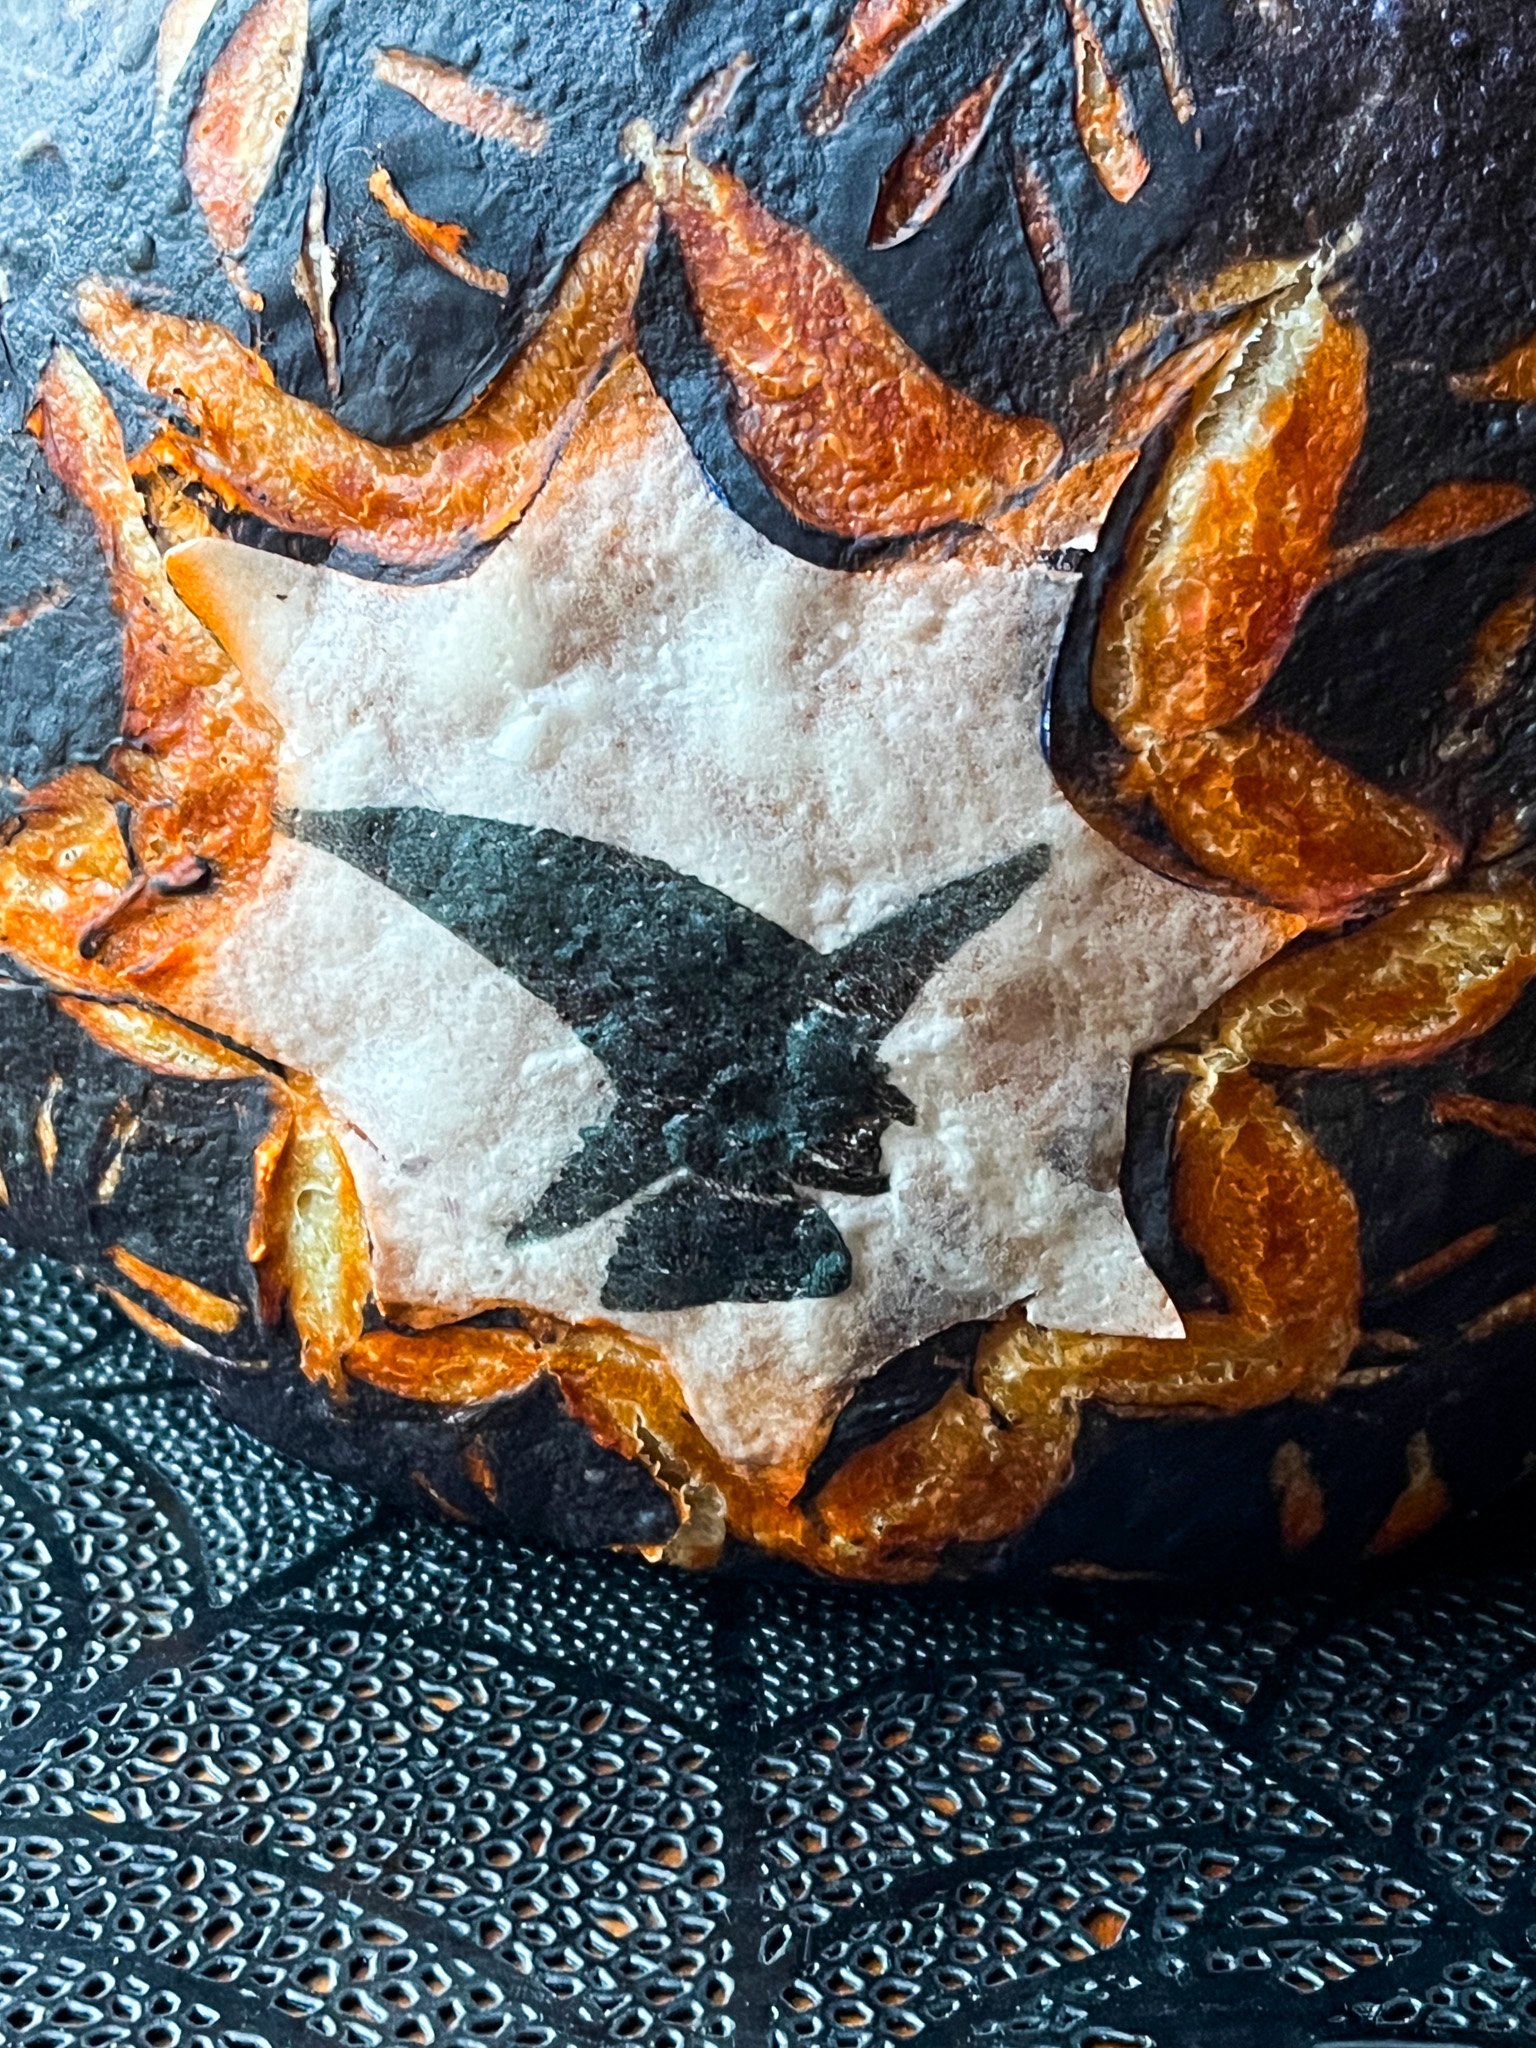
It all starts with cutting the wafer paper in the spider web shape, and painting a little witch’s design (I used a stencil and air-brushing). Make sure to cut the wafer paper shape twice, as you will use one of them to cover the dough as you either rub cocoa powder or air-brush with black all over. Then you will peel that off and place a clean one on that spot, proceeding with the scoring around it.

After covering the surface with black, score the design with a razor blade, and then immediately spray some orange (or red) air brush color in the cuts. That will give a nice contrast, but of course you can omit this step.

Bake the bread normally, I do 30 minutes with the lid on, and 15 minutes without the lid. Allow it to cool completely before slicing.

I find that air-brushing the whole surface makes the crust a bit soft, so depending on how you like your bread, rubbing with cocoa powder or charcoal might be better. What I dislike about those options is that they rub off on your hands as you cut the bread later. But it is not a big deal, really.

.

ONE YEAR AGO: Raw Zucchini and Chickpea Salad with Tahini Yogurt

TWO YEARS AGO: Black Tahini Shortbread Cookies

THREE YEARS AGO: A Fruitful Trio (of Macarons)

FOUR YEARS AGO: Halloween Entremet Cake

FIVE YEARS AGO: Pork with Prunes, Olives and Capers

SIX YEARS AGO: Kansas Corn Chowder

SEVEN YEARS AGO: Impossibly Cute Bacon and Egg Cups

EIGHT YEARS AGO: Pulling Under Pressure

NINE YEARS AGO: Cooking Sous-vide: Two takes on Chicken Thighs

TEN YEARS AGO: Miso Soup: A Japanese Classic

ELEVEN YEARS AGO: On my desk

TWELVE YEARS AGO: A must-make veggie puree

THIRTEEN YEARS AGO: Vegetarian Lasagna

FOURTEEN YEARS AGO:  Brazilian Pão de Queijo

POLKA DOT LOVE SOURDOUGH

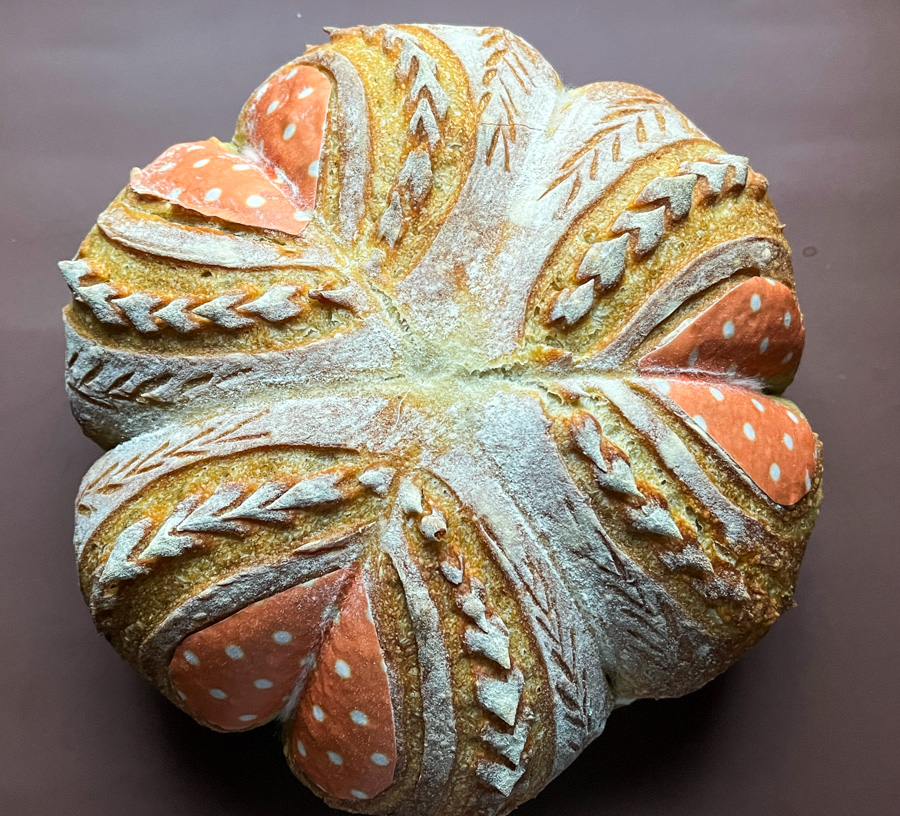
Once again I played with wafer paper to decorate sourdough bread, but this time I coupled it with a few strings to generate a cute shape, often used to turn the bread into pumpkin shape, but I opted for a more romantic outcome… Nothing personal against pumpkins, I do love them and honored them in the past (click here).

Start by cutting wafer paper in small heart shapes…. You will need three, and three long strings that you should rub very lightly with oil to facilitate removing later.

Place the strings equally spaced over the proofed dough, flip the dough over parchment paper, and tie the strings on the top, trying to hit the center as closely as possible. Gently insert the paper, coat the surface with flour and score the bread in any design you like. I used the Sonic blade and small scissors, as I often do.

Bake as you normally do, I keep the lid for 30 minutes and remove it for a final 15 minutes, all at 450F. Remove the strings, and allow the bread to cool completely before slicing.

You can use different patterns for the small hearts, or cut plain wafer paper and paint it yourself.

It is really amazing how well the colors in the wafer paper stay pretty much unchanged with baking, much better than air-brushed or gel colors. I hope you give this technique a try and have as much fun with it as I am having…

ONE YEAR AGO: Plum Sorbet

TWO YEARS AGO: Grilled Chicken with Sesame Roasted Carrots

THREE YEARS AGO: Let’s Get Spooky!

FOUR YEARS AGO: Miso and Sesame Roast Chicken with Revelation Quinoa

FIVE YEARS AGO: Incredibly Simple Times Four

SIX YEARS AGO: Parsnip, Coconut and Lemongrass Soup

SEVEN YEARS AGO: In My Kitchen, October 2016

EIGHT YEARS AGO: Paleo Moussaka

NINE YEARS AGO: In My Kitchen, October 2014

TEN YEARS AGO: In My Kitchen, October 2013

ELEVEN YEARS AGO: Bourbon and Molasses Glazed Pork Tenderloin

TWELVE YEARS AGO: Crimson and Cream Turkey Chili

THIRTEEN YEARS AGO: Taking a break from the nano-kitchen

FOURTEEN YEARS AGO: Chocolate Chip Cookies

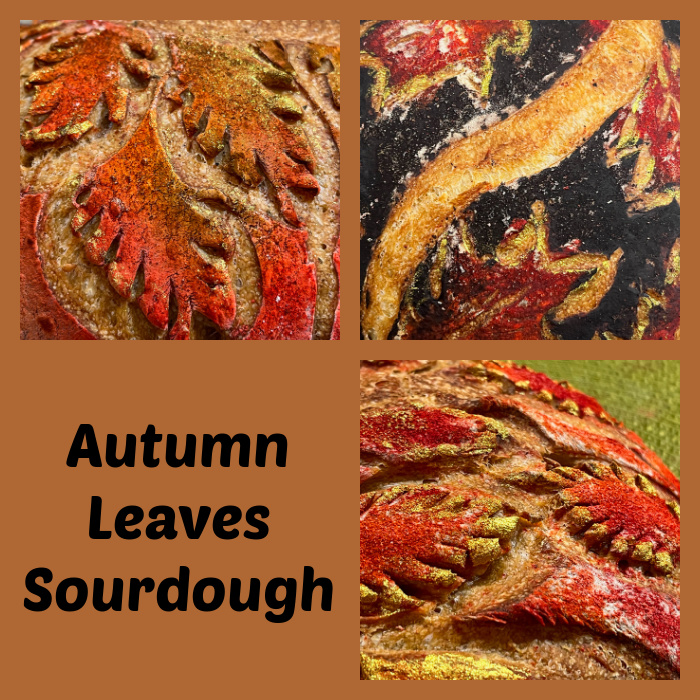
AUTUMN LEAVES SOURDOUGH


Fall is here, and to celebrate one beautiful season with sourdough bread, I tried a new technique, coupling air-brushing with leaf shapes. You can use any recipe you like, these were flavored with either Za’atar, Smoked Paprika, or Herbes de Provence.

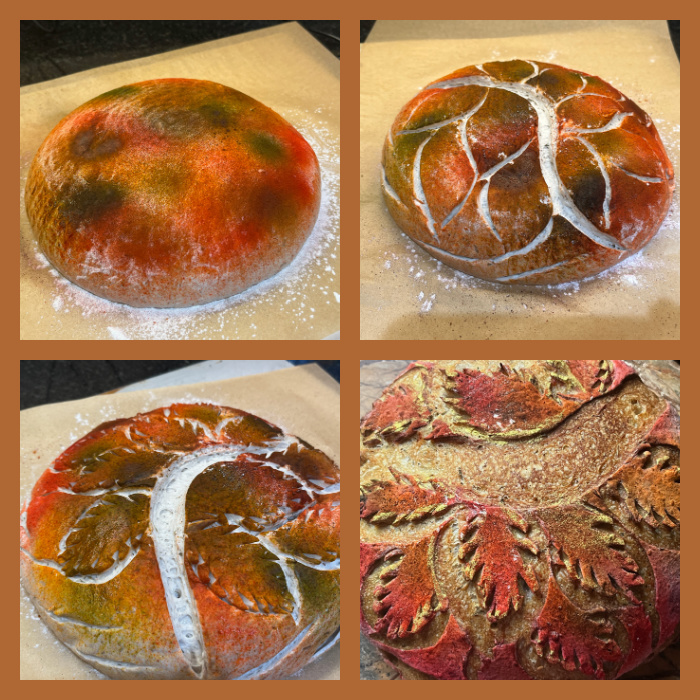
AUTUMN LEAVES SOURDOUGH
VERSION #1

I started air-brushing a mixture of three colors, red, orange and green…

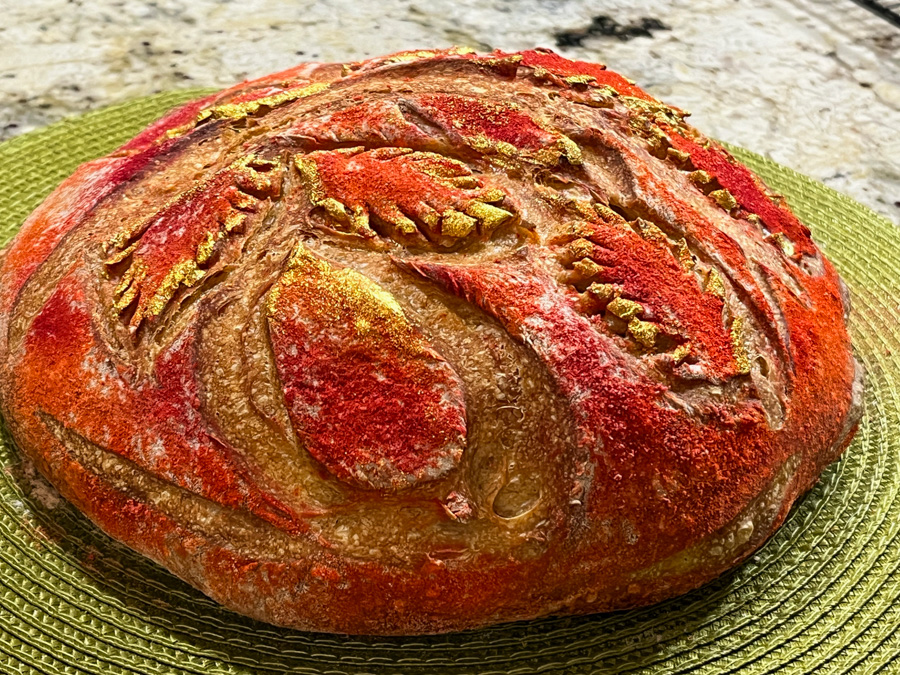
However, the green was totally lost during baking, so in my second attempt I skipped that color and went with red, orange and yellow instead….

AUTUMN LEAVES SOURDOUGH
VERSION #2


I also got a little more assertive with the gold painting of the edges, which happens after baking.

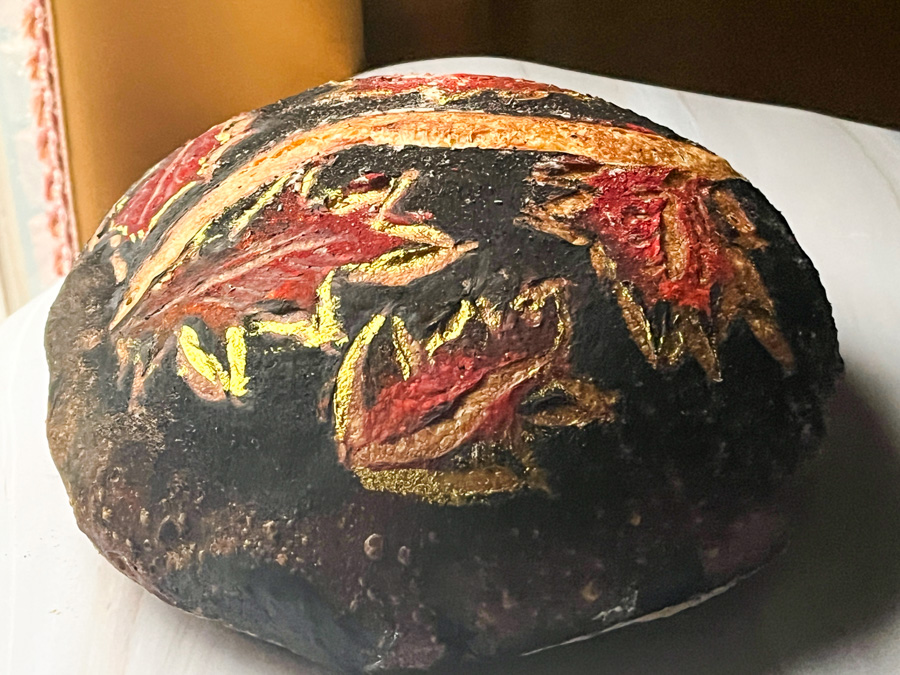
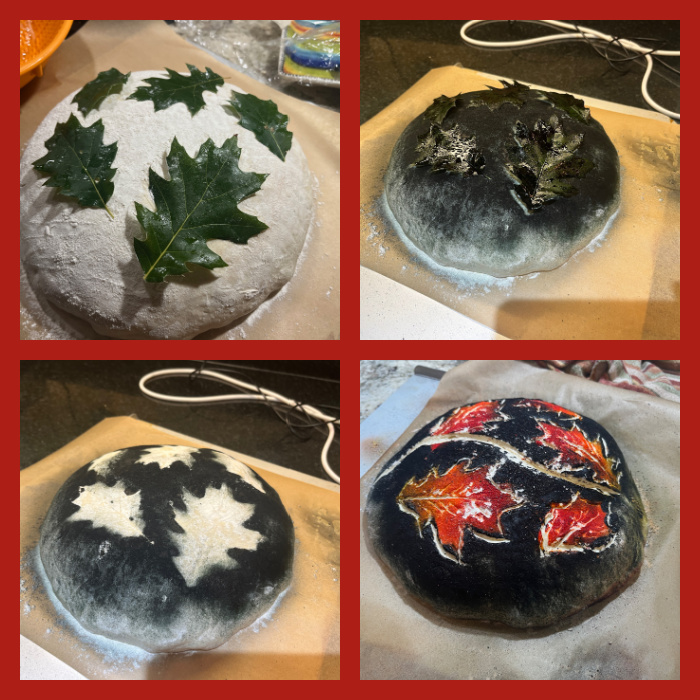
For my last version, I changed things around and used real leaves to mask parts of the dough. Spray-painted black all over, then came back with the air-brush to highlight the leaves with red and yellow.

AUTUMN LEAVES SOURDOUGH
VERSION #3

It is by far the most dramatic, and what I like about air-brushing is that contrary to charcoal or cocoa powder, the black color won’t run on your fingers as you touch the bread to slice it.

Stay tuned for more adventures with air-brushing and bread, so many possibilities! A lot of inspiration available on Instagram and Pinterest, it is hard to decide what to try next…

ONE YEAR AGO: Dog Cookies

TWO YEARS AGO: Sugarprism Watercolor Macarons

THREE YEARS AGO: Dutch Macarons and a cookbook review

FOUR YEARS AGO: Yogurt Tart

FIVE YEARS AGO: Grilled Lamb-Stuffed Pita Bread

SIX YEARS AGO: Elderflower Macarons

SEVEN YEARS AGO: A Duet of Sorbets

EIGHT YEARS AGO: Sobering Peach Sorbet

NINE YEARS AGO: Spiralizer Fun

TEN YEARS AGO: Beer-Marinated Grilled Skirt Steak

ELEVEN YEARS AGO:  Secret Recipe Club: Corn Chowda

TWELVE YEARS AGO: Page-A-Day Calendar (Pits and Chief 5 minutes of fame…)

THIRTEEN YEARS AGO: Home Sweet Home (our beloved Pits in one of his last photos)

FOURTEEN YEARS AGO: Marbled Rye