
Recently, this post over at Fig Jam and Lime Cordial made all the 11 bread recipes on my “to make soon list” run away in a panic, as Celia’s sourdough demanded to be baked right away! Walnuts, spelt flour, plus a very active sourdough starter. I simply could not wait to try it. Celia is such an accomplished baker that she throws a recipe together as if it’s nothing, and her breads turn out spectacular every single time. I am a lot more insecure, so I asked her to virtually hold my hand and guide me through my take on her method. Success! We loved the bread, it is rich, dense but not to the point of feeling heavy. Outstanding with Roquefort cheese, confirming the magical combination of walnuts with blue type cheeses. Unbeatable! And, let’s not forget the many benefits of walnuts… read a nice article about it here.

WALNUT SOURDOUGH BREAD
(adapted from Fig Jam and Lime Cordial)
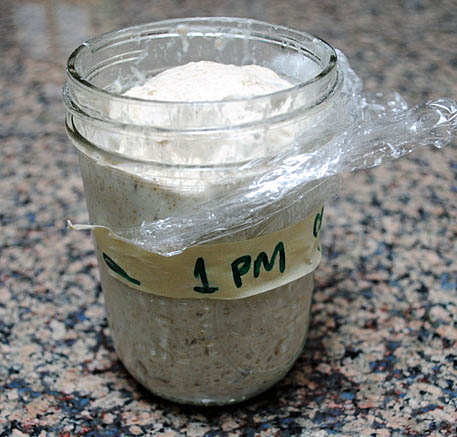
150 g sourdough starter (at 166% hydration)
300 g water
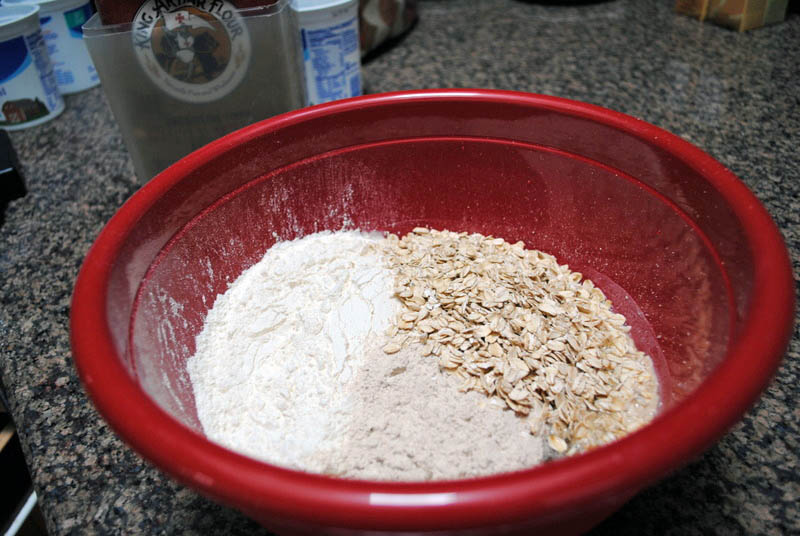
300 g bread flour
200 g whole wheat flour
100 g walnuts, lightly toasted
9 g sea salt
Toast the walnuts in a 400 F oven just until fragrant. Cut in pieces, not too small. Reserve.
Place the water in a bowl, add the sourdough starter and mix to dissolve. Add the flours, mix to form a shaggy mass, and let the dough rest for 20 minutes. Add the salt and knead the dough in the bowl a few times to incorporate it. Let the dough rest for 30 minutes, add the walnuts and incorporate them in the dough by gently kneading it. Let the dough rise for 2 more hours, folding twice at 45 and 90 minutes. Thirty minutes after the last folding cycle, form the bread in the shape of your choice, place in a floured banetton or other appropriate container, and let it rise for 3 to 4 hours at room temperature, depending on how active your sourdough starter is. The dough is ready to bake when it is not quite doubled in size, but feels airy when you gently poke the surface.
Invert the dough on parchment paper, score the surface with a sharp blade, and place in a 450F oven to bake with initial steam. Total baking time will be about 40 minutes, I baked my loaf under an inverted roasting pan previously filled with water and emptied, so that some water stays clinging to its sides. I removed the roasting pan after 25 minutes, and bake the loaf uncovered until done. Internal temperature should be higher than 200 F.
Allow the bread to completely cool before slicing through.
ENJOY!
to print the recipe, click here

Comments: In typical Sally-fashion, what I thought was a bag of spelt flour in my freezer turned out to be teff flour. After frantically inspecting every single spot of the two freezers we own, I gave up and modified the recipe to use regular whole-wheat flour instead (triple sigh). If you have spelt, use it 50/50 with the regular flour (for the amount of this recipe, that would be 250 g of each flour).
The 166% hydration might sound strange, but keep in mind that it’s the hydration you obtain when feeding your starter by volume instead of weight and using equal amounts of flour and water (for instance 1 cup of each). Very convenient, many bakers adapt their recipes to this level of hydration because it makes it a lot easier to keep the starter, no need to use a scale. I was more of a 100% hydration lady, but must say I loved the way the more liquid starter performed and was so easy to mix with the dough.
For this type of bread, I don’t like to cut the walnuts too small, but if you prefer them to be less obvious in the crumb, go ahead and finely dice them. Toasting before incorporating in the dough is optional, but I usually go for it.
Celia, thanks for yet another inspiring recipe, and for your help with the method. I am counting on you to hold my hand again as I take a walk on the dark side (aka cake baking ;-)).
I am submitting this post to Susan’s Yeastspotting.
ONE YEAR AGO: Thai Chicken Curry
TWO YEARS AGO: Zen and the Art of Risotto


