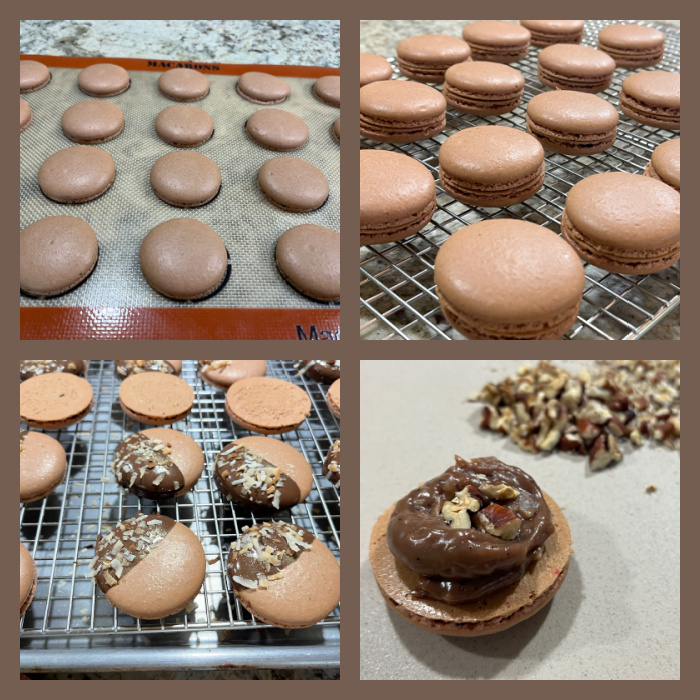
These were made with a colleague from our department in mind, it was a big Birthday for our IT wizard who is also a lover of German Chocolate Cake. I decided to make a filling that started as a brigadeiro would, but with coconut for good measure. Some toasted pecans in the center. And a coating with chocolate. Gold luster powder to add the mandatory bling, as if you don’t sparkle on a Birthday there is something wrong with you!

GERMAN CHOCOLATE MACARONS
(from the Bewitching Kitchen)
For the shells:
200g powdered sugar
115 g almond flour, preferably super fine
115 g egg whites at room temperature (approx. 4 eggs)
1/8 tsp of cream of tartar (optional)
100 g granulated sugar
¼ tsp vanilla paste or extract
brown and a tiny bit of red gel food color
Line 3 heavy baking sheets with parchment/baking paper or Silpat mats. Layer the powdered sugar and almond flour in a food processor. Pulse until the mixture looks like fine meal, about 12 pulses. Pass through a sieve and transfer to a small bowl or to a sheet of parchment/baking paper. Set aside.
Place the egg whites and cream of tartar in the bowl of a stand mixer fitted with the whisk attachment. Make sure that the bowl and the whisk are impeccably clean. Starting on medium speed, whip the whites with the cream of tartar until they look like light foam. The whites should not appear liquid. The foam will be light and should not have any structure.
Slowly rain in the granulated sugar in five additions, trying to aim the stream between the whisk and the side of the bowl. Turn the speed up to high. Continue to whip the meringue until it is soft and shiny. It should look like marshmallow creme (marshmallow fluff). Add the vanilla. Whip the egg whites until the mixture begins to dull and the lines of the whisk are visible on the surface of the meringue. Check the peak. It should be firm. Transfer the whites to a medium bowl, add the gel color.
Fold in the almond flour mixture in two increments. Paint the mixture halfway up the side of the bowl, using the flat side of a spatula. Scrape the mixture down to the center of the bowl. Repeat two or three times, then check to see if the mixture slides slowly down the side of the bowl. Put the mixture in a piping bag fitted with your choice of piping tip (round, ¼ or ½ inch in diameter or 6 – 12 mm). Pipe circles. Slam each sheet hard four to six times on the counter/worktop. Let the unbaked macarons dry until they look dull but not overly dry. Drying time depends on humidity. In a dry climate, the macarons can dry in 15 to 20 minutes; in a humid climate, it can take 35 to 40 minutes.
While the macarons are drying, heat the oven to 300 F. Bake one sheet at a time on the middle rack. Check in 11 minutes. If the tops slide or move (independently of the ‘feet’ when you gently twist the top), then bake for 2 to 3 more minutes. Check one or two. If they move when gently touched, put them back in the oven for 1 to 2 more minutes until they don’t move when touched. Let the macaroons cool for 10 minutes before removing from the pan. The macarons should release without sticking.
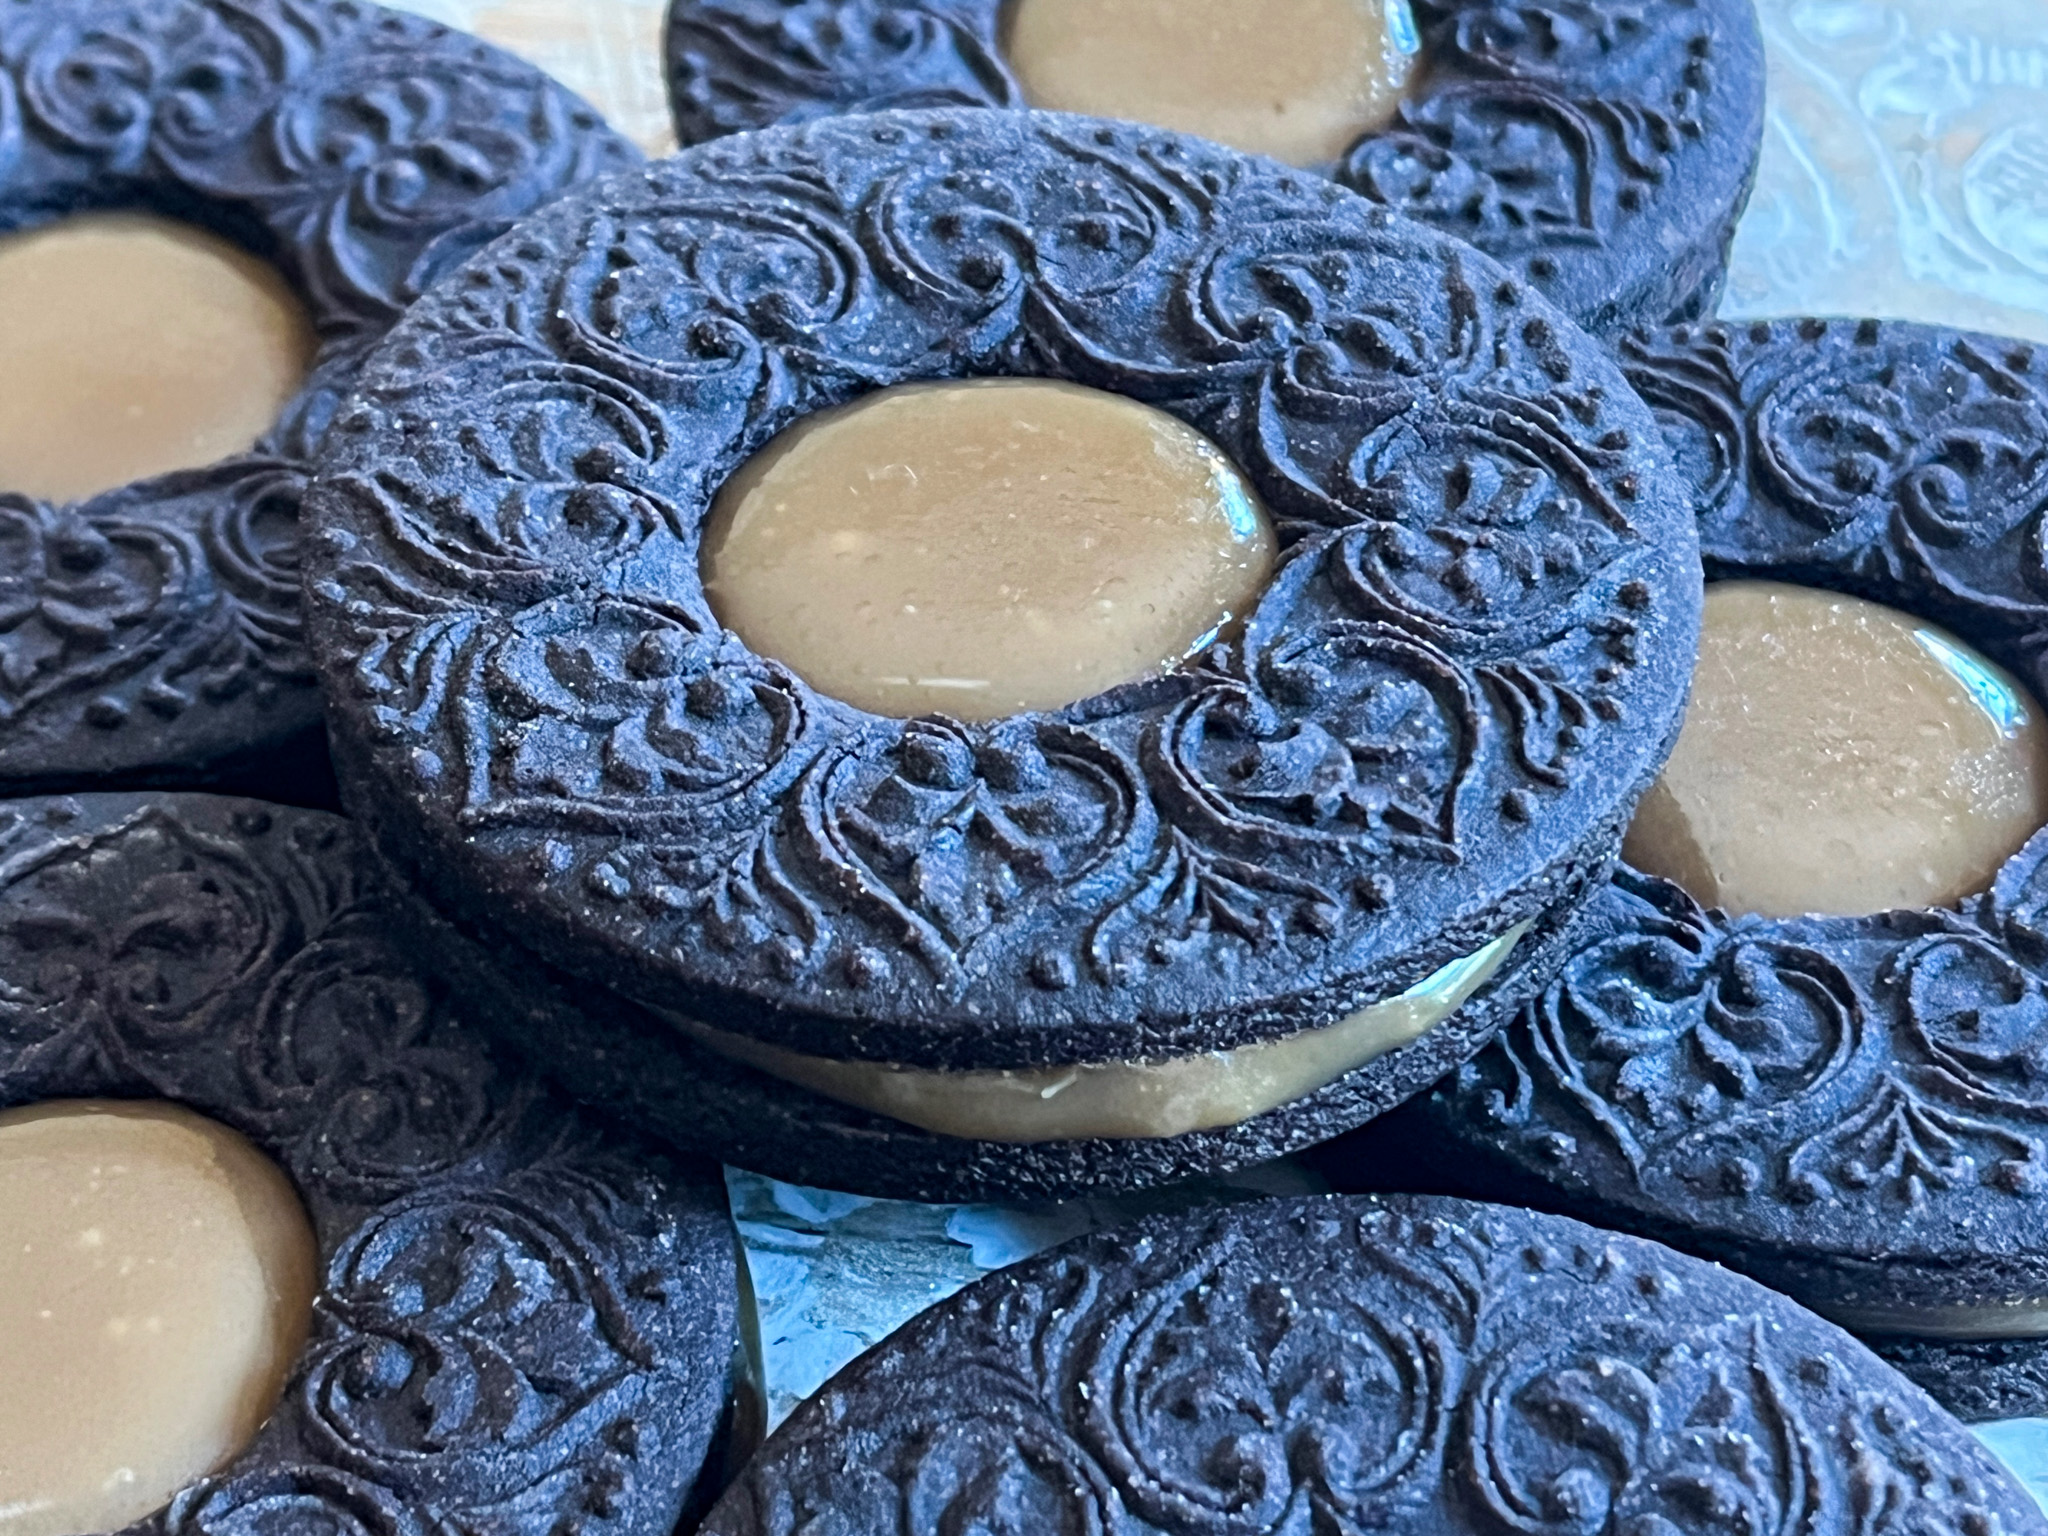
Assemble the macarons: find two macarons similar in size and add a good amount of filling to the bottom of one of them. Place the other on top and squeeze gently to take the filling all the way to the edge. Store in the fridge for 24 hours for perfect texture.
For the filling:
1 can condensed milk
1 tablespoon butter
1/4 cup shredded unsweetened coconut
1 tbsp cocoa powder
toasted pecans, chopped fine
melted dark chocolate or candy melts
toasted sweetened coconut
golden luster spray (optional)
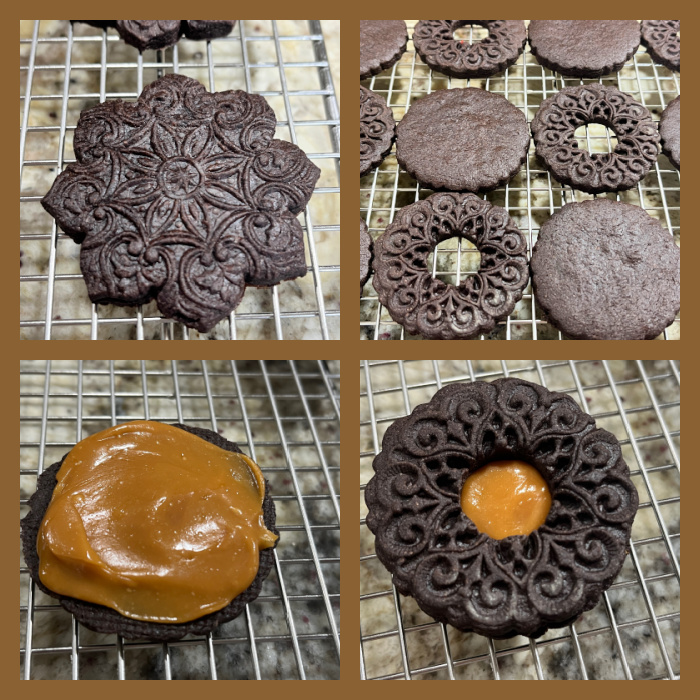
Before filling the shells, melt chocolate or candy melts and dip ONE shell that will be the top half way into it. Immediately sprinkle toasted coconut on top.
Make a “brigadeiro” mixture by adding condensed milk, butter, cocoa powder and coconut to a sauce pan. Heat in medium heat constantly stirring until the mixture releases from the bottom of the pan. Transfer to a bowl and let it cool, but do not refrigerate. You can pipe it on the shells if it is still slightly warm, but not too hot.
Add a circle of coconut brigadeiro to a bottom shell, sprinkle a little bit of pecans in the center. Cover with the decorated and fully set top shell. Spray gold luster if you like. Place shells in the fridge overnight.
ENJOY!
to print the recipe, click here
Comments: I normally prefer not to add cocoa to the shells, just to the filling, because macarons are finicky enough and sometimes “stuff happens” when you add cocoa. I had never used brigadeiro to fill them, and from the feedback I got, it worked quite well. I did not have a macaron but tried the brigadeiro mixture and that is one good tasting brigadeiro, I might repeat it and roll it like the traditional stuff.

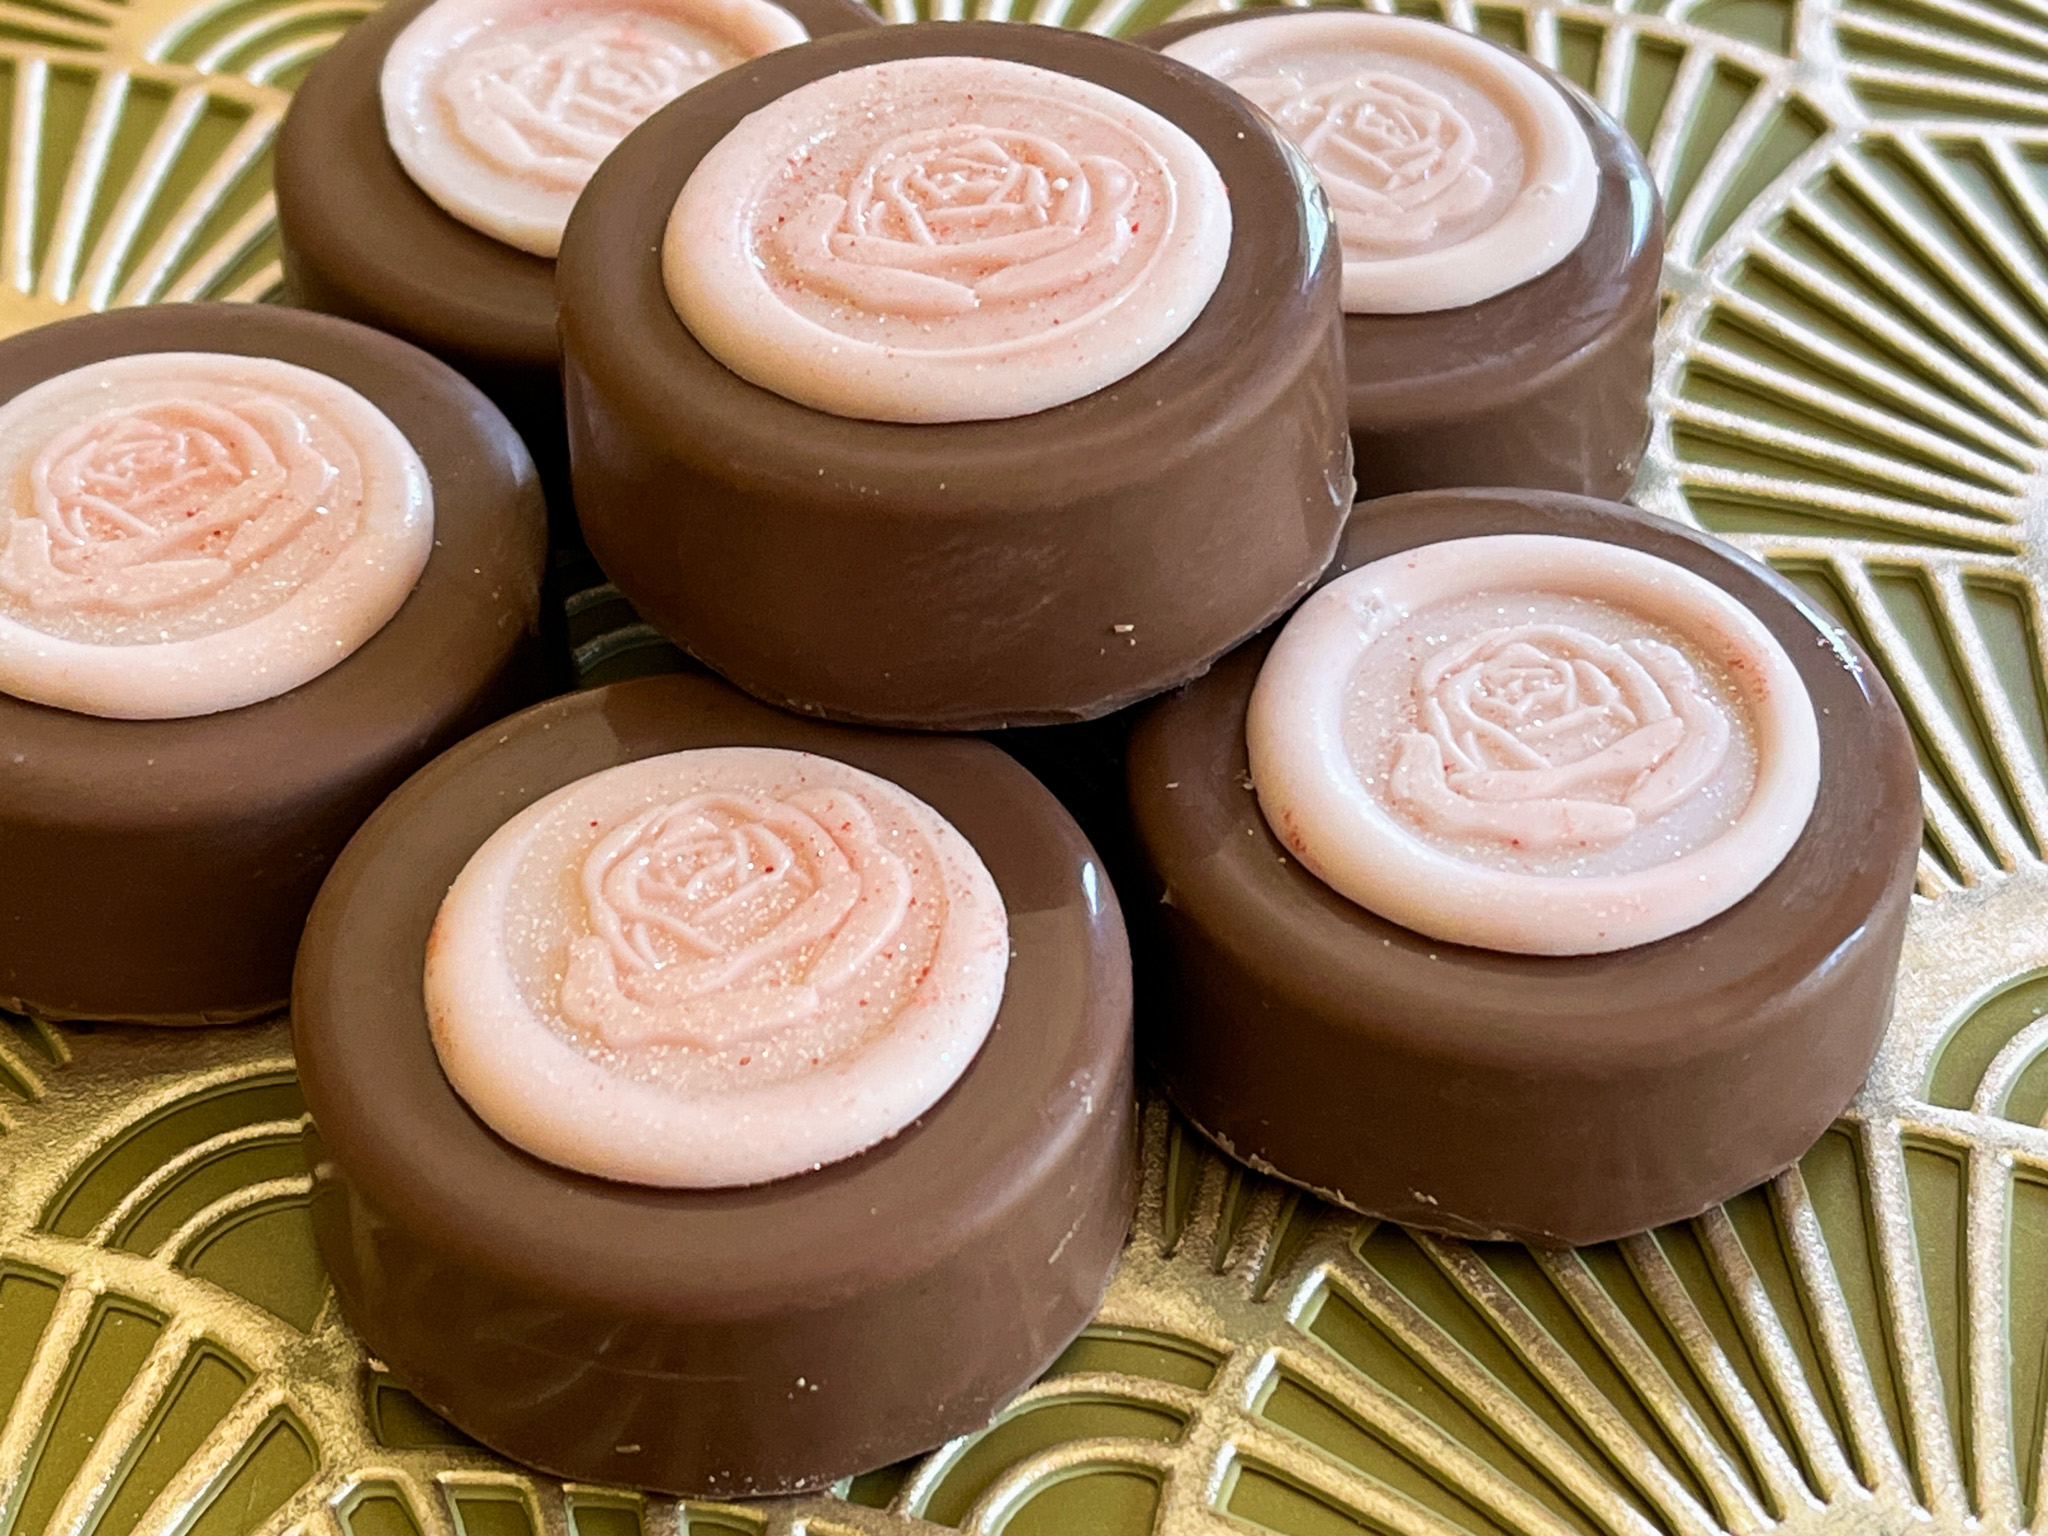
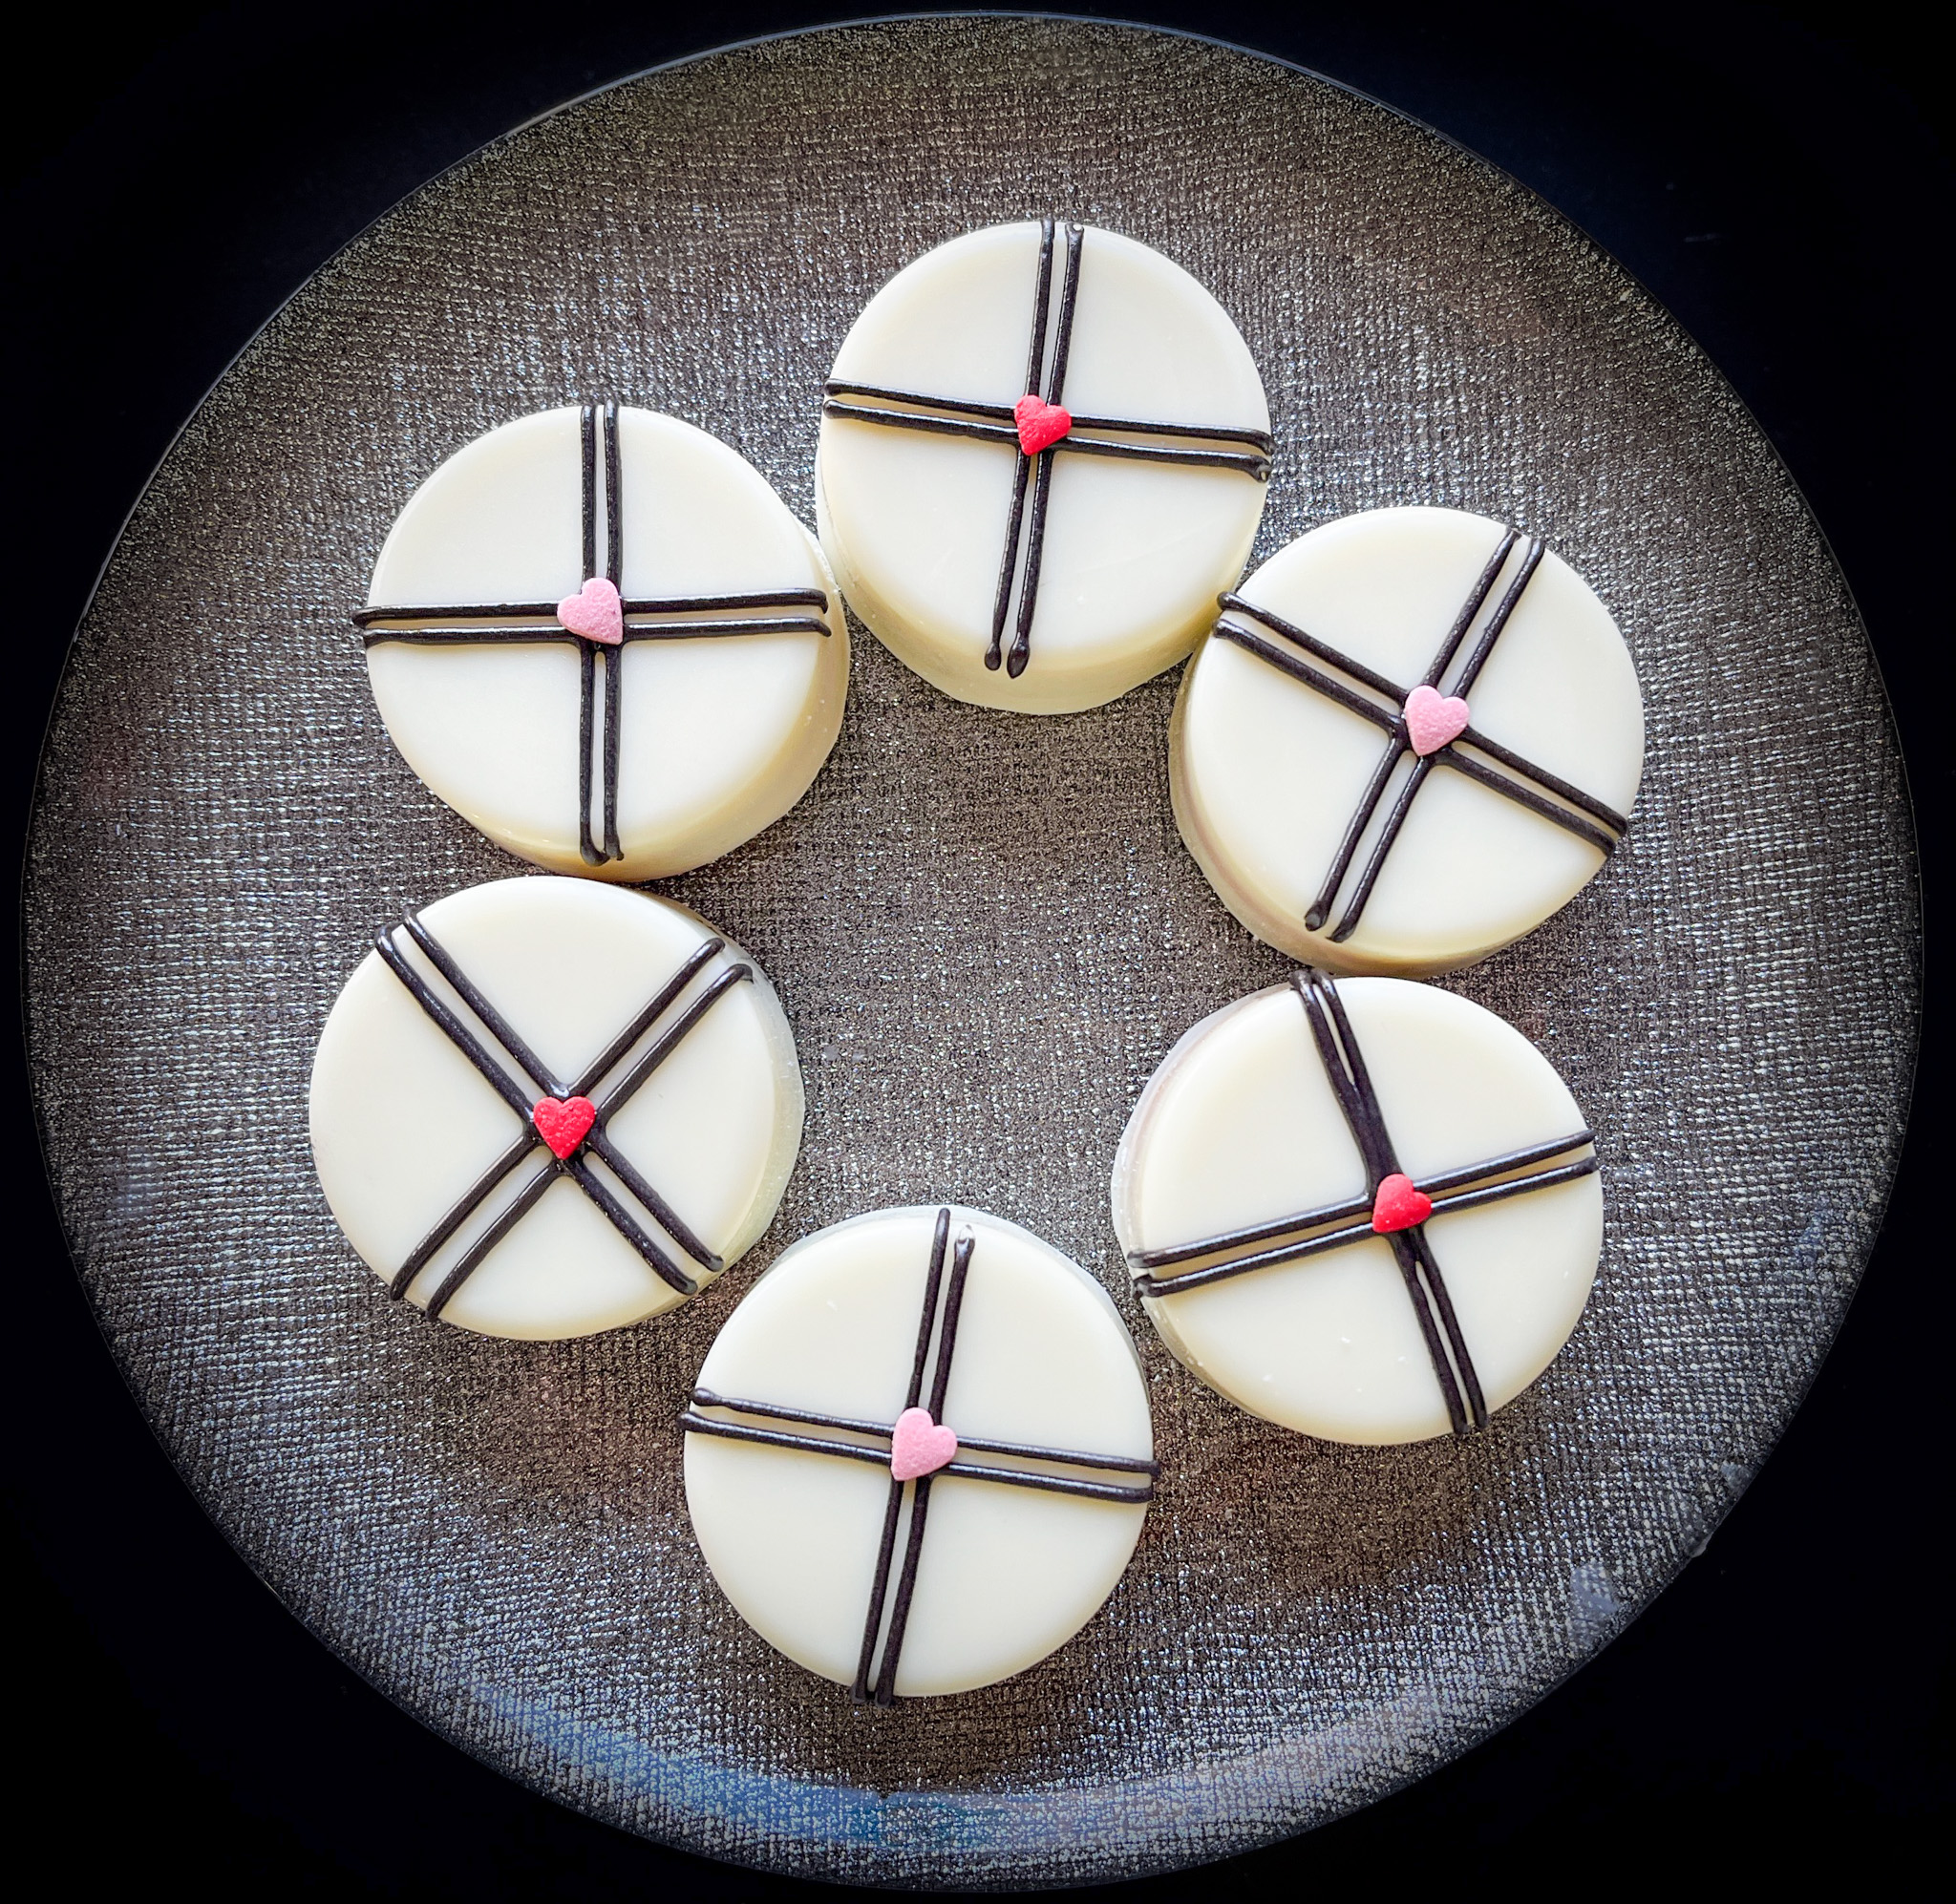
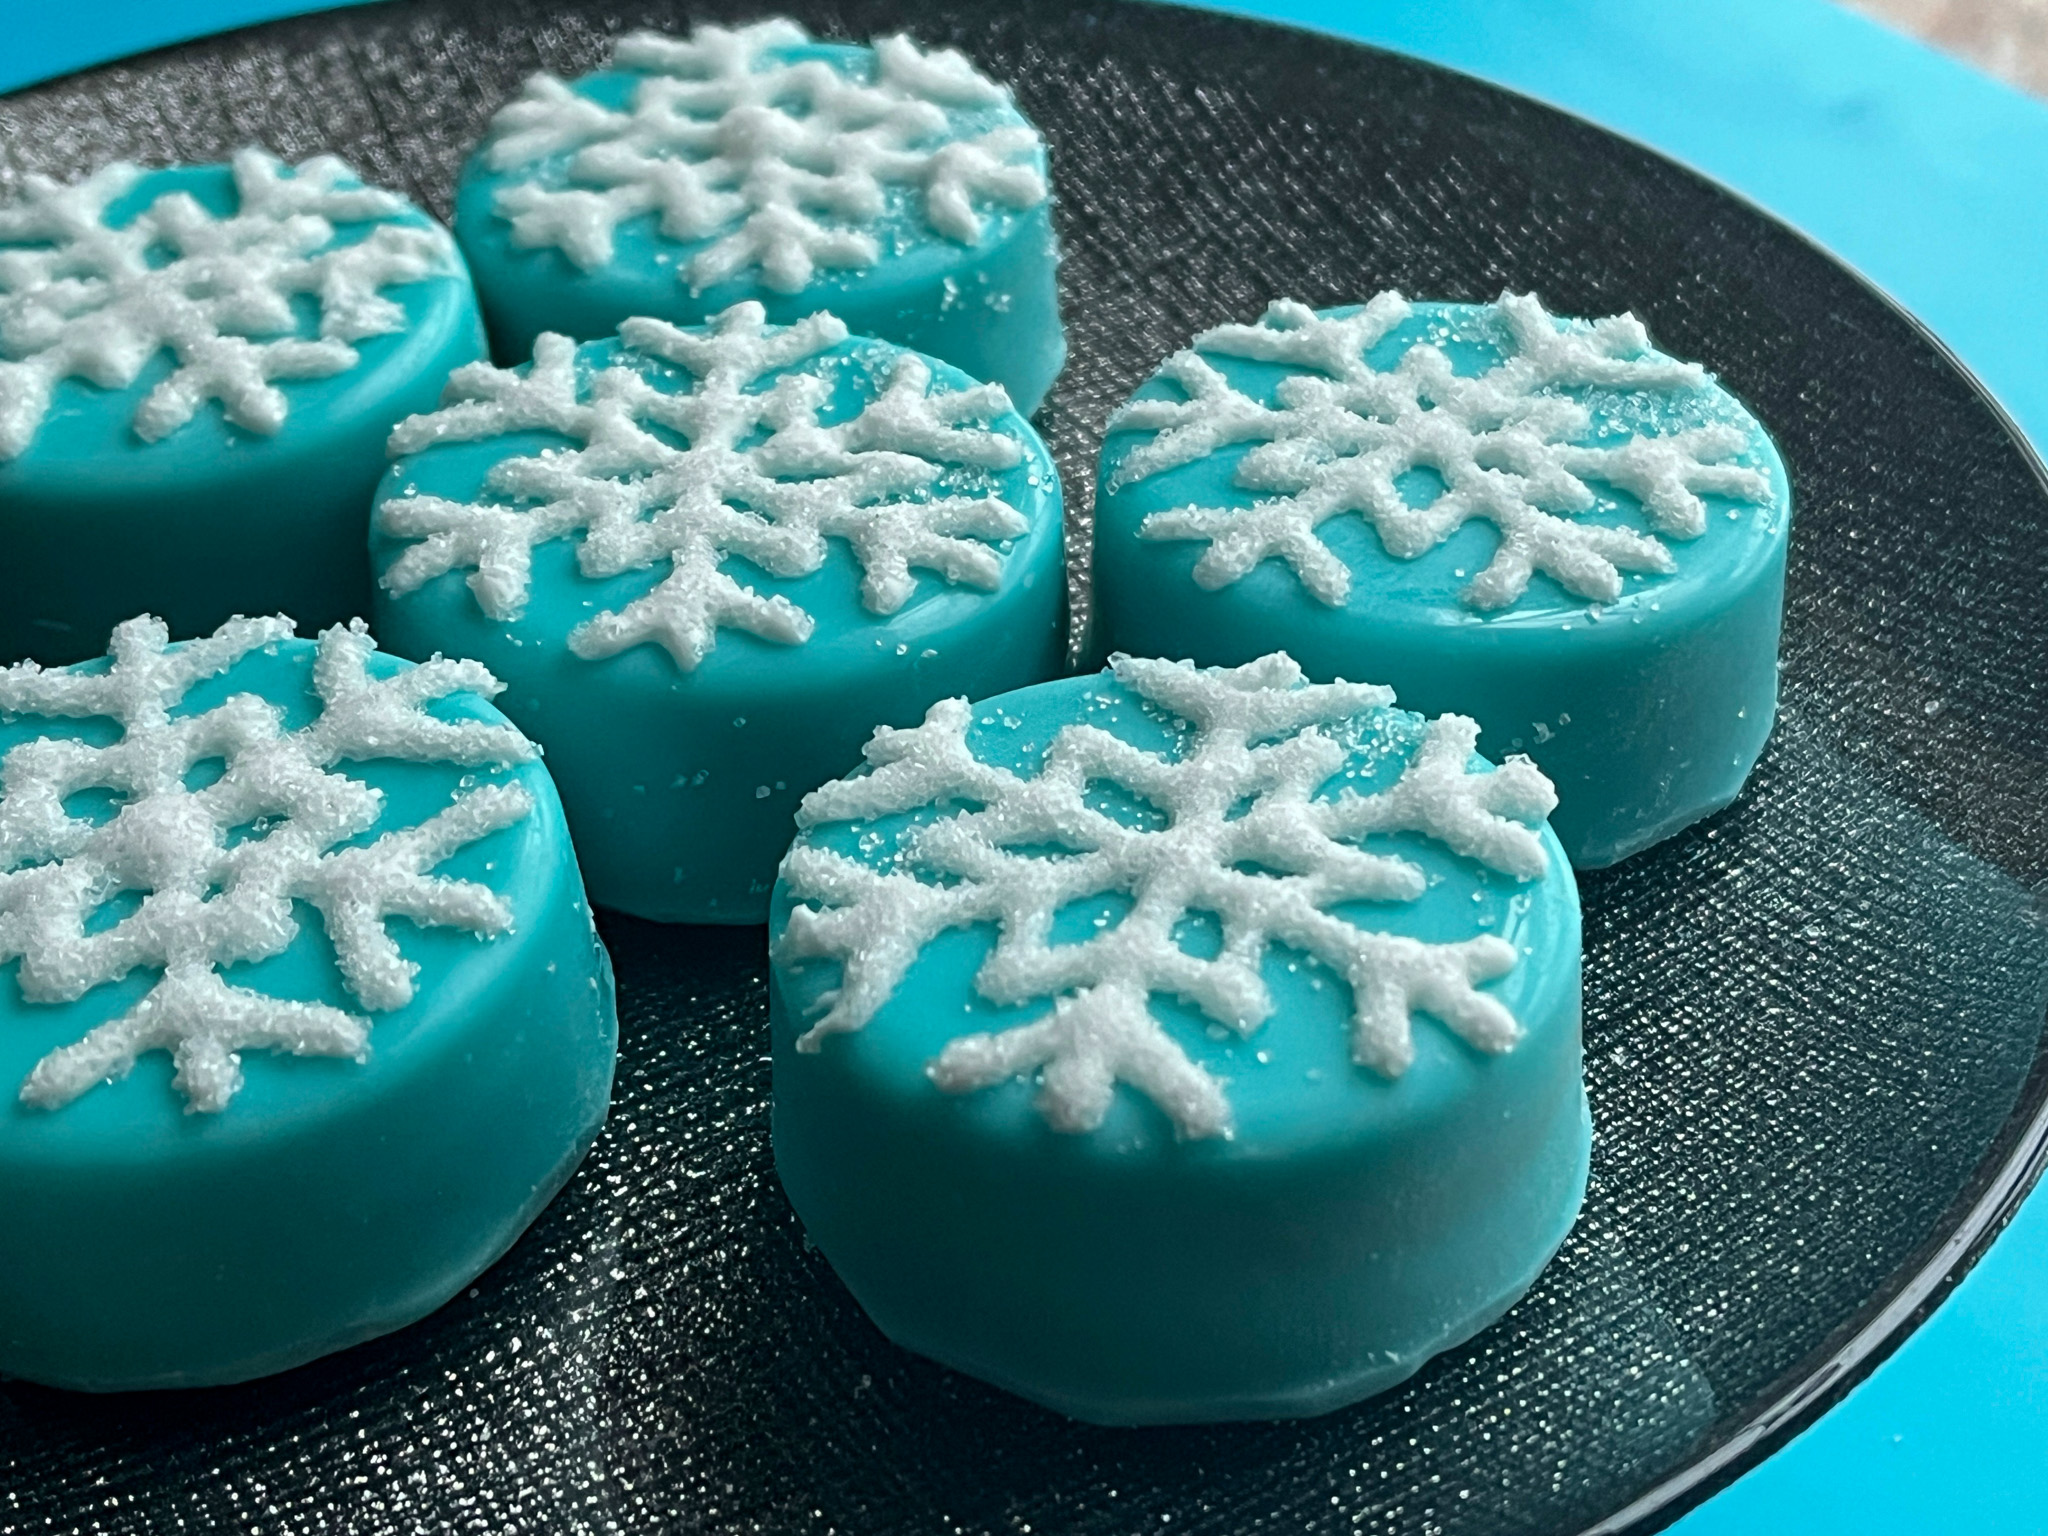
ONE YEAR AGO: Dressing up the Oreo Cookie
TWO YEARS AGO: OMG Roasted Sweet Potatoes
THREE YEARS AGO: Air-Fried Eggplant Raita
FOUR YEARS AGO: Turkey-Pumpkin Roulade with Cider Sauce
FIVE YEARS AGO: Strawberry-Vanilla Mini-Cakes
SIX YEARS AGO: Bourbon-Glazed Pork Tenderloin with Pea Pesto
SEVEN YEARS AGO: Chocolate Chip Cookies from Naturally Sweet
EIGHT YEARS AGO: Little Bites of Paradise
NINE YEARS AGO: Maple-Glazed Pumpkin Bread
TEN YEARS AGO: In My Kitchen, October 2014
ELEVEN YEARS AGO: Grilled Steelhead Trout
TWELVE YEARS AGO: Brown Butter Tomato Salad
THIRTEEN YEARS AGO: Spelt and Cornmeal Rolls
FOURTEEN YEARS AGO: Roasted Potato and Olive Focaccia
FIFTEEN YEARS AGO: Multigrain Bread Extraordinaire