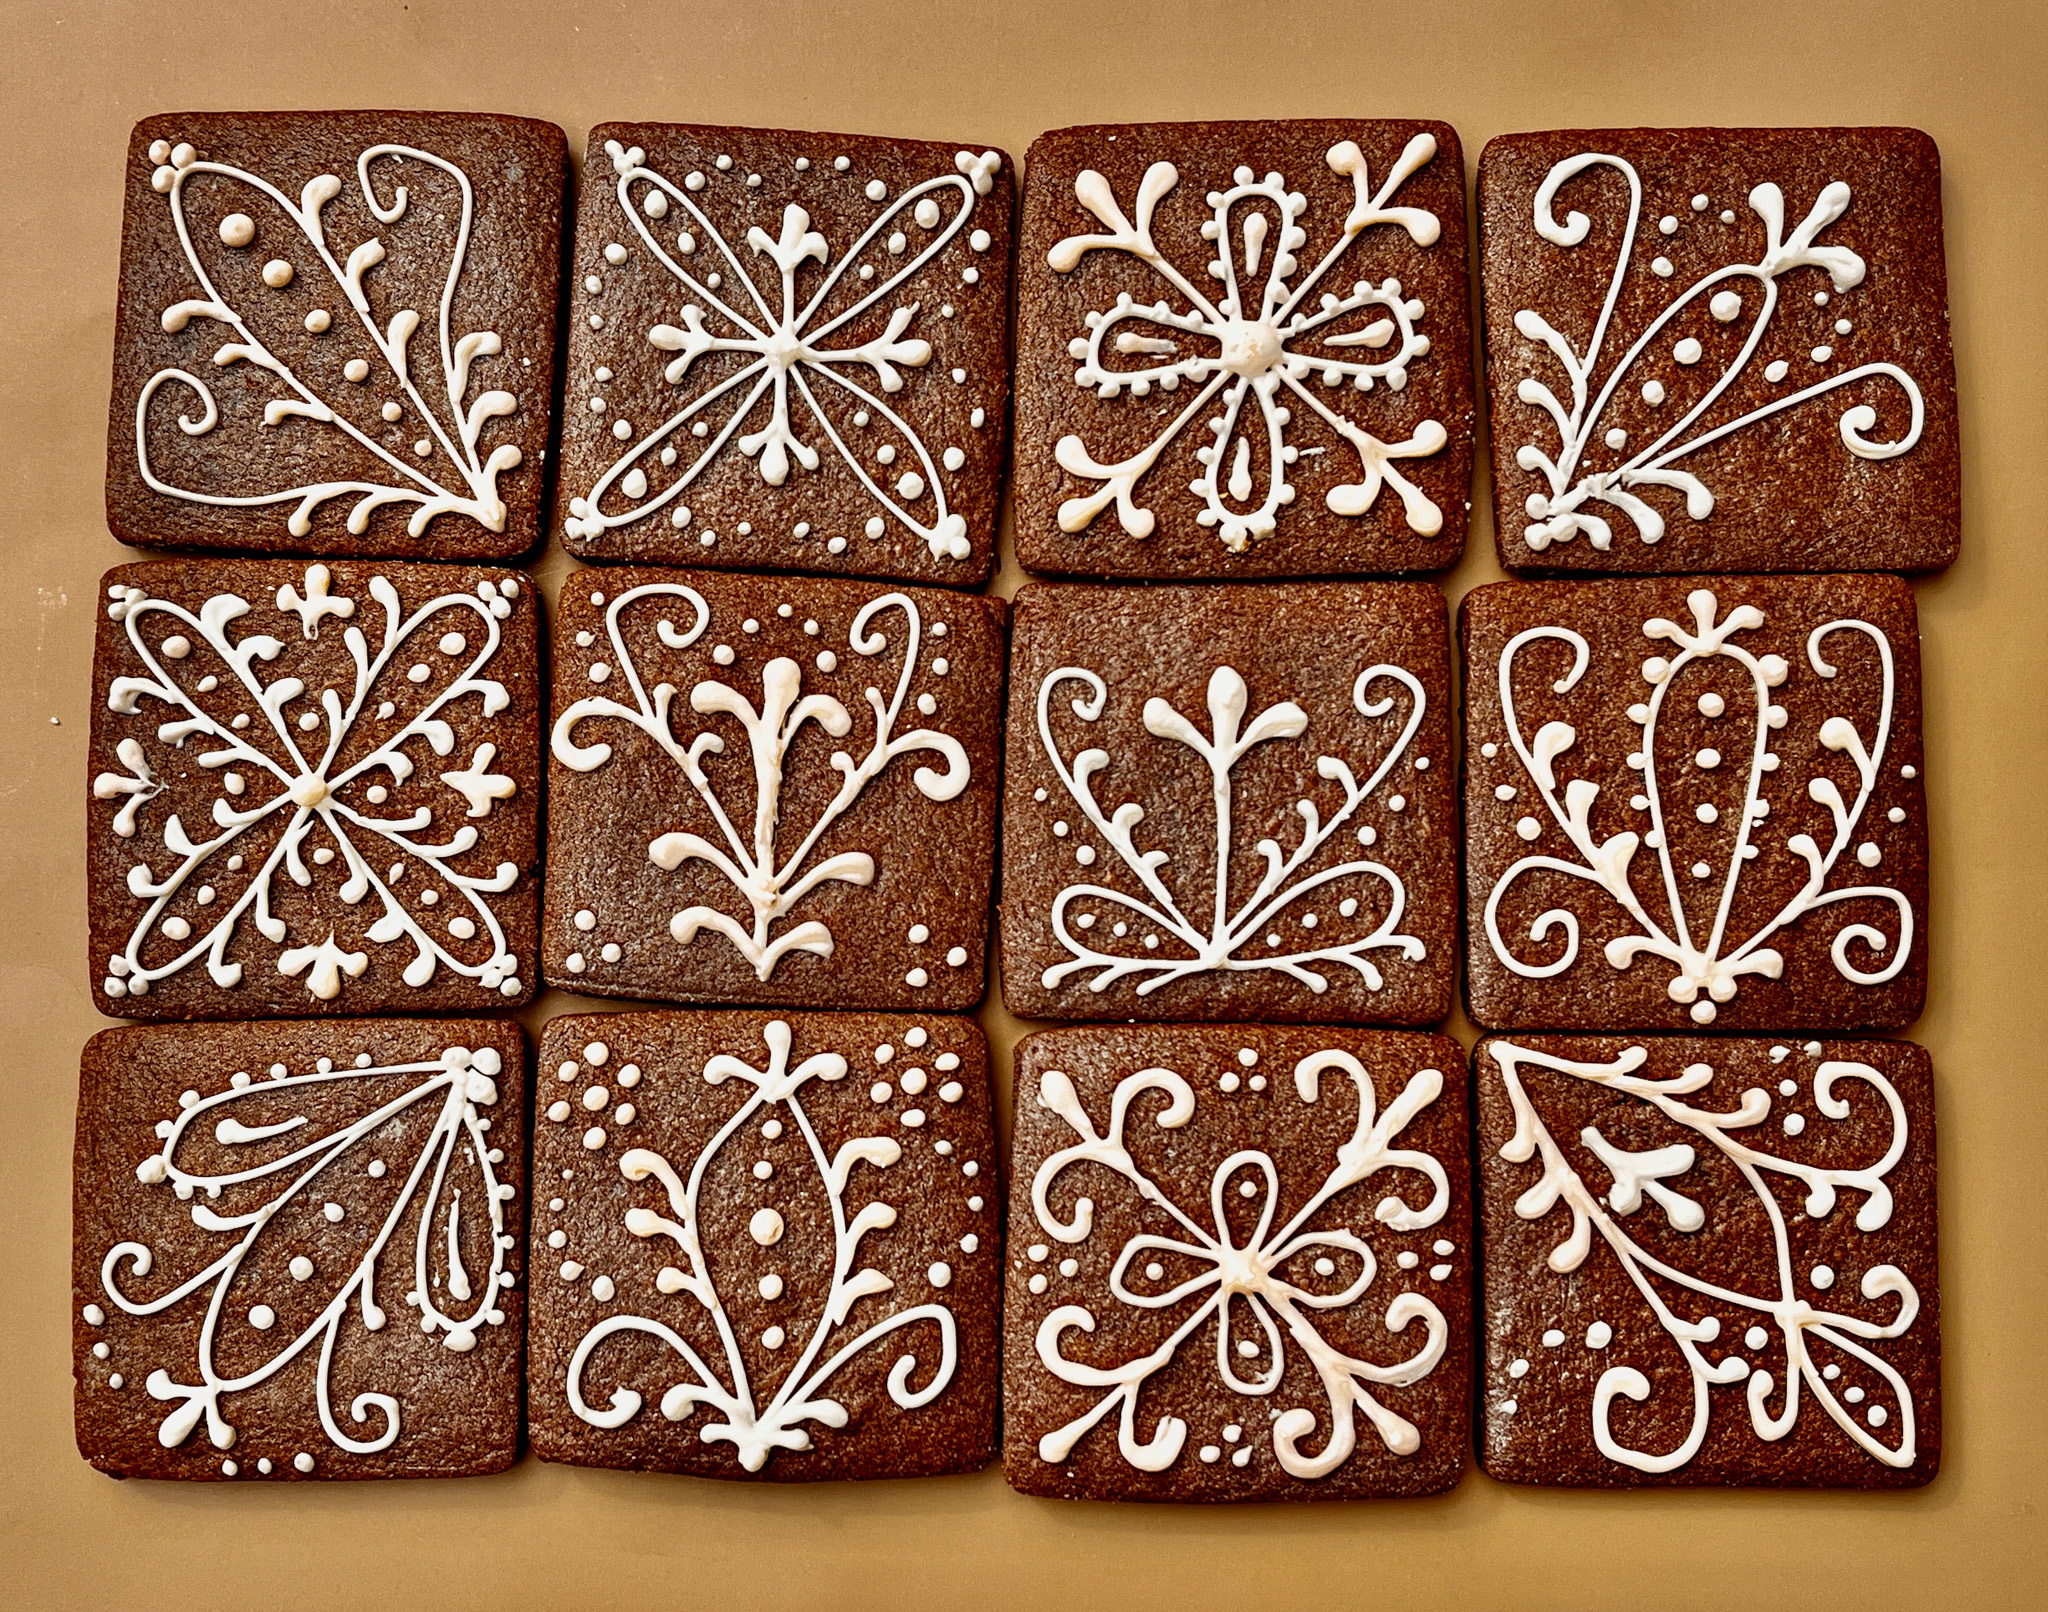
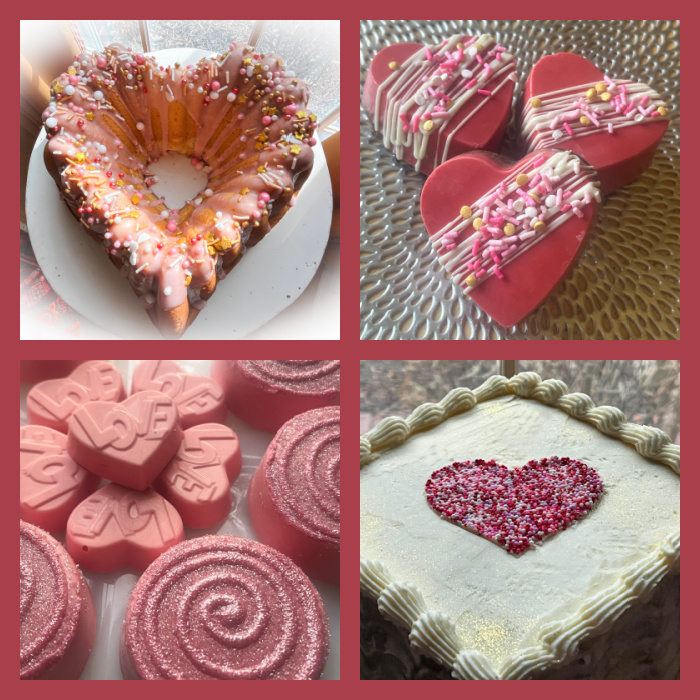
Valentine’s Day is just about here! Today I share a few ideas to sweeten up this special weekend… Make sure to visit my cookie blog tomorrow for a series of cookies that celebrate love. And now, let’s get started, shall we?
.
x
I open this post with a Vanilla Pound Cake with Hibiscus Glaze
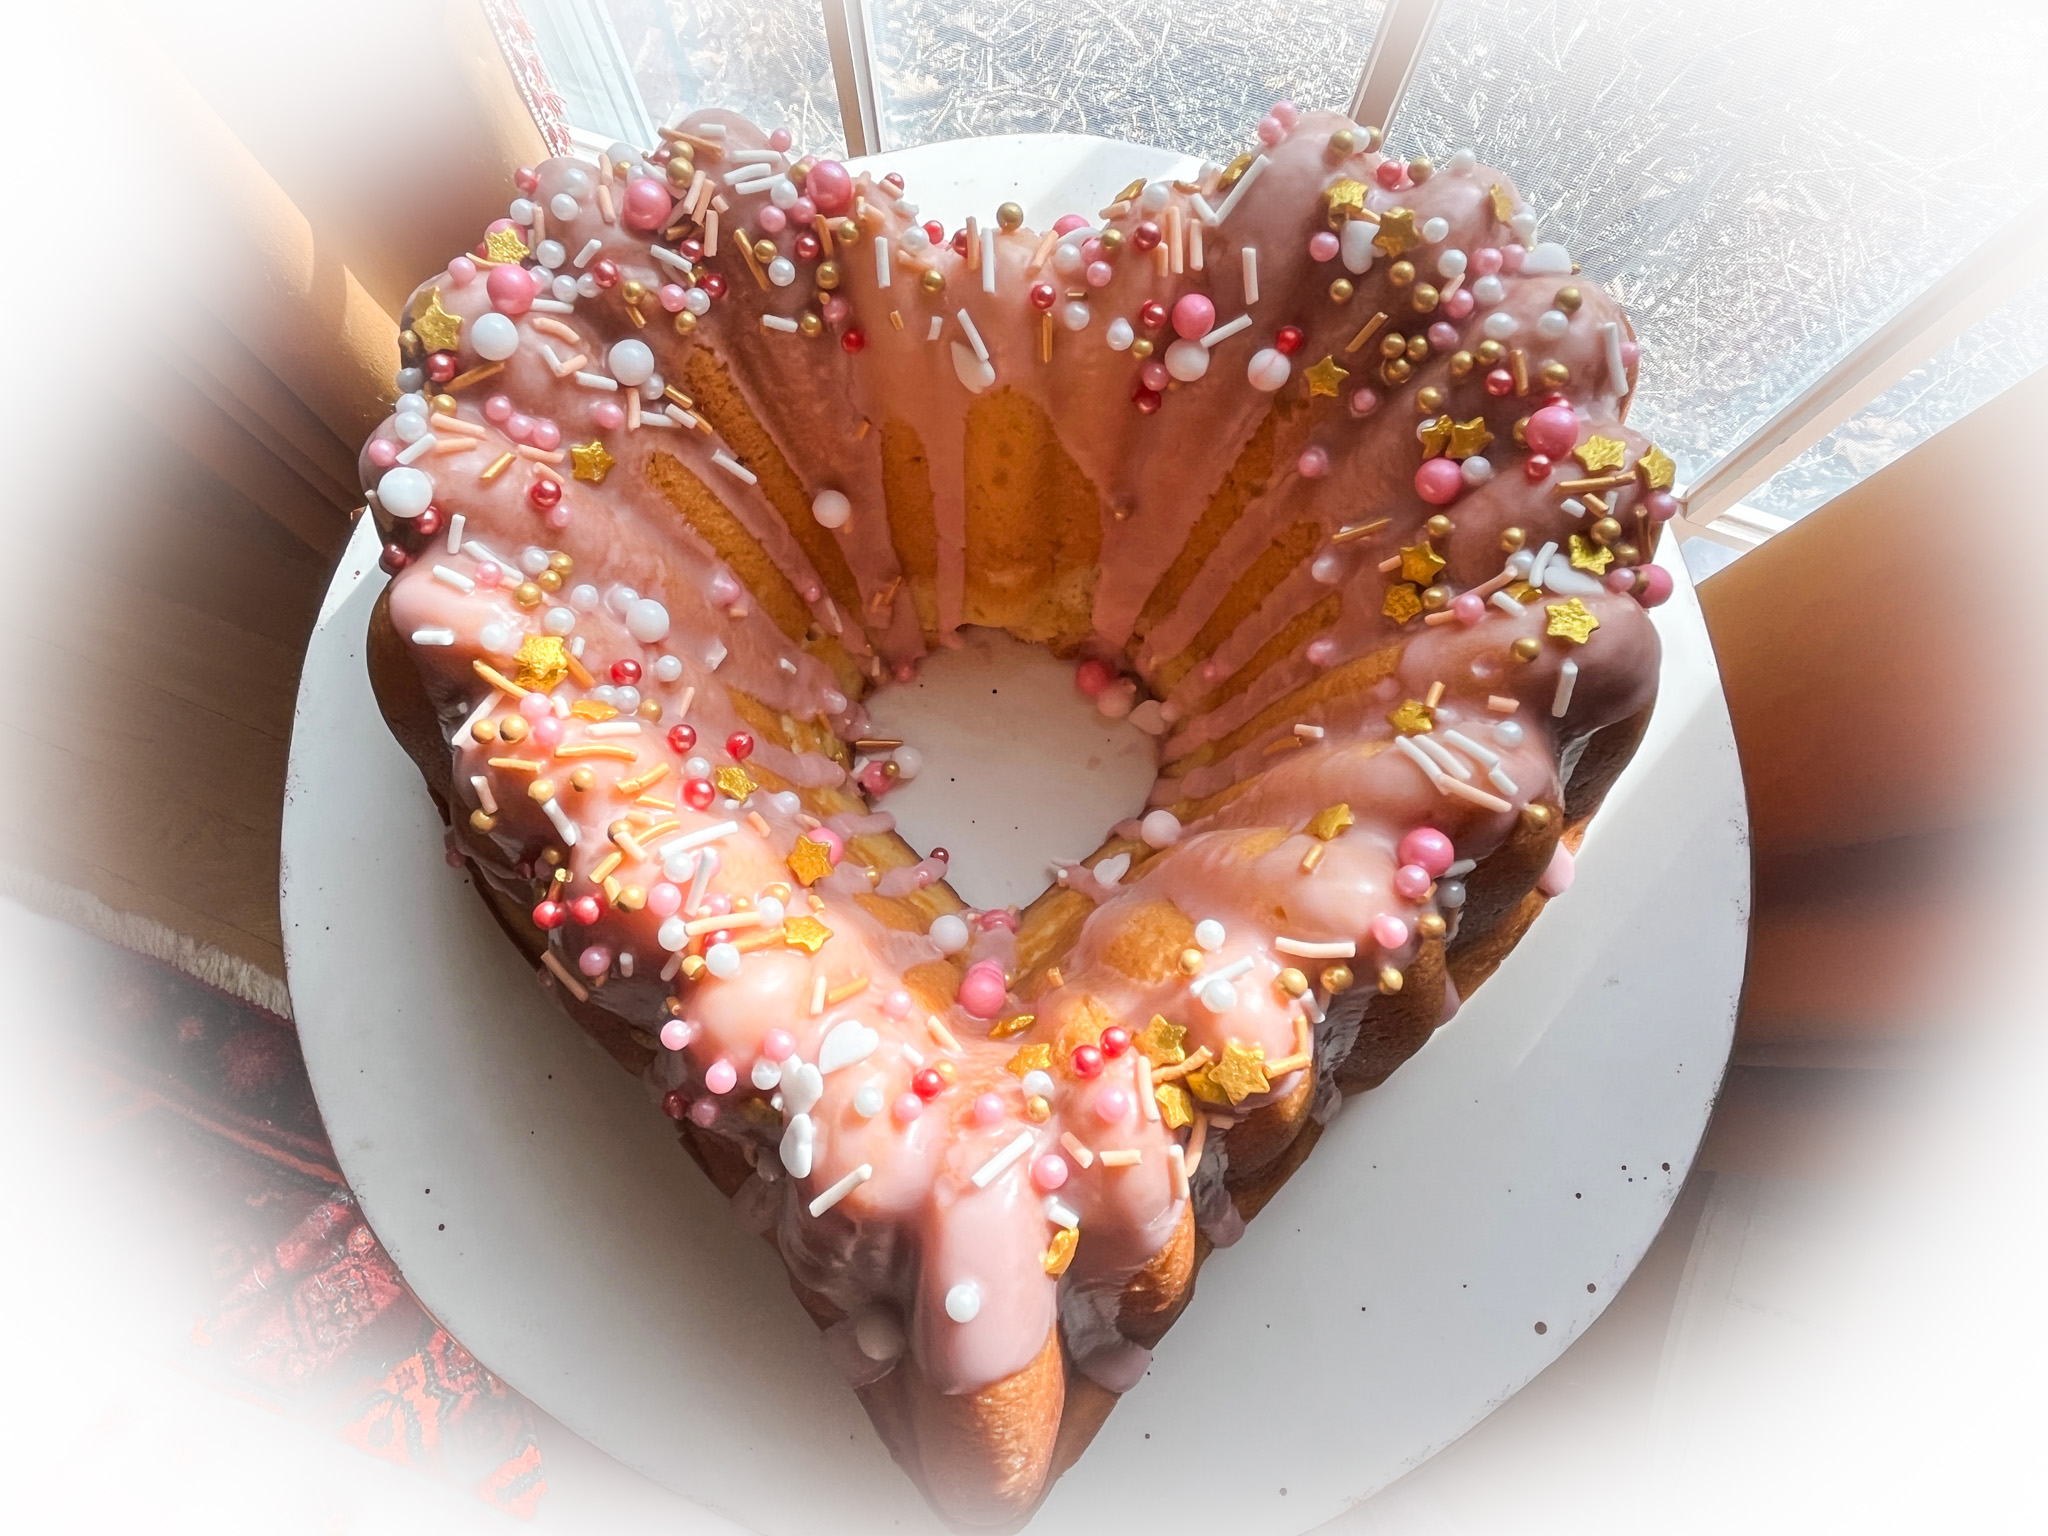
VANILLA POUND CAKE WITH HIBISCUS GLAZE
(from The Bewitching Kitchen)
for the cake:
3 sticks (339g) unsalted butter, softened (room temperature)
8 oz Cream Cheese, at room temperature (one regular package)
2 + 1/2 cups (500g) sugar
1 tsp salt
2 tsp vanilla paste or extract
6 Eggs, at room temperature
3 cups (375g) flour
for the glaze:
3 tablespoons hibiscus tea
200g powdered sugar
squeeze of lemon juice
Heat oven to 325F.
Cream butter, cream cheese and sugar with hand mixer until light and fluffy. Pound cakes do not contain leavening agent, so make sure to work the butter until fluffy. Add salt and vanilla, beat well.
Add eggs one at a time, mixing after each addition. Gradually mix in the three cups of flour.
Pour into well greased bundt pan. Bake for about 90 minutes, covering with foil if the top gets too brown before a toothpick inserted in the center comes out clean.
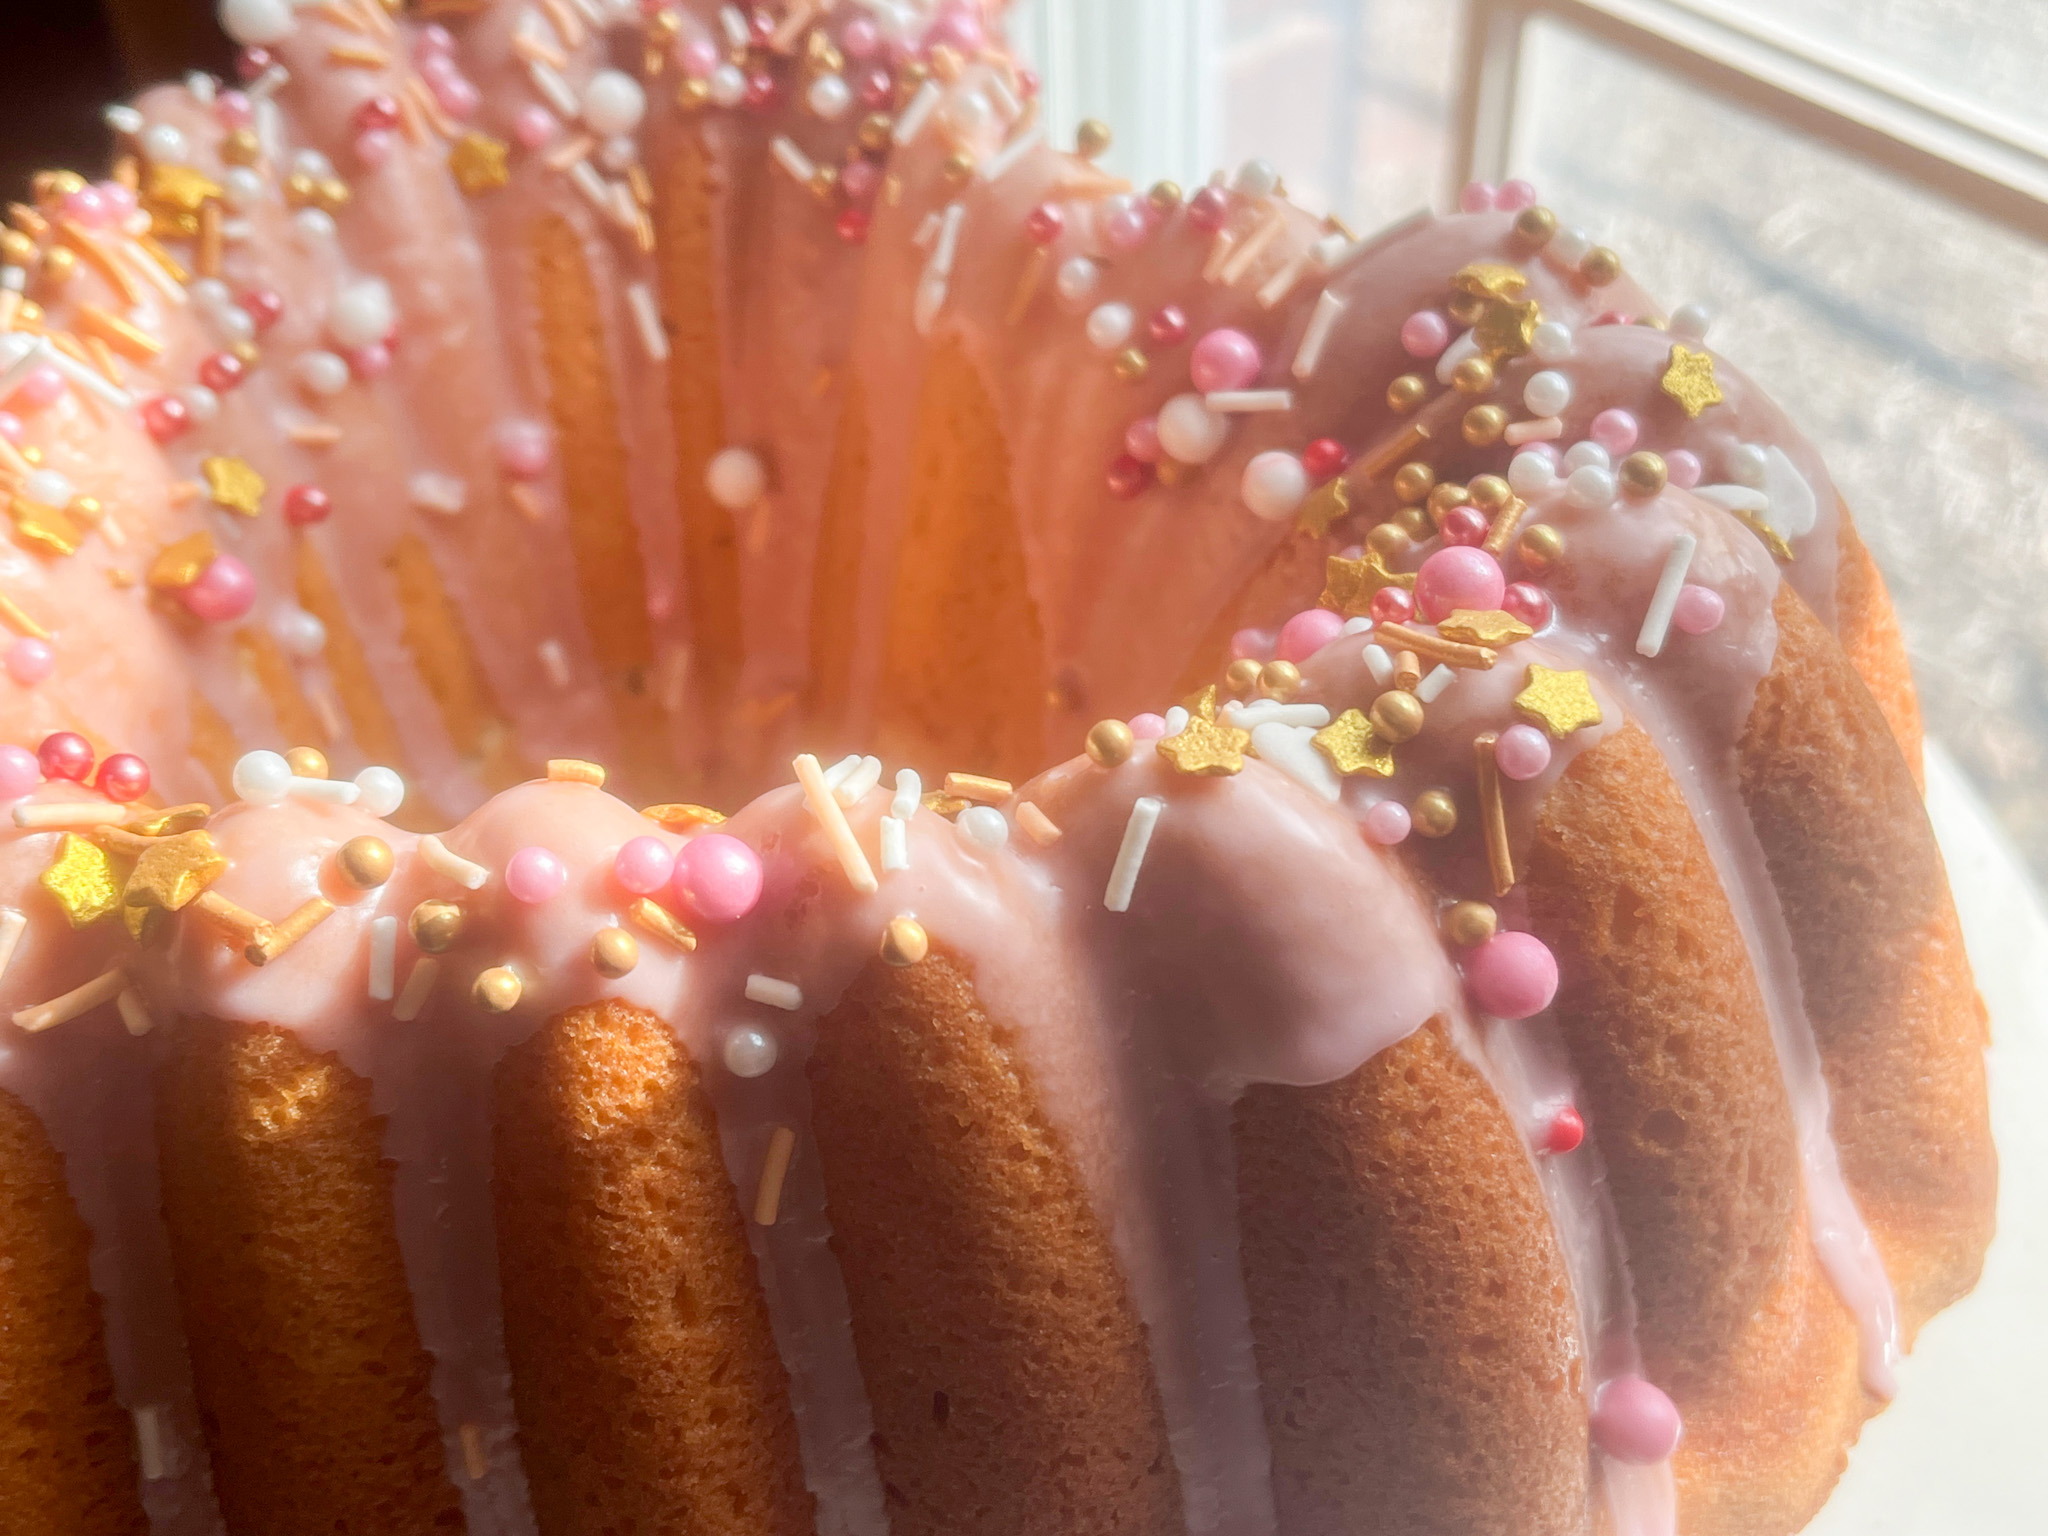
Wait for 15 minutes before un-molding over a rack. Let the cake cool completely, then make a glaze whisking all the ingredients. Pour the glaze over the cake, decorate with sprinkles, if desired.
ENJOY!
to print the recipe click here
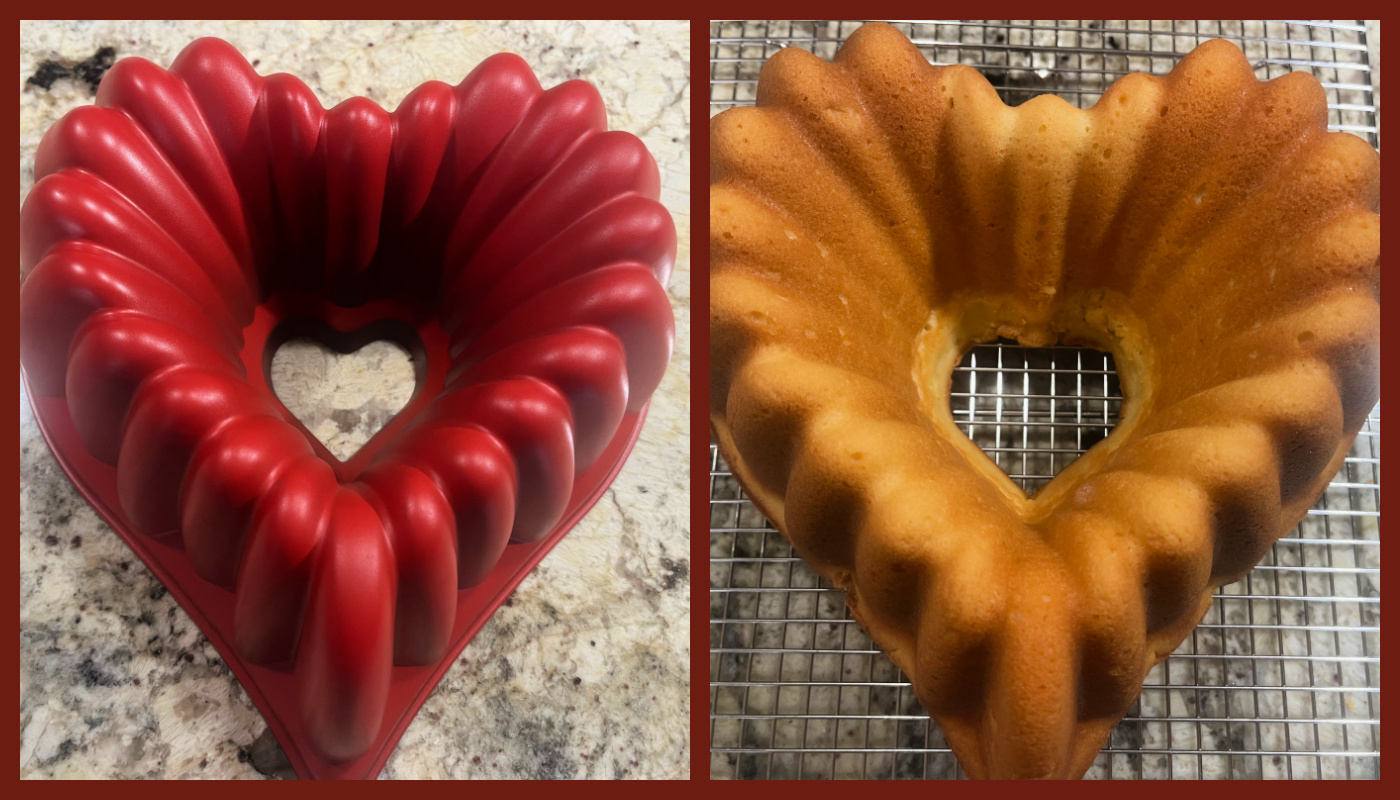
Comments: The Bundt pan I used is this one. Any cake will look good with a simple dusting of powdered sugar, but I decided to go with a light glaze and sprinkles.
x
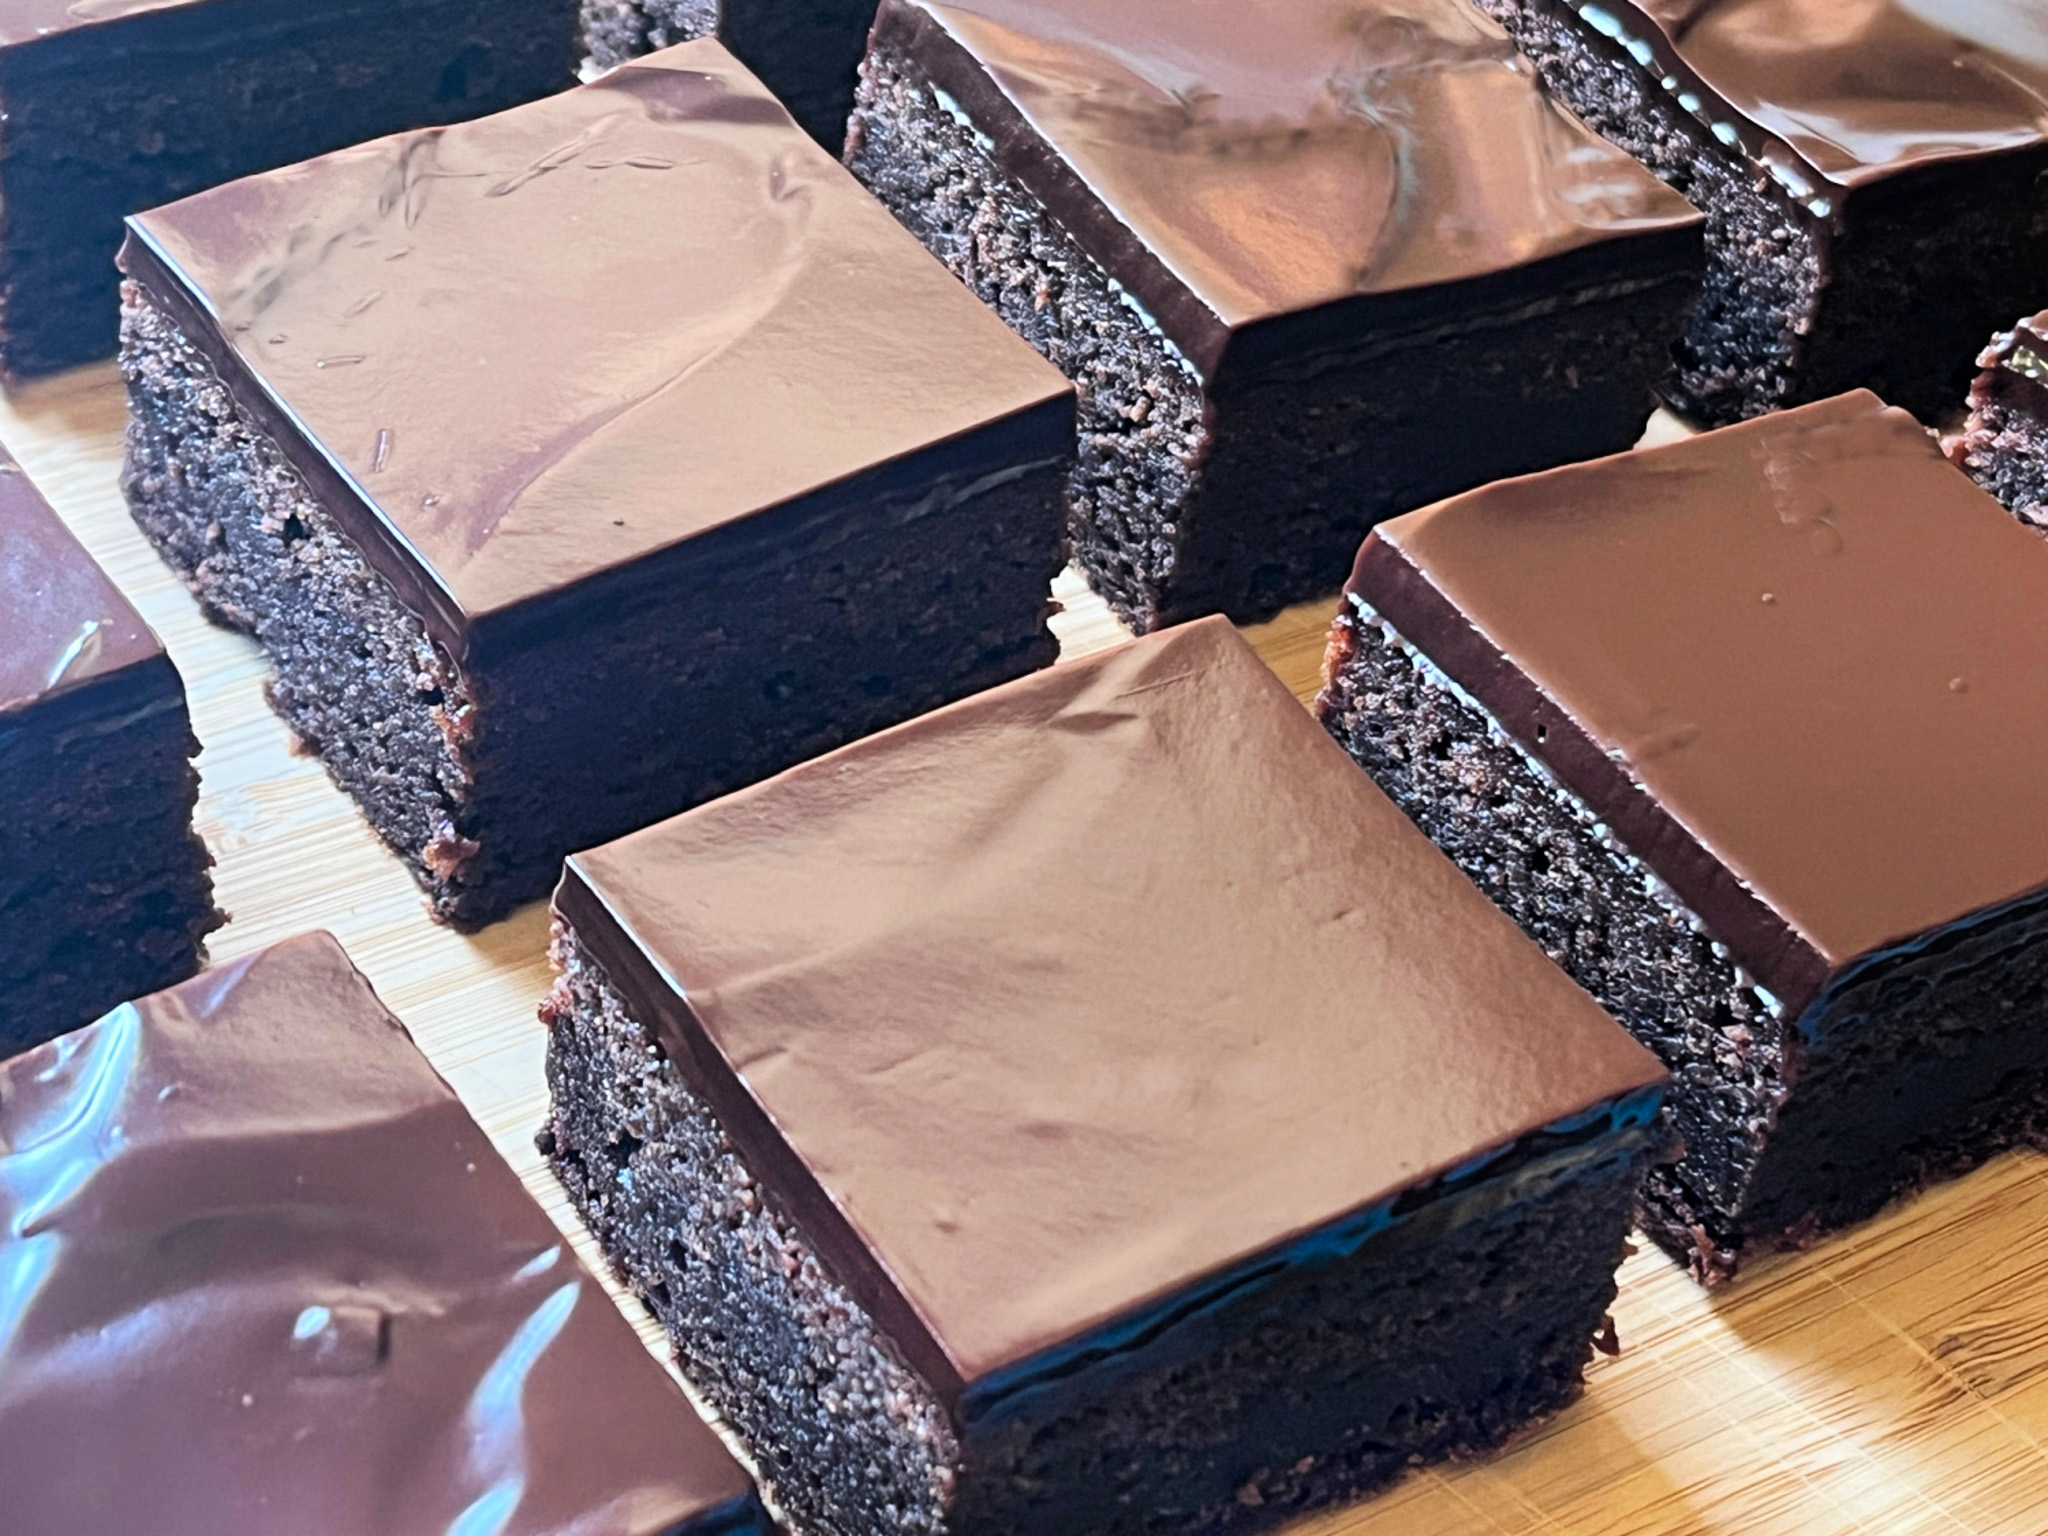
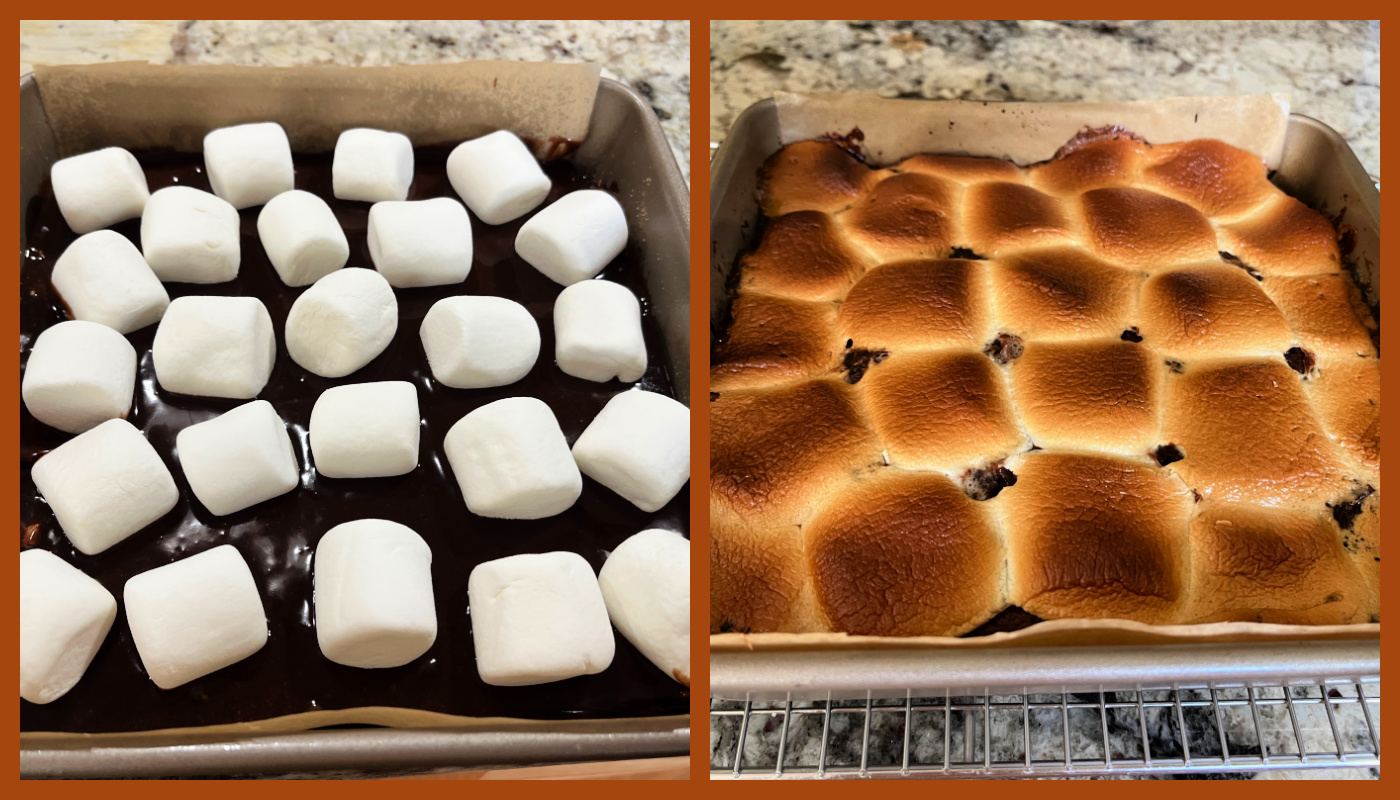
CHOCOLATE-COVERED
BROWNIE HEARTS

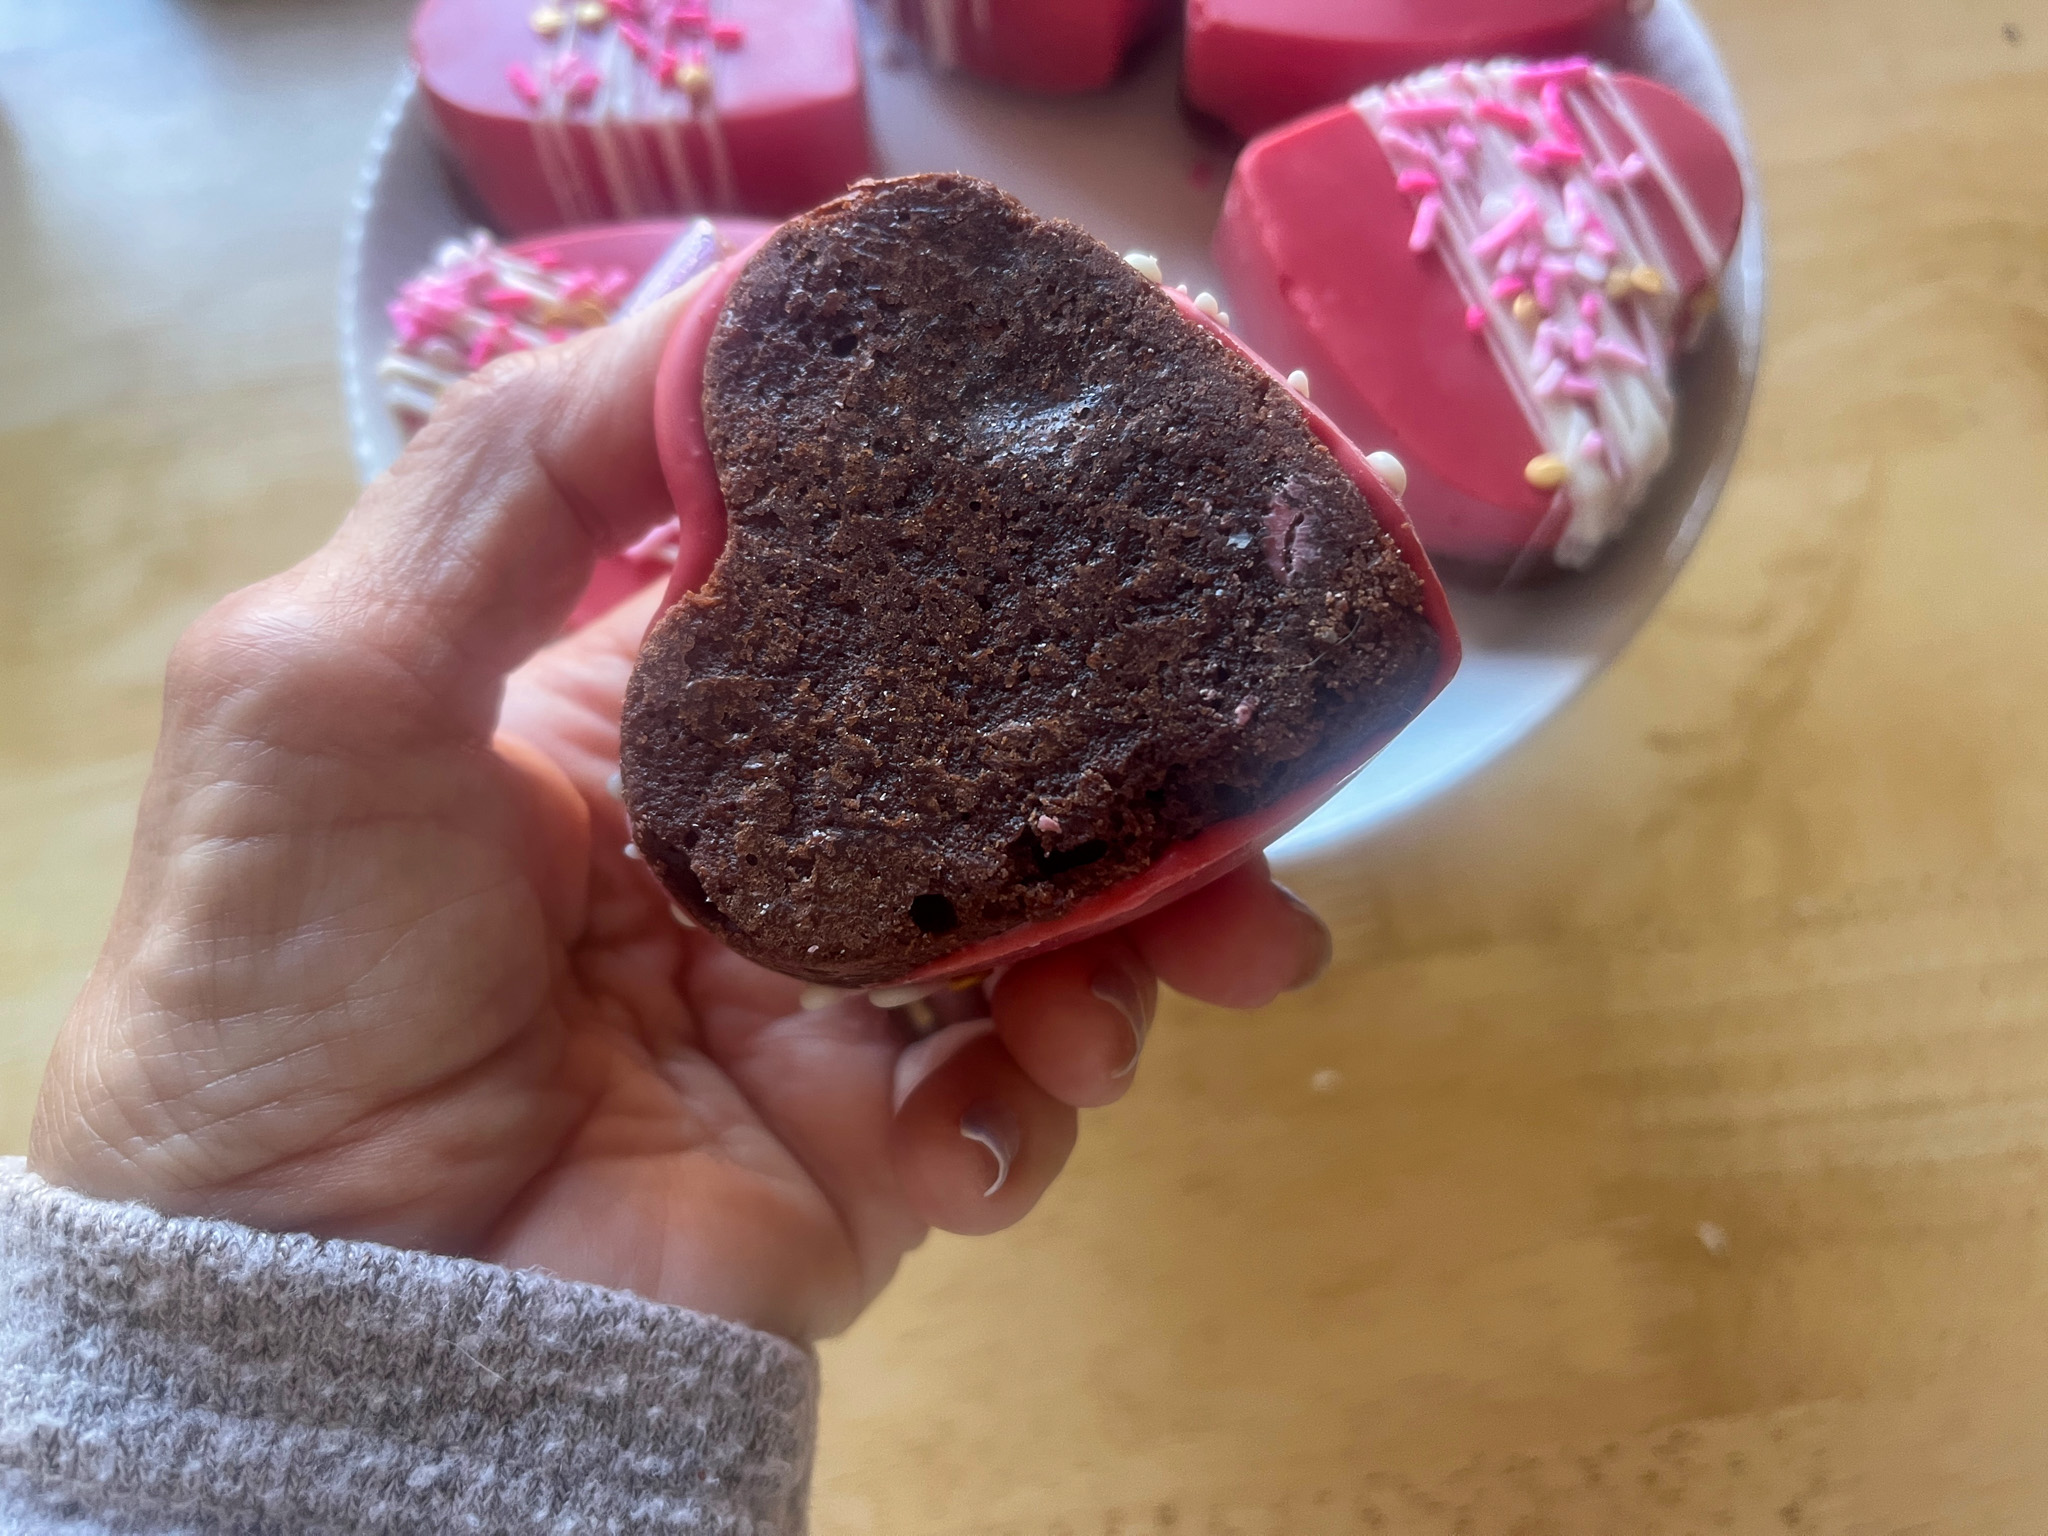
If your heart is set on chocolate, but you don’t feel like a simple tray of brownies, here is a very cute idea… Bake the brownies in a heart-shape silicone mold, then use the same mold to coat each piece in chocolate (I went with compound chocolate dyed red). I used these molds to bake and coat the brownies. And my favorite recipe for the little cakes (check here).
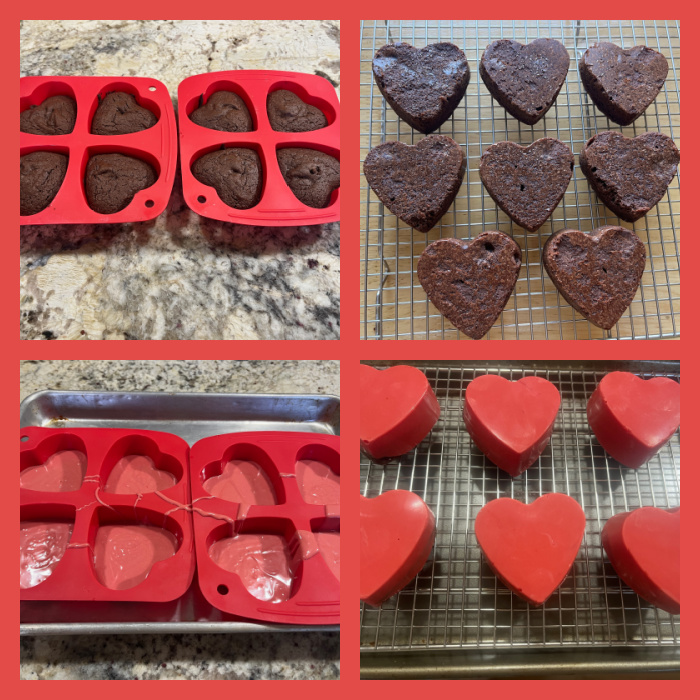
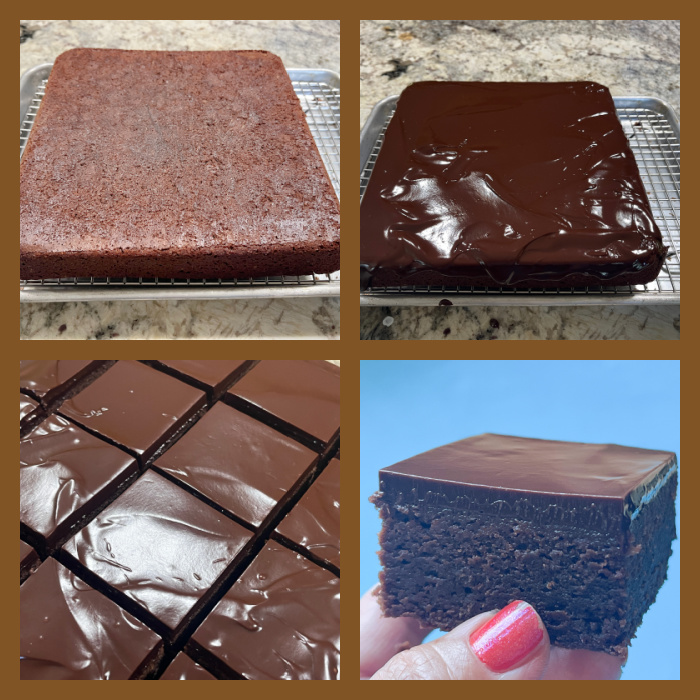
When you bake the brownies, the bottom side, that touches the mold, will be super flat. You can flip them when you coat and place the non-flat side touching the chocolate. That will end up smooth, so both sides of your little cakes will be nice and flat.
So the process goes like this: bake the brownies, cool them completely in the mold. Freeze for 10 minutes to make sure the brownie will be nice and firm. Remove cakes. Wash the mold, dry well. Melt compound chocolate in the color of your choice, add a layer to the bottom of the mold and immediately insert the cake back. Push gently all the way down. Make sure you see the chocolate coming up a bit around the edges, no need to come all the way to the top. Freeze for 15 minutes. Un-mold, and decorate.
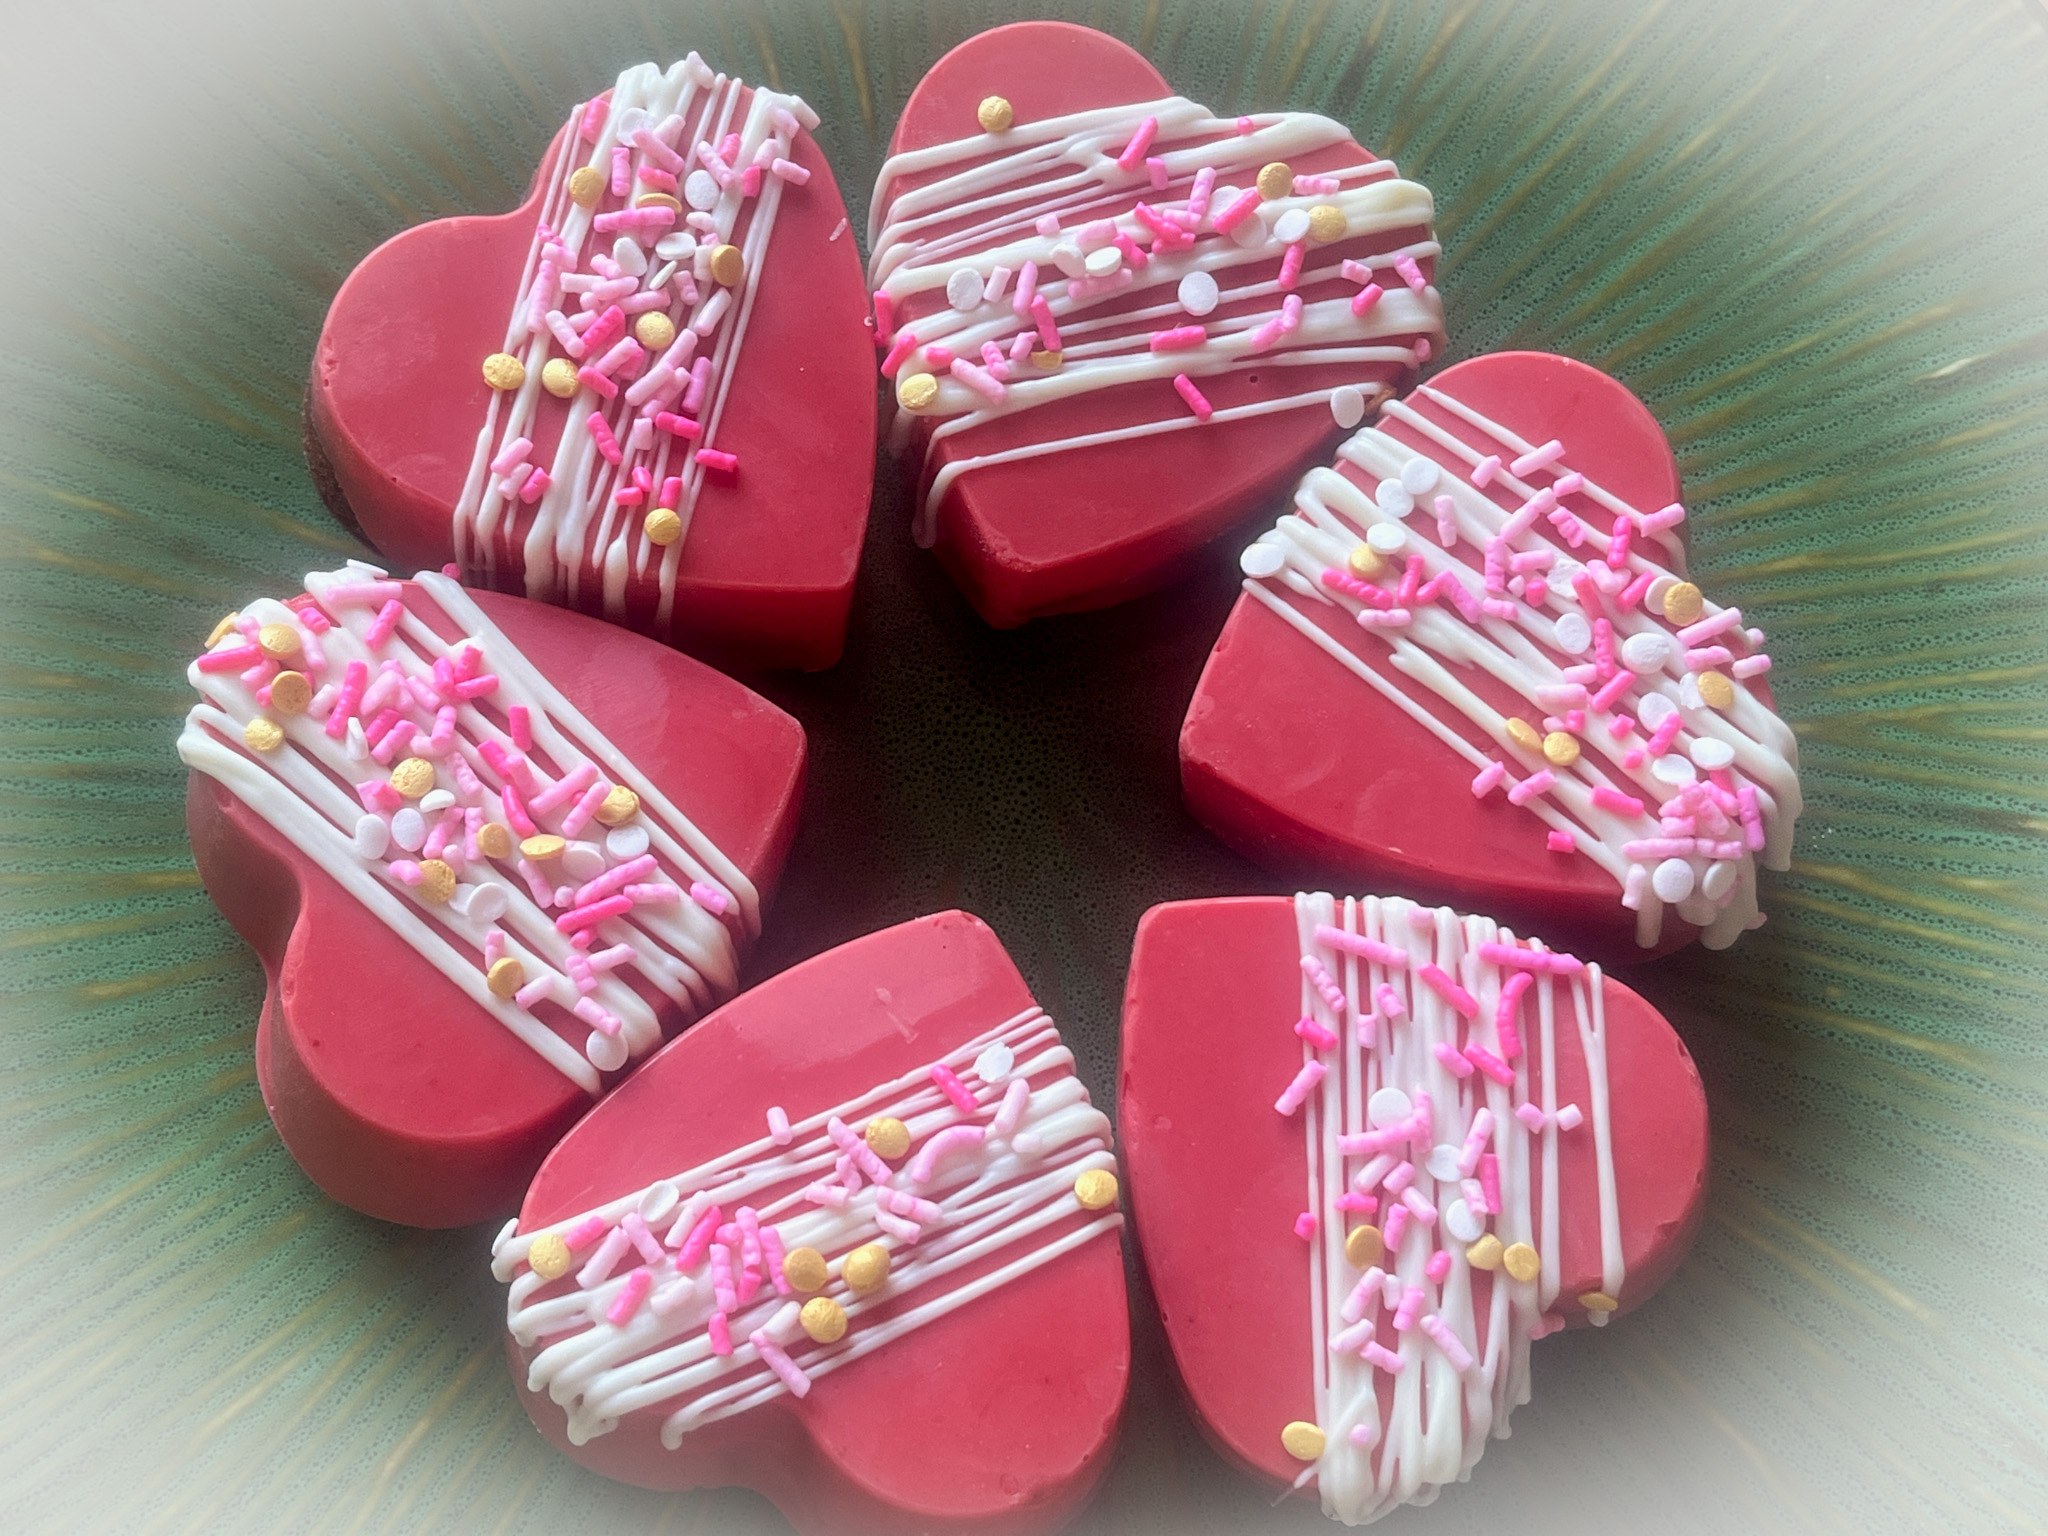
Once they are coated, you can pipe a drizzle of melted chocolate and add sprinkles.
.
.
x
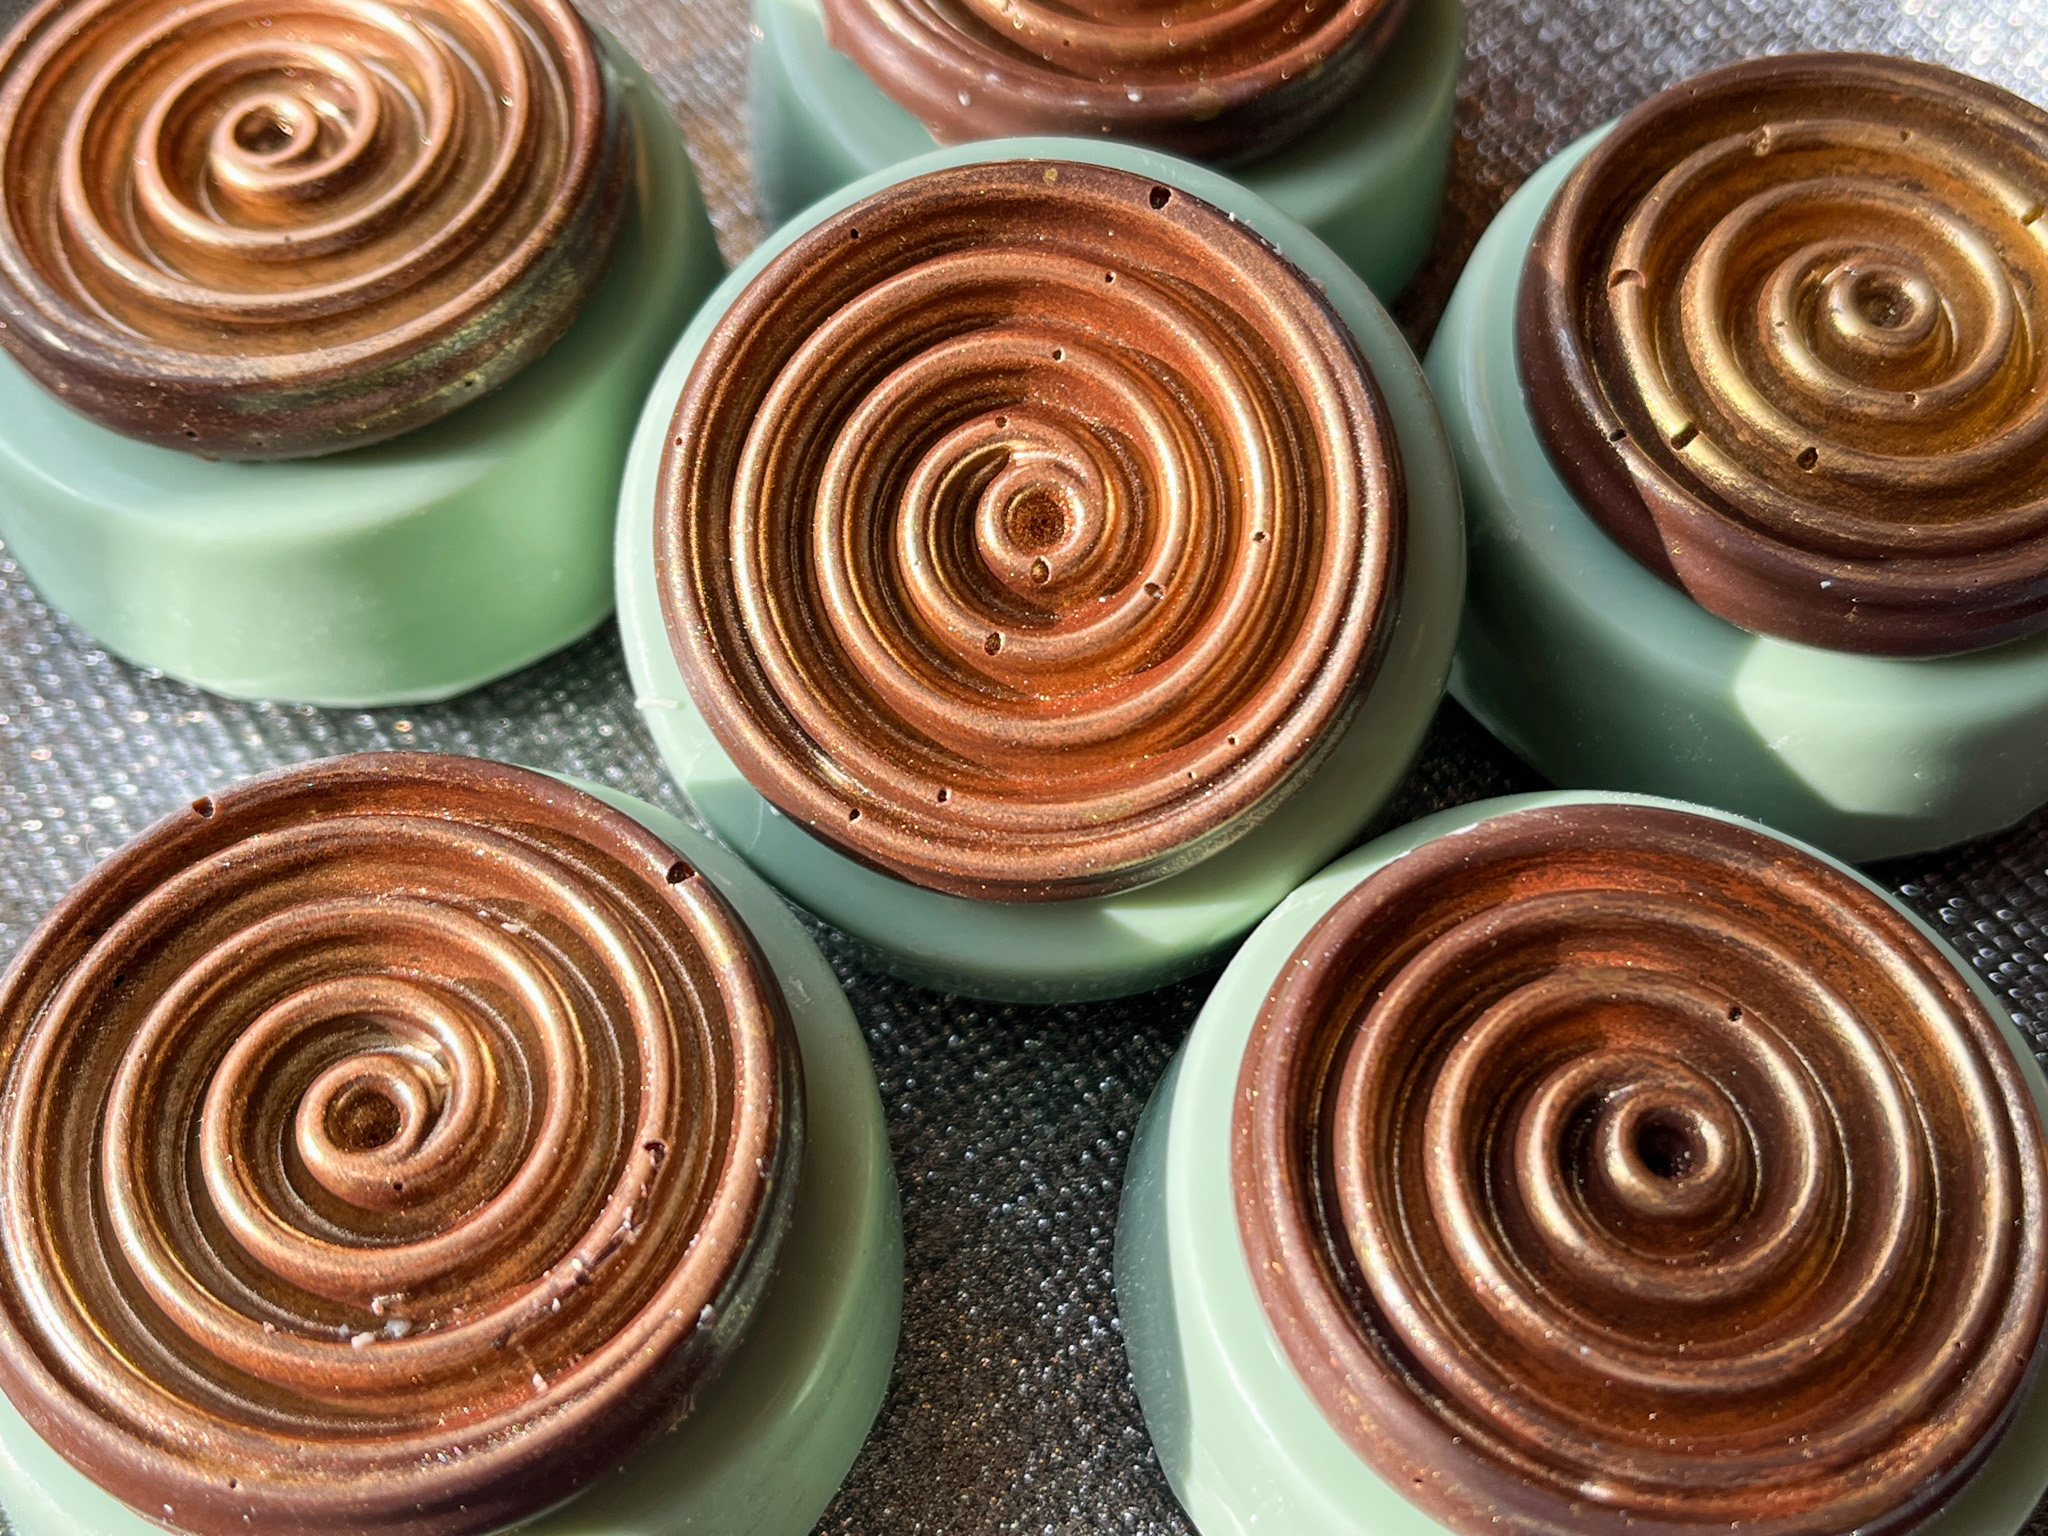
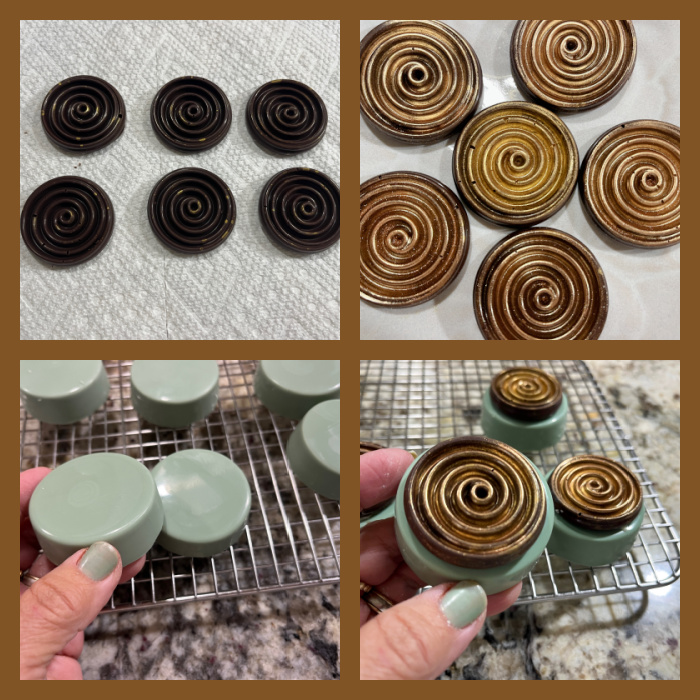
CHOCOLATE-COVERED OREOS
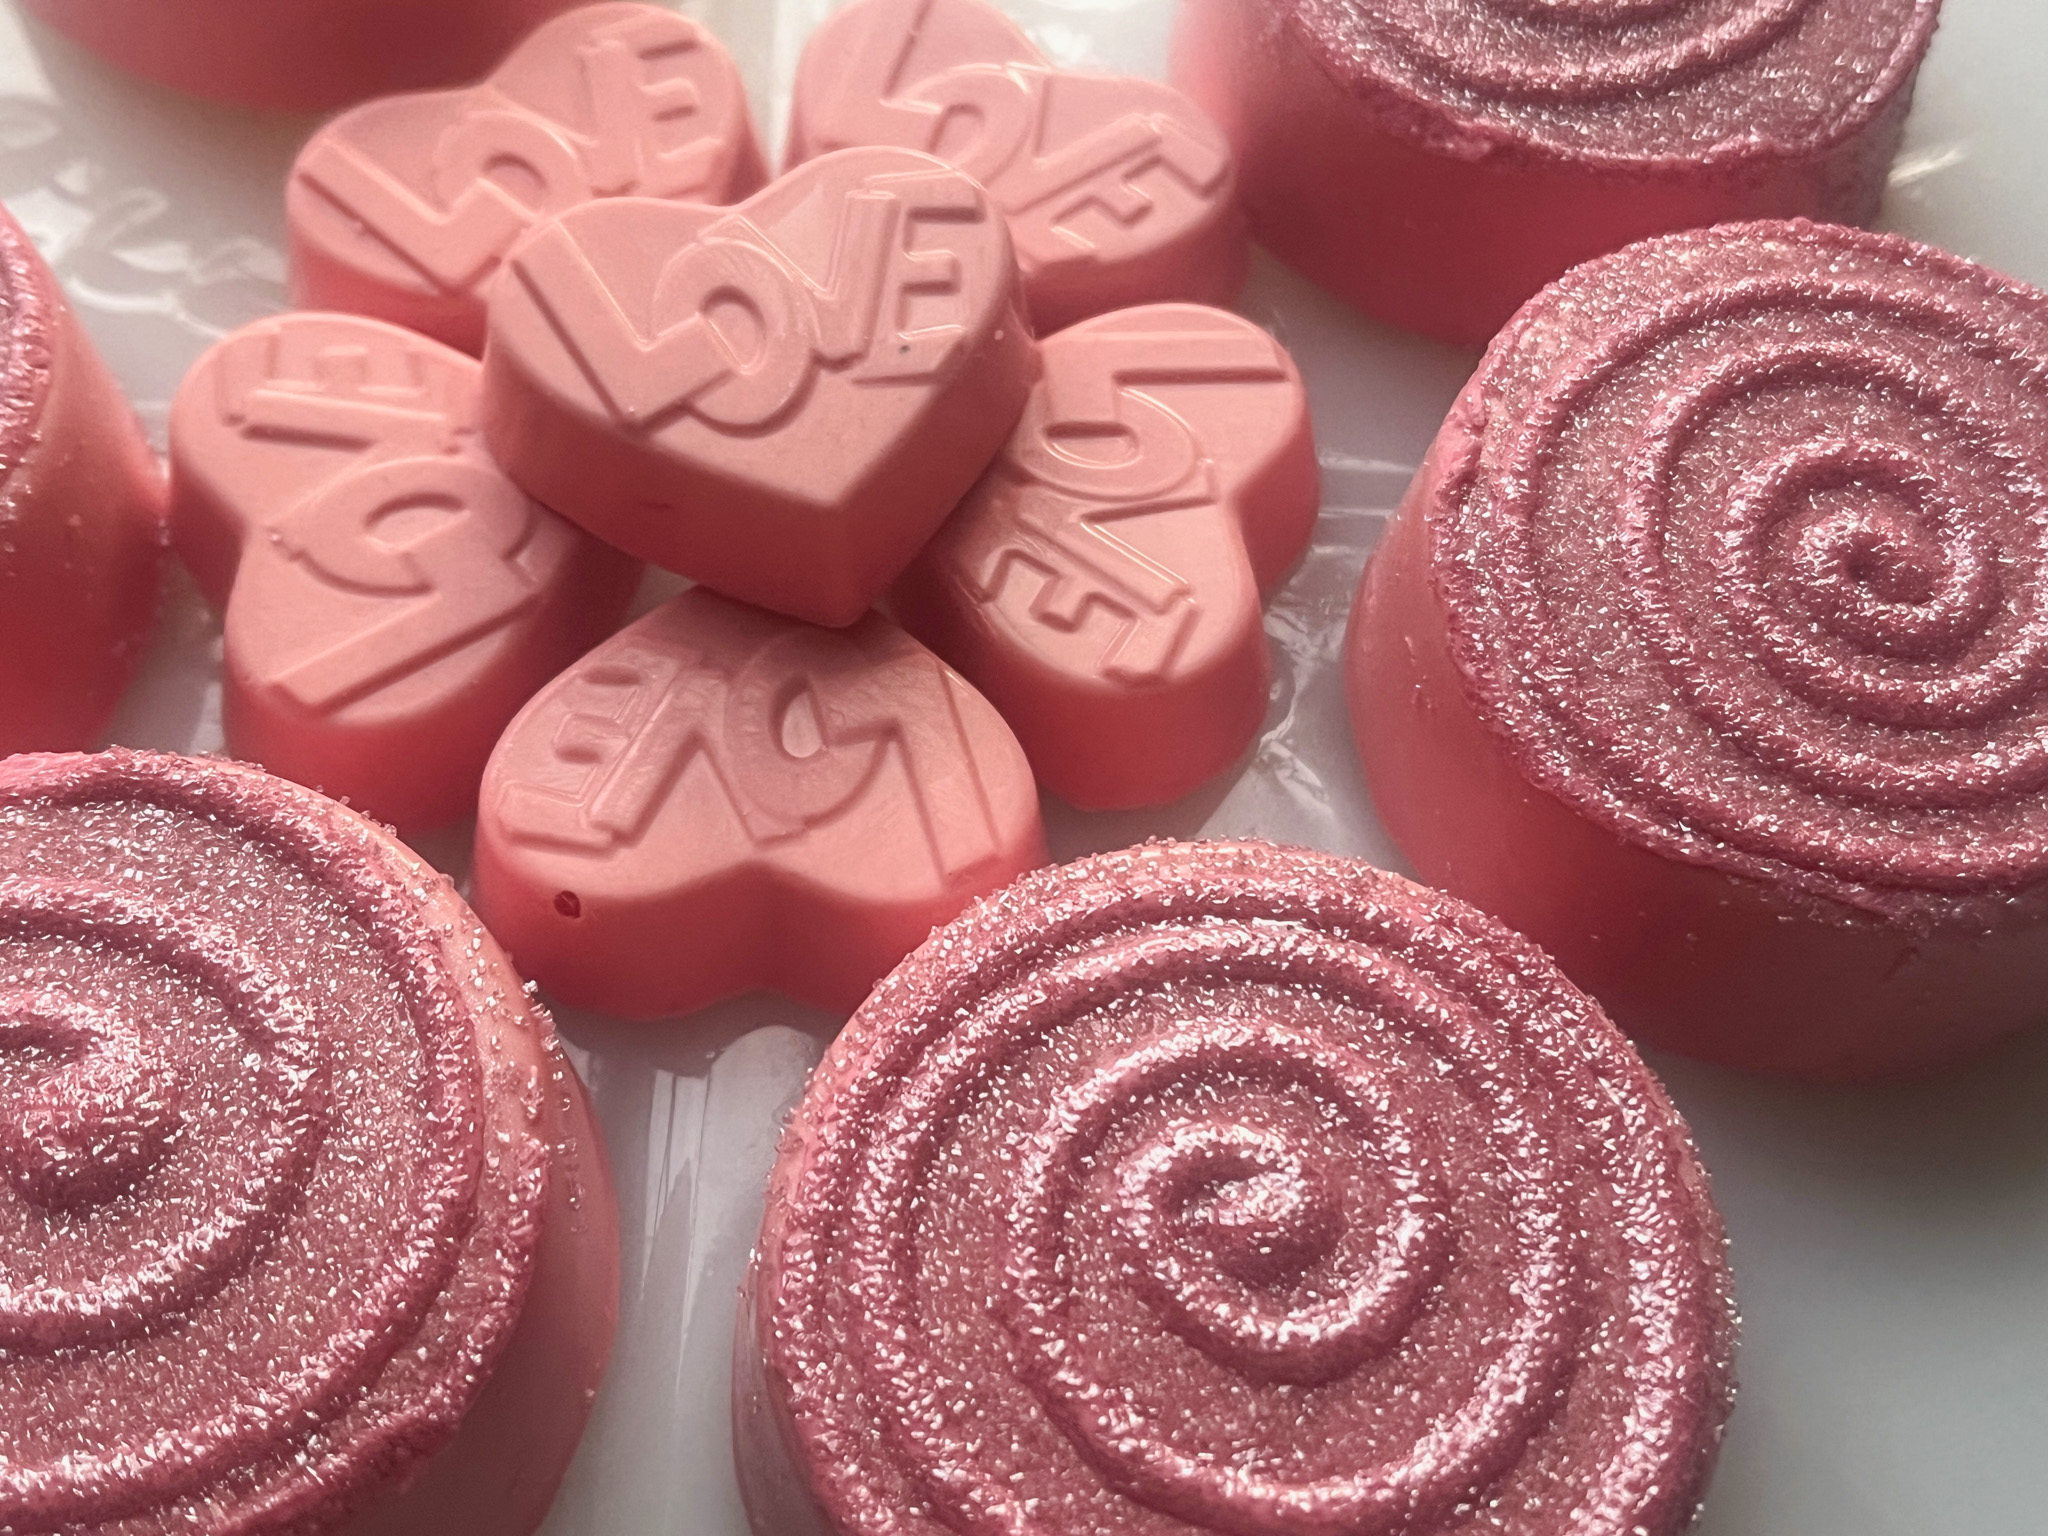
No need for recipe, just a little festive decoration, made with Royal icing and sanding sugar. Leftover melted chocolate was used to form little hearts using this mold.
x
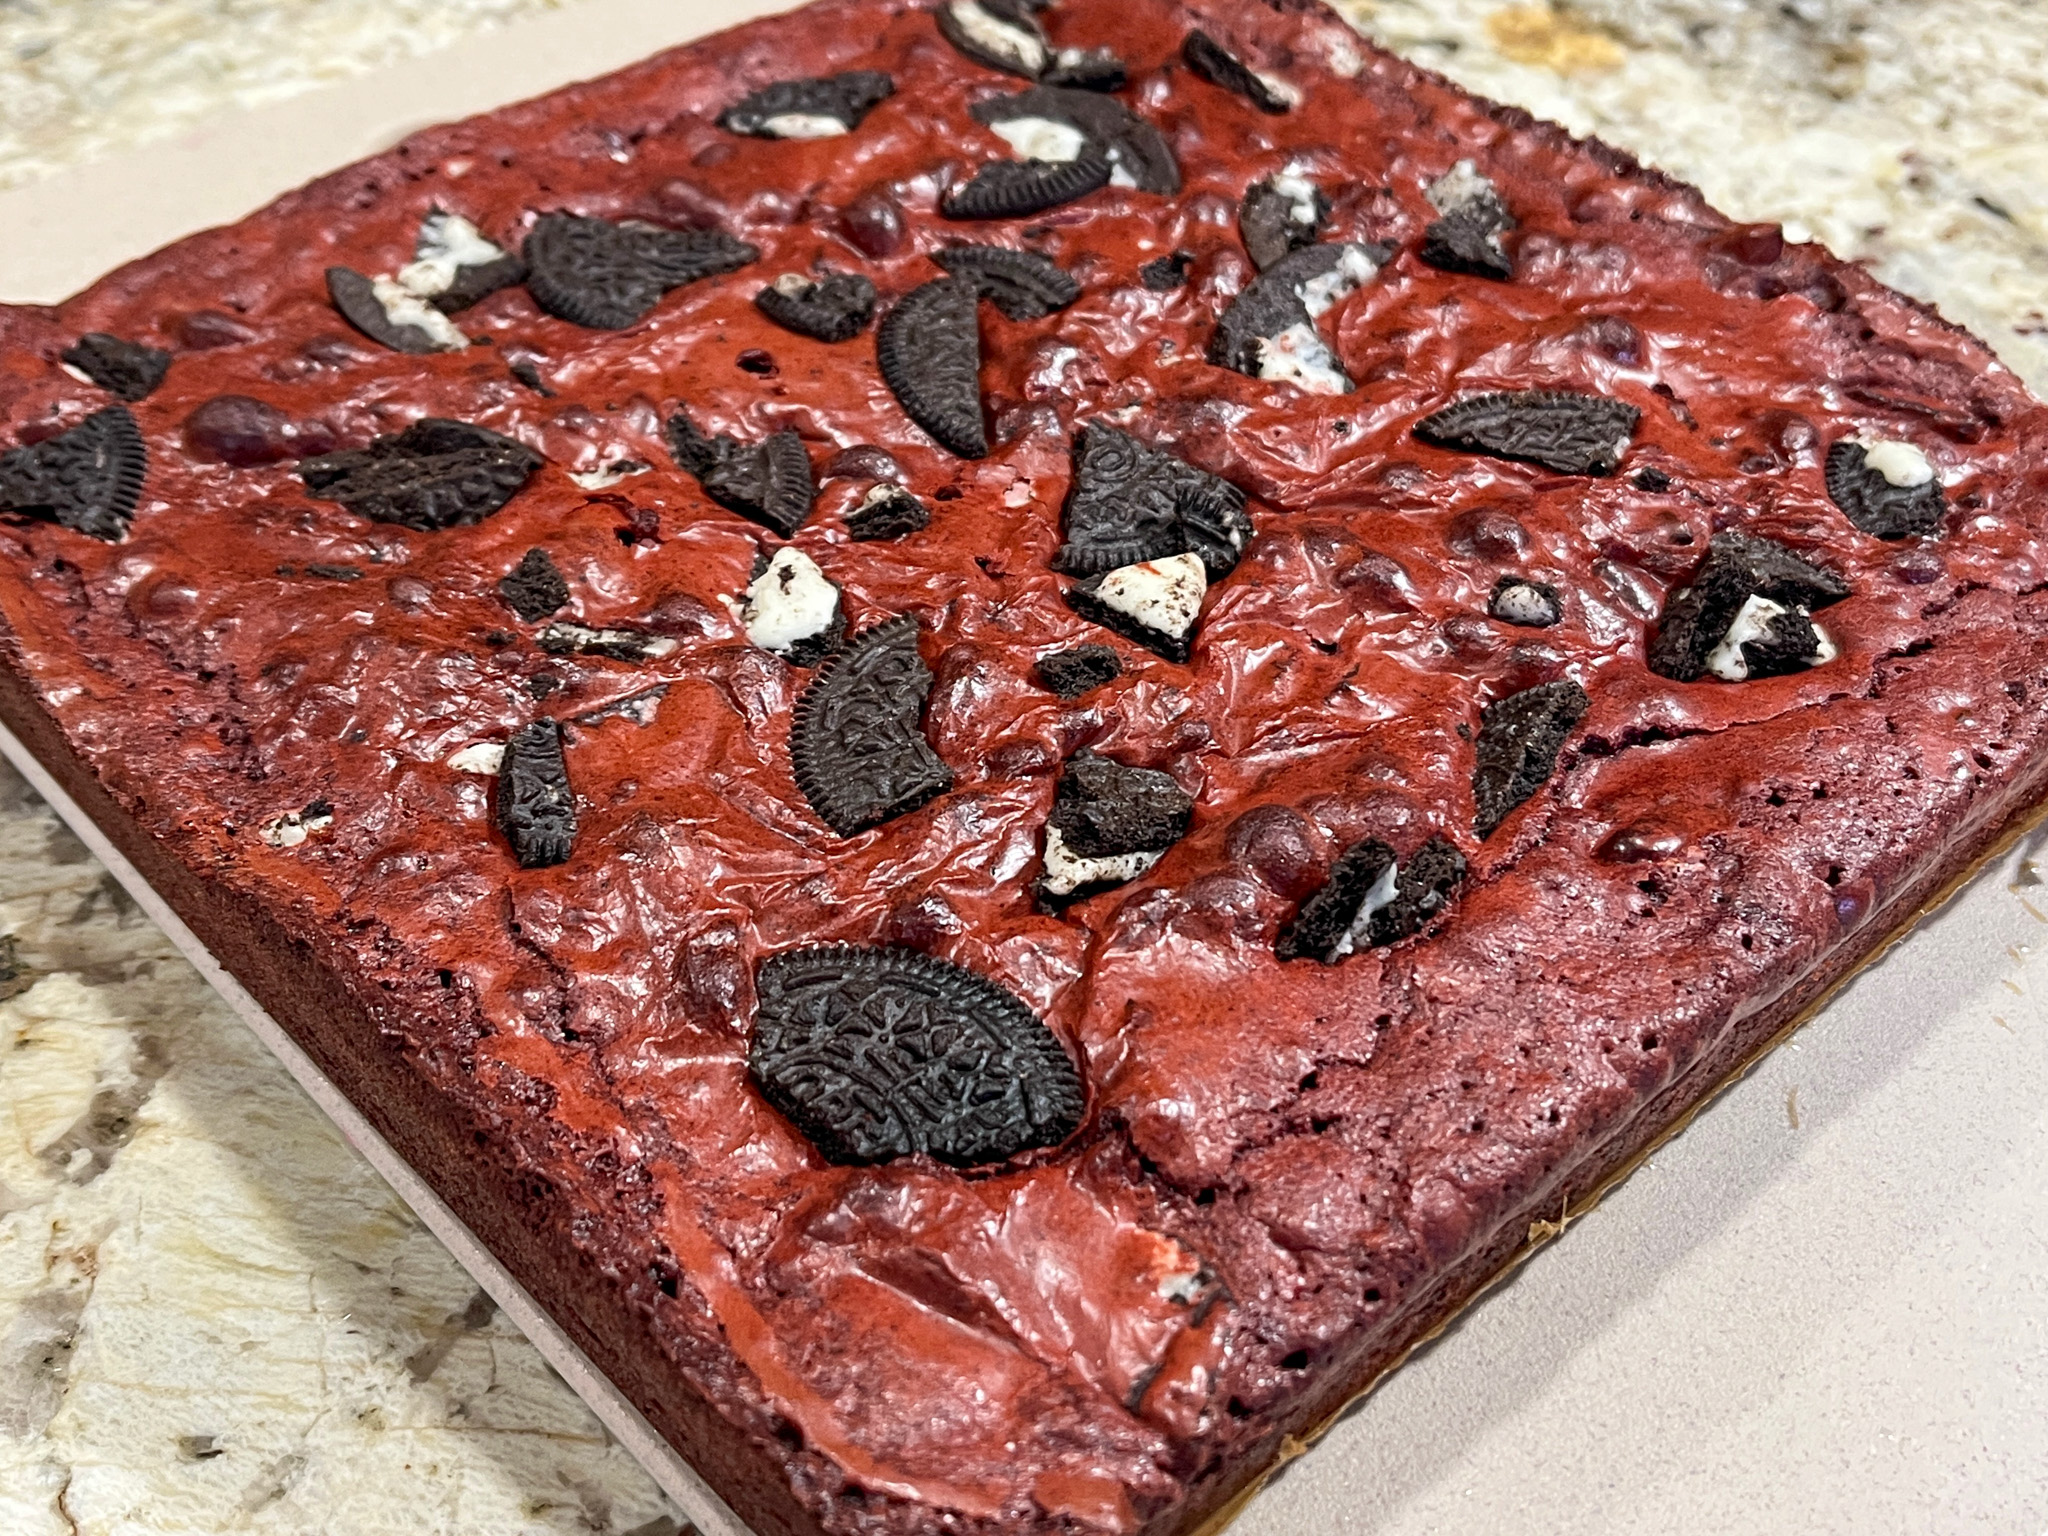
VALENTINE’S SQUARE CAKE
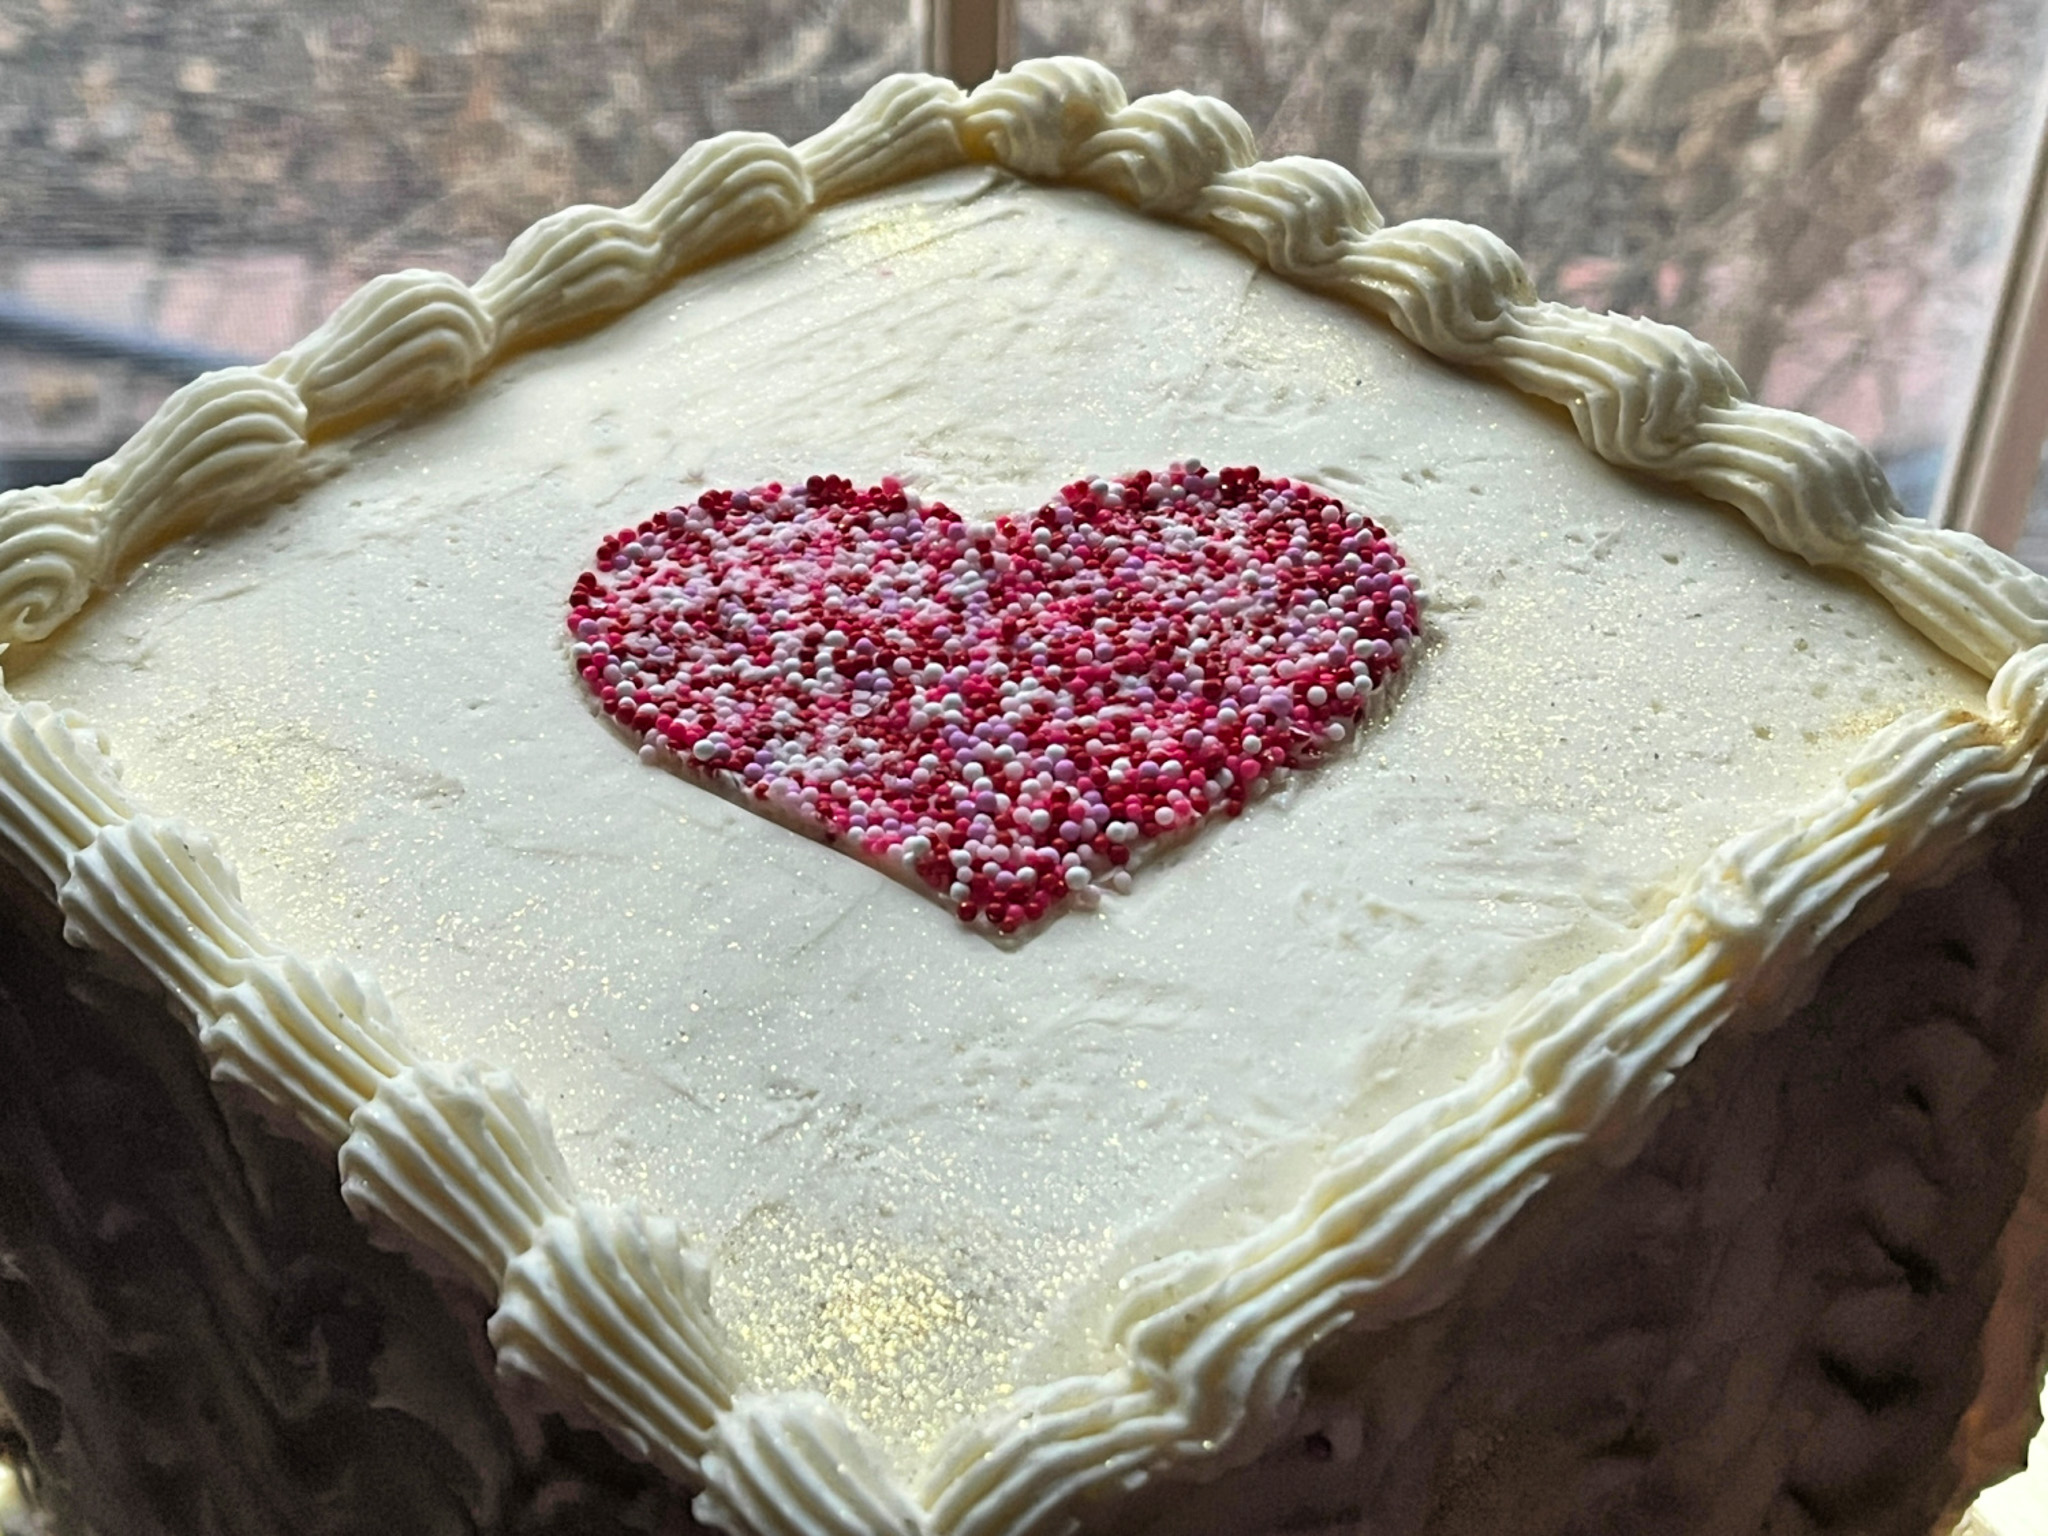
I cannot share the recipe, as it is copyrighted. Published as Sunny Sprinkle Layer Cake, it is in a great book by Molly Gilbert called Sheet Pan Sweets. I baked it in a half-sheet pan, then cut 4 squares to make the layers, used a simple American Buttercream to frost it. It was not easy to frost smoothly a square cake, but oh, well. What does not kill you, makes you stronger.

.
I wish you a wonderful weekend, no matter where you stand on the festivities of February 14th!
ONE YEAR AGO: Baking with the Heart
TWO YEARS AGO: Baking with the Heart
THREE YEARS AGO: Roasted Cauliflower with Chickpeas and Quinoa
FOUR YEARS AGO: A Savory Phyllo Pie
FIVE YEARS AGO: Nut-Free Lady Grey Macarons
SIX YEARS AGO: Mini-Heart Cakes for your Valentine
SEVEN YEARS AGO: Blue Moon Milk
EIGHT YEARS AGO: Slow-Cooked Chicken Meatballs
NINE YEARS AGO: Zesty Flourless Chocolate Cake
TEN YEARS AGO: Maple Pumpkin Pecan Snacking Cake
ELEVEN YEARS AGO: Silky Gingered Zucchini Soup
TWELVE YEARS AGO: Sweet Fifteen!
THIRTEEN YEARS AGO: Sesame and Flaxseed Sourdough
FOURTEEN YEARS AGO: Green Beans with Miso and Almonds
FIFTEEN YEARS AGO: Saturday Morning Scones
SIXTEEN YEARS AGO: White Bread