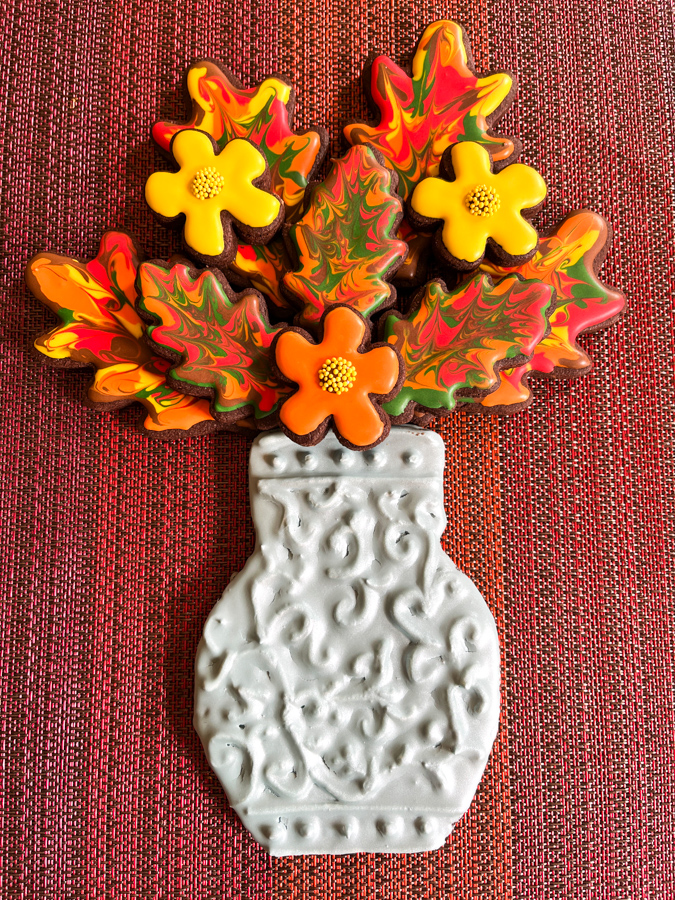
I am absolutely excited to invite you to visit my cookie blog, aka For the Love of Cookies, as I have a very special guest blogger featured today. I have admired Veronika’s work for such a long time, she takes the concept of decorated macarons to the highest possible level. They are pure art. And she is not just about what they look like. Her fillings are very carefully crafted to be the perfect match for each design. She is a source of inspiration like no other! It is a huge honor to have her contribute to my cookie blog sharing how she designed and brought to life a box full of chocolates, all in macaron format. Please stop by to see it, clicking here. Below I share some of her creations. And to follow her, visit Instagram with a click here.
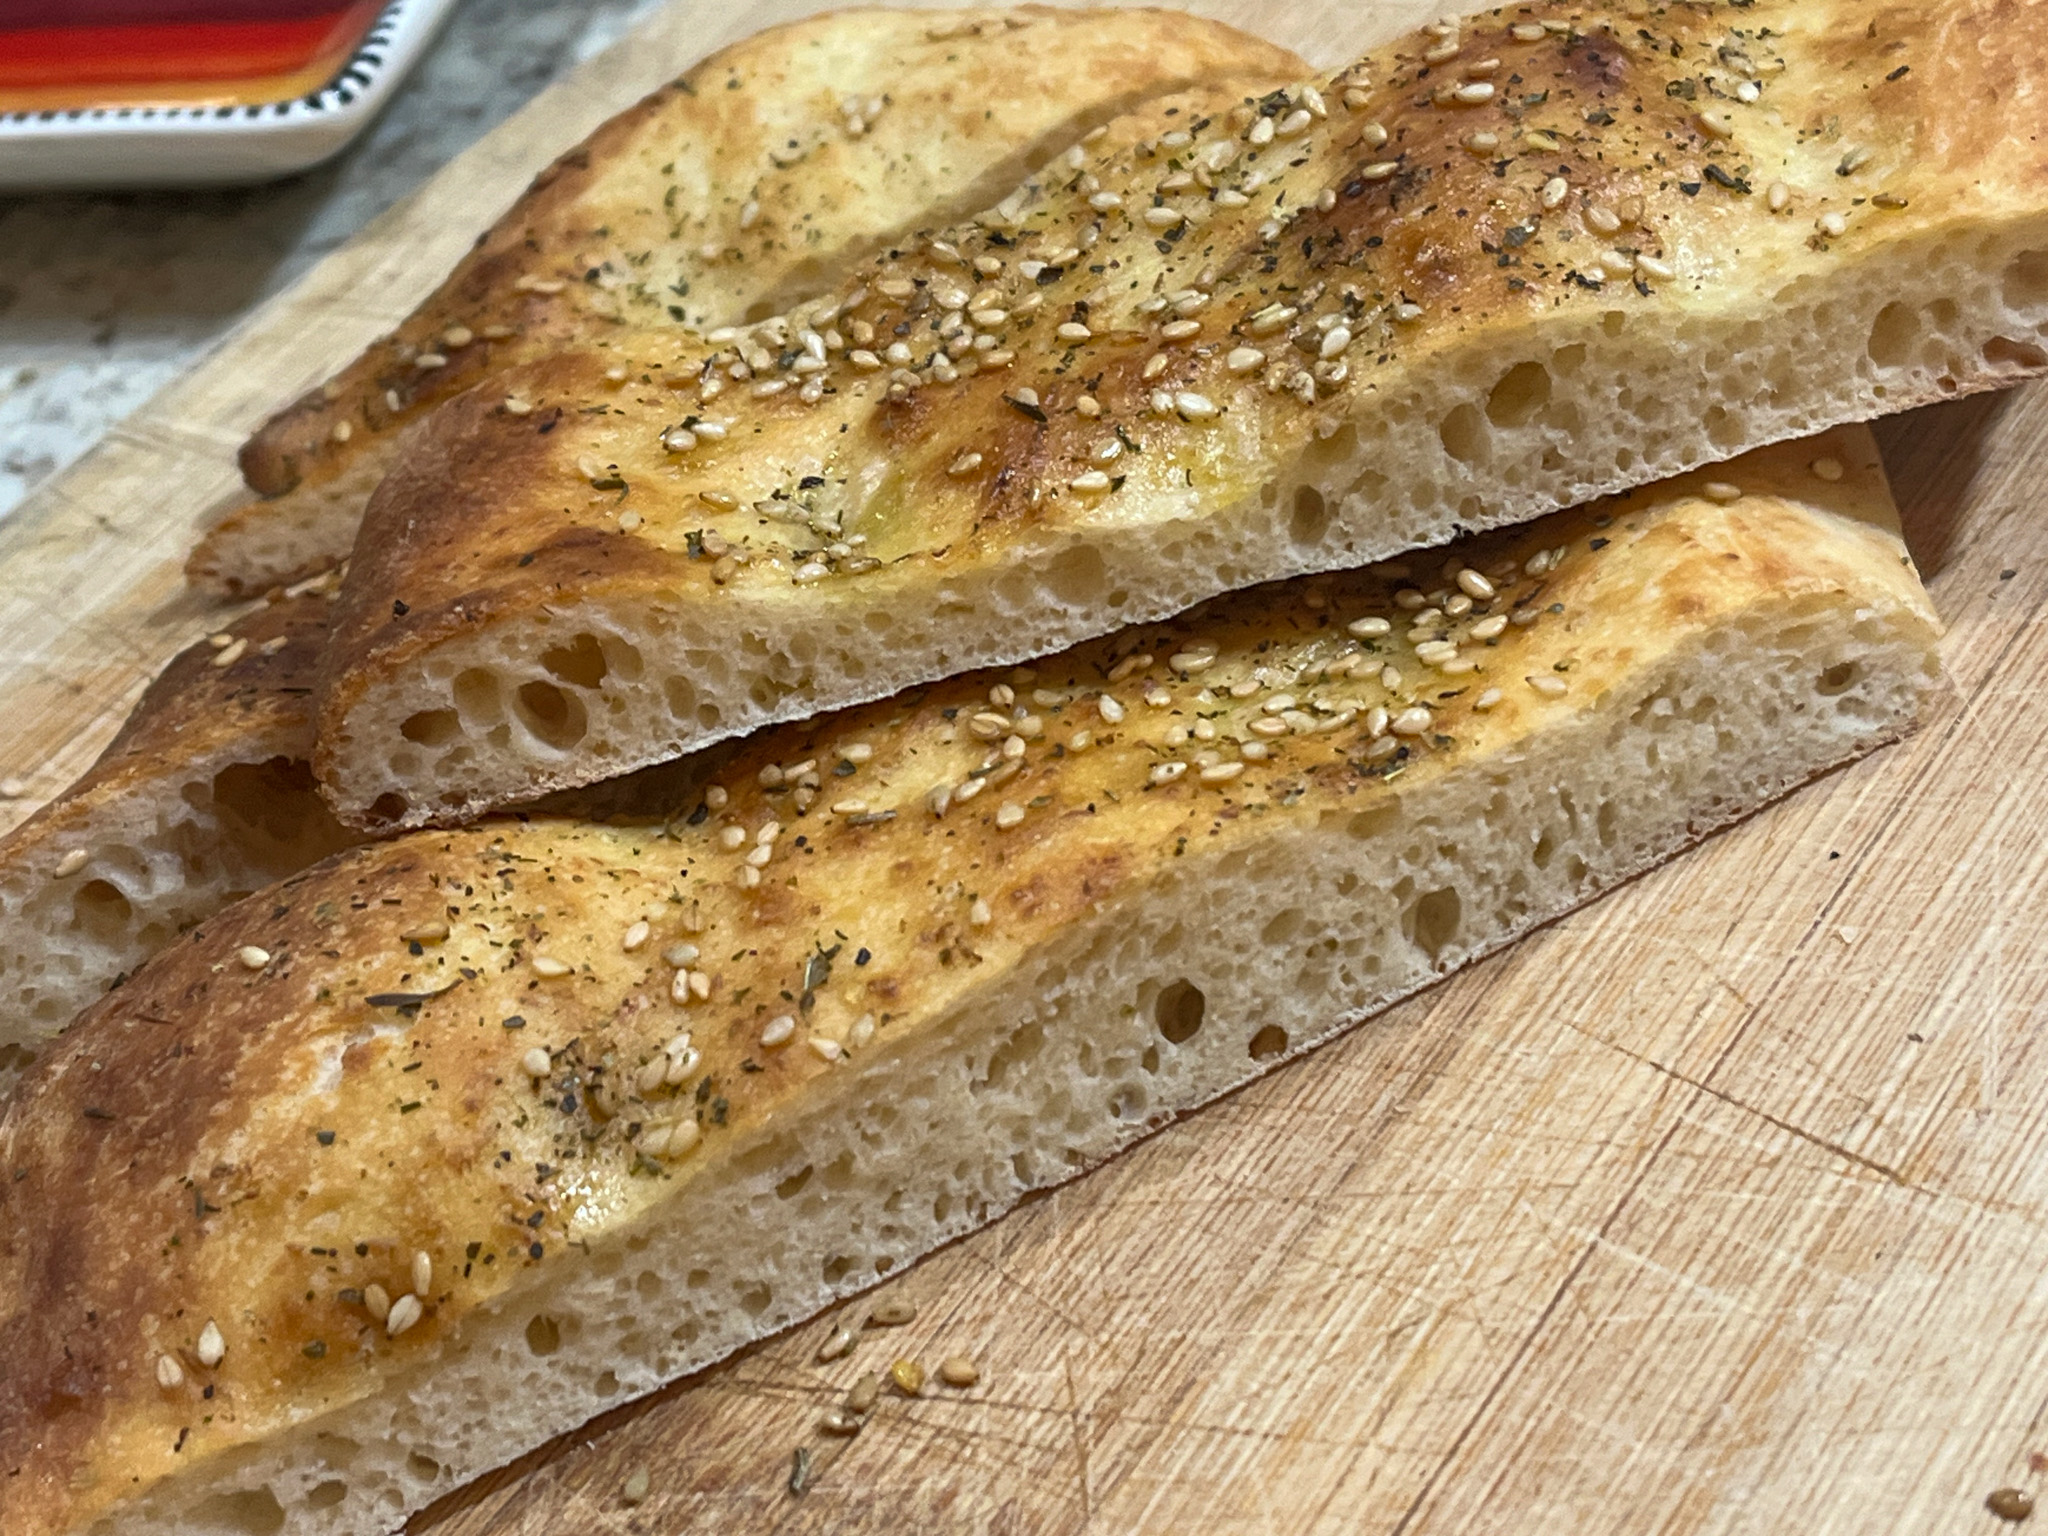
One of my default recipes that I go back to every time is the old Fine Cooking food processor’s pizza dough (click here for post from 2009!). It always works, it is fast, convenient, and I have it memorized, so whenever I want pizza, I mix the dough early in the morning, stick it in the fridge and come back hours later. I might change slightly the composition of flour, adding spelt or whole wheat if I feel like it but the basic procedure is the one from the blog. It got me thinking that the same approach could work for a slightly more complex type of dough, one that includes yogurt, but does not quite go into the direction of the Indian naan. I am super happy with the outcome, and urge you to give it a try…
FOOD PROCESSOR FLATBREAD WITH SESAME SEEDS (from The Bewitching Kitchen)
250 grams (about 2 cups) bread flour 1½ teaspoons instant yeast 1/2 teaspoon salt ¾ cup plain, full-fat yogurt 2 teaspoons agave nectar 1/4 cup of water (you might not need the whole amount) olive oil, za’atar, Herbes de Provence, sesame seeds (to taste)
Mix the yogurt with the agave nectar and reserver.
In a food processor, combine the flour, yeast and salt, then process until combined, 2 to 3 pulses. Add the mixture of yogurt with honey, process, and with the machine running, drizzle the water. Stop when the contents in the bowl start for form a cohesive dough. Process for about 60 seconds, adjust with more flour or water if needed. Ideally the dough should be slightly sticky.
Remove the dough from the processor, form as a smooth ball, and leave it to proof at room temperature for 90 minutes.
Heat the oven to 450F and place a baking stone on a rack to heat. Divide the dough in two equal portions, then stretch them into oval shape on a piece of parchment paper. Brush with some olive oil, sprinkle your spice mixture of choice, then sesame seeds. Transfer the flatbread into the oven, still on the parchment paper, and bake until puffed and golden, about 15 minutes.
Remove to a cooling rack, and enjoy once it cools down a bit.
Comments: I made a small batch, with only 250g flour, because I was testing the food processor method, but it ended up really perfect for the two of us. Even four people could be happy with the two flatbreads, although in that case I guarantee you won’t have leftovers. I liked the za’atar version the most, hubby preferred the one with Herbes de Provence. Your kitchen, your choice!
No recipe today, quite the opposite. My passion for baking has made me join many groups on Facebook related to cookie decorating, macarons, patisserie in general. One of the most common requests in those groups is “I want to start baking macarons… please give me a foolproof recipe”… or… I want to make decorated sugar cookies, but I want a cookie recipe that won’t spread, and the BEST Royal icing that will be easy to work with. Similar requests for bread baking, or pie crust, or laminated dough… Basically they believe that “the best recipe” is the answer to all issues. Guess what? It is not. Just to give one basic example, you can make macarons using three very different methods for the meringue (French, Swiss, Italian), and they will ALL work, if you add to it the one key ingredient no one lists in any recipe: PRACTICE.
About a year ago, I fell for something I saw advertised. A cookie recipe that was so good that you could only get it by paying for it through the author’s etsy shop. I was so intrigued, that I confess I did pay. I paid almost $20 to get ONE recipe for cookie dough, which is probably the price I pay for most cookbooks I own. It turns out that magical recipe was almost exactly the one I’ve been using for a long time, with minor differences. It taught me a big lesson. It is NOT the recipe. It is your experience, the “feel” you develop for something once you do it over and over and over.
Royal icing is tricky. Consistencies need to absolutely perfect depending on what you want to do with it. I’ve been decorating cookies on a regular basis for at least 3 years and I can tell you that every single recipe out there will work once you get used to it, once you PRACTICE. No recipe will replace practice. Some recipes tend to attract a lot of attention, because all of a sudden a group of seasoned bakers start praising it and then those who are just beginning their baking journey will try it. If that fails, they assume THEY are the failure. Trust me, most recipes can work if you allow yourself to get acquainted with the different steps, and commit to practicing it. Yes, I do sound like a broken record today…
Do I have recipes I consider excellent and tend to go back to all the time? Yes. My Grown-up Spicy Chocolate Cookiedough is one. My default French macaron recipe is another. But even those, it took me MANY attempts at making and optimizing it, until I felt comfortable with them. I now add different flavorings to the chocolate dough, omit the chipotle, take it into different directions with orange or cardamon, but the overall procedure is the same and I am confident about tweaking it because I have made it more than 100 times. If my dough behaves different one day, I can tell, and I can do the adjustments because I got the “feel” for it. No recipe gave it to me, it was just practice. Over, and over.
Sugar cookies are another example. Some recipes omit baking powder and add cornstarch. I am quite fond of that basic approach. After trying many different versions, for my particular goals, a little bit of baking powder is a good thing, but not as much as most recipes call for. Yes, baking powder makes the cookies rise UP, which is not a bad thing. But it also gives them a rounded edge I don’t care for if I am decorating with Royal icing. I rather have a more flat surface all the way to the edge. Omitting baking powder completely is perfect in that sense, but the texture of the cookie suffers. So I use 1/4 tsp of baking powder for a nice compromise (a favorite recipe of mine is this one, but I vary the flavors all the time). It works for me, but it took me months of tweaking, observing the results and testing again. And again. Another whole universe is stamped cookies in which keeping the design is a must . Different molds behave better with some recipes than others. No single recipe will be a winner. But once you commit to finding what works for you, it will all fall in place.
Bottomline is, every time someone begs for the perfect recipe and expects success, I tend to roll my eyes to the ceiling a bit. You want the perfect recipe? Be ready to work for it. You have to make it happen in your kitchen, with your oven, your ingredients and for your personal taste. No one, absolutely no one can do it for you. Baking is one of the most rewarding activities, if you enjoy the path. Including the failures, the mistakes, the less than stellar results. Don’t expect the perfect recipe to be handed to you, instead make it materialize. Work with it, and above all, make your path fun!
It’s been quite a long time since I shared recipes that are so easy, it’s hard to call them as such. Come to think of it, my most recent post in this series was from May last year (check it out here). So, without further ado, let’s get this ball rolling!
.
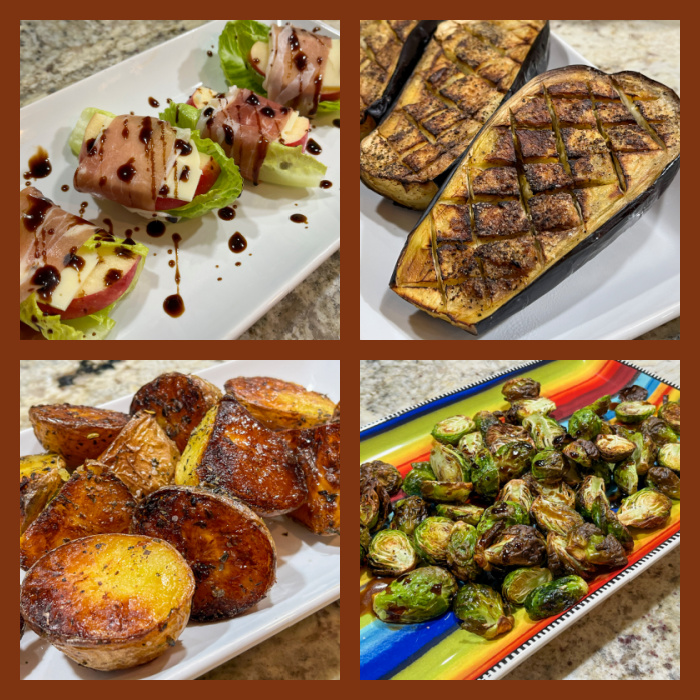
APPLE-PROSCIUTTO APPETIZER
Get some apples, cut them in wedges, any thickness you like. Sit the slices over a couple of crisp Romaine lettuce leaves cut the same size as the apples. Place a slice of cheese on the other side, roll it all together with prosciutto. Sit on a serving plate and drizzle balsamic vinegar reduction (store-bought is totally fine).
.
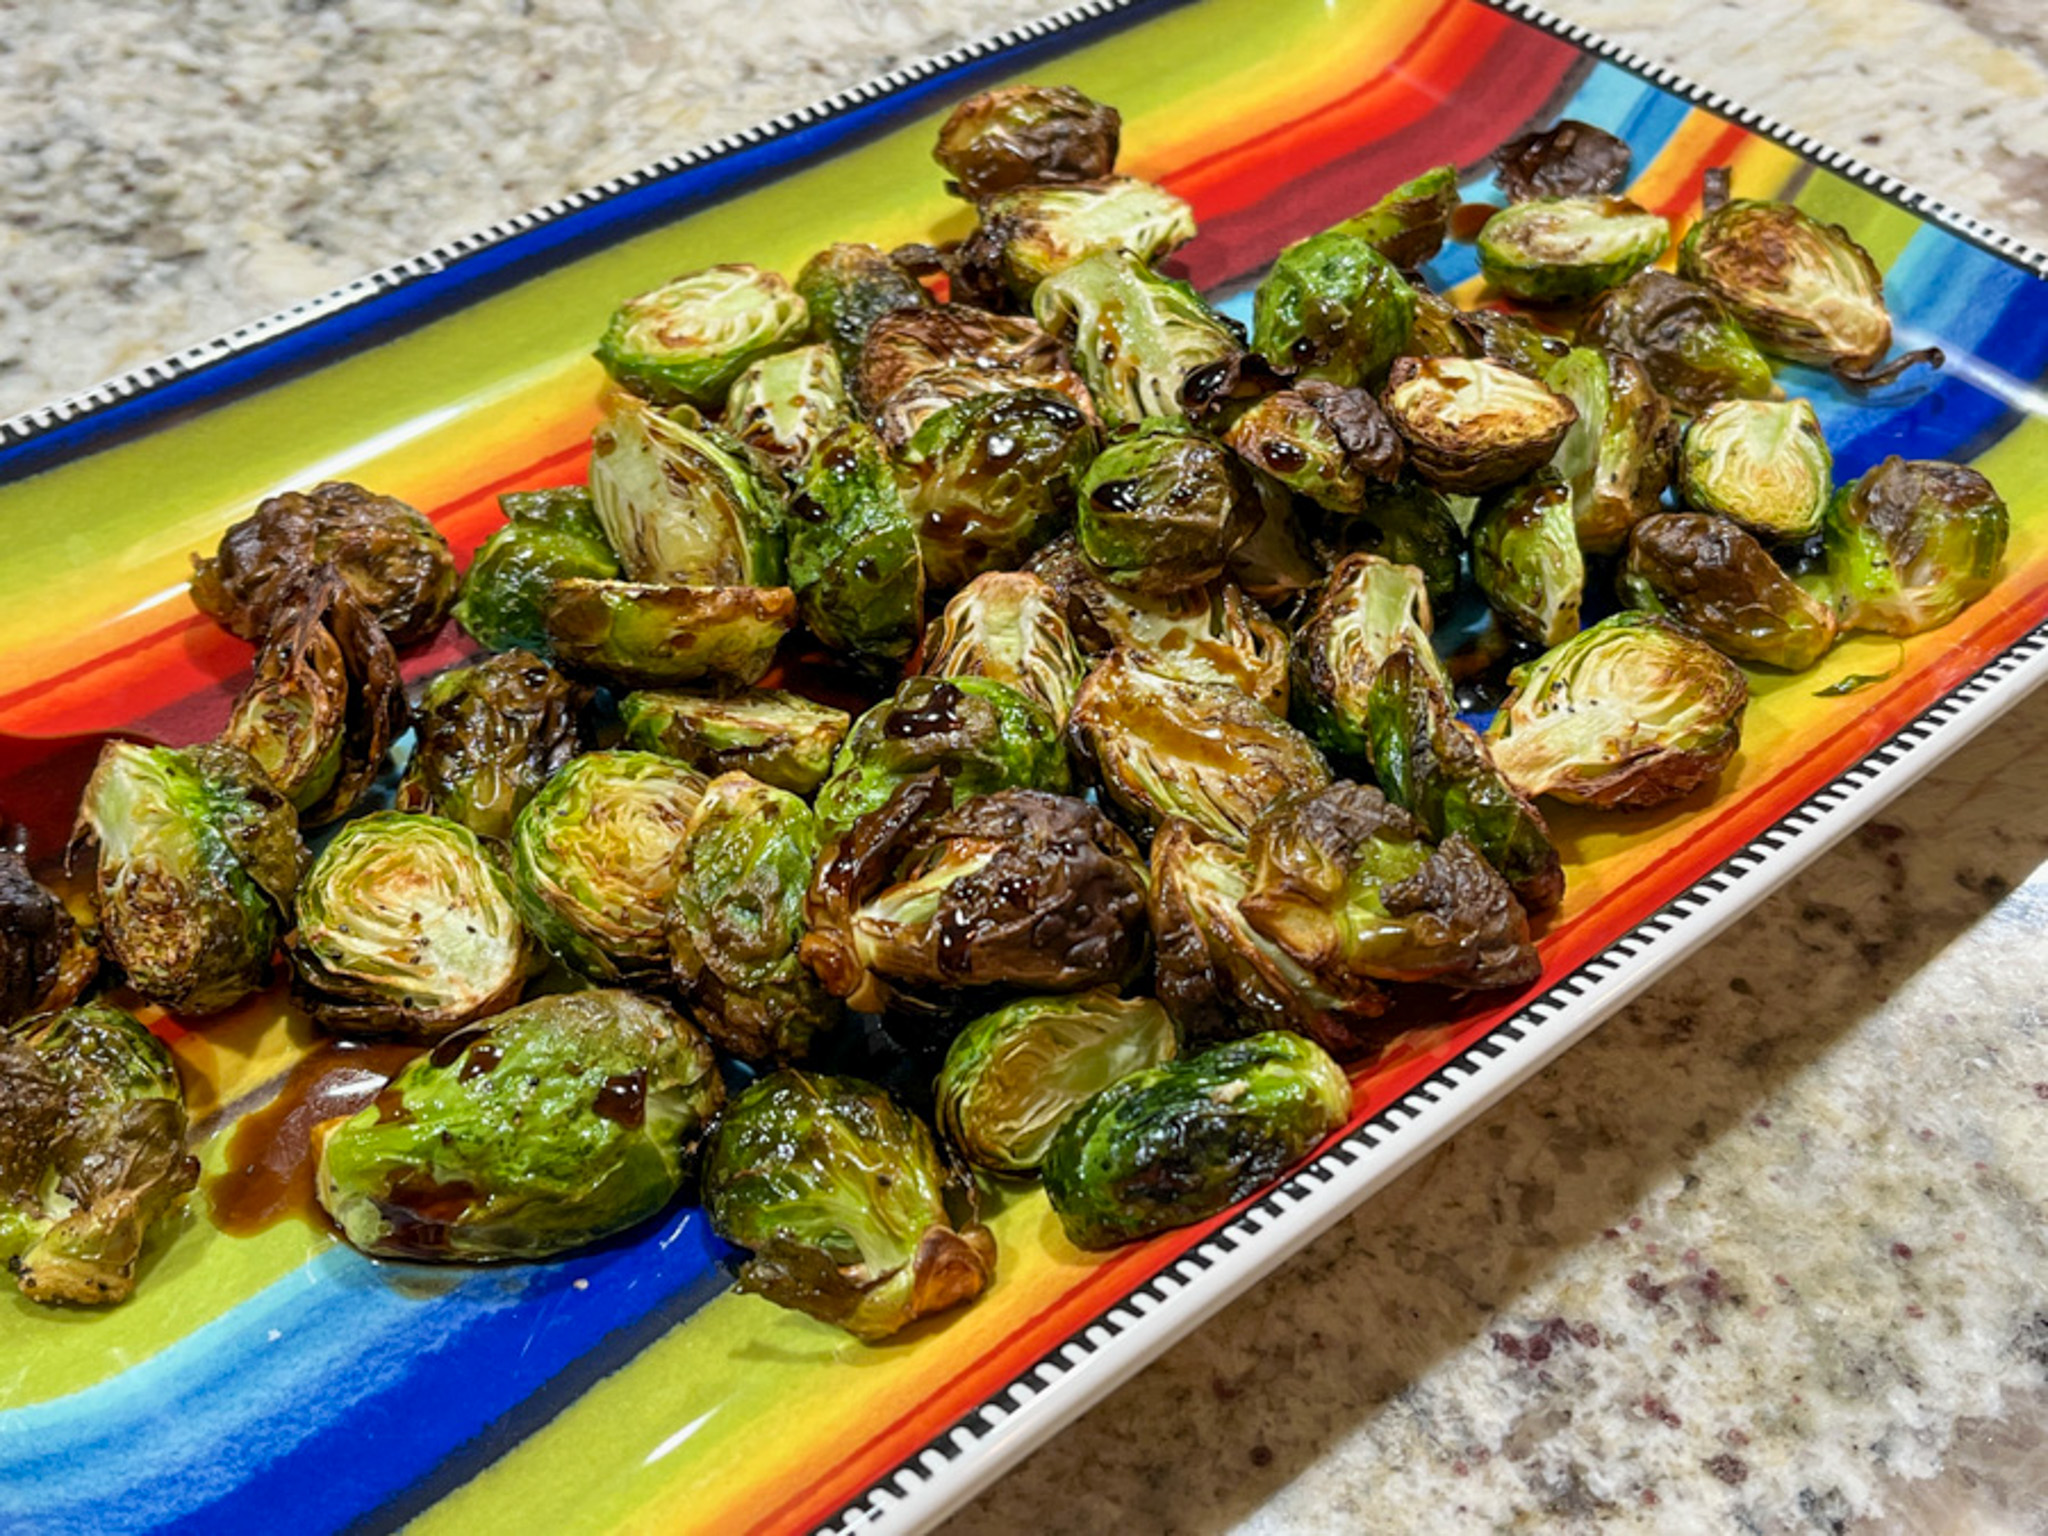
AIR-FRIED BRUSSELS SPROUTS
Use small sprouts, if you can find them. Cut them in half. Place them in a bowl with very hot water for 10 minutes. Drain. Coat them lightly with olive oil, season with salt and pepper. Air-fry at the highest temperature your fryer goes, until golden brown. Probably 15 to 20 minutes. Shake them around every once in a while. I drizzled a little balsamic reduction when I served them. Love that ingredient so much… If you don’t have an air-fryer, simply use your oven at 420F.
.
YUKON GOLD ROAST POTATOES
Cut each potato in half. Place them in cold salted water and boil gently for 12 minutes. Drain. Drizzle olive oil over a baking sheet that can hold them in one single layer, covered with aluminum foil (non-stick foil works great). Place them cut side down, season lightly with salt and herbes de Provence. Roast them at 420F without moving them for 20 minutes, then flip them around and roast for 5 to 10 minutes more.
.
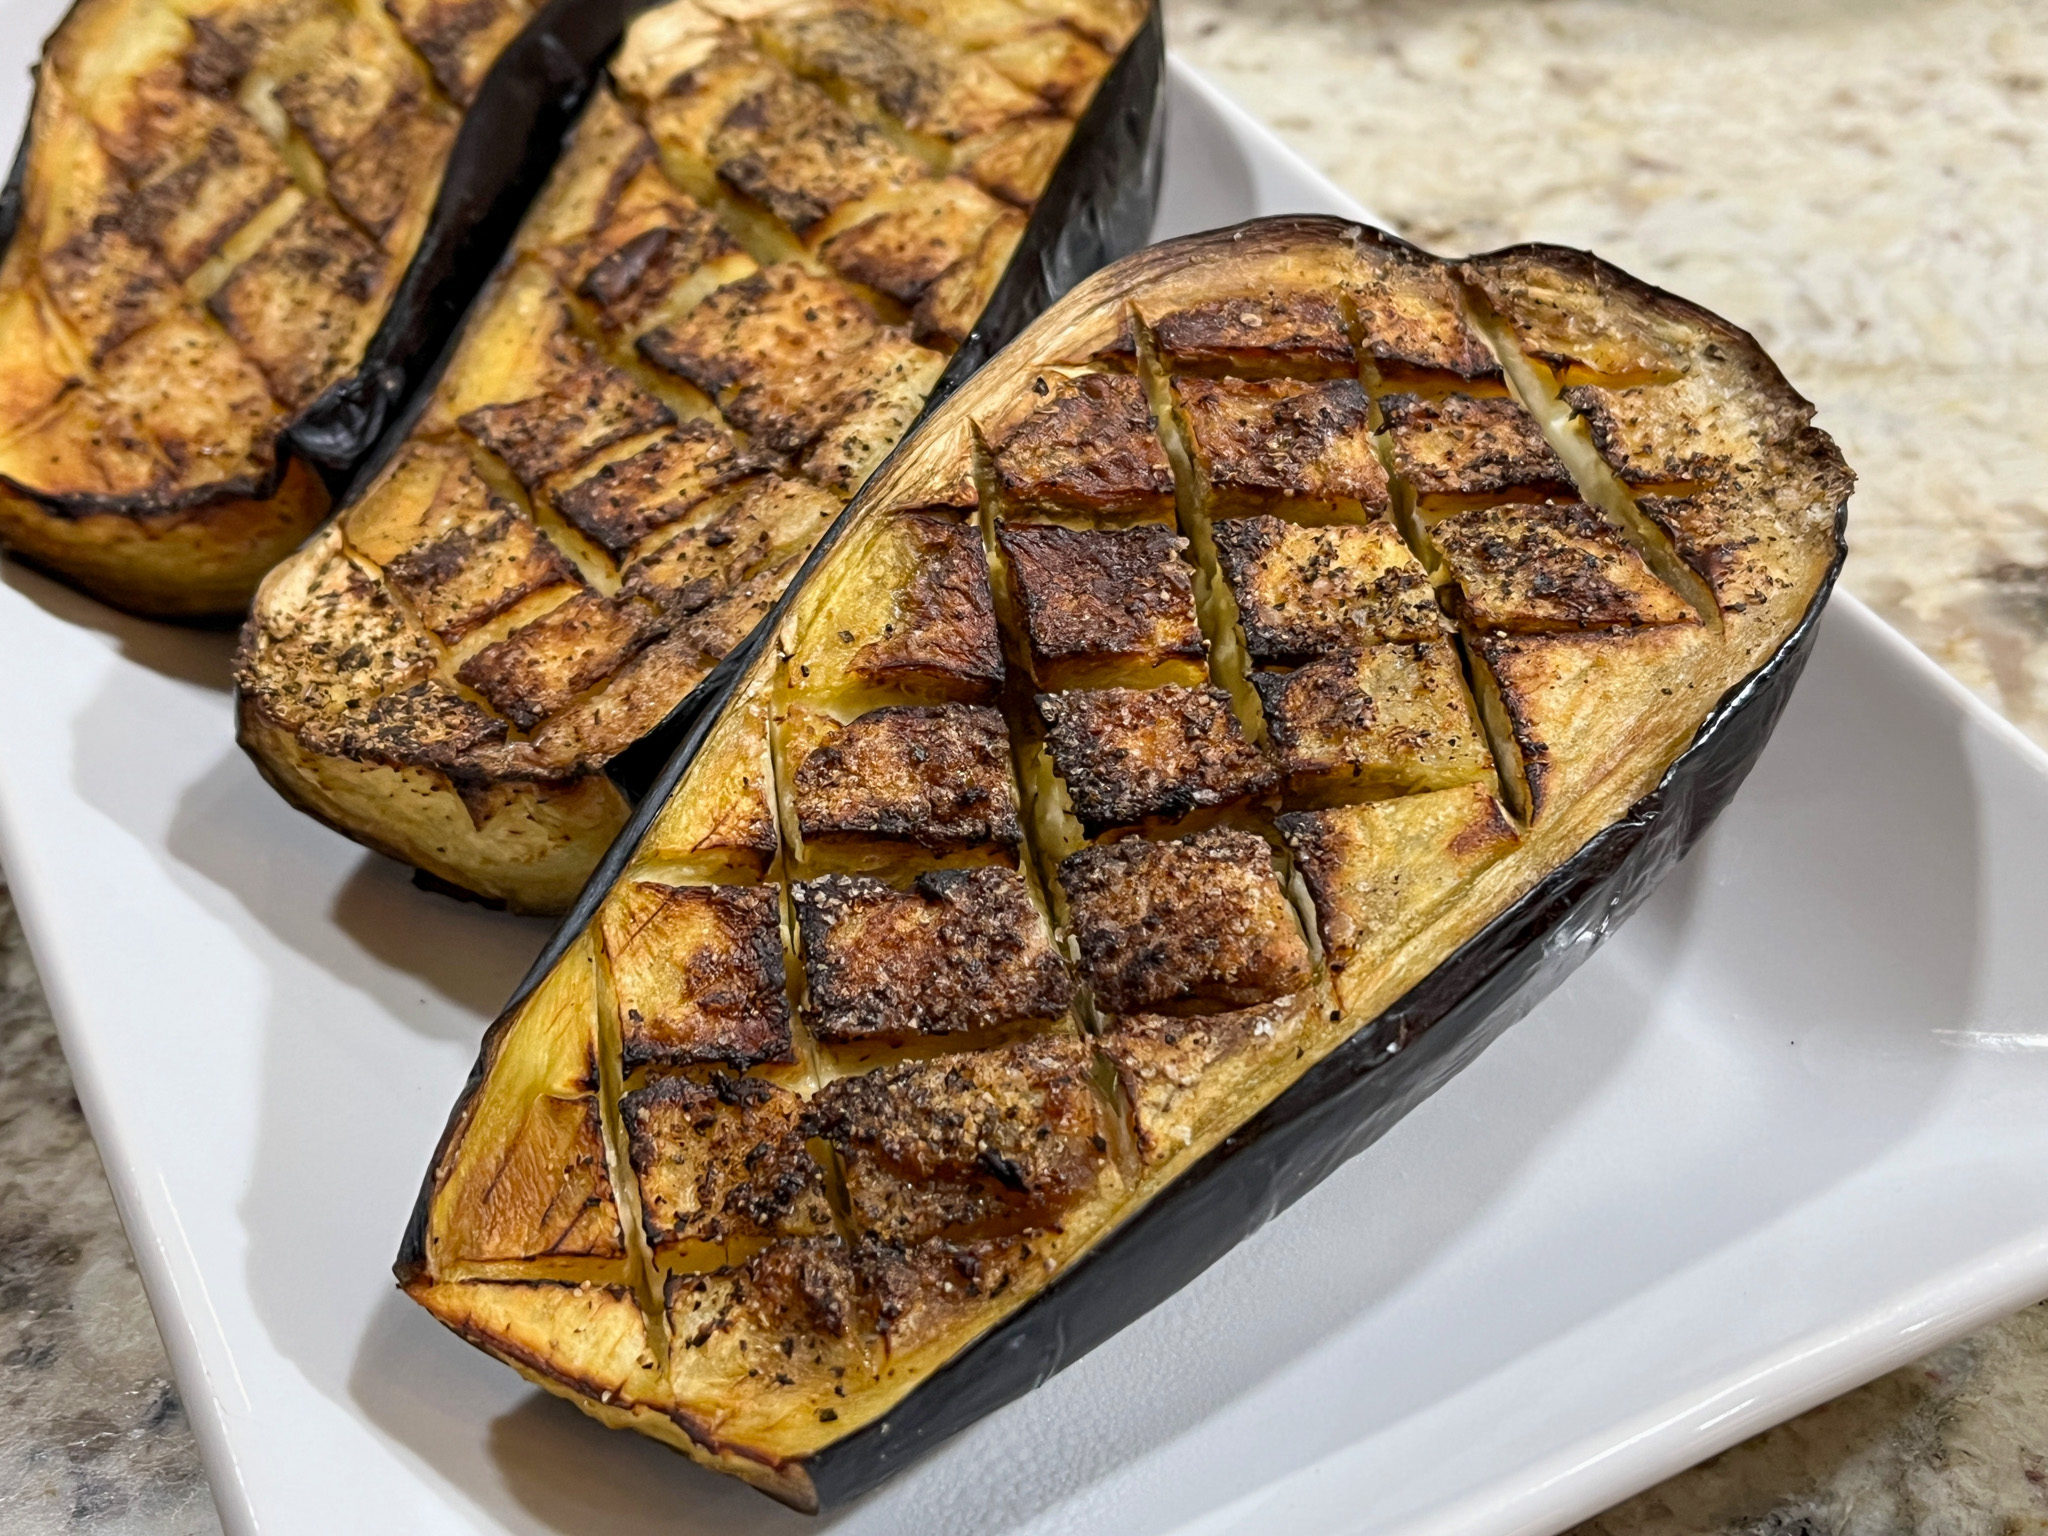
ZA’ATAR AIR-FRIED EGGPLANT
I don’t bother salting eggplant anymore, but you can if you prefer. Cut the eggplant in half, score it with a sharp knife in a diamond pattern to expose the flesh. Mix a little olive oil with lemon juice, salt and za’atar. Brush all over the surface, then air-fry at 385F for 25 minutes, until the flesh is cooked, test with a fork.
I hope you enjoyed this small collection of super easy recipes. The apple appetizer is really delicious, I was inspired by a recent show from Molly Yeh (Girl Meets Farm) to make them. Normally I am not too fond of prosciutto without cooking it (like on pizza), but in that recipe it worked nicely with the apples providing nice texture.
This post is dedicated to my sister Norma, wishing her a very Happy Birthday!
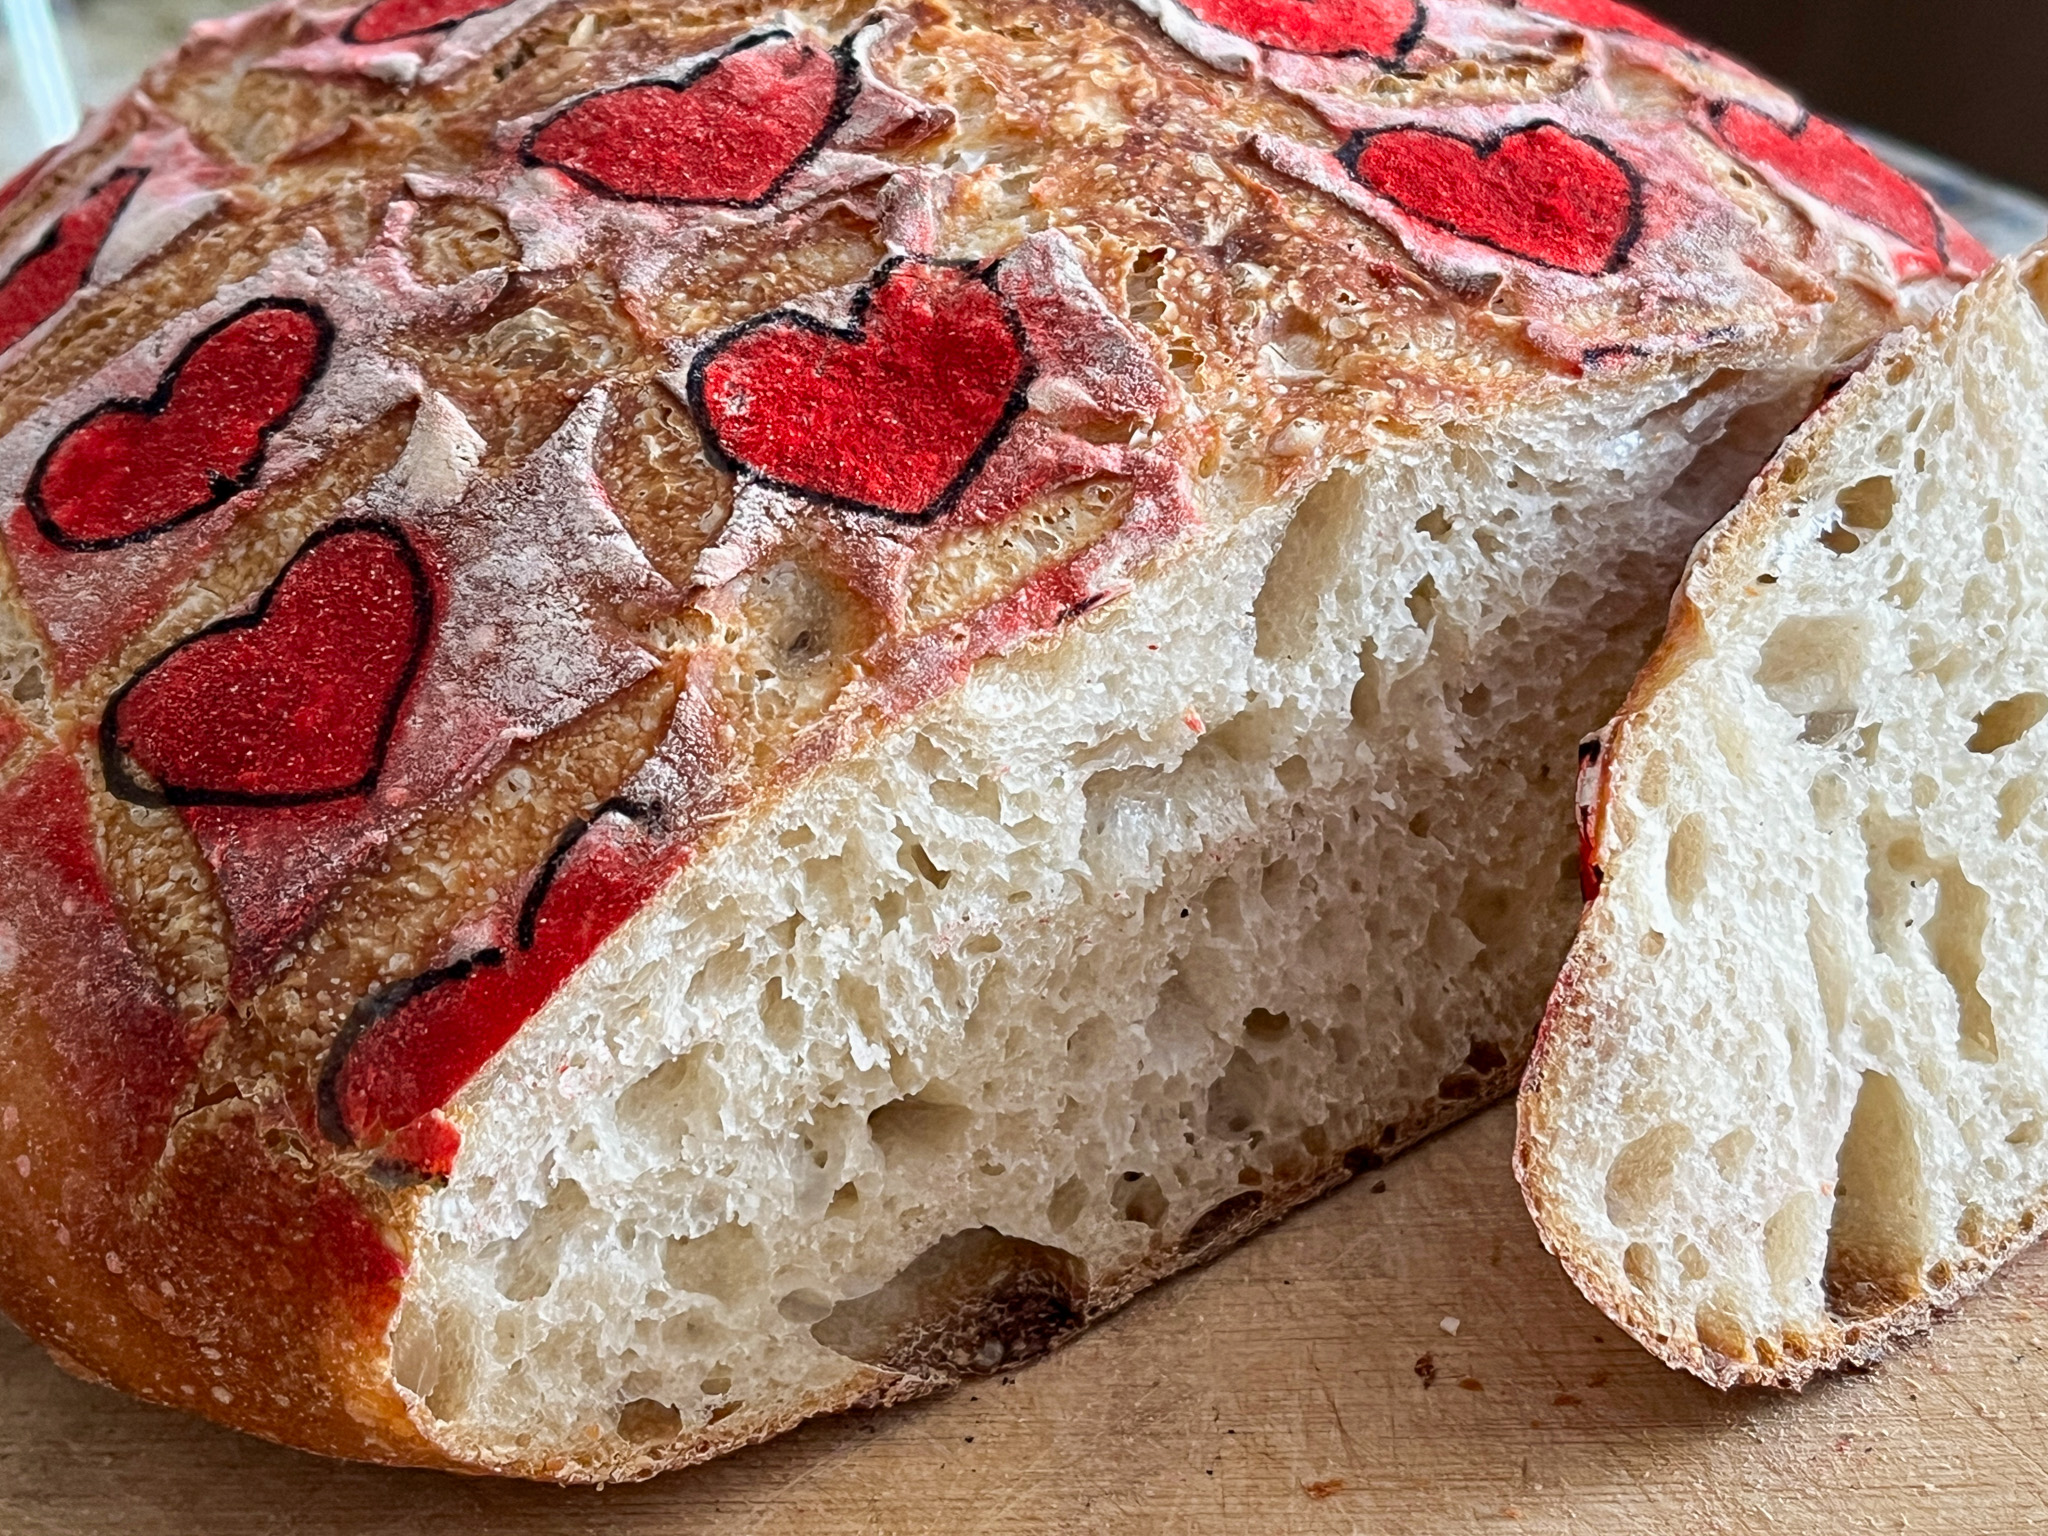
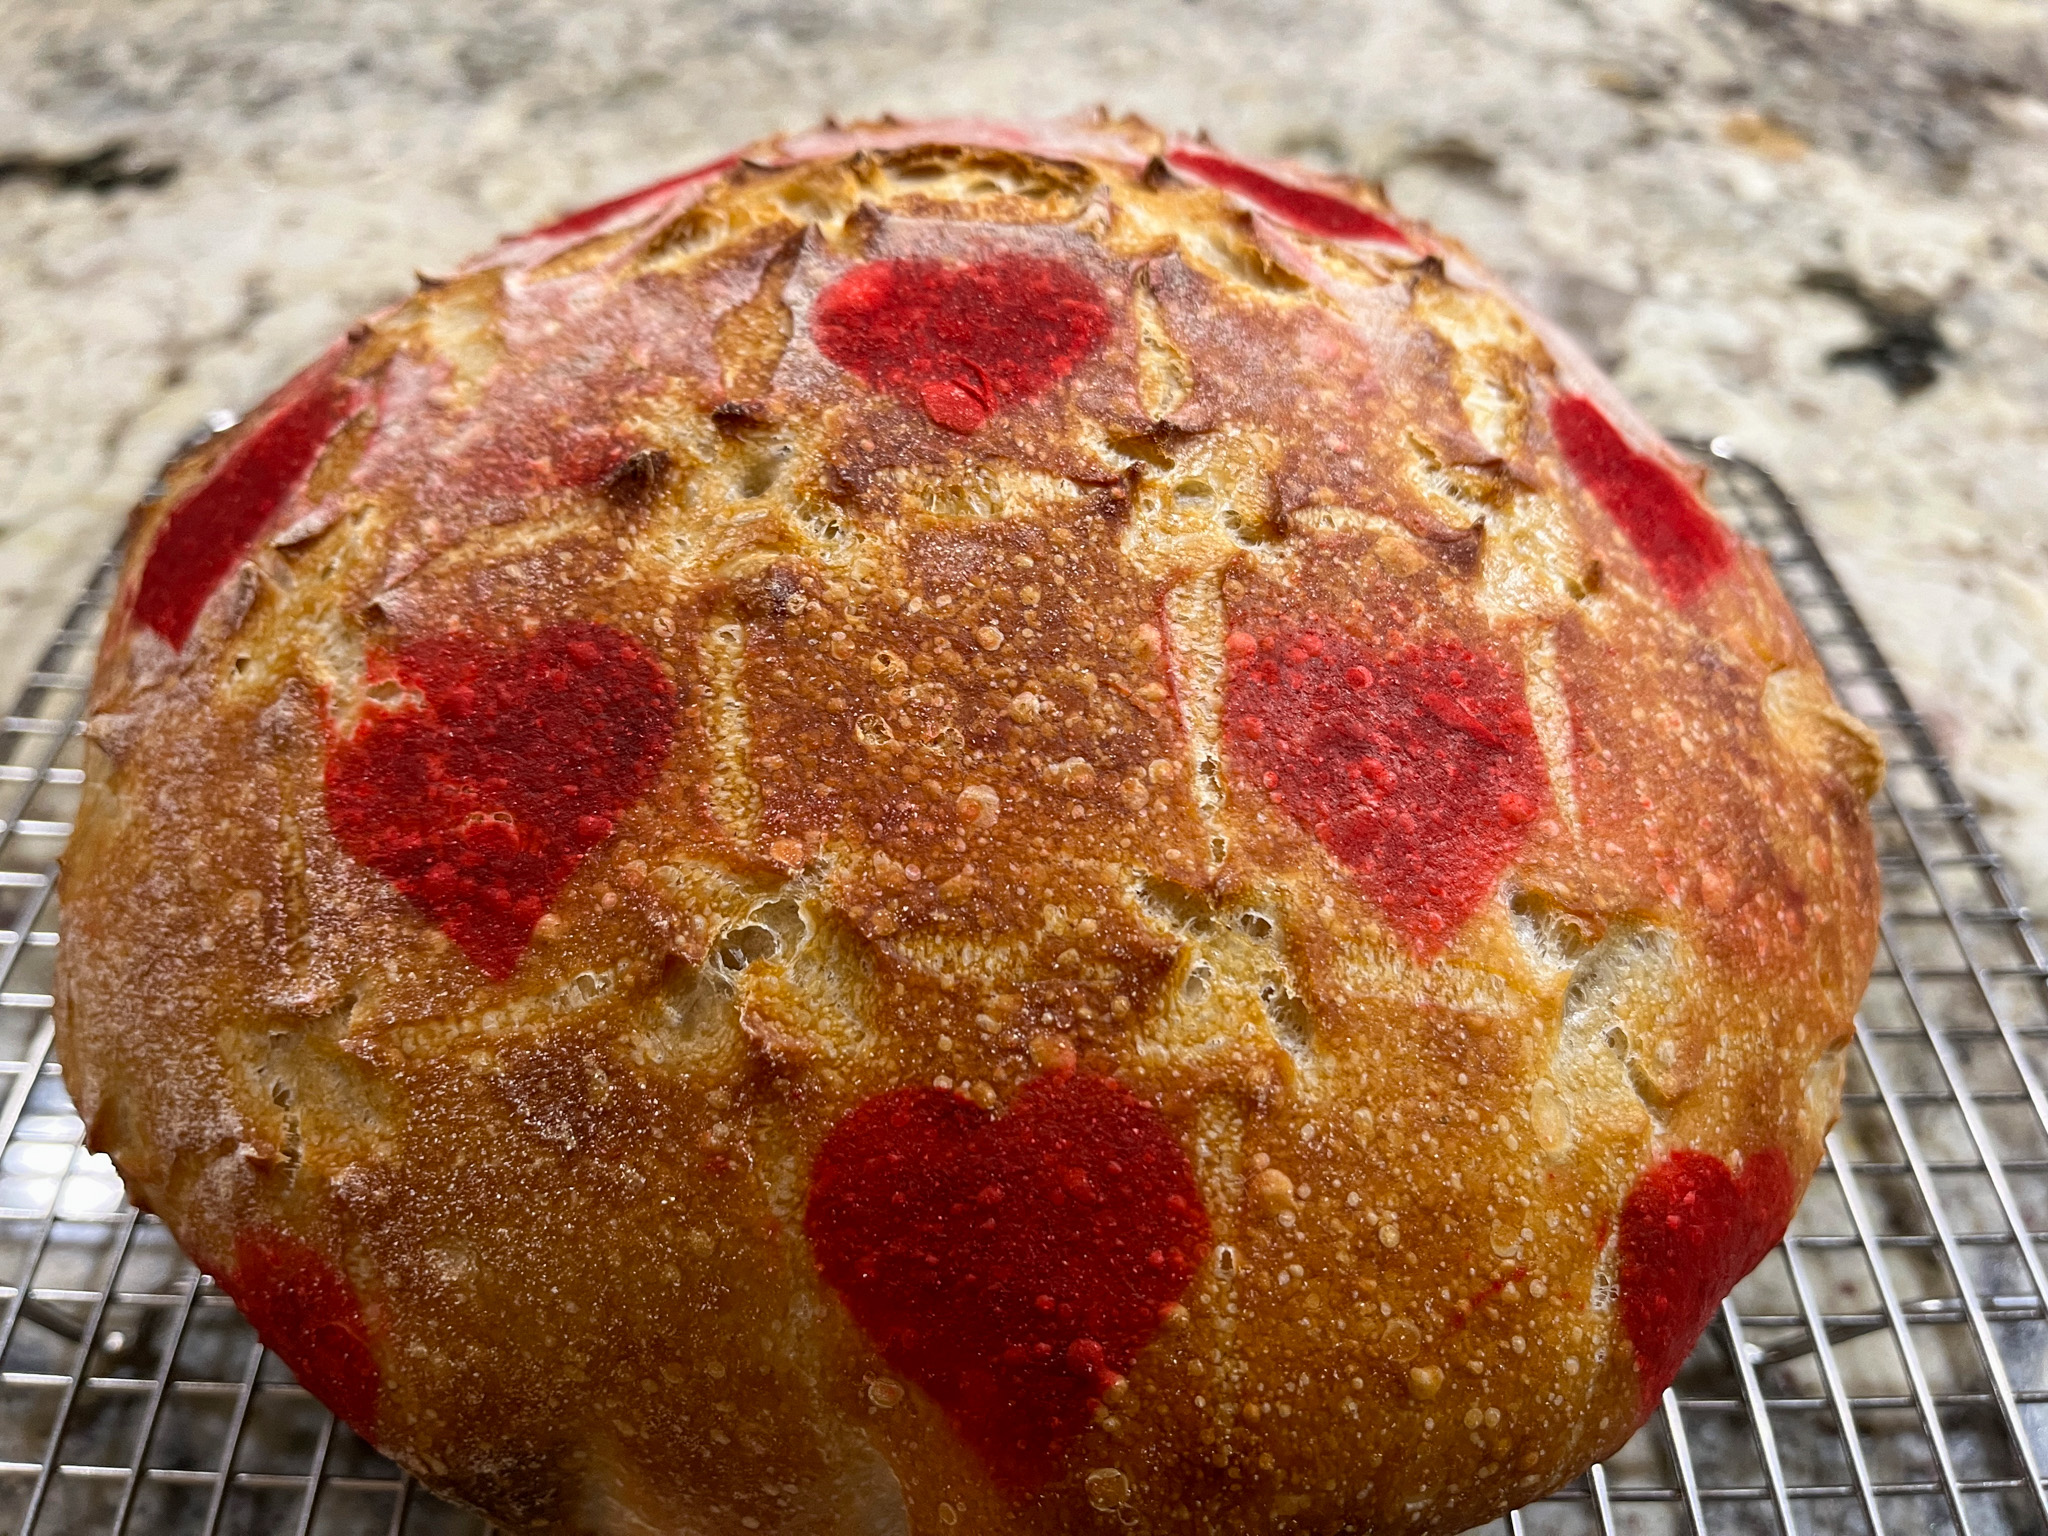
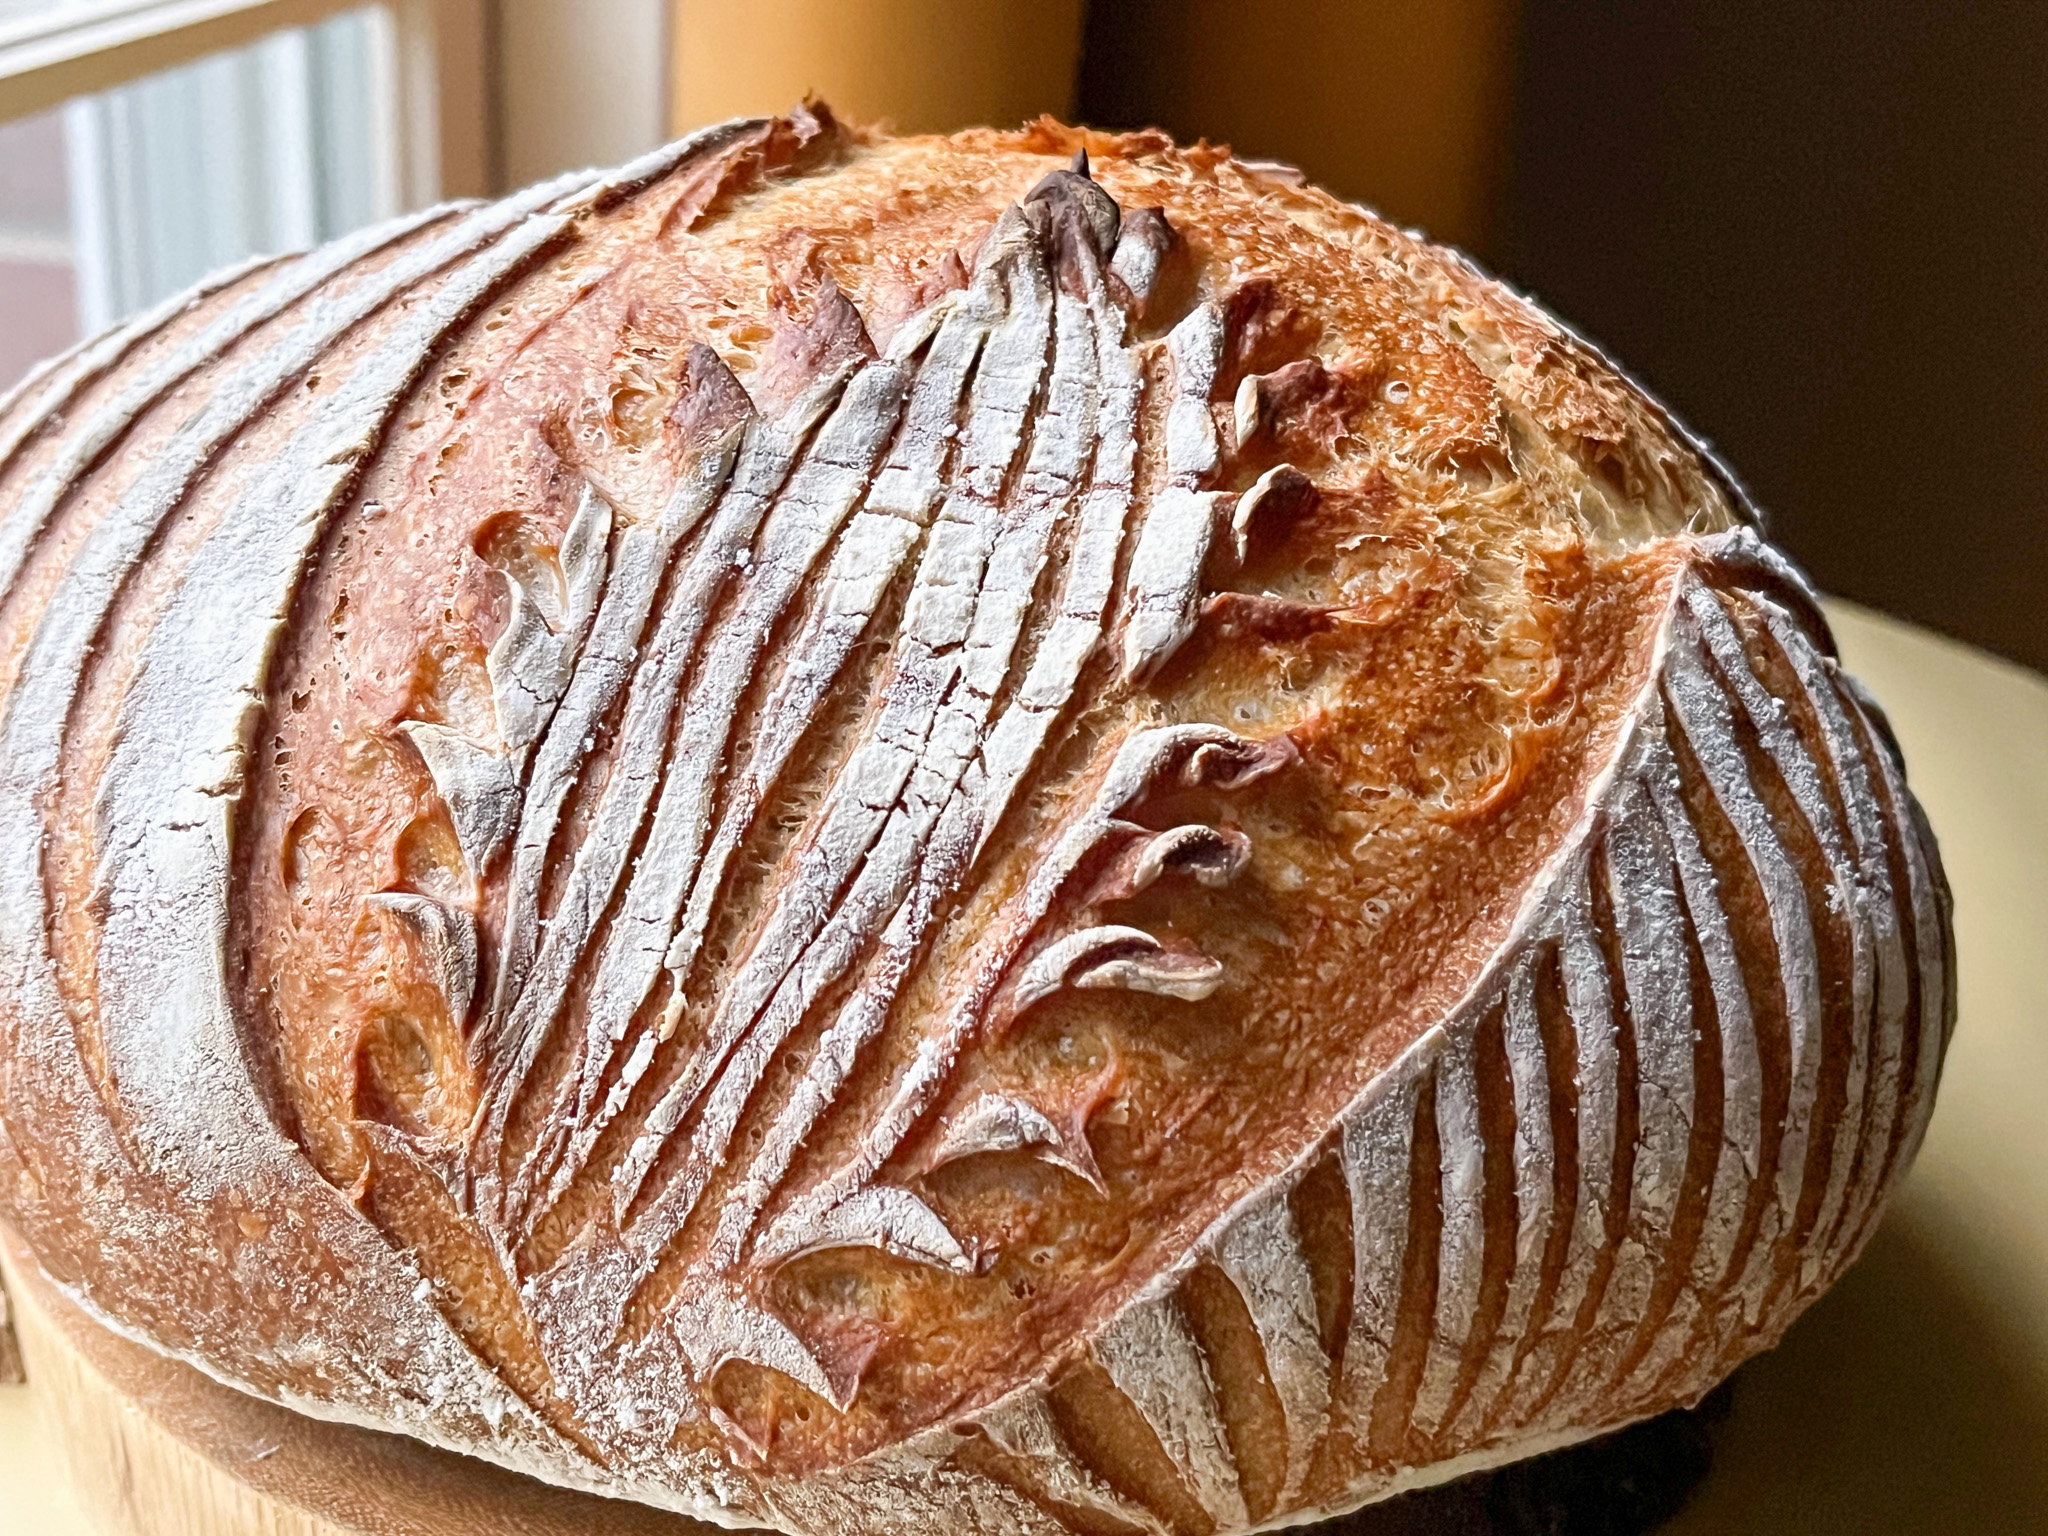
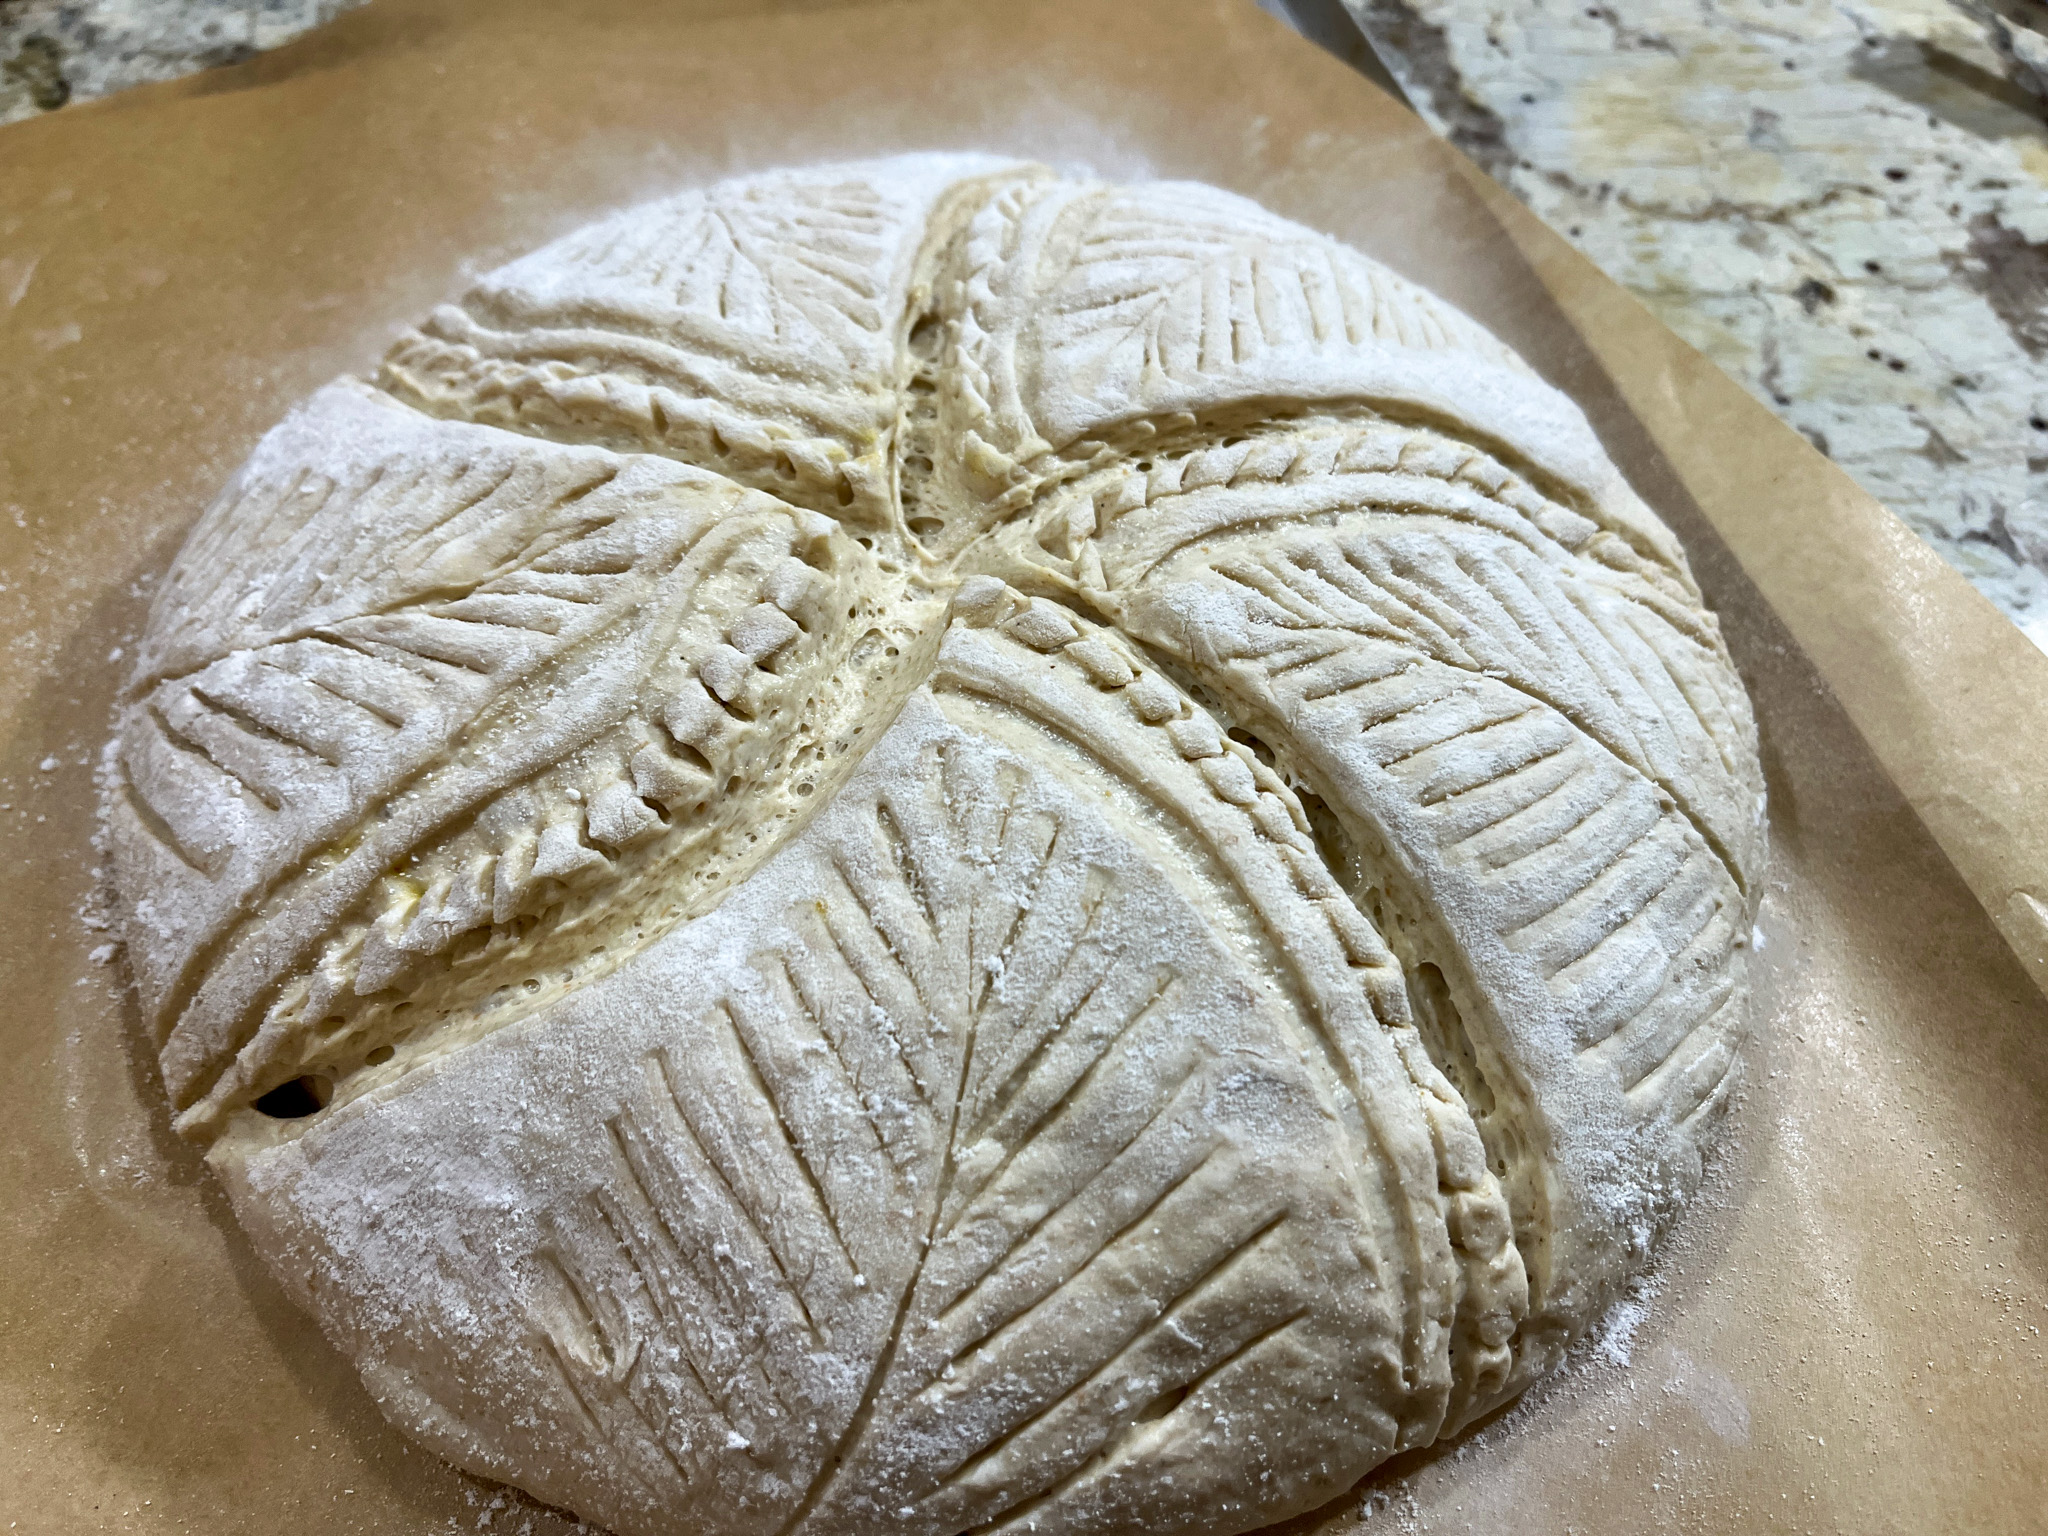
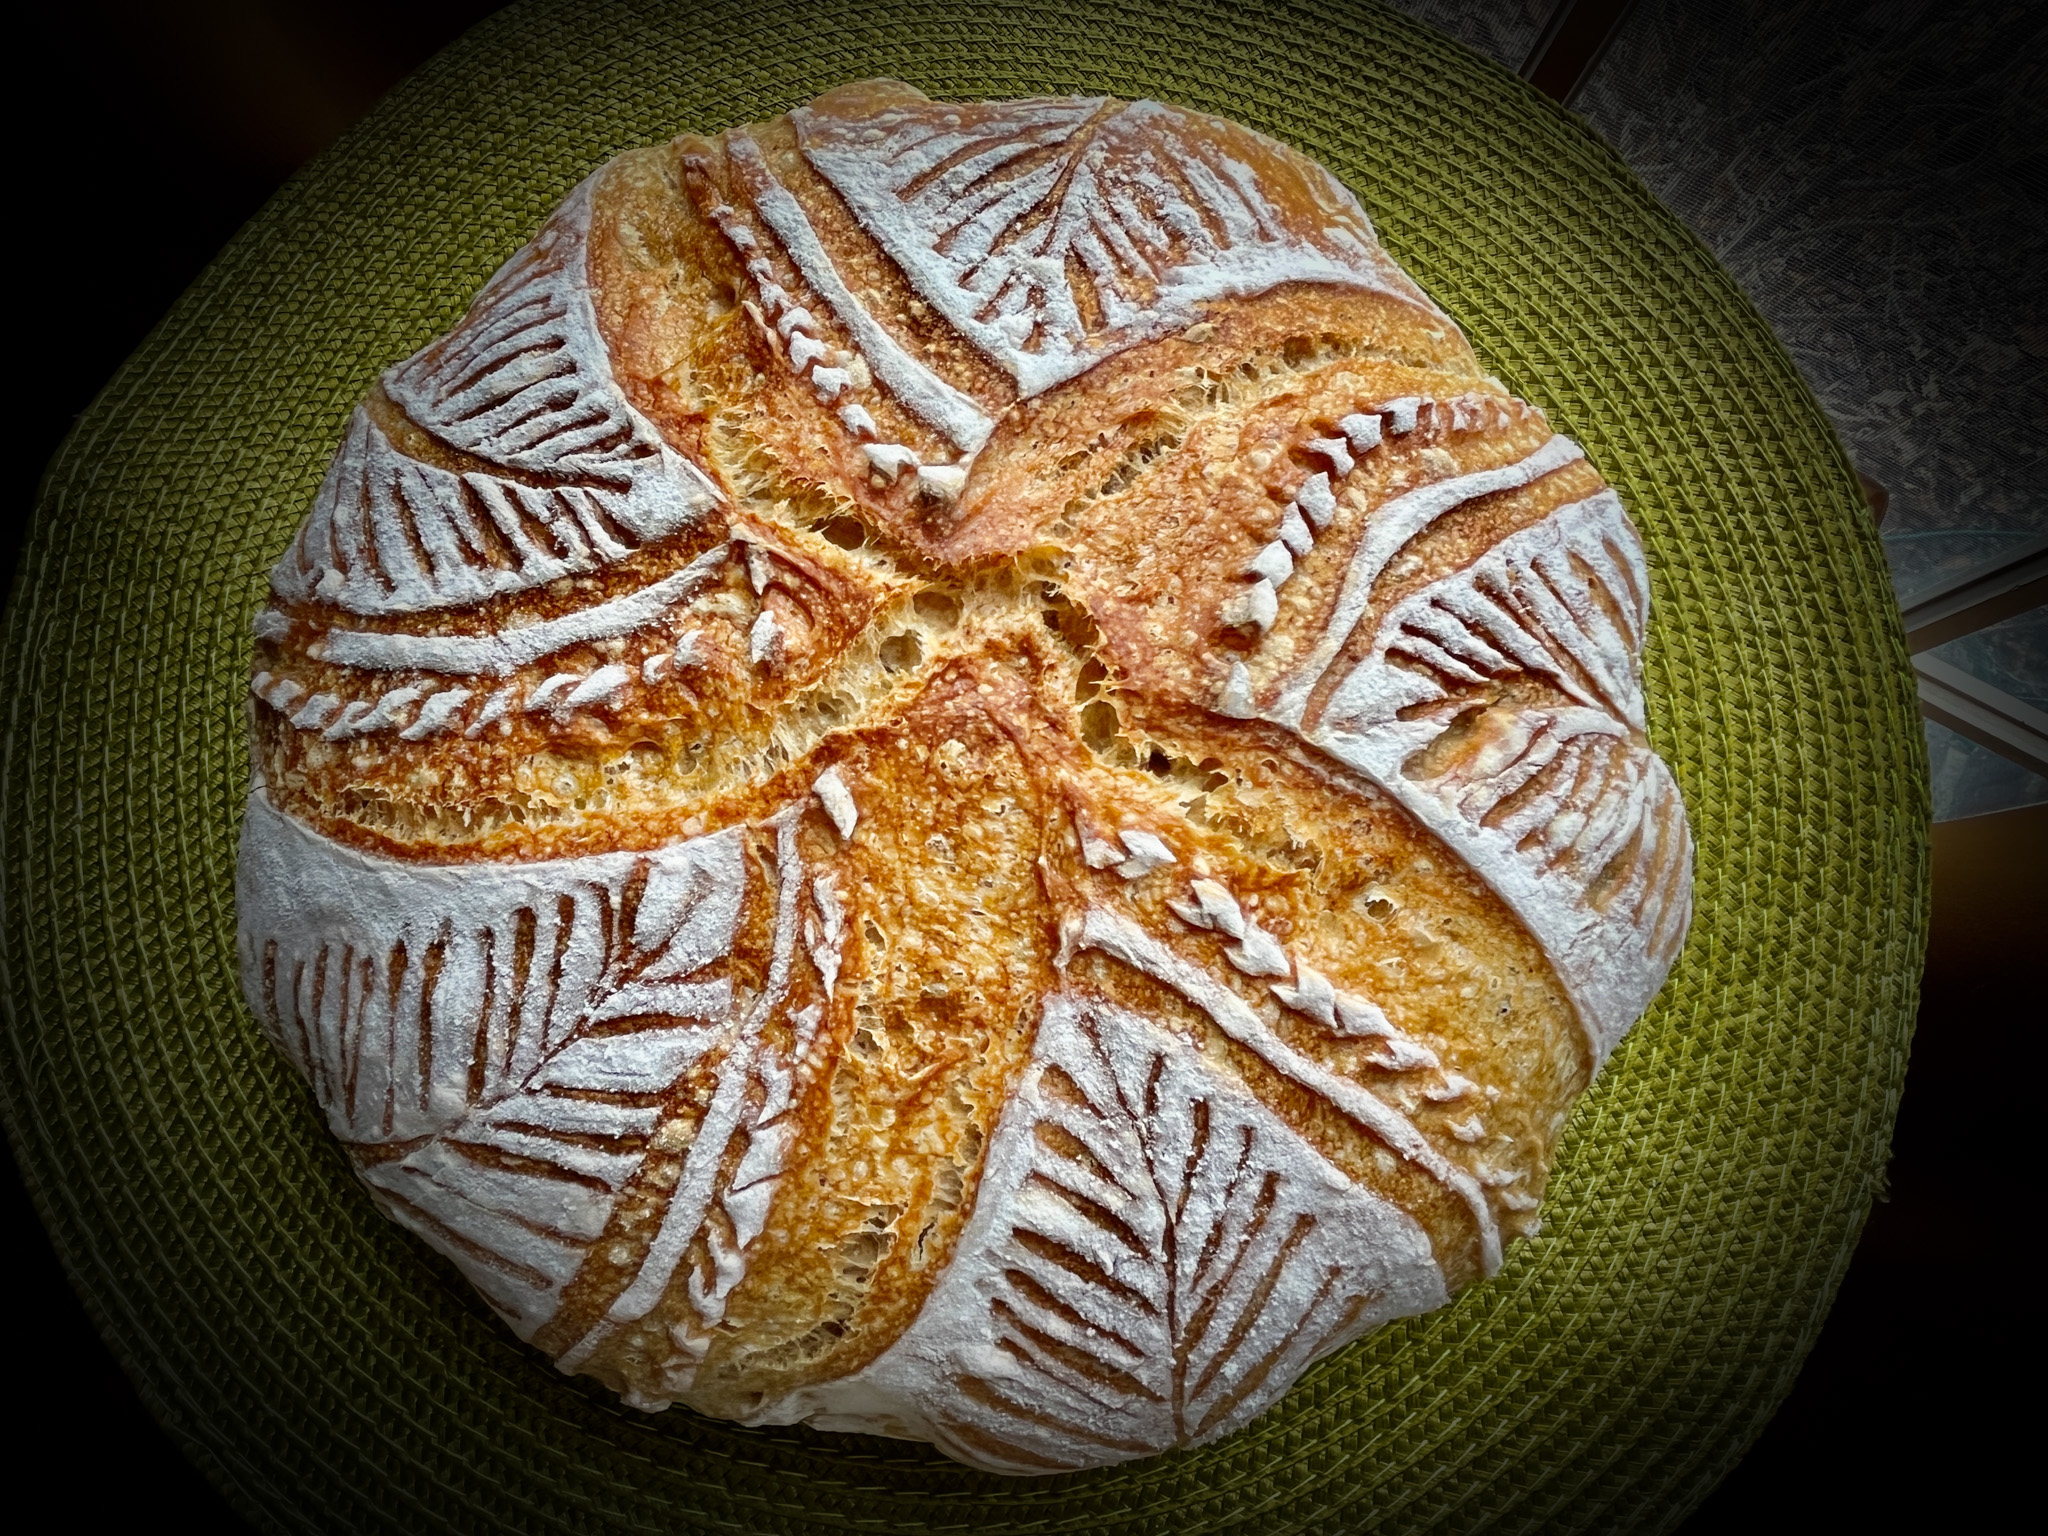
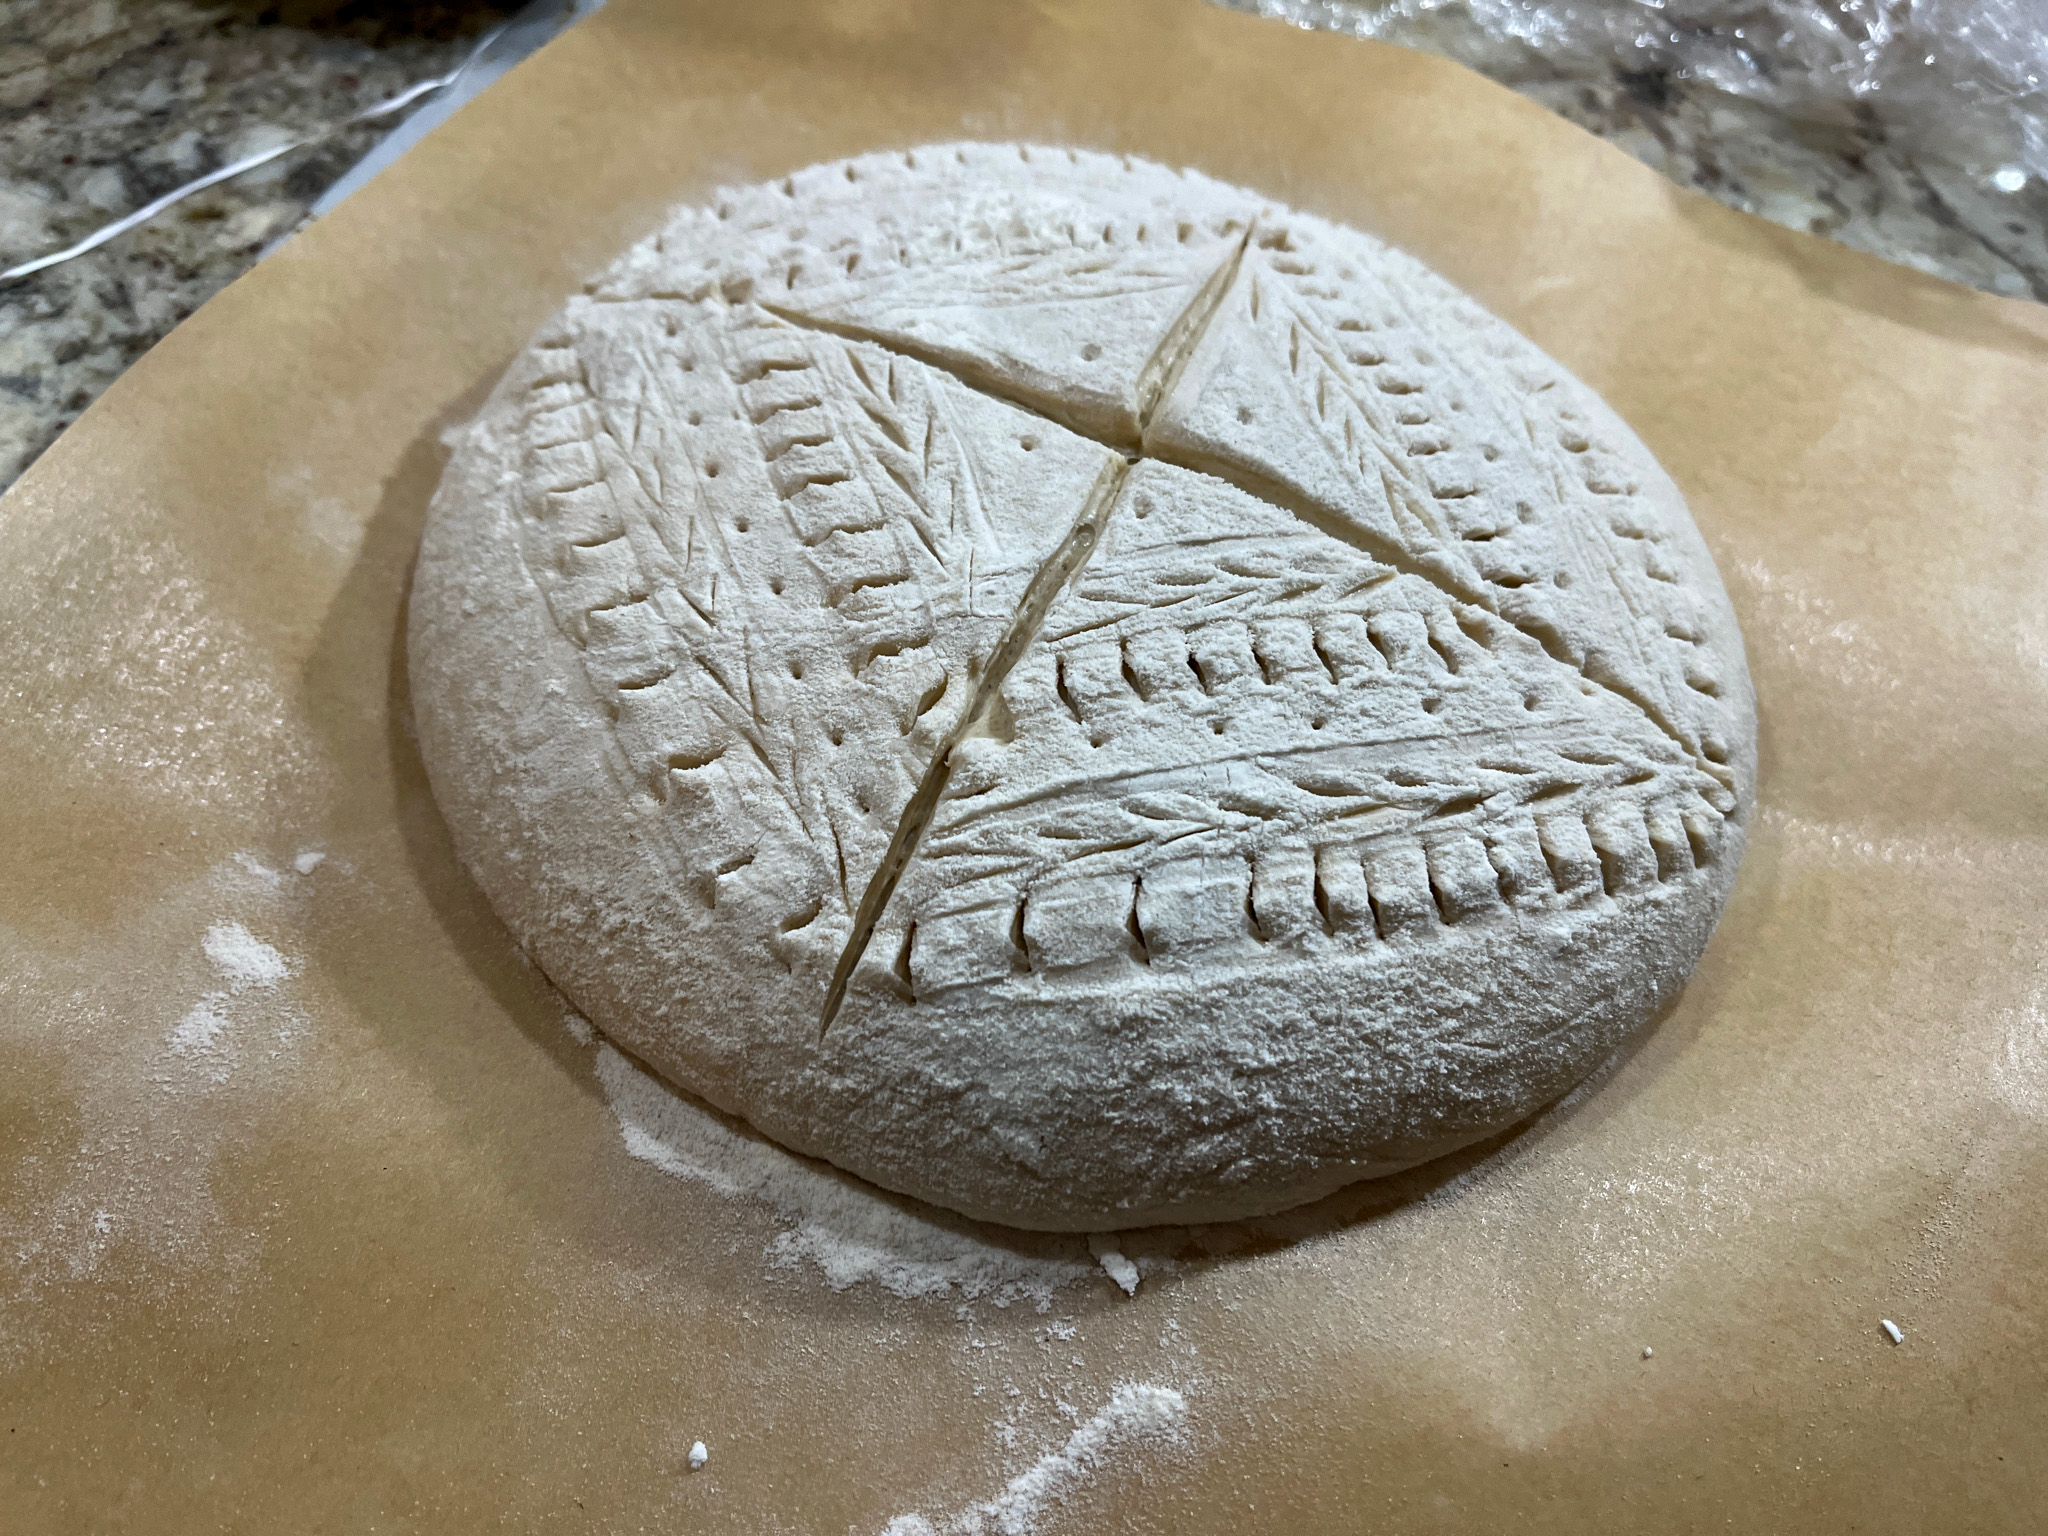
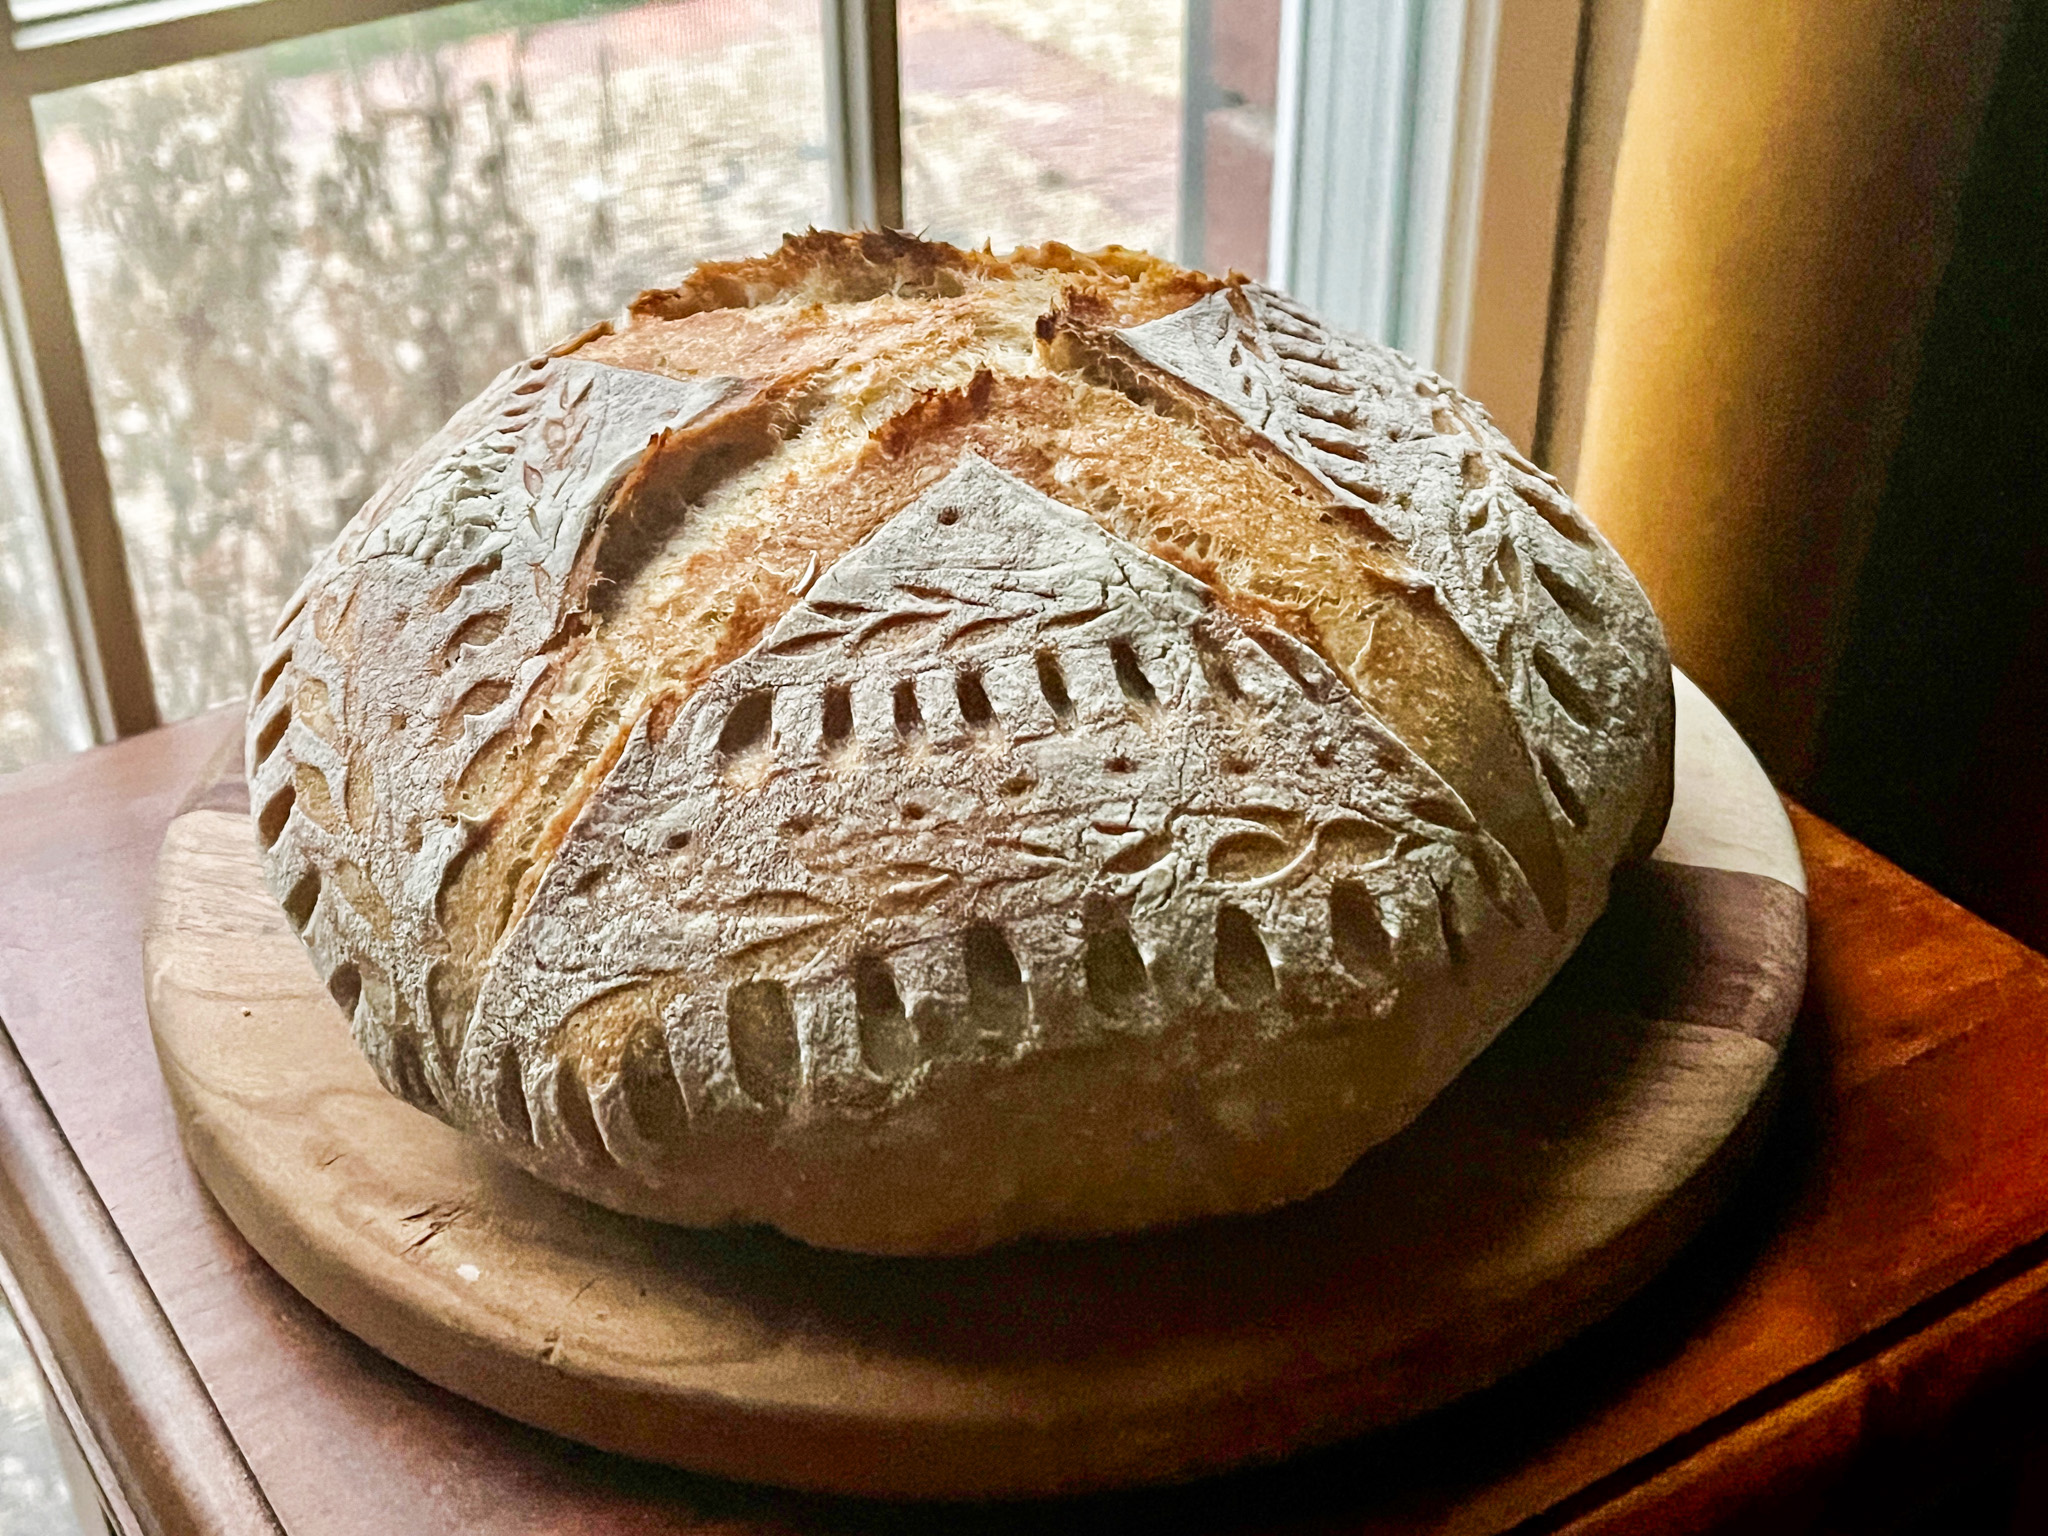
A series of sourdough bread made in the past couple of monthsin the Bewitching Kitchen…
BASIC SOURDOUGH FORMULA (from the Bewitching Kitchen)
480g white bread flour 20g spelt flour 10g salt 350g water 75-90g sourdough starter at 100% hydration 1 tsp spice mix of choice (optional)
Make the levain mixture about 6 hours before you plan to mix the dough. It should be very bubbly and active.
When you are ready to make the final dough, place the water in the bowl of a KitchenAid type mixer and dissolve the starter in it, mixing with a spatula briefly, then add the two types of flour, salt and spices. Turn the mixer on with the hook attachment and knead the dough for 4 minutes at low-speed all the time. You will notice the dough will gain quite a bit of structure even with just 4 minutes in the mixer. Remove from the machine, and transfer to a container lightly coated with oil, cover lightly with plastic wrap and allow it to ferment for 4 hours, folding every 45 minutes or so. Because the dough is already a bit developed from the initial time in the mixer, you should get very good structure after 3 and a half hours, or even sooner than that.
After four hours bulk fermentation, shape the dough as a ball, and place, seam side up, in a lightly floured banetton. Leave at room temperature one hour, and then place in the fridge overnight, from 8 to 12 hours.
Next morning, heat the oven to 450F.
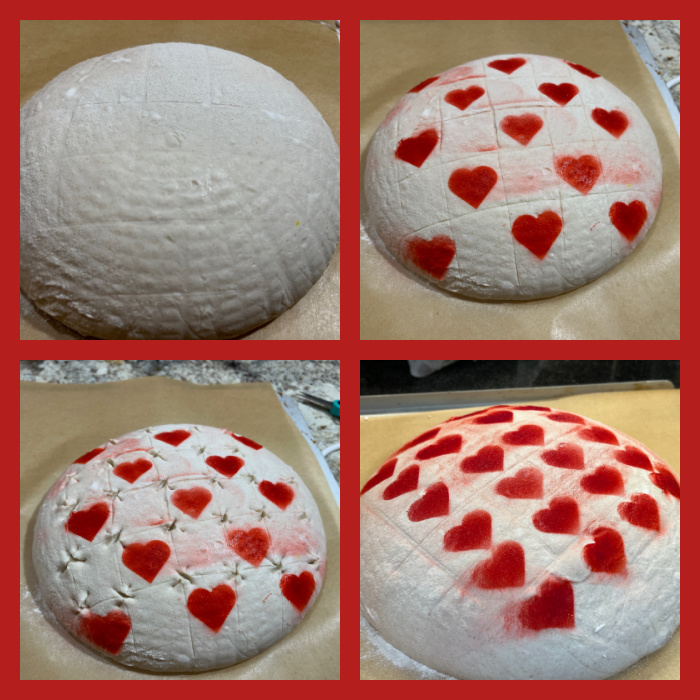
Place a parchment paper on top of the dough, a flat baking sheet, and invert the dough, flipping it out of the banneton. Flour the surface of the dough, add the stencil and air-brush if so desired. Score with a razor blade.
Bake at 450F for 45 minutes, preferably covered for the first 30 minutes to retain steam. Cool completely over a rack before slicing.
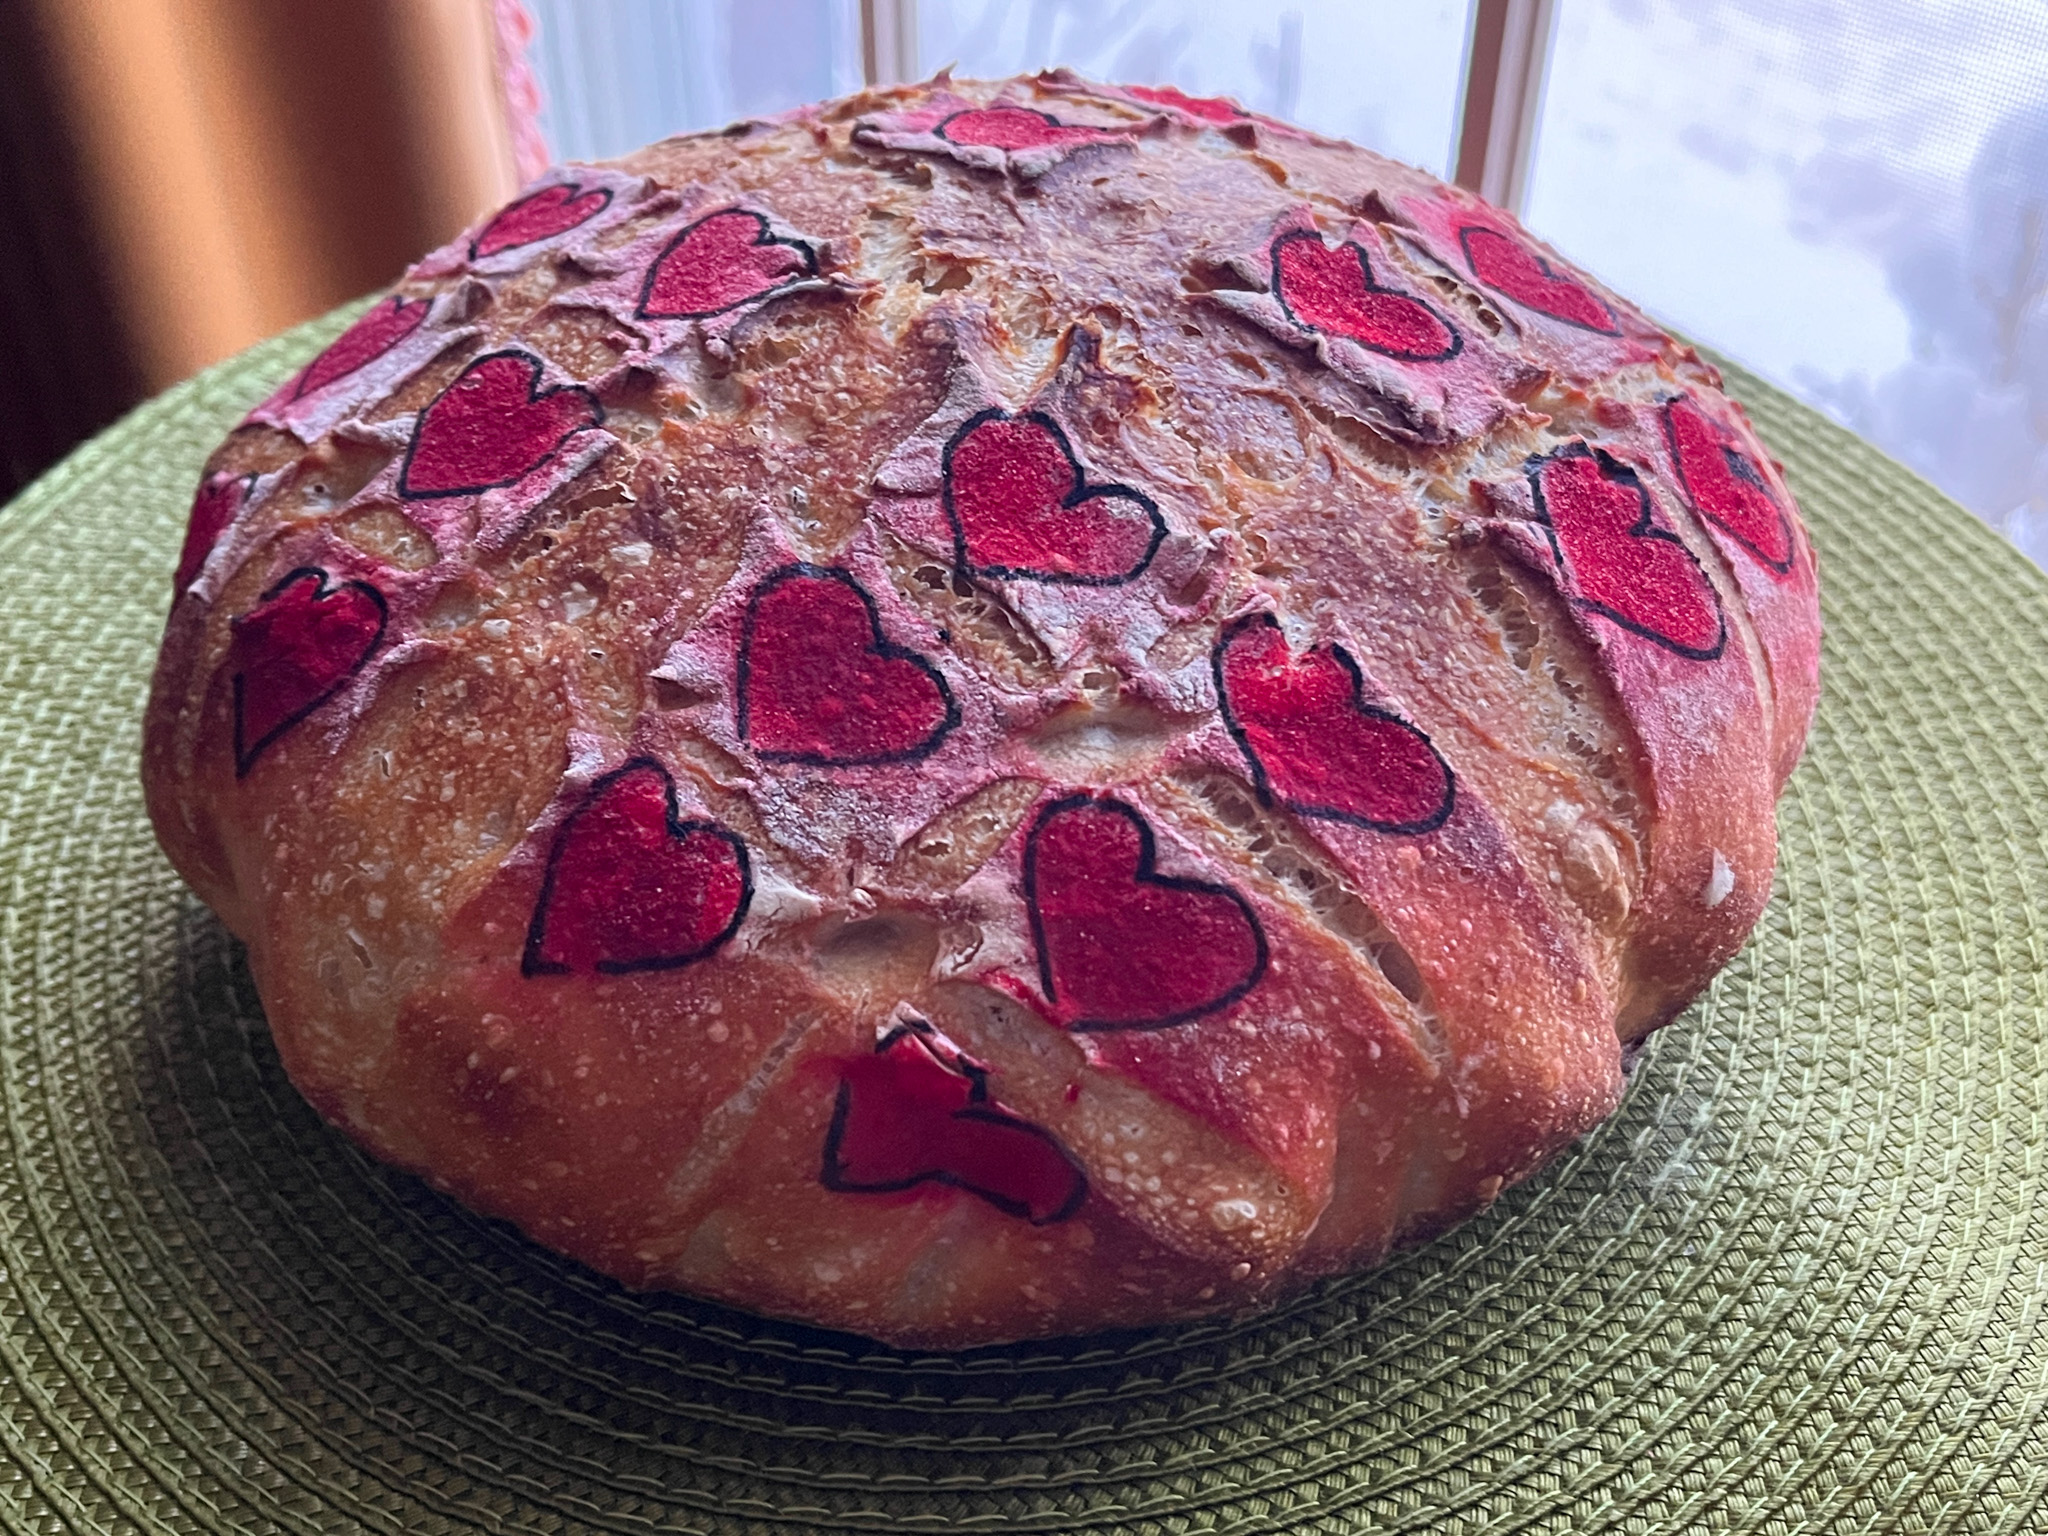
For the little hearts, the bread is painted using air-brush and a stencil, after scoring the surface with a grid pattern. The corners of each square get a small cut with scissors. One of the loaves had the little hearts outlined with black food pen, the other I left without the outline. Your kitchen, your rules…
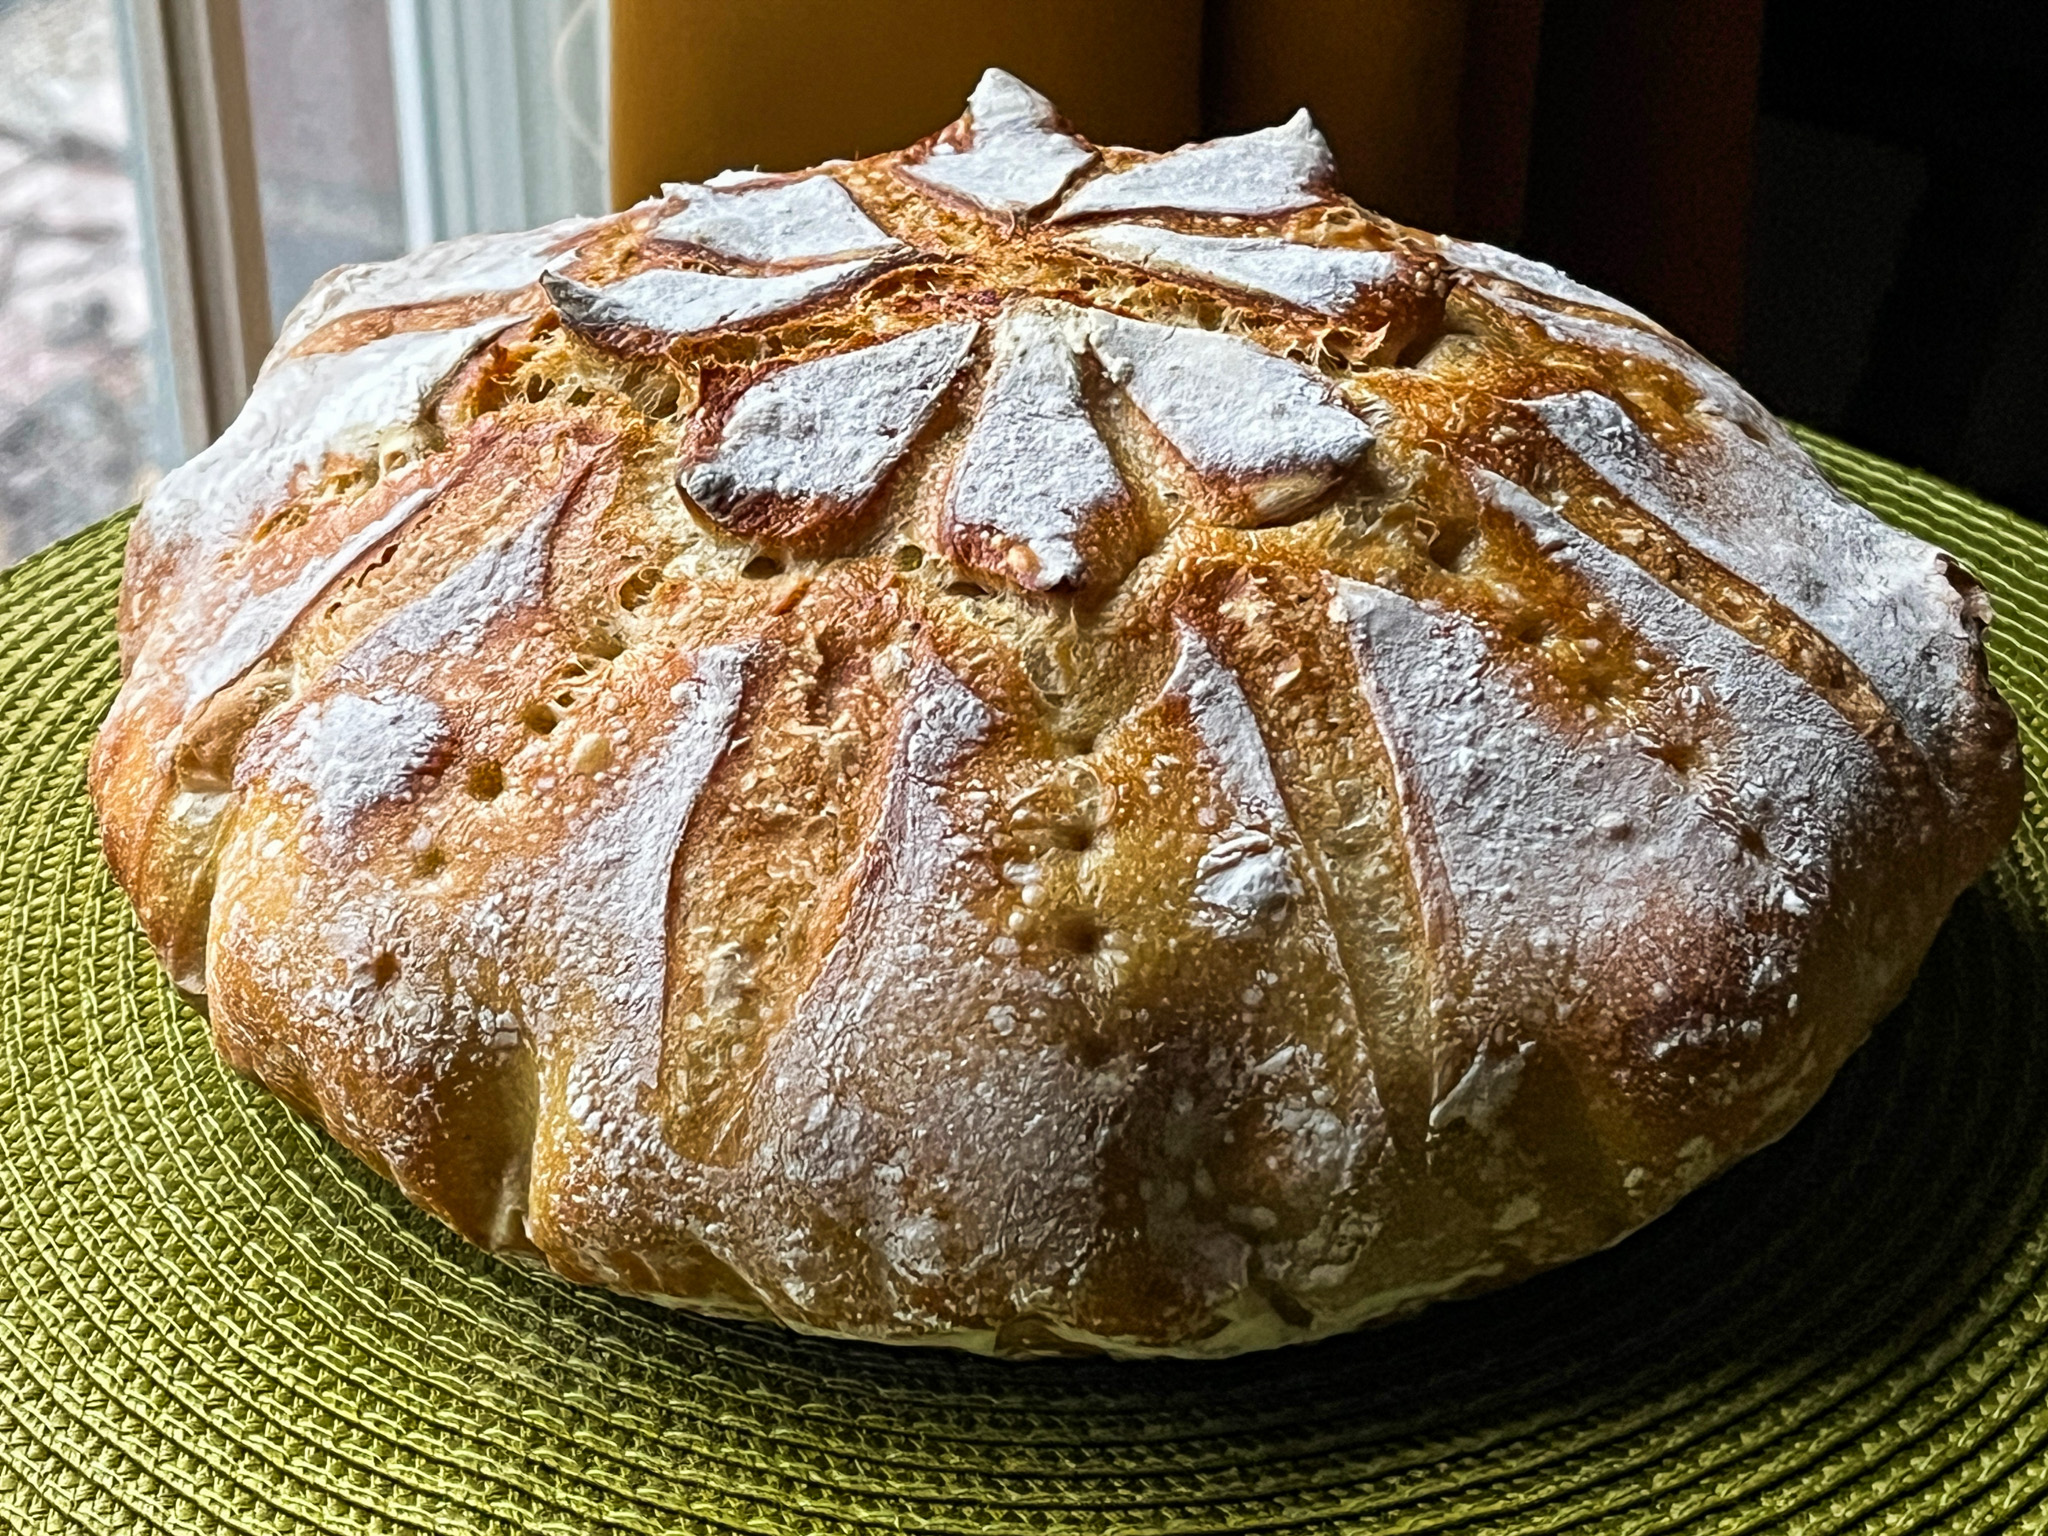
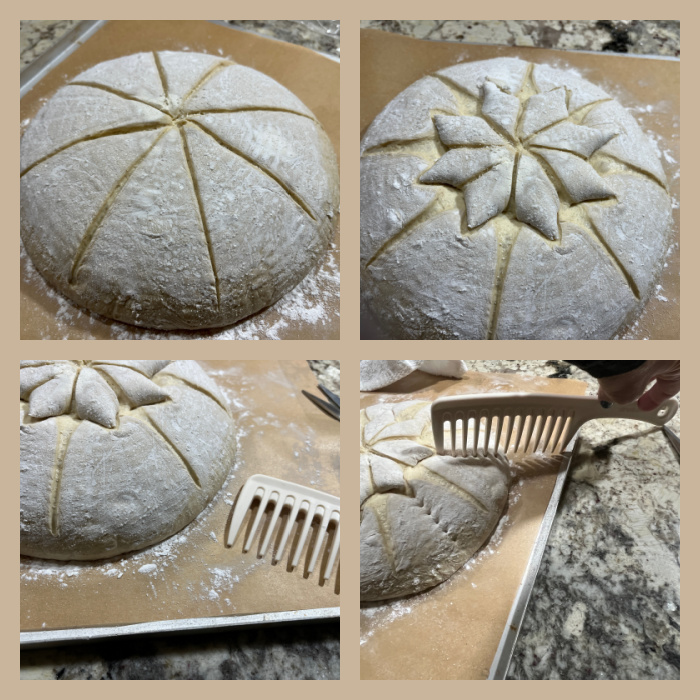
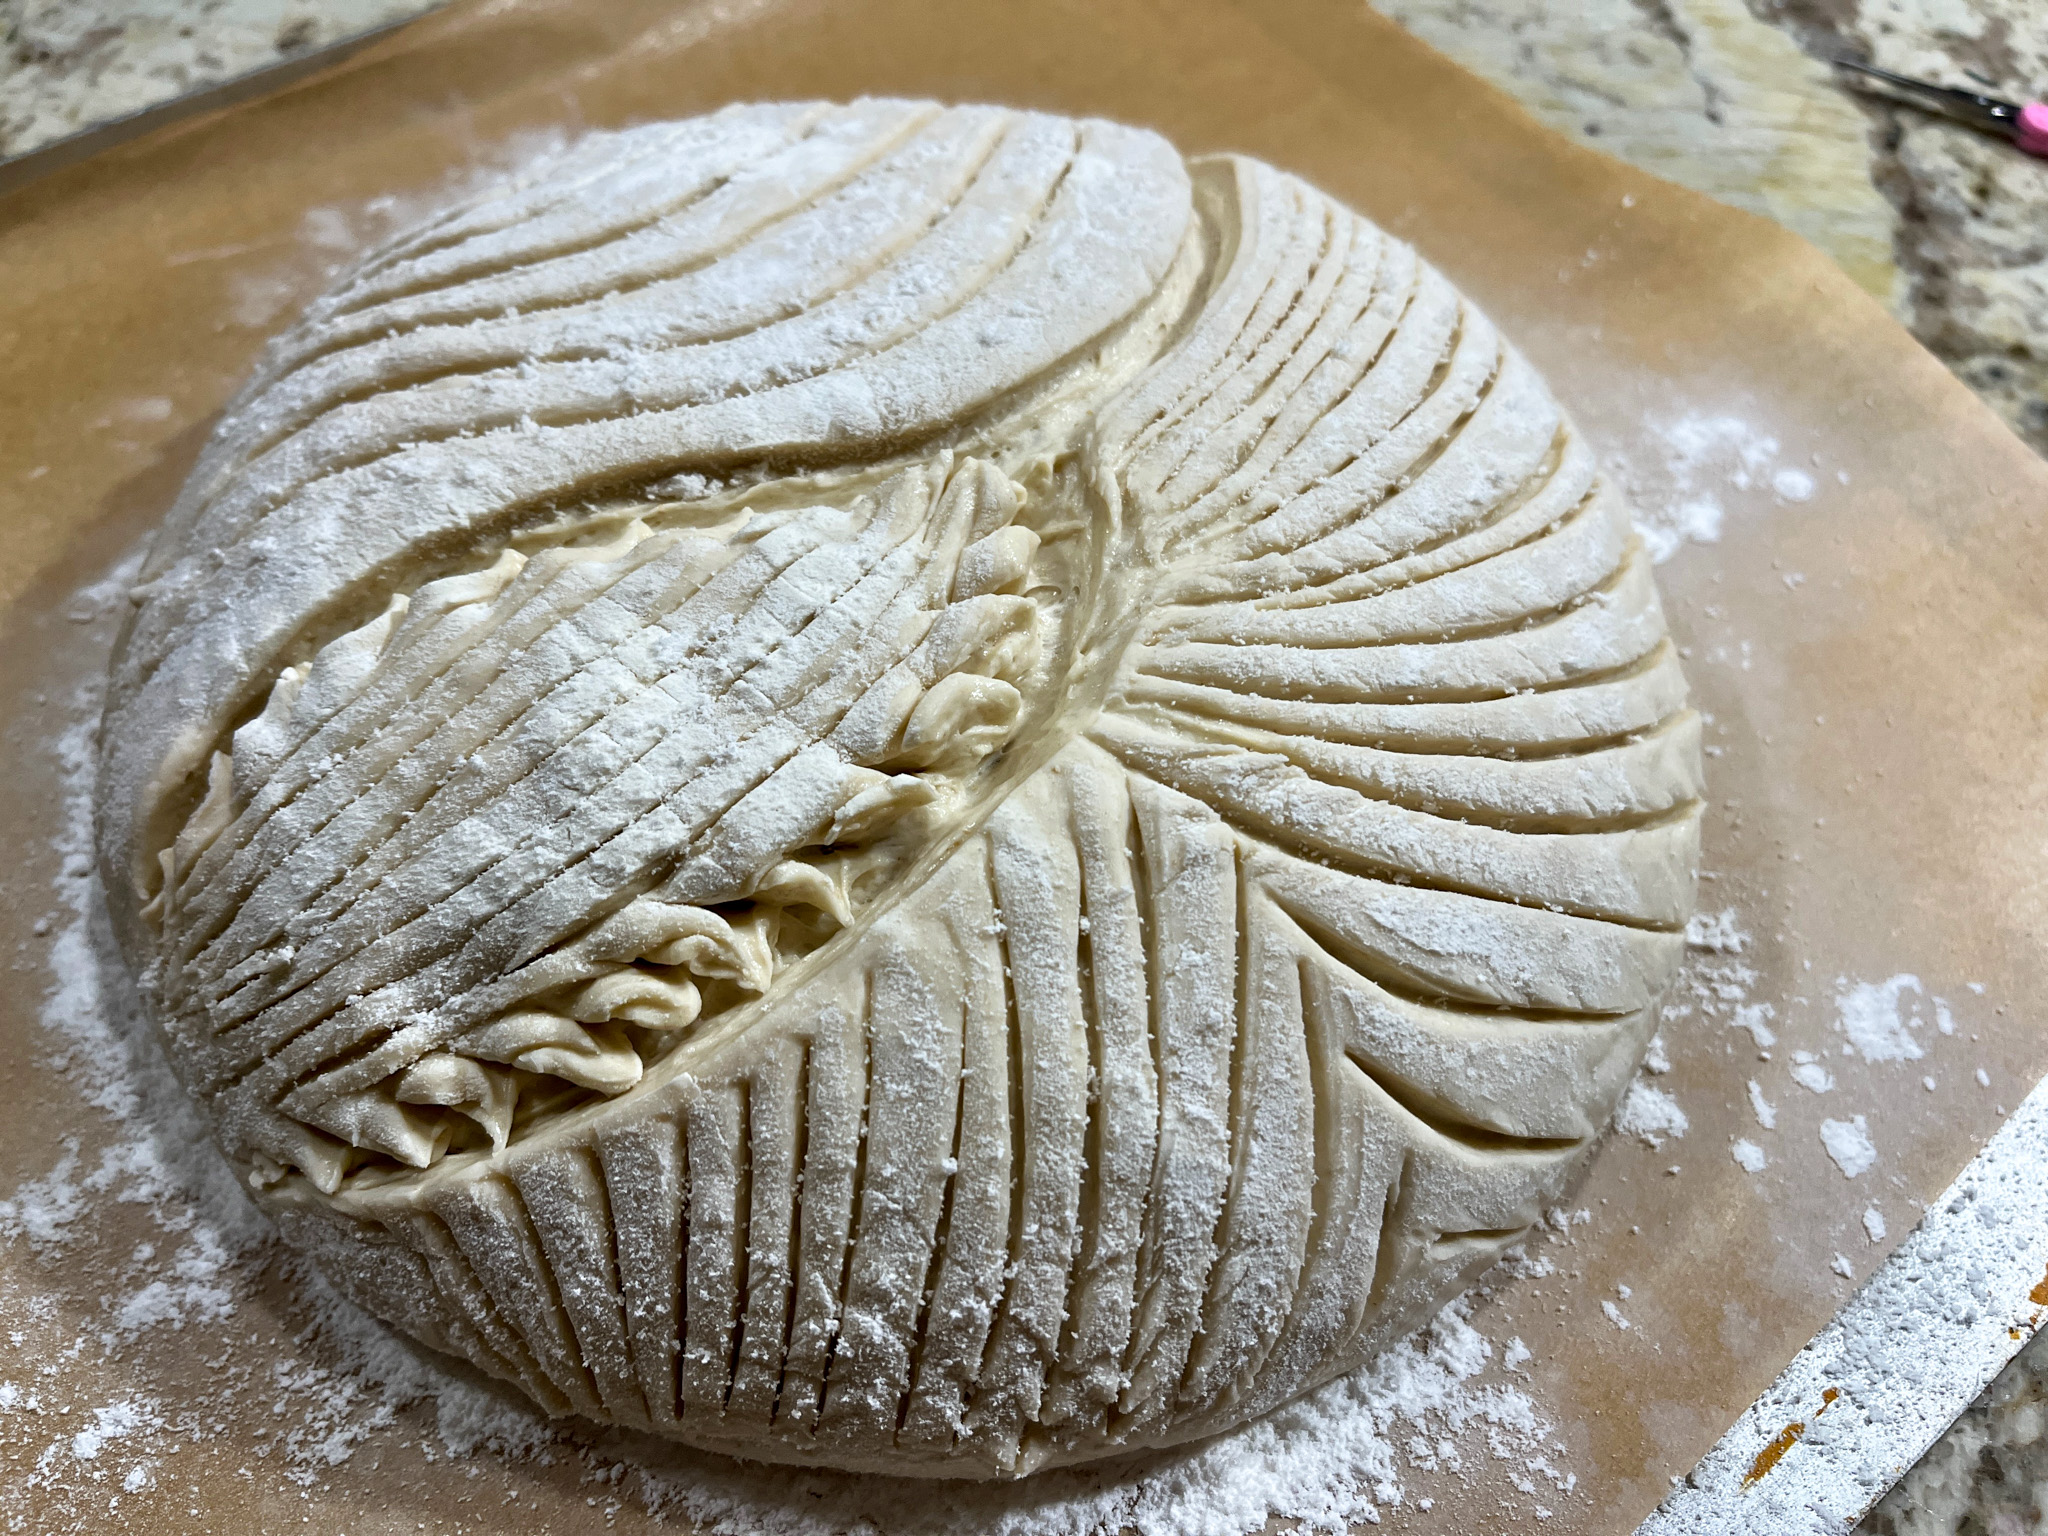
Below, a design in which a large comb was brought to play… No, I never used the comb on my hair, it was bought just to play with bread baking… Inspired by Nicola’s recent reel on IG.
I used the Sonic blade for the scoring of this and all other loaves in this post.