I’ve been following food bloggers for a very long time. Many stopped blogging, but a few of my favorites still hang on over many years. Kalyn is one blogger who passed the 15-year mark (a milestone I am going to hit in a few weeks…). For the most part she focuses on low-carb recipes and everything I cooked from her blog has been delicious. No lack of flavor, no odd textures. Back in 2022 she shared a recipe for zucchini muffins and I finally made them. They delivered all that she promised. No matter your take on amount of carbs, these are great. The almond flour makes them moist and quite tender. I made a few minor changes from her published version.
FLOURLESS SAVORY ZUCCHINI MUFFINS
(from Kalyn’s Kitchen)
1 small zucchini
2 tsp olive oil
1 tsp Herbes de Provence
salt and black pepper to taste
3/4 cup cottage cheese
1/2 cup coarsely grated Parmesan cheese
8 eggs, well beaten
2 cups almond flour
1/2 cup flaxseed meal
2 T baking powder
Heat oven to 375F.
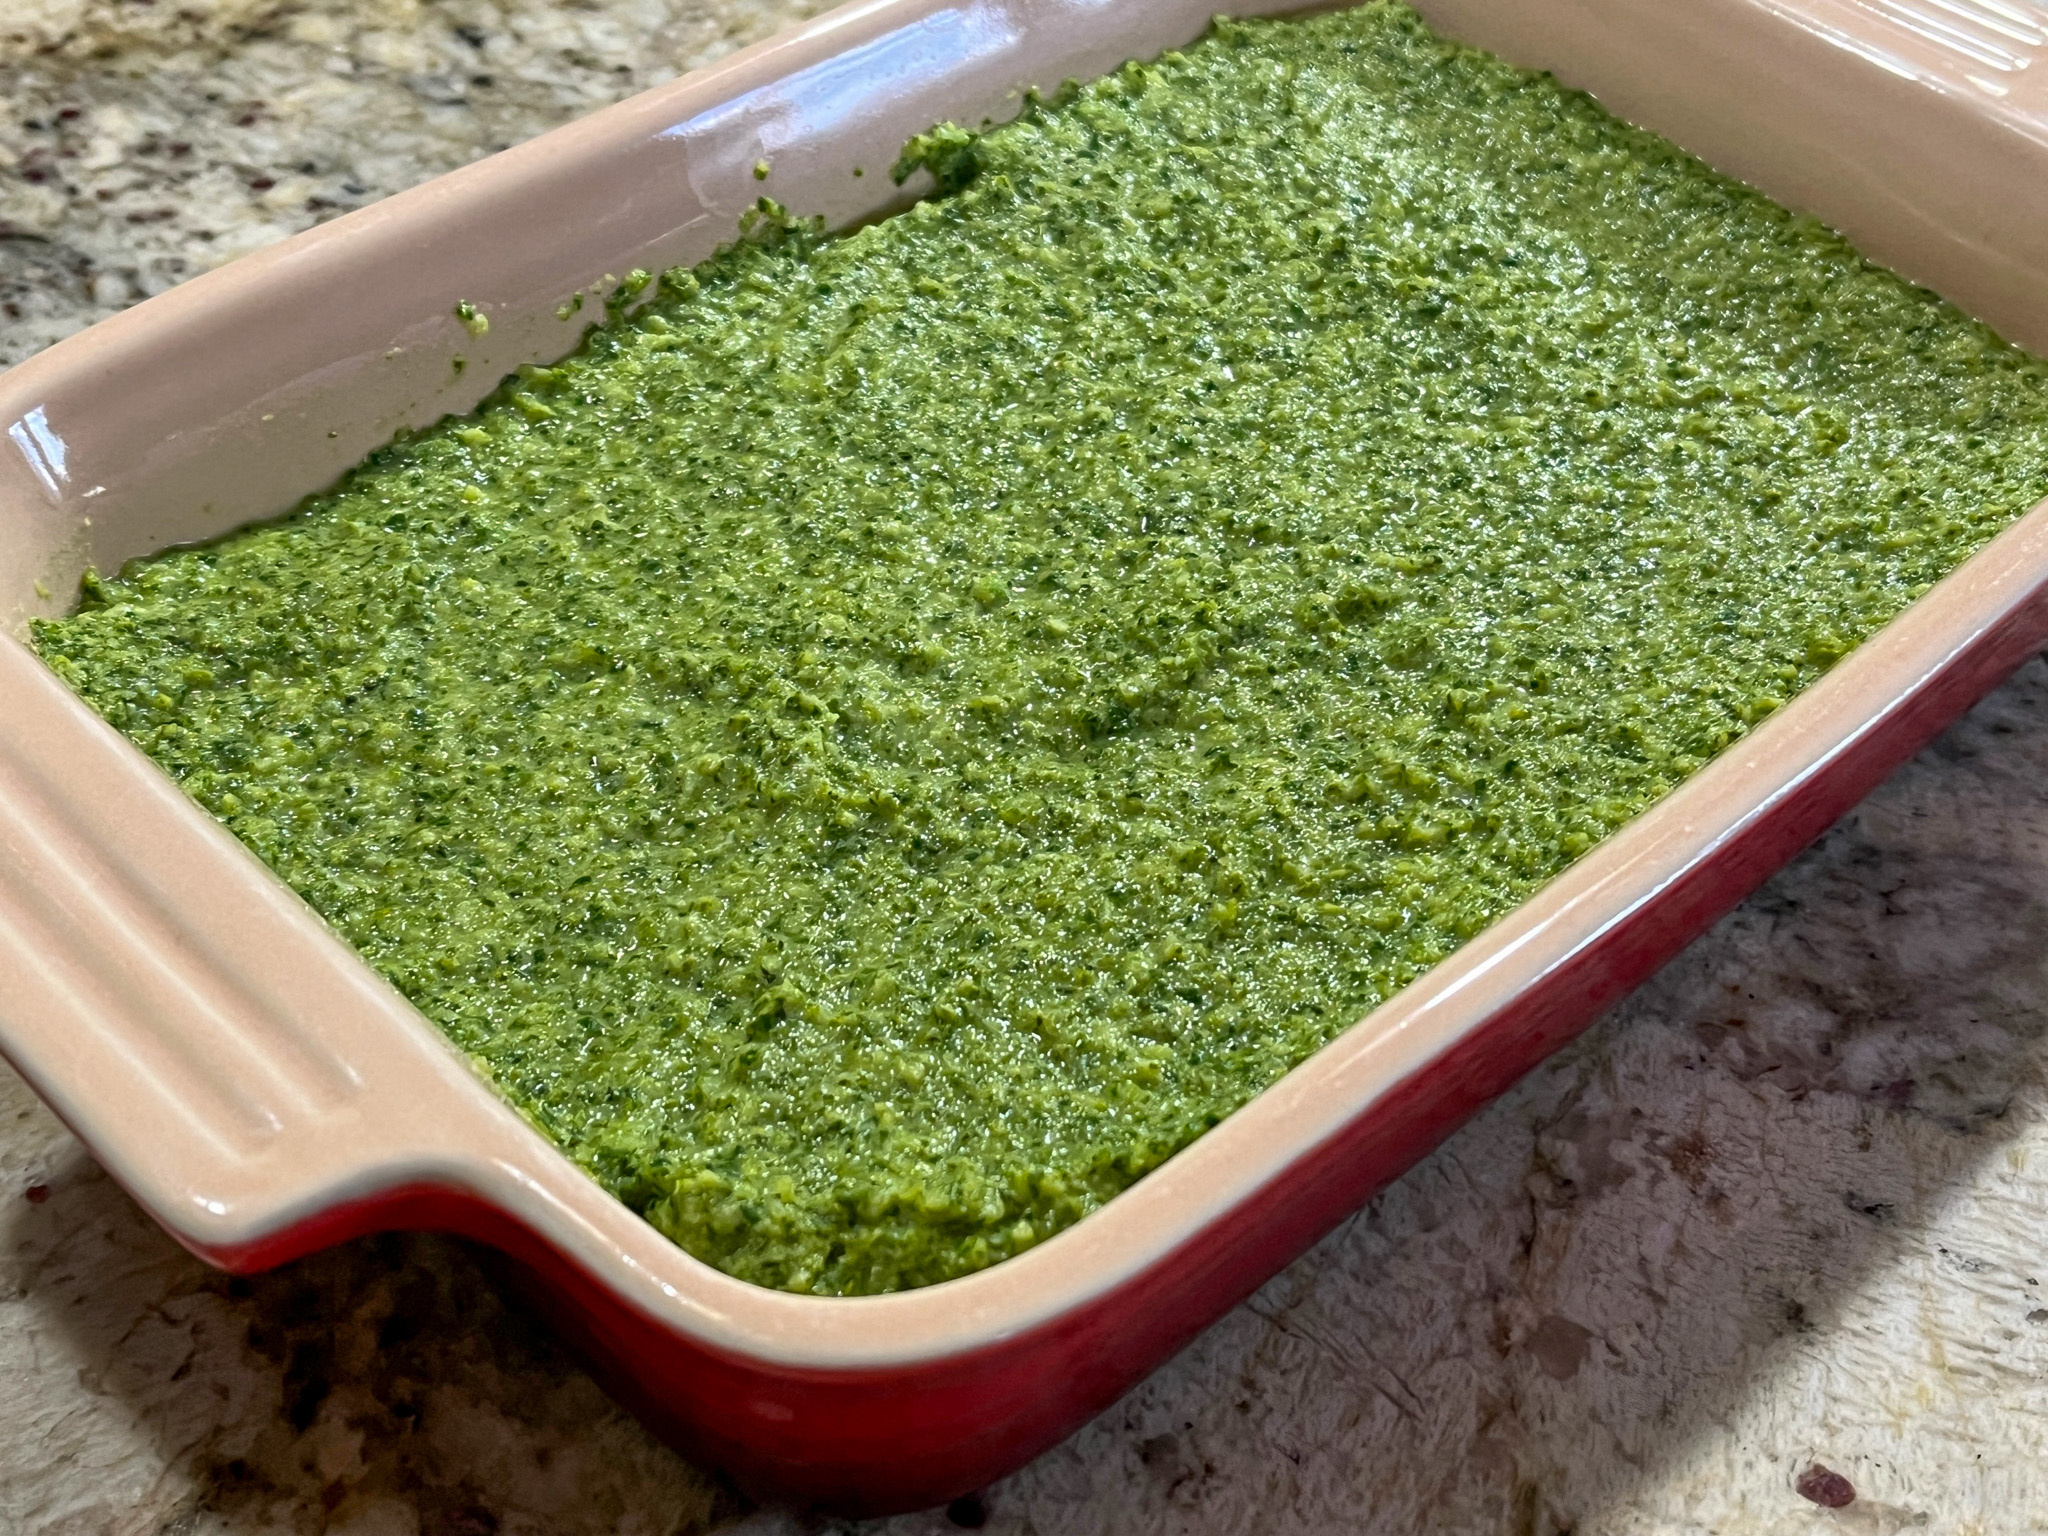
Cut stem and blossom end off zucchini, then cut in fourths lengthwise. Then on each piece, trim off and discard part of the white center part of zucchini, so you have zucchini strips with skin and about 1/4 inch of white. Cut those pieces into thinner strips, then dice to make small cubes around 1/4 inch square. You will have about 1 + 1/2 cups diced zucchini. Heat olive oil in non-stick frying pan and cook zucchini seasoned with the Herbes de Provence, salt and pepper until it’s softening and just starting to brown, about 3 minutes.
Put cottage cheese in a fine strainer placed in the sink and rinse with cold water, then let it drain well.
Beat the eggs until yolks and whites are well-combined.
In a bowl combine the cooked zucchini, cottage cheese, Parmesan cheese and beaten eggs.
In a smaller bowl mix almond flour, flax seed meal and baking powder.
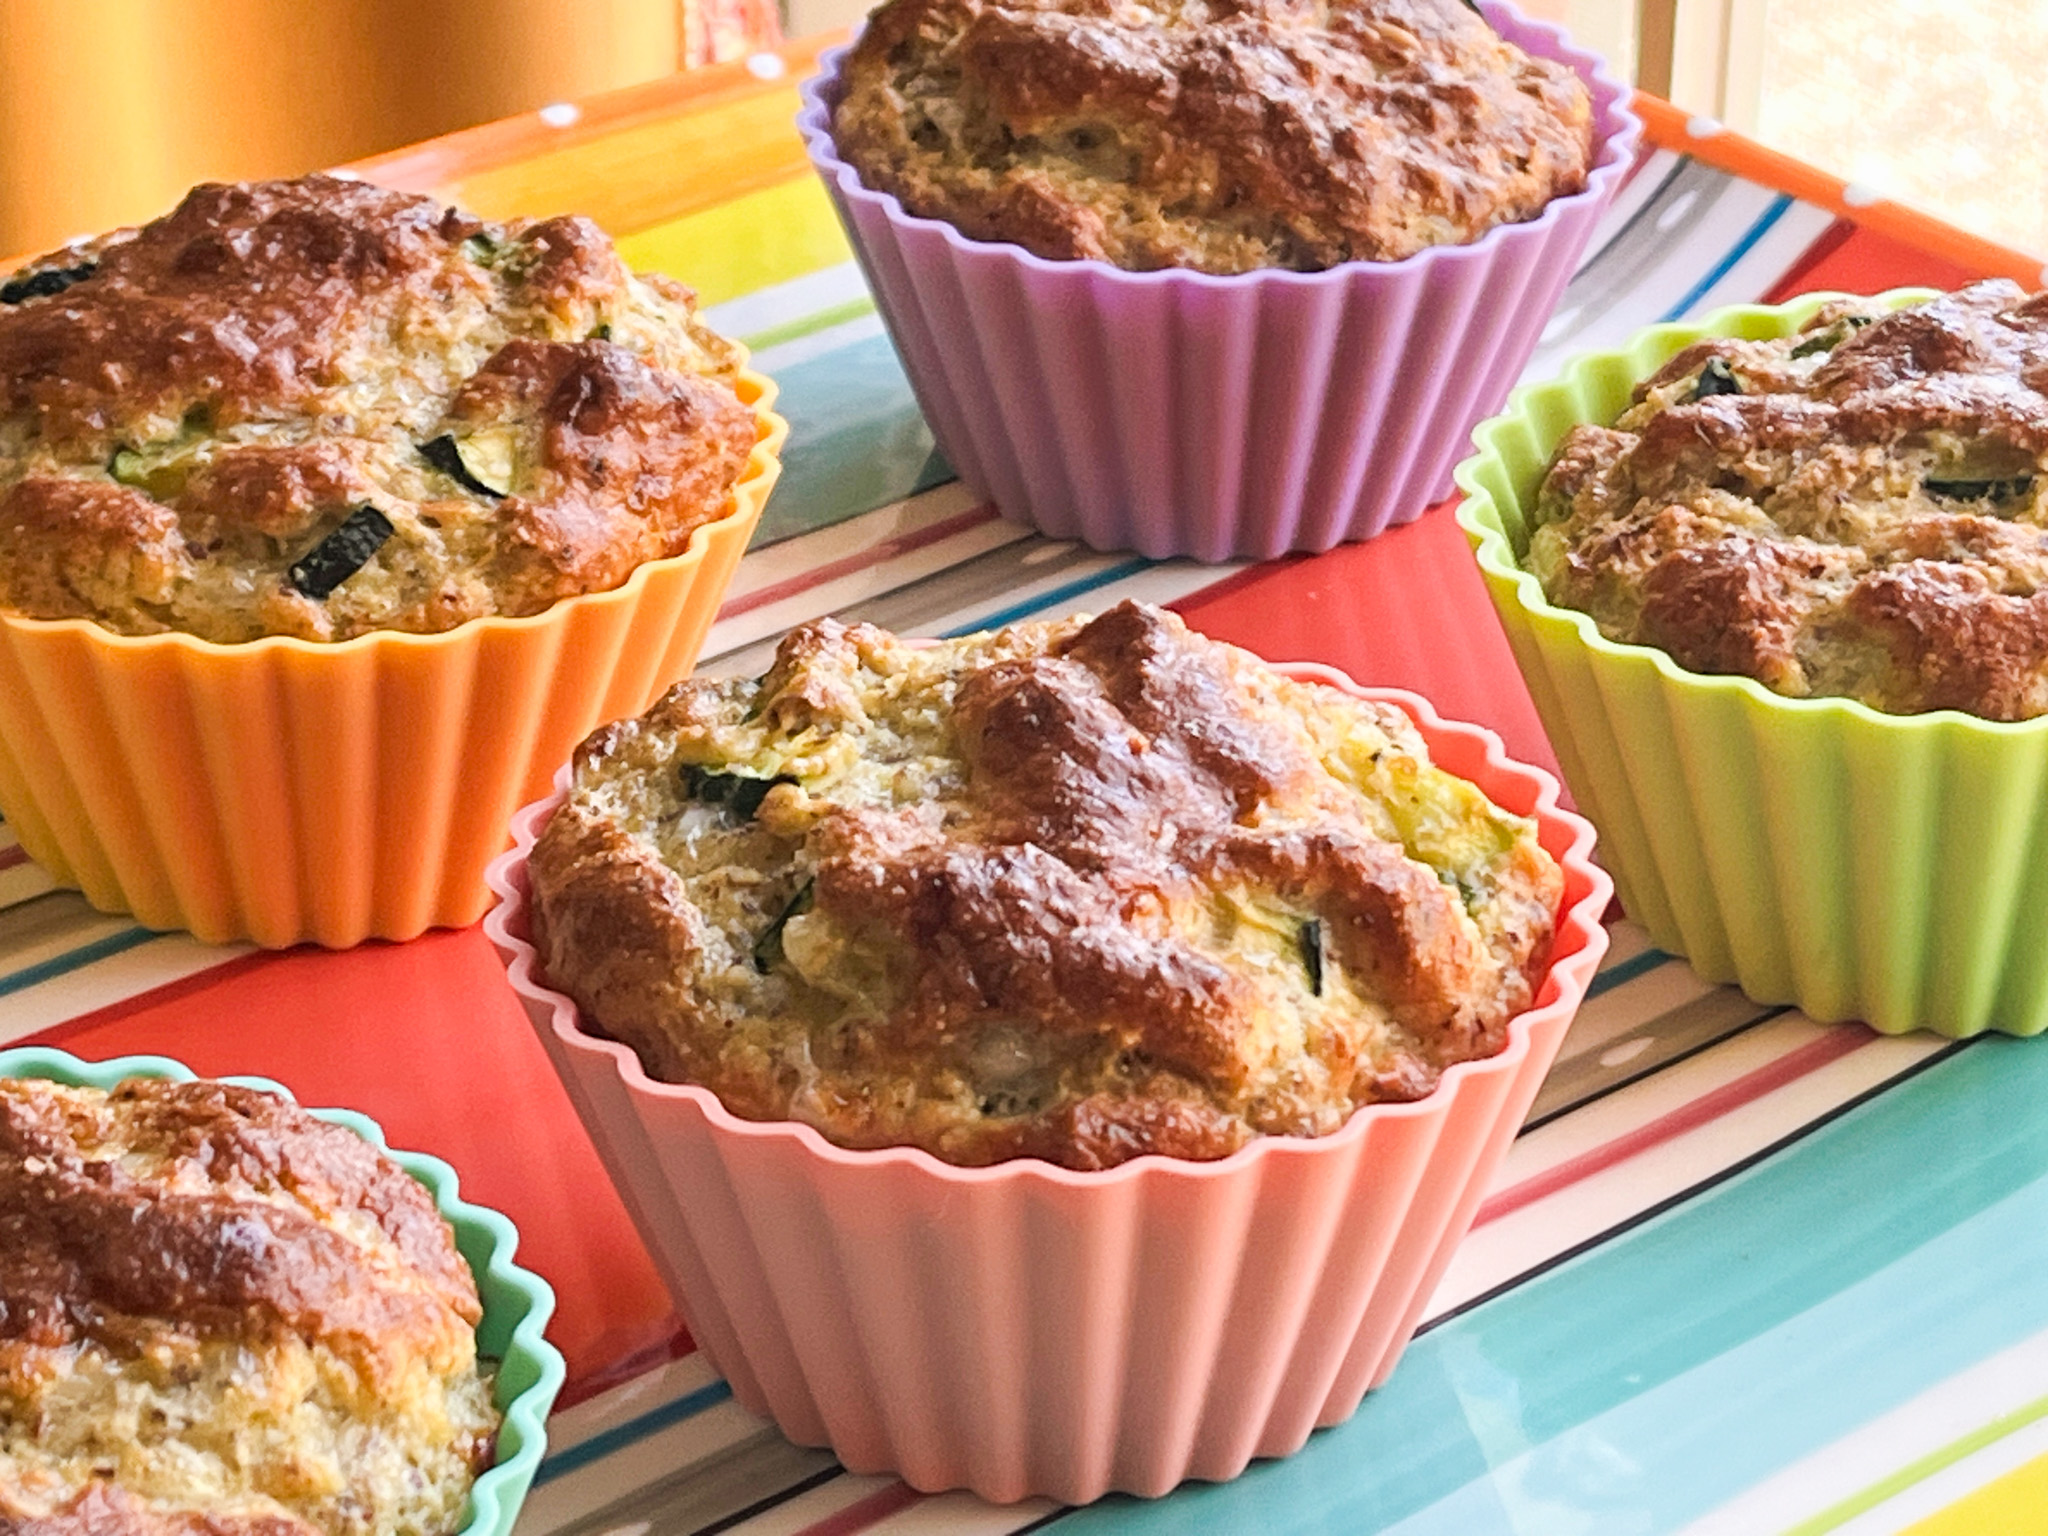
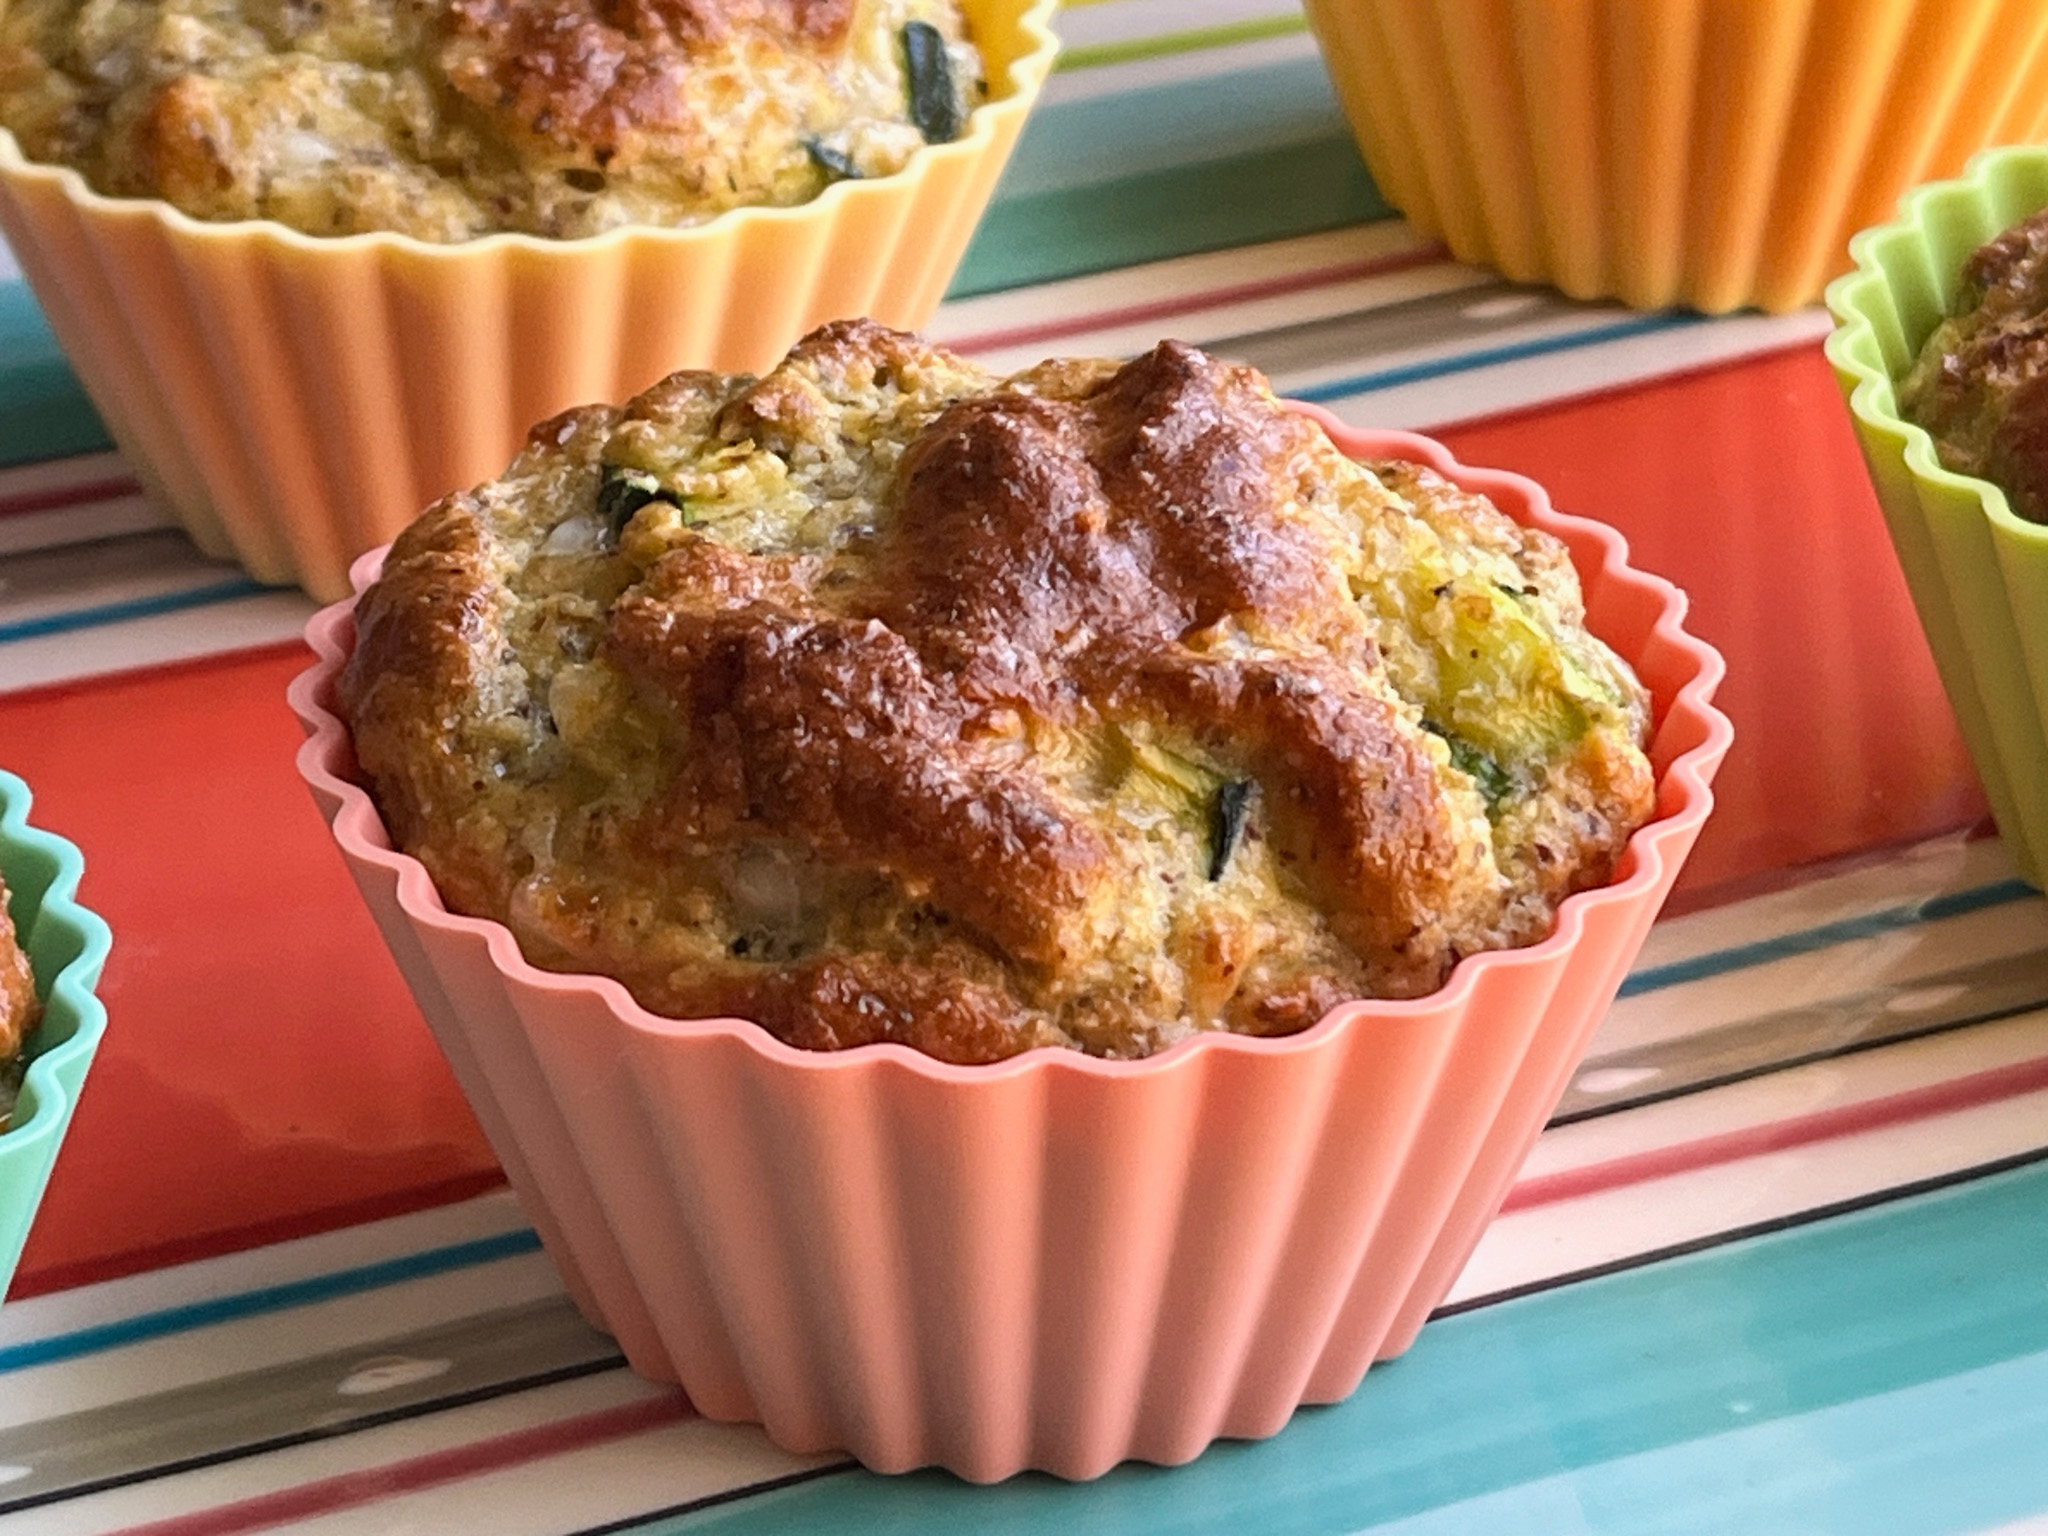
Mix the dry ingredients into the wet ingredients, adding only part at a time and stirring each time until the mixture is combined. Fill muffin cups, dividing the mixture evenly among 9 muffins cups. Bake about 27 minutes, or until muffins are firm and slightly browned.
ENJOY!
to print the recipe, click here

Comments: I omitted feta cheese because I did not have any. I made bigger muffins and instead of twelve I ended up with nine. These jumbo silicone liners are absolutely great! If you don’t have a jumbo muffin pan, they will still stand upright on a regular baking sheet. You can find a link to get them in Kalyn’s blog, I’ve had mine for a while. Love the colors also, as you might imagine…

They would be pretty nice with chunks of feta in the crumb, so consider adding that. The crumb is very delicate and they are perfect for a light lunch. The muffins freeze well, you can microwave them for 1 minute, and enjoy good as fresh.
Kalyn, thank you for yet another great low-carb recipe!
ONE YEAR AGO: Springtime Cupcakes
TWO YEARS AGO: Eggplant-Hummus Phyllo Rolls
THREE YEARS AGO: Happy Easter!
FOUR YEARS AGO: Brioche Pepin
FIVE YEARS AGO: Sakura Buche du Printempts
SIX YEARS AGO: Clay Pot Roast Chicken
SEVEN YEARS AGO: In My Kitchen, April 2017
EIGHT YEARS AGO: Secret Recipe Club: Chicken Korma and a Bonus Recipe
NINE YEARS AGO: Josey Baker’s Olive Bread
TEN YEARS AGO: Almonds, A Cookbook Review
ELEVEN YEARS AGO: Pomegranate-Molasses Glazed Carrots
TWELVE YEARS AGO: Codruta’s Rolled Oat Sourdough Bread
THIRTEEN YEARS AGO: Roasted Corn and Tomato Risotto
FOURTEEN YEARS AGO: Light Rye Bread