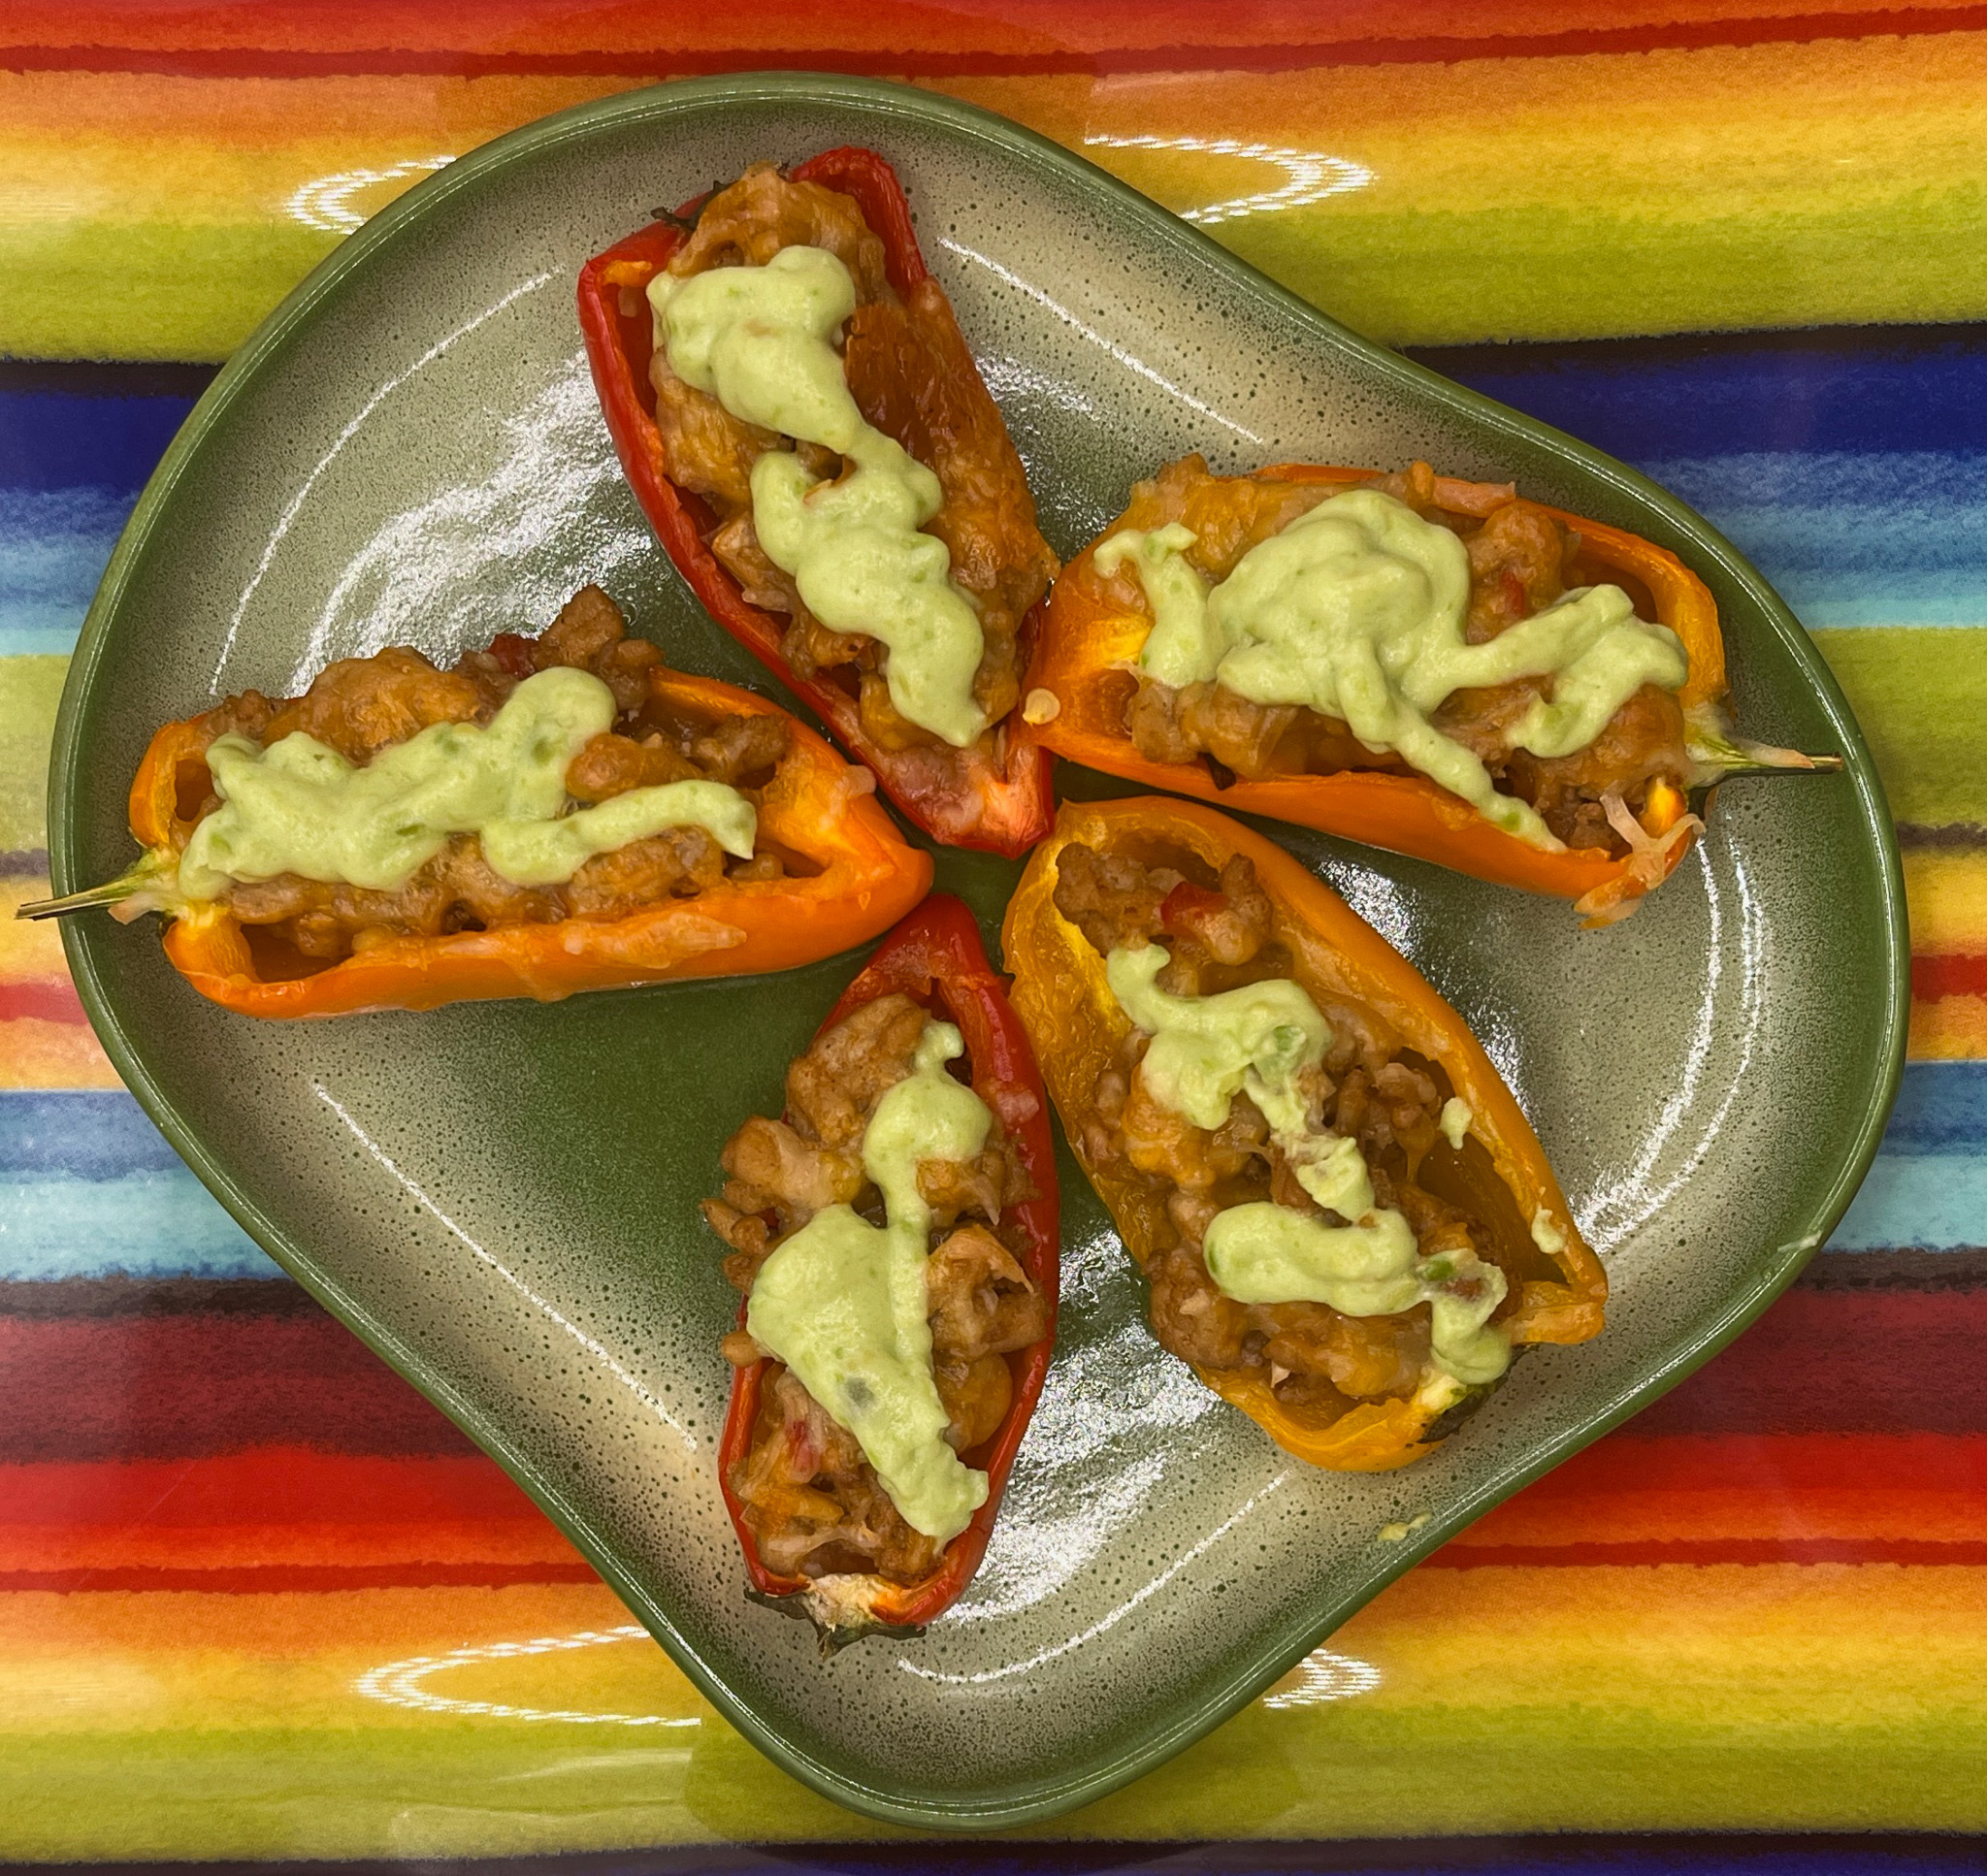
Not too long ago I bought a new cookbook (surprised?) called BRILLIANT BITES, by Maegan Brown, also known as The BakerMama. I found myself getting amazed by each and every recipe because they were for the most part quite unusual and so creative. Have you ever imagined making cacio e pepe pasta in appetizer shape? I bet you haven’t. We don’t host dinner parties that often anymore, but appetizers can be fun to make and even if you are not hosting, you could conceivably make a meal out of three or four appetizer options. I contacted Maegan and asked her permission to share one of the recipe of her cool cookbook. Here I am to offer you Chicken Fajita Bites, colorful and oh so tasty!
CHICKEN FAJITA BITES
(printed with permission from Maegan Brown’s Brilliant Bites)
6 red mini sweet peppers, 4 whole and 2 finely chopped
6 yellow mini sweet peppers, 4 whole and 2 finely chopped
6 orange mini sweet peppers, 4 whole and 2 finely chopped
2 tablespoons olive oil
¼ medium onion, finely chopped
1 teaspoon paprika
1 teaspoon chili powder
1 teaspoon ground cumin
1 teaspoon kosher salt
4 boneless, skinless chicken tenders, finely chopped
2 tablespoons fresh lime juice
1 cup (112 g) shredded Mexican-style cheese blend
Chopped fresh cilantro, for garnishing
Key lime wedges, for serving (optional)
Sour Cream Avocado Sauce
¼ cup (55 g) well-mashed avocado (about ½ avocado)
¼ cup (60 ml) sour cream
1 tablespoon fresh lime juice
½ teaspoon kosher salt, or to taste
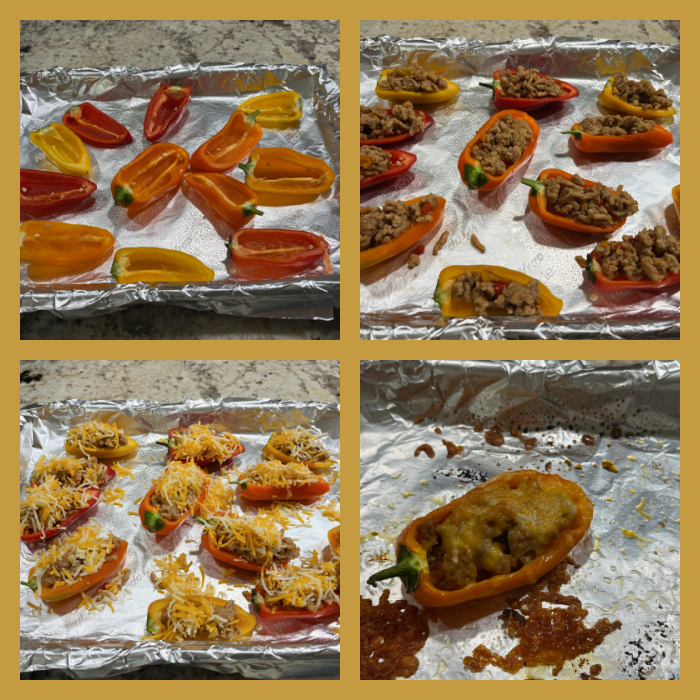
To make the chicken fajita bites: Heat the oven to 400°F. Line a 13 x 9-inch baking sheet with foil and spray with nonstick cooking spray. Slice each whole mini pepper in half lengthwise, leaving the stem intact, and remove any seeds and pith. Slice a small sliver off the back of each half so that it sits flat on the baking sheet (I omitted this step) being careful not to slice all the way through. Arrange the peppers in a single layer, cut sides up, on the prepared baking sheet.
Heat the oil in a large skillet over medium-high heat. Add the chopped peppers and onion and cook and stir until just tender, about 4 minutes. Transfer to a bowl. In a small bowl, whisk together the paprika, chili powder, cumin, and 1 teaspoon salt until well combined. Add the chopped chicken to a large bowl and toss it with the 2 tablespoons lime juice, then add the seasoning mixture to the bowl and thoroughly coat the chicken.
Add the chicken to the same skillet the peppers and onion were cooked in and cook over medium-high heat, stirring occasionally, until the chicken is cooked all the way through, about 4 minutes. Return the peppers and onion to the skillet and toss to combine with the chicken. Remove from the heat.
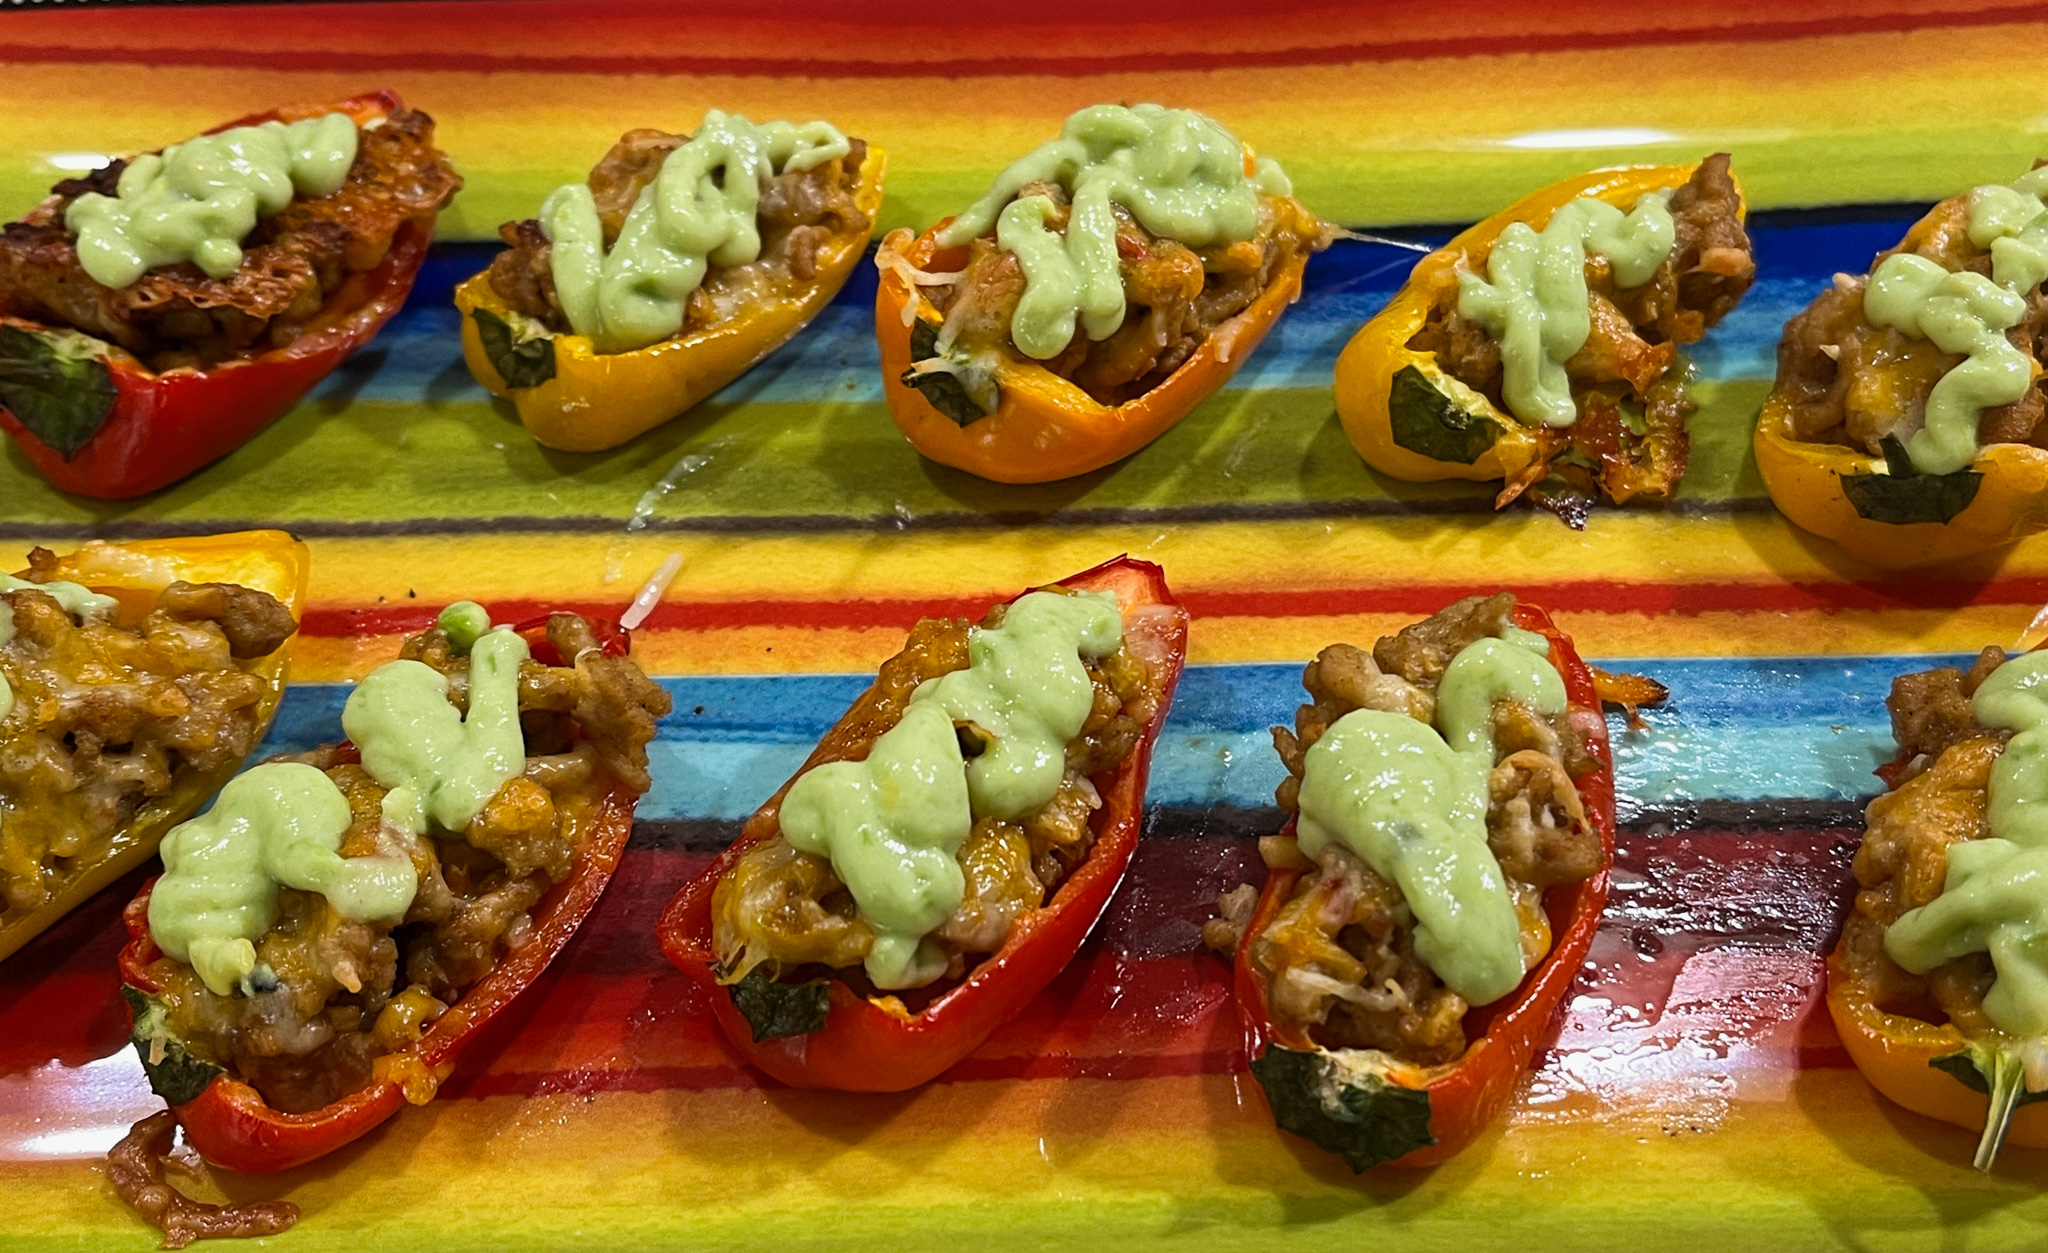
Completely fill each mini pepper half with the chicken fajita mixture, then top with a little shredded cheese. Bake for 13 to 15 minutes, until the cheese melts and the peppers are soft. Meanwhile, make the sour cream avocado sauce: In a medium bowl, whisk together all the sauce ingredients until well combined. Drizzle some of the sauce onto each bite, garnish with a sprinkle of fresh cilantro, and serve with lime wedges (if using) for squeezing.
ENJOY!
to print the recipe, click here
Comments: My only modification of the recipe was to use ground chicken instead of chicken breasts, because I happened to have some in the fridge waiting for a good opportunity to shine. And shine it did. Super tasty little bites, that will also stand on their own without the sauce if you want to make it simpler. But the sauce takes it to a much tastier level, so I don’t recommend you skip it.
Now for a little review of Maegan’s cookbook…
The book offers 70 appetizer bites, divided in 6 categories. I will list them below and include some of my favorites because of their cute or unusual factor… So many called my name!
PARTY BITES… The Chicken Fajita Bites are from this first chapter, and I they are so adorable, I actually made them as a light lunch for me and hubby on a Saturday. They were perfect! From this chapter my favorites are: Cacio e Pepe (so unusual and cute), Sushi Taco Bites (I absolutely MUST make them), Steak Frite Bites, and Chopped Kale Caesar Salad Cups.
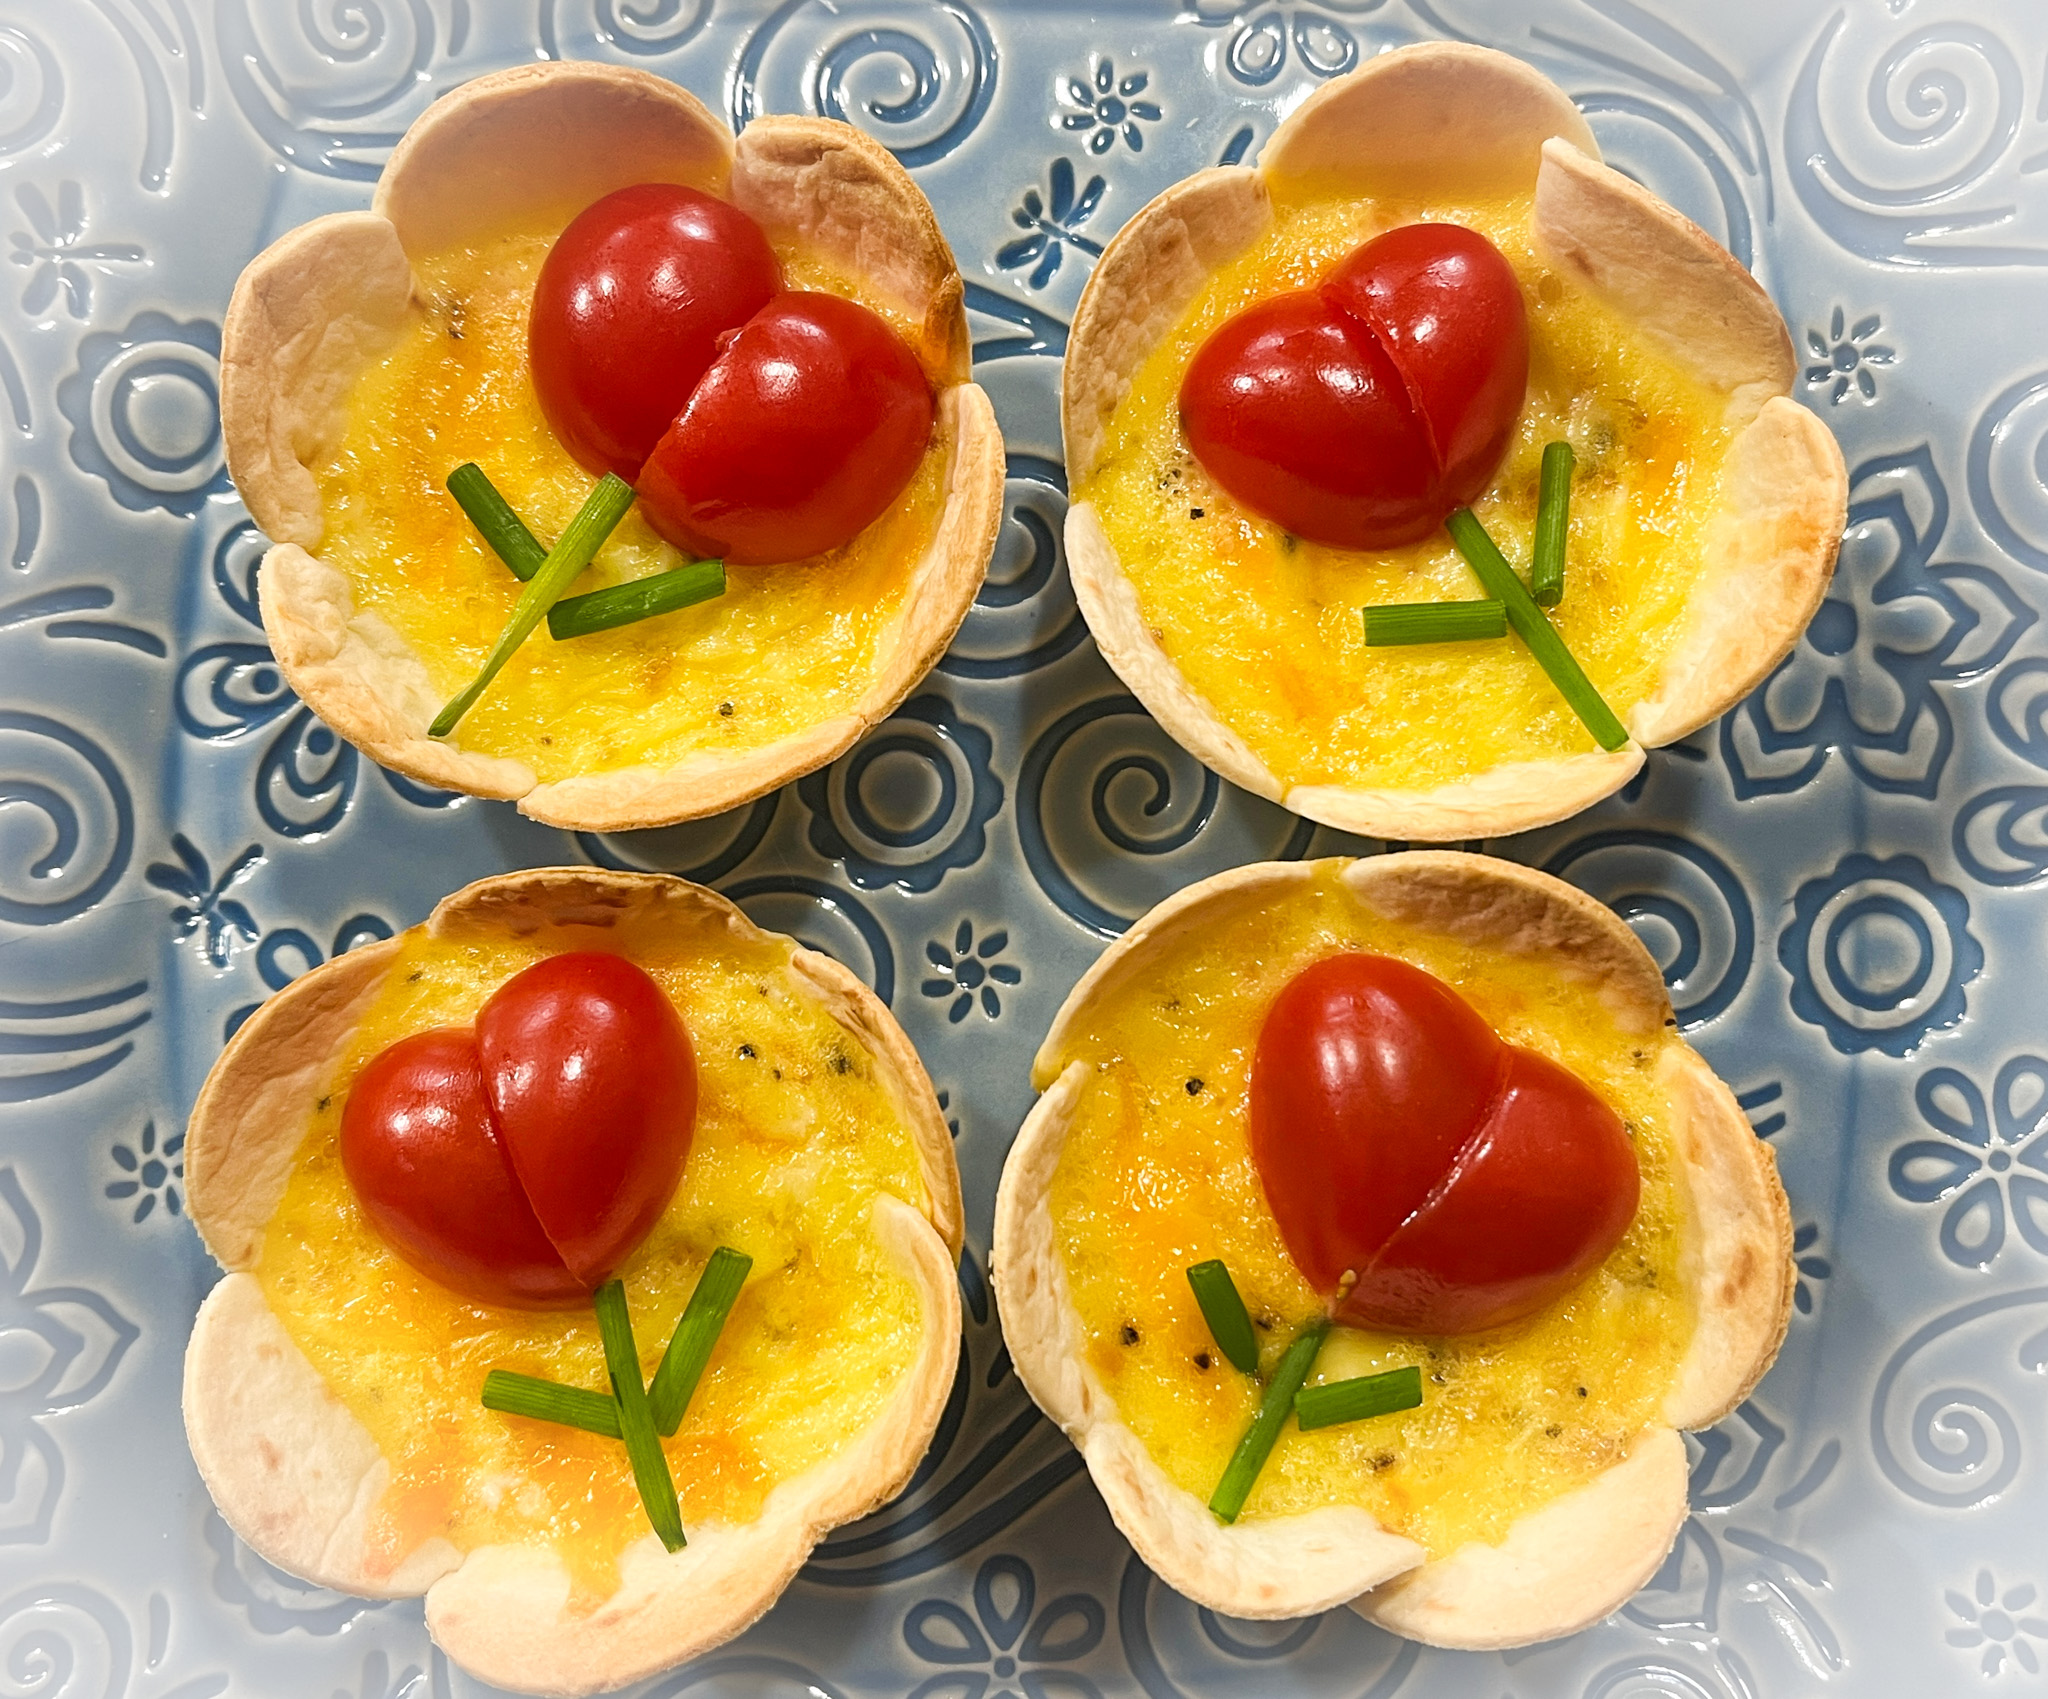
HOLIDAY BITES… I just fell in love with every single one in this group! It starts with Birthday Cake Cookie Bites with Party Hats! How can you resist them? Below a little screenshot straight from the book.
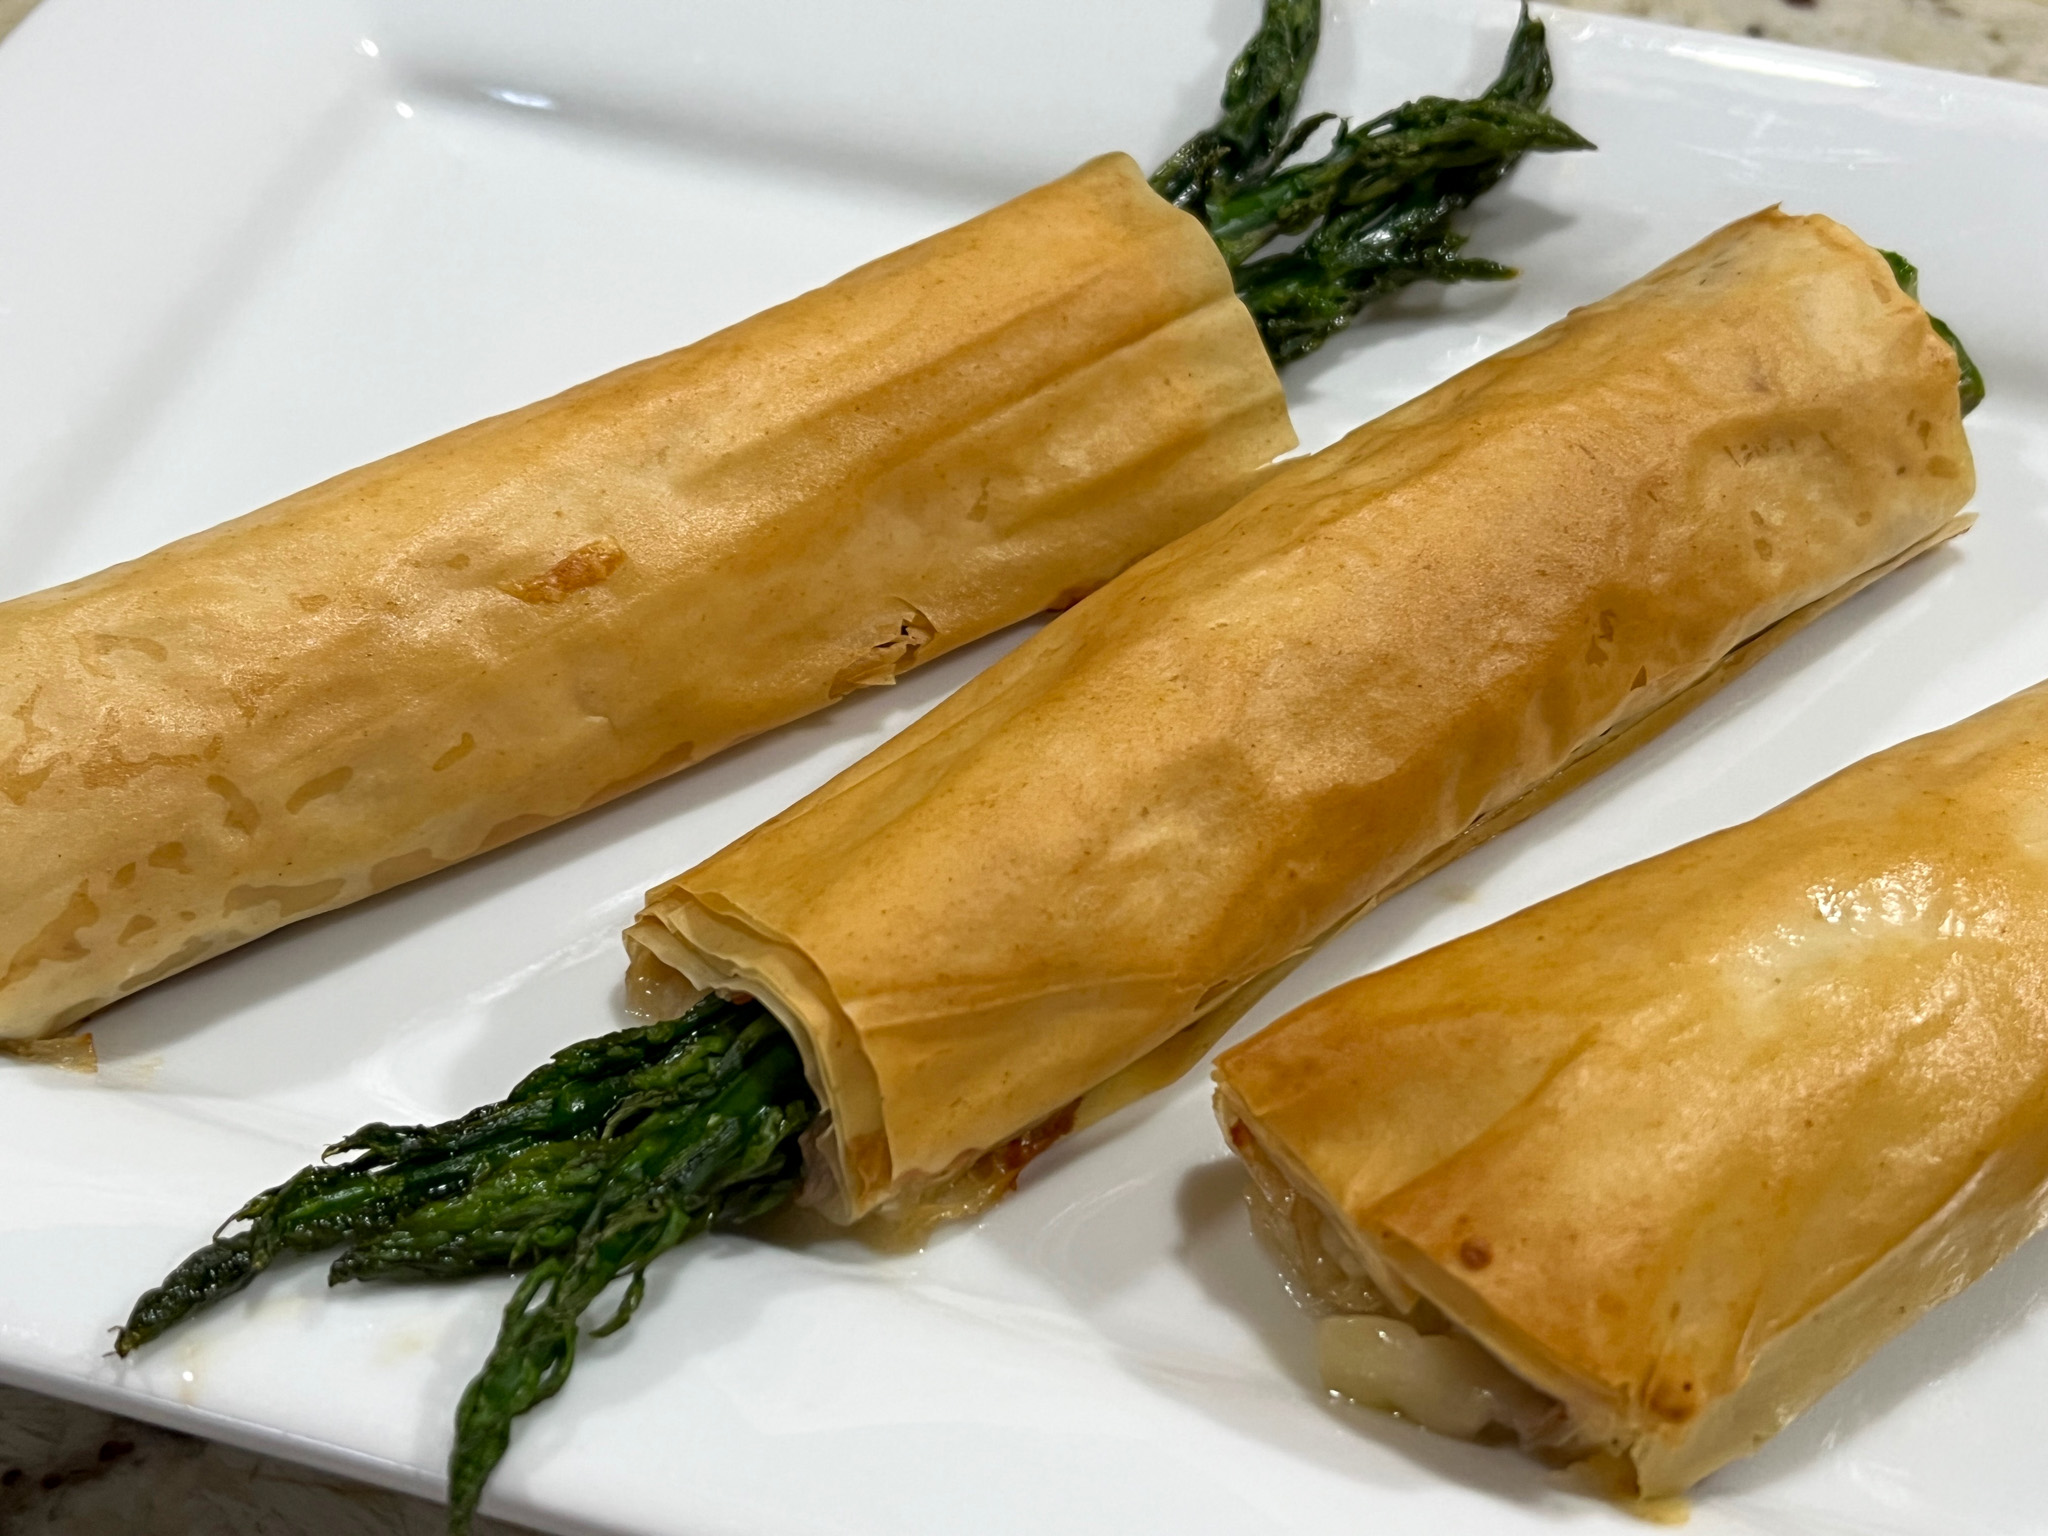
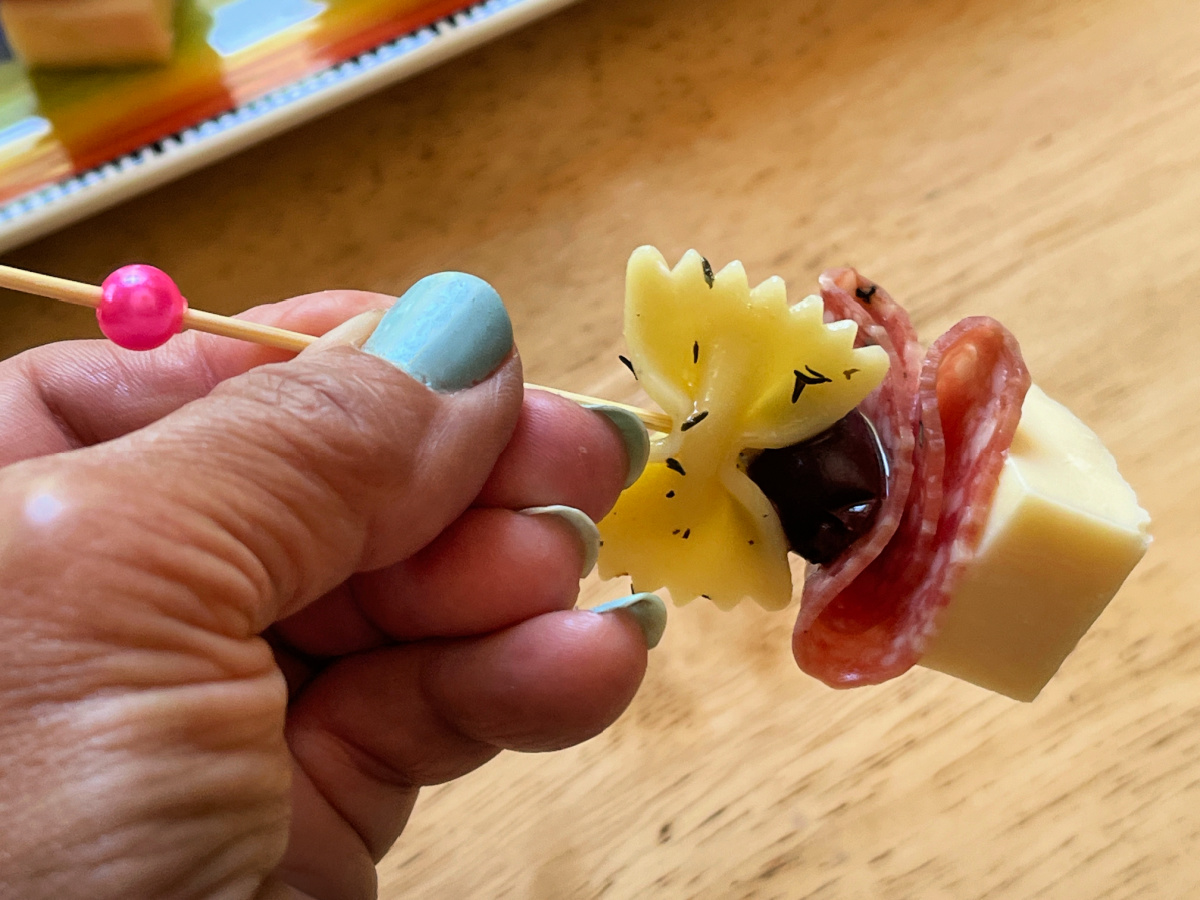
The whole chapter is one cute recipe after another… Love Bug Bites, Mini-Muffins Many Ways, Jack-o-Lantern Mac and Cheese Bites, Bow-Tie Antipasto Bites (coolest appetizer ever), Pumpkin Pie Bites (gorgeous), Candy Cane & Snowman Caprese Bites, just to name a few.
BREAKFAST BITES… Eggs Benedict Bites (so creative!), Dutch Baby Bites, Smoked Salmon Bagel Bites, and get this: Chocolate Babka Bites… I honestly want to bake the whole collection in this chapter!
SNACK BITES… She describes this chapter as a fun twist on everyday snacks. I give you a few examples: BLT Grilled Cheese Bites, Popcorn Bites, Loaded Baked Potato Chips, and Monte Cristo Cracker Bites. All presentations are super cute!
DESSERT BITES… Hard to pick favorites here! Baklava Bites, Chocolate Chip Cookie Cannoli Bites, Crepe Bites (I fell in love with those and share a screenshot of the book below), Coconut Key Lime Pie Bites might be the cutest little bites ever…
SAVVY SIPS… This is the only chapter that does not really work for me, as I don’t drink cocktails, but if you love them and have guests who do, you’ll find quite a collection, from Espresso Smore’tini to Mango Mai Tai, Pina Colada Popsicle Shots, and Eggnog Bites.
Well, I hope you consider getting this great cookbook before your next dinner party! Totally worth it!
ONE YEAR AGO: Oreo Balls, Fun and Easy
TWO YEARS AGO: Pork with Prunes
THREE YEARS AGO: Honeyed-Jalapenos on Spelt Pizza
FOUR YEARS AGO: Bulgur and Chickpea Salad with Pomegranate Seeds
FIVE YEARS AGO: Purple Star Macarons
SIX YEARS AGO: Smoked Salmon, Fait Maison
SEVEN YEARS AGO: Kouign-Amann, Fighting Fire with Fire
EIGHT YEARS AGO: In My Kitchen, Yin and Yang
NINE YEARS AGO: Chocolate Toffee Banana Bread
TEN YEARS AGO: In My Kitchen, June 2014
ELEVEN YEARS AGO: Strawberry Frozen Yogurt
TWELVE YEARS AGO: Baked Coconut and “The Brazilian Kitchen”
THIRTEEN YEARS AGO: Honey-Glazed Chicken Legs
FOURTEEN YEARS AGO: French-Style Rolls