Grab a chair, make yourself comfortable, this will take a while.
I suppose I could call this post A Convoluted Approach to Cake Baking. I won’t publish the full recipe, as that would not be fair with Dorie Greenspan. After all, it’s the cake on the cover of her book, a cake she developed as an alternative for one of those masterpieces conceived by Pierre Hermé, and I am sure a lot of sweat and who knows, maybe a few tears were involved in her culinary quest to perfect it. Those truly interested can get a copy of her latest book, which by the way, I reviewed not too long ago (shameless self-promotion).
The cake has five components. FIVE. Which proves I was not in the right frame of mind when I decided to go for it. Let’s count them together:
1. A chocolate cake that must be sliced in half.
2. A chocolate filling, custard-type.
3. A syrup to soak the cake.
4. A ganache to ice the cake.
5. A topping of cubed bittersweet chocolate, salted. Surprisingly, those cubes are not simple pieces of chocolate that you can grab in the store. You are supposed to make them yourself.
That was the cake chosen to celebrate my 6 years of blogging. Excuse me while I wipe tears from my face, I laughed so hard I cried a little… Moving on…
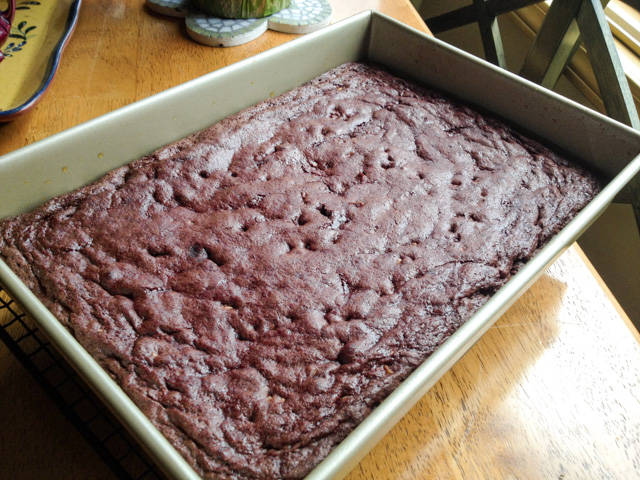
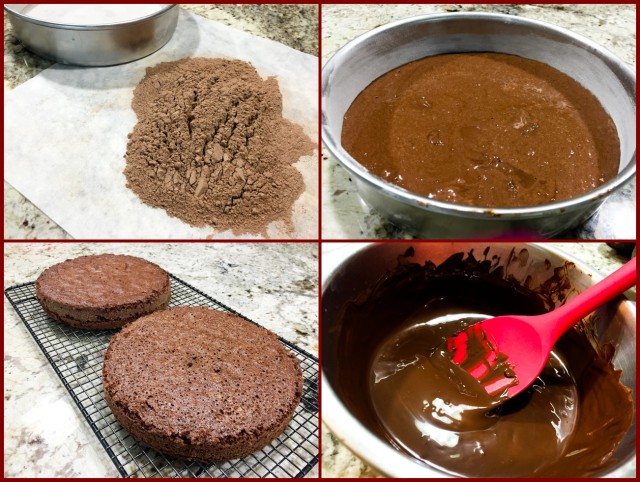
The cake is a typical French layer cake, supposed to be shorter than your regular American type layer cake. Short and sweet… A single cake, baked in a 8 x 2 inch round pan, sliced in half, etc etc. Please notice that the composite photo below clearly shows two cakes instead of one. Has Sally gone mad? I won’t answer this specific question. Let’s just say that I allowed the first cake to cool for 5 minutes in the pan, then inverted it on a rack as instructed. One fourth of the cake stayed inside the pan, laughing at me (insert crass language here). I scraped it all as carefully as I could, pasted the pieces together, but of course realized that slicing that poor baby in half would be impossible for someone with my skills. Quickly, I assembled all the ingredients again and baked a second cake. The level of distress was getting a bit high, and it was only 8:30 am on a sunny Saturday.
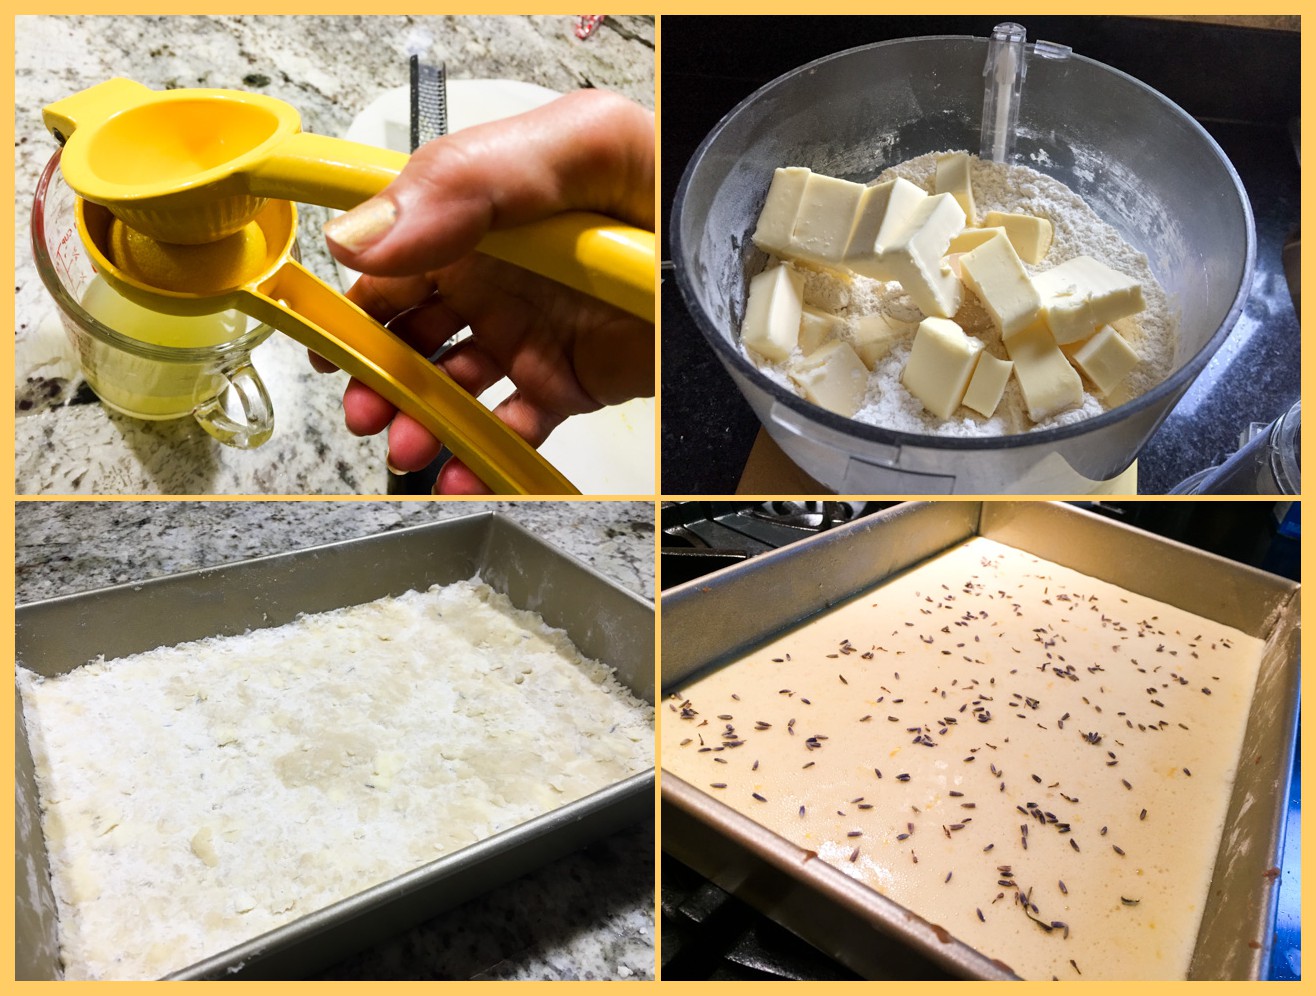
For the second cake, I used parchment paper to cover the bottom of the pan, and greased the living bejesus out of it. I also waited 30 minutes to invert it. That cake unmolded like it was baked by an expert on Ace of Cakes. I danced a little to celebrate, and moved on to the making of the chocolate custard filling. The recipe starts mixing whole milk with sugar, so I promptly mixed the 3 tablespoons of sugar called for in the ingredients and proceeded to warm up the milk, only to find out that in that stage you add only 1.5 tablespoons of sugar. The remaining sugar is beaten with egg yolks a little later in the method (Sally visualizes Dorie Greenspan giving a small lecture on how to read a recipe carefully before starting to make it). Poured the milk down the drain (please, don’t lecture me on waste), started all over. The custard almost curdled on me, but it did not. I danced a little to celebrate, and moved on to the making of the salted chocolate cubes and shards.

That involves melting good quality semi-sweet chocolate, gently and carefully, and adding the correct amount of Maldon salt flakes. I did all that, but thought that the amount of chocolate seemed a little small. What the heck, Dorie knows what she’s doing when it comes to cakes. Placed the concoction in the freezer, where it would stay until next day. In theory. Not in practice. Later, much later that day, while I was making the icing, I noticed something under the stove peeking out. Four squares of semi-sweet chocolate that somehow found their way there, and only by a miracle were not consumed by Buck, the forever famished Jack Russell who sniffs and swallows food items within a mile in 1 second flat.
Puzzled, I tried to find out in which step of the recipe I lost that chocolate. I had just weighed the chocolate for the icing, and those pieces were the exact weight I expected them to be. So the missing pieces had to be for the chocolate cubes, the salted chocolate now in the freezer. Hummmm… that doesn’t bode well, does it? Already worried, I went to the freezer, grabbed the salted batch, unwrapped it, whacked a little piece and tasted it… Aaargh!!!!!! Way way WAY too salty, absolutely horrible, it would have ruined my cake… Back to square one, I quickly re-made the salted chocolate and put it in the freezer at 9 pm on a Saturday evening that felt as if I had run a marathon in Arizona, mid-July.
Next day, the big day of assembling my masterpiece! I had an important decision to make, go for a single cake sliced in half, or do a double cake using both layers. Thinking back, I should have used the good cake, sliced in half, and frozen the other one to make something like a trifle, maybe? But I got greedy. Made the simple syrup, spooned some on the first cake, placed it over a rack on a baking sheet. Added the filling. Topped with the second cake, added syrup, and placed the whole thing in the fridge for one hour. I have a picture for you from that stage, and those who are experienced cake bakers might be able to see the type of trouble I set myself for.
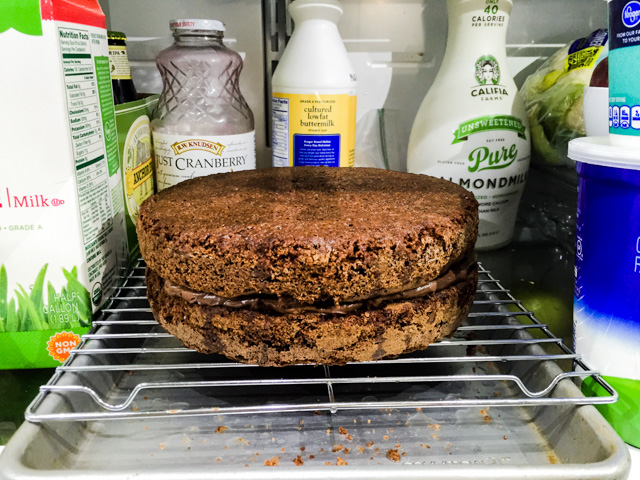
Two problems… I think the cakes, although baked in the exact same pan (I simply washed it after the first cake played that nasty trick on me), ended up with slightly different diameters, so the top one was just a tiny bit bigger. I did not even notice at first. Second problem, I did not allow the filling to ooze out, thinking that it would be too messy. I am the daughter of my Dad, and we both hate any type of sugary mess. That was a major faux-pas, because I did not end up with a smooth surface in between the layers. Once I was done covering the cake (with not enough icing, I should add), the whole thing looked like Pillsbury Dough Boy going out for a karate lesson with the belt tightened too tight. No bueno, folks, no bueno. By then, I was in complete distress, rushed to the backyard where the husband was covered in sweat and mud while trimming trees, and informed him that my cake had been ruined. I also informed him that I would never ever be taking a picture of that “thing”, or any other cake again. And, finally I made it clear that my blogging days were over. I know for a fact that he rolled his eyes to the skies above, but he refuses to admit it, saying it was my imagination. Still, after pointing out the harsh reality that I often receive a lot more sympathy from our dogs, he promised to go back inside and help me out. Then, he reminded me that his Grandma was a fantastic cake baker and he’s got her genes (insert my own eye roll here, it’s appalling the type of stuff I have to put up with; I’ve got some great genes too, just don’t walk around bragging about them).
Staring at the cake, he said “it’s not that bad.” That, in Phil’s speech means “Holy cow, you really screwed this one up big time!”. He analyzed the situation and asked me to make a second batch of icing. At that point the cake was already costing me three times as much as it should, but who am I to count pennies in such a situation? A full batch of icing was made and cooled while we had dinner. Late that Sunday, my dear husband put perfect icing music on, and patiently covered all boo-boos, smoothing out the surface as best as he could. Then I topped the cake with a properly salted batch of chocolate cubes and shards. And collapsed on the sofa.
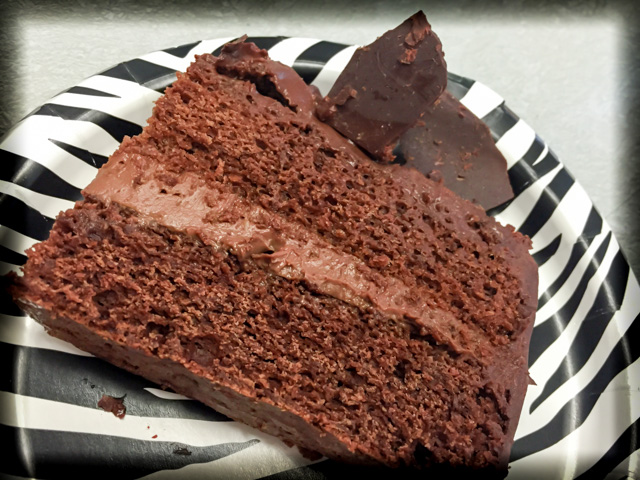
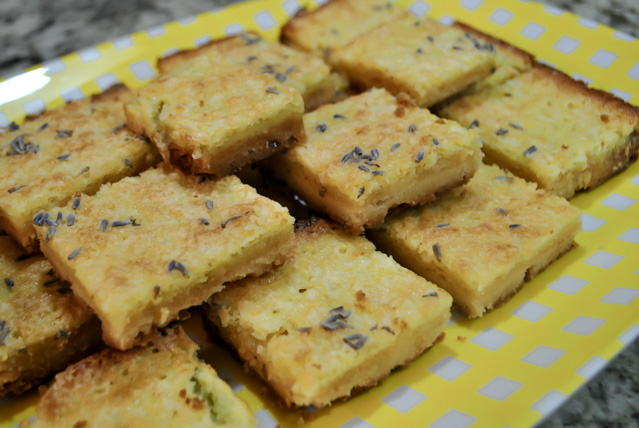
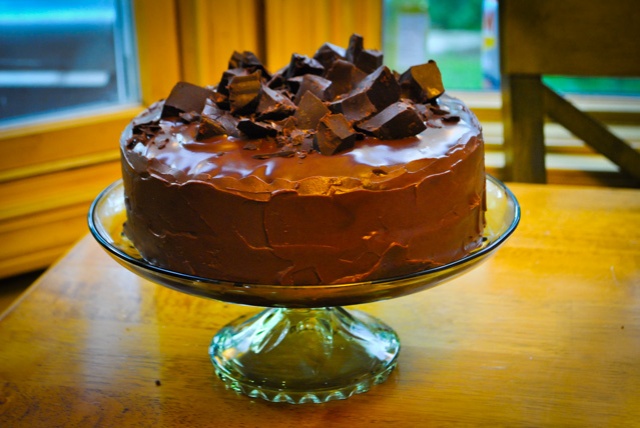
THE OUTCOME
All the struggle was more than worthy! The cake was absolutely delicious, rich, decadent, and the topping of salted chocolate, salted just right, by the way… was the perfect match for the cake underneath it. My advice for those who want to try it: read the recipe carefully, spread the preparation over a couple of days, and make it short and sweet as intended. One cake, sliced in half, no need for more. Squish the cake filling so that it oozes out, like a competent brick layer would do with cement. Don’t worry about the mess. It will ensure that the layers will be well matched, and the icing will cover it all as icing is meant to do. On a side note, there must be some type of literally prize for someone who manages to use cake filling and cement in the same phrase. No? Well, that’s a shame!
Dorie, thanks for a fantastic recipe, it was a great opportunity to push my limits. And of course, a special thank you to the man who stands by me when even I can hardly stand myself… Thanks to him, I shall keep on blogging…
Most important lesson learned: never underestimate your opponent. Never!
😉
ONE YEAR AGO: Salmon Sous-Vide with Miso-Maple Glaze
TWO YEARS AGO: Avocado “Hummus”.
THREE YEARS AGO: Moving is not for sissies!
FOUR YEARS AGO: Awesome Broccolini
FIVE YEARS AGO: Pizza! Pizza!
SIX YEARS AGO: From Backyard to Kitchen