OREOS DRESSED FOR THE HOLIDAY SEASON

Yes, the Bewitching Kitchen is in full festive mode! Today the Oreo cookie, brought home from a humble shelf in the grocery store, gets dressed up for major party time… Several ideas for you, but I will start with maybe my favorite, as it gives me a chance to talk about a new product I recently tried.


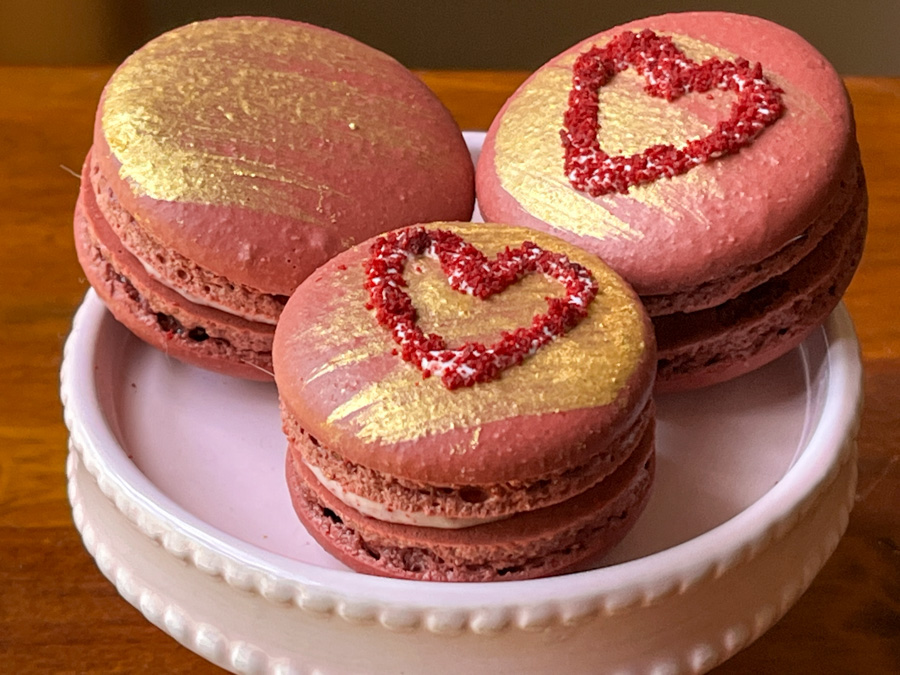
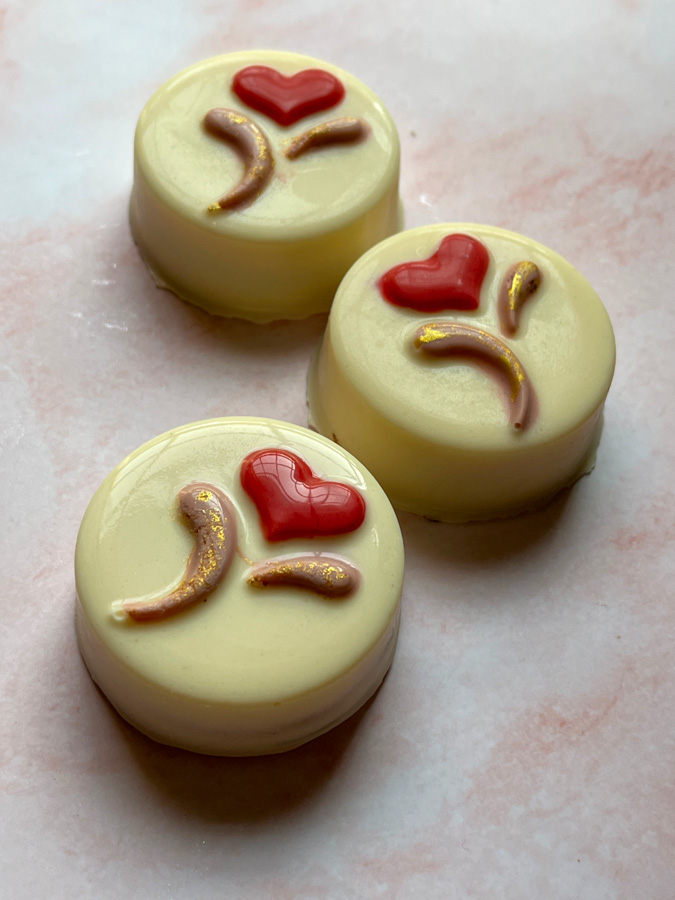
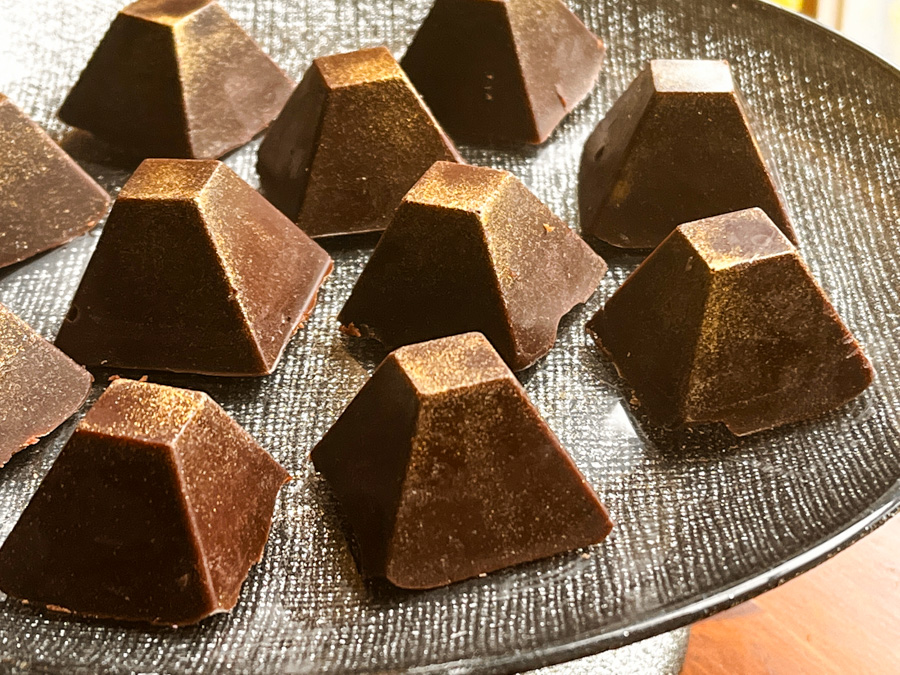
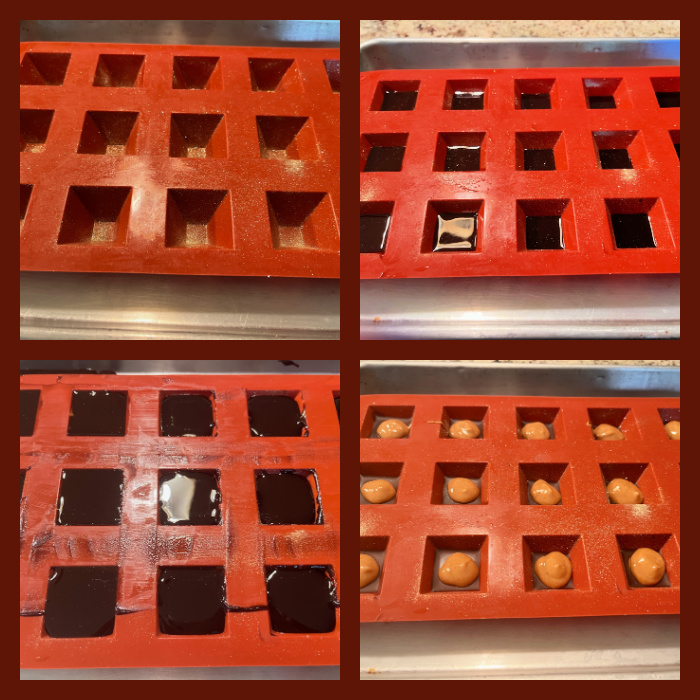
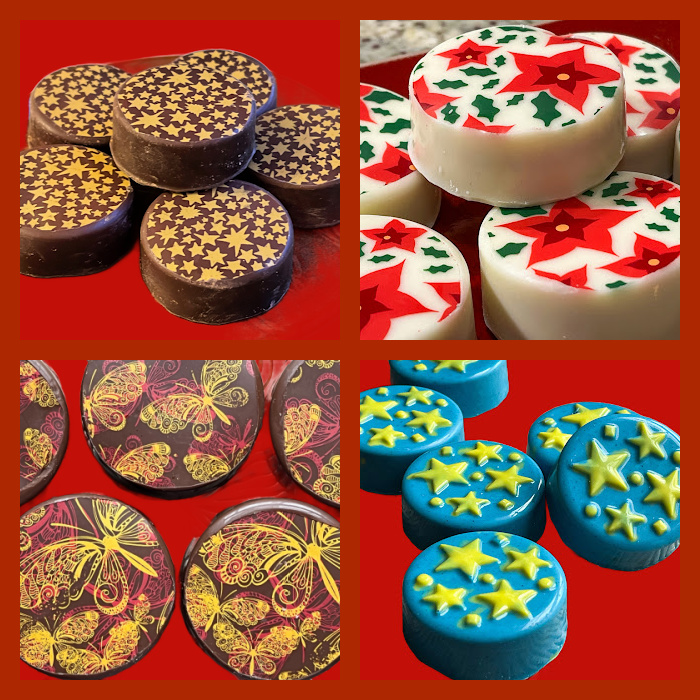
All my Oreos are made the same way, with compound chocolate (Wilton melting wafers, or other brands available at the grocery store or online). I also have very good luck with Almond Bark, which tends to dry super shiny. If you have issues melting the compound chocolate smoothly, just add a teaspoon or two of oil (refined coconut works great and has no coconut taste). Pour some in the Oreo mold, add the cookie, and cover with melted chocolate. But the possibilities to decorate are endless. For the red ones, I started dividing the white chocolate in two, leaving one portion white and one portion dyed with red fat-soluble color. I poured the two colors in a measuring cup and did not mix them completely, to try to get a marbled effect.

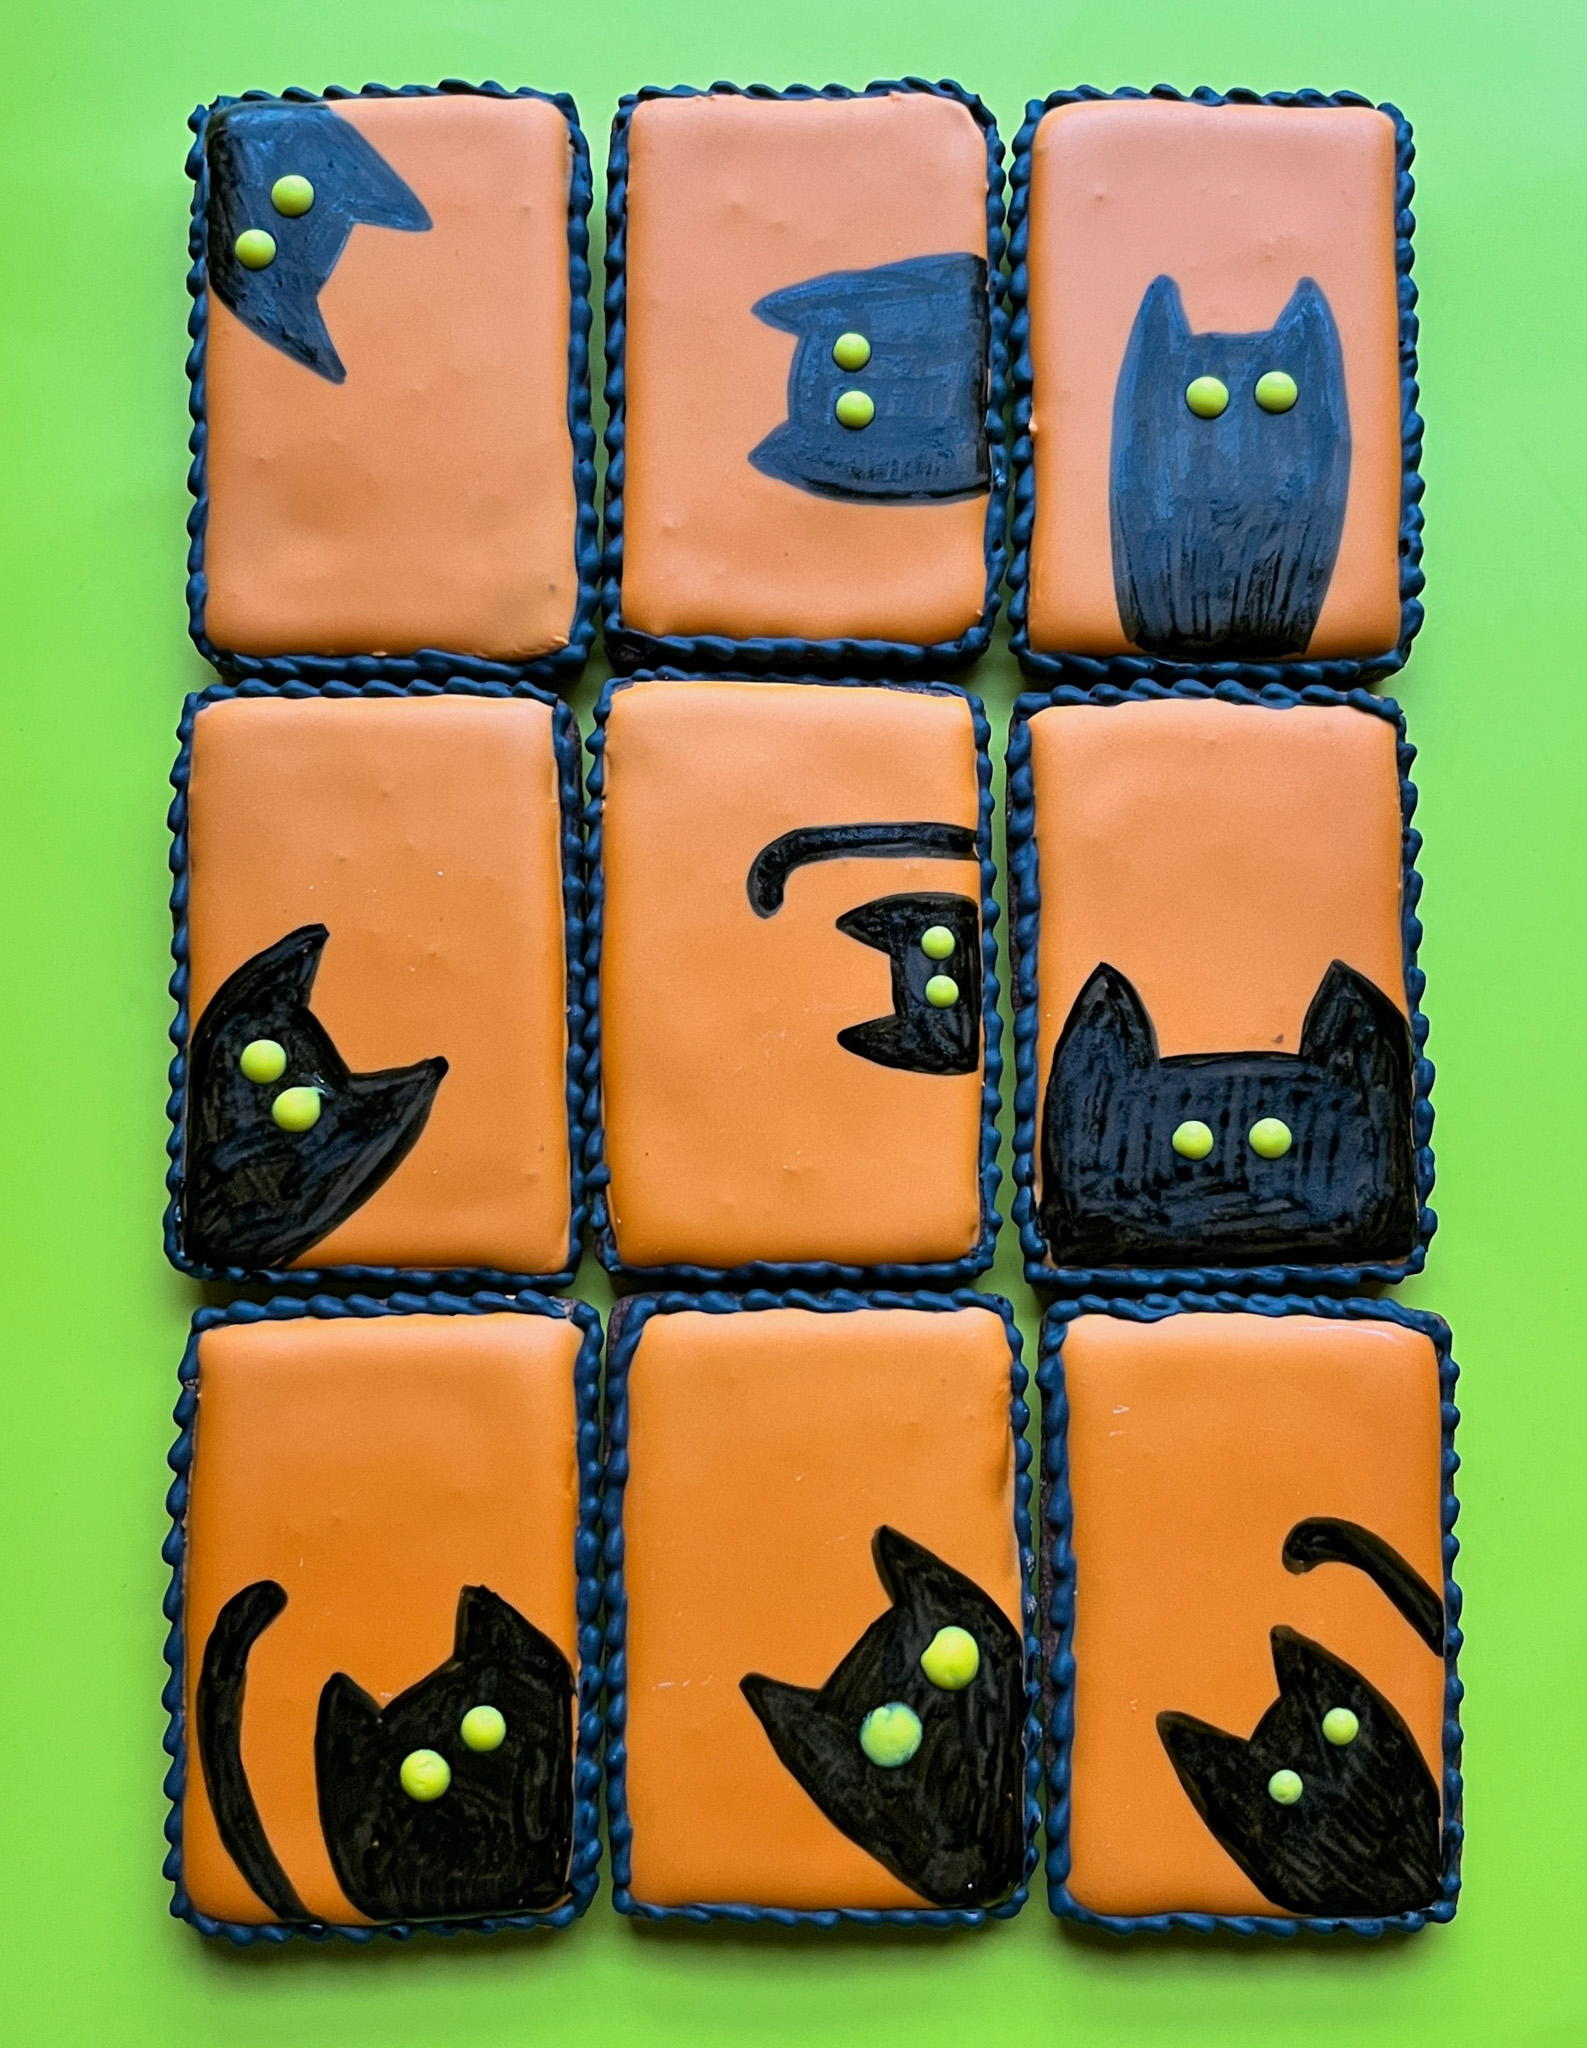
Once the chocolate set, I used this new trick, that turns any gel color into a fat-soluble product, so that all the big collection of gel dyes you own can be used to color chocolate. Isn’t that cool? It is a product by Americolor called FLO-COAT. You can find it here. Just a small amount, maybe 1/4 tsp and a couple of drops of your gel color, mix well and add to the melted chocolate. 

That is how I made the green used for the details, then added sprinkles.

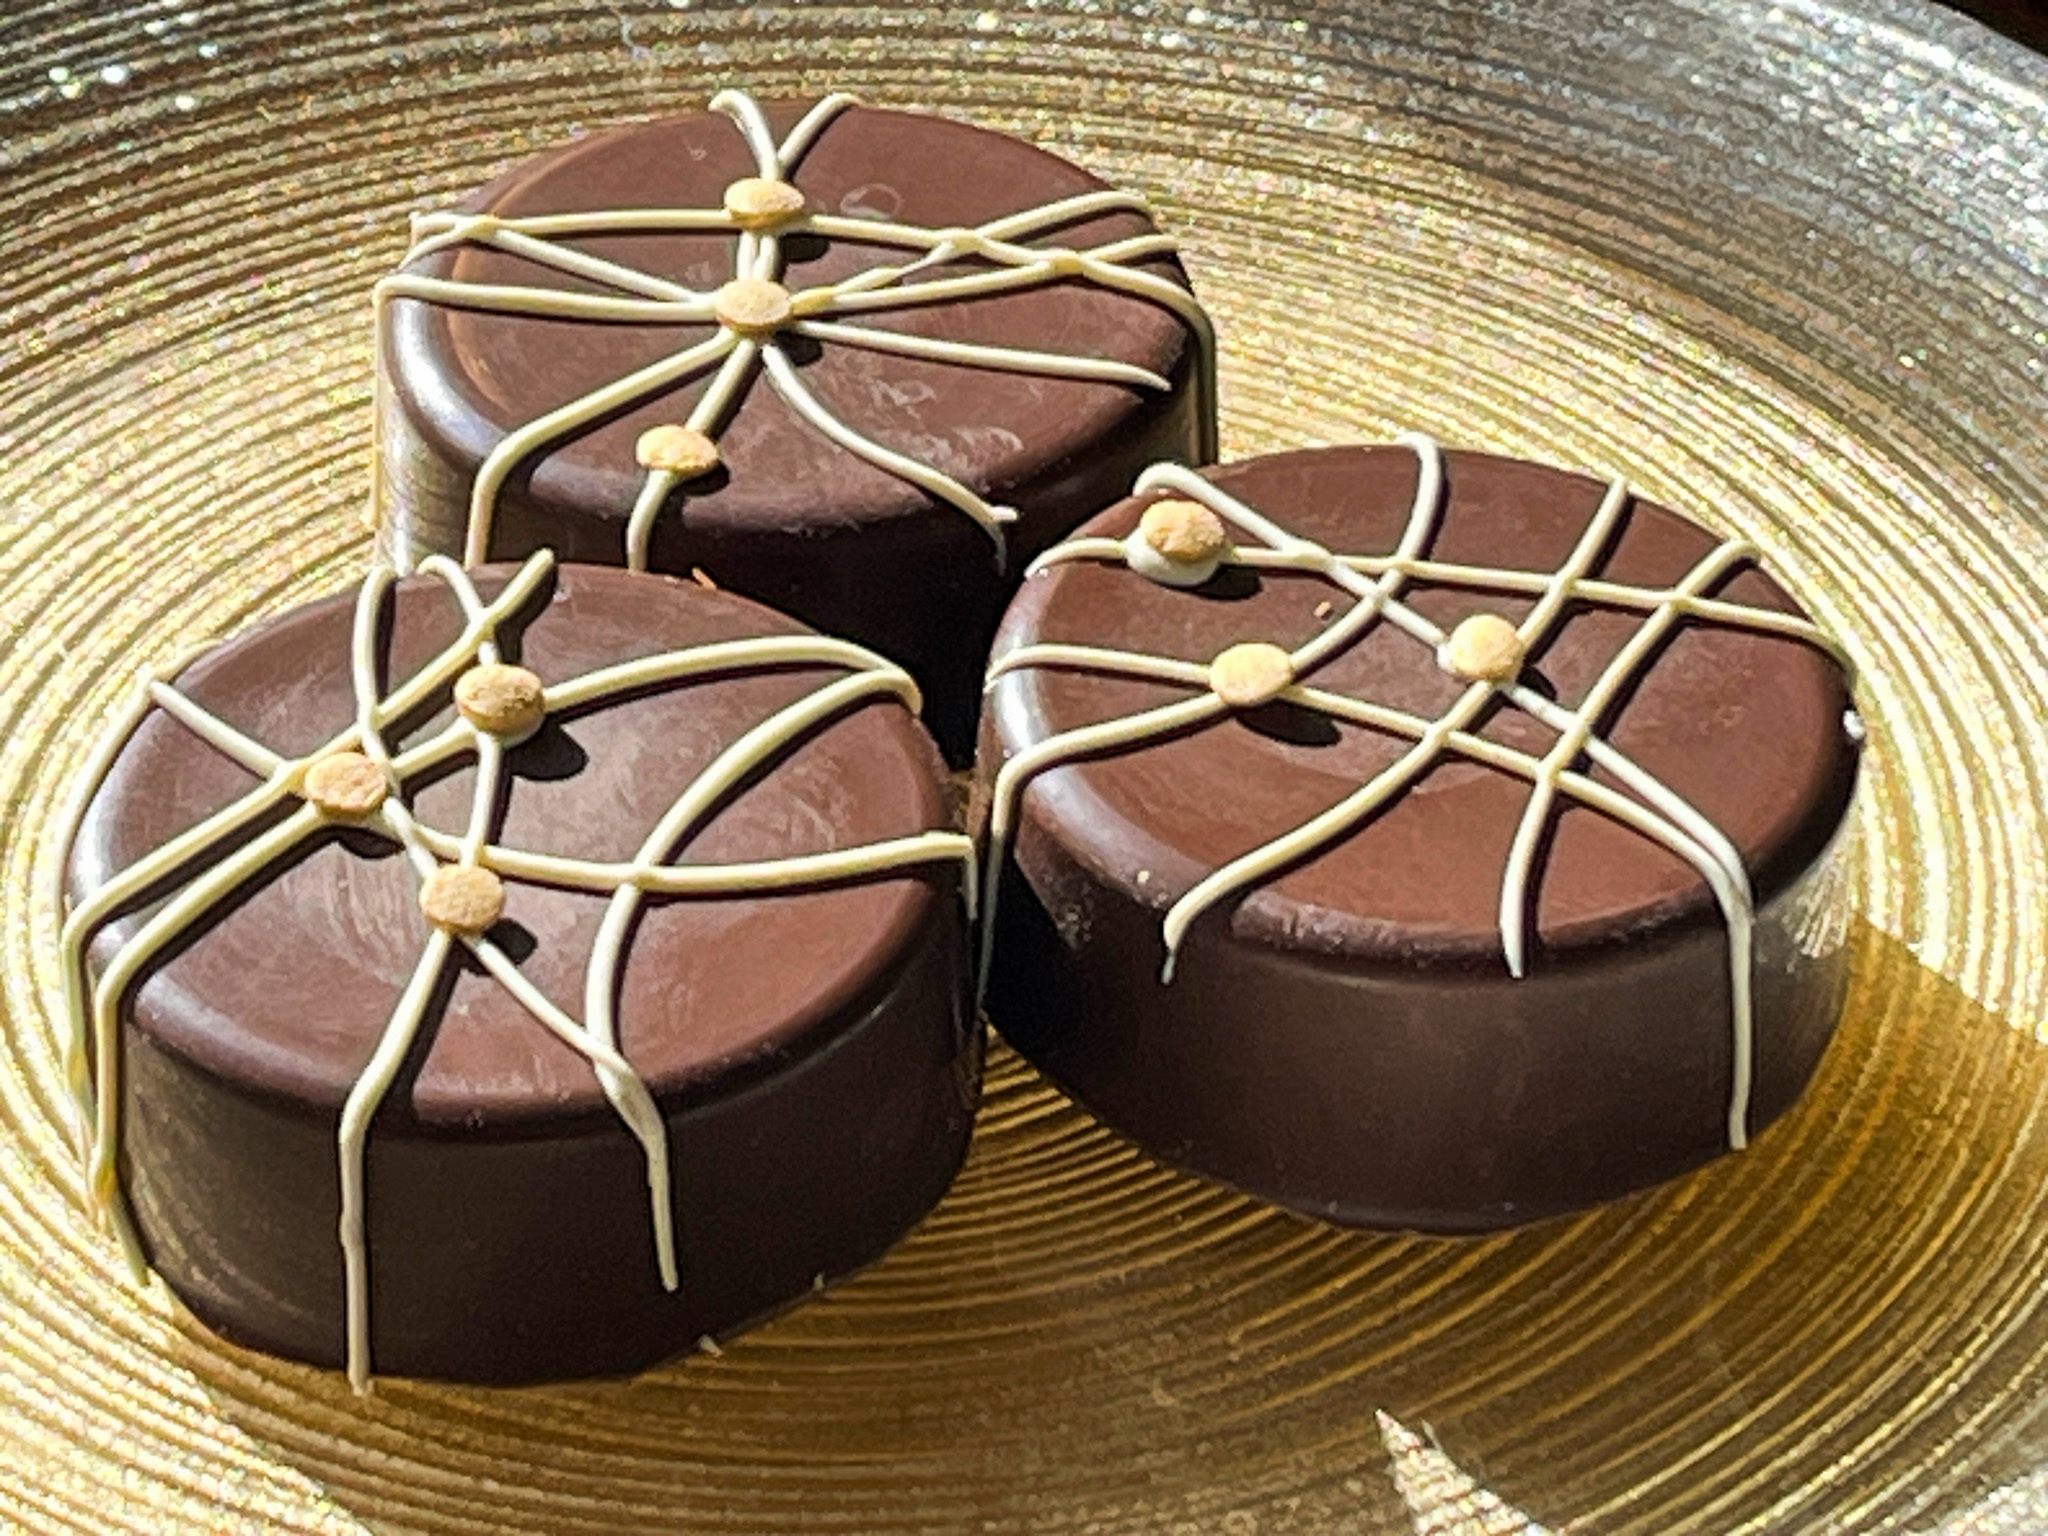
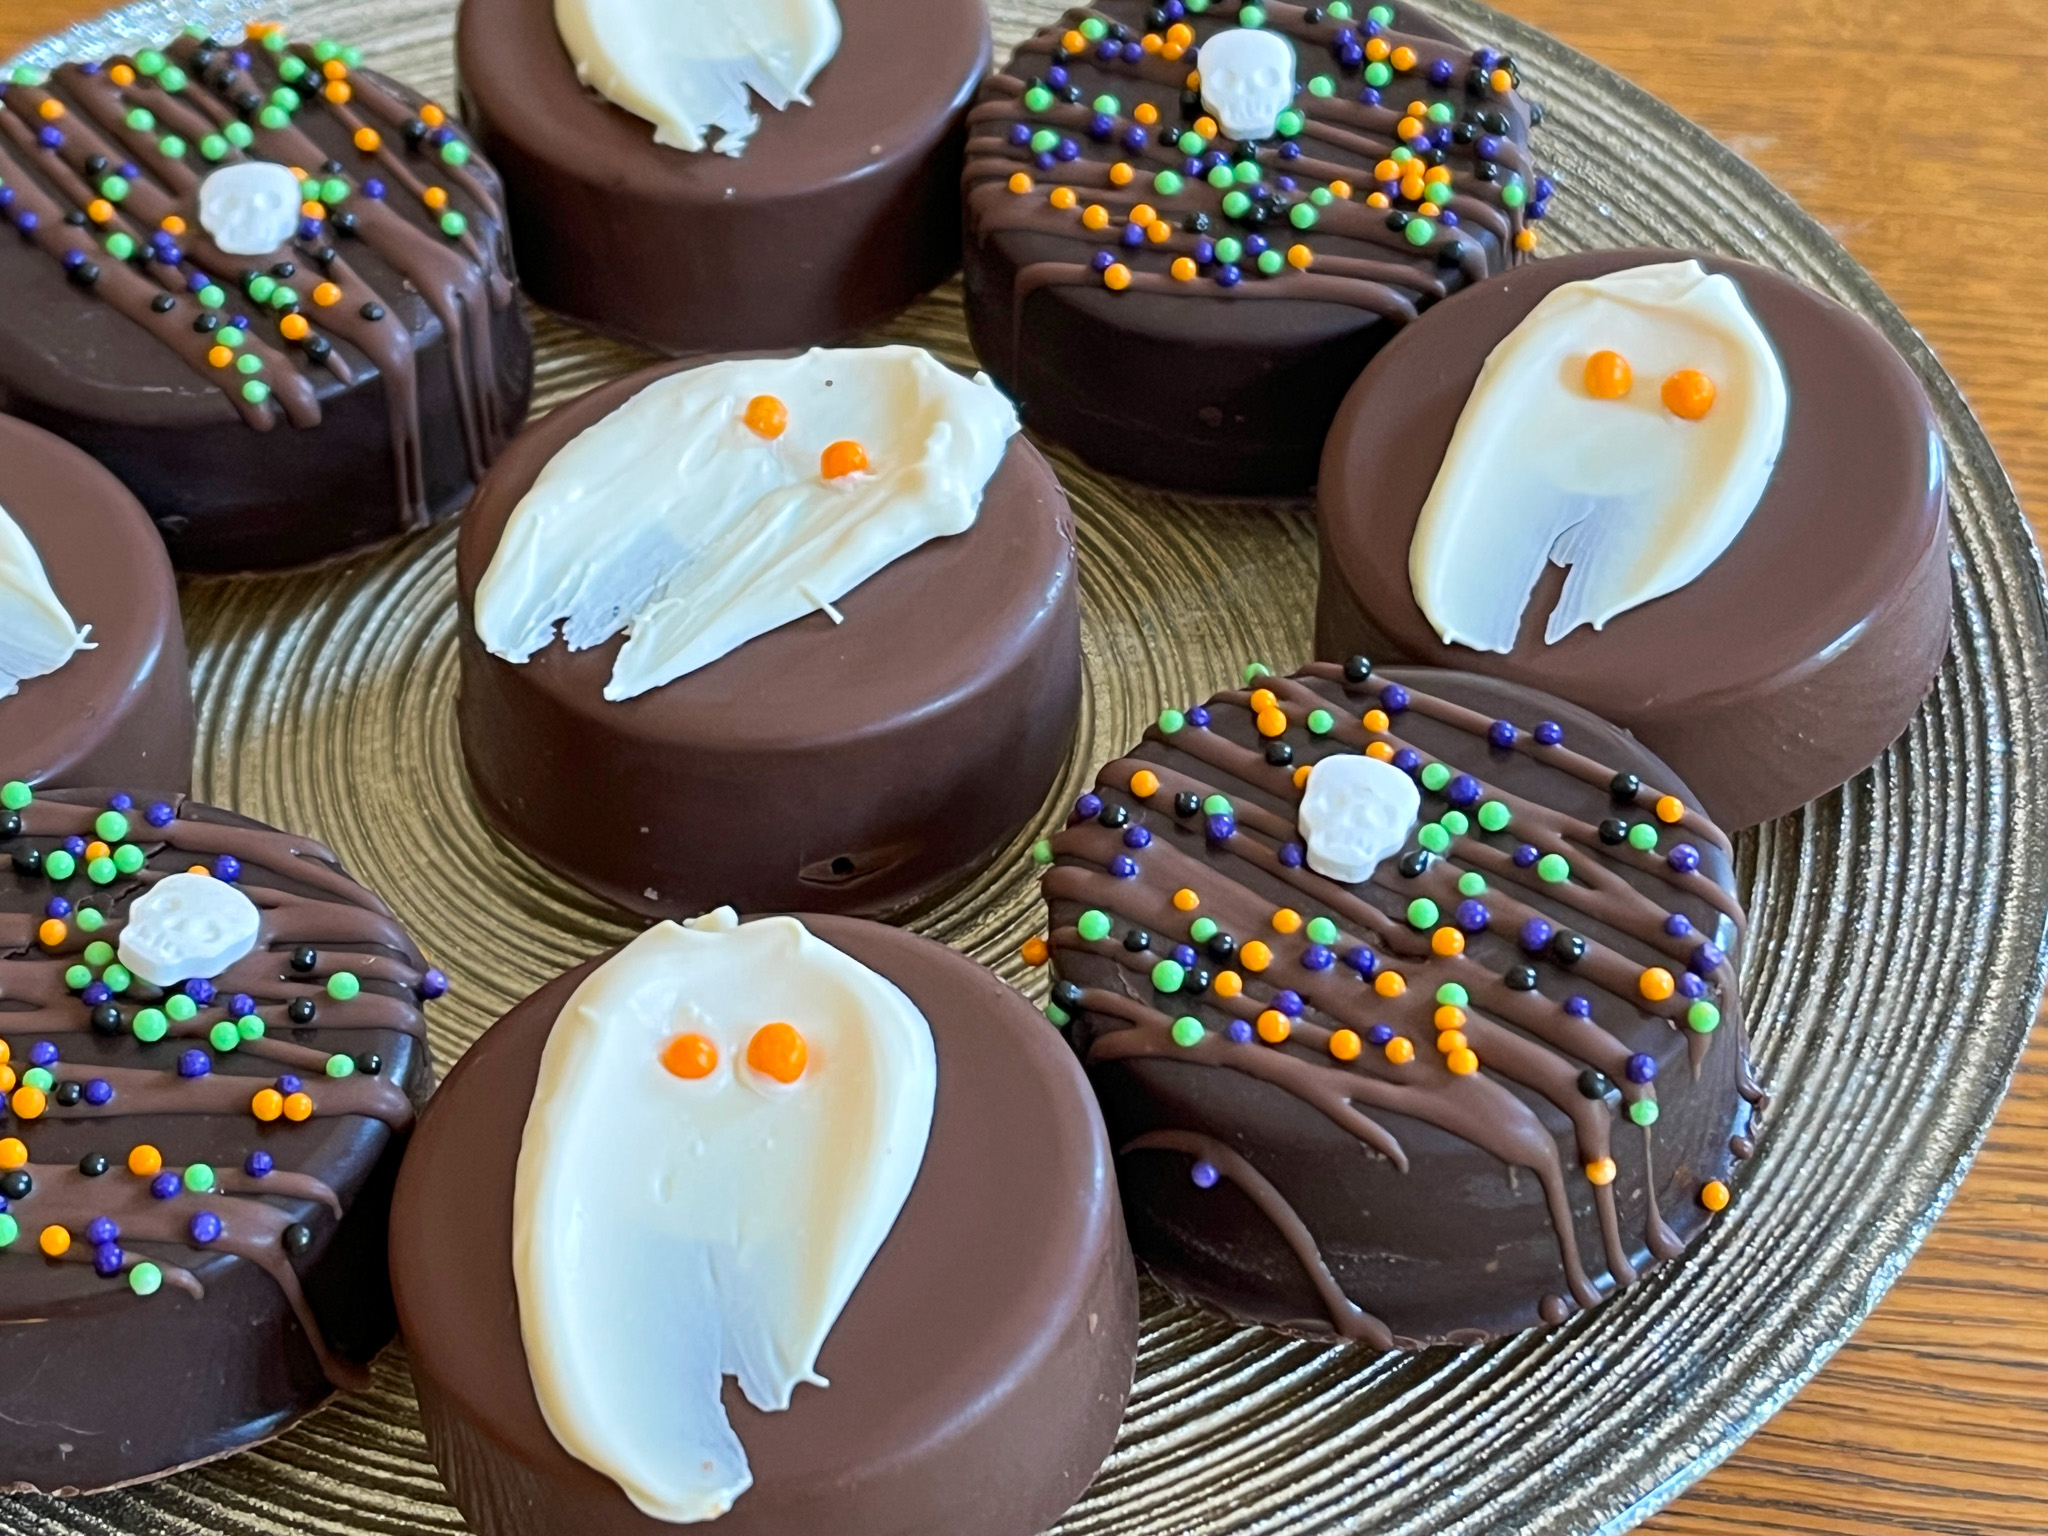
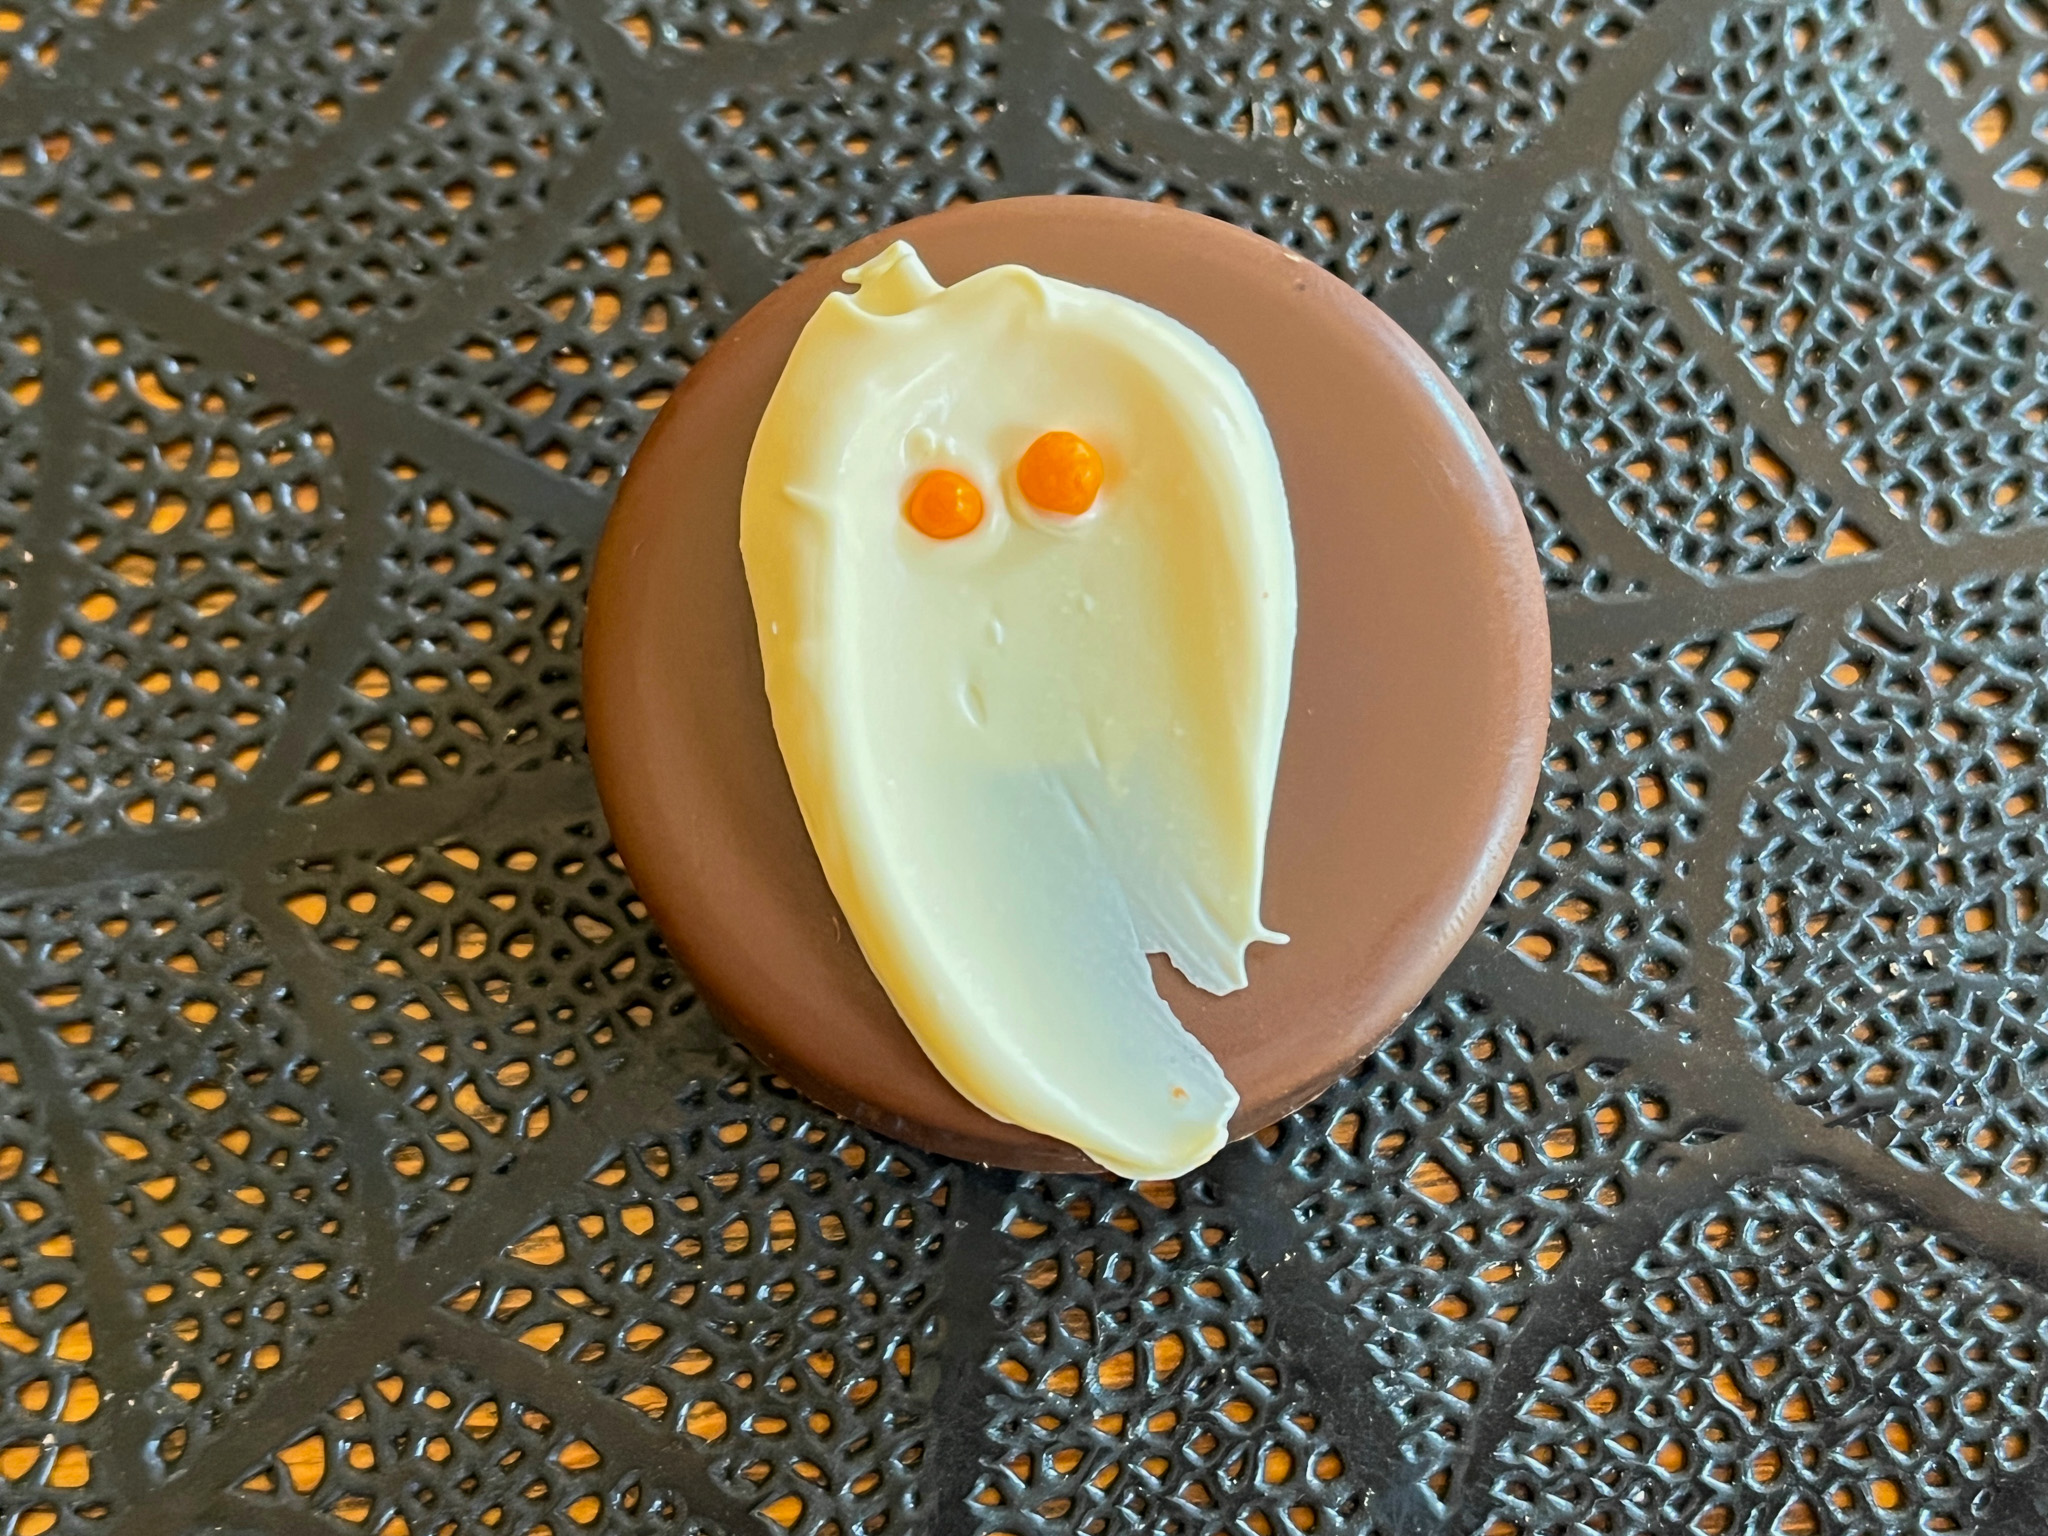
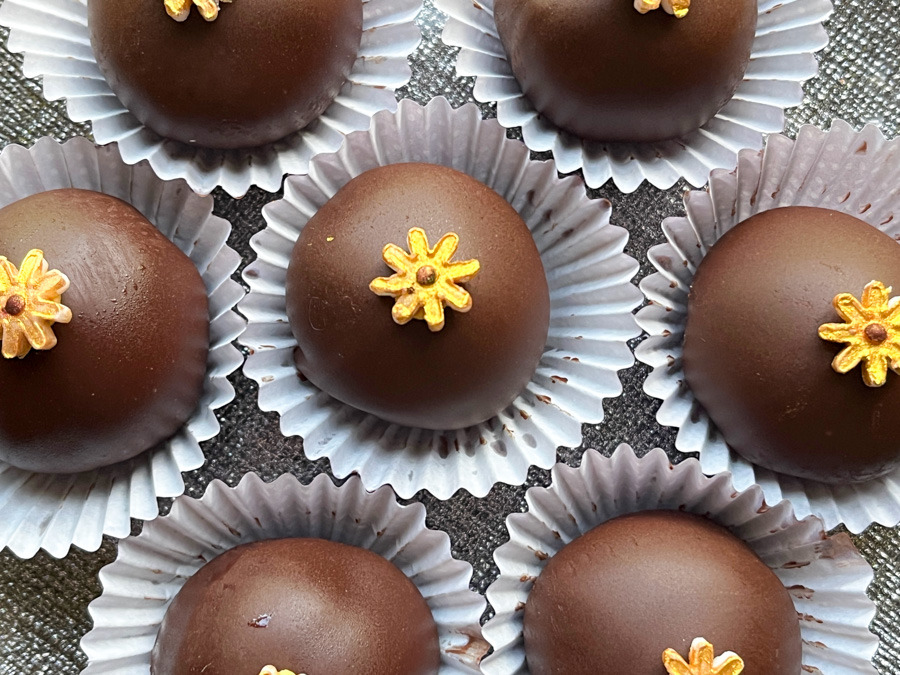
For those I used dark chocolate to make the molds, then drizzled white chocolate with a piping bag, and glued small gold confetti sprinkles on some of the intersecting lines. 

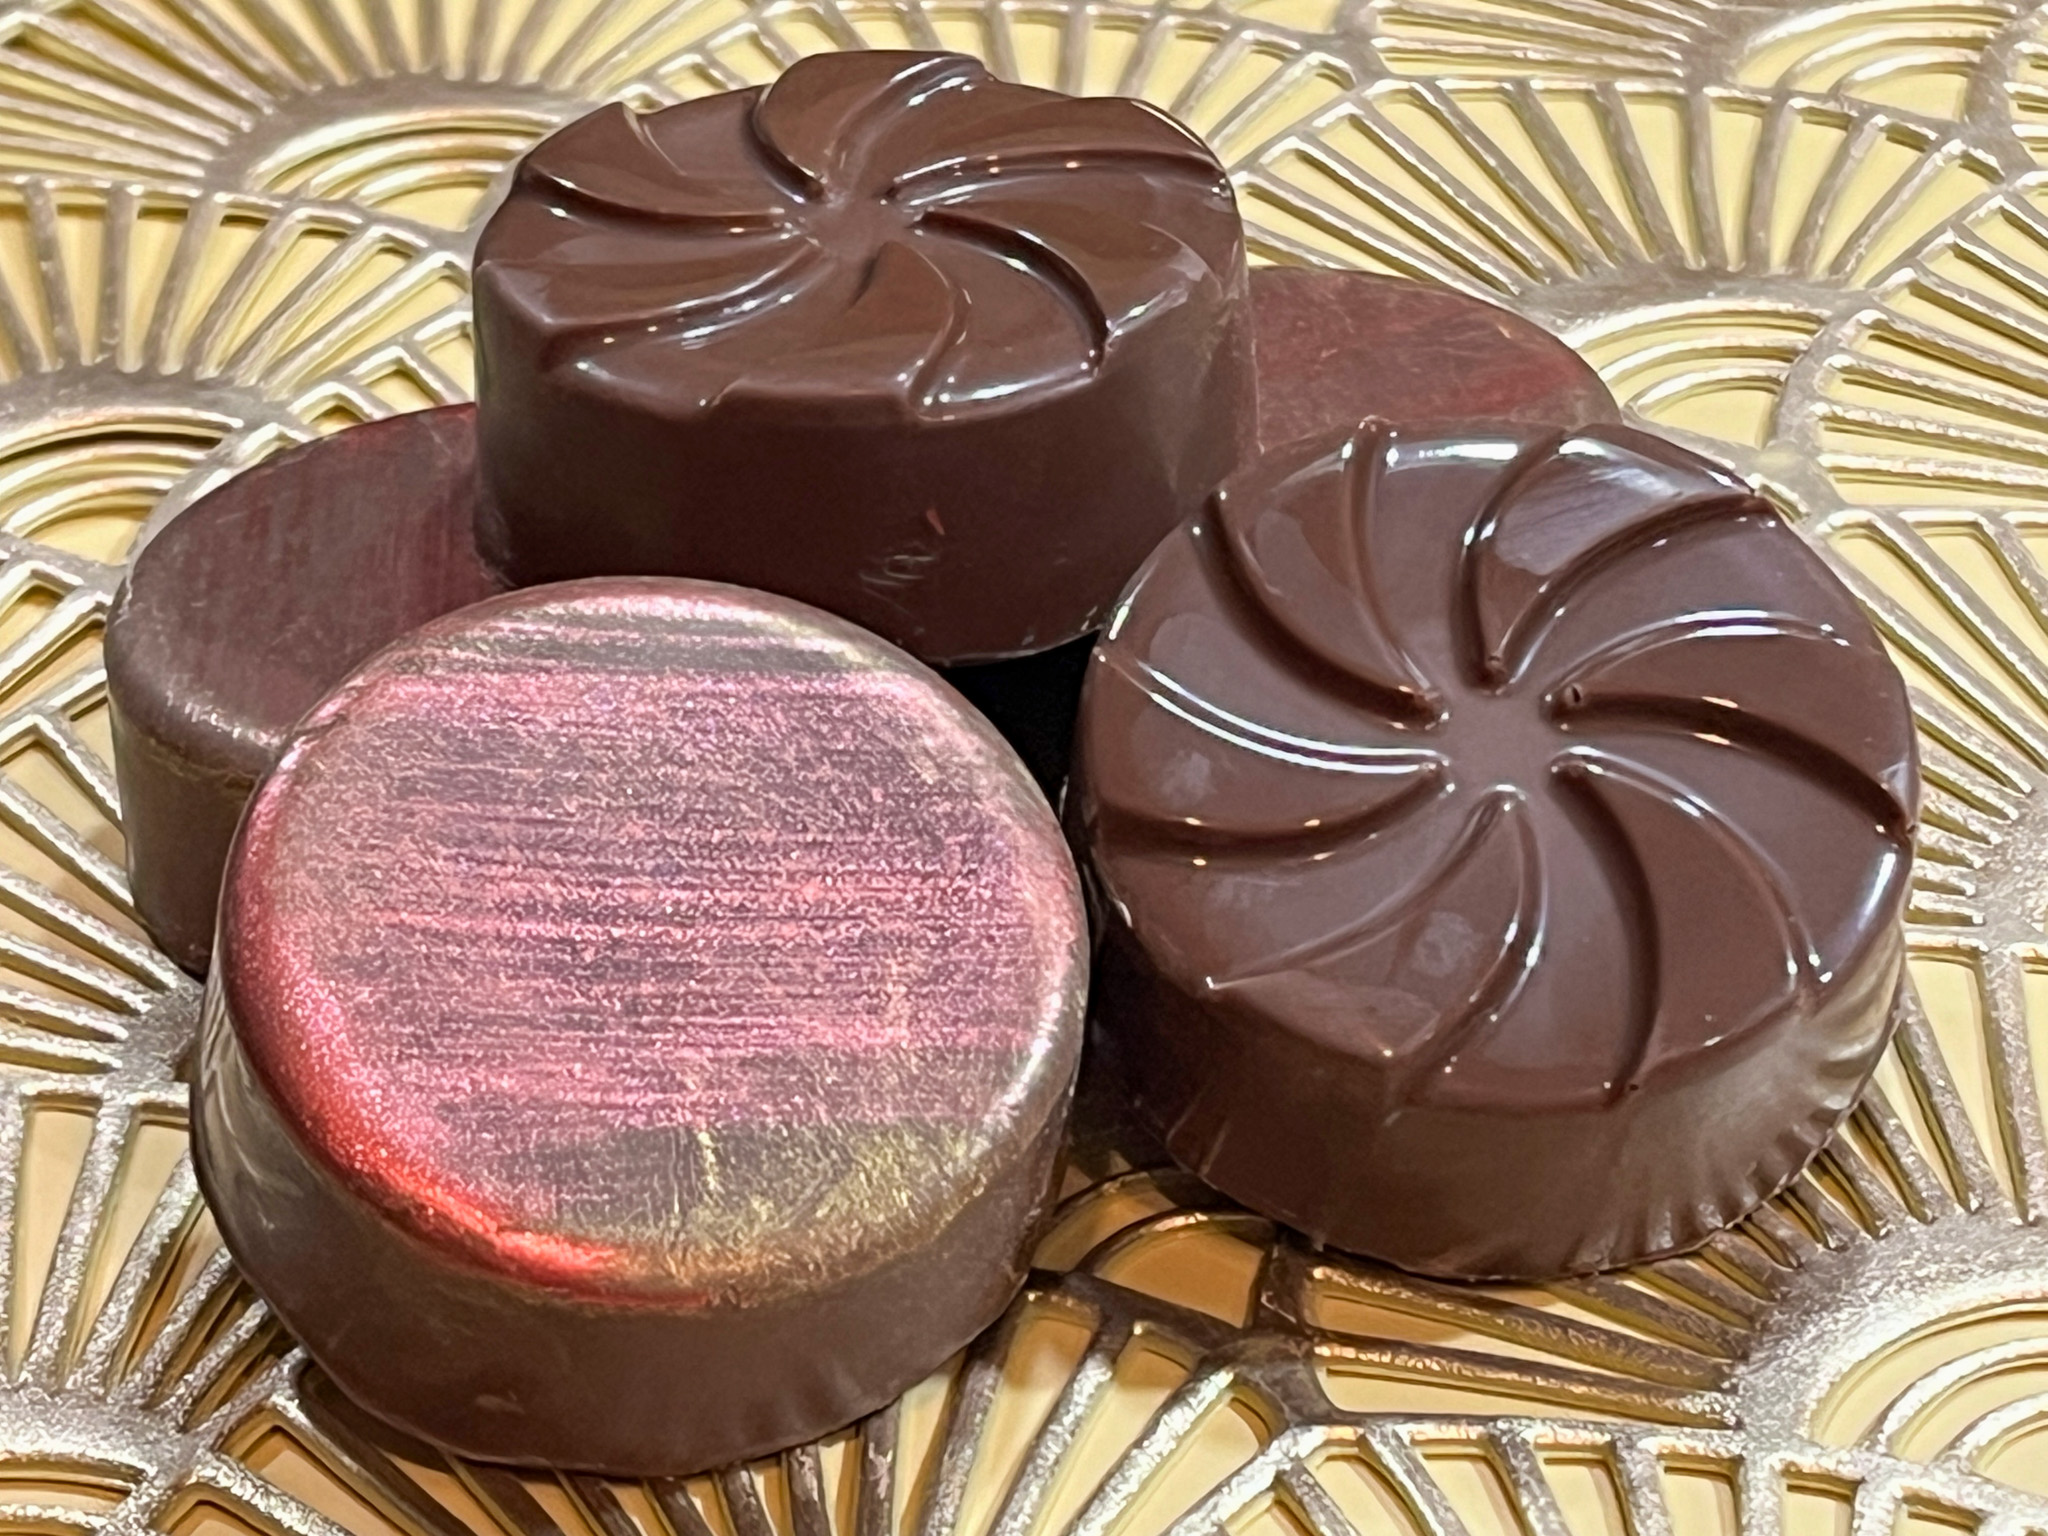
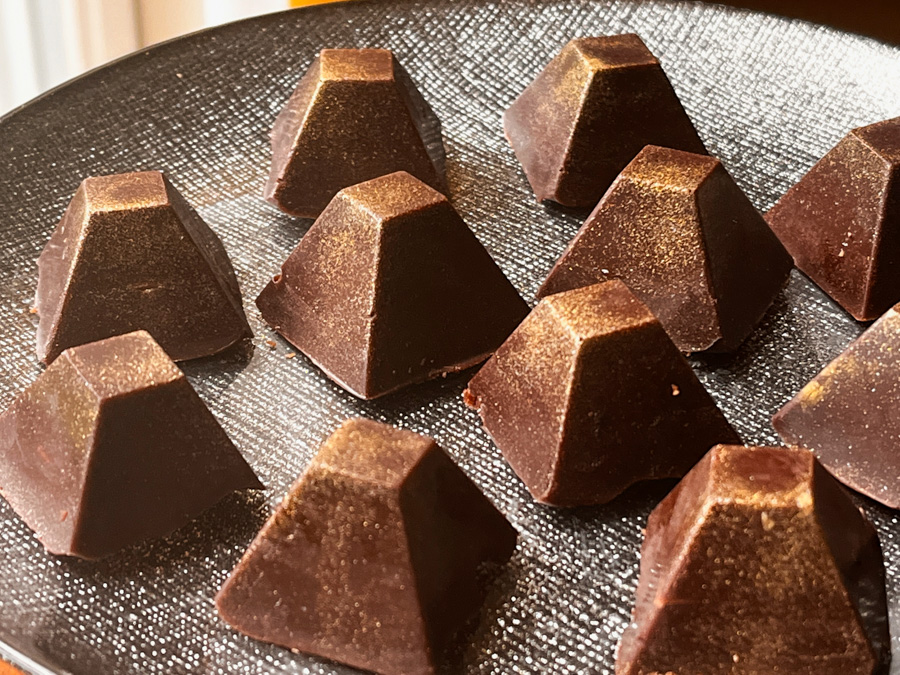
The metallic effect was luster power mixed with vodka, applied with a fan brush…

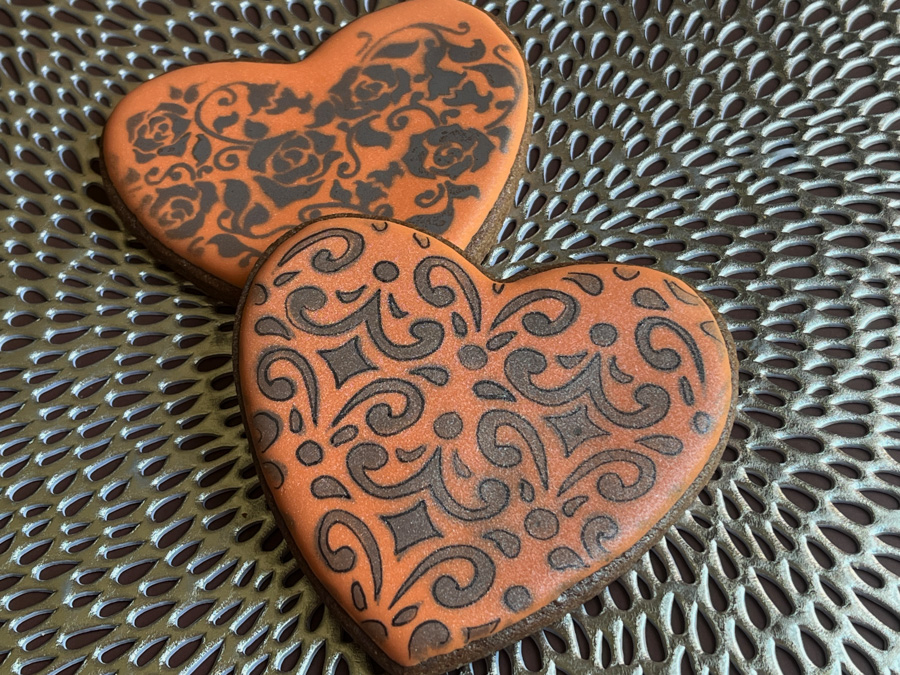
Finally, a few more designs relying on chocolate transfer sheets. You just cut circles, add to the bottom of the mold and pour the melted chocolate. Remember to peel off the plastic once you un-mold them!

There you have it, many ideas to make the Oreo cookie shine! Keep in mind that you can use golden oreos (lemon flavor), or red velvet to make the cookie complement better the surrounding shell. Have fun with it!

ONE YEAR AGO: Peppermint Wreath Macarons

TWO YEARSAGO: Cornish Hens with Yogurt-Mace Marinade

THREE YEARS AGO: Cookies for the Holidays – Gingerbread

FOUR YEARS AGO: Incredibly Simple Times Four

FIVE YEARS AGO: White Chocolate and Raspberry Mousse Cake

SIX YEAR AGO: Panettone Time!

SEVEN YEARS AGO: Pistachio Creme Brulee

EIGHT YEARS AGO: Fast and Furious Bison Chili

NINE YEARS AGO: In My Kitchen, December 2014

TEN YEARS AGO: Braised Fennel with Saffron and Tomato

ELEVEN YEARS AGO: Revenge of the Two Derelicts

TWELVE YEARS AGO: Grilling Ribbons

THIRTEEN YEARS AGO: Peppery Cashew Crunch

FOURTEEN YEARS AGO: Baked Shrimp and Feta Pasta

REVVING THE ENGINES FOR HALLOWEEN!


It is almost time!!!! I share with you three baking ideas to keep you appropriately spooked…

SKULL AND SPIDER MACARONS

The idea for these came from my friend Dorothy, who tagged me on Instagram after seeing this post. I opted for a filling of Caramel Buttercream and Apple Jelly for these scary creatures.

CARAMEL AND APPLE MACARONS
(from the Bewitching Kitchen)

for the shells, use my default recipe.
I dyed the shells with a very small amount of AMERICOLOR CORK

For the filling:
60g butter
120g powdered sugar
pinch of salt
5 soft caramels (Werther’s)
2 tablespoon milk
apple jelly (store-bought is ok)

Pipe the shells in skull shape or round (if you prefer to simplify). Bake them, let them cool, and pair them.

Draw the design of your choice (skull or spider) on the shells.

Make the buttercream: beat the room temperature butter for a couple of minutes. Add the salt and powdered sugar, beat until almost incorporated (mixture will be dry). Microwave the caramels with the milk until very hot, and whisk the caramels to dissolve. Let them cool slightly and add to the buttermilk. Finish creaming everything together, you should not need to add any more liquid, but if necessary, add a few drops of milk to achieve piping consistency.

Add a circle of buttercream to the bottom shell, a little blob of apple jelly in the center, and close the macaron with the top shell. Keep in the fridge for 24 hours before eating.

ENJOY!

to print the recipe, click here


Comments: The idea for the filling came from this post. That is a great site for macaron ideas, by the way. I did not make a template for the skulls, just improvised them starting from a regular circle, so they are not all the same shape, which I think is even better for a spooky bake.


SPOOKY CHOCOLATE-COVERED OREOS

Use your regular mold for covering Oreos and use a contrasting color of chocolate to drizzle and glue sprinkles. The ghost is made with a smear of white compound chocolate on parchment paper, and orange sprinkles for the eyes. Once that is set (within a few minutes), place on the covered Oreo with a tiny amount of melted chocolate.


NINE BLACK CATS

These are my default Chocolate-Chipotle cutout cookies, iced with orange Royal icing and painted with Sugarprism. I just did a free-hand drawing, following the design of Kathy Barbro (IG page here).

ONE YEAR AGO: Happy Halloween from my Cookie Blog to You!

TWO YEARS AGO: Incredibly Simple Carrots

THREE YEARS AGO: Sarah Bernhardt’s Cookies

FOUR YEARS AGO: A Really Big Announcement

FIVE YEARS AGO: Stir-Fried Chicken in Sesame-Orange Sauce

SIX YEARS AGO: Monday Blues

SEVEN YEARS AGO: A New Way to Roast Veggies

EIGHT YEARS AGO: Two Takes on Raspberries

NINE YEARS AGO: Spice Cake with Blackberry Puree

TEN YEARS AGO: Own Your Kitchen with Cappuccino Panna Cotta

ELEVEN YEARS AGO: Chicken Parmigiana, the Thriller

TWELVE YEARS AGO: Wild Mushroom Risotto

THIRTEEN YEARS AGO: Tartine Bread:  Basic Country Loaf 

FOURTEEN YEARS AGO:  Pugliese Bread

HAVE A HEART

A wordless post.

For last year’s version, click here

.

.

.

.

.

.

.

.

.

ONE YEAR AGO: Chocolate-Hazelnut Tartlets

TWO YEARS AGO: Turkey Taco Salad

THREE YEARS AGO: Cheese and Pesto Emmer Roll-ups and Elaine’s Cookbook Review

FOUR YEARS AGO: Mango-Hazelnut Entremet Cake

FIVE YEARS AGO: Lebanese Lentil Salad and a Cookbook Review

SIX YEARS AGO: Cottage Loaf

SEVEN YEARS AGO: Sourdough Loaf with Cranberries and Walnuts

EIGHT YEARS AGO: Sichuan Pork Stir-Fry in Garlic Sauce

NINE YEARS AGO: Our Green Trip to Colorado

TEN YEARS AGO: Ditalini Pasta Salad

ELEVEN YEARS AGO: Celebrate Wednesday with a Thai Seafood Curry

TWELVE YEARS AGO:  Post-workout Breakfast

THIRTEEN YEARS AGO: Semolina Barbecue Buns

FOURTEEN YEARS AGO: Lavash Crackers

OREO BALLS, FUN AND EASY

For those who are not into complicated baking recipes but want to impress friends, here is a great idea: Oreo balls. All you need is a food processor, Oreo cookies and cream cheese. The real step that takes them to a higher level is covering them with chocolate, and yes you can use compound chocolate without feeling guilty and inadequate. Nothing wrong with making life a little easier. Decorating them with a fondant bit is optional, you can add sprinkles, or paint with a brush of gold luster mixed with vodka. Or leave them plain. Keep them in the fridge and enjoy them either still pretty cold or after allowing to sit at room temperature for 10 minutes or so.

OREO BALLS
(from The Bewitching Kitchen)

24 Oreo cookies, any flavor
90g cream cheese, at room temperature or slightly cold
200g compound chocolate or regular chocolate with 30g vegetable oil
fondant to decorate (optional)

Coarsely chop the Oreos and place them in a food processor. Add the cream cheese and process it all until a kind of sticky dough forms. Make little balls, each with 20g of the mixture. It they got too warm in the food processor, place in the fridge for a few minutes before forming the balls. Transfer the balls to the freezer for a full hour, that will make the coating set faster.

Melt the compound chocolate and dip each ball using a stick to help it get fully coated. Stick on a base of styrofoam until full set. Make fondant decorations if so desired, paint with gold and stick to the top once the chocolate is set. Keep in the fridge, they stay good for a week or so.

ENJOY!

to print the recipe, click here

Comments: You need some type of a stick to help coat the balls with melted chocolate and to stand them up to set. I used a little styrofoam board to keep them upright. You can of course re-use the sticks, just clean them up after removing from the little balls.

To glue the fondant I used some royal icing I had hanging around, but you can also use melted chocolate. Consider using white chocolate plain or dyed with different colors, and different kinds of Oreo cookies to make the balls. Really a super fun project that you can definitely do with kids.

ONE YEAR AGO: Pork with Prunes

TWO YEARS AGO: Honeyed-Jalapenos on Spelt Pizza

THREE YEARS AGO: Bulgur and Chickpea Salad with Pomegranate Seeds

FOUR YEARS AGO: Purple Star Macarons

FIVE YEARS AGO: Smoked Salmon, Fait Maison

SIX YEARS AGO: Kouign-Amann, Fighting Fire with Fire

SEVEN YEARS AGO: In My Kitchen, Yin and Yang

EIGHT YEARS AGO: Chocolate Toffee Banana Bread

NINE YEARS AGO: In My Kitchen, June 2014

TEN YEARS AGO:  Strawberry Frozen Yogurt

ELEVEN YEARS AGO: Baked Coconut and “The Brazilian Kitchen”

TWELVE YEARS AGO: Honey-Glazed Chicken Legs

THIRTEEN YEARS AGO: French-Style Rolls

VEGAN CASHEW BUTTER BONBONS

These are absolutely luscious and not that hard to make as – believe it or not – you won’t have to temper chocolate to make them. The silicone mold is also optional, you can use mini-muffin tins, although I am not sure how easy or tricky it might be to get the bonbons out.


VEGAN CASHEW BUTTER BONBONS
(inspired by Vegan Treats)

115g cacao butter
3 tablespoons cocoa powder
3 tablespoons maple syrup
3 tablespoons creamy cashew butter
gold luster powder to decorate (optional)

If using gold luster powder, brush the inside of the molds with it. Reserve.

Melt the cocoa butter in the microwave using very low power. As soon as it melts, stop heating it. Stir the cocoa powder and maple syrup. Pour the mixture in the molds filling it halfway. Place the mold in the fridge for about 15 minutes to set.

Remove from the fridge, spoon a small amount of cashew butter in the center of each cavity, then pour the remaining chocolate on top to cover completely the cashew butter. Place in the fridge for at least 30 minutes before un-molding the bonbons. For added safety, I like to place the mold in the freezer for 5 minutes.

Store in the fridge for about 10 days. They stay well at room temperature for at least a couple of hours.

ENJOY!

to print the recipe, click here

Comments: This is really super easy and the results go beyond the effort by a long shot. I do not have a link for the mold which I’ve had for a long time, but many different shapes and sizes will work, just do a search online. They will stay good in the fridge for a long time, but won’t melt at room temperature, I actually left them sitting over a counter for a couple of days and nothing bad happened. The best option if you make them is to store them in the fridge and bring them to room temperature for one hour or so before indulging.

ONE YEAR AGO: Turkey-Bison Jalapeño Chili

TWO YEARS AGO: Chocolate Bonbons with Mango-Ganache Filling

THREE YEARS AGO:  Giant Cookie Meets Mousse

FOUR YEAR AGO: The Brazilian Battenberg

FIVE YEARS AGO: Salzburg Sourdough

SIX YEARS AGO: If I had One Hour

SEVEN YEARS AGO: Apple Cinnamon Oatmeal Cake

EIGHT YEARS AGO: Sourdough Rye Bread with Flaxseeds and Oats

NINE YEARS AGO: Apricot-Raspberry Sorbet: A farewell to Summer

TEN YEARS AGO: Marcela’s Salpicon

ELEVEN YEARS AGO: Pork Kebabs

TWELVE YEARS AGO: Fondant au Chocolat

TWELVE YEARS AGOGot Spinach? Have a salad!