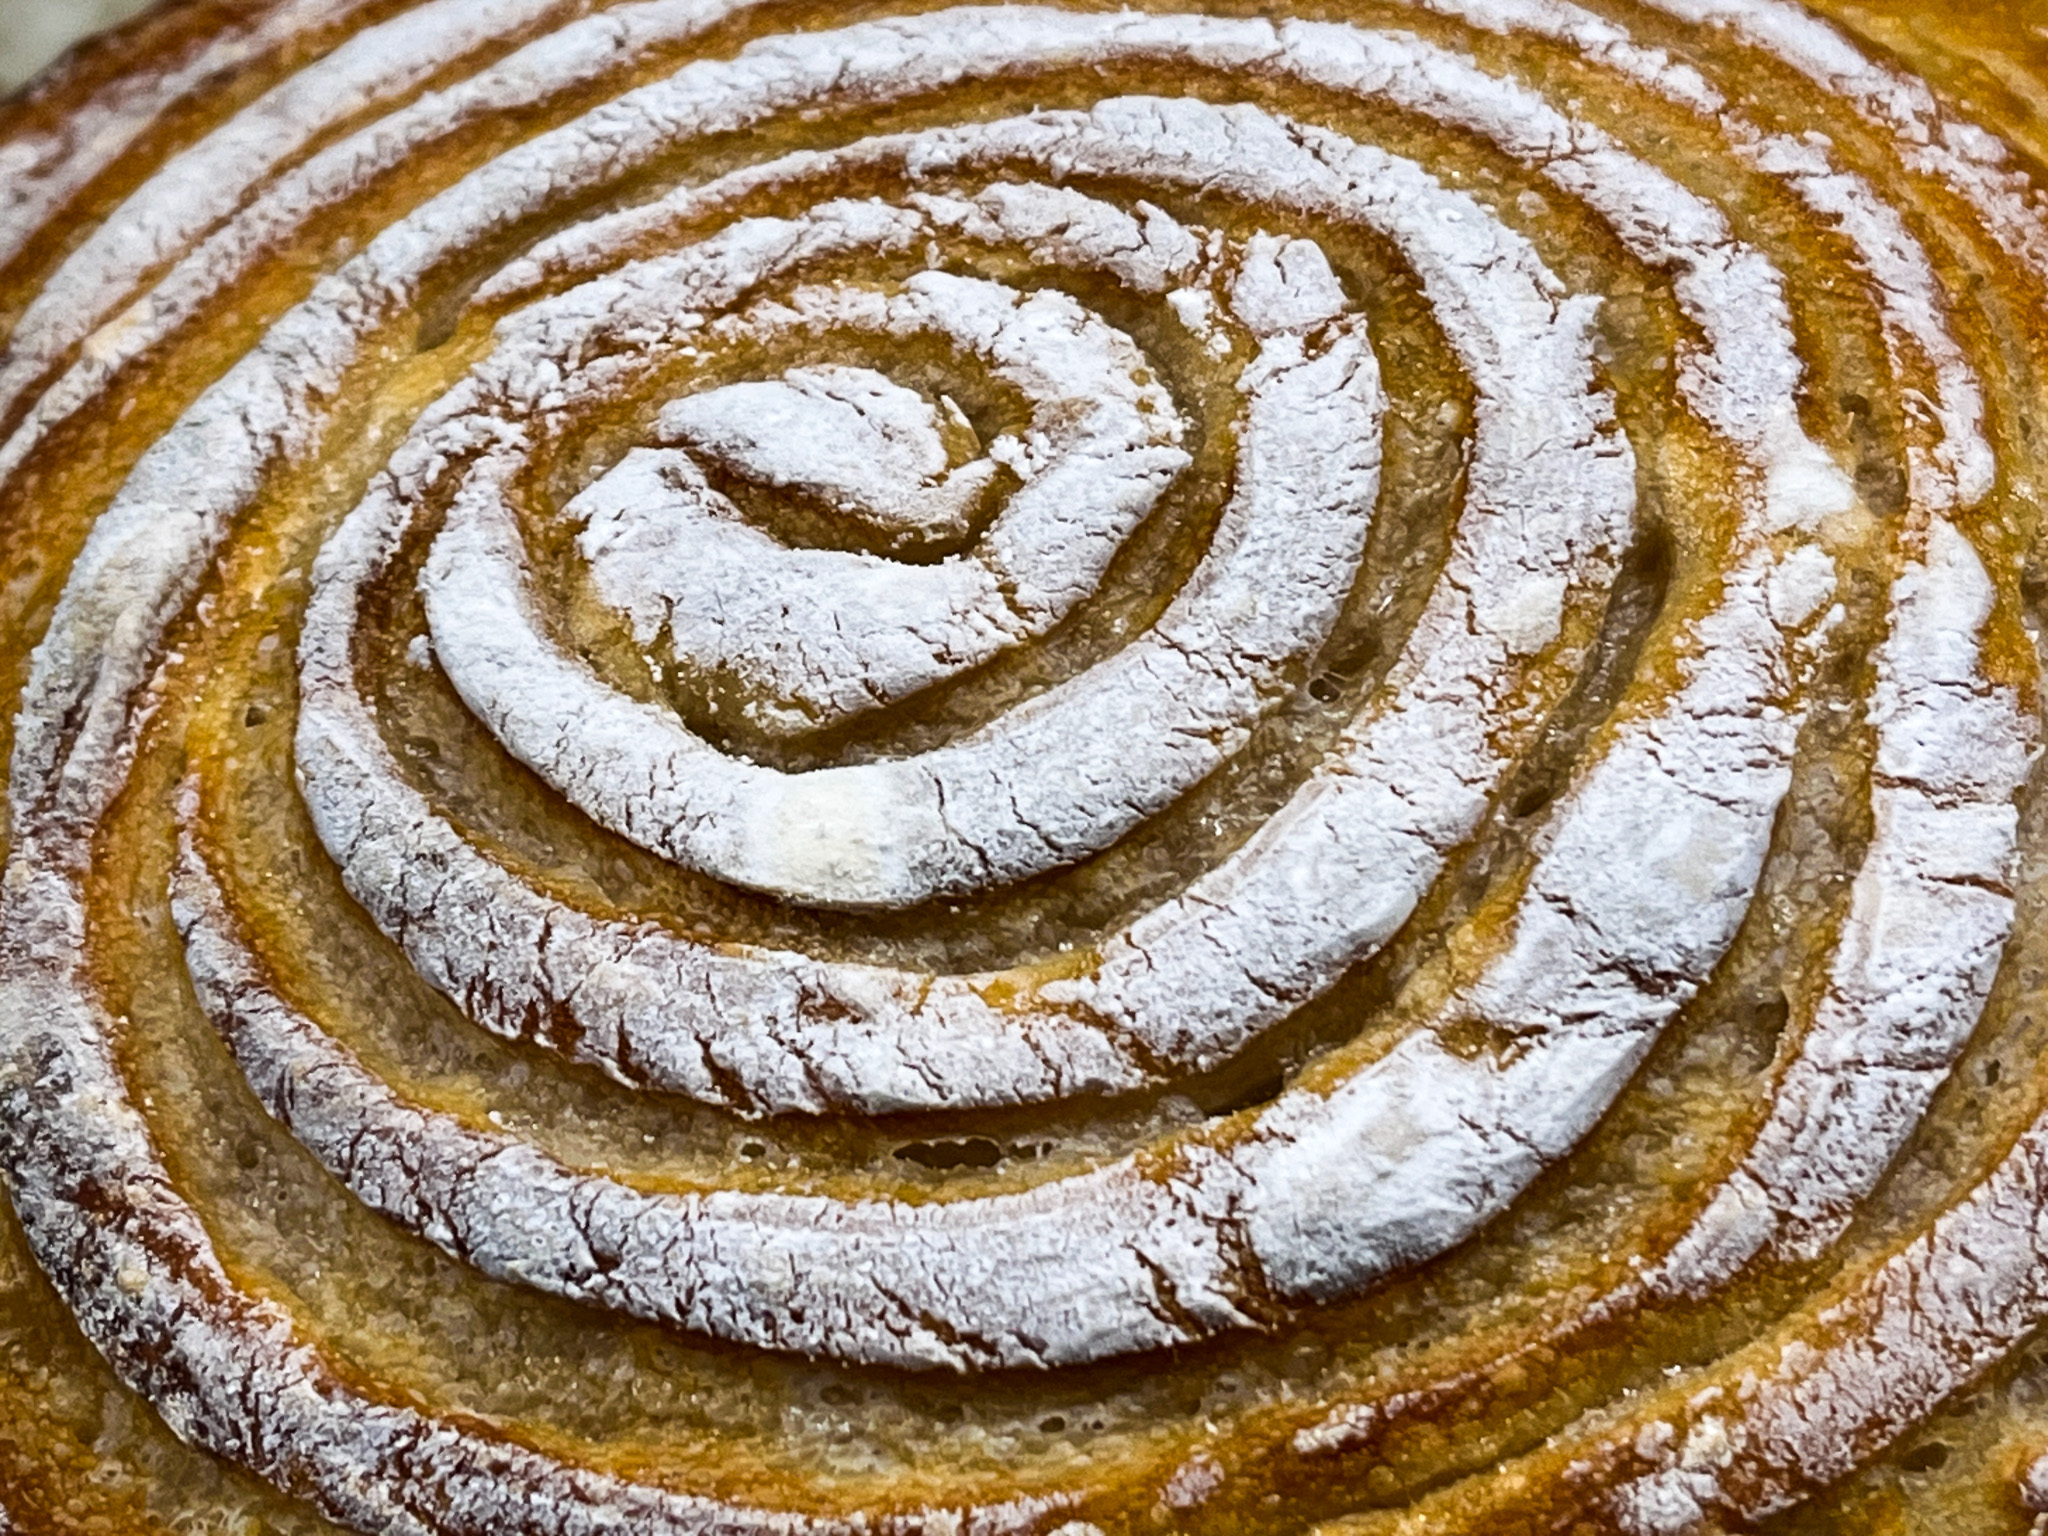
I love a gadget. I cannot lie, and I am not ashamed to admit it. Some are huge disappointments, and end up forgotten or donated. But most show up to play on a regular basis. Today I join two gadgets to make sourdough: the Sonic blade adapter and my beloved electric turntable. Watch a short video of the action right below the recipe.
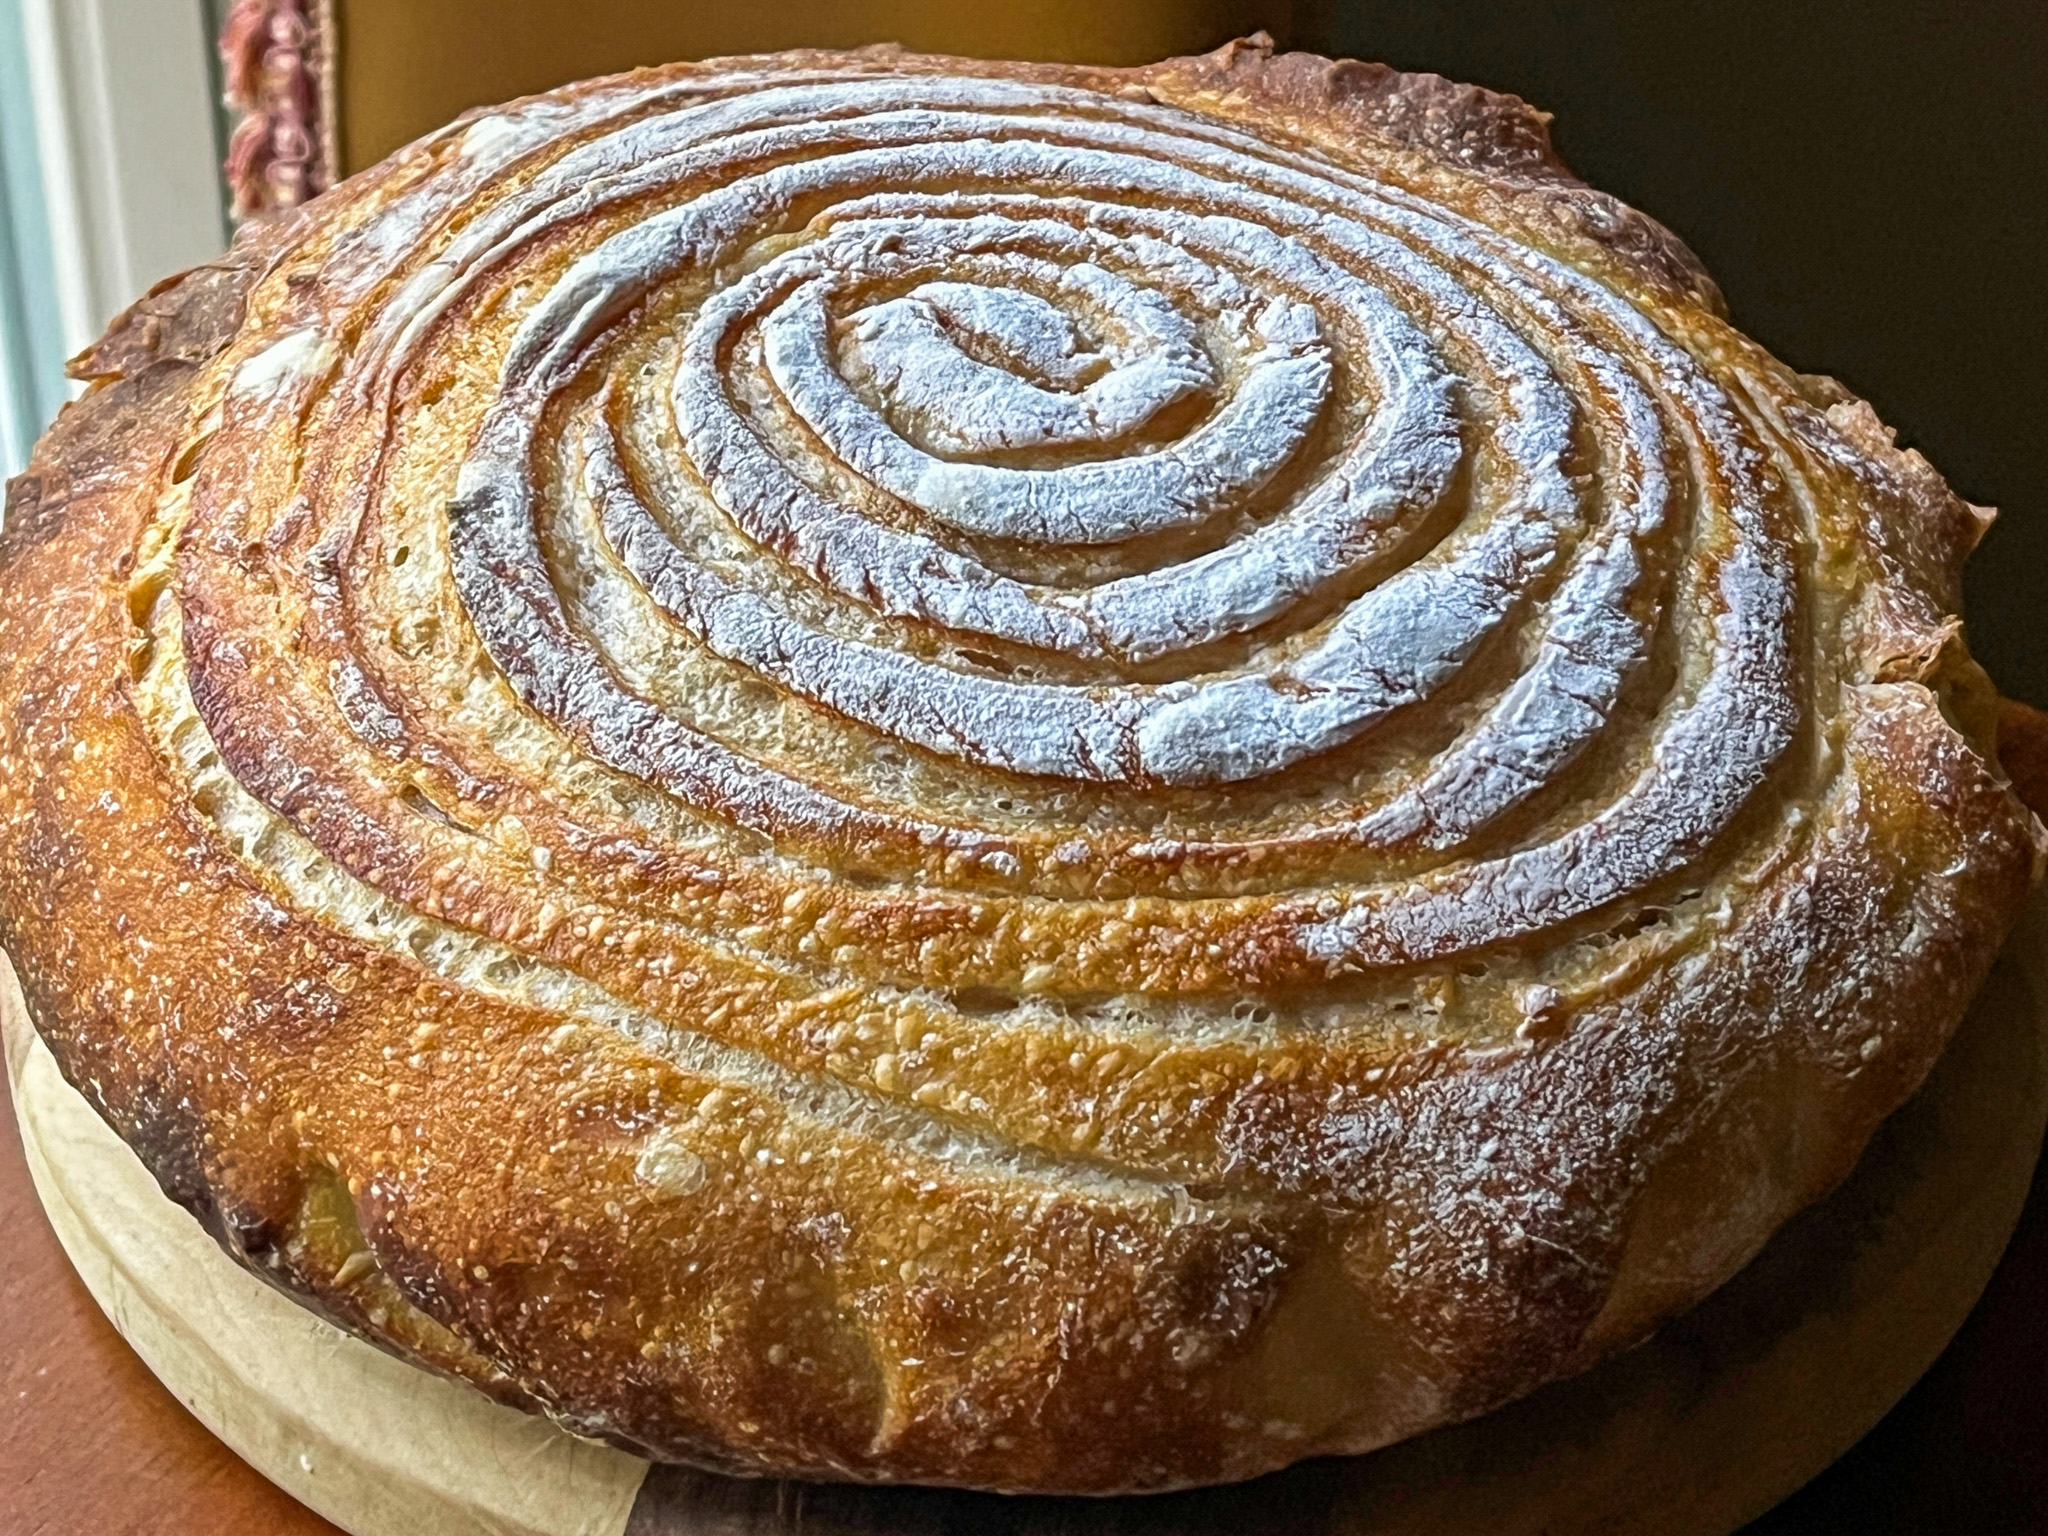
SPIRAL TECHNO SOURDOUGH
(from The Bewitching Kitchen)
480g bread flour
20g spelt flour
10g salt
370g water
80g sourdough starter at 100% hydration
Make the levain mixture about 6 hours before you plan to mix the dough. It should be very bubbly and active.
When you are ready to make the final dough, place the water in the bowl of a KitchenAid type mixer and dissolve the starter in it, mixing with a spatula briefly, then add the two types of flour, and the salt. Turn the mixer on with the hook attachment and knead the dough for 4 minutes at low-speed all the time. If the dough is too sticky, add 1/4 cup flour, you want the dough to start clearing the sides of the bowl, but still be sticky at the bottom.
Remove from the machine, and transfer to a container lightly coated with oil, cover lightly with plastic wrap and allow it to ferment for 4 hours, folding every 45 minutes or so. After four hours bulk fermentation, shape the dough as a ball, and place, seam side up, in a lightly floured banetton. Leave at room temperature one hour, and then place in the fridge overnight, from 8 to 12 hours.
Next morning, heat the oven to 450F. Invert the dough over parchment paper, sprinkle tapioca flour over it for a very light coverage. Next, use a brand new razor blade to score the design.
Bake at 450F for 45 minutes, preferably covered for the first 30 minutes to retain steam. Cool completely over a rack before slicing.
ENJOY!
to print the recipe, click here
Comments: Of course, there is no need for a turntable but it was a ton of fun to use it, plus it allows me to bring that baby to play in more ways than cake and cookies. The Sonic blade works well and I do use it often, independent of the turntable. It makes a very clean, sharp cut, perfect for intricate designs. You can read more about it and find ordering info in this post from my past.
ONE YEAR AGO: Incredibly Easy Times Two
TWO YEARS AGO: Lobster Risotto with Mushrooms and Tarragon
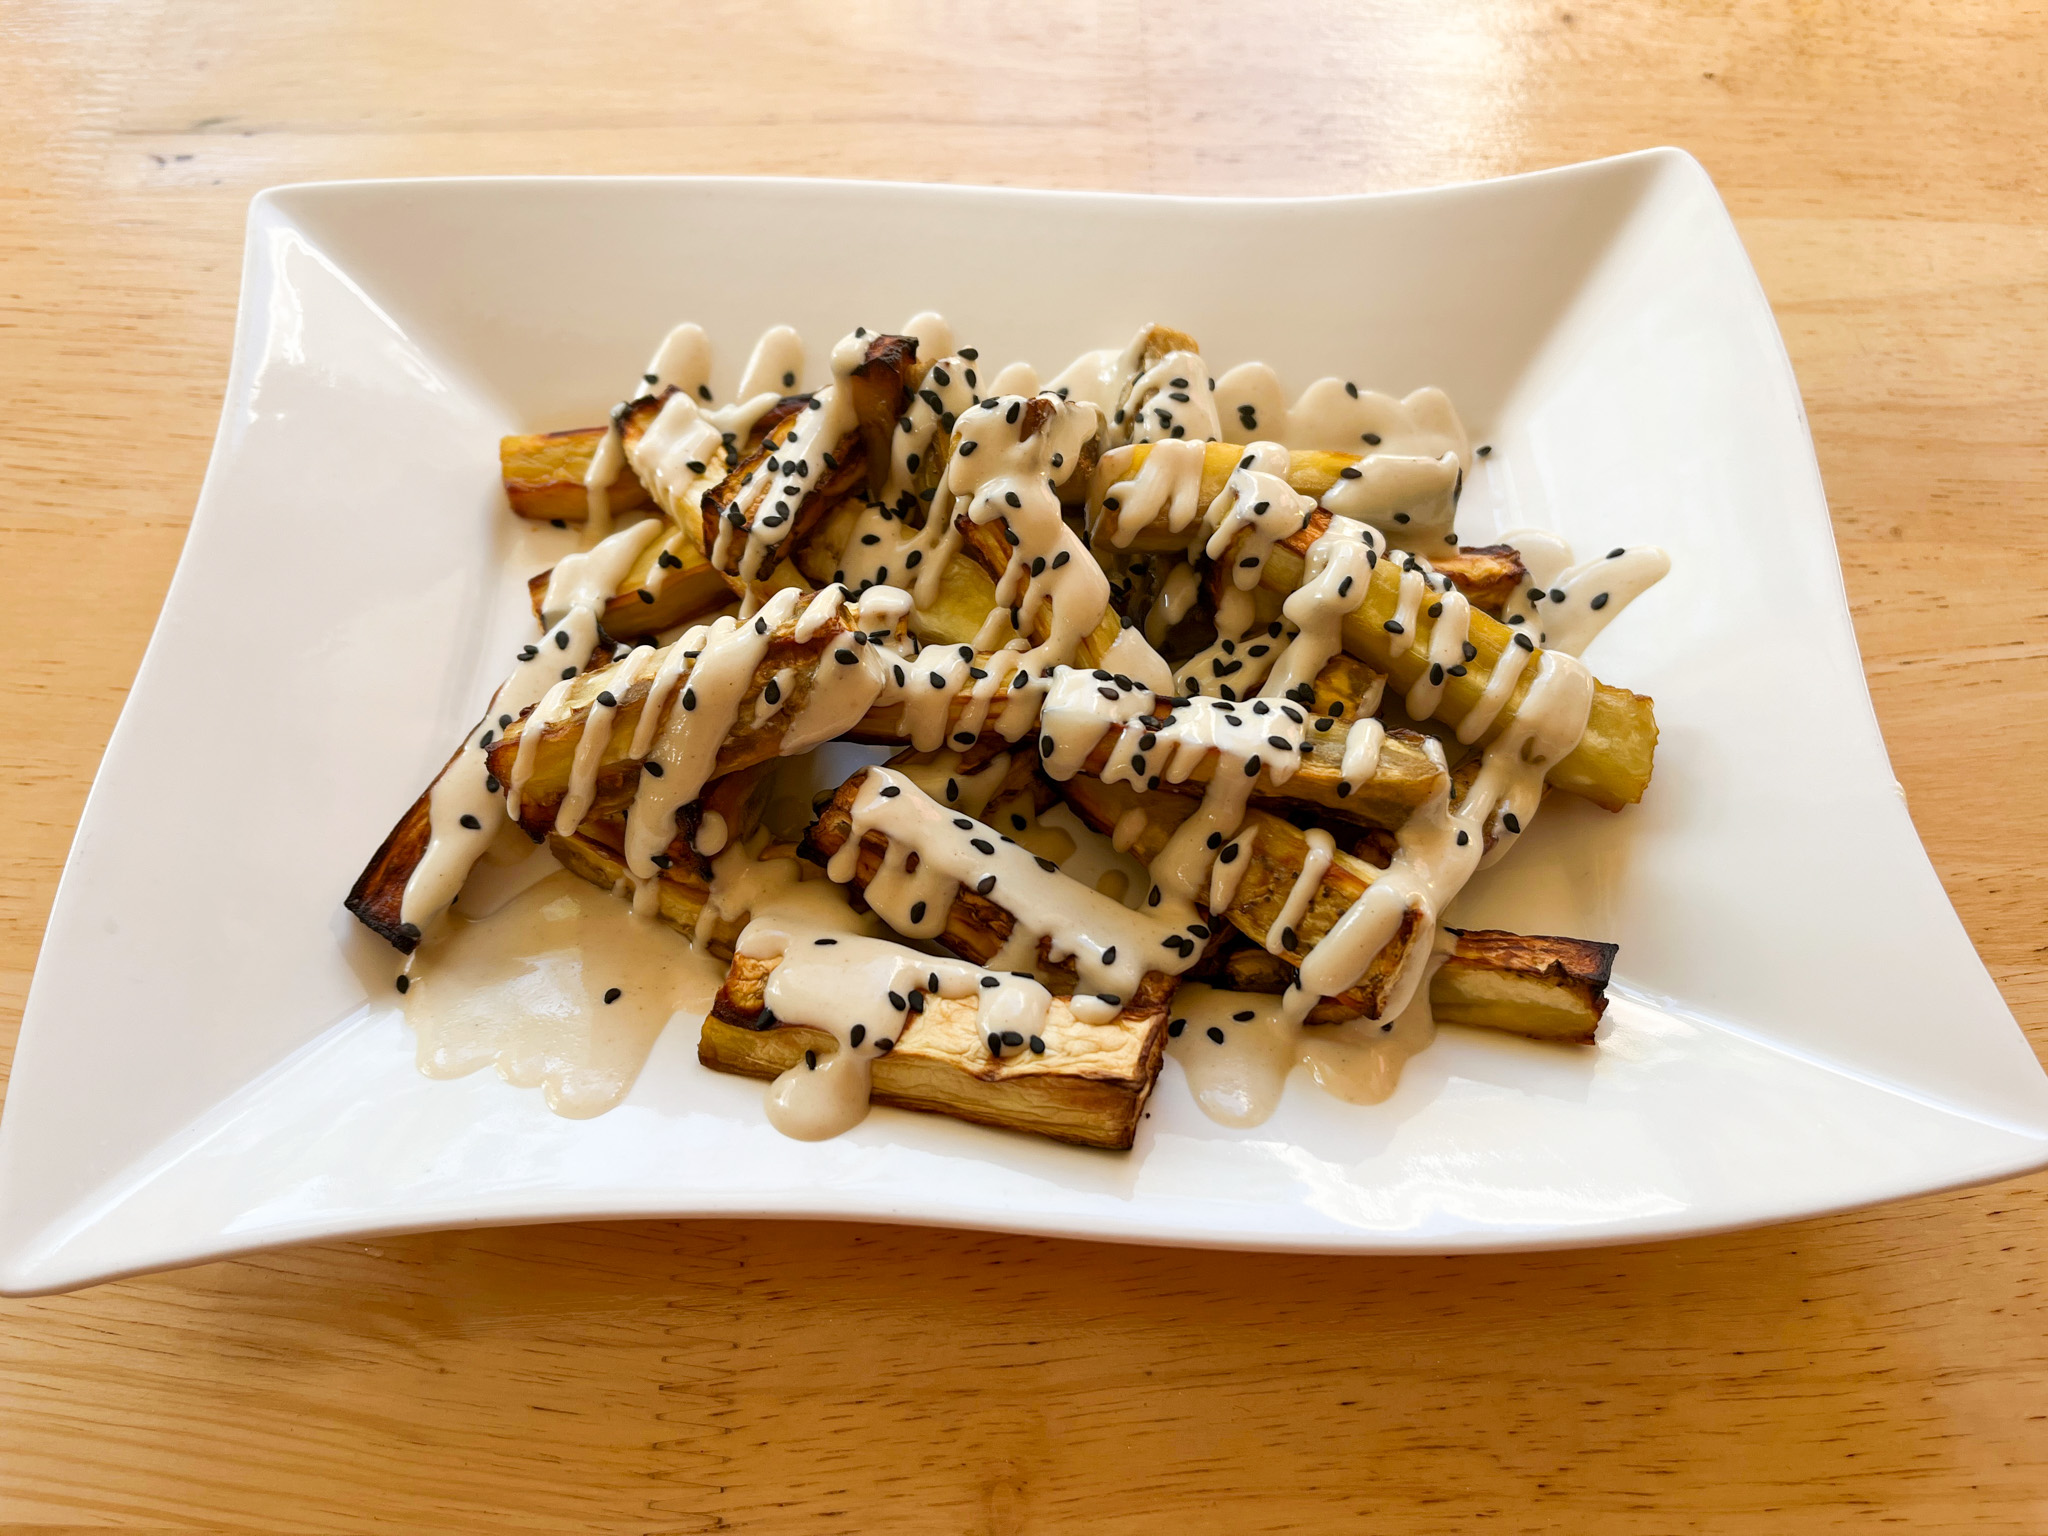
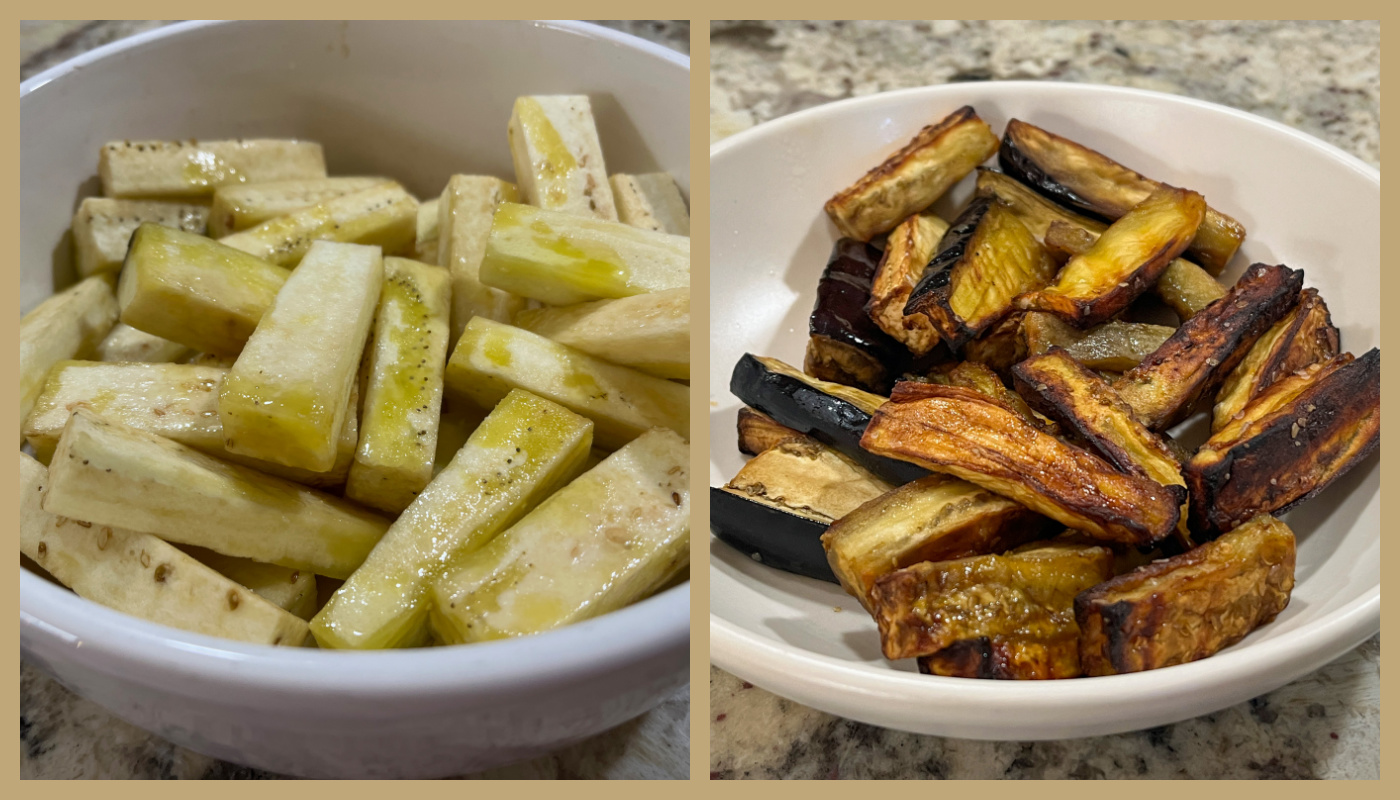
THREE YEARS AGO: Air-Fried Cauliflower with Pomegranate Seeds and Tahini Sauce
FOUR YEARS AGO: Pistachio-Rose Donuts
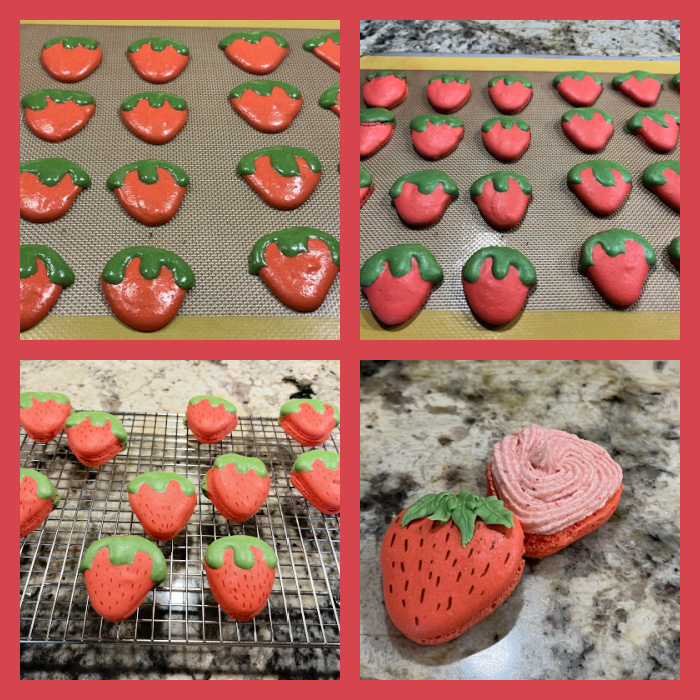
FIVE YEARS AGO: Smoked Chocolate Macarons
SIX YEARS AGO:Chocolate Celebration Cake
SEVEN YEARS AGO:Incredibly Simple Times Four, May 2018
EIGHT YEARS AGO: Tangential Quiche with Asparagus and Fennel
NINE YEARS AGO: Fakebouleh
TEN YEARS AGO:Yellow Squash Soup
ELEVEN YEARS AGO: Grilled Chicken with Tamarind and Coconut Glaze
TWELVE YEARS AGO:Chicken-Apricot Skewers
THIRTEEN YEARS AGO:Asparagus Quiche
FOURTEEN YEARS AGO: Two-stage Pea and Prosciutto Risotto
FIFTEEN YEARS AGO:Mellow Bakers: Corn Bread