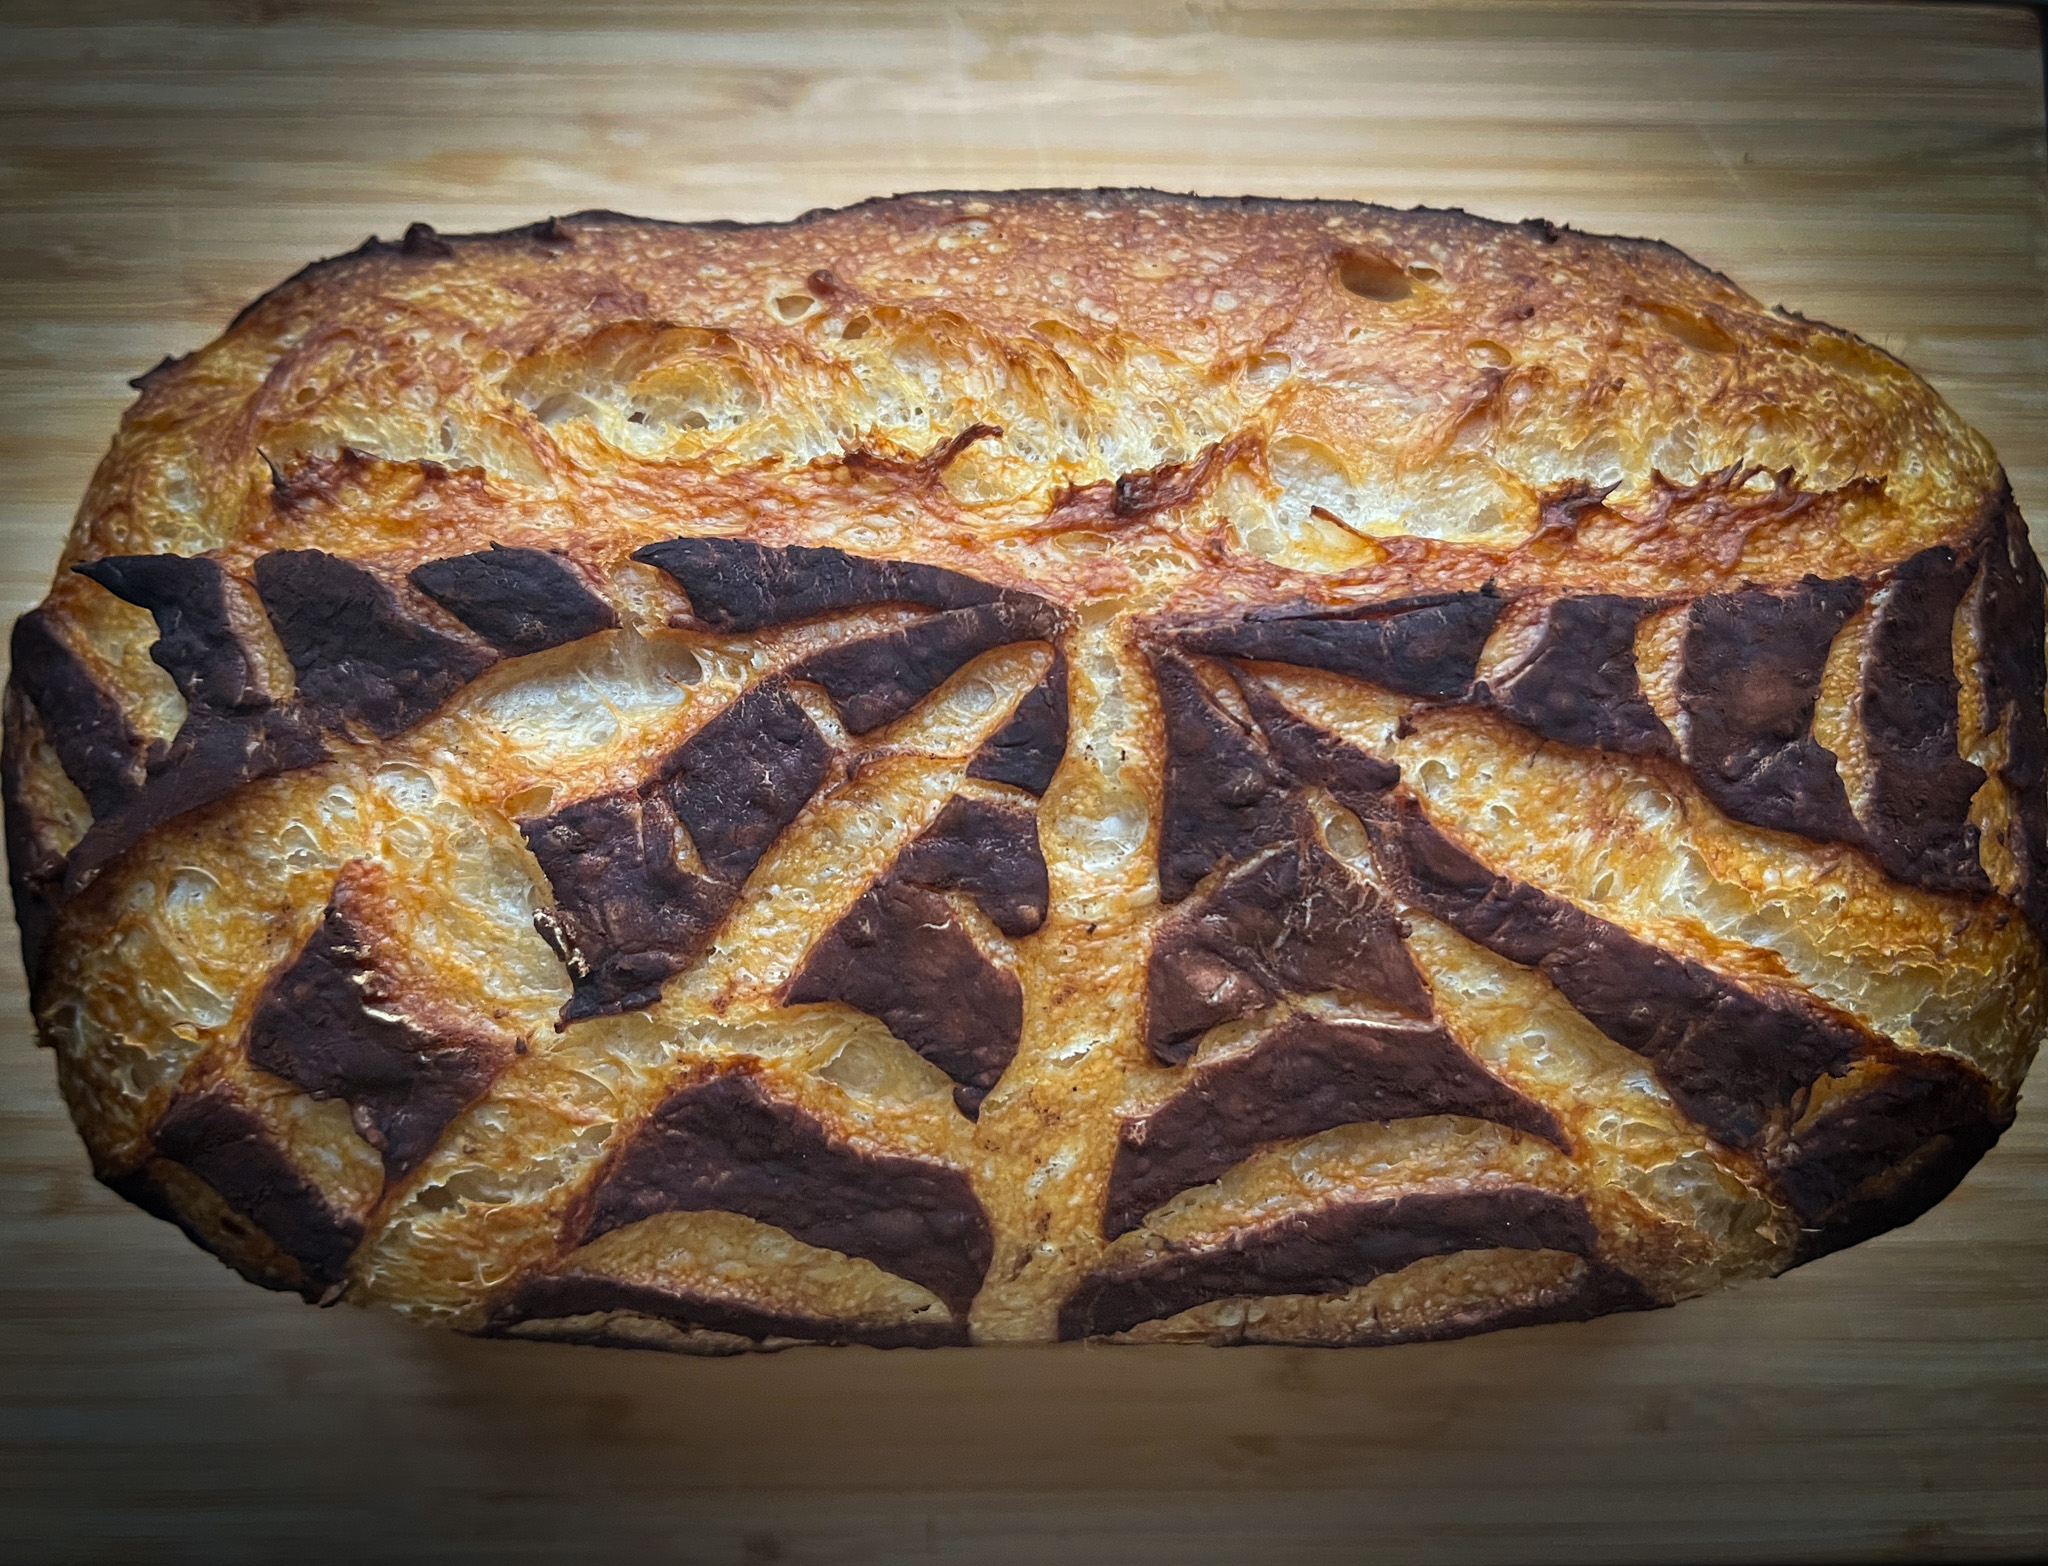
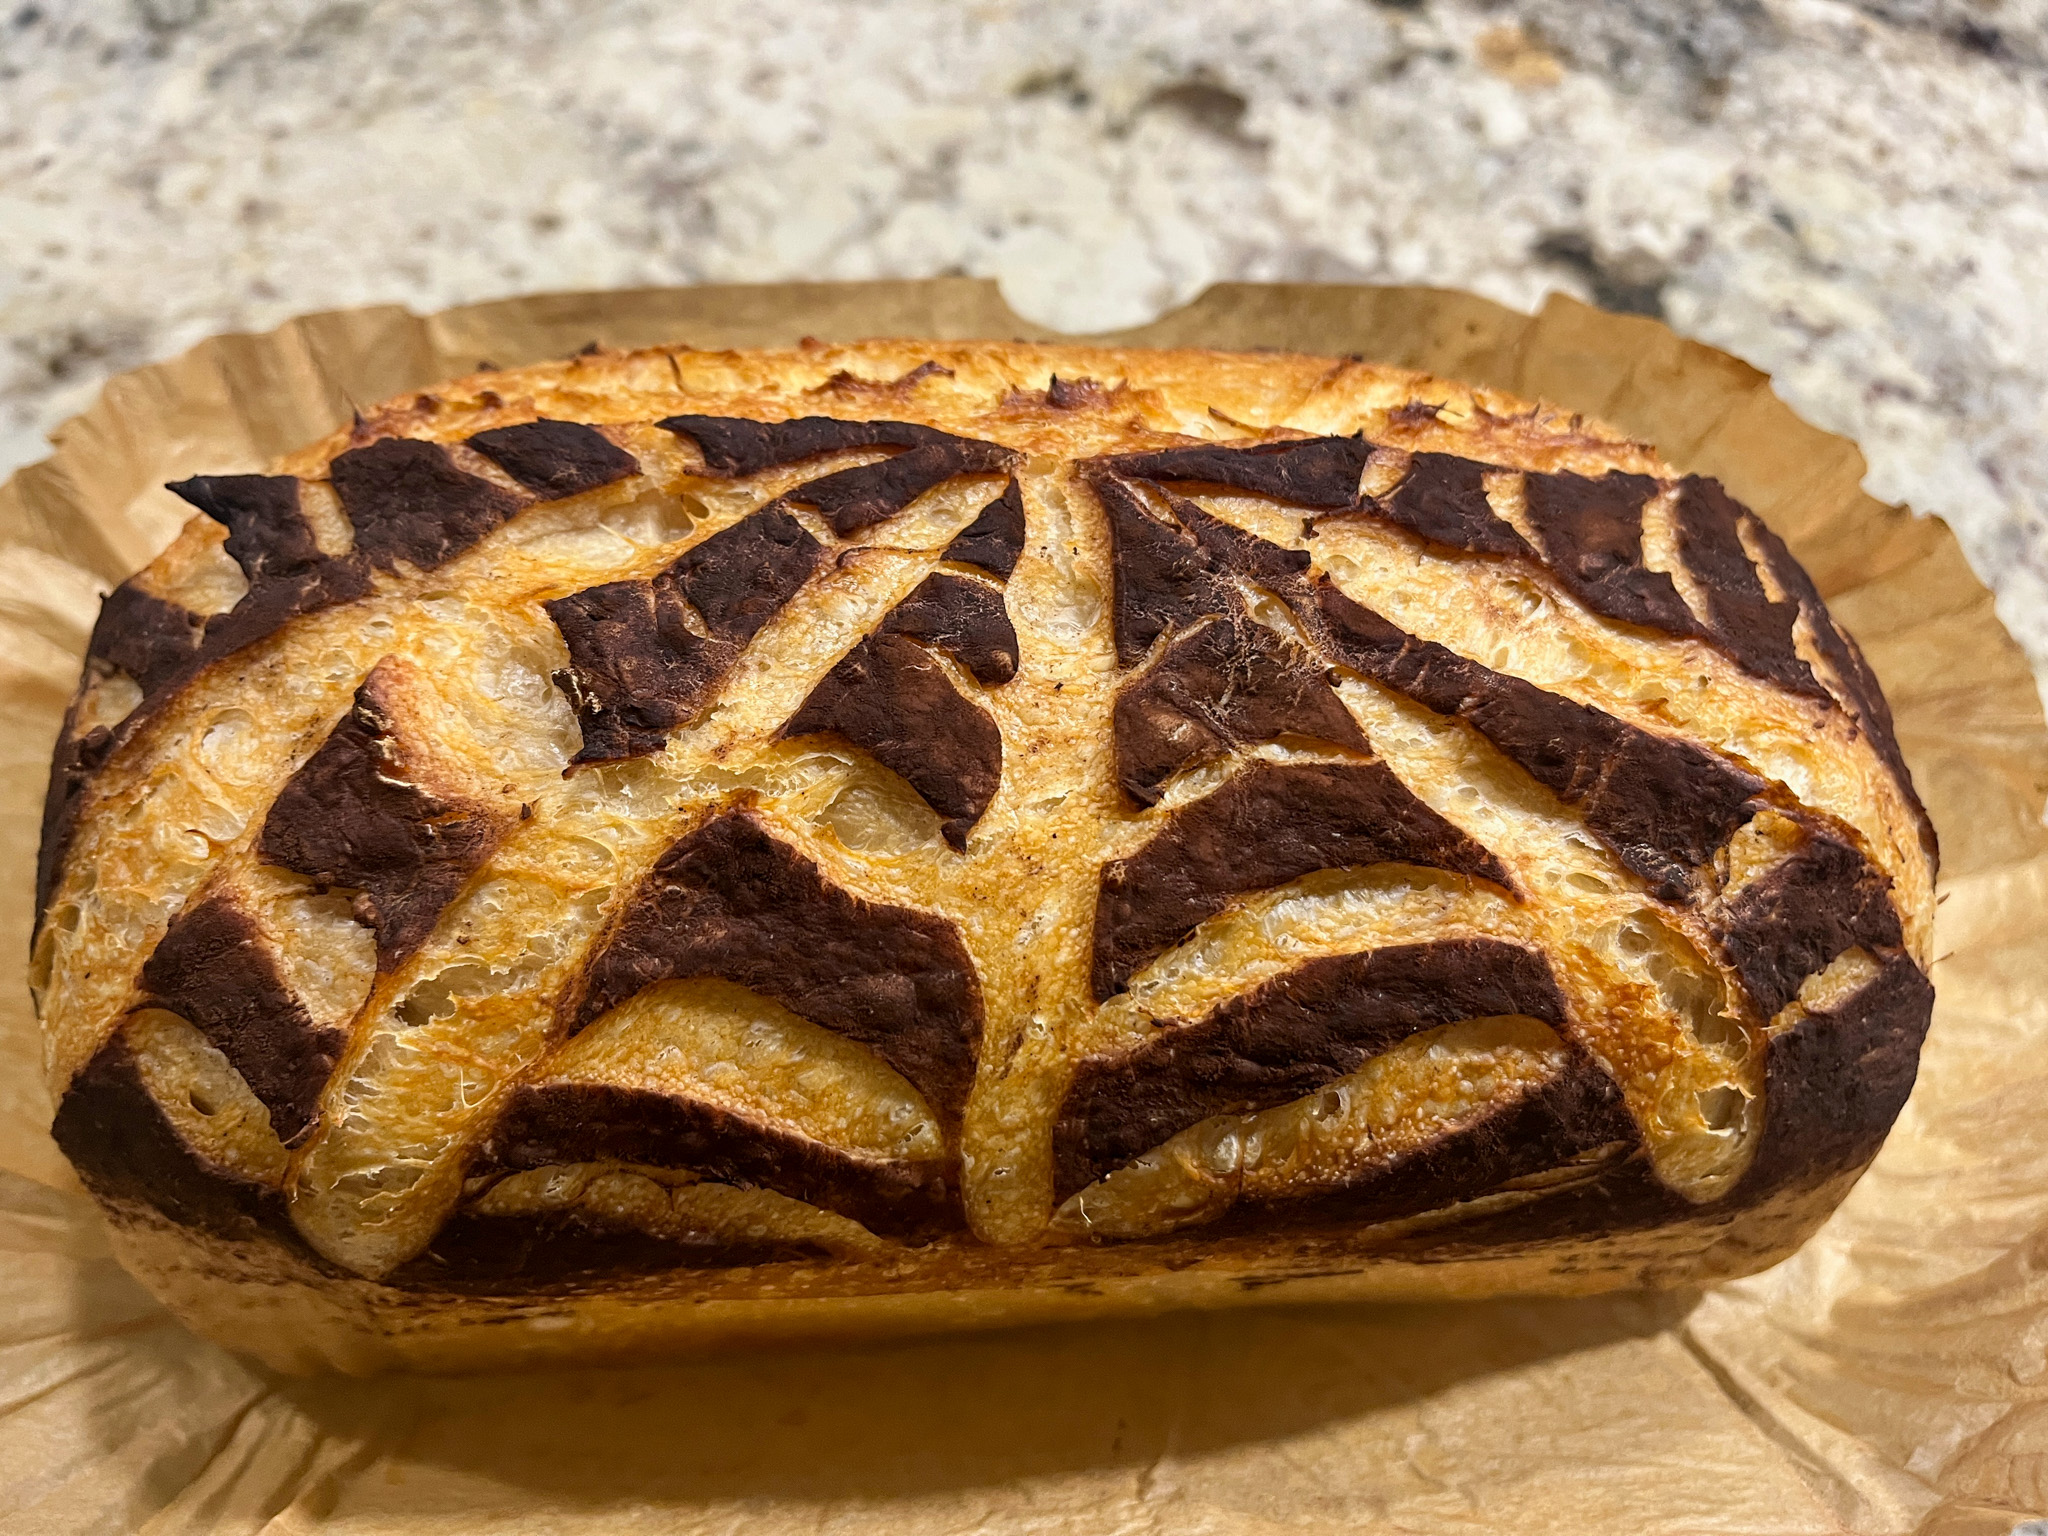
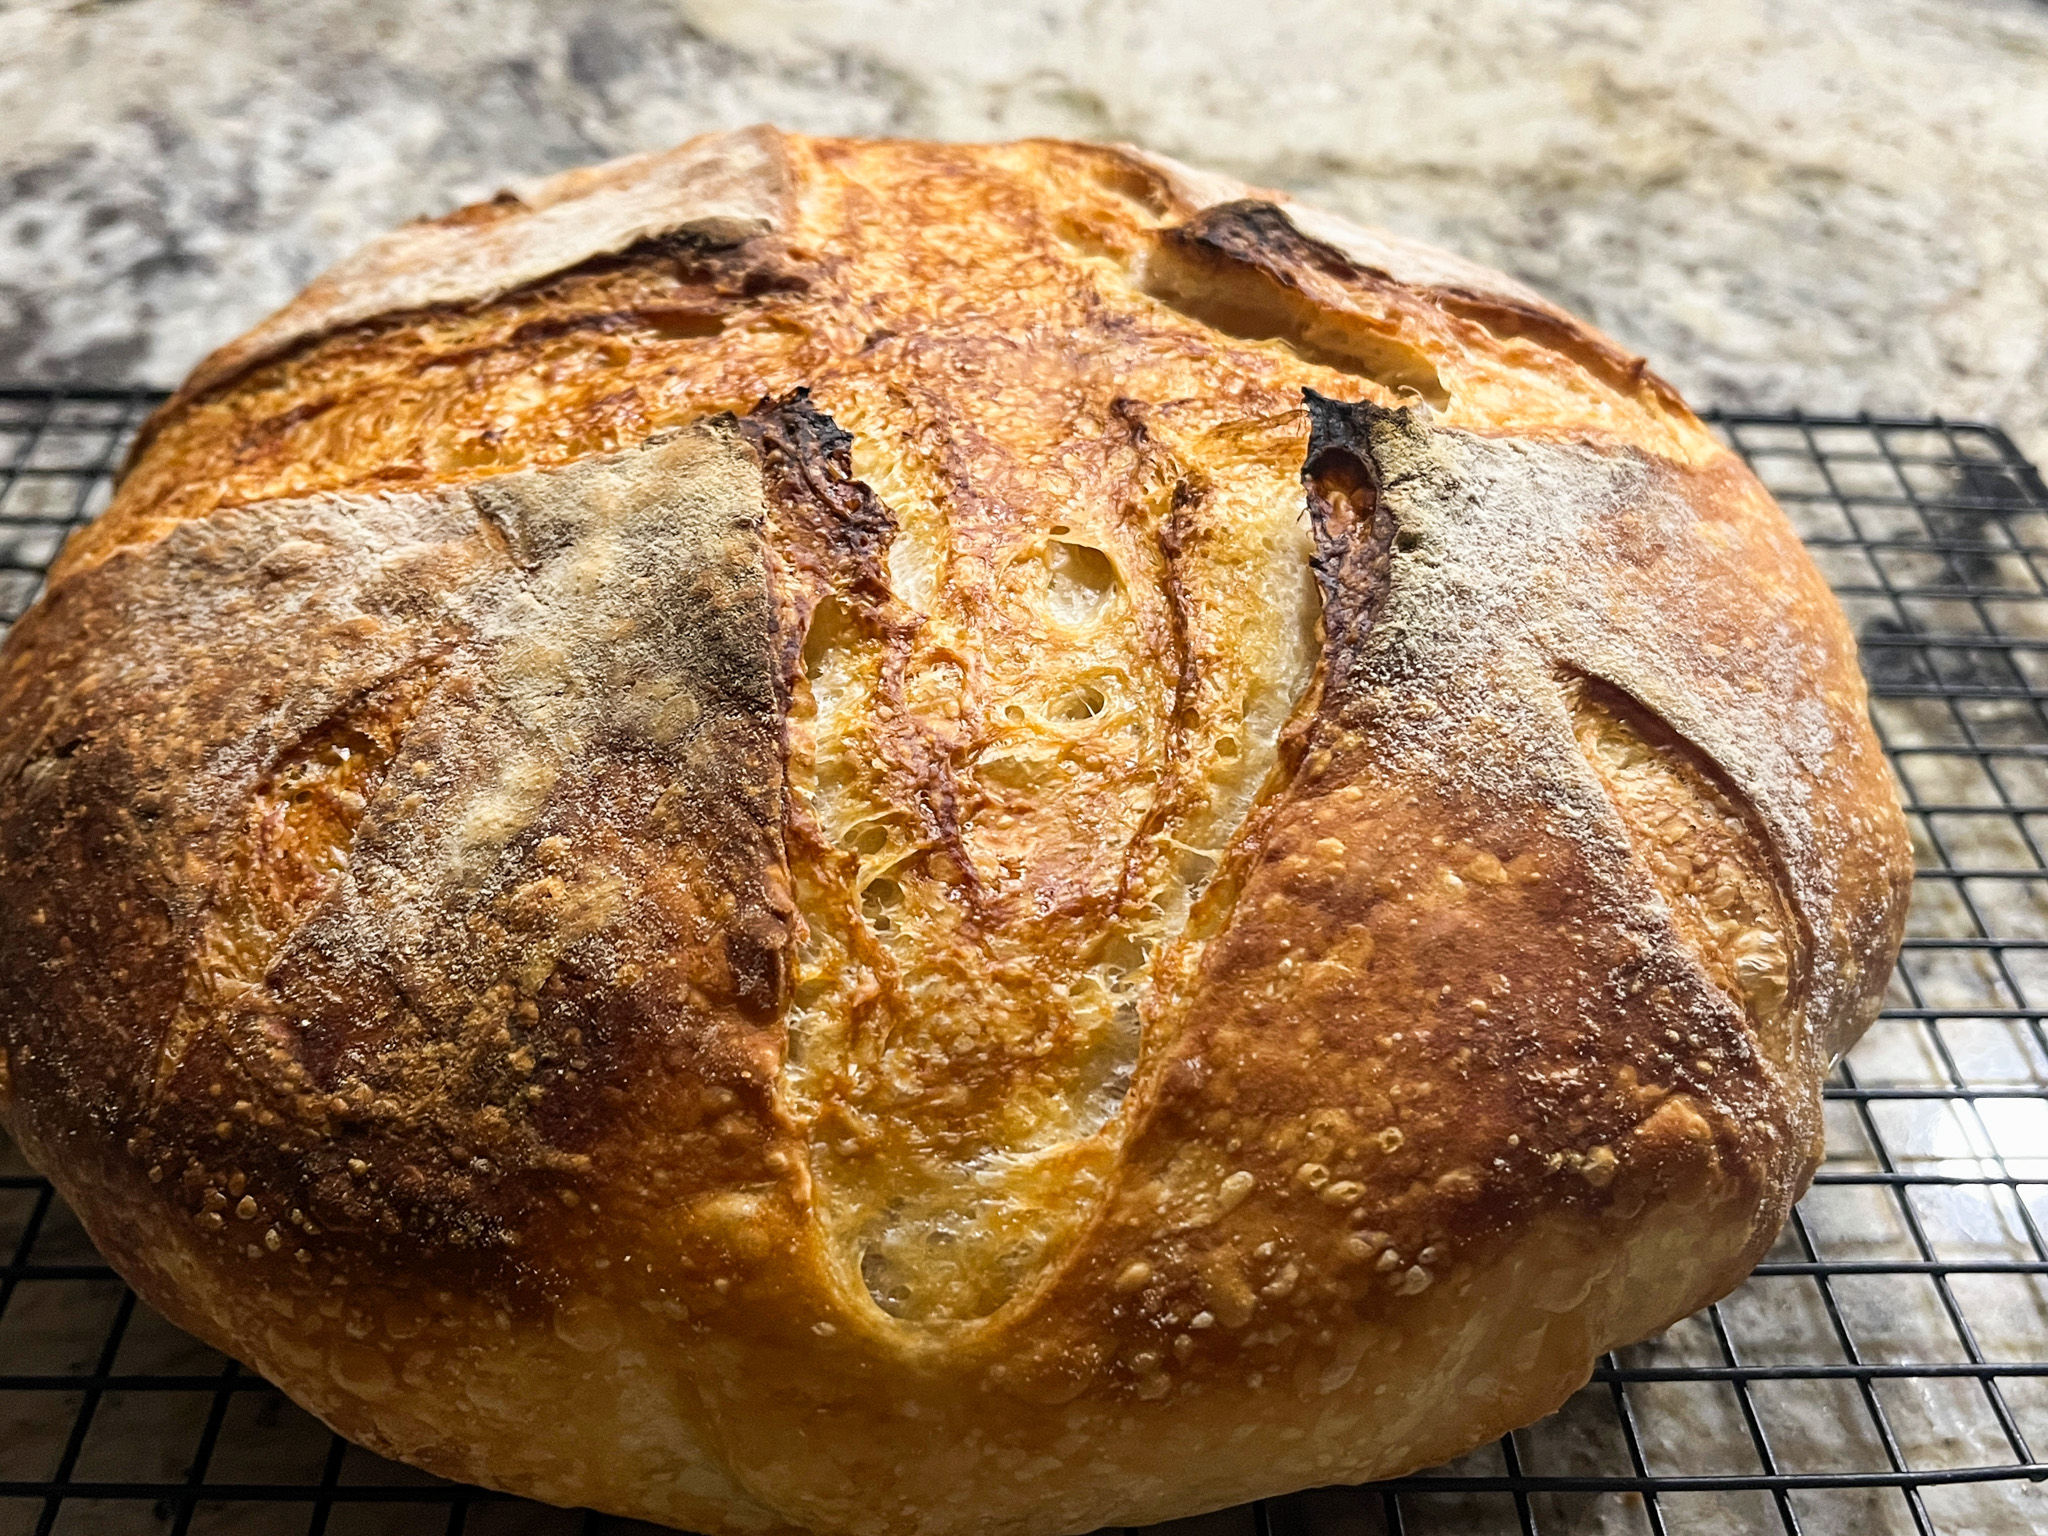
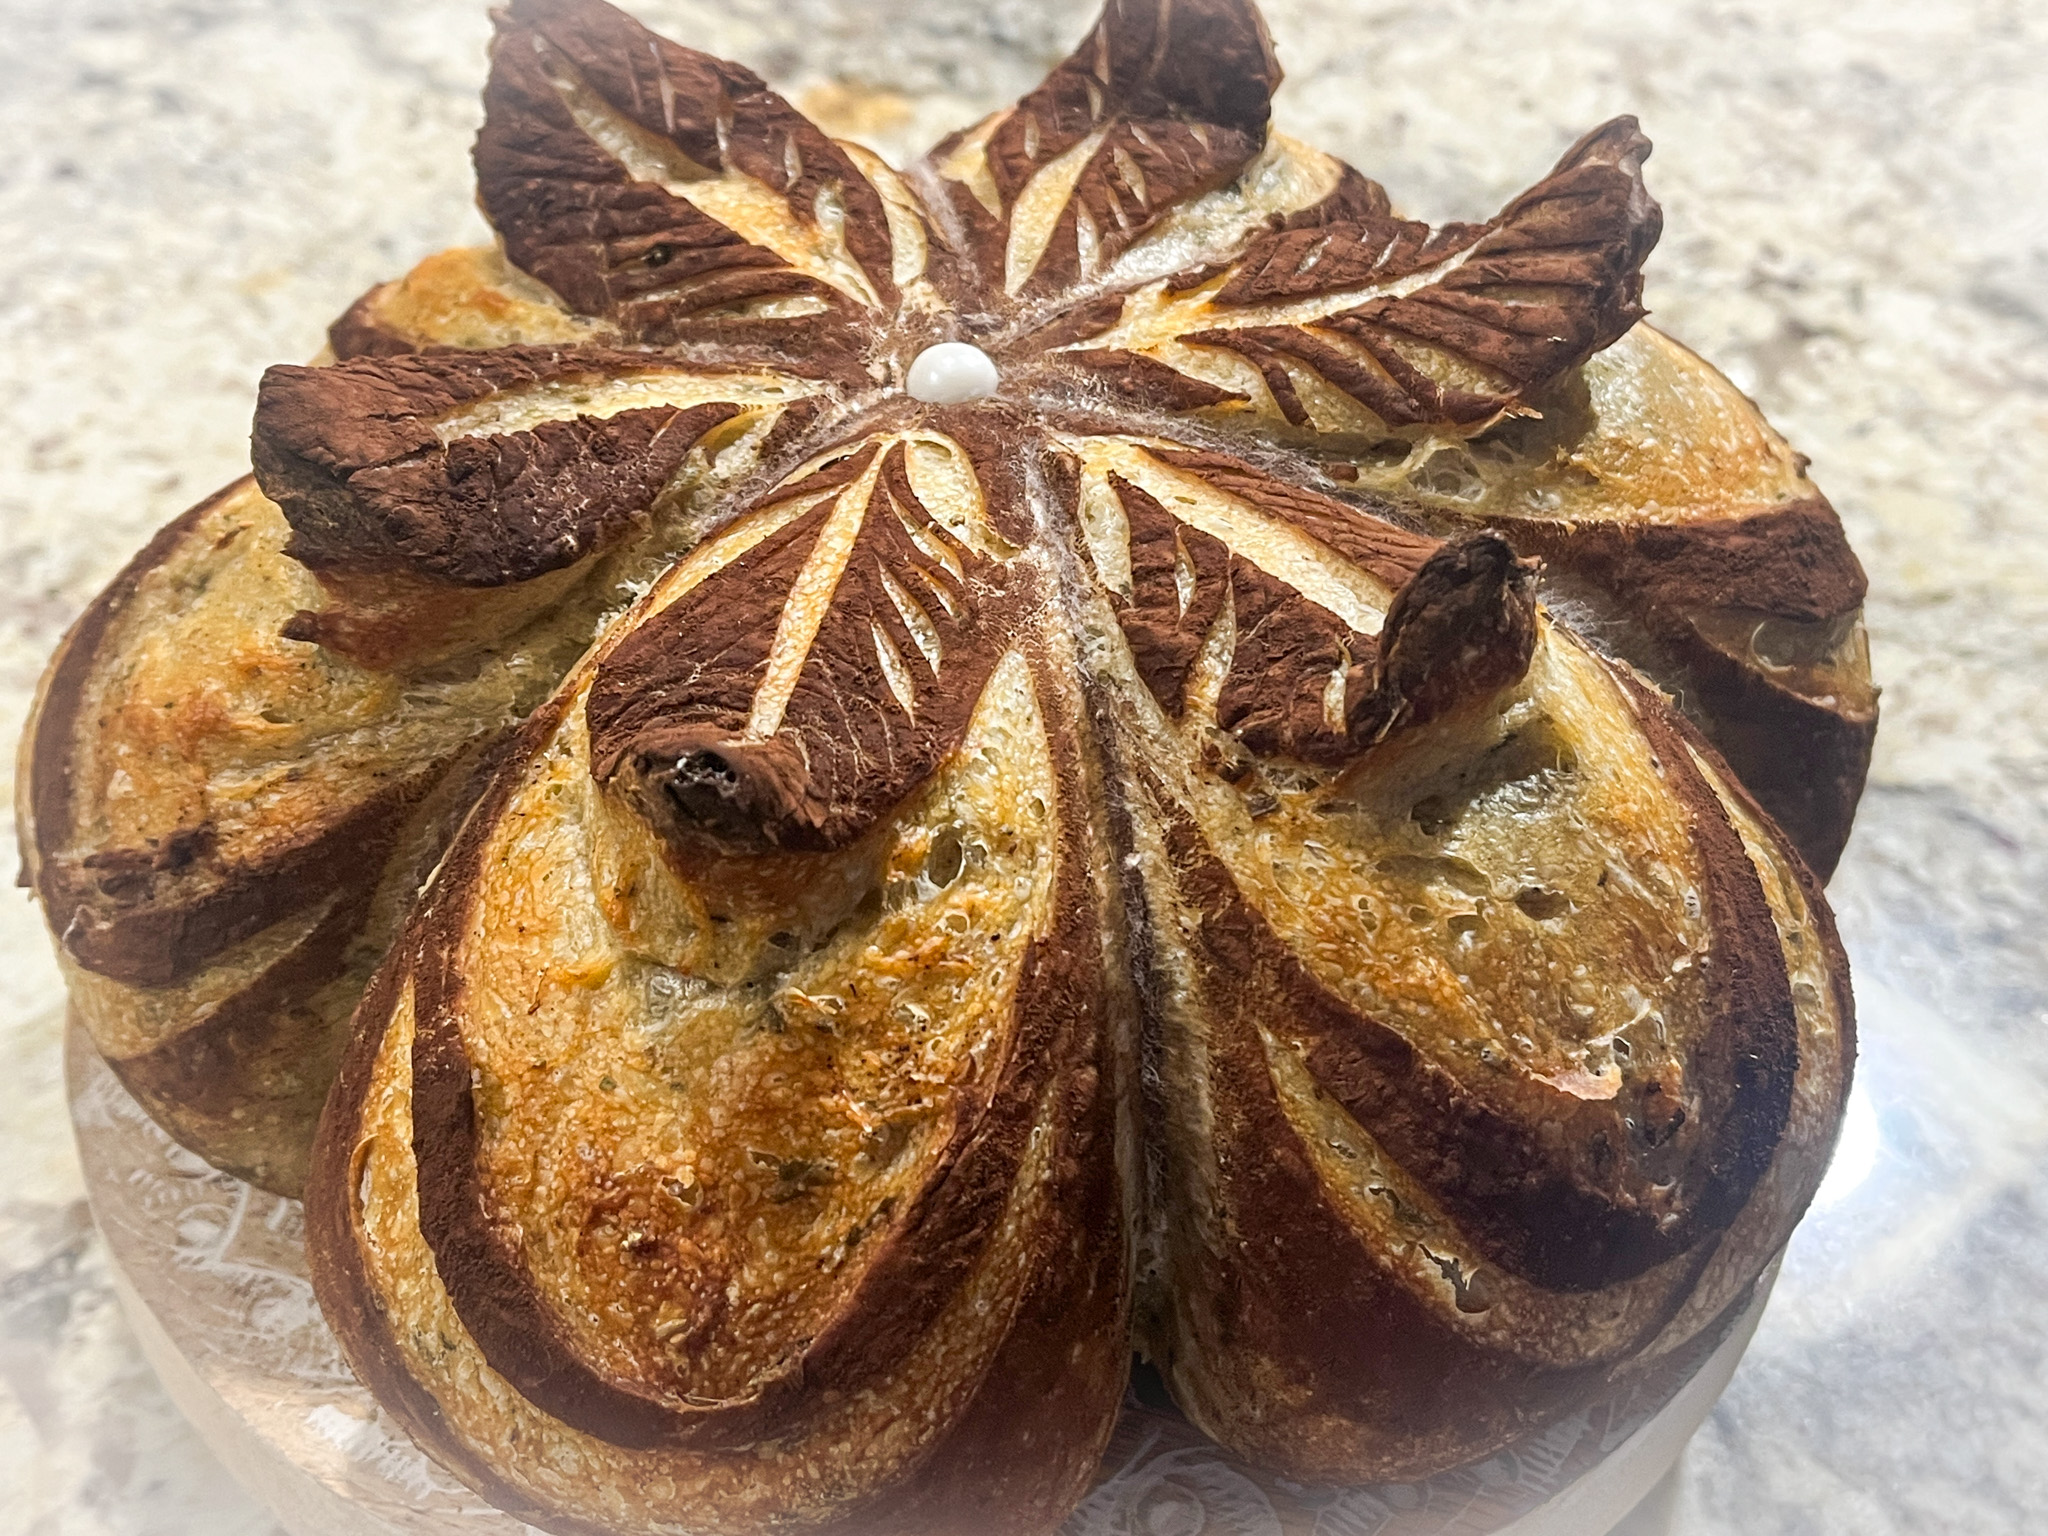
I have tried quite a few times this method in which portions of a sourdough design are lifted during baking, usually by inserting small pieces of crumbled parchment paper underneath the area, something that is done once the bread is in the oven for about 7 minutes. I had failure after failure, but this time it worked better. There is a lot of room for improvement, but at least I see the light at the end of the tunnel.
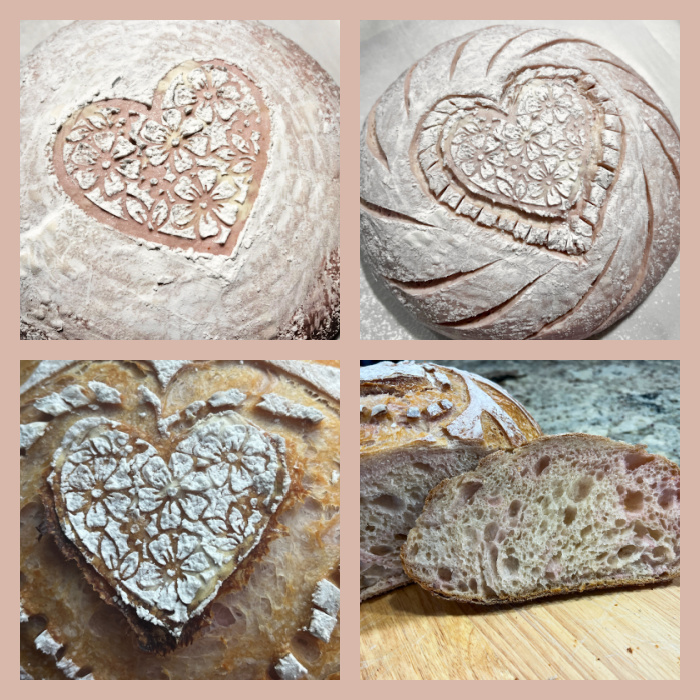
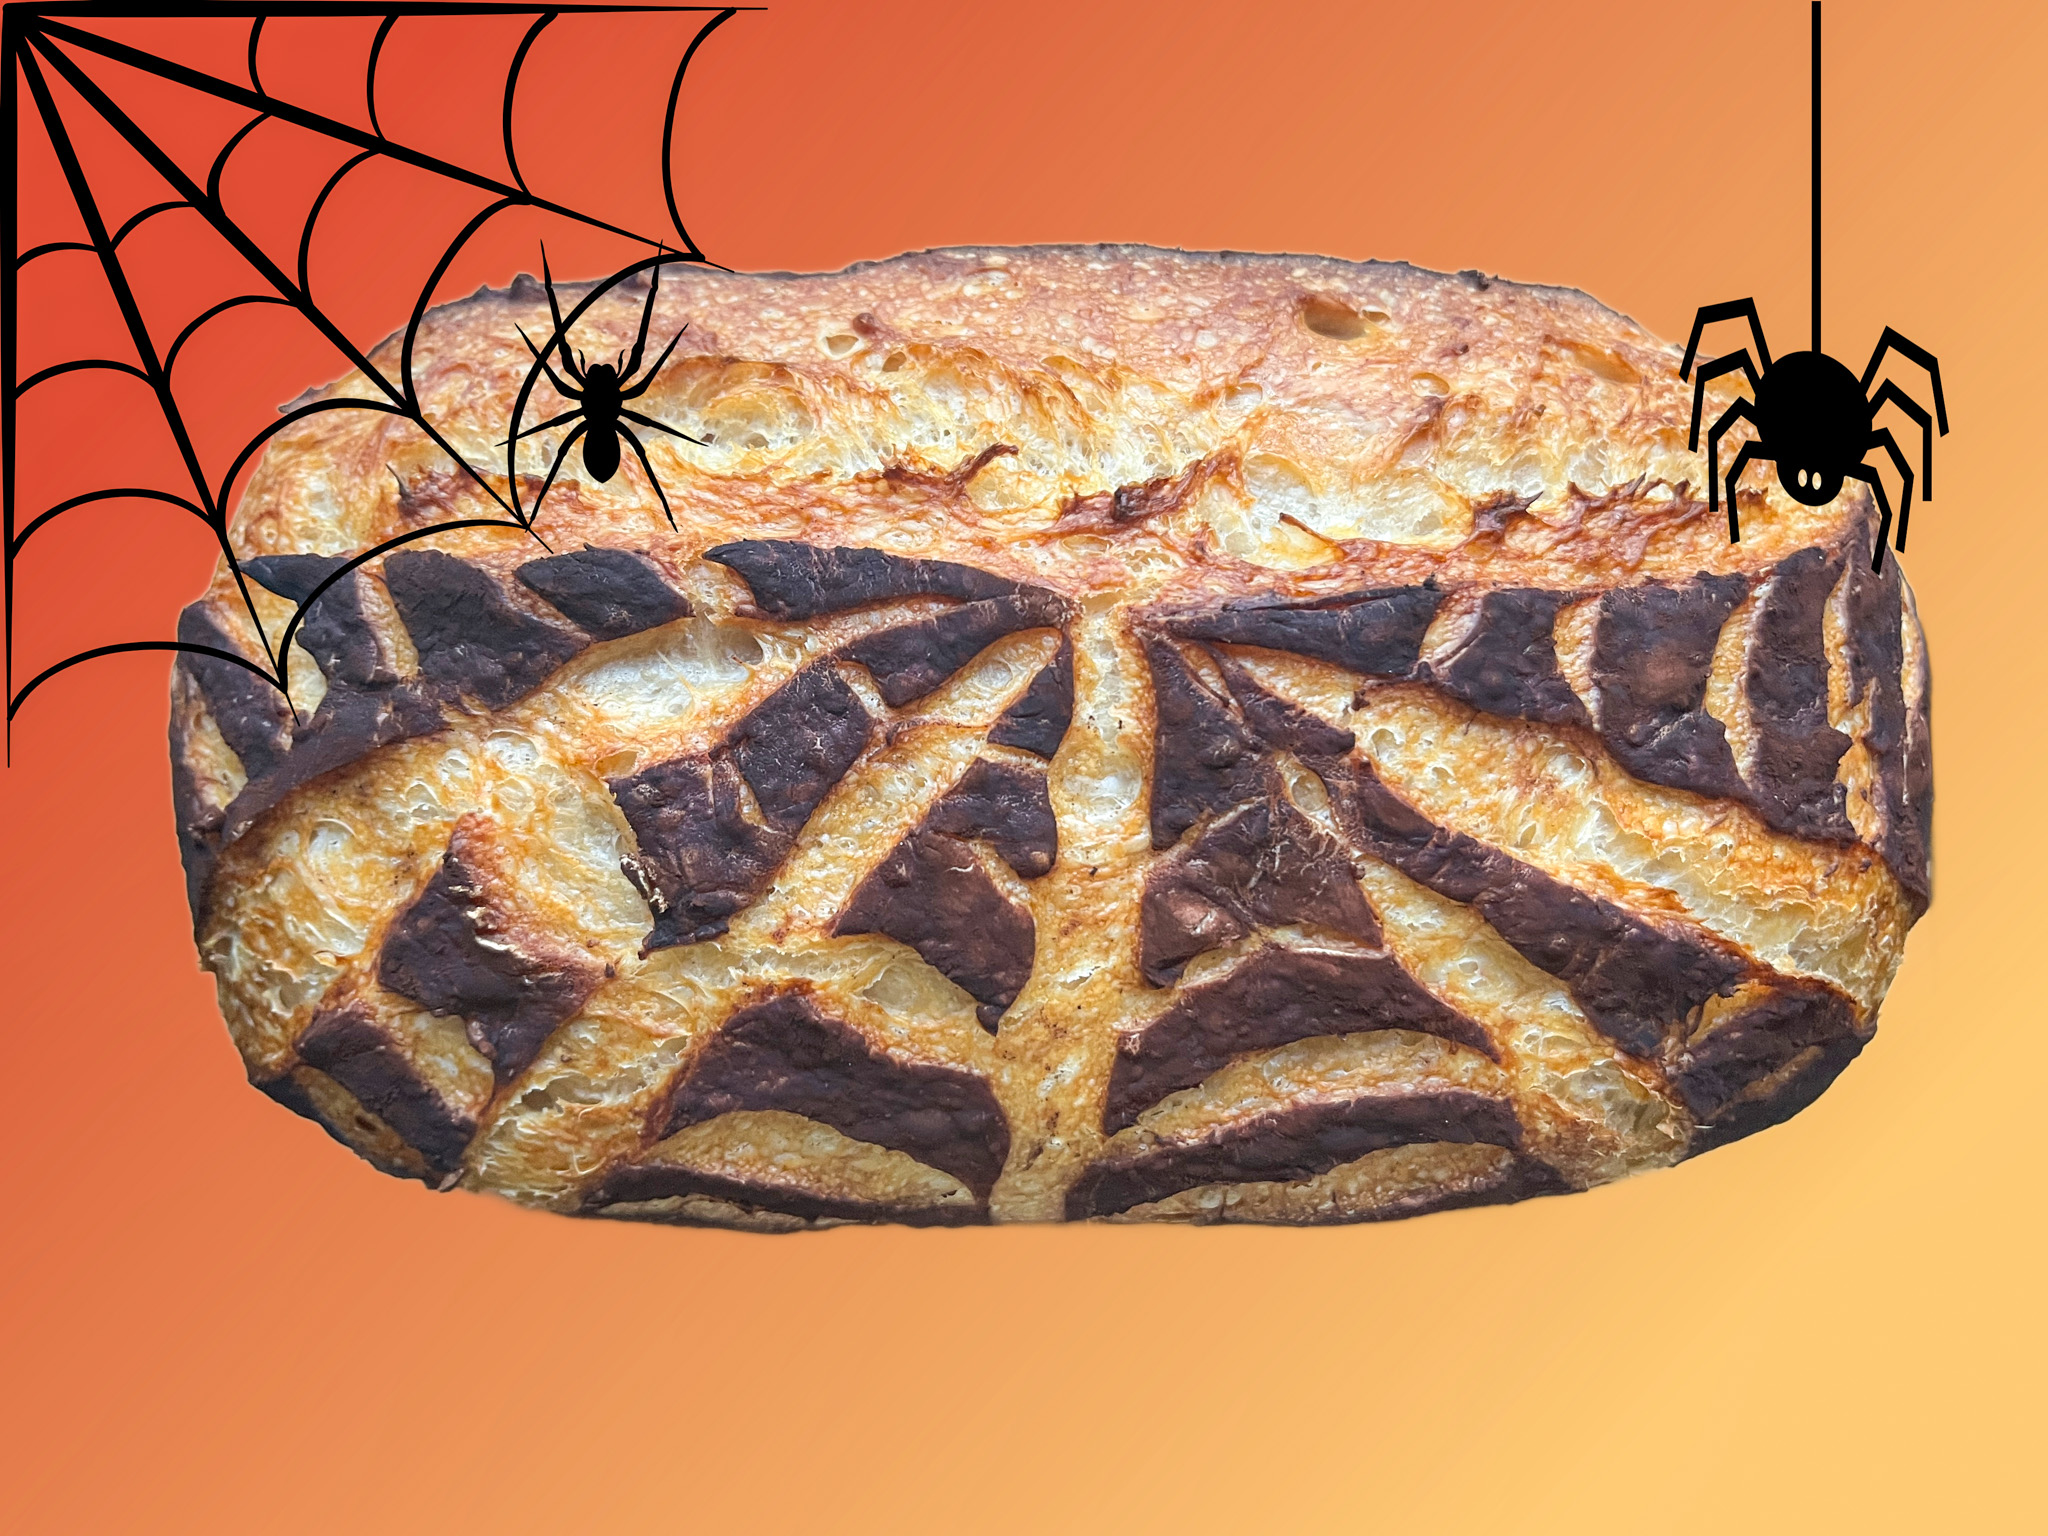
RAISED FLOWER SOURDOUGH BREAD
(from The Bewitching Kitchen)
480g bread flour
20g whole wheat flour
75g sourdough starter (stiff or 100% hydration)
10g salt
360g water
2 tsp oregano
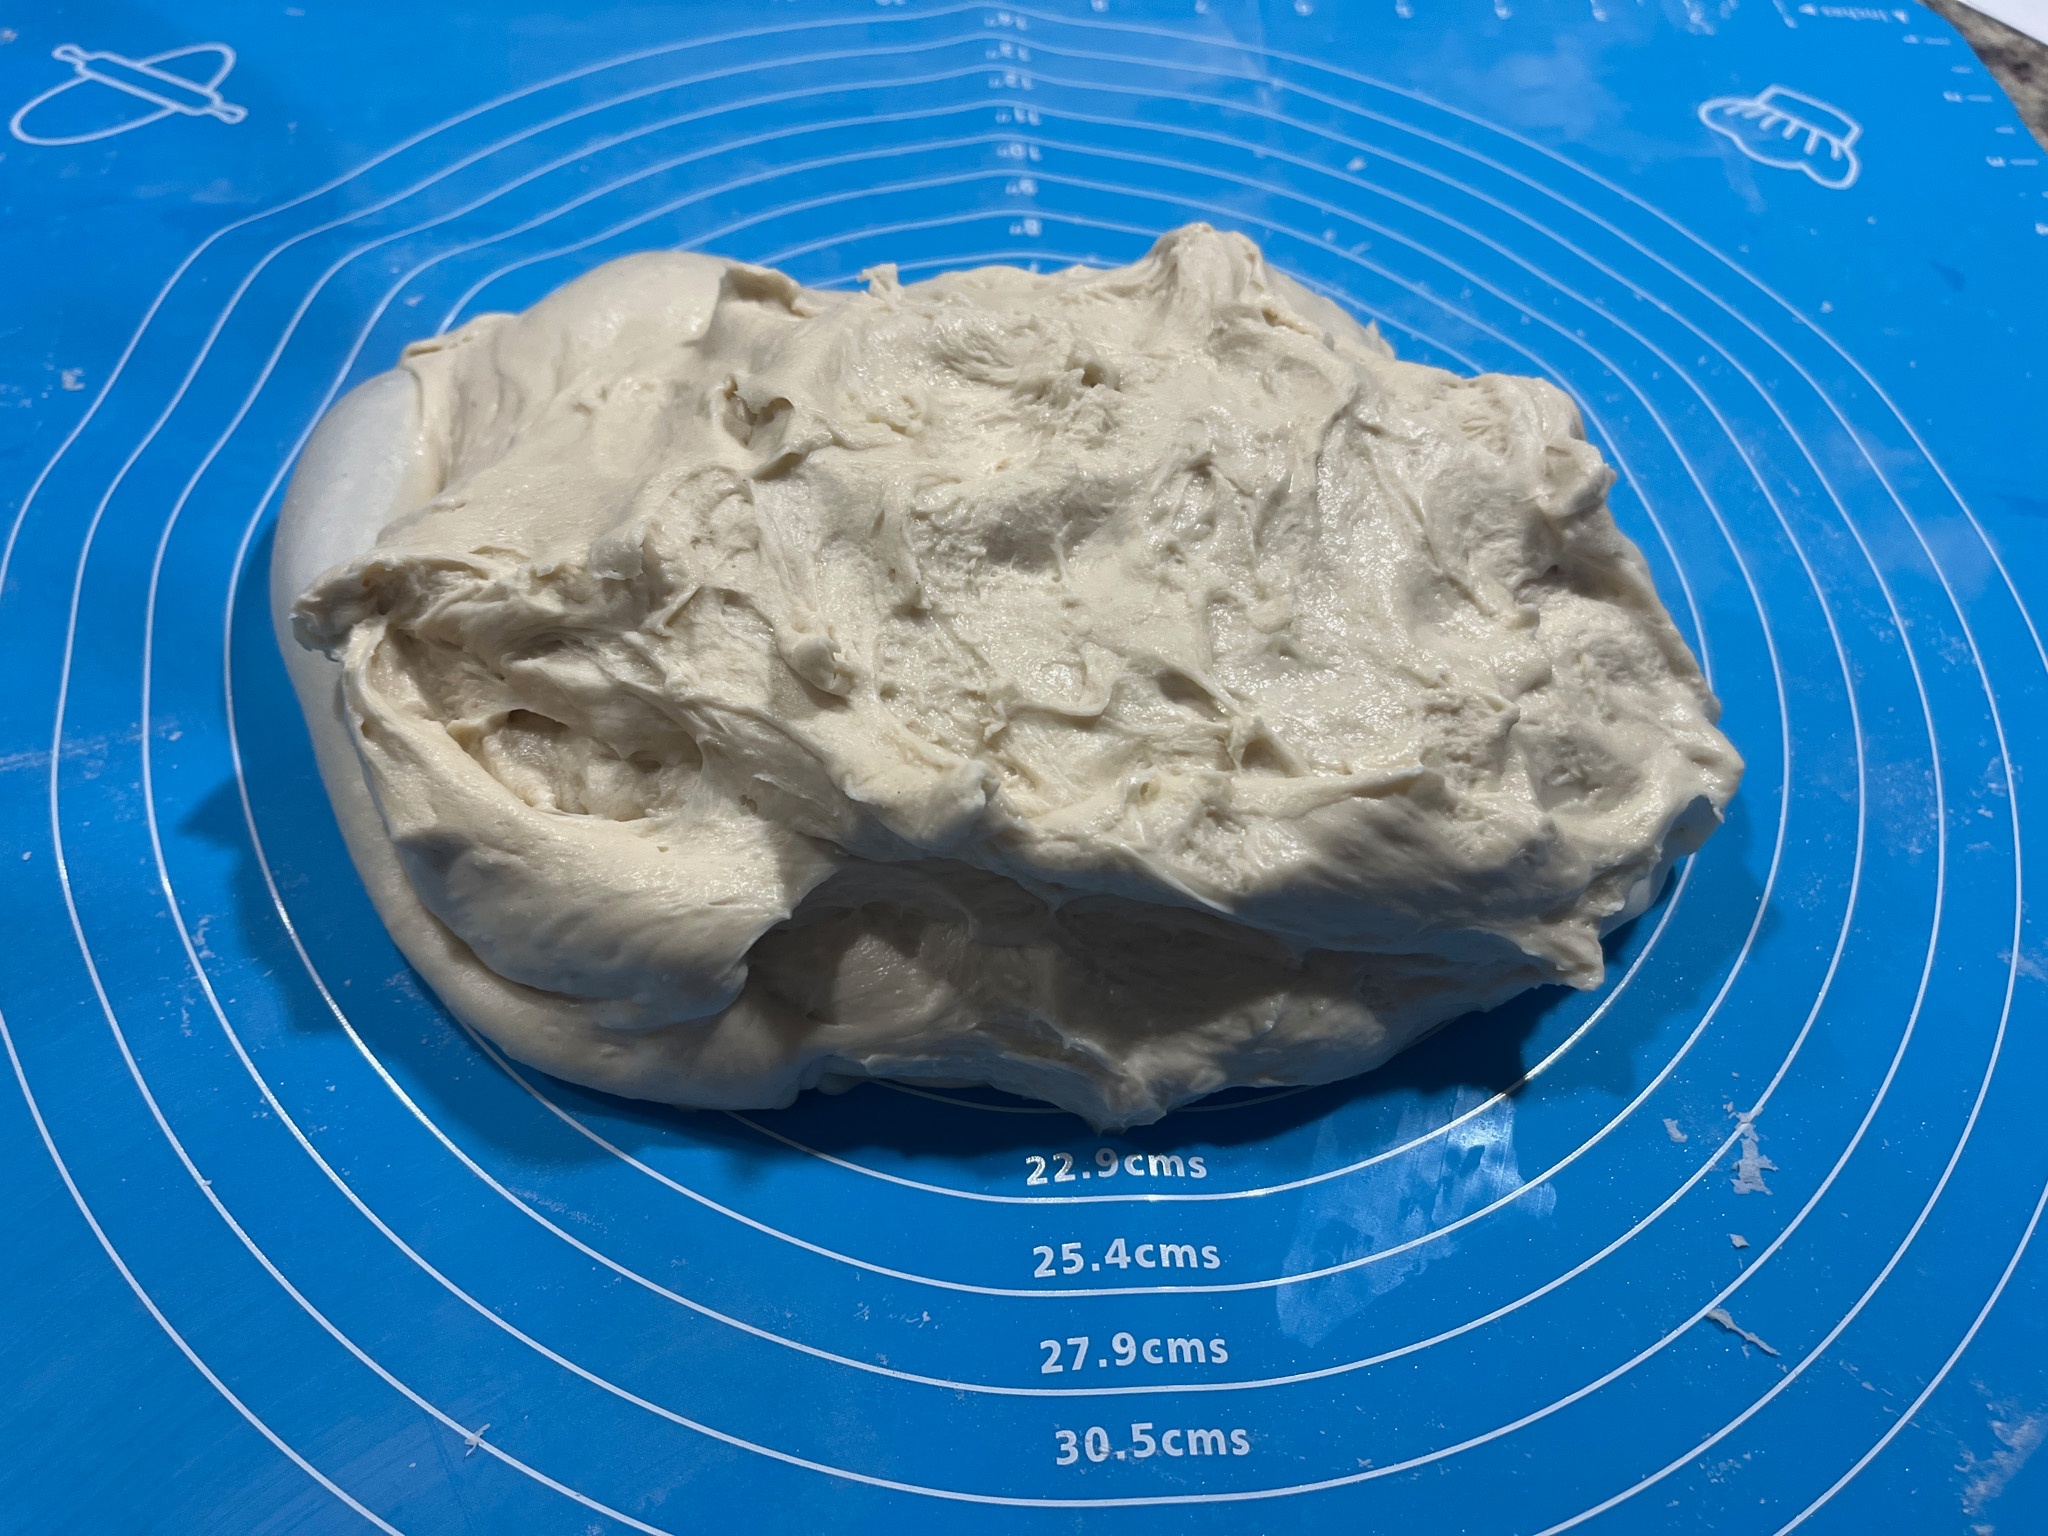
Mix all ingredients in the bowl of a KitchenAid type mixer fitted with the dough hook. Knead gently for about 4 minutes (first or second speed maximum).
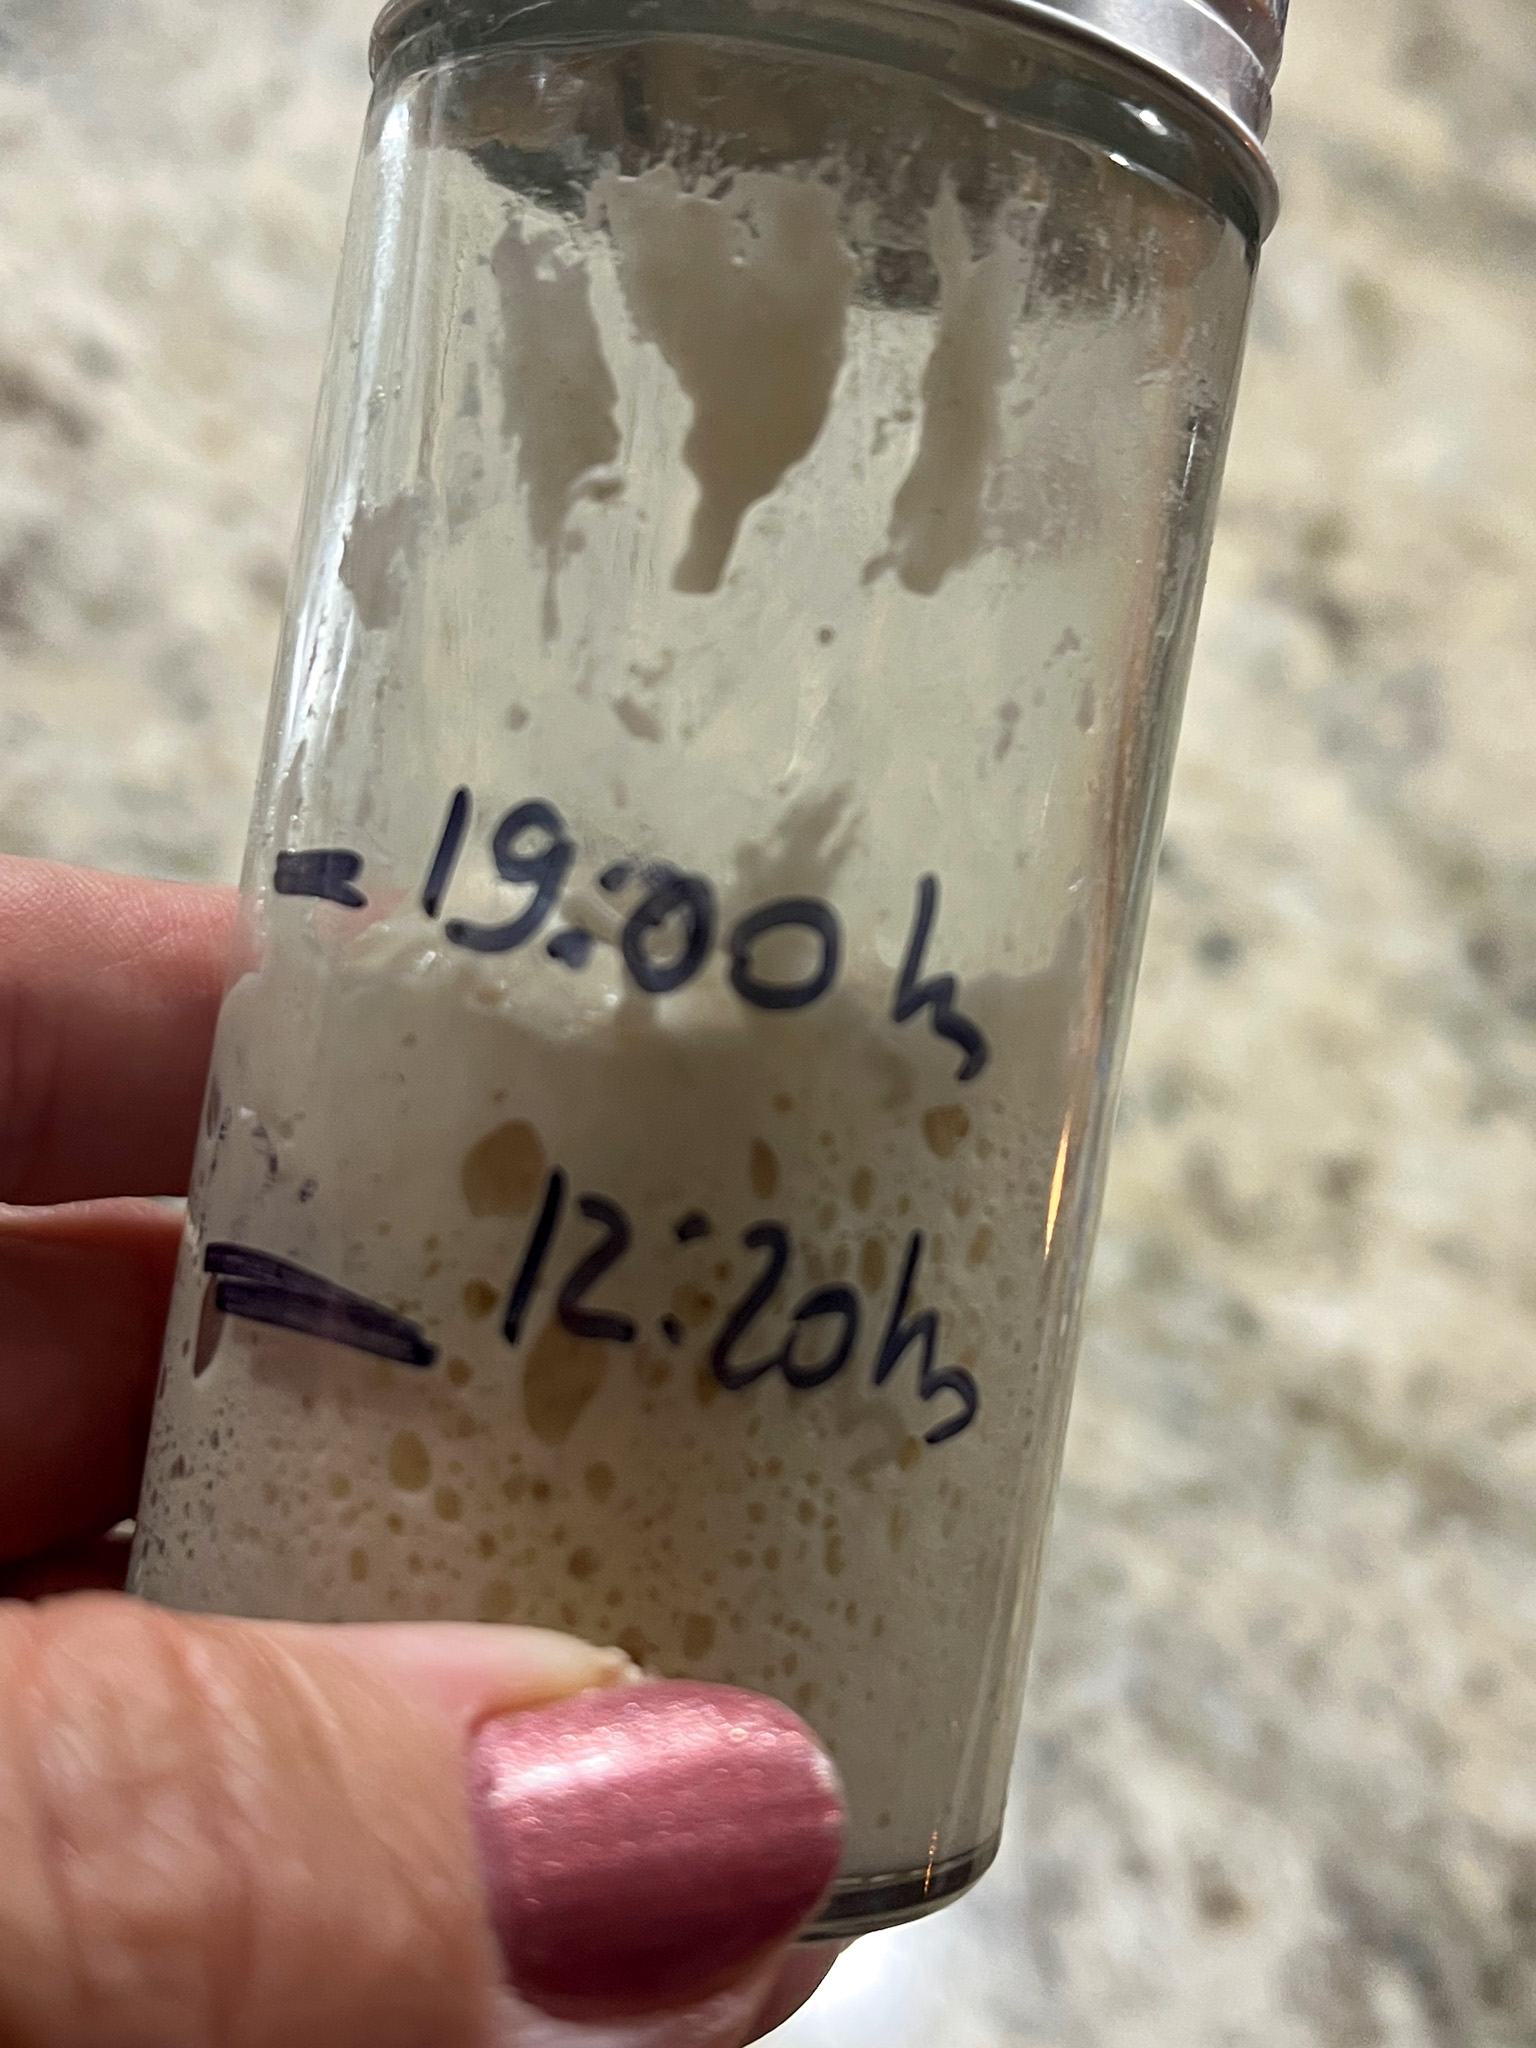
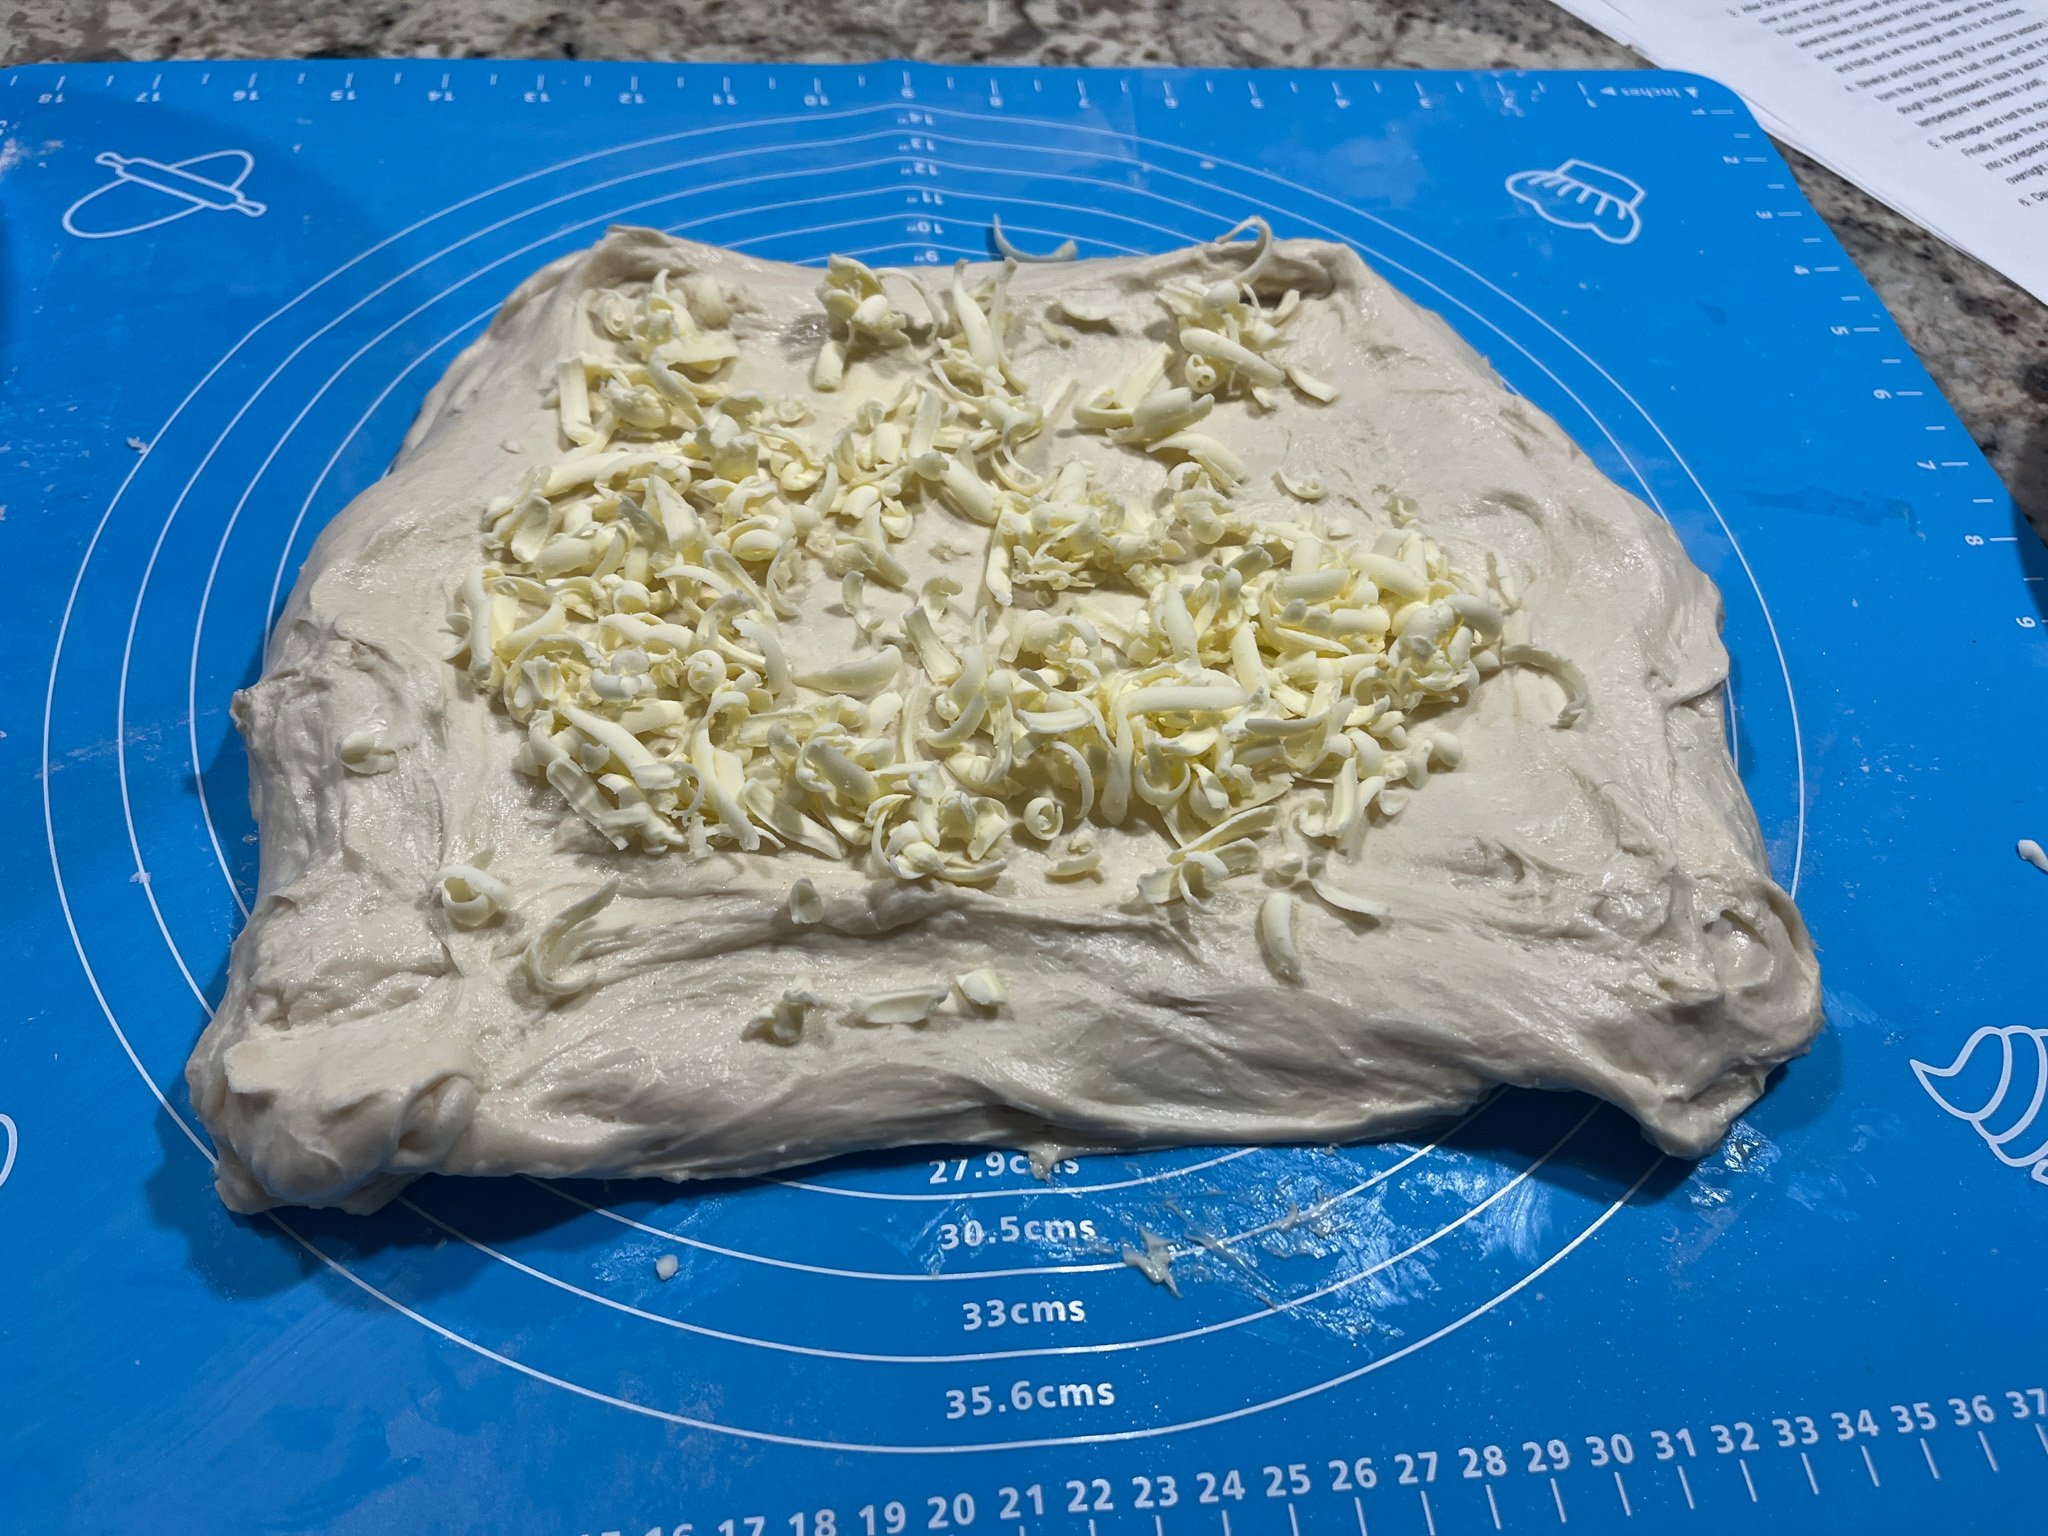
Transfer dough to a lightly oil bowl and do a bulk fermentation with 4 folds made 45 minutes apart. Before you start the fermentation , remove a very small amount of dough to a small glass container (like those that hold spices), and mark where the level of the dough is with a permanent marker. Keep that at room temperature to monitor fermentation.
After the last folding cycle, keep an eye on the fermentation using the small vial. Ideally you want to let the dough ferment until it is double in size. Depending on the day, temperature of your kitchen, it might take 8 hours or more.
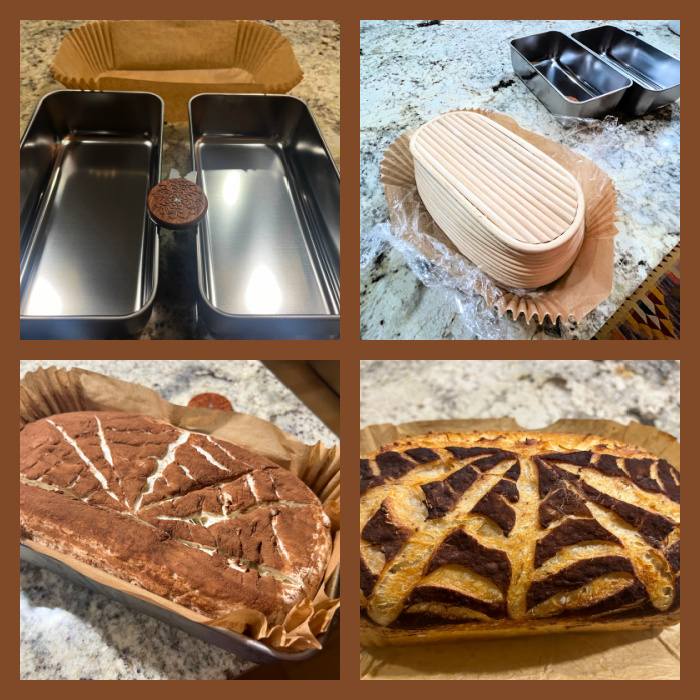
Once bulk fermentation is over, shape the dough as a round ball. Place in the fridge overnight.
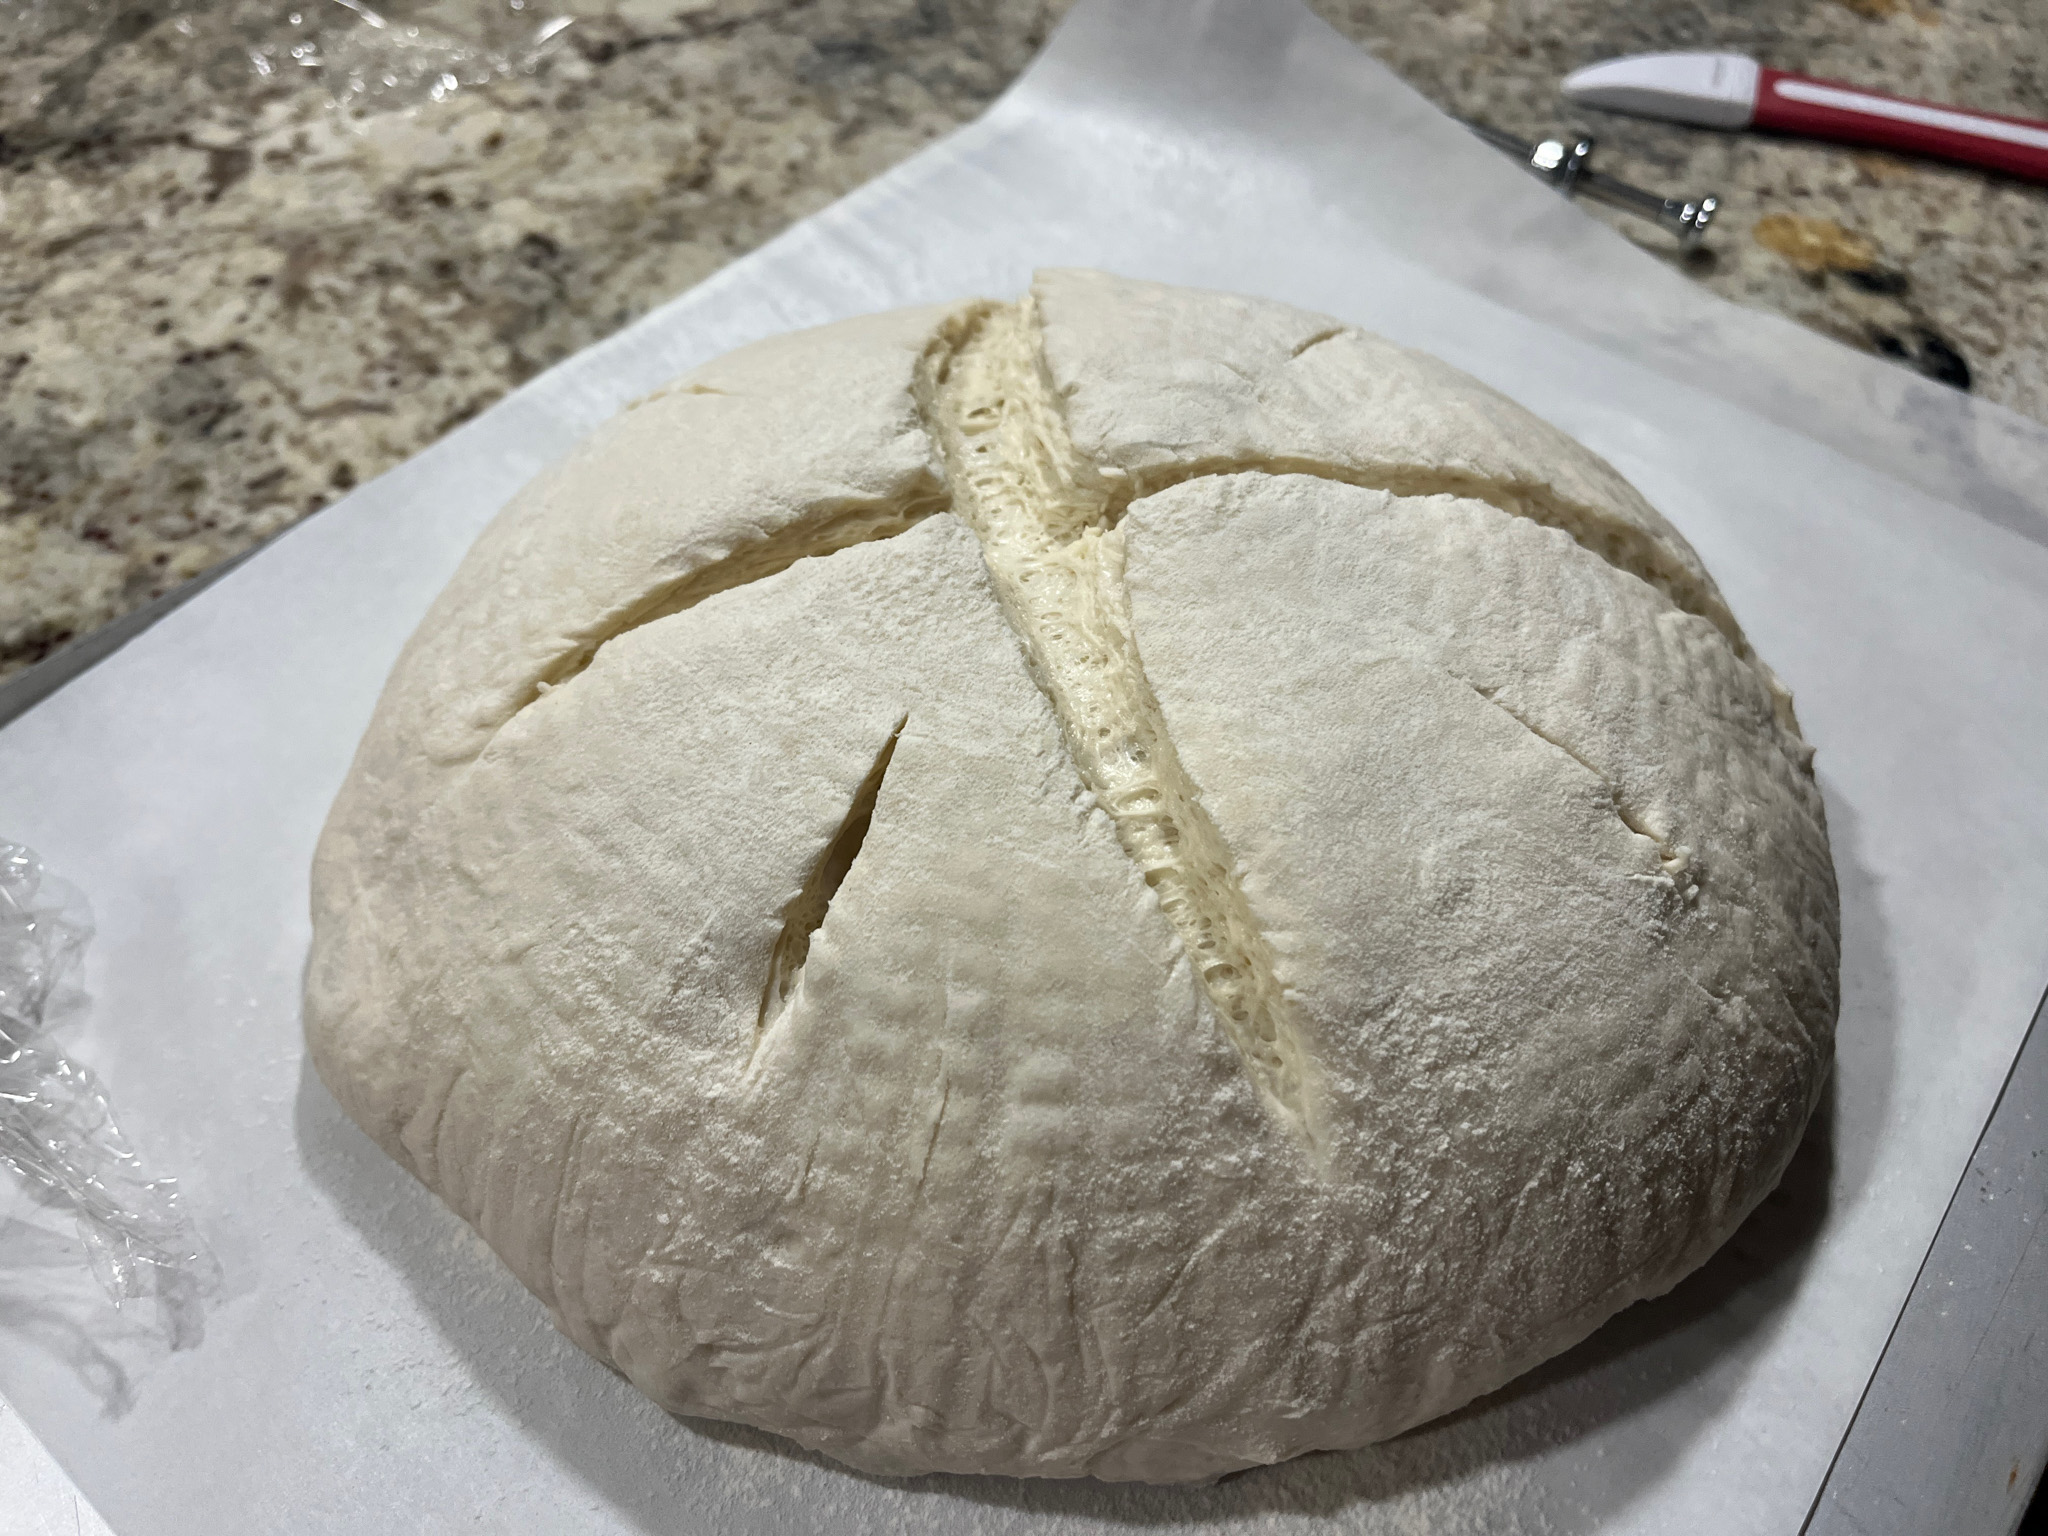
Next day, freeze the dough for 30 minutes in the banetton, to make it easier to score later. Invert the dough on a paper liner, with three strings equally spaced. Rub the surface with cocoa powder, and proceed to score as a flower, using the strings to guide you (check the video after this recipe).
Close the pan and bake at 450F for 7 minutes. Remove the lid, go back and its a razor blade re-inforce the petals to force them to separate better, gently slice the tip of each petal with the blade parallel to the surface, and place a small piece of parchment paper underneath each petal to force it to rise up. Close the pan and bake for 30 minutes, open and allow the bread to brown for a further 15 minutes.
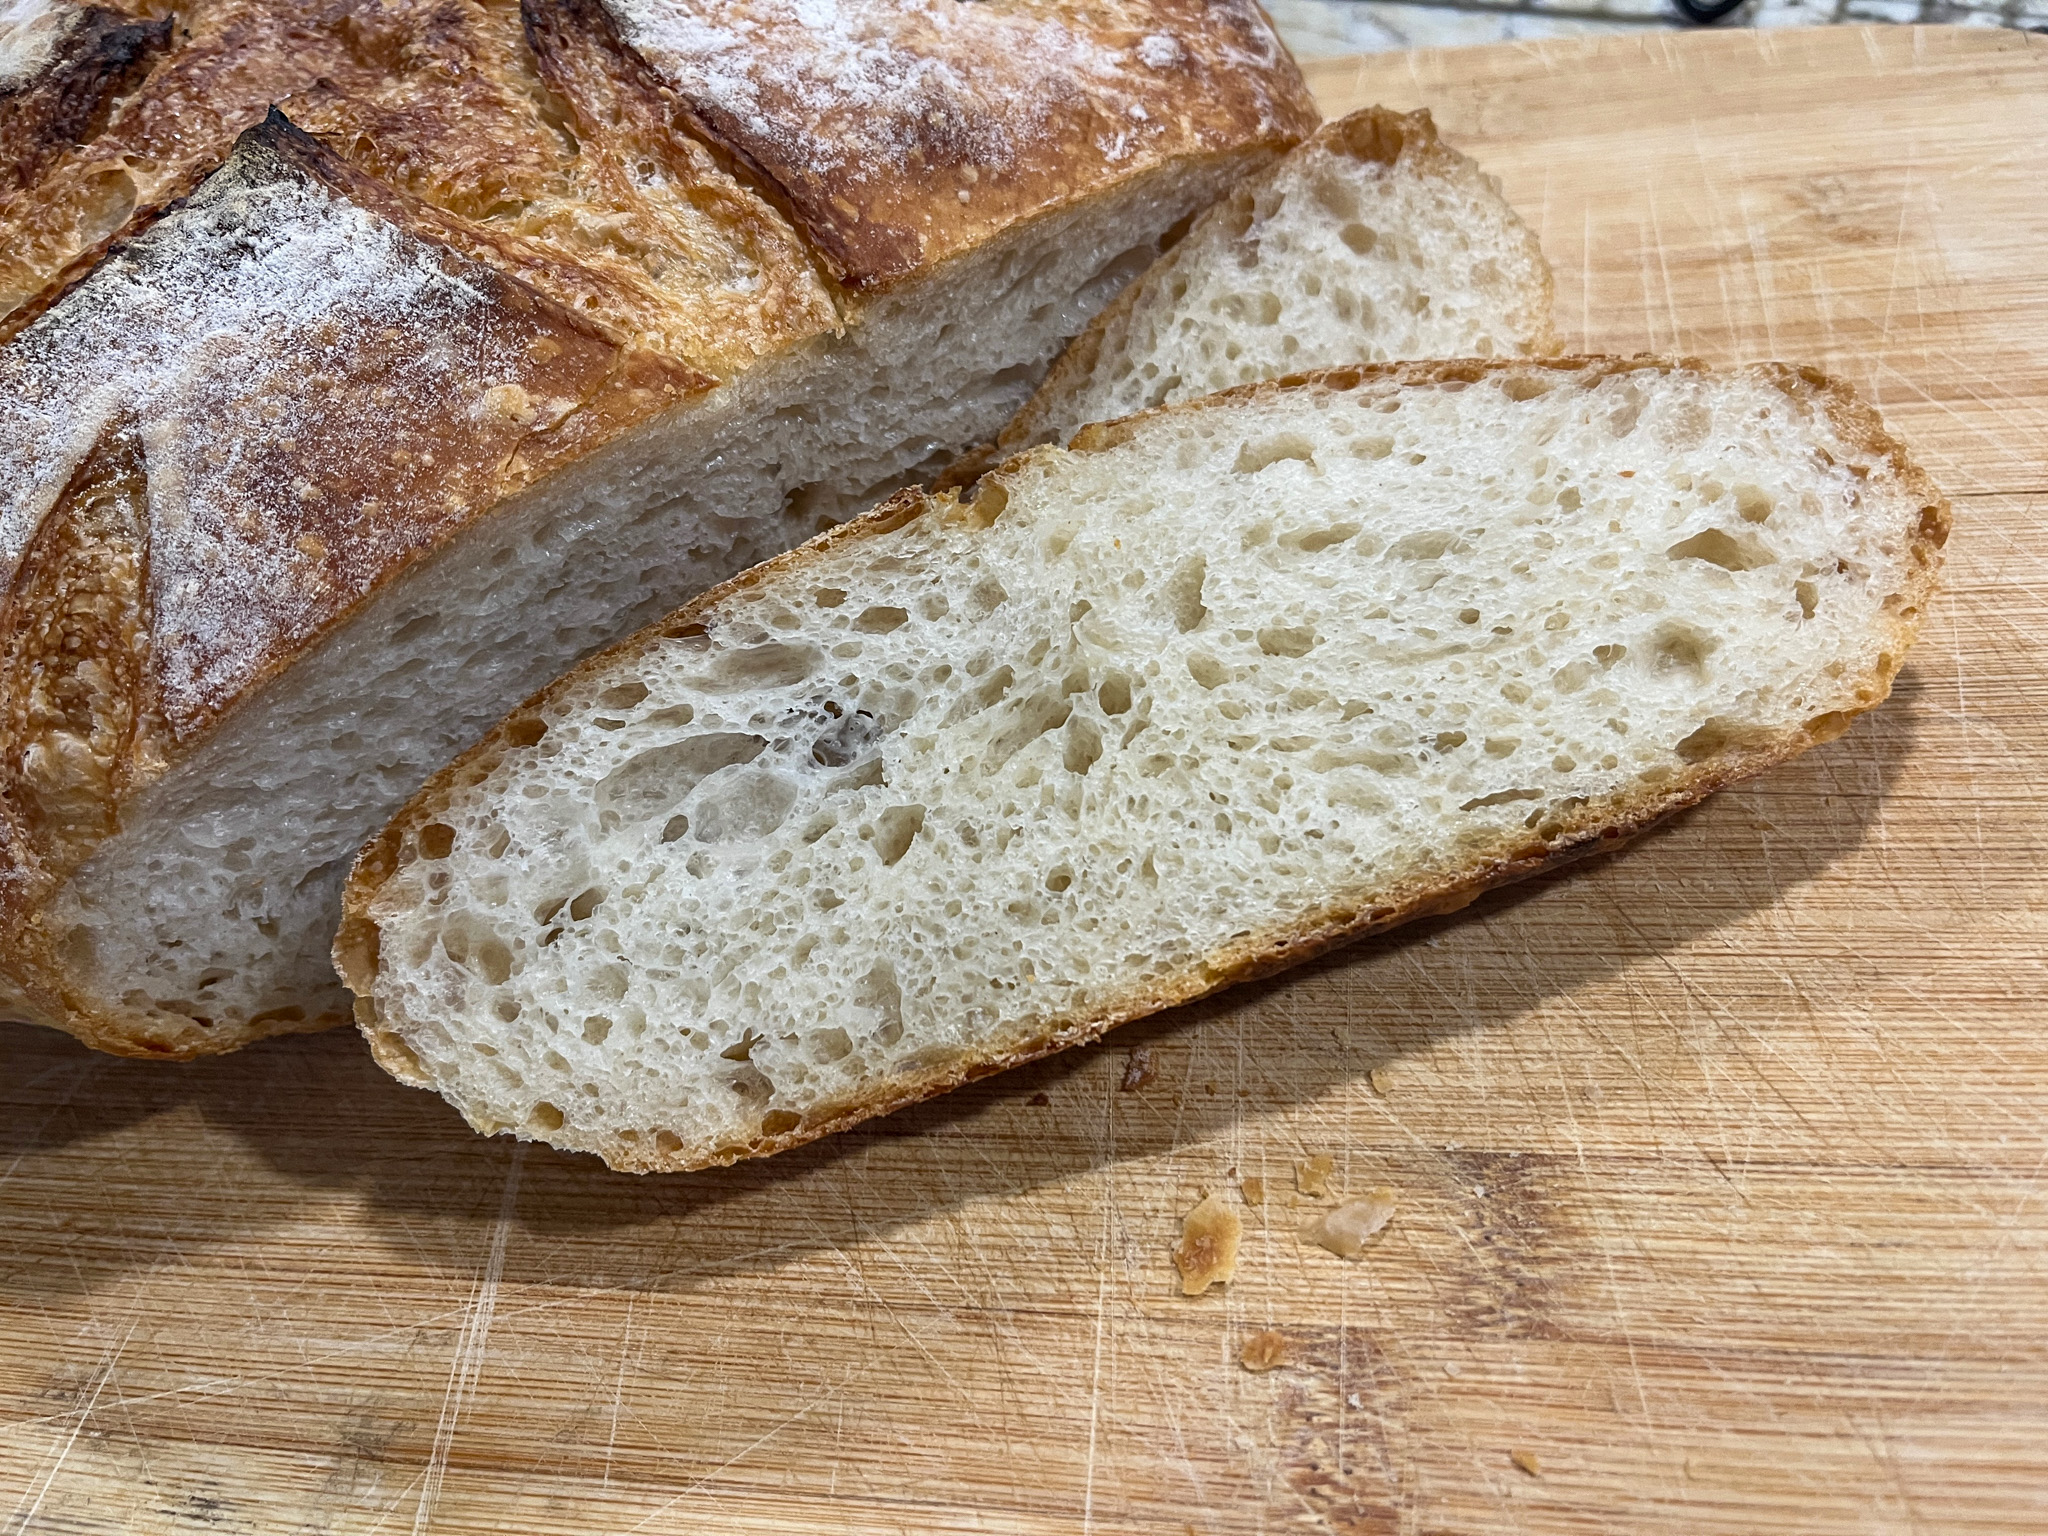
Remove the strings, and let the bread cool completely over a rack before slicing.
ENJOY!
to print the recipe, click here

This is a video of the scoring before baking. It is four times faster than real-time.
Comments: I consider this bread a work in progress. My goal is to repeat this technique but with more finesse. The lifted area needs to be thinner, more delicate, which is not a very easy thing to do. But I am stubborn. Just don’t tell the husband I admitted to that. Once you open the pan after 7 minutes, it is quite hot and steamy, it is hard to get the correct angle to work with the blade without burning yourself. More practice and a lot more Zen is needed. But I am thrilled with this outcome, as I had so many frustrated attempts in the past.

ONE YEAR AGO: Air-Fried Sourdough Bread
TWO YEARS AGO: Ube Macarons
THREE YEARS AGO: Christmas Sourdough
FOUR YEARS AGO: Star-Shaped Sun-dried Tomato Bread
FIVE YEARS AGO: Cranberry White Chocolate Tart
SIX YEARS AGO: I dream of Madeleines and a Tower of Cheesecakes
SEVEN YEARS AGO: Dominique Ansel’s Chocolate Mousse Cake
EIGHT YEARS AGO: Slow-Roasted Eye of the Round Beef
NINE YEARS AGO: Steam-Roasted Indian-Spiced Cauliflower
TEN YEARS AGO: Creamy Zucchini-Mushroom Soup
ELEVEN YEARS AGO: Ken Forkish’s Pain au Bacon
TWELVE YEARS AGO: Carrot and Cumin Hamburger Buns
THIRTEEN YEARS AGO: Potato Galettes a l’Alsacienne & Book Review
FOURTEEN YEARS AGO: Caramelized Carrot Soup
FIFTEEN YEARS AGO: Miso-Grilled Shrimp
SIXTEEN YEARS AGO: Pain Poilane