This post is dedicated to my friend Margie
(she will understand why).
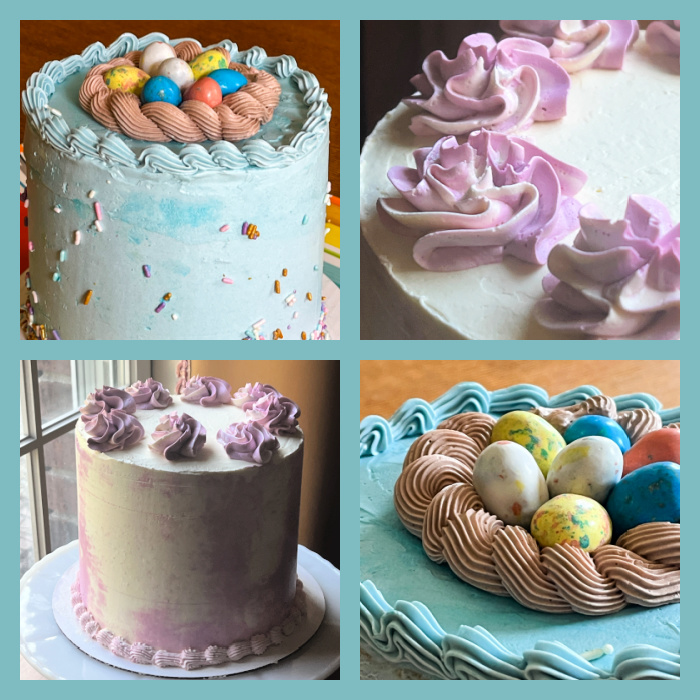
I’ve been making layer cakes every other week to donate on Fridays. A couple of weeks ago I was trying to decide which cake flavor to make and my beloved husband told me “I’ve got one for you!” He then showed me a recipe published in the New York times. It sounded really good and I decided to go for it except that I changed the filling and the frosting. Layers had store-bought dulce de leche and I used Swiss meringue buttercream as the frosting because I’ve been having so much fun making it. The cake turned out with the springtime feel I was hoping for and I heard that everybody loved it. A win-win situation for sure!

LEMON LAYER CAKE WITH DULCE DE LECHE FILLING
(adapted from The New York Times)
¾ cup/170 grams unsalted butter, softened
3 cups/385 grams all-purpose flour
2 cups/400 grams granulated sugar, divided
3 medium lemons
1½ cups/360 milliliters whole milk
2 teaspoons baking powder
½ teaspoon baking soda
1½ teaspoons kosher salt
¼ cup/60 milliliters neutral oil (I used grapeseed)
4 large eggs, at room temperature
1 can of La Lechera dulce de leche (you won’t use the full amount)
1 recipe for Swiss meringue buttercream, starting with 400g butter (details here)
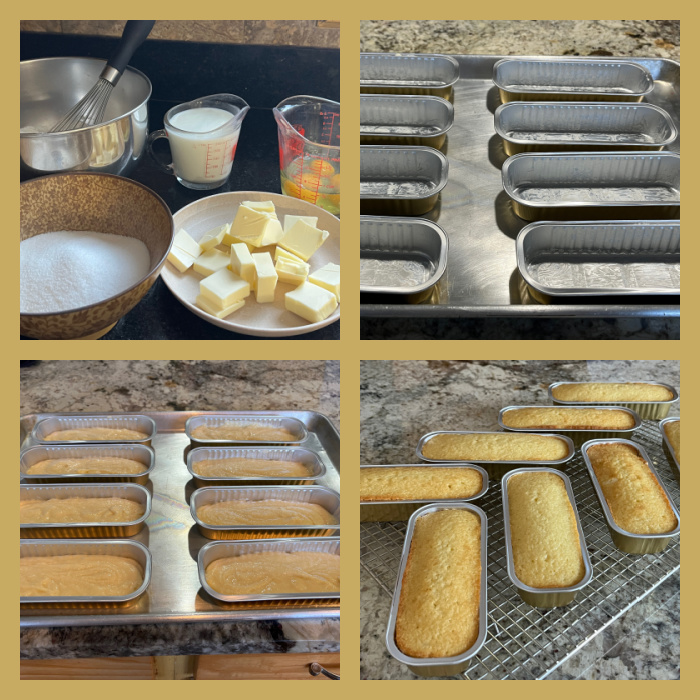
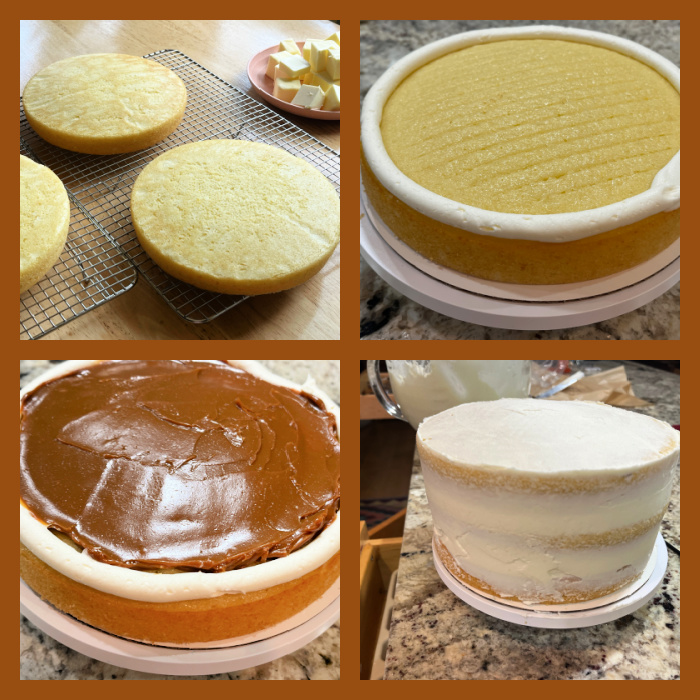
Heat oven to 325 degrees. Spray three (8-inch) cake pans with baking spray and line each with parchment paper.
Make the cake: Add 350 grams of the granulated sugar to the bowl of a stand mixer fitted with the paddle, then zest the lemons directly into the sugar. Use your fingers to rub the zest into the sugar until it looks moist and sandy.
Juice the zested lemons into a small bowl. Transfer ¼ cup of juice to a large measuring cup and stir in the milk. Let it sit while you prepare the rest of the cake, reserving the remaining juice for the lemon syrup.
To the bowl with the lemon sugar, add the flour, baking powder, baking soda and salt, and mix on low to combine. Add the softened butter to the bowl all at once. Mix on low until the butter is evenly distributed and the mixture looks sandy. Add the oil and eggs to the measuring cup with the milk mixture and mix with a fork to combine. With the mixer on low, slowly stream in the milk mixture. When the batter is moistened, stop the mixer and scrape the bottom and sides of the bowl to ensure there aren’t any dry pockets. Adjust mixer speed to medium and mix for 1 minute more. Divide the batter among the prepared pans, spread evenly and tap the pans on a countertop to release any large air bubbles.
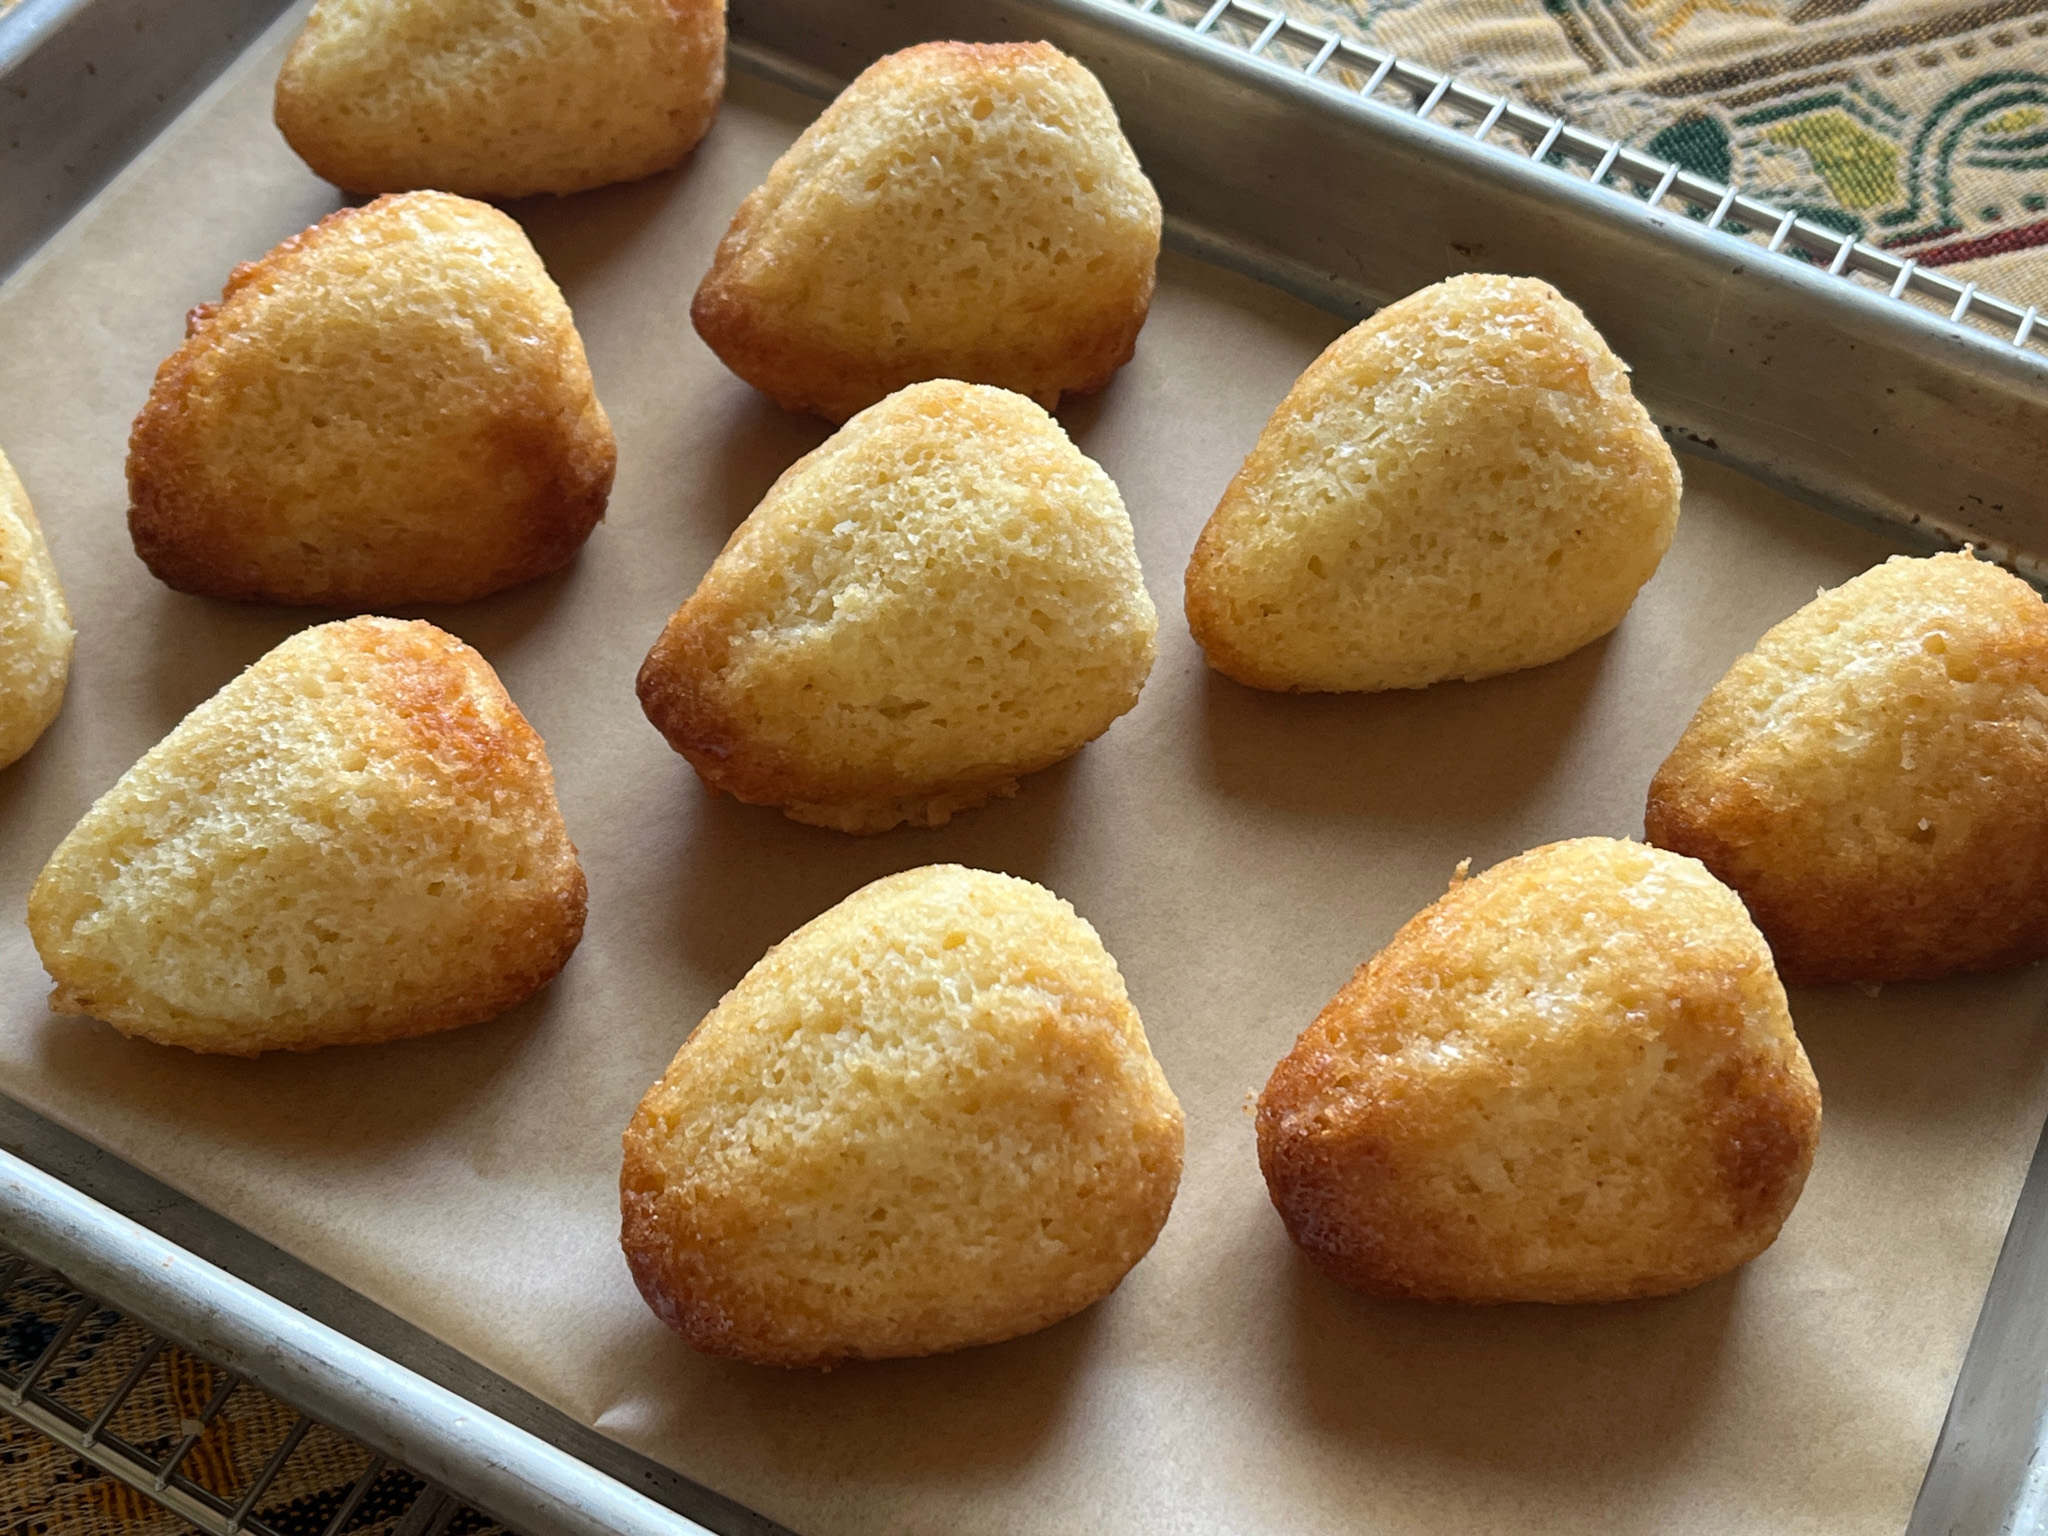
Bake the cakes until slightly risen and a toothpick inserted in the center comes out clean, 20 to 25 minutes. Set the pans on a wire rack and let the cakes cool for about 15 minutes. Then, run a thin knife along the edges of the pan and carefully turn the cakes out onto the rack to cool completely.
While the cakes cool, make the syrup: Measure ¼ cup lemon juice from the remaining reserved juice. Combine the juice and the remaining 50 grams sugar in a small saucepan and bring to a boil over medium-high, stirring occasionally. Cook until the sugar has dissolved, then pour into a heat-safe container to cool.
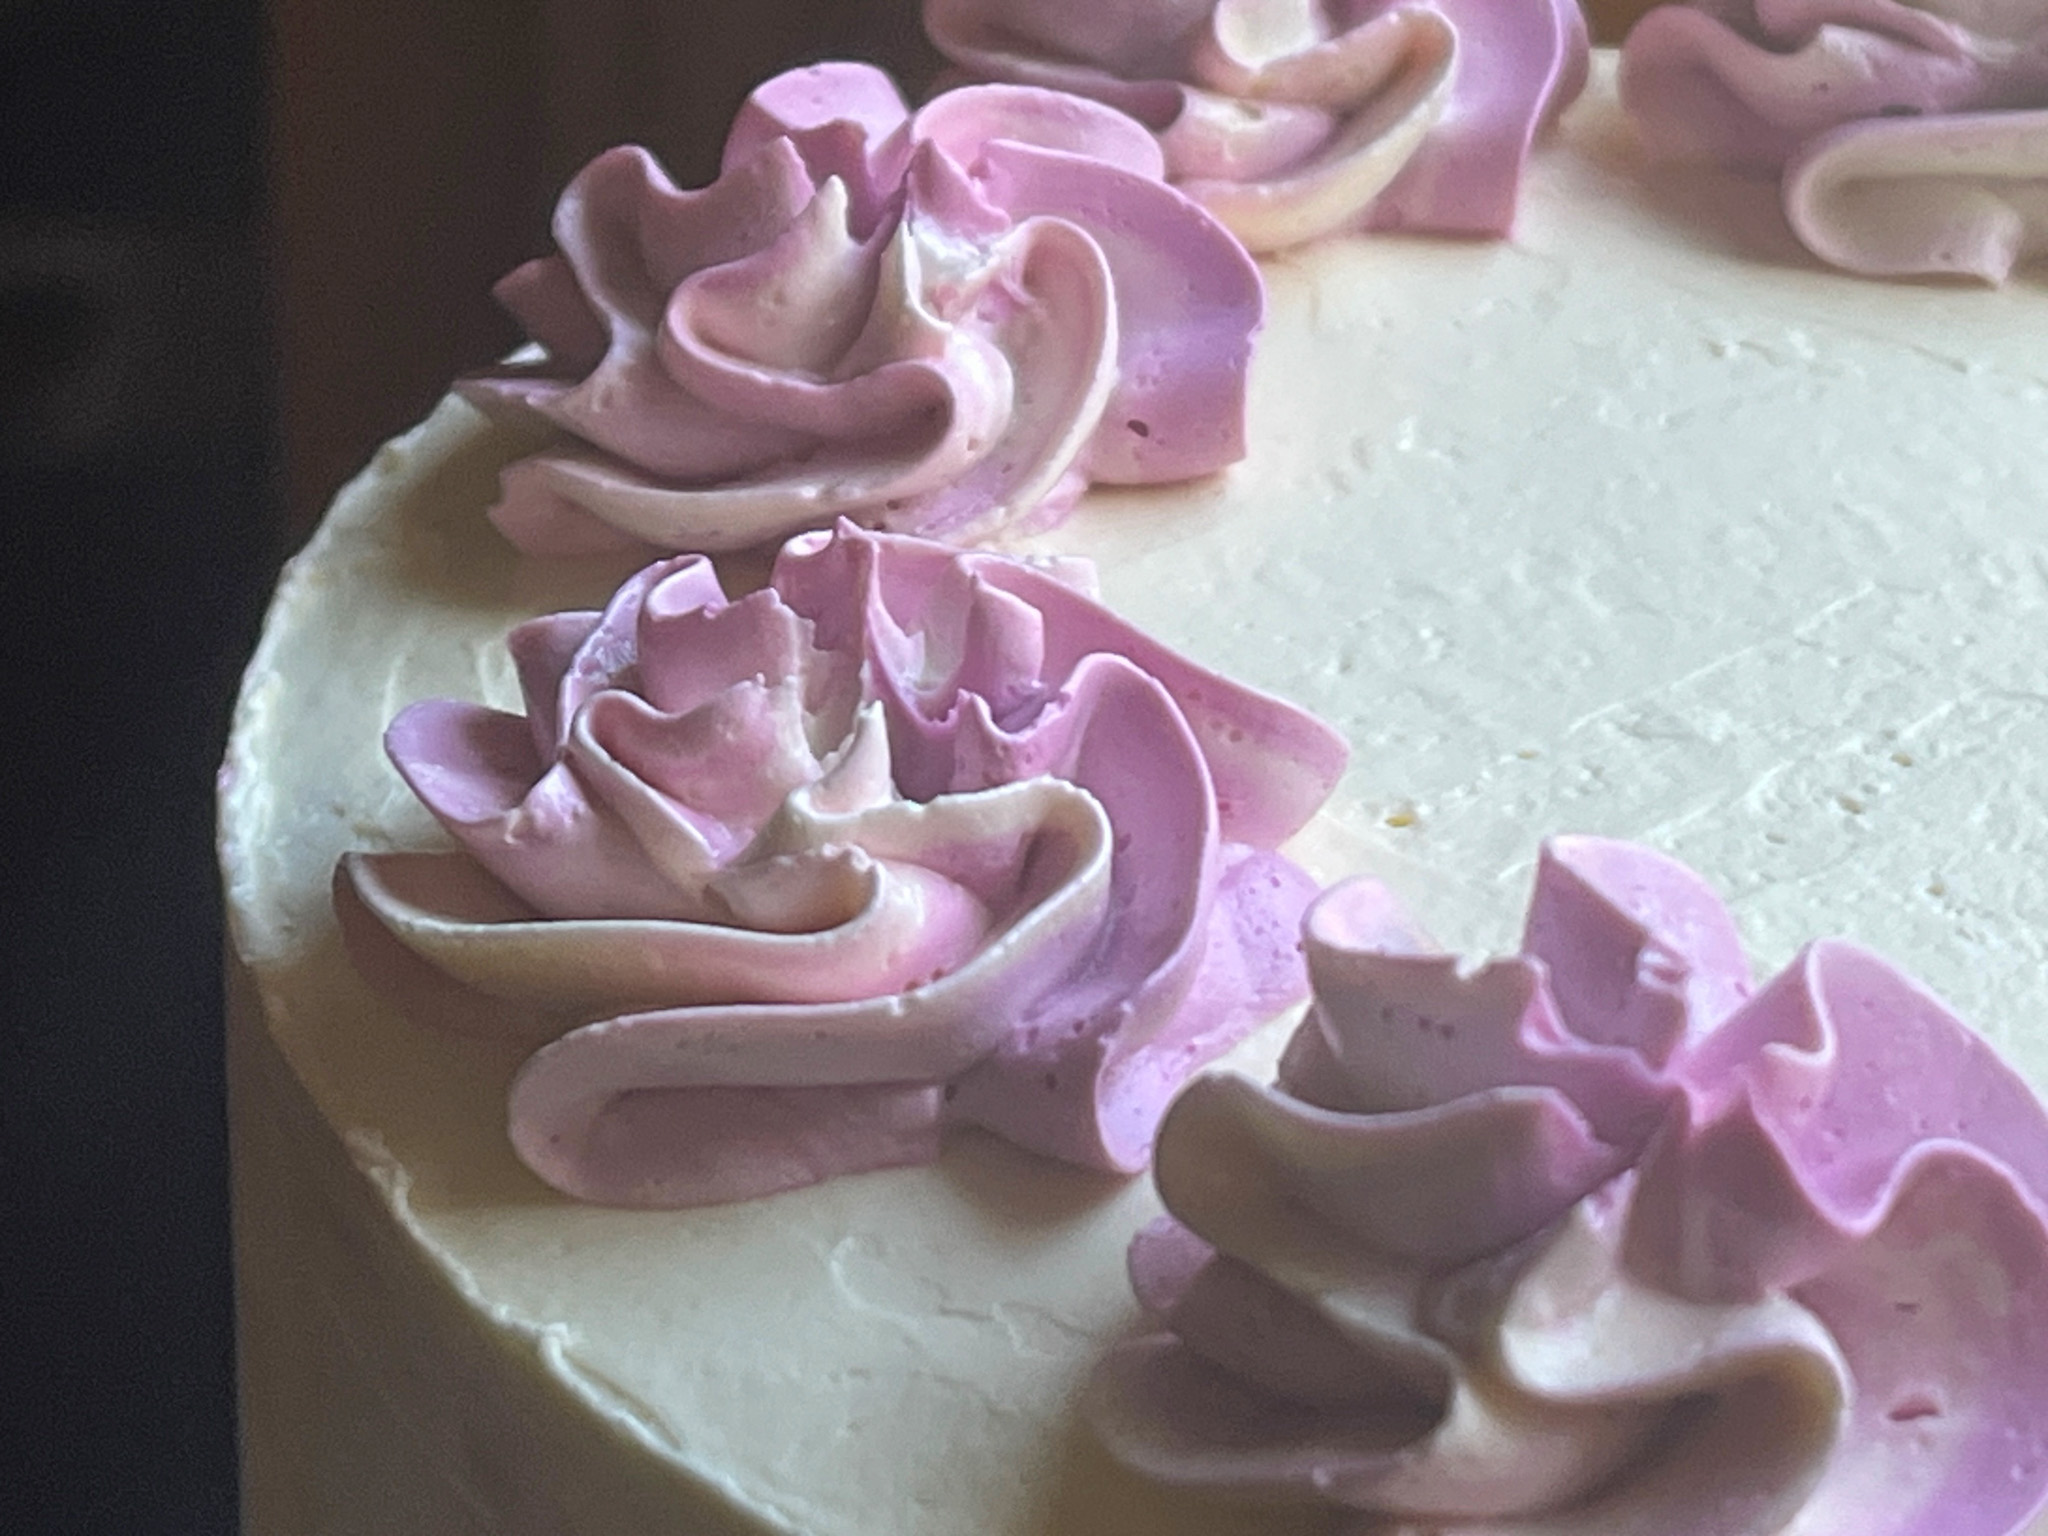
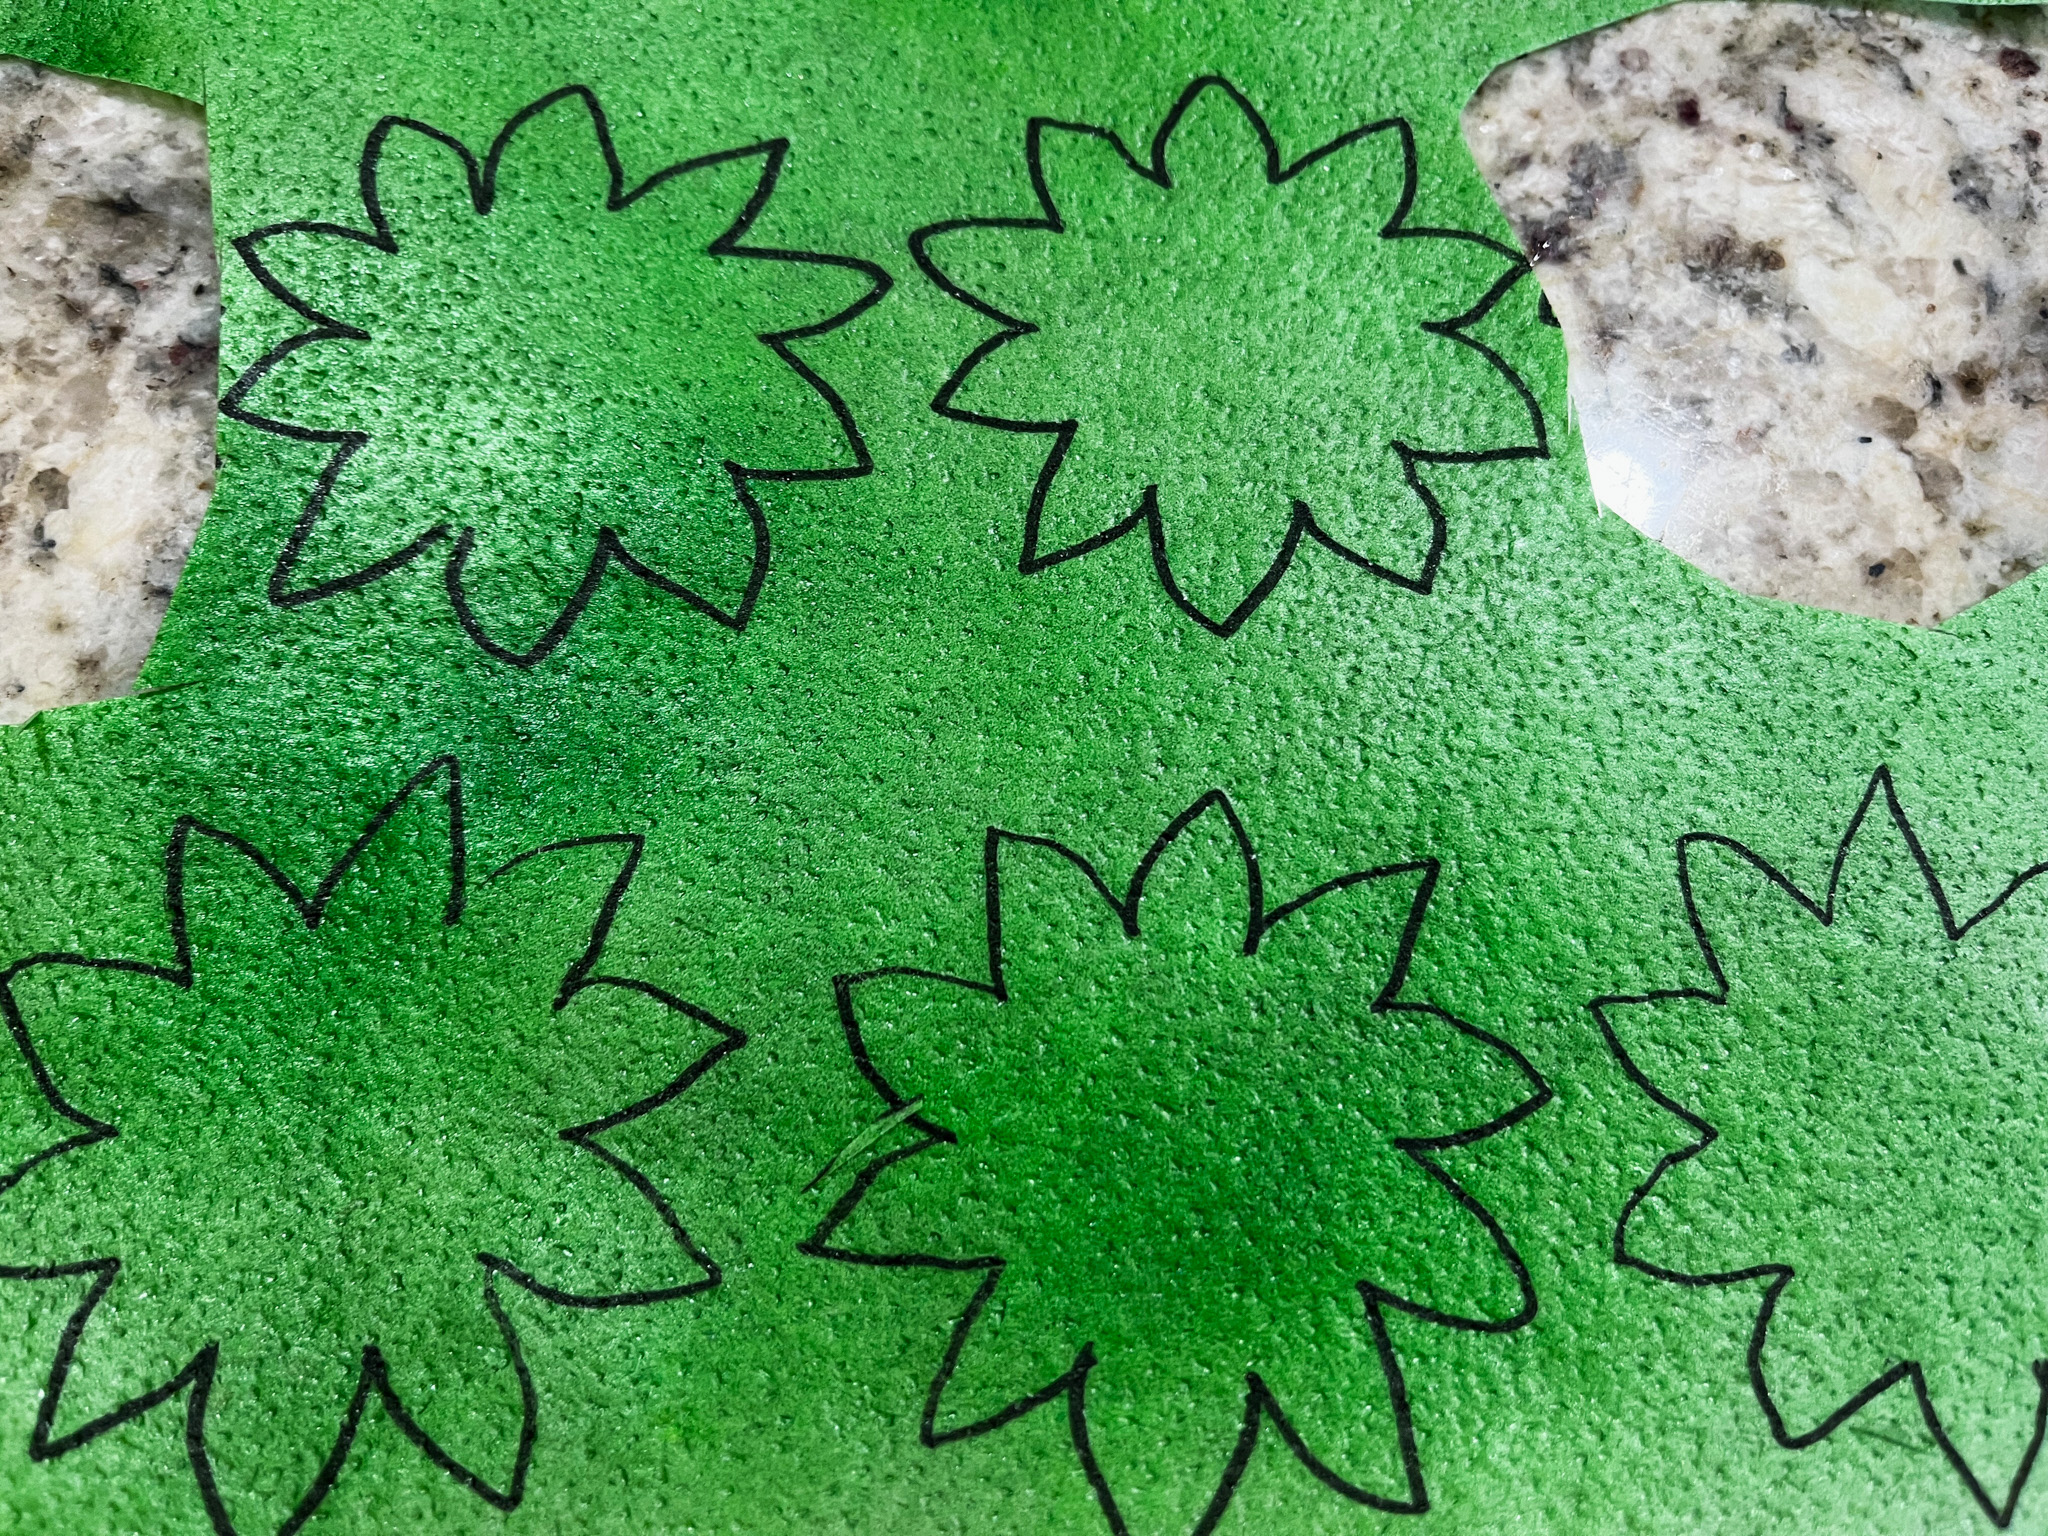
Make the Swiss meringue buttercream. Reserve 1/3 of the amount without any dye. That will be used as a crumb layer and for the white flowers. Dye a small amount green for the leaves. Dye the rest of the batter yellow.
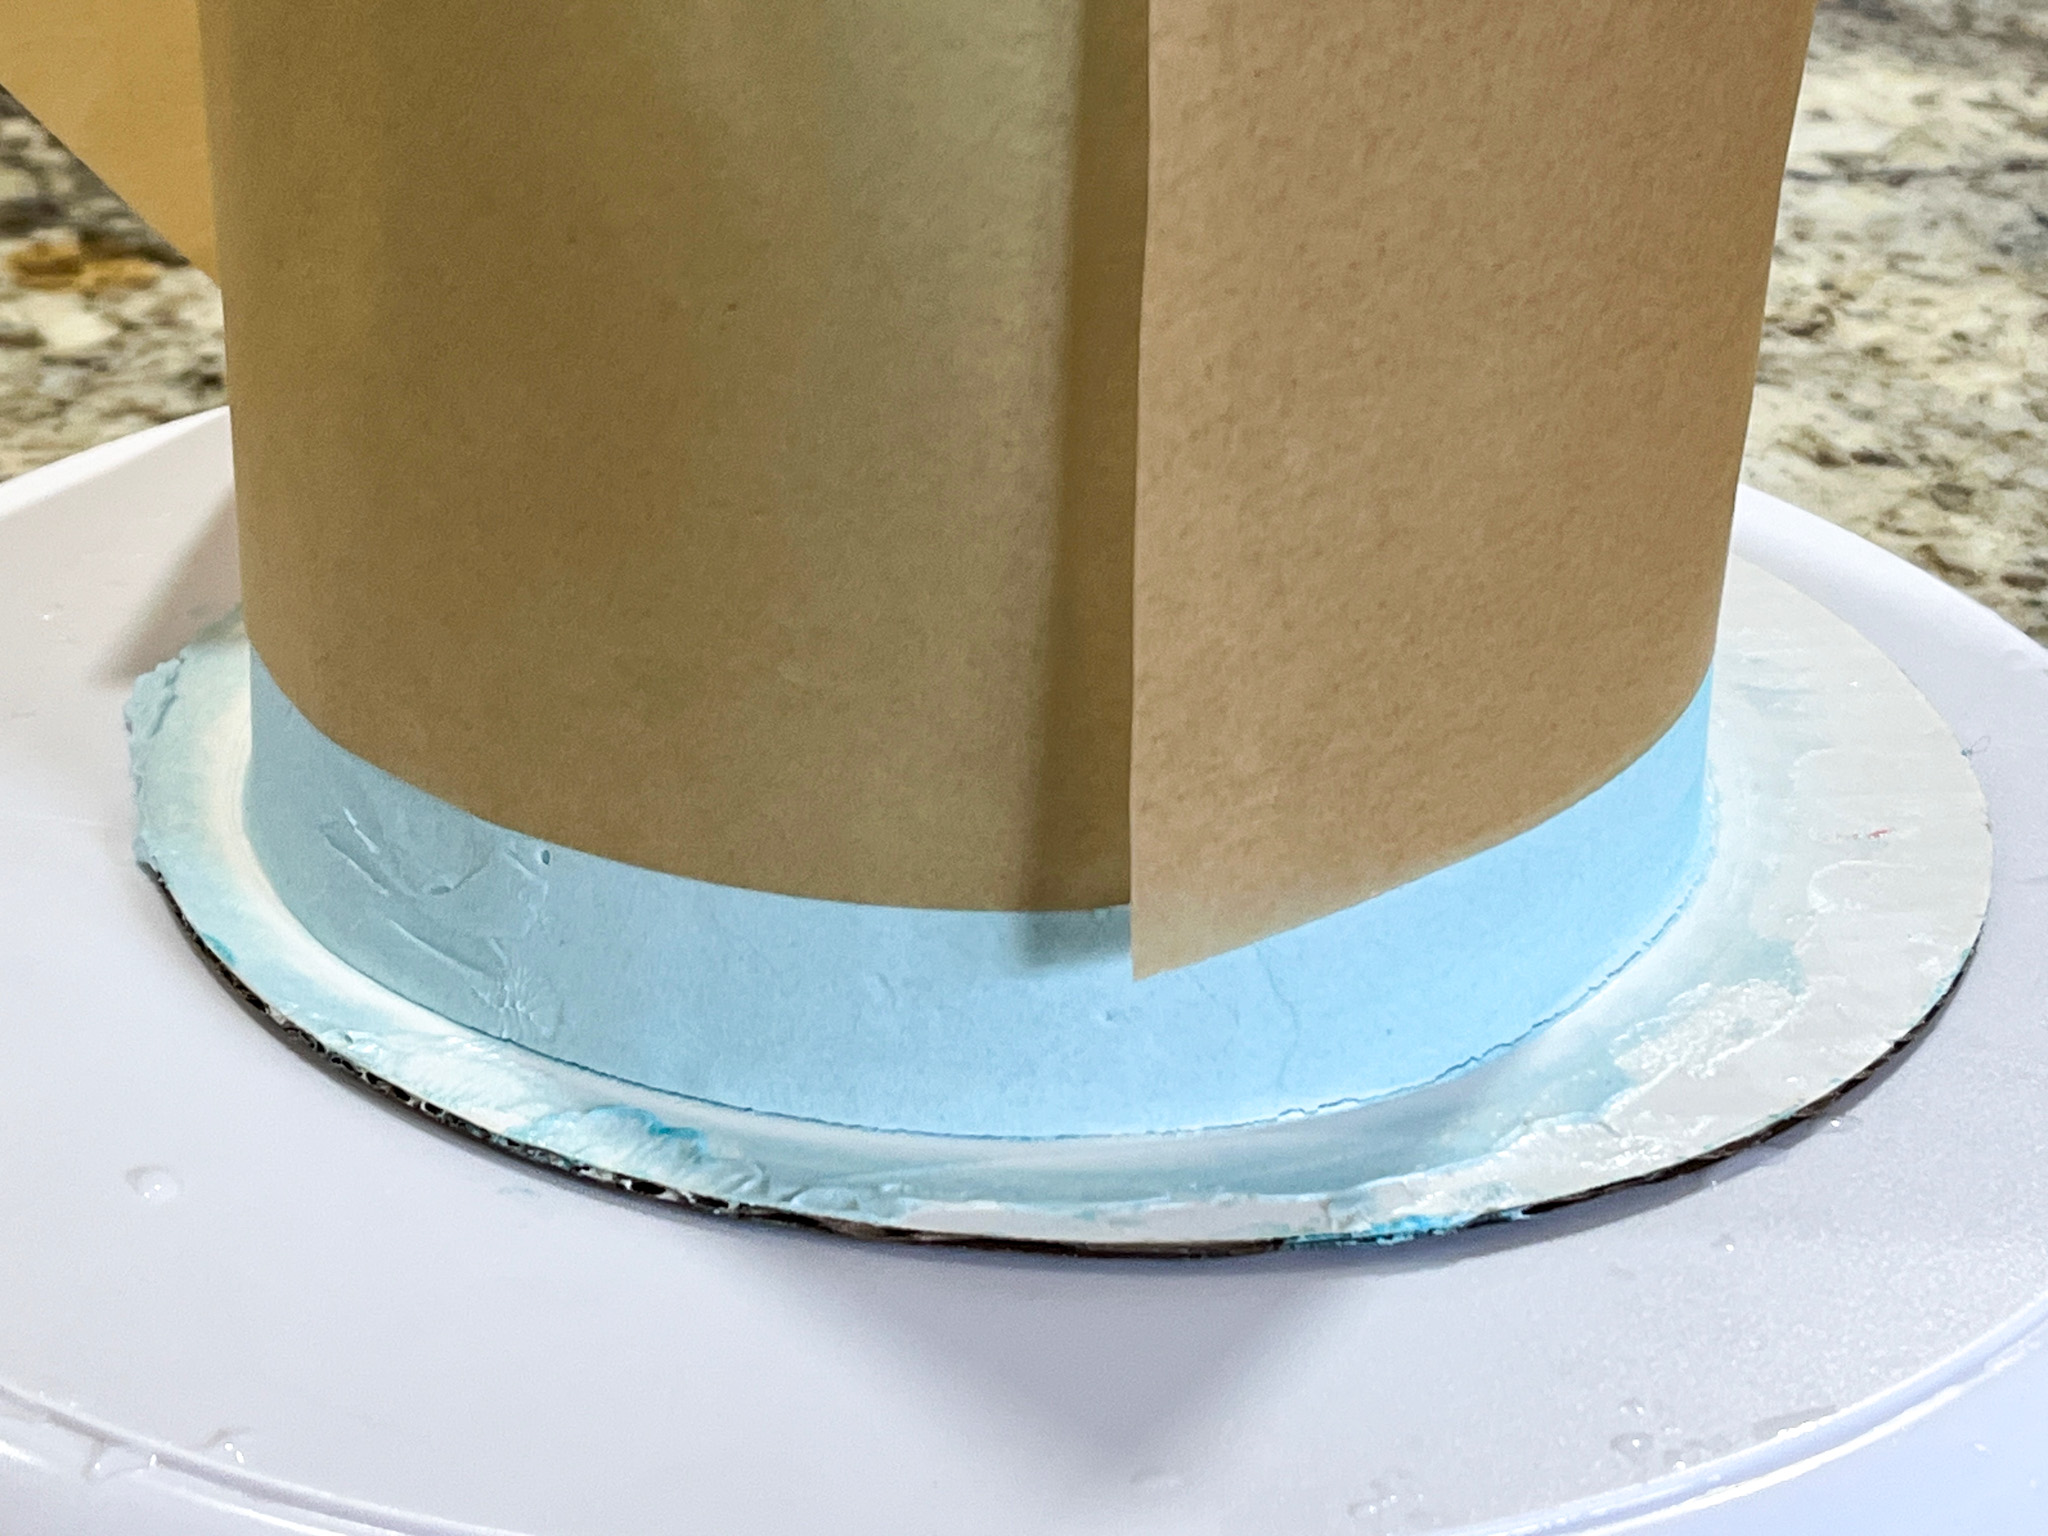
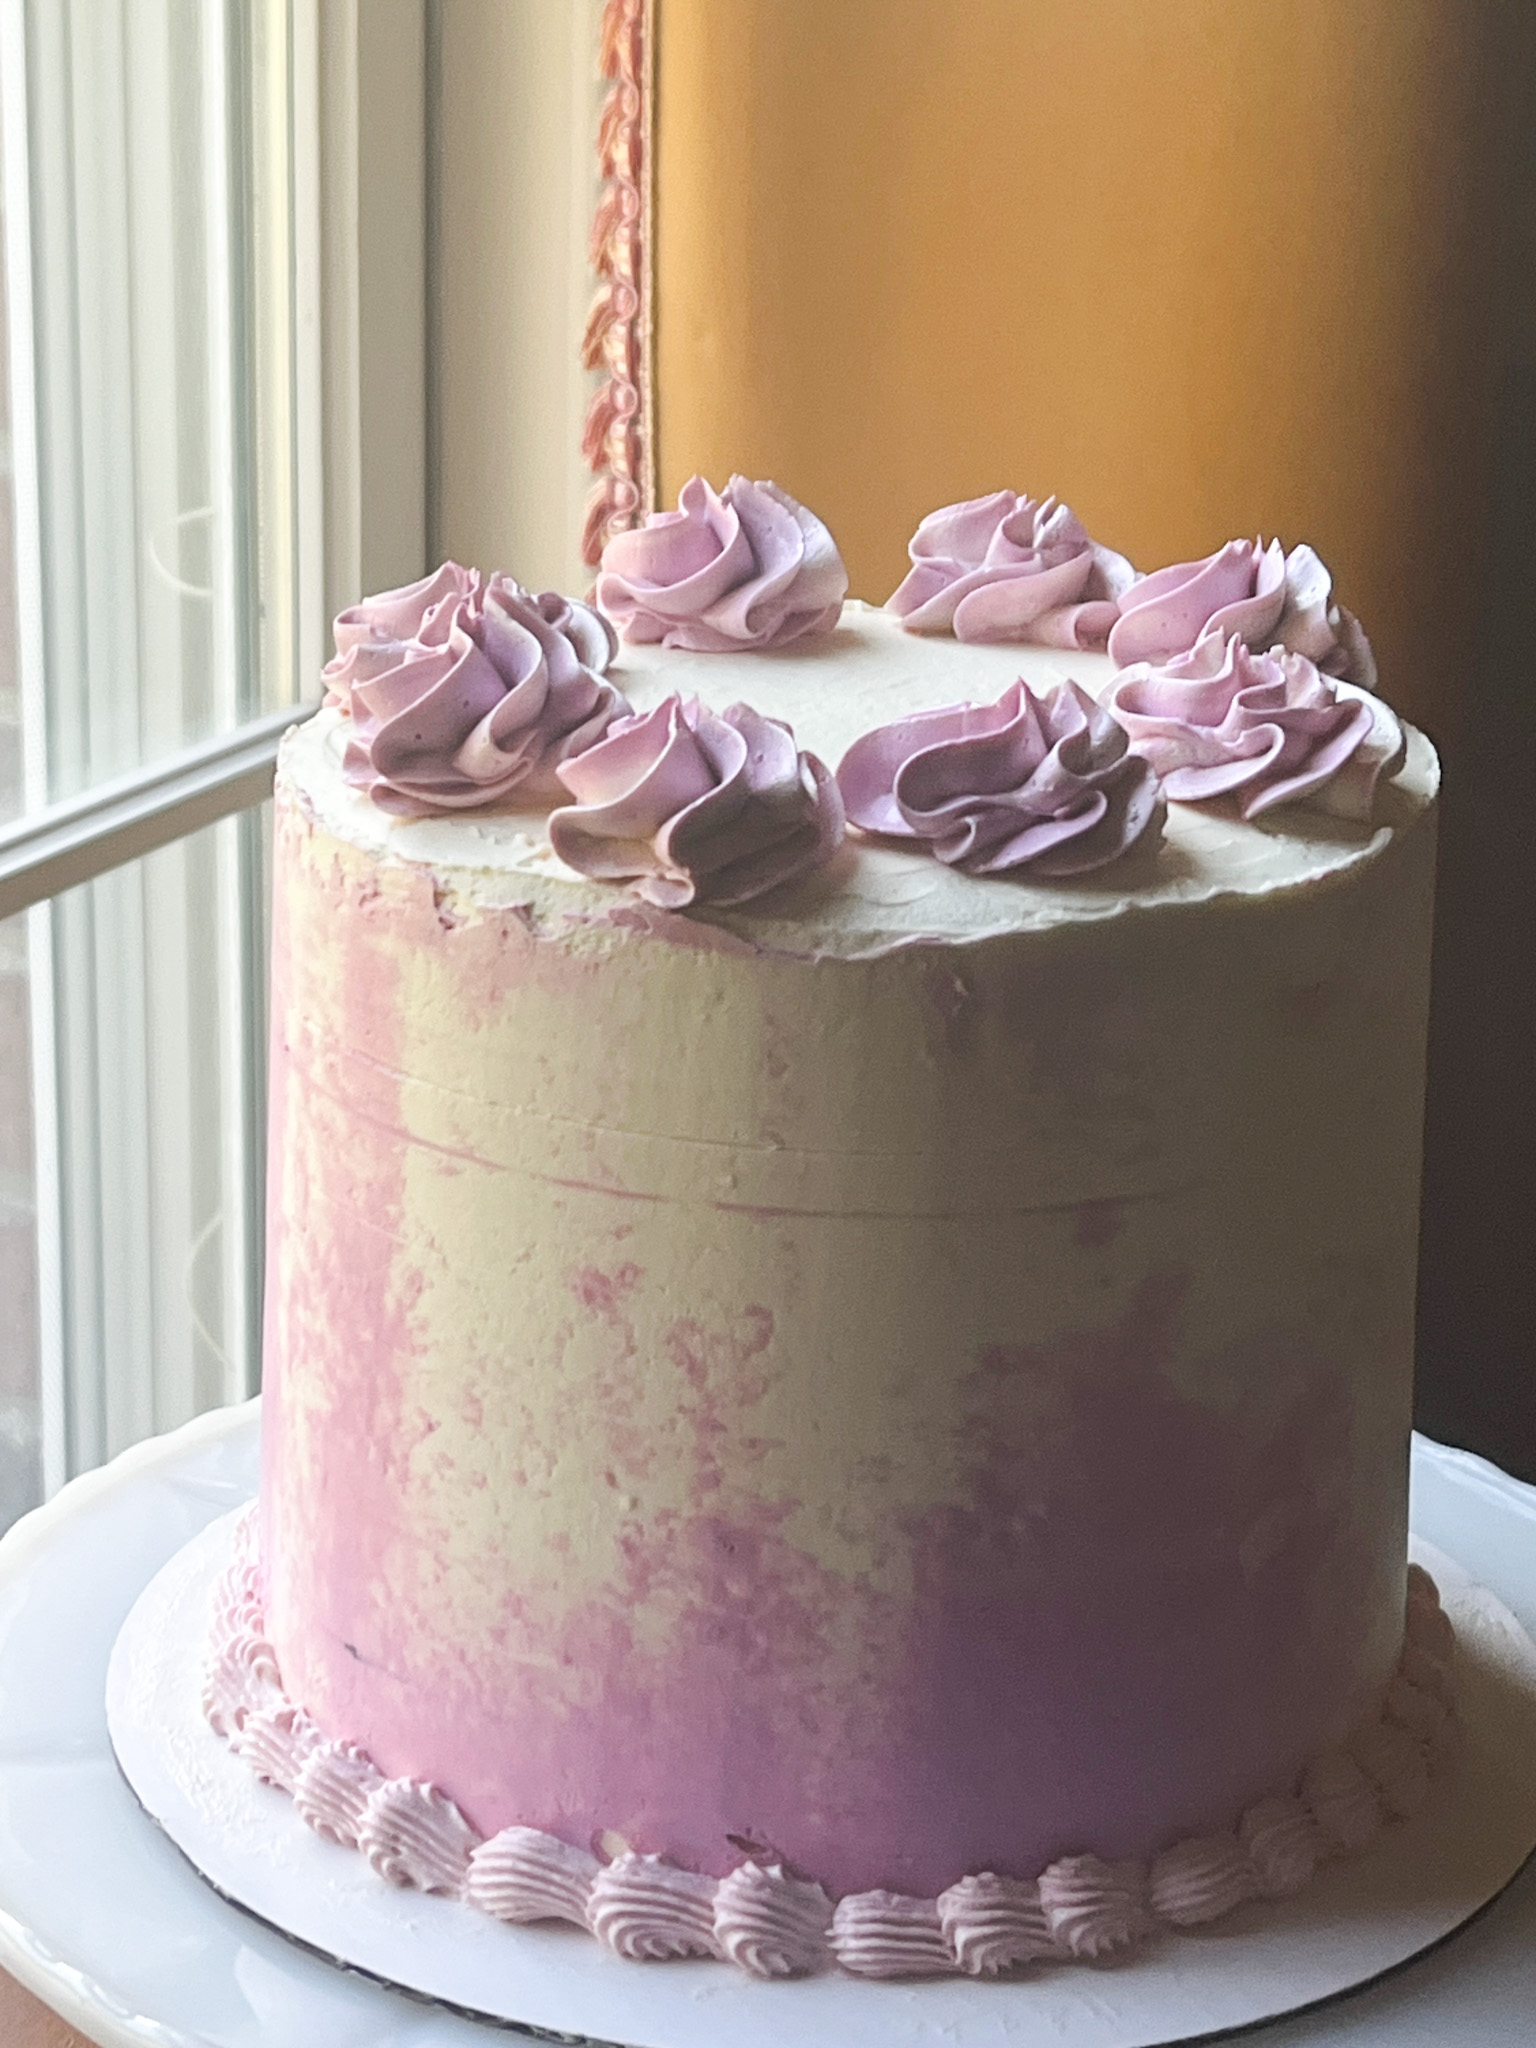
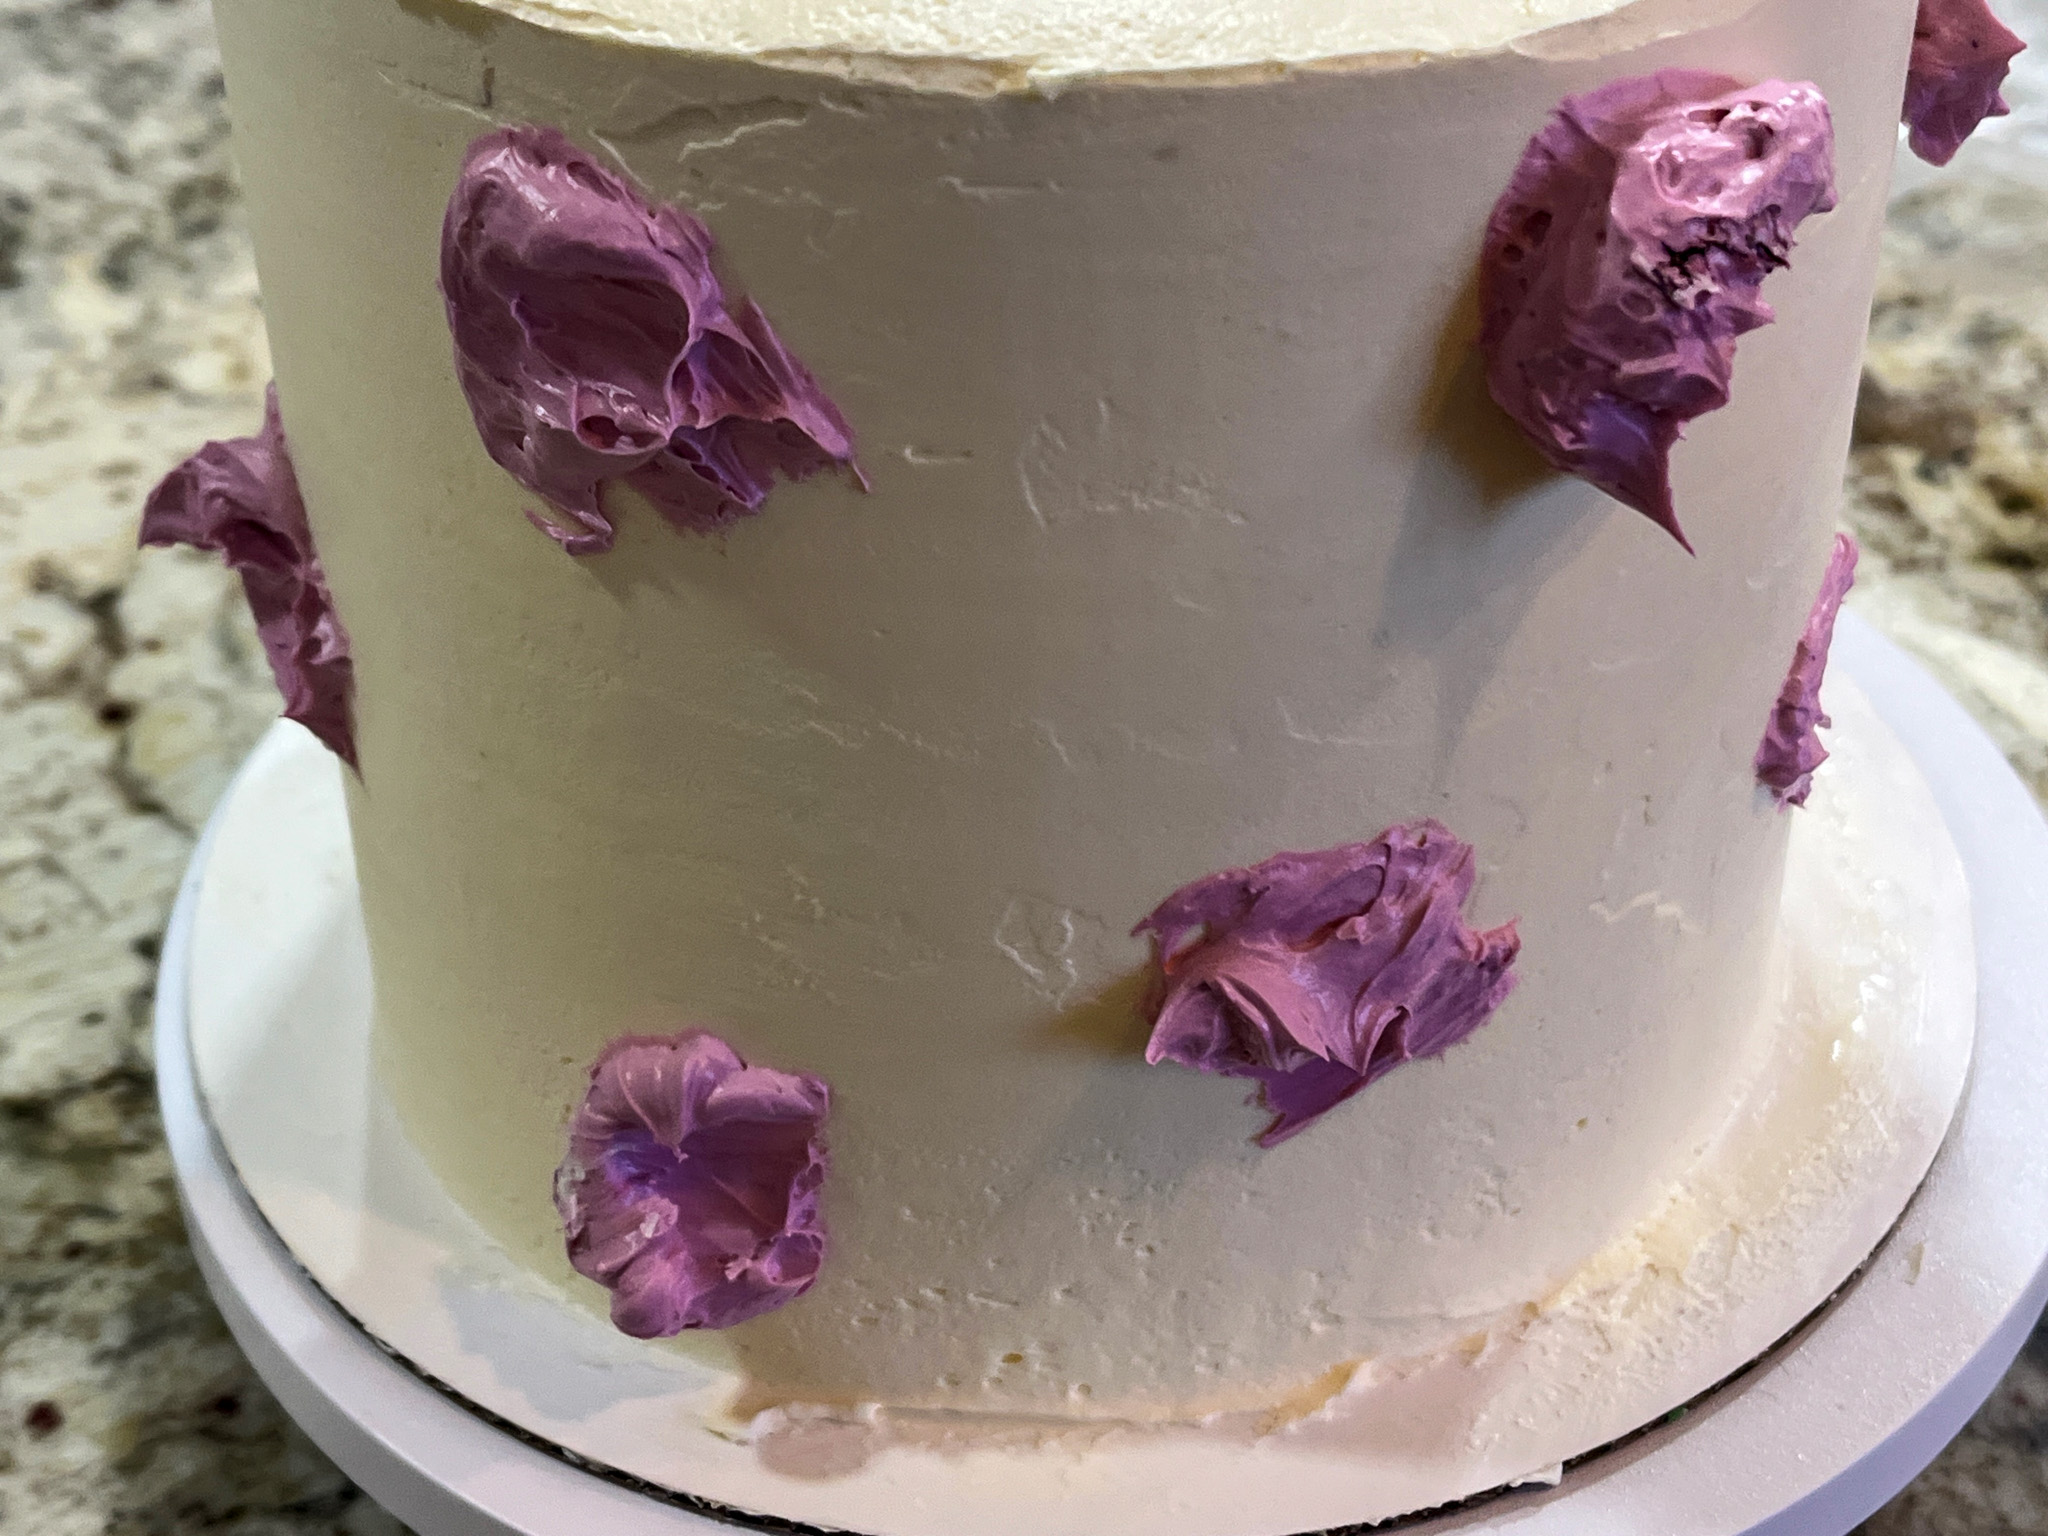
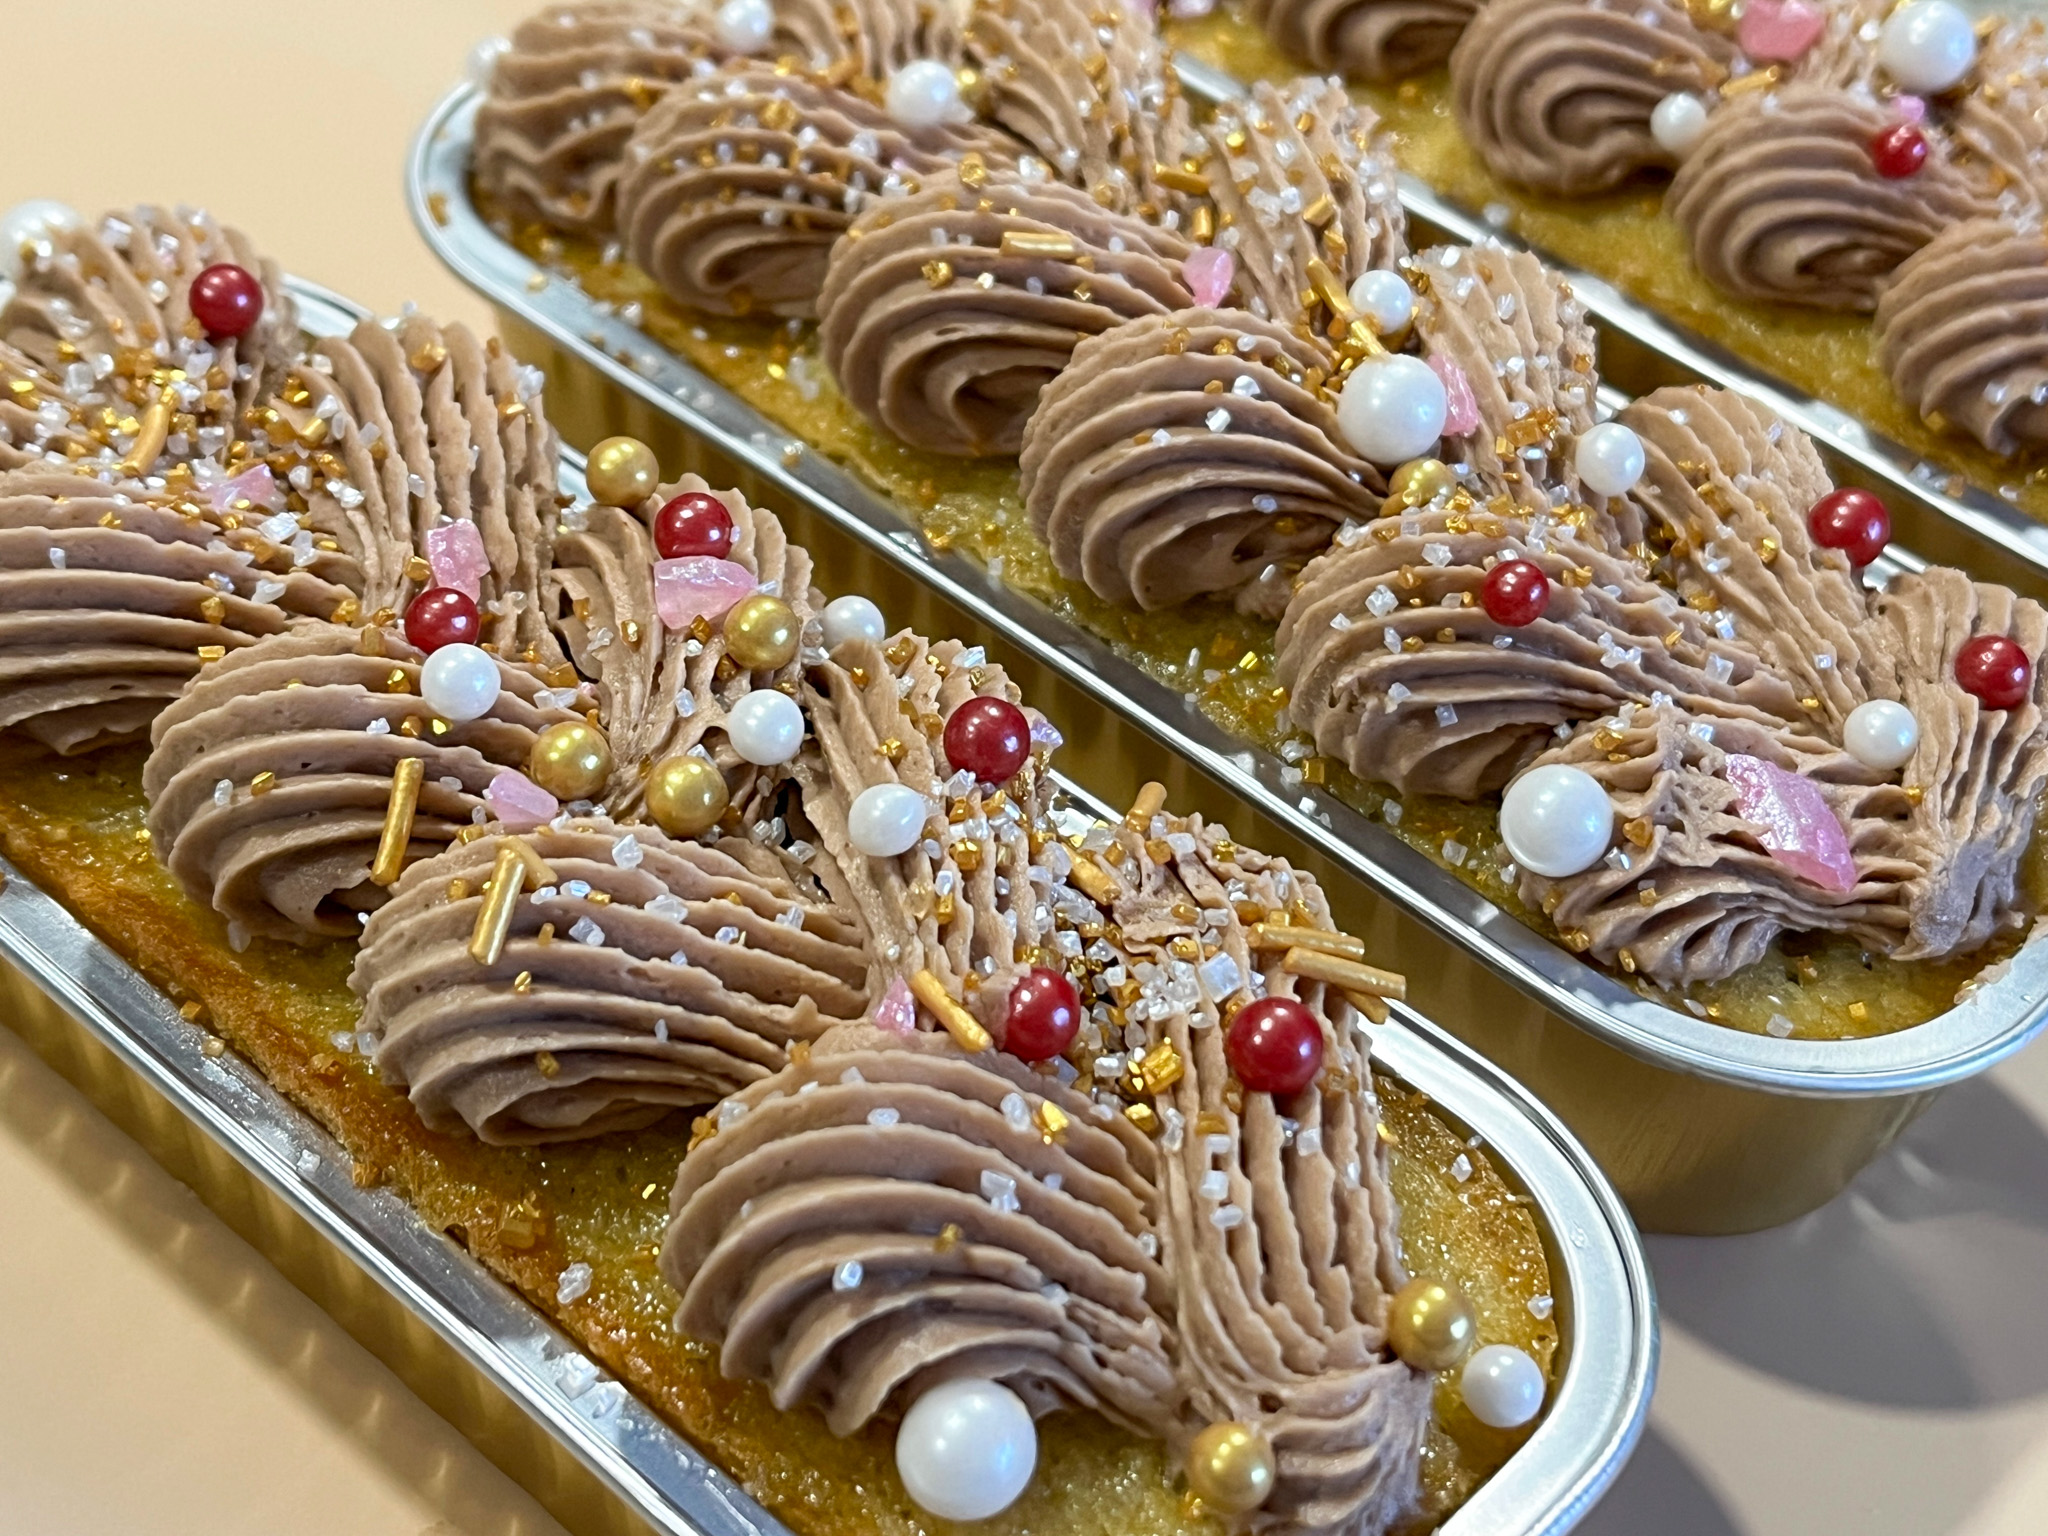
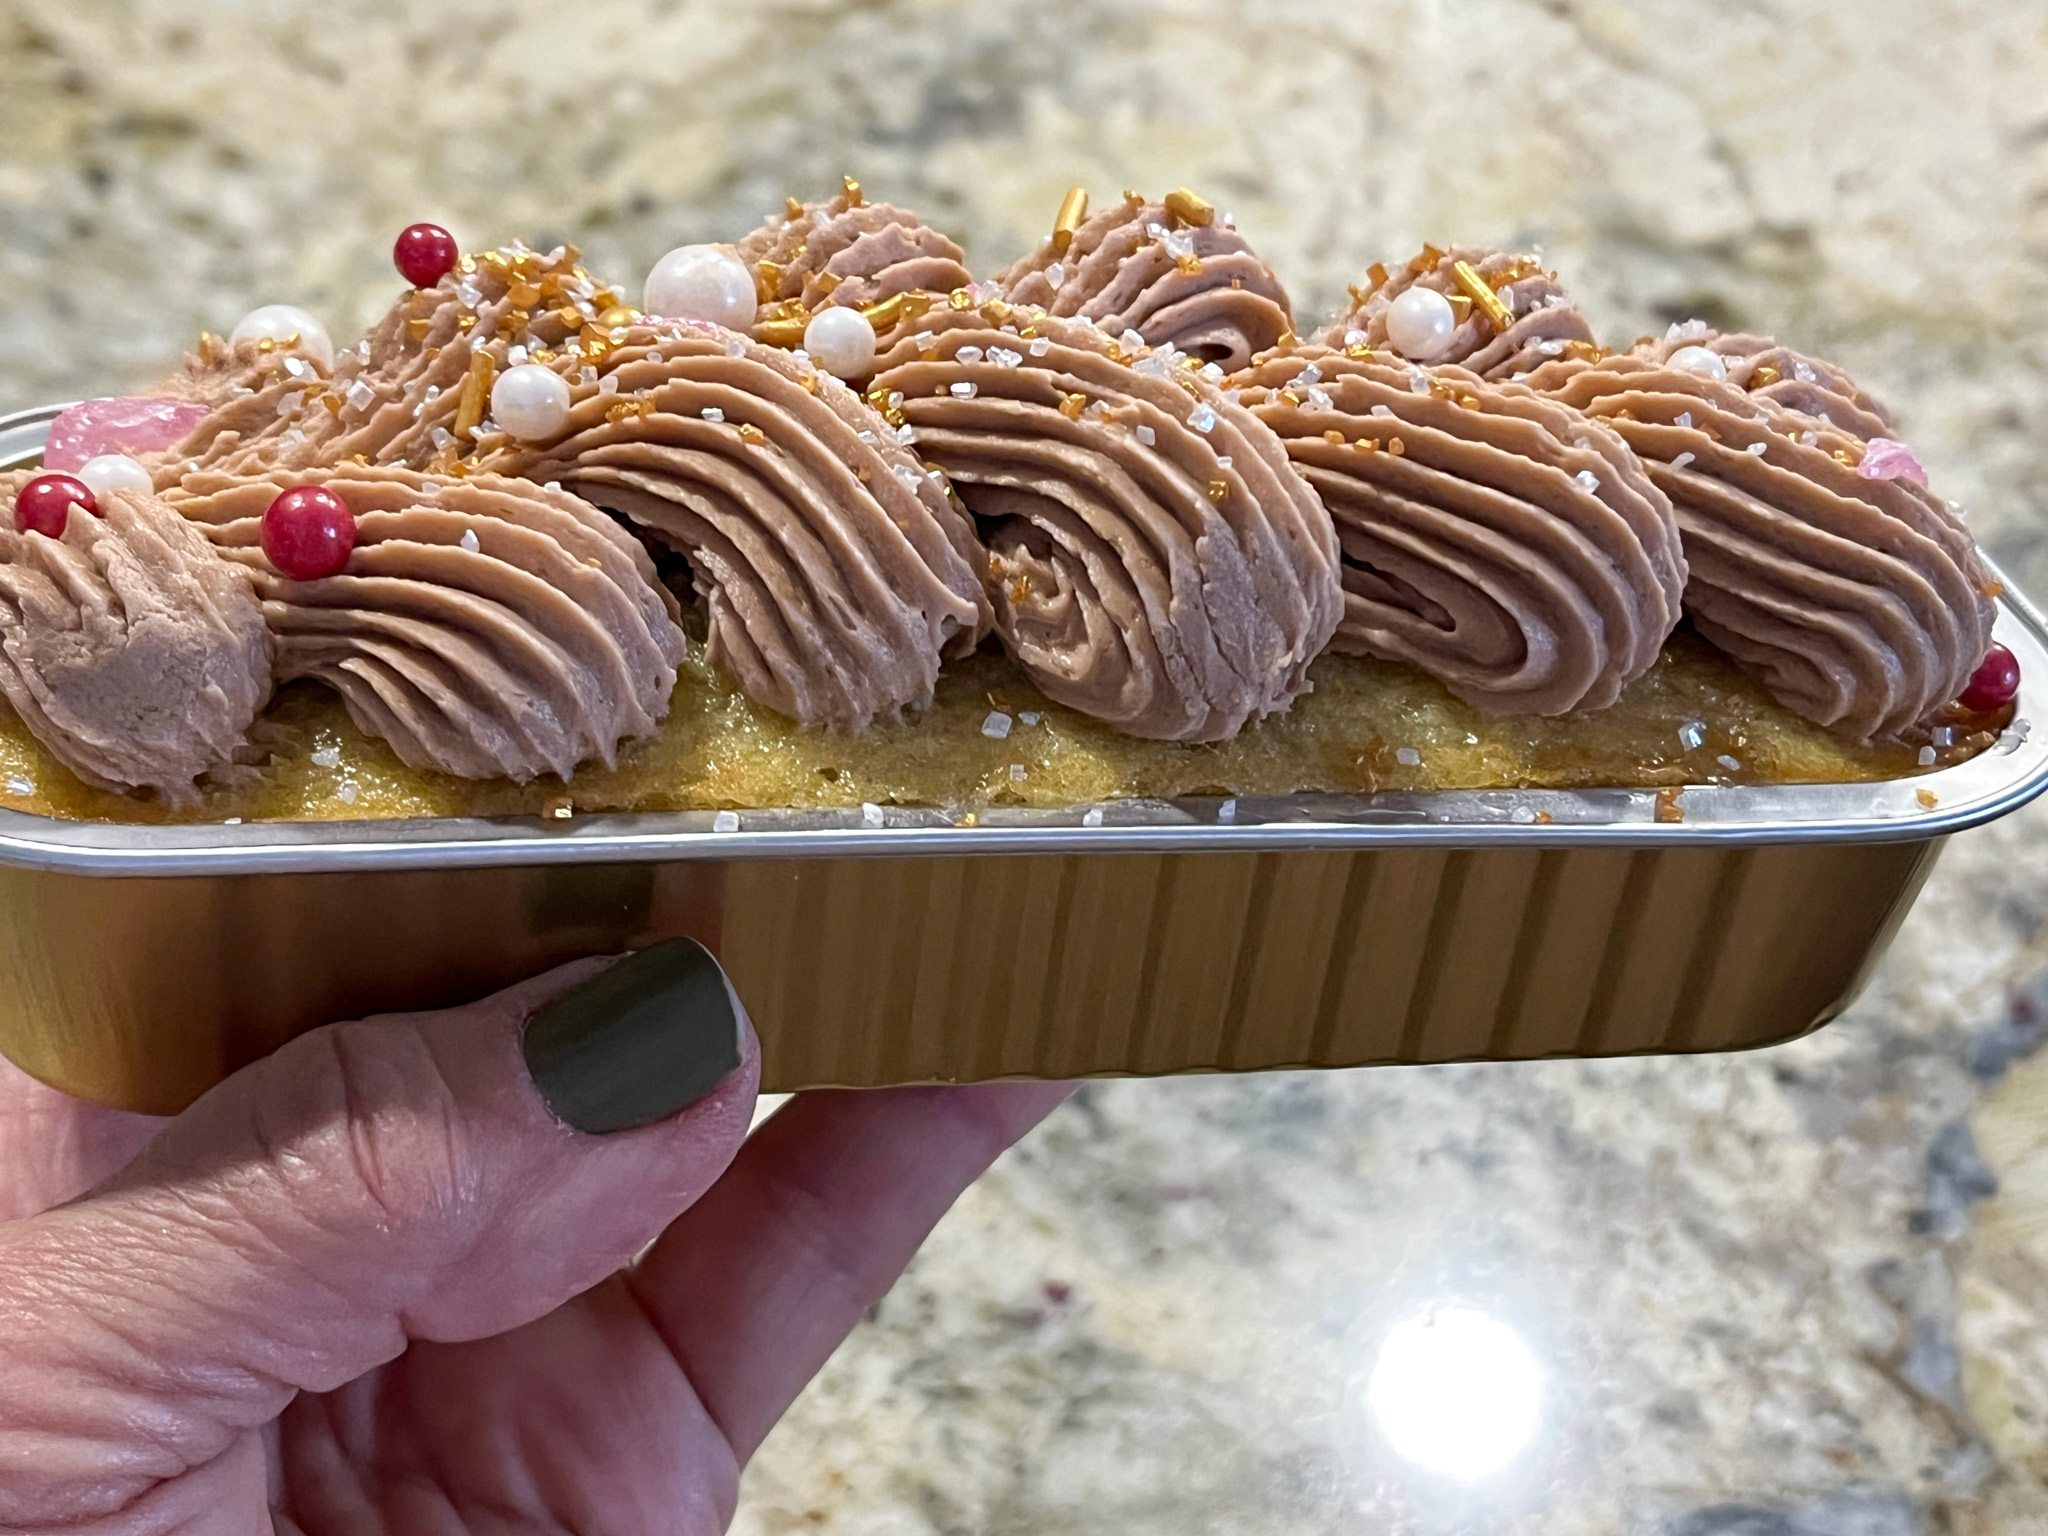
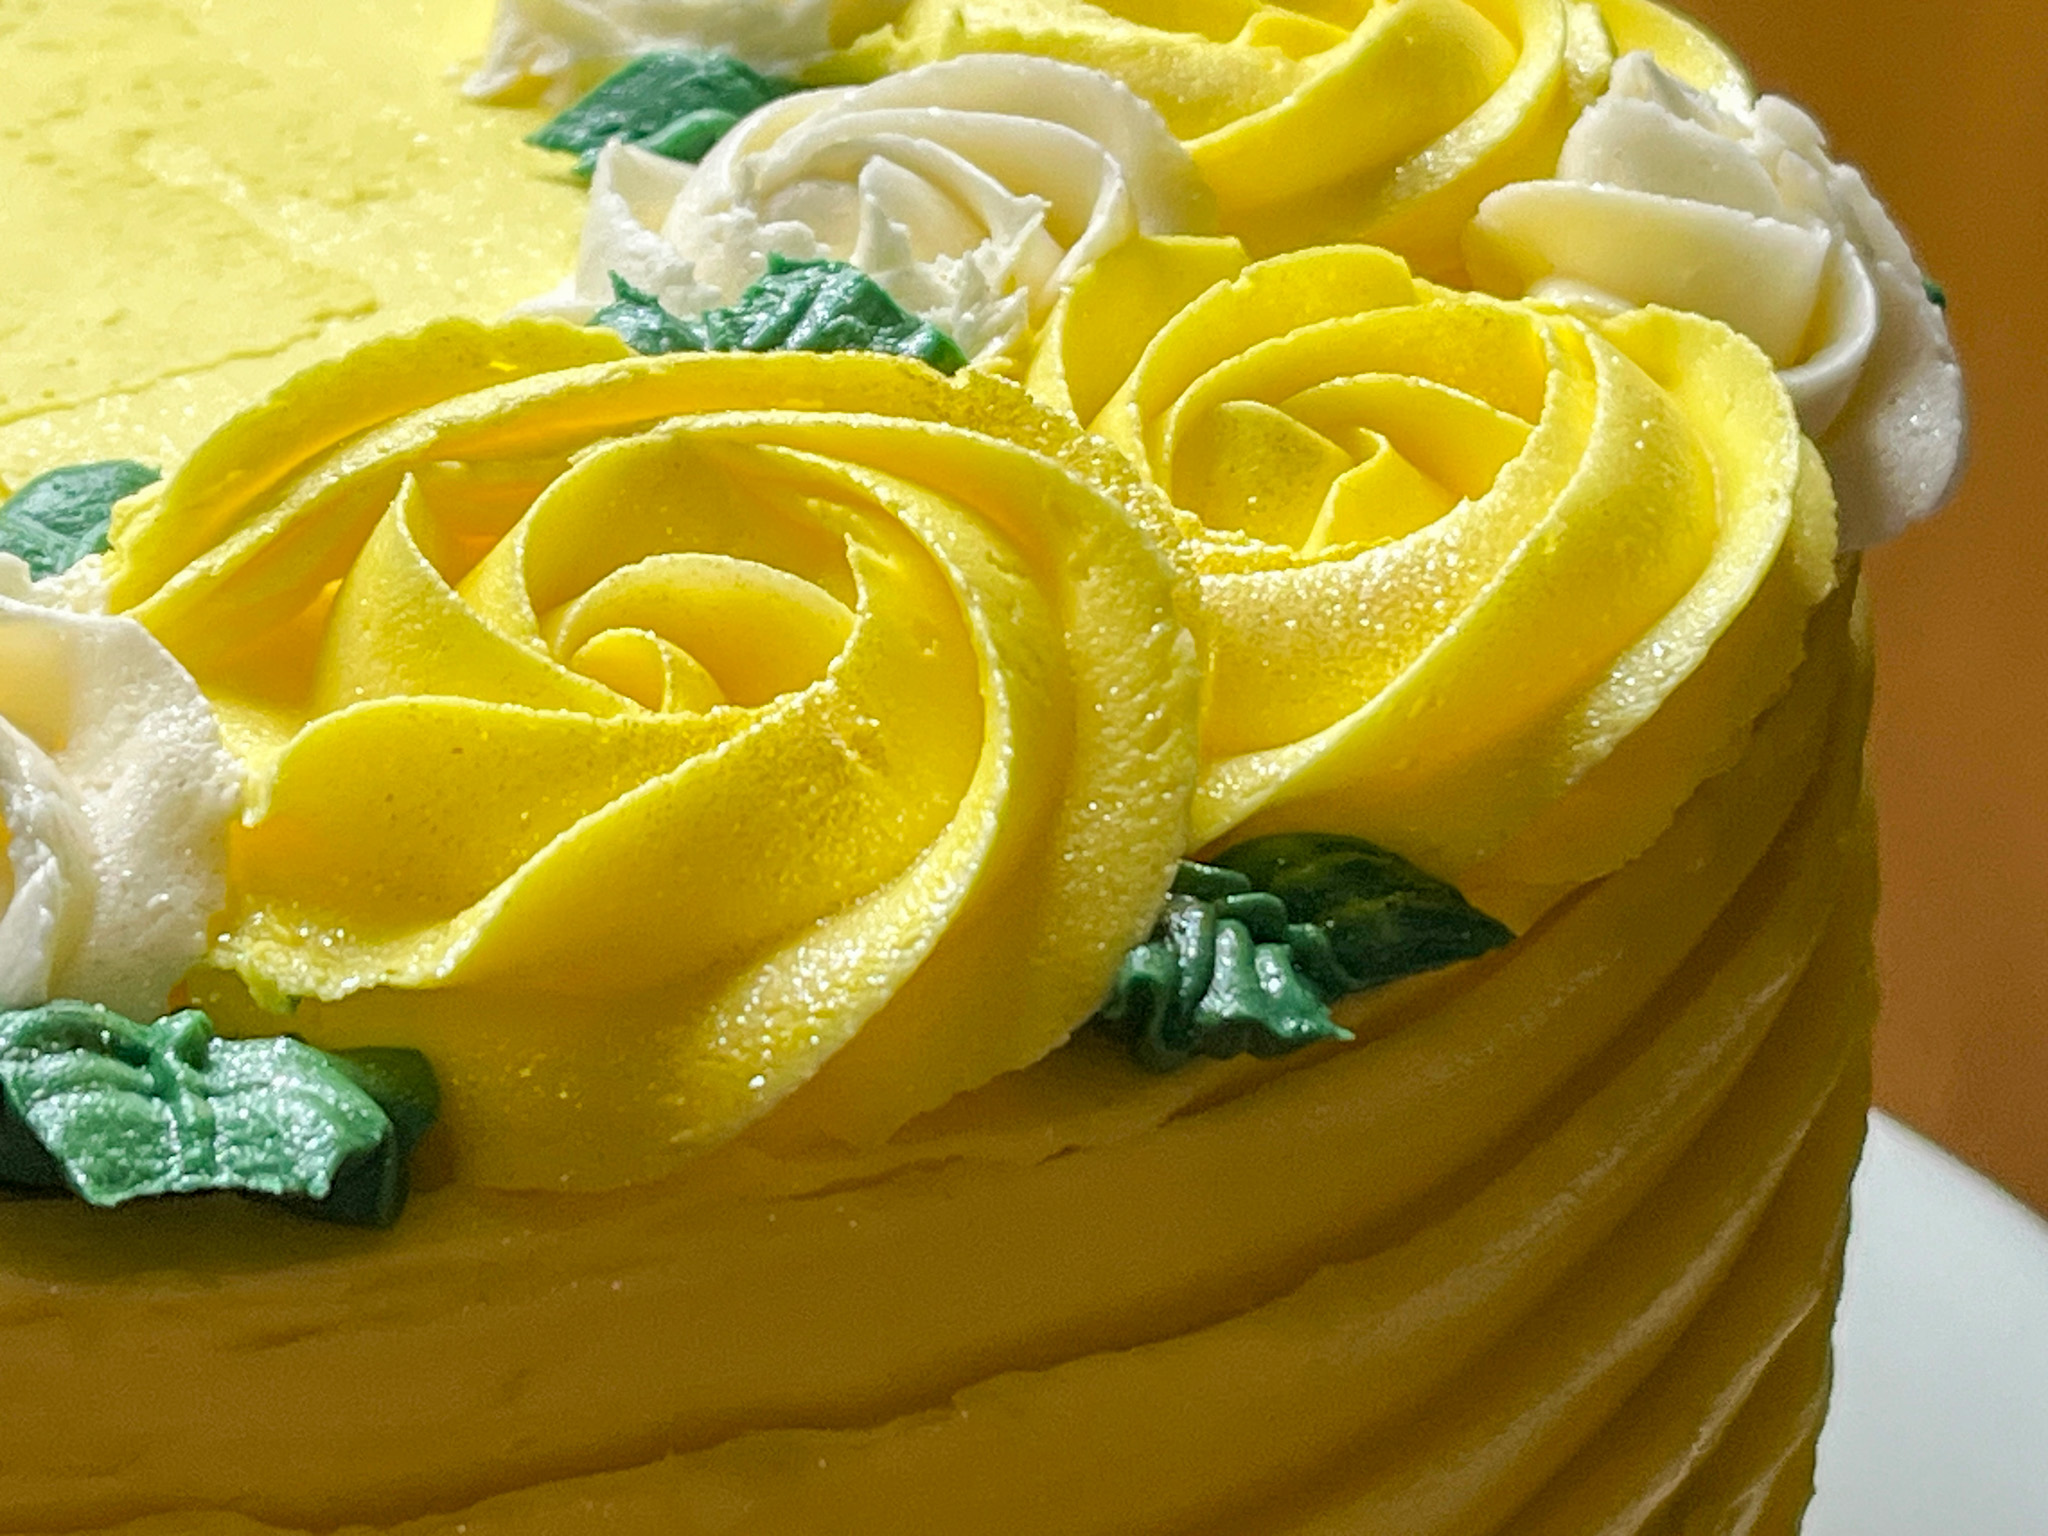
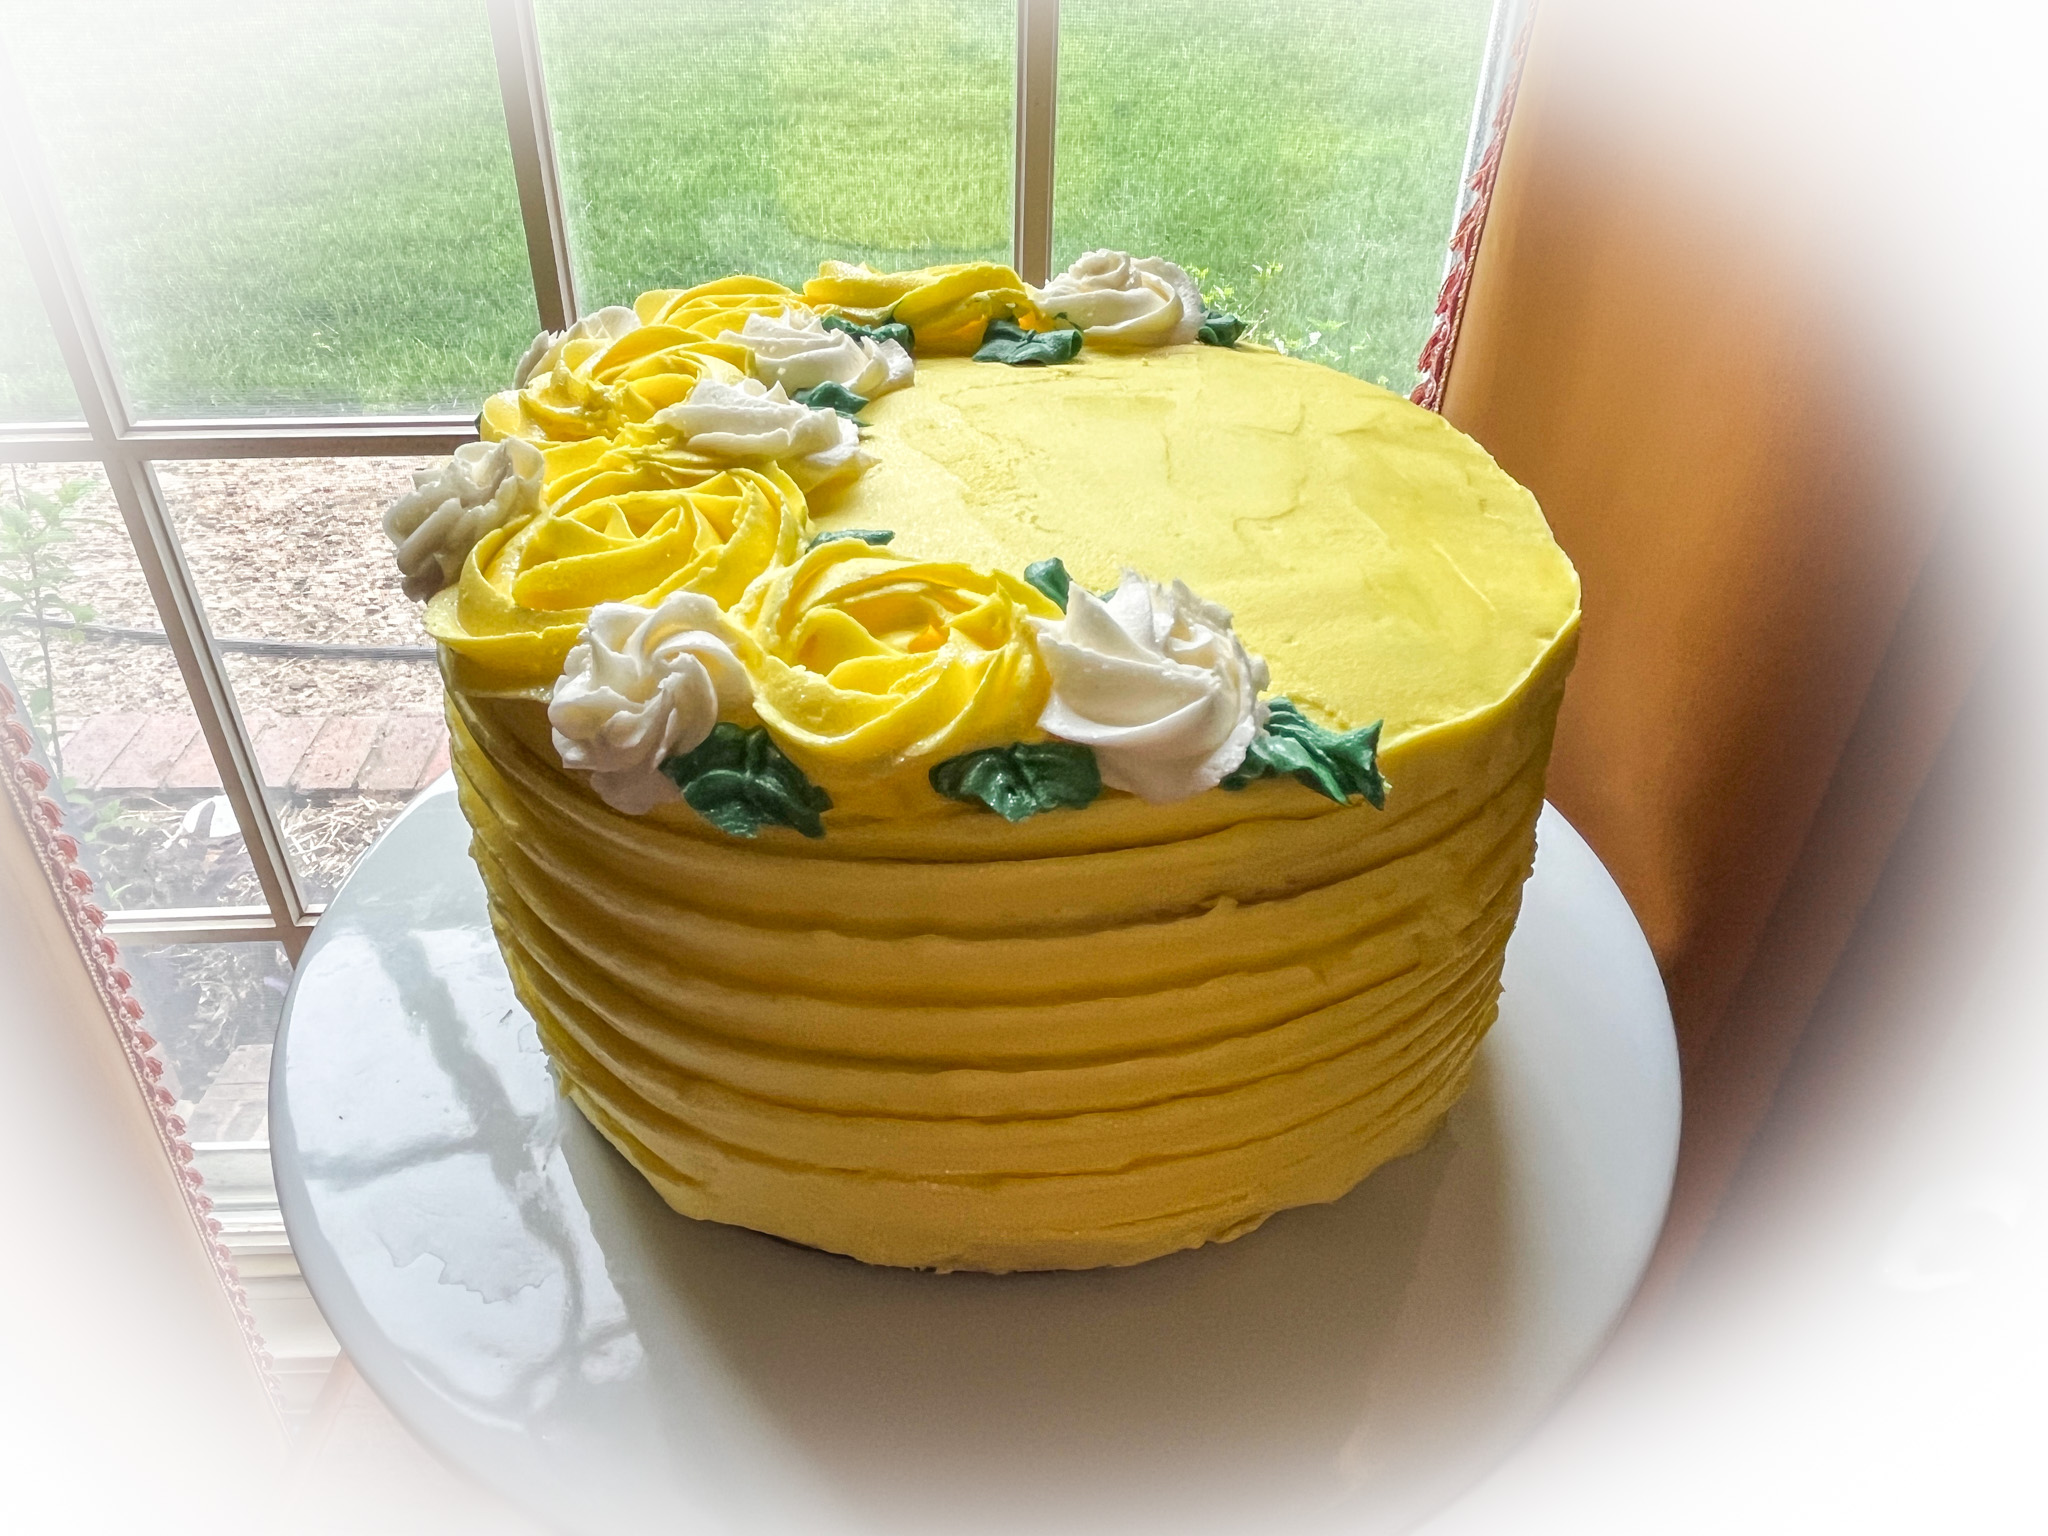
Assemble the cake: Place one layer of cake onto a serving plate, top side up. Brush the cake with lemon syrup. Spread dulce de leche over the top of the cake. Repeat with the second layer on top of the filling, top side down, and press gently. Add the final layer. Brush the cake with syrup, then cover the top and sides of the cake with a thin layer of frosting. Refrigerate until firm, about 30 minutes. Frost the cake with yellow buttercream, add details on the sides wiht a comb if so desired. Pipe roses and leaves. A little pumping of gold luster powder is optional but nice…
ENJOY!
to print the recipe, click here
Comments: The layers baked like a dream, flat and beautiful. Cake smelled amazing, I really wish we could have sampled a small slice. Oh, well… I used my little electric turntable to frost it and again loved the process. Makes life very easy. Thank you, Phil! Your gifts are always perfect! The only thing I would change if I was to make this cake again, is use a lighter green for the leaves. Well, there is one more thing I would change. I would actually brush the layers with the lemon syrup instead of forgetting all about it and staring at the syrup sitting at the countertop next to the fully frosted cake.
.
If you have a special occasion to celebrate now that Spring is in full swing, think about this cake…
ONE YEAR AGO: A Duet of Springtime Macarons
TWO YEARS AGO: Fiesta Bakes for Cinco de Mayo
THREE YEARS AGO: Thai-Meatballs Over Wilted Bok-Choy
FOUR YEARS AGO: Asparagus with Gunpowder Masala
FIVE YEARS AGO: The Home Bakers Collective, April Project
SIX YEARS AGO: Asian-Style Eggplant Meatballs
SEVEN YEAR AGO: Uzbek Flatbread
EIGHT YEARS AGO: First Monday Favorite – Black Sesame FOUR
NINE YEARS AGO: Chocolate Orange Mini-Cakes
TEN YEARS AGO: In My Kitchen, May 2015
ELEVEN YEARS AGO: P90X3, a Review of Tony Horton’s Latest Fitness Program
TWELVE YEARS AGO: Pasta and Mussels in Saffron Broth
THIRTEEN YEARS AGO: Triple Chocolate Brownies
FOURTEEN YEARS AGO: Shanghai Soup Dumplings
FIFTEEN YEARS AGO: Bite-sized Chocolate Pleasure