COCONUT CUPCAKES GET FROSTY

Several components needed for this bake, but isn’t it all worth it? I cannot take credit for the idea, I saw it by total accident in this Instagram page and fell in love with it. I adapted to use my own cupcake recipe and Tanya – tent-baker-extraordinaire and amazing friend – helped me with a frosting that holds well at room-temperature.

FROSTED COCONUT CUPCAKES WITH SNOWMAN COOKIE DECORATION
(adapted from several sources, inspired by Constellation Inspiration)

For the cupcakes (makes 12):
170g cake flour
1 tsp baking powder
1/4 tsp baking soda
1/4 tsp salt
113g butter at room temperature
200g sugar
1 tsp vanilla extract or paste
80g egg whites
90g sour cream
85g coconut milk

Heat oven to 350F. Make sure that the butter, egg whites, coconut milk and sour cream are at room temperature. Fill a cupcake pan with paper liners. Reserve.

Sift the cake flour baking powder, baking soda and salt. Reserve. Cream butter and sugar with the paddle attachment of a KitchenAid type mixer for about 5 minutes. Add vanilla to the egg whites and slowly pour into the creamed butter/sugar, continuing to mix and medium-low speed. Mix the coconut milk with the sour cream, then add to the mixer 1/3 of the reserved dry ingredients, 1/2 of the milk/sourcream, followed by 1/3 of the dry, 1/2 liquids, and finally the remaining amount of dry ingredients.

Place in the lined cupcake pan. Bake for 22 to 25 minutes, until a toothpick inserted in the center comes out clean. Allow the cupcakes to cool completely before frosting.

COCONUT BUTTERCREAM
(from Tanya Ott)

1 cup butter, softened
3 cups powdered sugar
1/4 cup coconut milk

Whisk the butter with a Kitchen Aid type mixer and the paddle attachment for about 4 minutes. Add the powdered sugar in three batches, continue beating in medium-speed. Add the coconut milk, beat at medium-high for 2 minutes or so. Adjust consistency with powdered sugar if needed. Frost the cupcakes once they are at room temperature and immediately stick a snowman cookie on top.

SNOWMAN DECORATION

Bake rings of chocolate cookie dough small enough to fit over the cupcake. They will be fragile. Try to make them smaller than the ones I made, so they will have an easier time standing up on the frosted cake.

Once the rings are baked, use this recipe (minus the food gel color) to make the stained glass component. Pour inside the rings, let them set. Use Royal icing to create a snowy scene with a snowman.

ENJOY!

to print the recipe, click here

Comments: I absolutely loved making the stained-glass component with the snowman. You can do that a couple of days in advance, store at room temperature. They hold well. I made mine slightly too big, and at first I thought they would never stand up, but with “a little bit extra frosting” they did stay happily up. Consider decreasing the size a bit. Or, if you don’t mind the extra frosting, just go big!

The decorations matched very well our current situation in Manhattan, Kansas, aka The Little Apple.

We expect that by this weekend the snow will finally melt in our surroundings. It’s been a tough month of January. For too many reasons. Baking is keeping me reasonably sane. Or so everyone arounds me hopes.

ONE YEAR AGO: Mexican Bolillos

TWO YEARS AGO: Brazilian Style Banana Cake

THREE YEARS AGO: Tiger Shrimp in Chili Sauce

FOUR YEARS AGO: Tangzhong Hamburger Buns

FIVE YEARS AGO: Potato Soup with Spicy Shrimp

SIX YEARS AGO: Rose-Harissa Chicken Thighs

SEVEN YEARS AGO: Caramel-Chocolate Tartlets

EIGHT YEARS AGO: Chicken Korma-ish

NINE YEARS AGO: Sunday Gravy with Braciola

TEN YEARS AGO: In My Kitchen, February 2015

ELEVEN YEARS AGO: Avocado and Orange Salad with Charred Jalapeno Dressing

TWELVE YEARS AGO: Green Olive, Walnuts and Pomegranate Salad

THIRTEEN YEARS AGO: Romanian Flatbreads

FOURTEEN YEARS AGO: Ziti with Artichokes and Meyer Lemon Sauce

FIFTEEN YEARS AGO: Blasted Broccoli, Stove-top version

NIGHT SKY OMBRÉ CAKE

Inspiration from this cake came from a book I’ve had for many years: Cake Decorating for Beginners, by Rose Atwater. It is a wonderful book, full of cute ideas, some pretty simple, some a bit more involved. I love ombré style cakes, having done some in the past.


NIGHT SKY VANILLA CAKE WITH CHOCOLATE GANACHE FILLING
(inspired by Rose Atwater)

for the cake:
1 +1/2 cups whole milk 
1/4 cup heavy whipping cream 
2 + 1/2 cups all-purpose flour 
1 cup cake flour 
2 teaspoons baking powder 
1 cup (2 sticks) unsalted butter, at room temperature
2 + 1/2 cups sugar
½ teaspoons salt 
2 tsp buttery vanilla emulsion (from Lorann) 
3 large eggs

Heat the oven to 325 degrees. Grease and flour three 8 x 2 inch round cake pans, line bottom with parchment paper. Reserve.

In a small bowl, mix together the milk and heavy cream. In a medium bowl, sift together the two types of flour and baking powder. Set aside. Cream the butter using a stand mixer and the paddle attachment on medium speed until it’s soft and light, about 2 minutes. Add the sugar and salt and mix until the mixture is light in color and fluffy, about 2 minutes. Add the vanilla, and mix until just combined. Add the eggs, one at a time, mixing for 20 seconds after each egg, scraping down the sides of the bowl as needed.

Turn the mixer speed to low, then add one-third of the flour mixture and mix until just combined. Add half of the milk mixture and mix until just combined, then add another third of the flour mixture. Repeat with the remaining milk and flour mixtures. Divide the batter between the prepared pans and spread it out evenly. Bake for 35 to 40 minutes, until a toothpick or cake tester inserted into the center of each cake comes out clean.

for the ganache filling:
230g dark chocolate, cut in pieces
240g heavy cream

Heat cream until simmering, pour over chocolate in a large bowl. Allow to sit for 5 minutes than whisk gently until smooth. Let it cool for 15 minutes then place in the fridge for 90 minutes. Use a hand held mixer to whip the ganache until lighter and fluffier. Use to fill the two layers of the cake. 

for the frosting:
1 cup (2 sticks) unsalted butter, at room temperature
1 cup vegetable shortening
2 teaspoons pure vanilla extract
3 to 4 tablespoons milk
¼ teaspoon salt
2 pounds (approximately 8 cups) powdered sugar
food gel dye, Americolor Royal Blue and Diamond Black

In a large bowl, use a stand mixer with the paddle attachment, and beat together the butter, shortening and vanilla until smooth and creamy.

Add 2 tablespoons of the milk, the salt, and half the powdered sugar and mix just until combined. Scrape down the sides of the bowl. On low speed, gradually add in the remaining sugar. Add more milk as needed to achieve the desired consistency.

Divide the frosting in three bowls, and one drop of blue to the first bowl, two drops to the second, and 2 drops blue + 1 drop black in the last. 

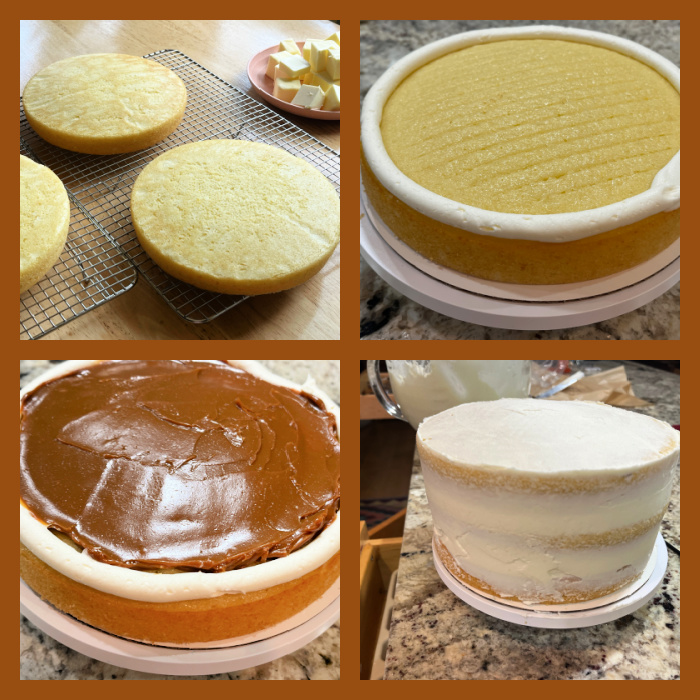
Assemble the cake: Place the first cake on a board, add ganache as a smooth layer on top. Place second cake over ganache, repeat the process. Add last round of cake and press gently. Frost with a thin layer of frosting in the lightest color (or do it before adding any dye to the buttercream). Let the cake cool in the fridge for an hour or more. Frost with the dyed buttercream: cover the top and 1/3 of the height from top to bottom with the darkest color of blue. Add the medium tone to the second third of the cake, and the lightest color to the bottom. Use a scraper to smooth the layers. Add texture with a little spatula as you turn the cake. Add star sprinkles.

ENJOY!

to print the recipe, click here

Comments: I wish I could report on taste and looks as it was sliced, but I donated the cake whole, so my fingers are crossed that the recipients liked it… At any rate, it is hard to go wrong with vanilla and chocolate ganache, right? The buttercream is simple to prepare and crusts nicely in case it needs to sit for hours at room temperature. I love the effect of the different colors. Of course, I had to add some gold dust because I cannot help it… I bet you are not surprised!

ONE YEAR AGO: Veronica Gowan, The Macaron Queen!

TWO YEARS AGO: Almond Raspberry Sandwich Cookies

THREE YEARS AGO: Cole-Slaw with Almond Dressing

FOUR YEARS AGO: Busy Bee Sugar Cookies

FIVE YEARS AGO: Mincemeat Pies, when the third time is a charm

SIX YEARS AGO: Shibari Bread]

SEVEN YEARS AGO: Incredibly Simple Times Four – January 2018 

EIGHT YEARS AGO: Two Salads and a Blog Award!

NINE YEARS AGO: When Three is Better than Two

TEN YEARS AGO: Somebody Stop Me!

ELEVEN YEARS AGO: Zucchini Pasta with Cilantro-Cashew Pesto

TWELVE YEARS AGO: Bran Muffins, Take Two

THIRTEEN YEARS AGO: Brown Butter Chocolate Chip Cookies

FOURTEEN YEARS AGO: Mogo Mojo

FIFTEEN YEARS AGO: Slow-Roasted Chicken Thighs: an Ice-Breaker

CHOCOLATE CUPCAKES WITH PEANUT BUTTER FROSTING

Such a classic bake, and so simple!

CHOCOLATE CUPCAKES WITH PEANUT BUTTER FROSTING
(from The Bewitching Kitchen)

120 grams (1 cup) all-purpose flour
50 grams (1/2 cup + 2 Tablespoons) natural cocoa powder
225 grams (1 + 1/8 cups) granulated sugar
1 teaspoons baking powder
1/2 teaspoon baking soda
1/2 tsp Kosher salt
85 grams (about 1/2 cup) grapeseed oil
2 large eggs, room temperature
2 teaspoons vanilla extract
75 grams (1/3 cup) milk, room temperature
170 grams (3/4 cup) very hot water

Makes 12 cupcakes. Use paper liners in your pan.

Heat oven to 350F.

In a large mixing bowl, add the flour, cocoa powder, granulated sugar, baking powder, baking soda and salt. Whisk very well to fully combine the dry ingredients.

Add the oil into the mixing bowl and mix on medium speed with a hand mixer until well combined. Add the eggs and vanilla extract to the bowl and continue mixing until smooth.

With the mixer still running, slowly pour in the milk and then the hot water. Continue mixing until everything is evenly incorporated, the batter will be super thin, do not worry about it. Place the batter in cupcake pan and bake until toothpick inserted in the center comes clean. This will take 20 to 25 minutes, but check a couple of minutes earlier. Cool completely before frosting.

PEANUT BUTTER FROSTING

113 grams (1/2 cup) unsalted butter, room temperature
175 grams (1/2 cup) smooth peanut butter (Jiffy works great)
210 grams (1 + 3/4 cup) powdered sugar
1 teaspoons vanilla extract
1/4 teaspoon kosher salt
2 to 3 tablespoons of milk to adjust consistency

In the bowl of a stand mixer fitted with a paddle attachment, beat the butter and peanut butter on medium speed for about a few minutes, until fluffy. Scrape down the sides and bottom of the bowl.

Add the powdered sugar and salt into the mixing bowl and start mixing on low until the sugar starts to combine with the butter. Turn the mixing speed up to medium-high and beat for about 3 minutes until the mixture is light and fluffy. Mix in the vanilla extract. Add milk to adjust the consistency. If not using immediately you can refrigerate for several days. Bring back to room temperature and whip again before using to frost the cakes.

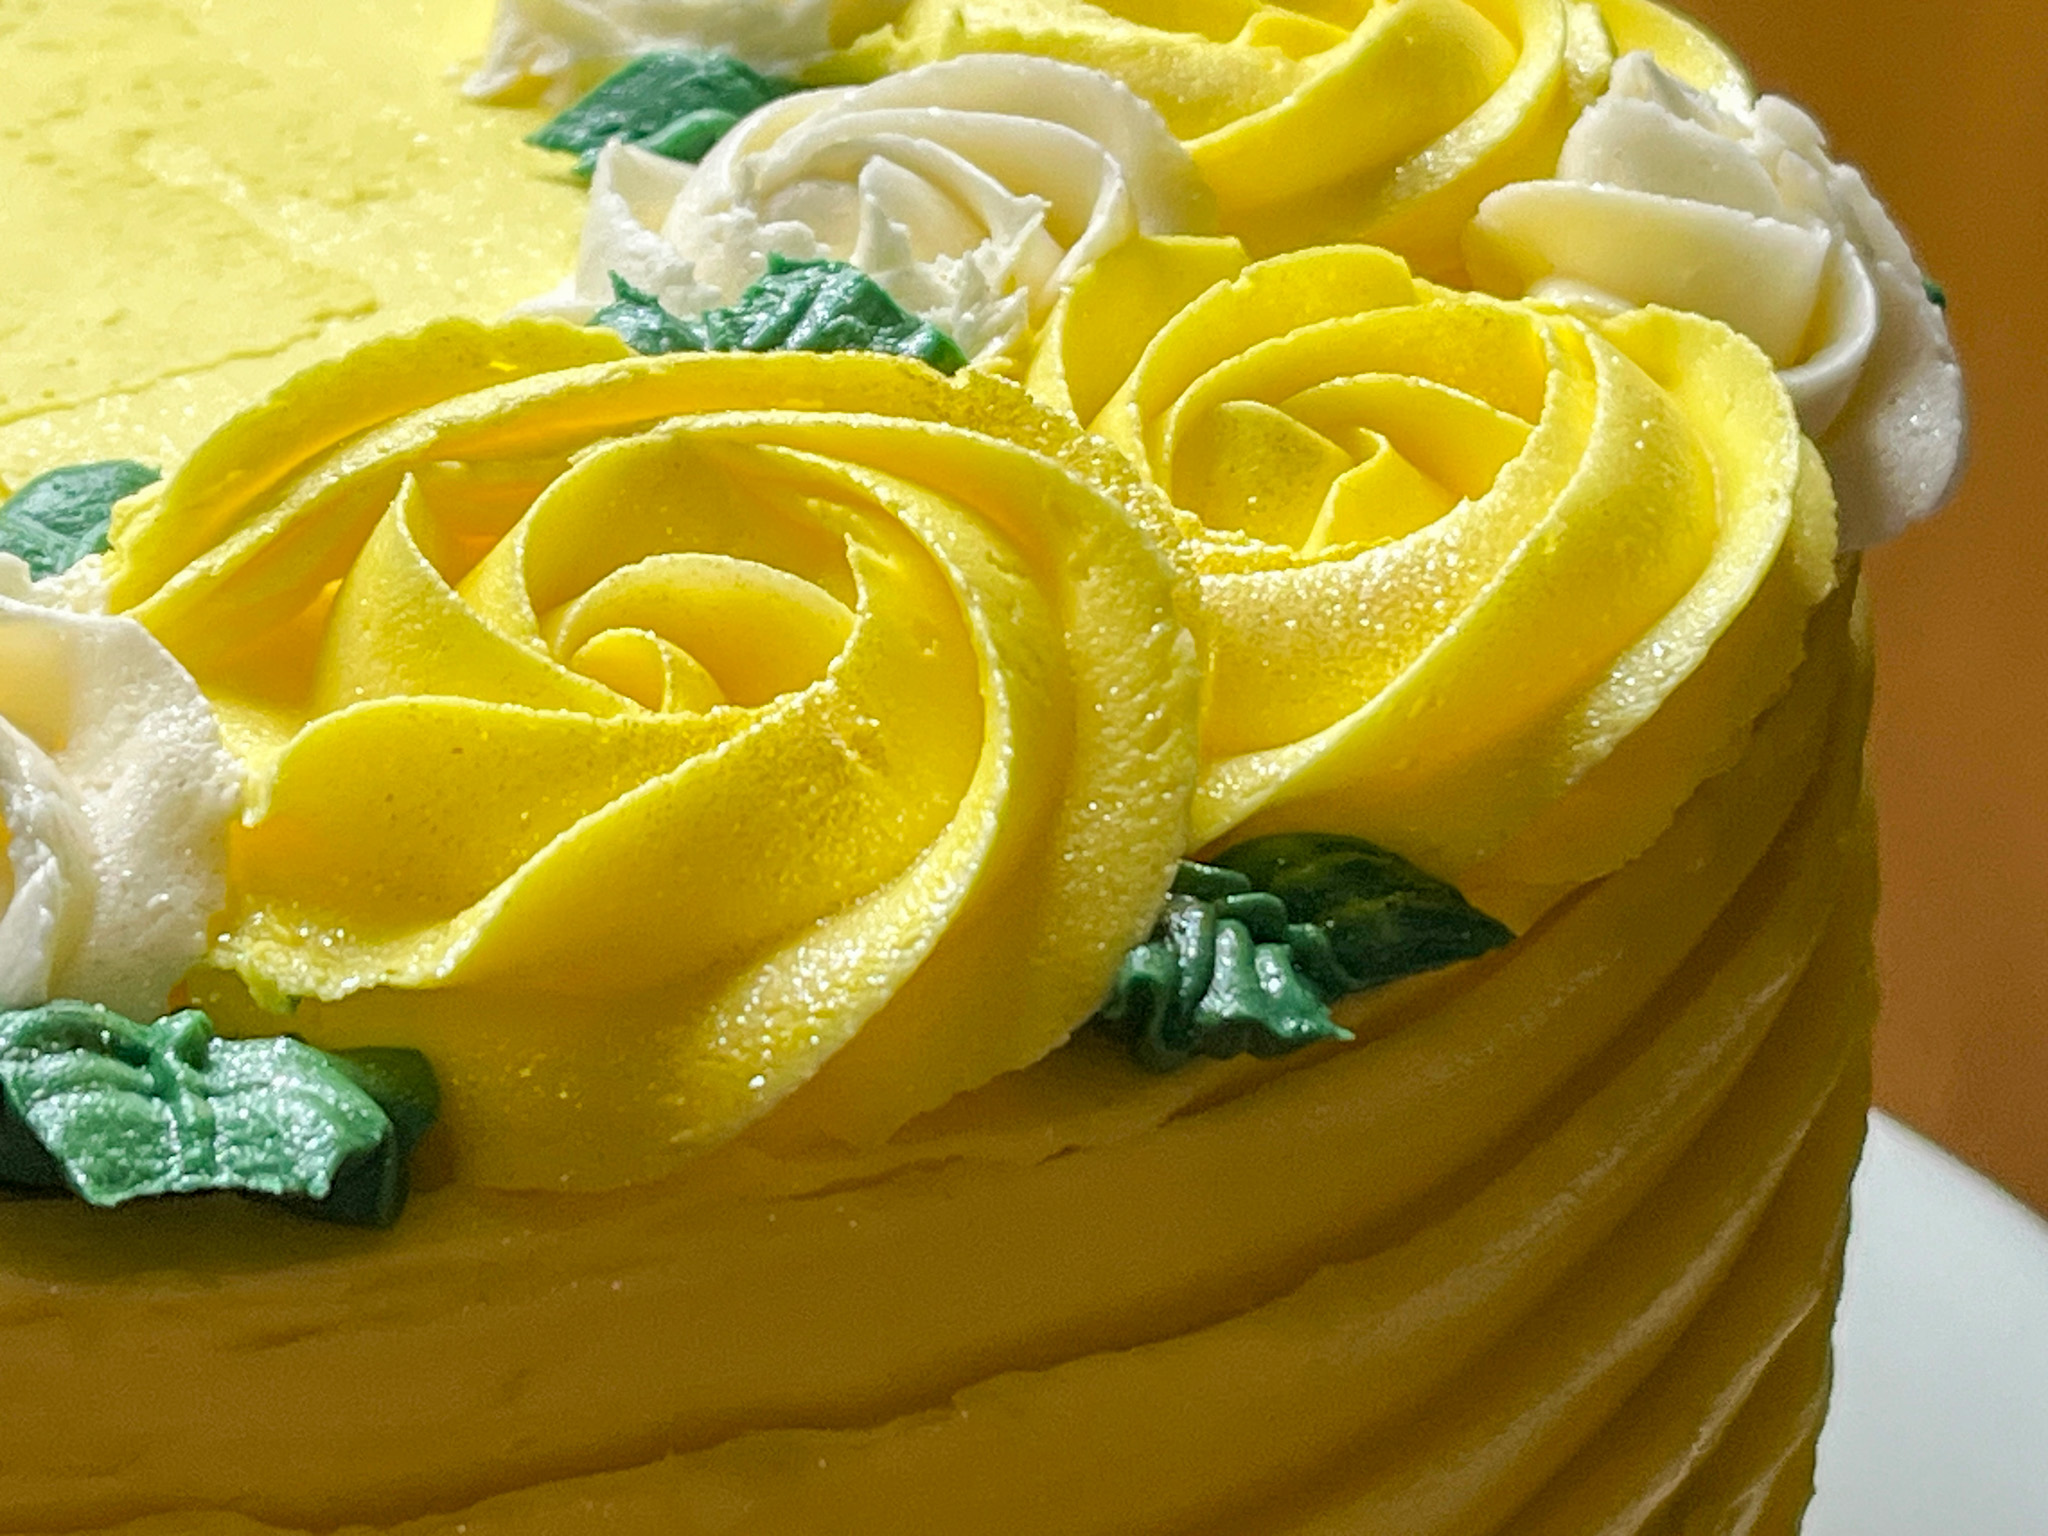
Use a piping tip like Wilton 1M if you like to make a rose pattern on top. Spraying gold is optional but nice…

ENJOY!

to print the recipe, click here


Comments: I love this cake recipe so much because it is simple, straightforward and always works. You can use hot coffee instead of hot water, but I tend to simplify it and just grab water from the tap, as hot as I can get it. I know many people prefer Swiss buttercream frosting but I donate the cupcakes and not knowing how long they will sit waiting, I rather use a sturdier buttercream, which is also much simpler to prepare. If you are a peanut butter/chocolate lover, this cupcake is for you!

ONE YEAR AGO: Incredibly Simple, Times Four

TWO YEARS AGO: Zucchini-Prosciuto Parcels

THREE YEARS AGO: Double Peanut Sourdough Loaf

FOUR YEARS AGO: Fennel-Rubbed Shrimp in Light Coconut Sauce

FIVE YEARS AGO: Puff Bread Balls, Two Salads and a Cookbook Review

SIX YEARS AGO: Pistachio-Caramel and Apple Mousse Cakes

SEVEN YEARS AGO: La Couronne Bordelaise

EIGHT YEARS AGO: A Special Birthday Dinner

NINE YEARS AGO: Duck Confit for a Special Occasion

TEN YEARS AGO: Tuscan Grilled Chicken and Sausage Skewers

ELEVEN YEARS AGO: Celebrate Wednesday with Pork Tenderloin & Apples

TWELVE YEARS AGO: Salmon Wellington

THIRTEEN YEARS AGO: The Green Chip Alternative

FOURTEEN YEARS AGO: Weekend Pita Project

FIFTEEN YEARS AGO: Let it snow, let it snow, eggs in snow

HALLOWEEN ALMOND COOKIES

I am not quite sure why they are described as cookies, to me they are more like little cakes. They are often served during the holiday season in Italy, known as Almond Rainbow Cookies. To mimic the colors of the Italian flag, the layers are green, white and red. I used the basic recipe and turned them into Halloween creatures. What do you think?

HALLOWEEN SESAME-ORANGE ALMOND COOKIES
(from the Bewitching Kitchen)

4 eggs (separated)
1 cup sugar
7 oz almond paste
2 + 1/2 sticks unsalted butter
1 tsp almond extract
2 cups all-purpose flour
½ tsp salt
2 tsp black sesame paste
1/2 tsp orange emulsion
black and orange food coloring
raspberry jam (I used SOLO raspberry filling)
7 oz semi-sweet chocolate
small amount of white chocolate and orange fat-soluble dye for decoration (optional)

Heat your oven to 350°F and line 3 baking pans (13 by 9 inch) with parchment paper. Reserve.

In an electric mixer, whisk the egg whites using the whisk attachment on medium-high speed and add 1/4 cup of the sugar a little at a time. Beat at high speed until you have glossy stiff peaks then transfer to another bowl and reserve until needed.

Clean the bowl and switch to the paddle attachment. Mix the almond paste and remaining 3/4 cup sugar until well incorporated, about 3 minutes. They will look like small pebbles. Add the butter and beat until pale and fluffy, another 3 minutes. Next add in the yolks and almond extract until well combined. Reduce the speed to low, then add flour and salt and mix until combined. Fold half of the egg white mixture into almond mixture to lighten, then fold in remaining whites gently until everything is mixed all together.

Weigh the batter and add 1/3 to one bowl, 2/3 to another. To the smaller portion, add the sesame paste and the black dye, mix well to incorporate. Add the orange extract and orange dye to the other bowl.

Spread the black batter into one of the prepared pans. Spread the orange batter divided in the two other pans. Bake each pan for about 12 minutes, until a toothpick inserted in the center comes out clean. Let them cool completely. Now it is time to assemble.

Place one orange layer onto a baking sheet with some parchment paper. Spread a thin layer of jam, then place the black layer on top, and spread another thin layer of the jam. Place the second orange layer on top of the black and cover with plastic wrap. Place another baking sheet on top with some weight and let it chill in the fridge for 4 hours.

Remove the weight and plastic and bring layers to room temperature (so that the chocolate won’t set too fast when you spread it). Melt chocolate in a microwave at 50% power until smooth. Trim the edges of the assembled layers and spread a thin layer of the chocolate on top of the cake. Place it back in the fridge to chill and until chocolate is firm. Cover with a sheet of parchment paper, place another baking sheet on top, carefully flip the cake. Spread a thin layer of chocolate and chill again until firm. Melt some white chocolate and dye it with fat-soluble orange dye, then make swirls on top (optional).

With a serrated knife cut the cookie/cake in rectangles while still very cold.

ENJOY!

to print the recipe, click here

Comments: I cannot lie to you, as it stands right now, I am not sure I will ever make these again… Labor of love, yes, no doubt. Maybe a second time will be easier but I was quit exhausted at the end and until I cut the pieces and looked at them all lined up, I was not sure of the outcome. For starters, it is hard to judge the thickness of the batter as you spread it on the baking sheet, so it was not easy for me to make sure the three layers had the same dimension. But overall, I think it was all fine. The taste (I tasted some trimmings) was really pretty spectacular. I love almonds and any sweets made with almonds so if you are part of my cheerleading team, you will love these!

ONE YEAR AGO: Miso-Honey Chicken Thighs

TWO YEARS AGO: Raw Zucchini and Chickpea Salad with Tahini Yogurt

THREE YEARS AGO: Black Tahini Shortbread Cookies

FOUR YEARS AGO: A Fruitful Trio (of Macarons)

FIVE YEARS AGO: Halloween Entremet Cake

SIX YEARS AGO: Pork with Prunes, Olives and Capers

SEVEN YEARS AGO: Kansas Corn Chowder

EIGHT YEARS AGO: Impossibly Cute Bacon and Egg Cups

NINE YEARS AGO: Pulling Under Pressure

TEN YEARS AGO: Cooking Sous-vide: Two takes on Chicken Thighs

ELEVEN YEARS AGO: Miso Soup: A Japanese Classic

TWELVE YEARS AGO: On my desk

THIRTEEN YEARS AGO: A must-make veggie puree

FOURTEEN YEARS AGO: Vegetarian Lasagna

FIFTEEN YEARS AGO:  Brazilian Pão de Queijo

LEMON BUNDT CAKE, A REAL WINNER

Lemon Cakes can be a bit tricky as far as flavor goes. I have made a cake from a super reputable source that promised to deliver the most intense, most lemony flavor coupled with a moist and tender cake. It was tremendously convoluted, a ton of work and to be absolutely honest with you, the America’s Test Kitchen version delivered it all for 1/10 of the trouble. Which is saying a lot, as they are known for never cutting corners.


They are super strict about copyright issues, and rarely reply to requests asking permission to publish their recipes, however I was able to find this one online. If you’d like to make this deliciously lemony cake, pay a visit to this site. No difference from the recipe found in The Perfect Cake (2018), a cookbook I highly recommend. To bake this particular version, I used the Bavaria Bundt pan from Nordicware, but any pan with 10 to 12-cup capacity will do the job. I just love the way they un-mold like a dream!

When I make a Bundt cake, I donate it whole, so I cannot share a picture of the crumb, but I’ve had excellent feedback about this baby. In fact, I’ve made it three times already, using different Bundt pan shapes. Always a winner!

ONE YEAR AGO: Aji-Amarillo Roasted Chicken Thighs

TWO YEARS AGO: Karen’s Quick Shrimp Fried Rice

THREE YEARS AGO: OMG Peanut Butter Bars

FOUR YEARS AGO: Kansas Sunflower Seed and Black Walnut Macarons

FIVE YEARS AGO: Curry Turmeric Sourdough

SIX YEARS AGO: Black Olive Tapenade and Deviled Eggs

SEVEN YEARS AGO: Blueberry Crumble Coffee Cake

EIGHT YEARS AGO: Fresh Strawberry Yogurt Bundt Cake

NINE YEAR AGO: Quinoa Salad with Red Grapes and Avocado

TEN YEARS AGO: Strawberry Coffee Cake

ELEVEN YEARS AGO: Lemon-Poppy Seed Muffins

TWELVE YEARS AGO: Mascarpone Brownies

THIRTEEN YEARS AGO: Salmon Tacos

FOURTEEN YEARS AGOCinnamon Turban Bread

FIFTEEN YEARS AGO: Summertime Gratin