TRIPLE CHOCOLATE LOVE


Today I share three delicious recipes that center on that dreamy ingredient that almost every human being loves: chocolate. I have known a few members of our species who claim to “hate” chocolate, and my hope is that they get their genomes sequenced to solve the mystery. Anyway, I digress. The first recipe comes from my favorite baker-instructor-guru, Helen Fletcher. These are beyond amazing and not for the faint of heart. Rich. Decadent. Luscious. Special. They are Double Chocolate Truffled Muffins!

DOUBLE CHOCOLATE TRUFFLED MUFFINS
(from Helen Fletcher’s Pastries Like a Pro)

For the truffle component:
½ cup heavy cream
2 tablespoons unsalted butter (30 grams)
2 tablespoons granulated sugar (25 grams)
5 ounces semisweet or bittersweet chocolate (140 grams)
1 teaspoon vanilla extract

for the muffin component:
1 ½ cups all-purpose flour (210 grams)
1 cup Dutch cocoa (85 grams)
¼ teaspoon baking powder
¾ teaspoon baking soda
1 teaspoon salt (I use table salt)
1 ⅓ cups brown sugar, either dark or light (265 grams)
½ cup whole milk
¾ cup canola or vegetable oil
2 large eggs
1 cup sour cream (225 grams)
1 tablespoon vanilla
1 teaspoon instant coffee or espresso powder
1 cup chocolate chunks (114 grams)

Start by making the truffle filling: Heat the cream, butter and sugar together in a small saucepan just until steamy. Do not let it come to a boil. Submerge the chocolate under the cream mixture and let it sit for 3 or 4 minutes. Whisk until smooth, making sure to get into the corners. Using a rubber spatula, go around the edges of the pan and bottom to make sure all of the chocolate is incorporated. Add the vanilla. Cover the surface with plastic wrap and set aside to cool.

Make the muffins: Line 9 jumbo muffin holes with paper liners. Set aside. Heat the oven to 425°F.

Sift the flour into a large bowl. Sift the cocoa, baking soda, baking powder and salt on top of the flour. Whisk together to mix well. In a very small bowl stir together the coffee or espresso and vanilla until the coffee or espresso is dissolved.

In a third smaller bowl, whisk together the milk, canola oil, eggs, sour cream, and coffee mixture. Pour the liquid ingredients over the dry ingredients and stir with a spoon or fold together with a rubber spatula just until everything is mixed well. Do not over mix.


With a #8 disher/scooper or a ½ cup measure, drop the batter into the paper lined muffin cups for the jumbo muffins. Top generously with the chocolate chunks. Bake at 425°F for exactly 6 minutes for the jumbo and lower the temperature to 350°F. Continue to bake for about 20 minutes or until a tester comes out clean. Cool the muffins.

Starting about ½” from the edge of a muffin, insert a paring knife slanted towards the middle of the muffin and go all the way around the muffin. Remove the wedge shaped cake and set aside intact. To enlarge the hole for more filling, use a small spoon and scoop out additional cake.

Fit a piping bag with a ½” tip, fill with the truffle filling and pipe into the hole almost up to the top. Alternately, spoon the filling in. Replace the wedge shape piece pushing it into the filling.

ENJOY!

to print the recipe, click here
Comments: Please make sure to read Helen’s blog post about them, as she gives detailed explanation of their origin and how she adapted the recipe to make it more user-friendly without any loss of deliciousness (I can testify to that, they are spectacular). The pictures do not make it justice, as so often is the case with brown food. Their texture is superb, and that filling is unreal! Thank you thank you thank you, Helen!

.

Moving on to the second recipe, credit goes to my beloved husband, who suggested that instead of coating Oreos with chocolate, I could do small pieces of brownies. I used a very small pan from Wilton to bake them. Without further ado…

.

.


CHOCOLATE-COVERED BROWNIE BITES
(from Wilton website)

1 cup all-purpose flour (130g)
1 cup granulated sugar (200g)
1/3 cup cocoa powder (35g)
1/2 teaspoon baking powder
1/4 teaspoon salt
1/2 cup vegetable oil
1 egg, lightly beaten
3 tablespoons milk
1/2 teaspoon vanilla extract

to coat: compound chocolate like Candy Melts or Almond Bark
to decorate: sprinkles (optional)

Heat the oven to 350°F. Prepare the pan with baking spray.

In a medium bowl, whisk together flour, sugar, cocoa powder, baking powder and salt. Add vegetable oil, egg, milk and vanilla extract; stir well until smooth. Divide batter evenly between cavities, smoothing into an even layer (about 1 tablespoon per cavity).
Bake for 13-16 minutes, or until edges are set and a toothpick inserted in the center comes out almost clean. Cool in pan on a cooling rack 5-10 minutes, loosen edges if necessary, and remove. Let cool completely on the rack.

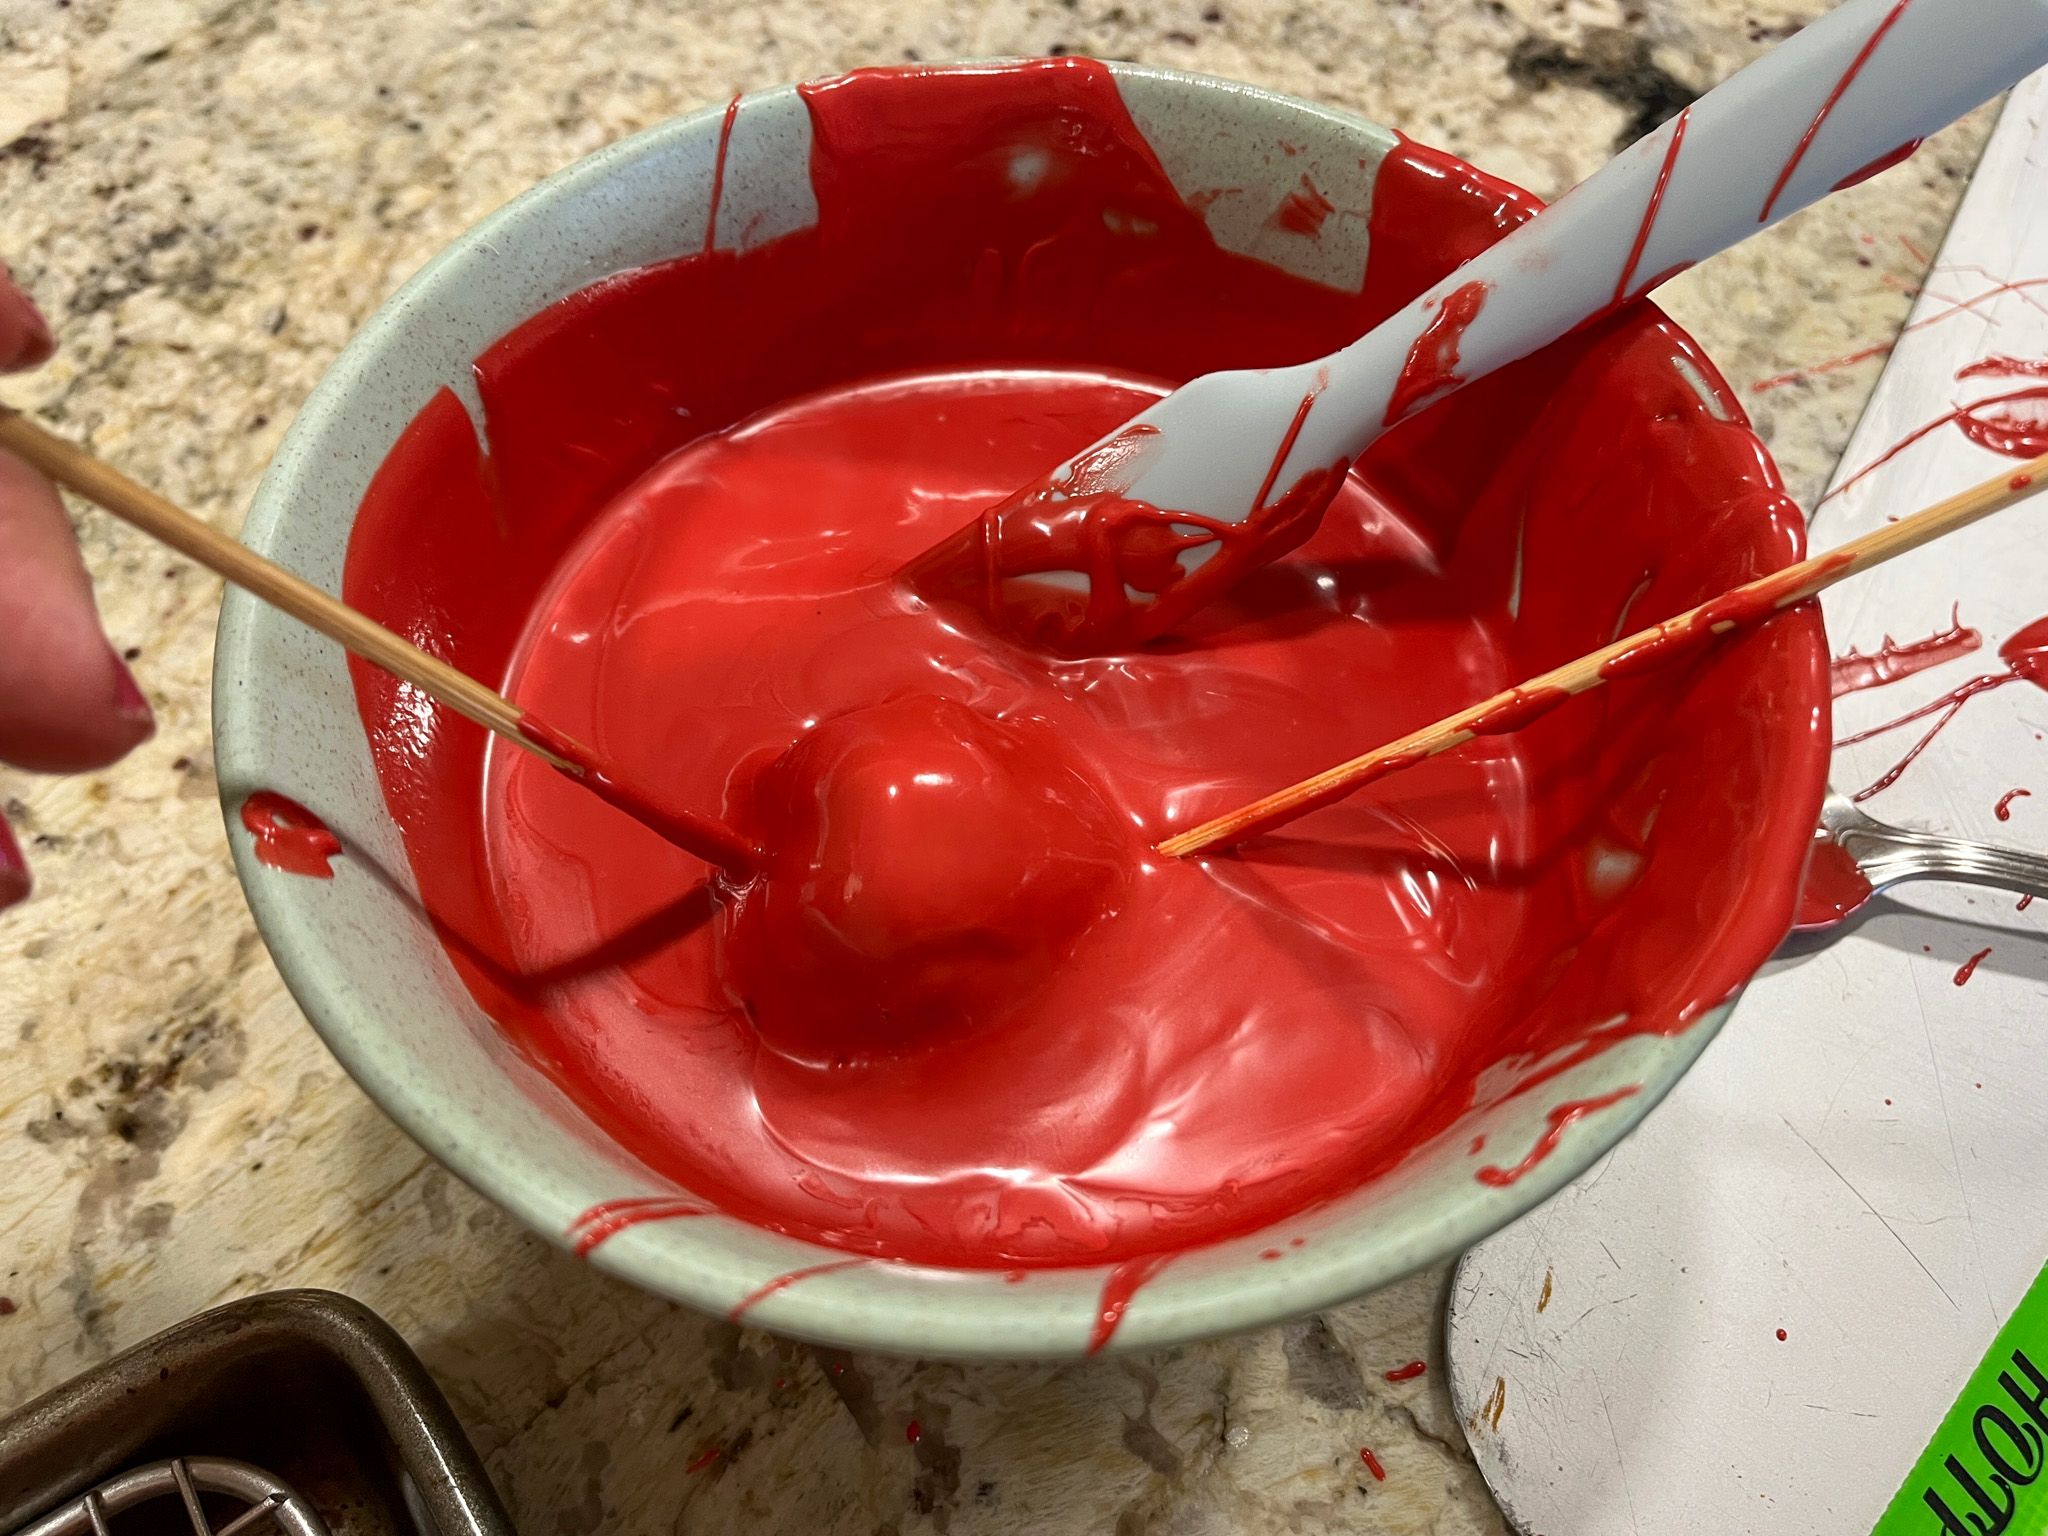
Melt the compound chocolate until smooth using gentle power in the microwave. If too thick, add a small amount of coconut oil (refined). Coat the bites and decorate right away, or after setting, if going with drizzles of melted compound chocolate.

ENJOY!

to print the recipe, click here

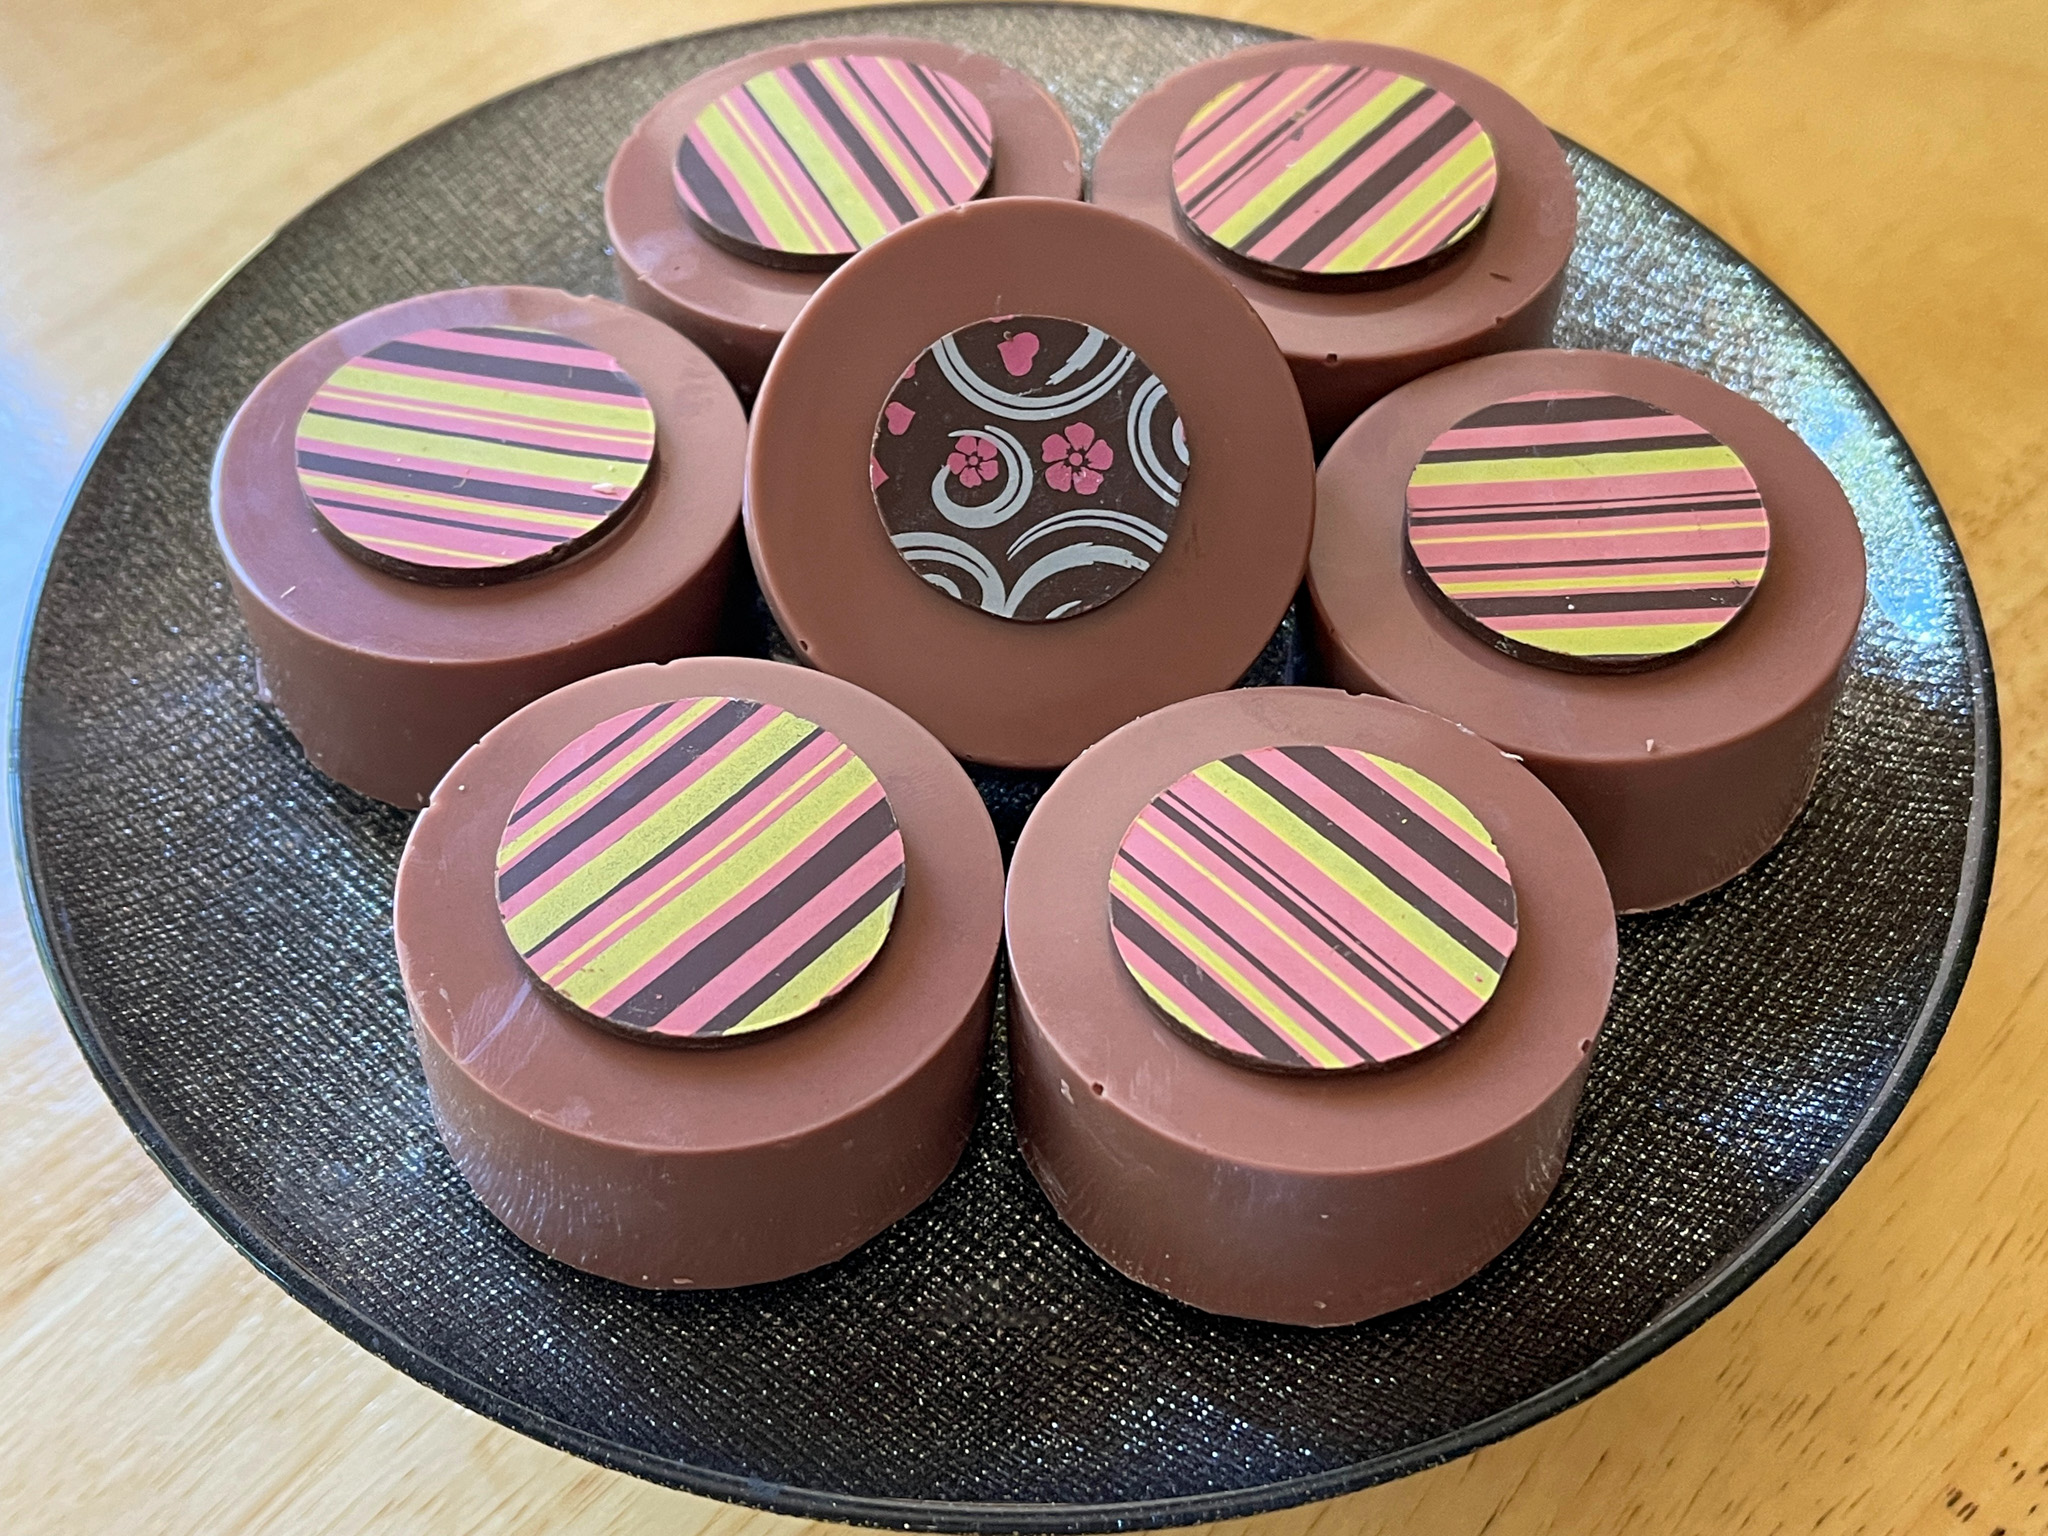
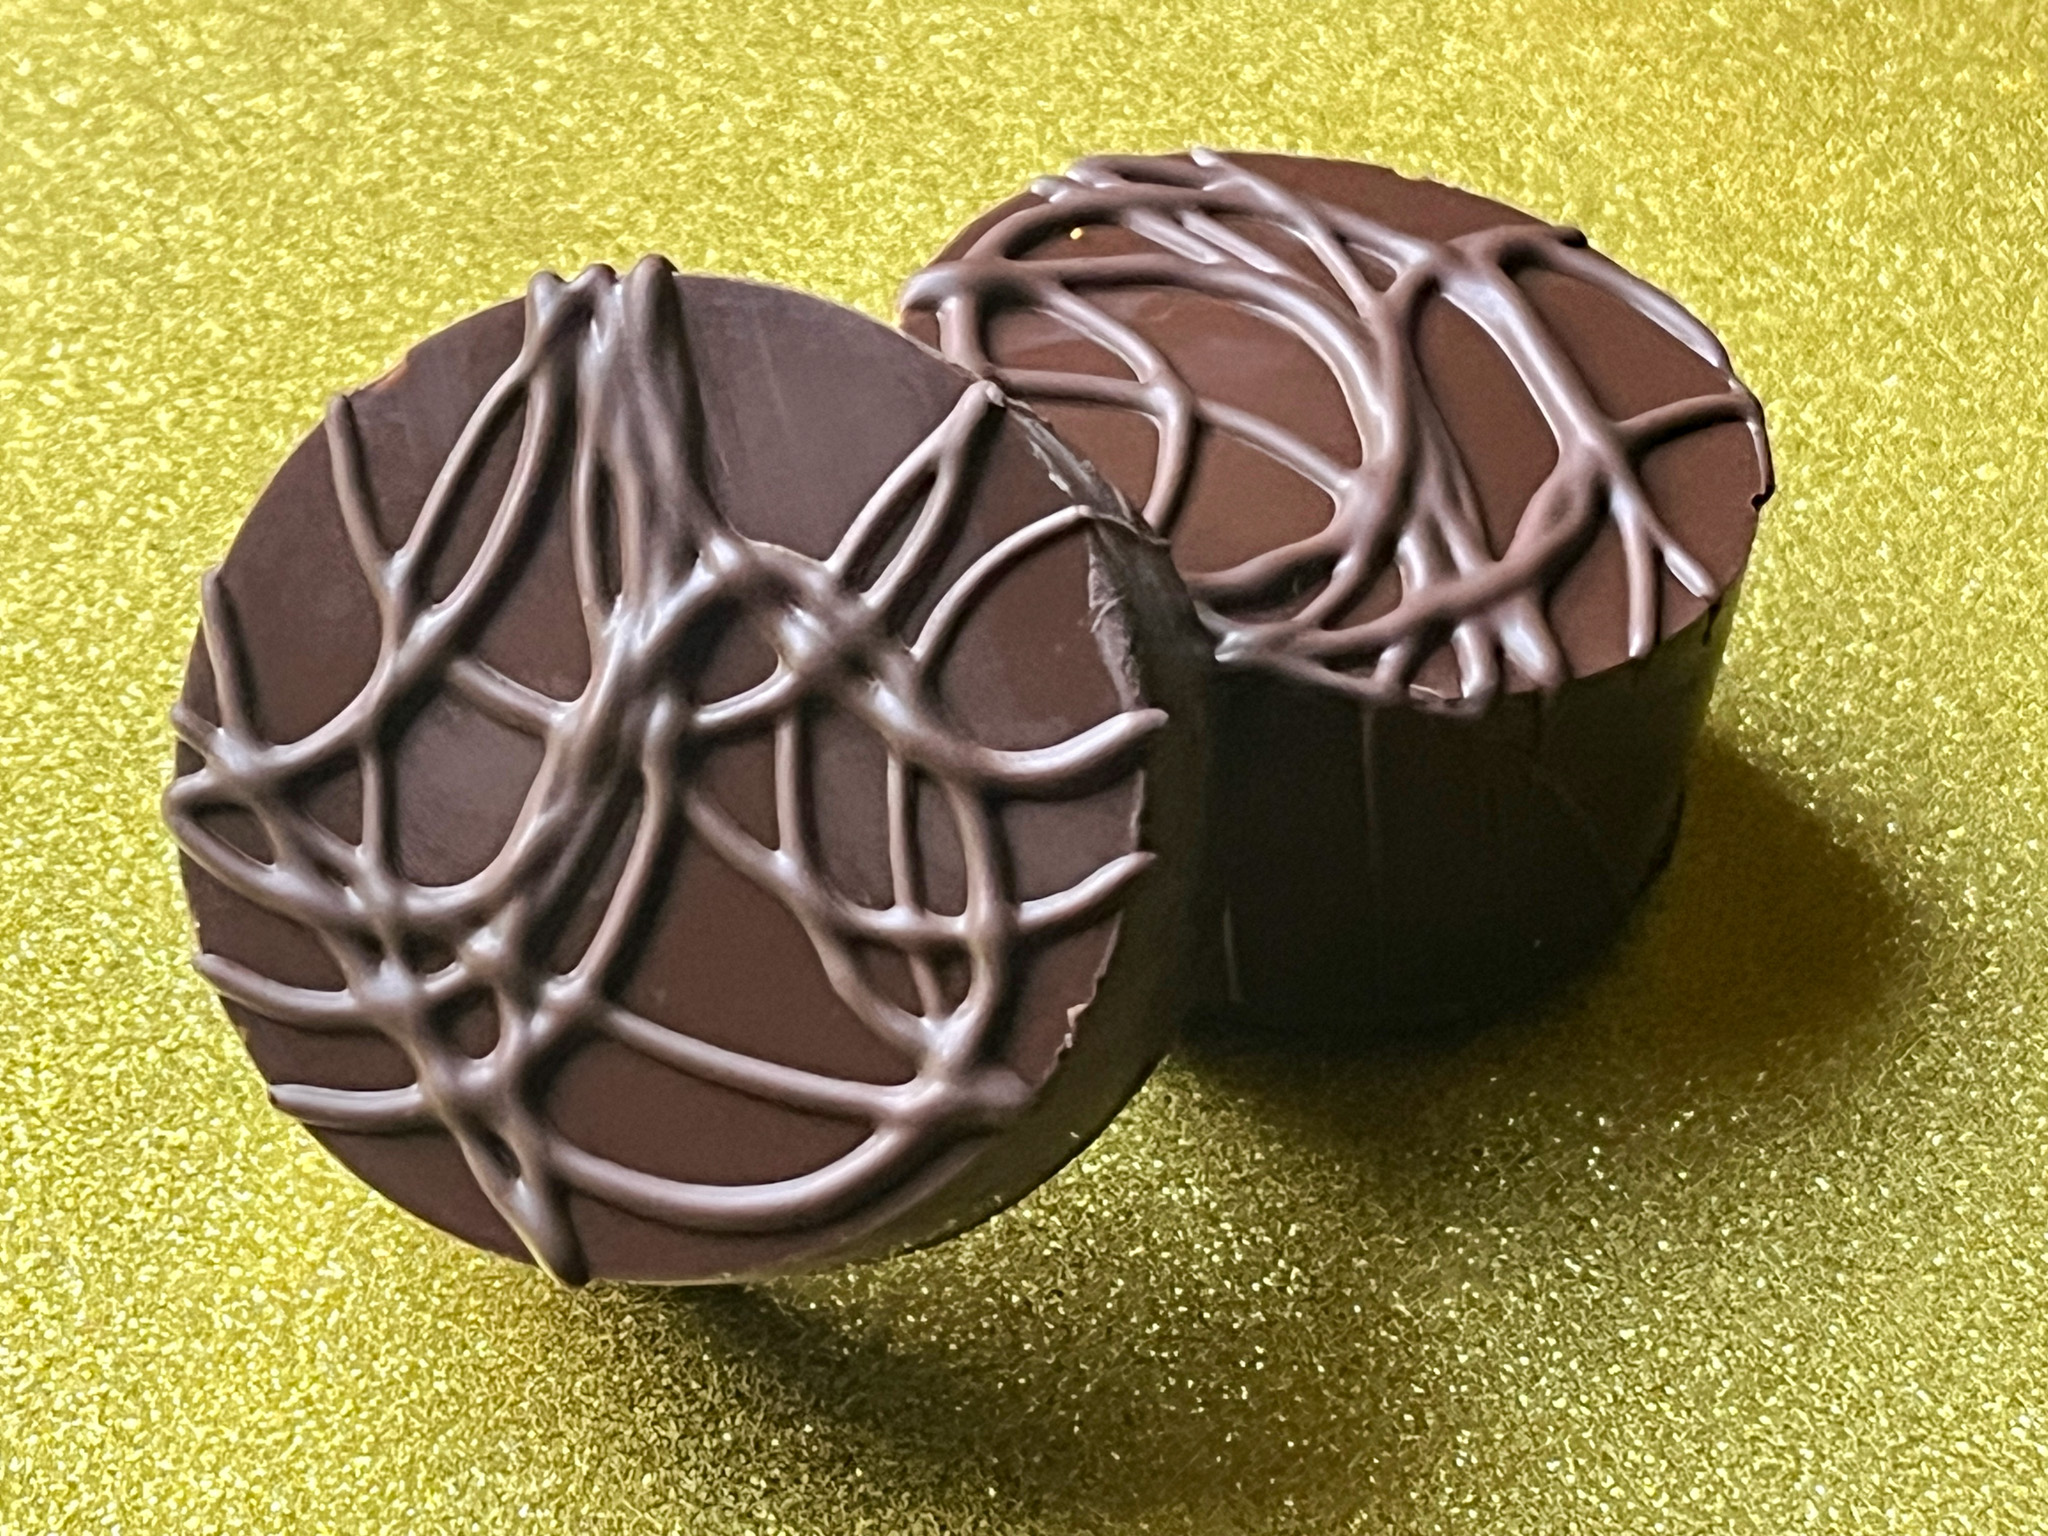
Comments: I got this pan at a sale in Jo-Ann store in town, and of course, could not resist it (info here). You can use silicone pans, or any other type of pan that makes mini-cakes. To coat, you can use two different methods. First, just melt the chocolate in a bowl and dip the cake to coat. That will give a rustic appearance, and you can add sprinkles right away. Second method will require you to clean the pan, then add melted chocolate in each cavity and quickly place the cake inside, pressing a bit so that the chocolate moves up along the sides. You can coat the bottom or not. Let it harden, remove from the pan, and if desired, make decorations with swirls of melted chocolate, I used white for that. Below you can see the different outcome.

And now for the last recipe, what might seem like your regular chocolate chip cookie, but it is truly special, due to the inclusion of an unexpected ingredient: buttermilk. You must give this recipe a try!


BUTTERMILK CHOCOLATE CHIP COOKIES
(slightly modified from Yesterfood blog)

2 cups flour (260g)
1/2 teaspoon baking soda
1/2 teaspoon salt
1/2 cup butter, unsalted, melted
3/4 cup cocoa powder (75g)
1 + 1/2 cups sugar (300g)
1 teaspoon vanilla
2/3 cup buttermilk
1 (12 oz.) bag semi-sweet chocolate chips (about 2 cups)


Heat oven to 350 degrees. Line cookie sheets with parchment paper. Set aside.
In a medium bowl, combine flour, baking soda, and salt. Whisk to combine. Set aside.
In a large bowl, whisk the cocoa powder and melted butter until very smooth. Stir in the sugar, vanilla, and buttermilk until well combined.

Add the flour mixture to the chocolate mixture in thirds, stirring each time just until combined. Stir in the chocolate chips.

Scoop cookie dough onto prepared cookie sheets by heaping tablespoonfuls about 2″ apart. Bake for 10 to 12 minutes, until cookies are puffed, edges are set, and center is still moist. Place cookie sheets on wire racks for 5 minutes, then remove cookies onto wire racks to cool completely. Store tightly covered.

ENJOY!

to print the recipe, click here

Comments: These cookies will definitely please any chocolate lover out there. It almost feels as if you are having a brownie. Excellent texture, I reduced the sugar from the published version and I think it was a good move. I do hope you give it a try…

So, that’s all for now, three real nice recipes celebrating chocolate!

ONE YEAR AGO: It’s Sourdough, Witches!

TWO YEARS AGO: Raw Zucchini and Chickpea Salad with Tahini Yogurt

THREE YEARS AGO: Black Tahini Shortbread Cookies

FOUR YEARS AGO: A Fruitful Trio (of Macarons)

FIVE YEARS AGO: Halloween Entremet Cake

SIX YEARS AGO: Pork with Prunes, Olives and Capers

SEVEN YEARS AGO: Kansas Corn Chowder

EIGHT YEARS AGO: Impossibly Cute Bacon and Egg Cups

NINE YEARS AGO: Pulling Under Pressure

TEN YEARS AGO: Cooking Sous-vide: Two takes on Chicken Thighs

ELEVEN YEARS AGO: Miso Soup: A Japanese Classic

TWELVE YEARS AGO: On my desk

THIRTEEN YEARS AGO: A must-make veggie puree

FOURTEEN YEARS AGO: Vegetarian Lasagna

FIFTEEN YEARS AGO:  Brazilian Pão de Queijo


HALLOWEEN ALMOND COOKIES

I am not quite sure why they are described as cookies, to me they are more like little cakes. They are often served during the holiday season in Italy, known as Almond Rainbow Cookies. To mimic the colors of the Italian flag, the layers are green, white and red. I used the basic recipe and turned them into Halloween creatures. What do you think?

HALLOWEEN SESAME-ORANGE ALMOND COOKIES
(from the Bewitching Kitchen)

4 eggs (separated)
1 cup sugar
7 oz almond paste
2 + 1/2 sticks unsalted butter
1 tsp almond extract
2 cups all-purpose flour
½ tsp salt
2 tsp black sesame paste
1/2 tsp orange emulsion
black and orange food coloring
raspberry jam (I used SOLO raspberry filling)
7 oz semi-sweet chocolate
small amount of white chocolate and orange fat-soluble dye for decoration (optional)

Heat your oven to 350°F and line 3 baking pans (13 by 9 inch) with parchment paper. Reserve.

In an electric mixer, whisk the egg whites using the whisk attachment on medium-high speed and add 1/4 cup of the sugar a little at a time. Beat at high speed until you have glossy stiff peaks then transfer to another bowl and reserve until needed.

Clean the bowl and switch to the paddle attachment. Mix the almond paste and remaining 3/4 cup sugar until well incorporated, about 3 minutes. They will look like small pebbles. Add the butter and beat until pale and fluffy, another 3 minutes. Next add in the yolks and almond extract until well combined. Reduce the speed to low, then add flour and salt and mix until combined. Fold half of the egg white mixture into almond mixture to lighten, then fold in remaining whites gently until everything is mixed all together.

Weigh the batter and add 1/3 to one bowl, 2/3 to another. To the smaller portion, add the sesame paste and the black dye, mix well to incorporate. Add the orange extract and orange dye to the other bowl.

Spread the black batter into one of the prepared pans. Spread the orange batter divided in the two other pans. Bake each pan for about 12 minutes, until a toothpick inserted in the center comes out clean. Let them cool completely. Now it is time to assemble.

Place one orange layer onto a baking sheet with some parchment paper. Spread a thin layer of jam, then place the black layer on top, and spread another thin layer of the jam. Place the second orange layer on top of the black and cover with plastic wrap. Place another baking sheet on top with some weight and let it chill in the fridge for 4 hours.

Remove the weight and plastic and bring layers to room temperature (so that the chocolate won’t set too fast when you spread it). Melt chocolate in a microwave at 50% power until smooth. Trim the edges of the assembled layers and spread a thin layer of the chocolate on top of the cake. Place it back in the fridge to chill and until chocolate is firm. Cover with a sheet of parchment paper, place another baking sheet on top, carefully flip the cake. Spread a thin layer of chocolate and chill again until firm. Melt some white chocolate and dye it with fat-soluble orange dye, then make swirls on top (optional).

With a serrated knife cut the cookie/cake in rectangles while still very cold.

ENJOY!

to print the recipe, click here

Comments: I cannot lie to you, as it stands right now, I am not sure I will ever make these again… Labor of love, yes, no doubt. Maybe a second time will be easier but I was quit exhausted at the end and until I cut the pieces and looked at them all lined up, I was not sure of the outcome. For starters, it is hard to judge the thickness of the batter as you spread it on the baking sheet, so it was not easy for me to make sure the three layers had the same dimension. But overall, I think it was all fine. The taste (I tasted some trimmings) was really pretty spectacular. I love almonds and any sweets made with almonds so if you are part of my cheerleading team, you will love these!

ONE YEAR AGO: Miso-Honey Chicken Thighs

TWO YEARS AGO: Raw Zucchini and Chickpea Salad with Tahini Yogurt

THREE YEARS AGO: Black Tahini Shortbread Cookies

FOUR YEARS AGO: A Fruitful Trio (of Macarons)

FIVE YEARS AGO: Halloween Entremet Cake

SIX YEARS AGO: Pork with Prunes, Olives and Capers

SEVEN YEARS AGO: Kansas Corn Chowder

EIGHT YEARS AGO: Impossibly Cute Bacon and Egg Cups

NINE YEARS AGO: Pulling Under Pressure

TEN YEARS AGO: Cooking Sous-vide: Two takes on Chicken Thighs

ELEVEN YEARS AGO: Miso Soup: A Japanese Classic

TWELVE YEARS AGO: On my desk

THIRTEEN YEARS AGO: A must-make veggie puree

FOURTEEN YEARS AGO: Vegetarian Lasagna

FIFTEEN YEARS AGO:  Brazilian Pão de Queijo

AÇAI-BLACKBERRY SORBET

Sorbet is Phil’s area of expertise, I rarely make it or eat it, but I have to tell you, this one turned out so spectacular that I find myself craving it and going for a little bowl at the end of the night. I urge you to give it a try, as açaí is readily available these days in most supermarkets. Recipe was conceived by the amazing man I married, and I am just here to share his greatness.

AÇAÍ-BLACKBERRY SORBET
(from The Bewitching Kitchen)

4 cups blackberries
300g frozen açaí pulp (3 sleeves of Sambazon brand)
1/2 cup sugar
1 banana
juice of 1 lime
2 Tablespoons vodka
2 Tablespoons creme de cassis (or another liqueur of your choice)

Mix all ingredients in a Vitamix type blender. We don’t mind the seeds of the blackberries, so no need to sieve them out. Process until fully smooth, let it sit in the fridge overnight, covered.

Next day, mix it briefly with a spoon, churn in your ice cream machine.

ENJOY!

to print the recipe, click here

Comments: Above you see the two recent productions of the husband. The first one is already in the blog for many years, he adapted the Cantaloupe Cayenne to make it with two kinds of melons (Cantaloupe and Santa Claus). For my taste, the açaí-blackberry is a total winner, very complex flavor, not very sweet, excellent texture. Keep in mind that the small amount of alcohol is never cooked out, so this is not appropriate if you are serving dessert for people who cannot consume it. You can also omit it, the texture will suffer a bit, but it will still be delicious.

ONE YEAR AGO: A Bouquet of Macarons

TWO YEARS AGO: Chocolate-Hazelnut Tartlets

THREE YEARS AGO: Turkey Taco Salad

FOUR YEARS AGO: Cheese and Pesto Emmer Roll-ups and Elaine’s Cookbook Review

FIVE YEARS AGO: Mango-Hazelnut Entremet Cake

SIX YEARS AGO: Lebanese Lentil Salad and a Cookbook Review

SEVEN YEARS AGO: Cottage Loaf

EIGHT YEARS AGO: Sourdough Loaf with Cranberries and Walnuts

NINE YEARS AGO: Sichuan Pork Stir-Fry in Garlic Sauce

TEN YEARS AGO: Our Green Trip to Colorado

ELEVEN YEARS AGO: Ditalini Pasta Salad

TWELVE YEARS AGO: Celebrate Wednesday with a Thai Seafood Curry

THIRTEEN YEARS AGO:  Post-workout Breakfast

FOURTEEN YEARS AGO: Semolina Barbecue Buns

FIFTEEN YEARS AGO: Lavash Crackers

PIE POPS

What a completely fun concept! Bake a pie, but make it small. Really small. And don’t forget to get a stick going, for that pop experience… The idea comes from Cook’s Desserts Illustrated (available at amazon.com), which is a must-have for any baker out there. I cannot publish the exact recipe and method from the book, but let me share the overall process.

Get your favorite, preferably all-butter pie crust recipe, roll it out thin, and cut 3 inch rounds…


Transfer half of the rounds to a large rimmed baking sheet, add a stick to it, and one tablespoon of the filling of your choice (I used apple butter + cream cheese, as suggested in the book).

Freeze that for 10 minutes, then brush egg wash on the edges and add the second set of pie rounds on top. Crimp the edges, cut small slits with a sharp knife, brush with more egg wash…

and bake them at 375F for about 25 minutes…

You can conceivably use any filling but make sure it is not too wet. Keep in mind these are to be enjoyed just holding on the stick, no plate, nothing. You don’t want to have filling running all over the place. It is such a cute concept, and perfect to share! I hope you’ll give this method a try soon…

ONE YEAR AGO: Thai-Inspired Cucumber and Mango Salad

TWO YEARS AGO:  Dressing up the Roll Cakes

THREE YEARS AGO: Smoked Shrimp Tacos with Roasted Jalapeño Salsa

FOUR YEAR AGO: Corn Fritters

FIVE YEARS AGO: Minnie Macarons

SIX YEARS AGO: Air-Fried Mexican Meatloaf

SEVEN YEARS AGO: Mimi’s Sticky Chicken, a Call from my Past

EIGHT YEARS AGO: Perfect Soy-Grilled Steak

NINE YEARS AGO: The Devil’s Bread

TEN YEARS AGO: Heart of Palm Salad Skewers

ELEVEN YEARS AGO: Potluck Frittata and Lavoisier

TWELVE YEARS AGO: Home-made Corn Tortillas

THIRTEEN YEARS AGO: Whole-Wheat Spaghetti with Peanut Sauce

FOURTEEN YEARS AGO: Brigadeiros: A Brazilian Party!

FIFTEEN YEARS AGO: Lemony Asparagus

RASPBERRY VOVO, AND SAVOUR ONLINE COOKING CLASSES

Coconut biscuit, raspberry jam, and marshmallow. Those three together are the key to a treat to make you smile. Looks adorable, tastes amazing… What’s not to like? Well, if you are not fond of coconut, make a plain biscuit, it will still be wonderful. I cannot share the exact recipe I used, because it is part of Savour Cooking School, but similar recipes can be found online. Like this one.

I’ve been a member of Savour for a long time. In fact, I joined just a couple of months after they launched the site. Kirsten Tibballs – pure royalty in the Australian Patisserie World – is the founder and the major engine behind the school. Classes are super detailed, and divided in “beginner, intermediate, and advanced levels”. I will not lie to you, the beginner level can be quite involved, and the advanced a sure ticket to hyperventilation and despair. But of course, totally worth it! Even if I don’t bake a lot of the things they teach, I learn a lot by watching the videos. If you’d like to join, visit the site with a click here. I cannot share their recipes, but today I show you three bakes I’ve made following Kirsten’s classes.

.

These are just outstanding. Reading about them, it turns out that there are two versions, one from Australia, one from Ireland (called Mikado). The Australian version uses fondant and the Irish calls for marshmallow, which is what Kirsten taught in class. You can read more about it here. I find it intriguing that the name (vovo) means “grandpa” in Portuguese, but could not quite find the origin of the name in Australia. The recipe starts with baking some coconut shortbread, then making raspberry jam, and the delicious raspberry marshmallow that gets piped at the edges. A little warm knife is the secret to get the marshmallow cut nicely in between the cookies. Some of the steps are shown below…

Recently Kirsten launched a challenge, picking one recipe from the hundreds available and asking members to make it and share the pictures. I participated of two of these monthly challenges.

.

These are considered “beginner” level at Savour. You will make a shortbread cookie, a whipped caramel for the filling, sugar-coated hazelnuts for the coating, and finally temper some milk chocolate. I loved making these but a word of caution: since each cookie will be coated in chocolate/nuts, make sure they are rolled thin to start with, or you will end up with a massive sandwich cookie. Finesse matters here! Some of the steps are shown below…

Can you imagine the taste of all that caramel plus the cookie, chocolate, and the crunch of the sugared hazelnuts? It is a dream in cookie shape! Lots of members participated of the challenge, the person who won made them super cute in square shape, she really deserved the prize (in that case it was quite a bit of high quality chocolate, and, yes, I would have loved to be the winner!).

.

If you can believe it, this is also considered beginner level (cough, cough). Components to make these beauties: choux buns with a craquelin coating, strawberry compote, cinnamon crumble, and white chocolate chantilly. The result is totally worth the work, trust me. Since they are too messy to donate to the homeless, I took them to our department and well, let’s say there were a bunch of super happy Professors and graduate students. Mission accomplished!

If you like to take your baking up several notches, I highly recommend joining Savour (click here). Plus there is a nice community online through their Facebook page, where you can see what everyone else is baking, and share kitchen adventures.

ONE YEAR AGO: Egyptian Goulash

TWO YEARS AGO: Steamed Chicken with Black Bean Sauce

THREE YEARS AGO: Ginger-Dill Salmon

FOUR YEARS AGO: Eleven Years, Time for Goodbye

FIVE YEARS AGO: Salmon Tacos

SIX YEARS AGO: A Dream that did not come true 

SEVEN YEARS AGO: Kaleidoscopic Macarons

EIGHT YEARS AGO: Zucchini Noodles with Sun-dried Tomato Pesto

NINE YEARS AGO: In My Kitchen, July 2015

TEN YEARS AGO: Sous-vide Pork Chops with Roasted Poblano Butter

ELEVEN YEARS AGO: Roasted Strawberry-Buttermilk Sherbet

TWELVE YEARS AGO: Amazing Ribs for the 4th of July!

THIRTEEN YEARS AGO: Baby Back Ribs on the 4th of July

FOURTEEN YEARS AGO: Blueberry Muffins

FIFTEEN YEARS AGO: A Pie for your 4th of July