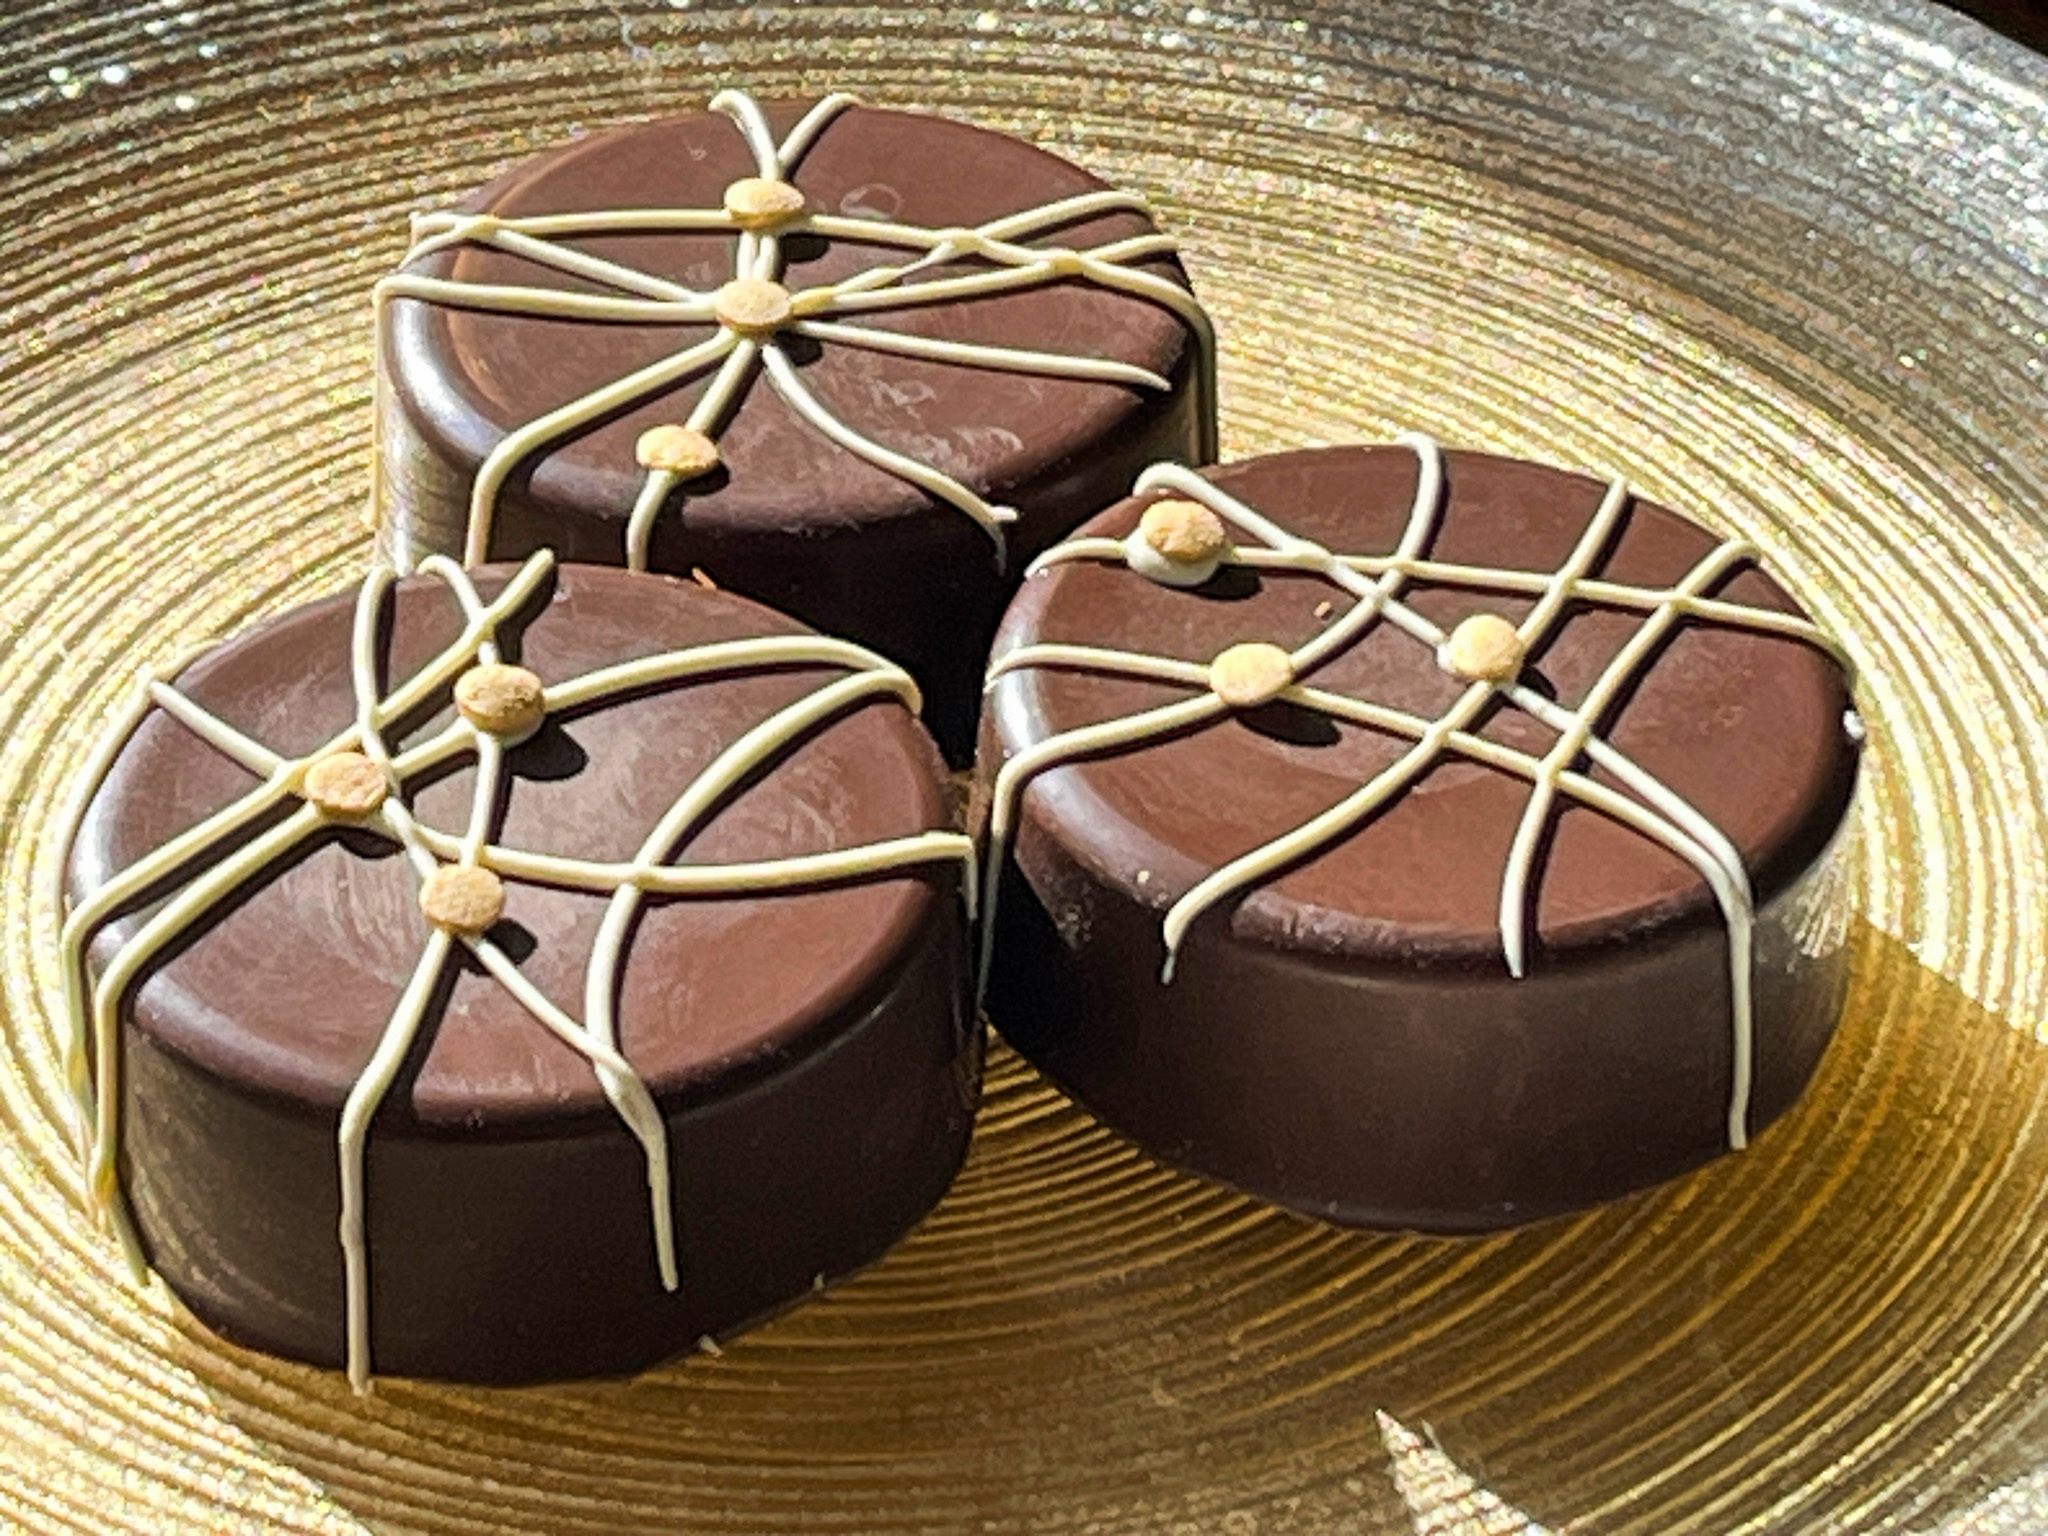
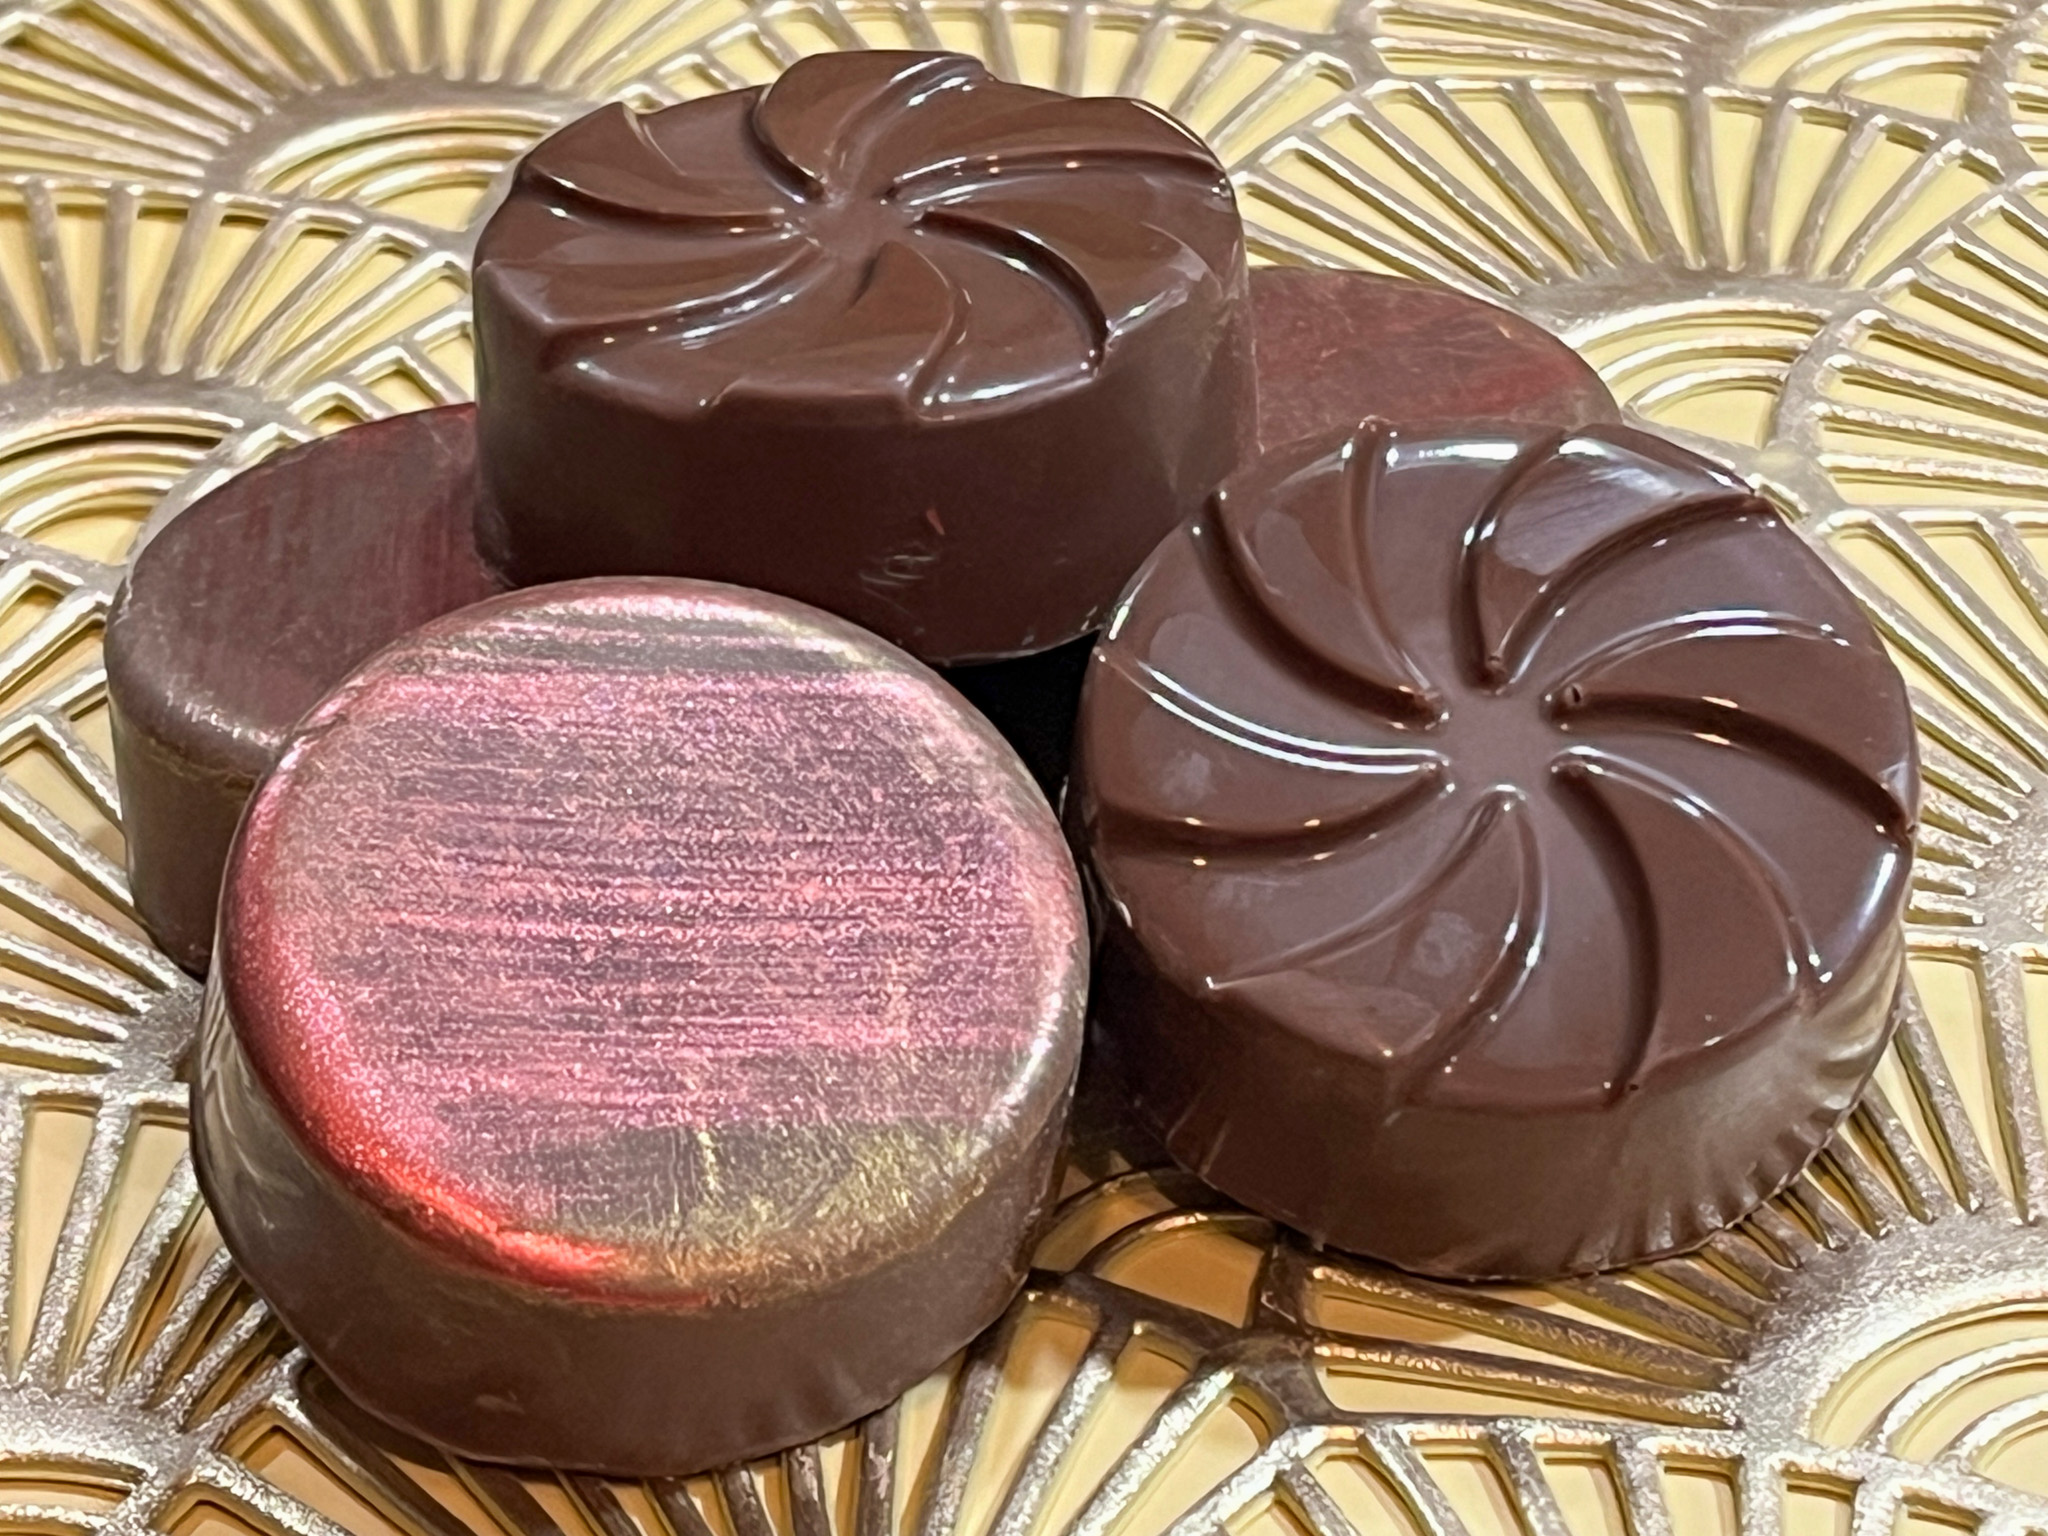
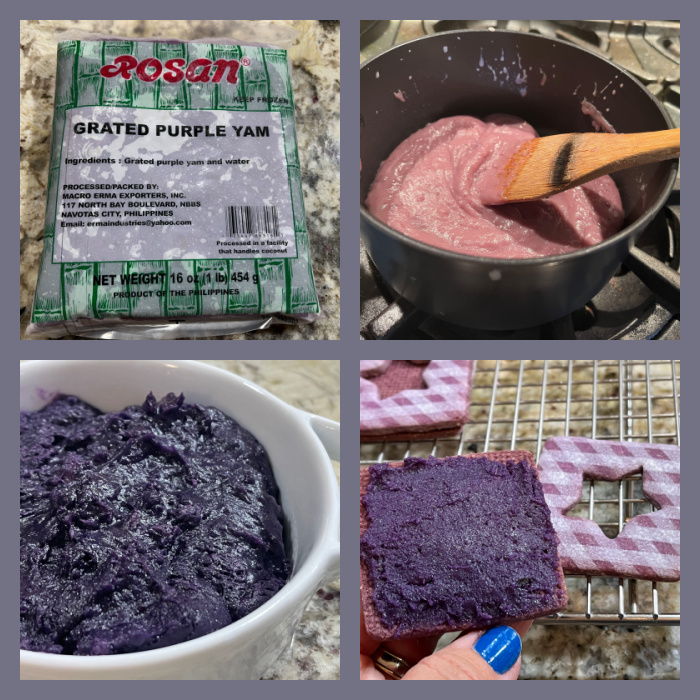
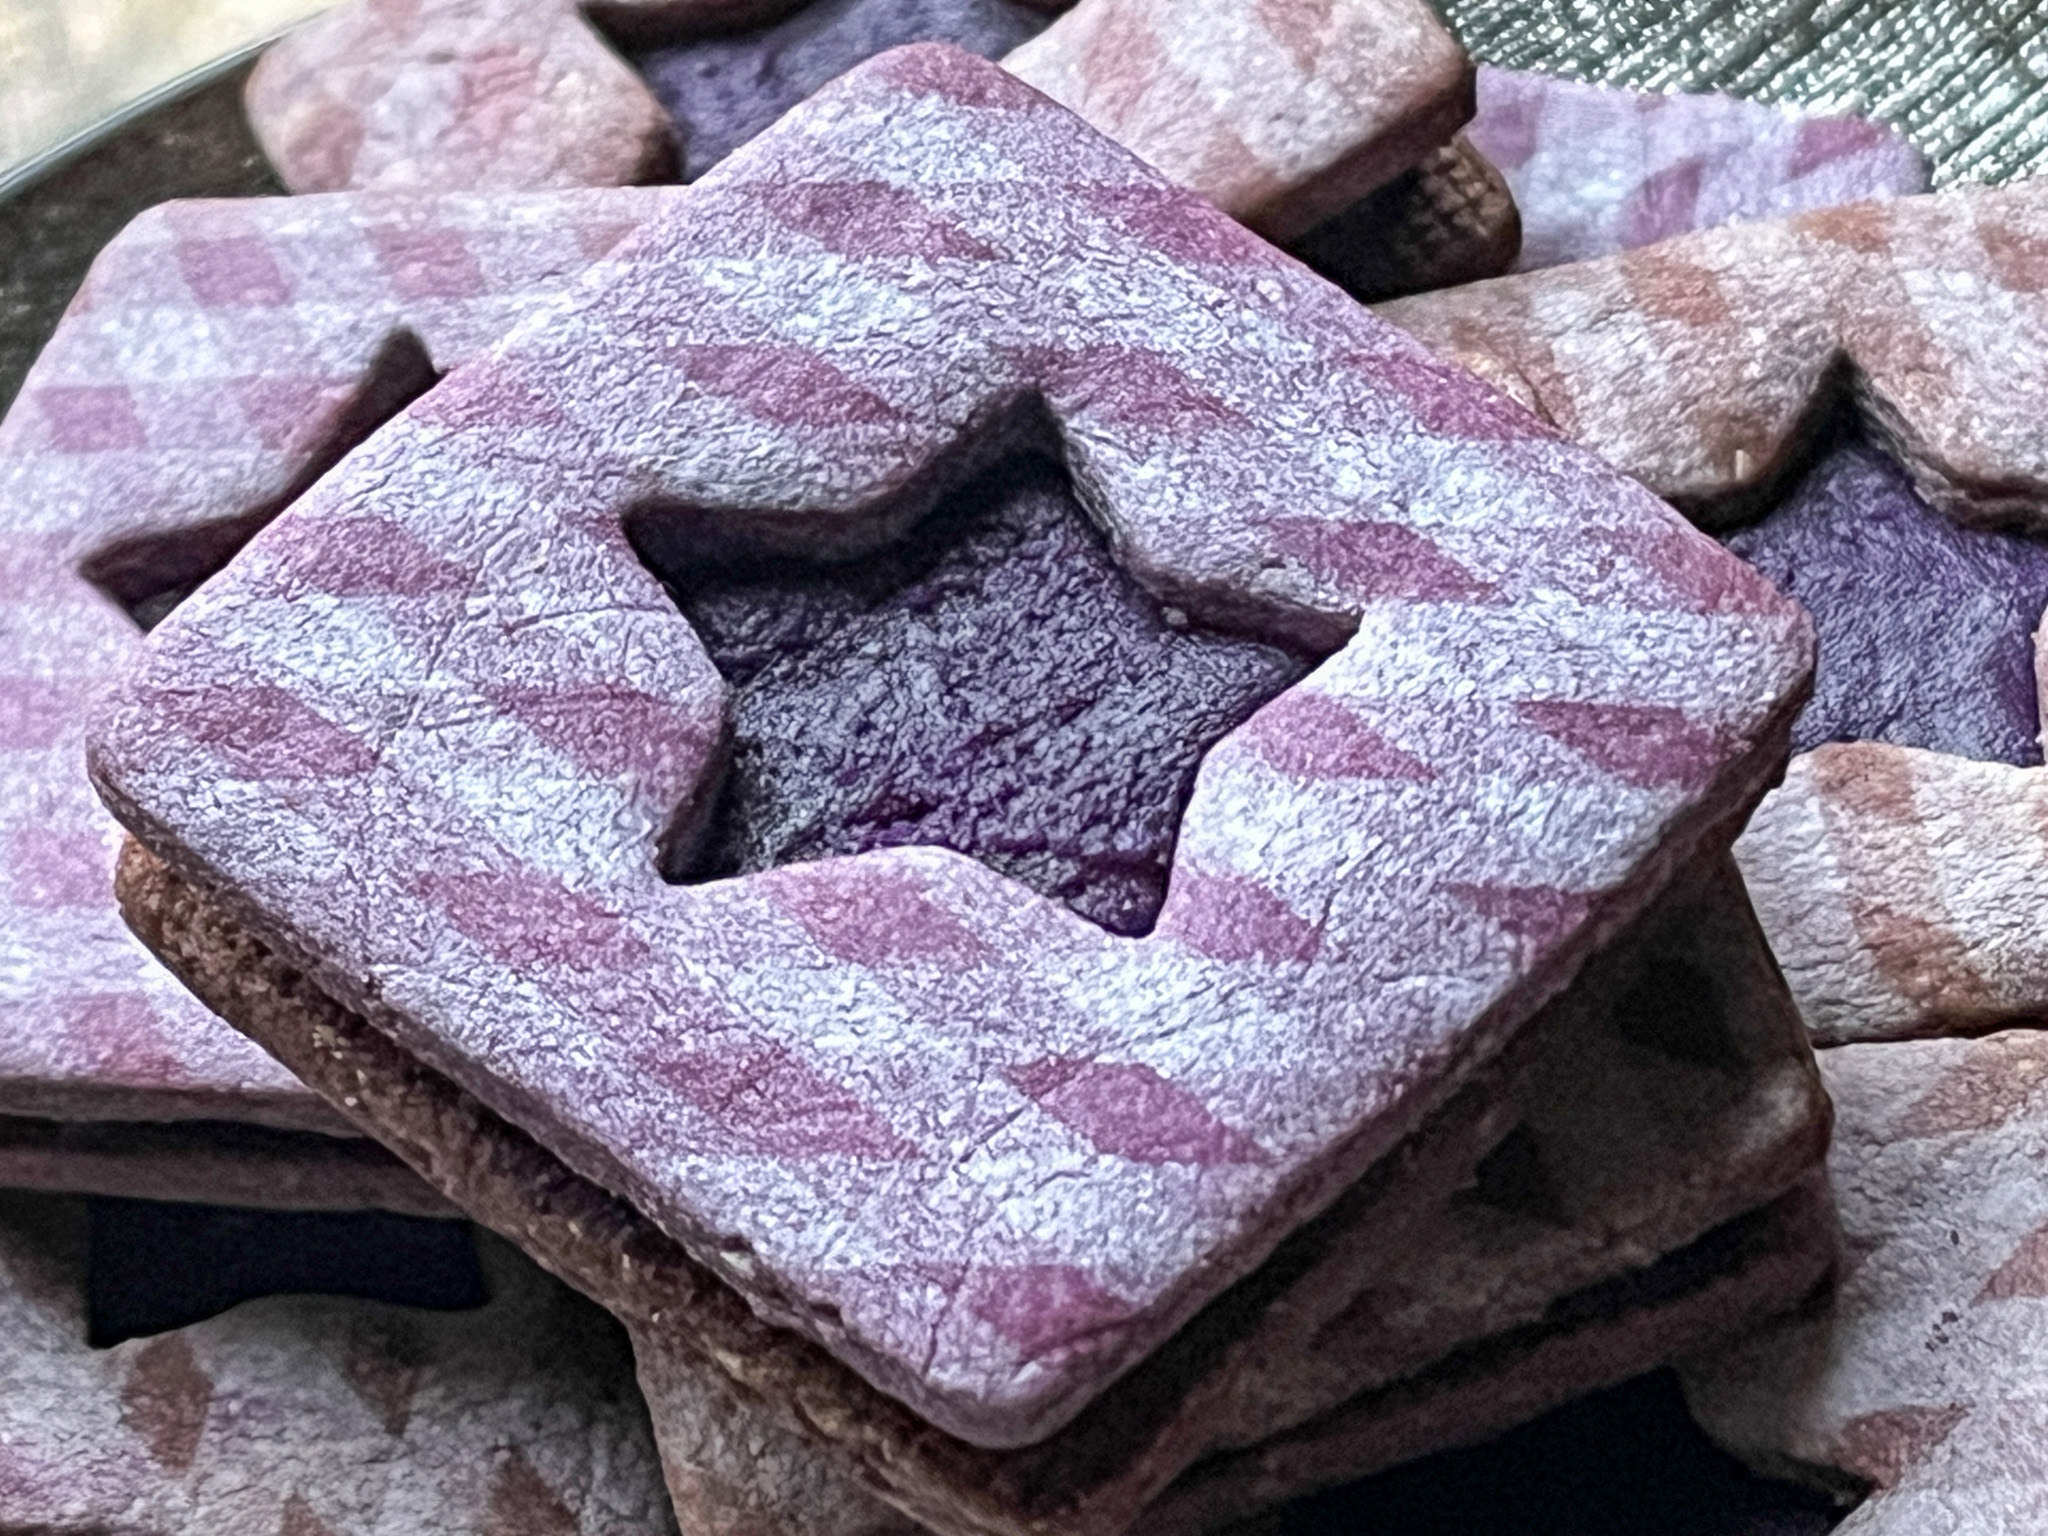
Another adventure with ube, my newfound love. For these cookies I went the extra mile and made the jam myself, from frozen grated ube that I bought at one of our Asian grocers in town. The process is simple, in fact quite similar to making Brazilian brigadeiros and results in a smooth, not too sweet delicacy perfect to fill cookies. I opted for a little air-brushing to decorate the tops instead of the usual showering with powdered sugar.

UBE LINZER COOKIES
(adapted from Instructables)
FOR THE UBE JAM:
1/3 cup condensed milk
1/4 cup evaporated milk
2 tbsp butter
1/2 cup grated ube
1 tsp ube extract
1/8 tsp salt
Squeeze of lemon
FOR THE COOKIE DOUGH:
1/2 cup (1 stick) butter, softened at room temperature
1/3 cup icing sugar
1 large egg yolk
1 tsp ube extract
1 cup all purpose flour
1/2 cup almond flour
pinch of salt
Extra icing sugar for dusting
Make the jam: Combine condensed milk, evaporated milk, and butter in a pan over medium heat. Stir until butter is melted in low heat. Add grated ube. Stir continuously until thickened, it should take about 10 minutes. Add ube extract, salt, and a squeeze of lemon juice. Continue stirring until you reach the consistency of thick pudding, about minutes longer. Remove from heat and let cool at room temperature.
Make the dough: Using a paddle attachment, cream together butter and icing sugar. Add egg yolk.
Continue to cream together until pale and fluffy. Add ube extract. Mix until throughly combined.
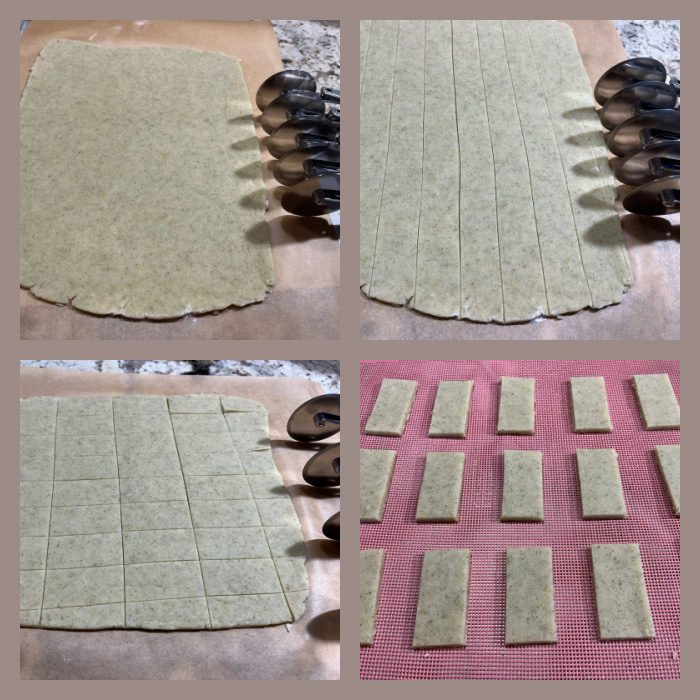
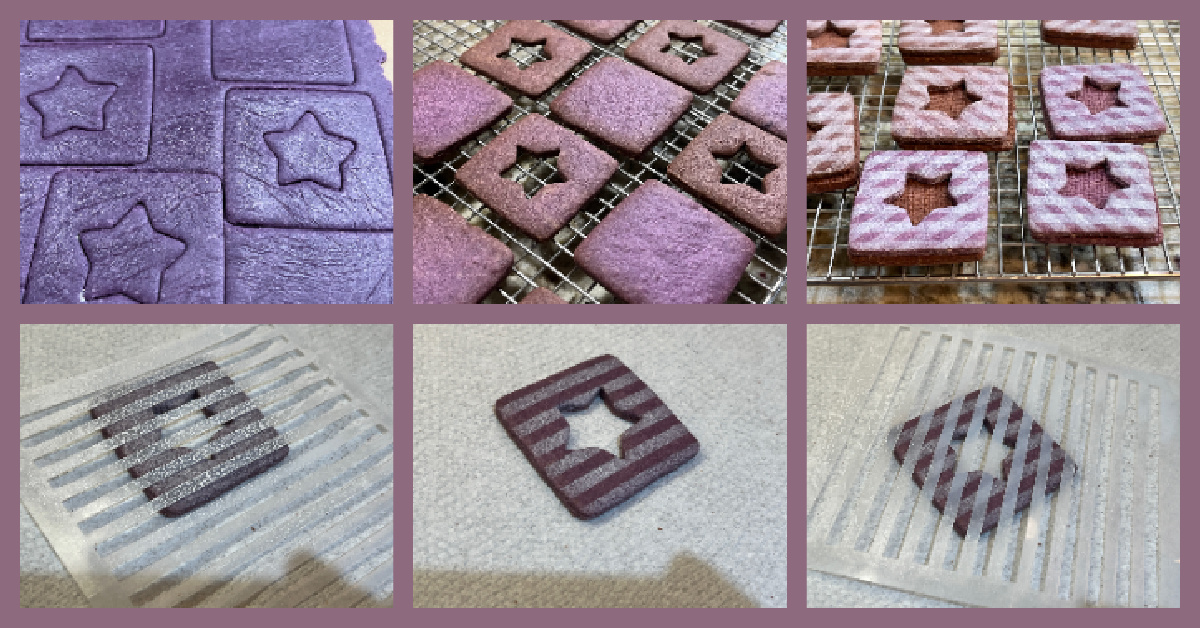
Add all purpose flour, almond flour, and salt. Mix just until combined. Roll the dough out, cut shapes, and for half of the cookies, cut a design of your choice in the center.
Bake the cookies at 325F for 15 minutes. Once cool, spray a pattern on the cookies with the cutout, if so desired. Spread ube jam on the underside of the bottom cookie layer, so that the smooth side is on the outside. Find matching tops and make a cookie sandwich.
ENJOY!
to print the recipe, click here
Comments: If you can find frozen grated ube, you are in luck! Having tried both kinds, I can tell you that the home-made jam is much better, both in taste and texture. Totally worth the extra work. The Linzer cookies had a nice flavor and amazing color just from the ube extract.
To make the pattern I used a simple stencil and air-brushed white color over the naked cookie, after baking and allowed to come to room temperature. You can of course omit this step and just cover the tops with powdered sugar, but I find those hard to transport and eat without getting the fingers all coated with sugar. Your kitchen, your rules…. At any rate, these are truly delicious, and if you want a very unusual take on Linzers, I cannot think of a better version. MAKE IT!
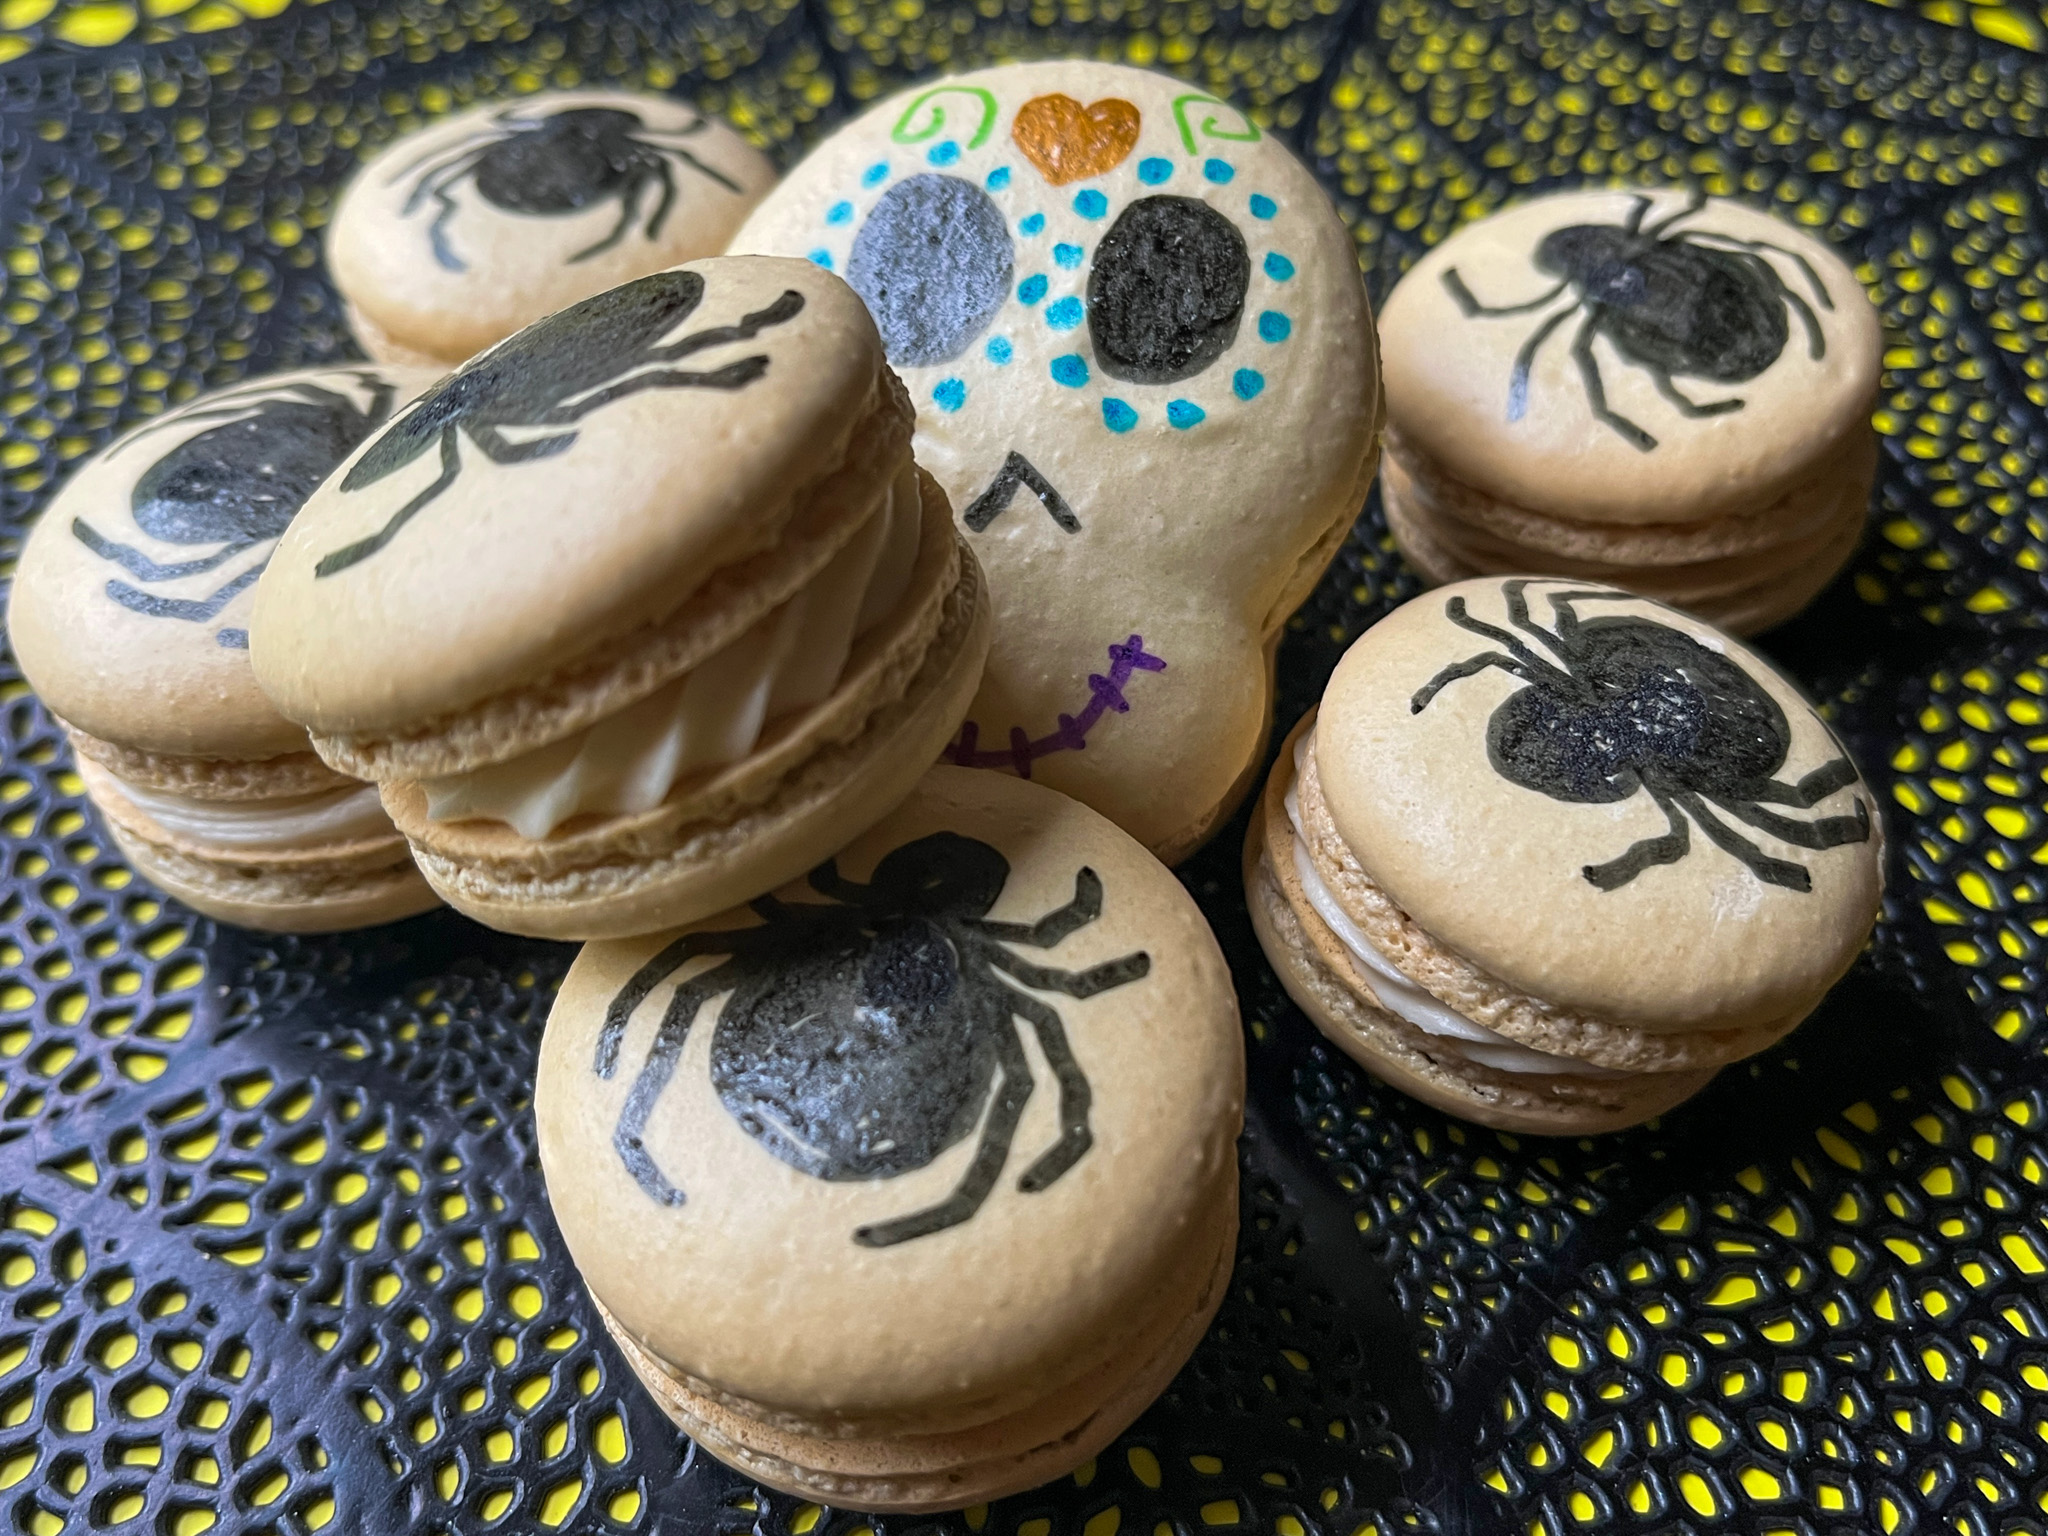
ONE YEAR AGO: Four Festive Macarons
TWO YEARS AGO: Cuccidati, from Tina to You
THREE YEARS AGO: Festive Macarons to Welcome 2021!
FOUR YEARS AGO: Episode 6, Cookies in The Great American Baking Show
FIVE YEARS AGO: Brazilian Chicken and Heart of Palm Pie
SIX YEARS AGO: Roasted Butternut Squash with Walnuts and Tahini Sauce
SEVEN YEARS AGO: The Complicit Conspiracy of Alcohol
EIGHT YEARS AGO: Candy Cane Cookies
NINE YEARS AGO: Macarons: Much better with a friend
TEN YEARS AGO: Our Mexican Holiday Dinner
ELEVEN YEARS AGO: The Ultimate Cranberry Sauce
TWELVE YEARS AGO: Edamame Dip
THIRTEEN YEARS AGO: Gougeres
FOURTEEN YEARS AGO: Beef Wellington on a Special Night