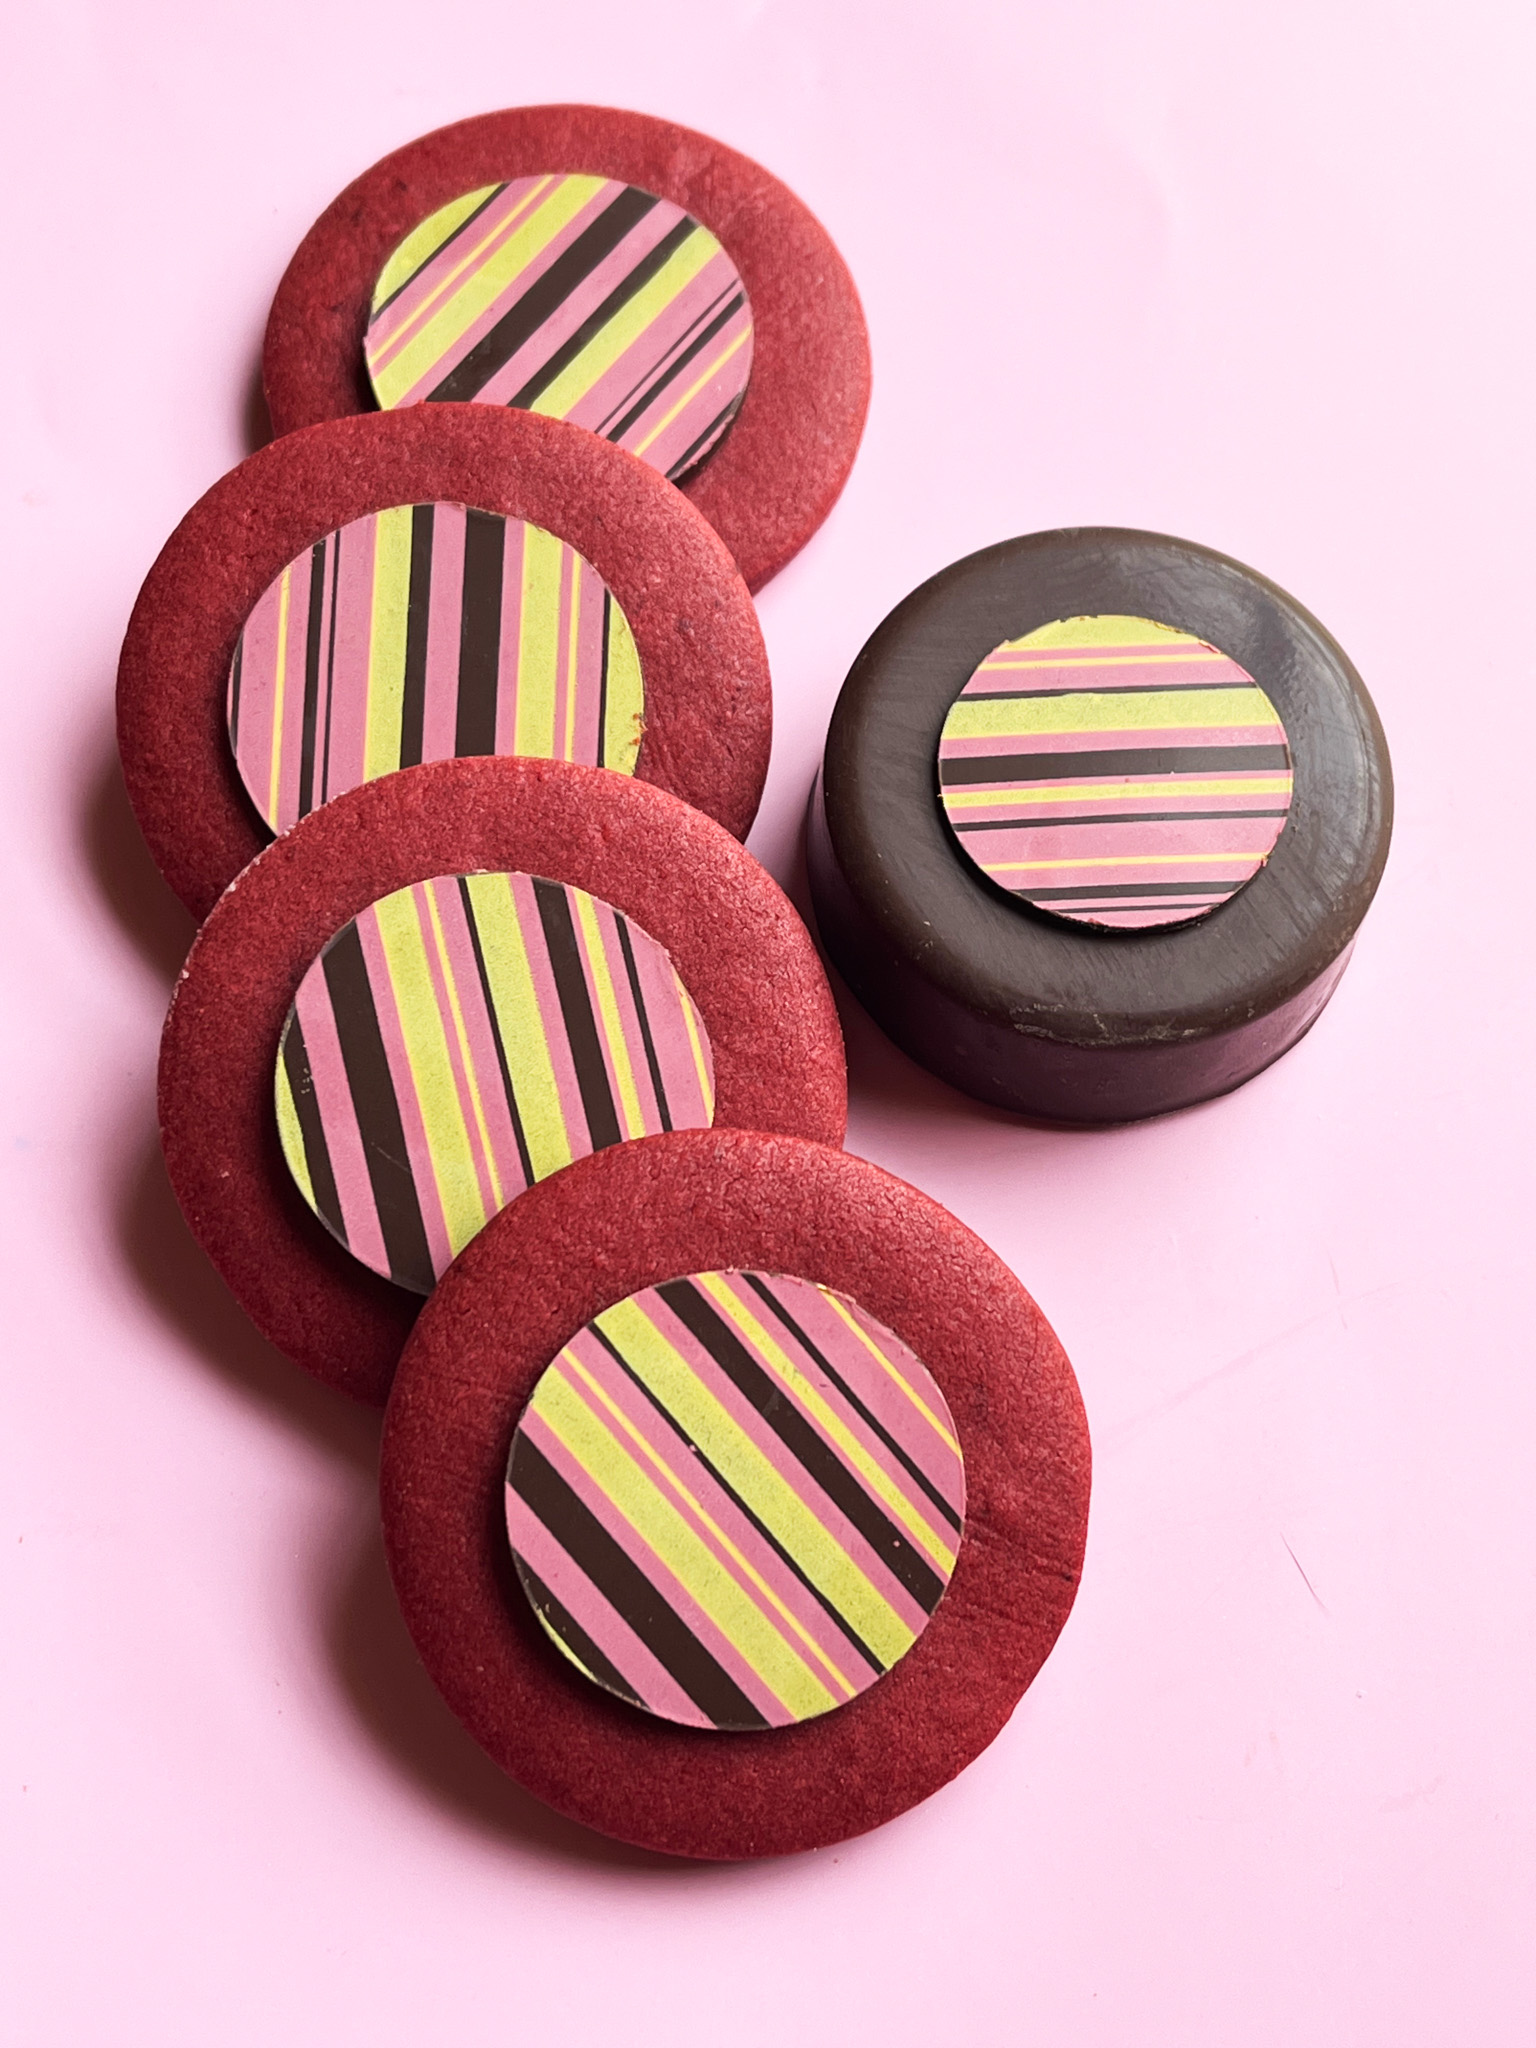
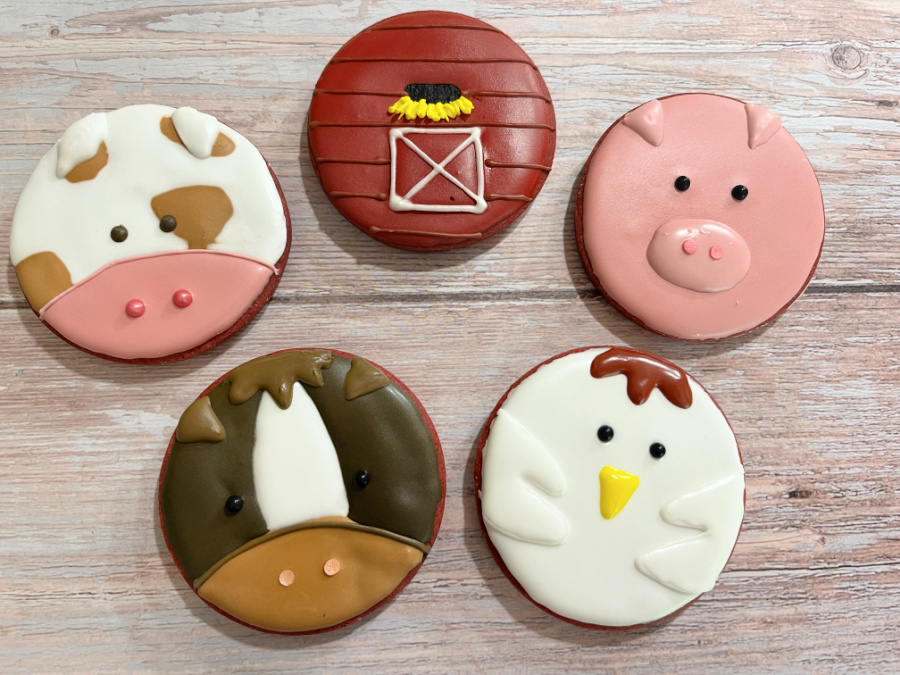
CHOCOLATE-COVERED OREOS STRIKE AGAIN

My last round up was back in February (check them out clicking here), so it is time to share the designs I’ve made since the last post. Without further ado, here they are…

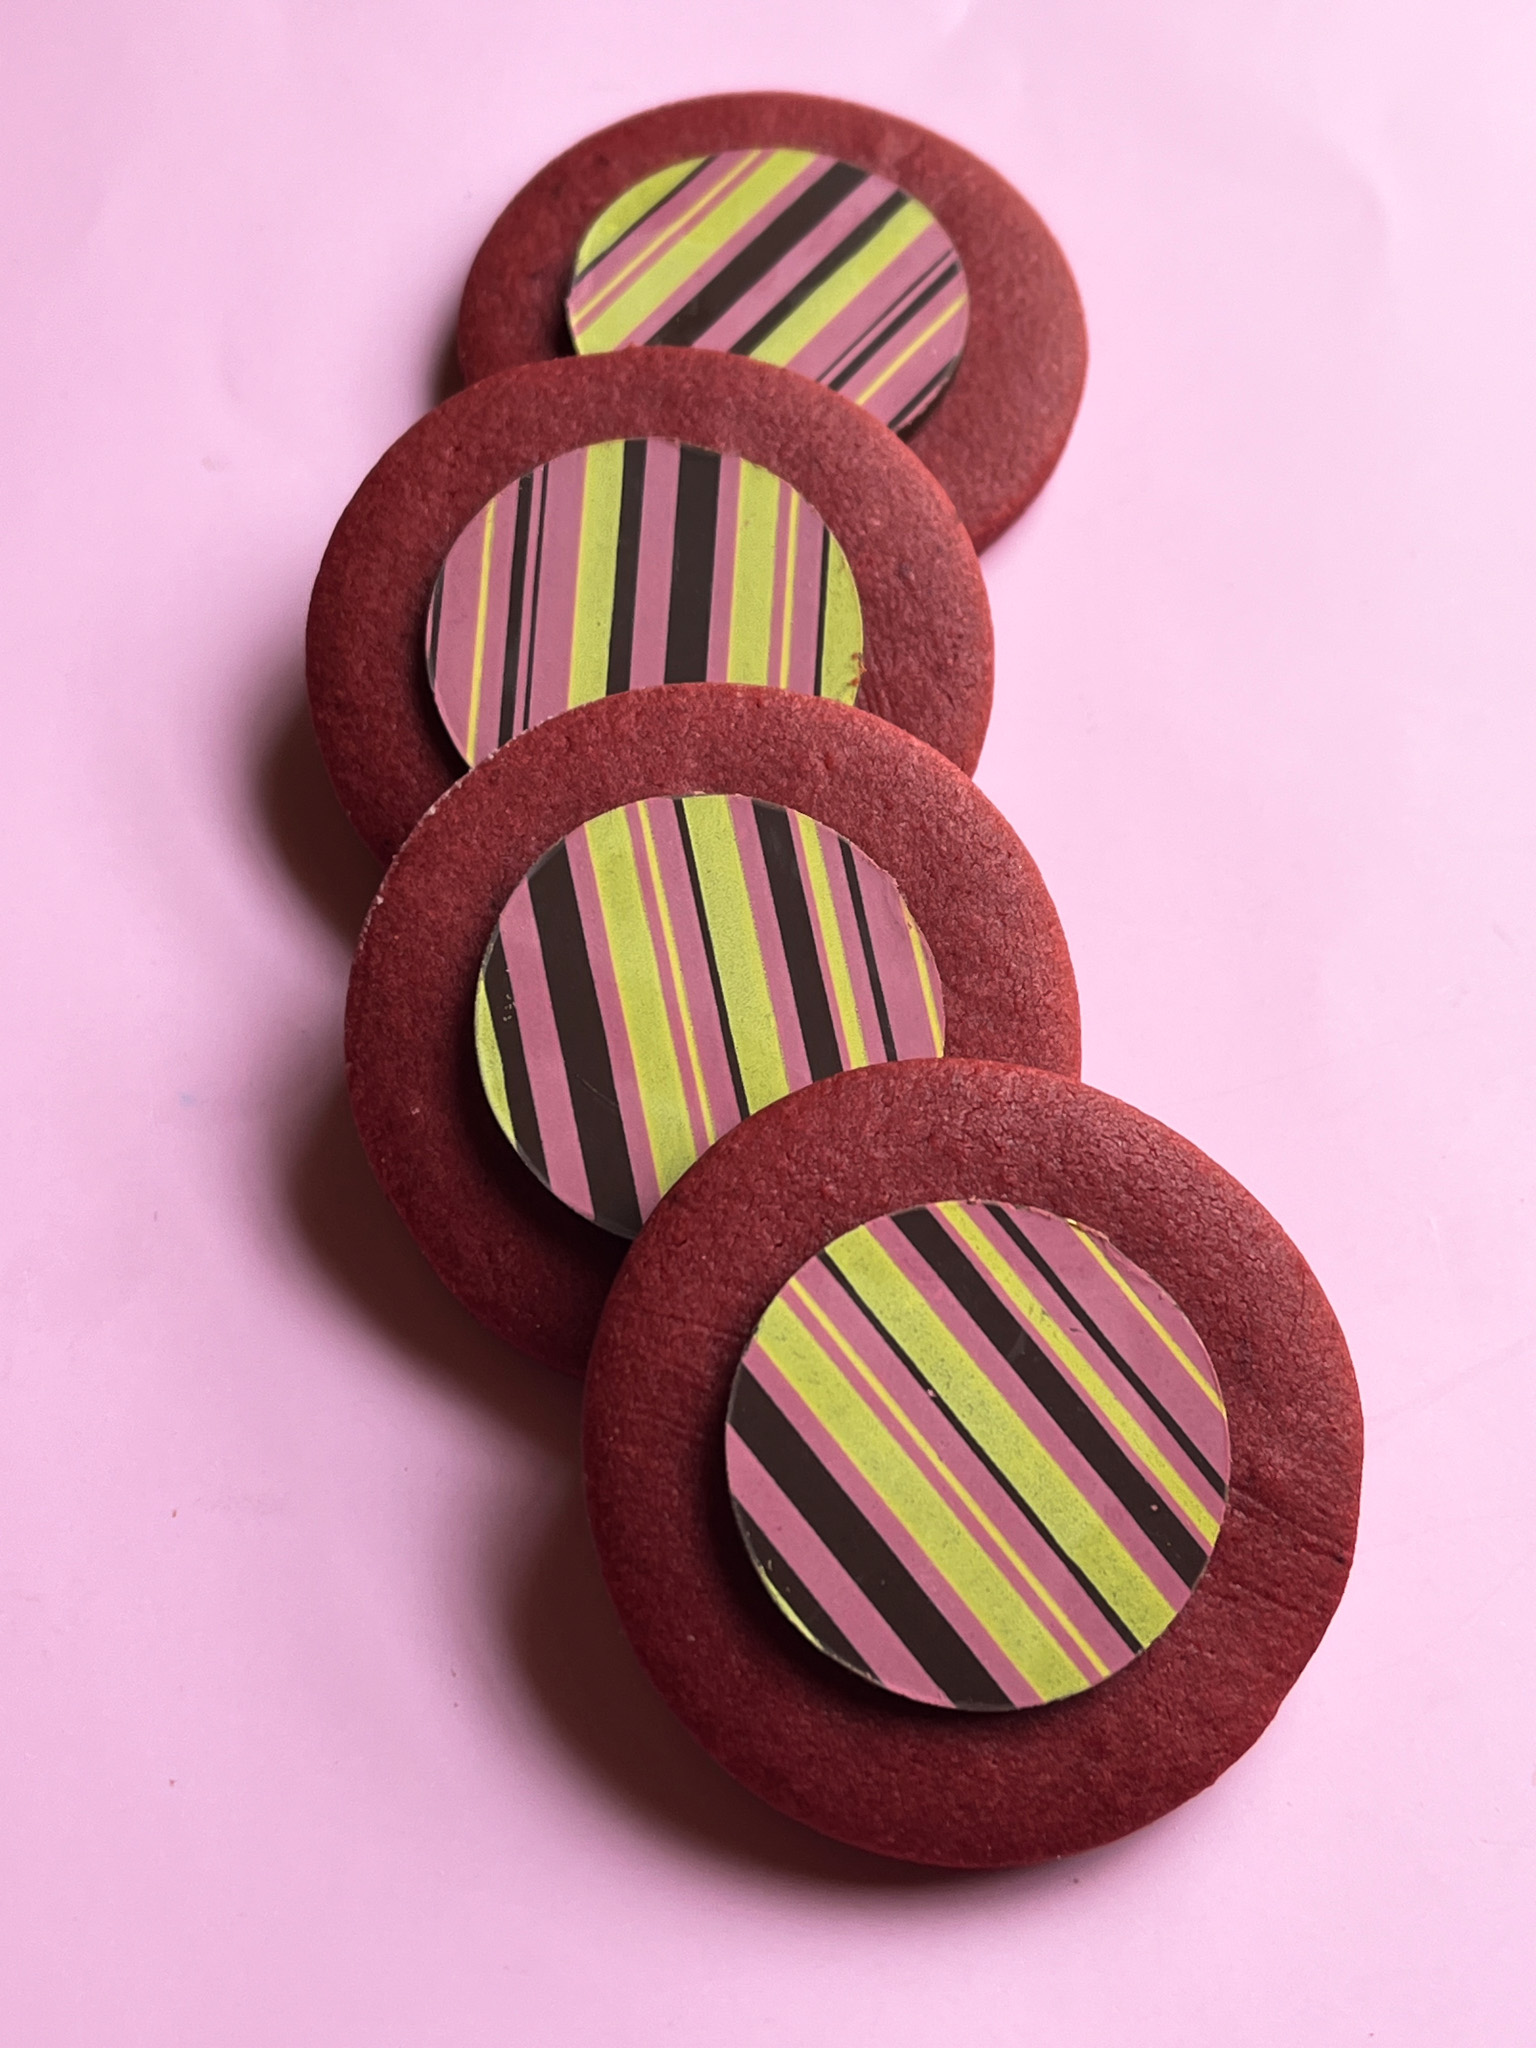
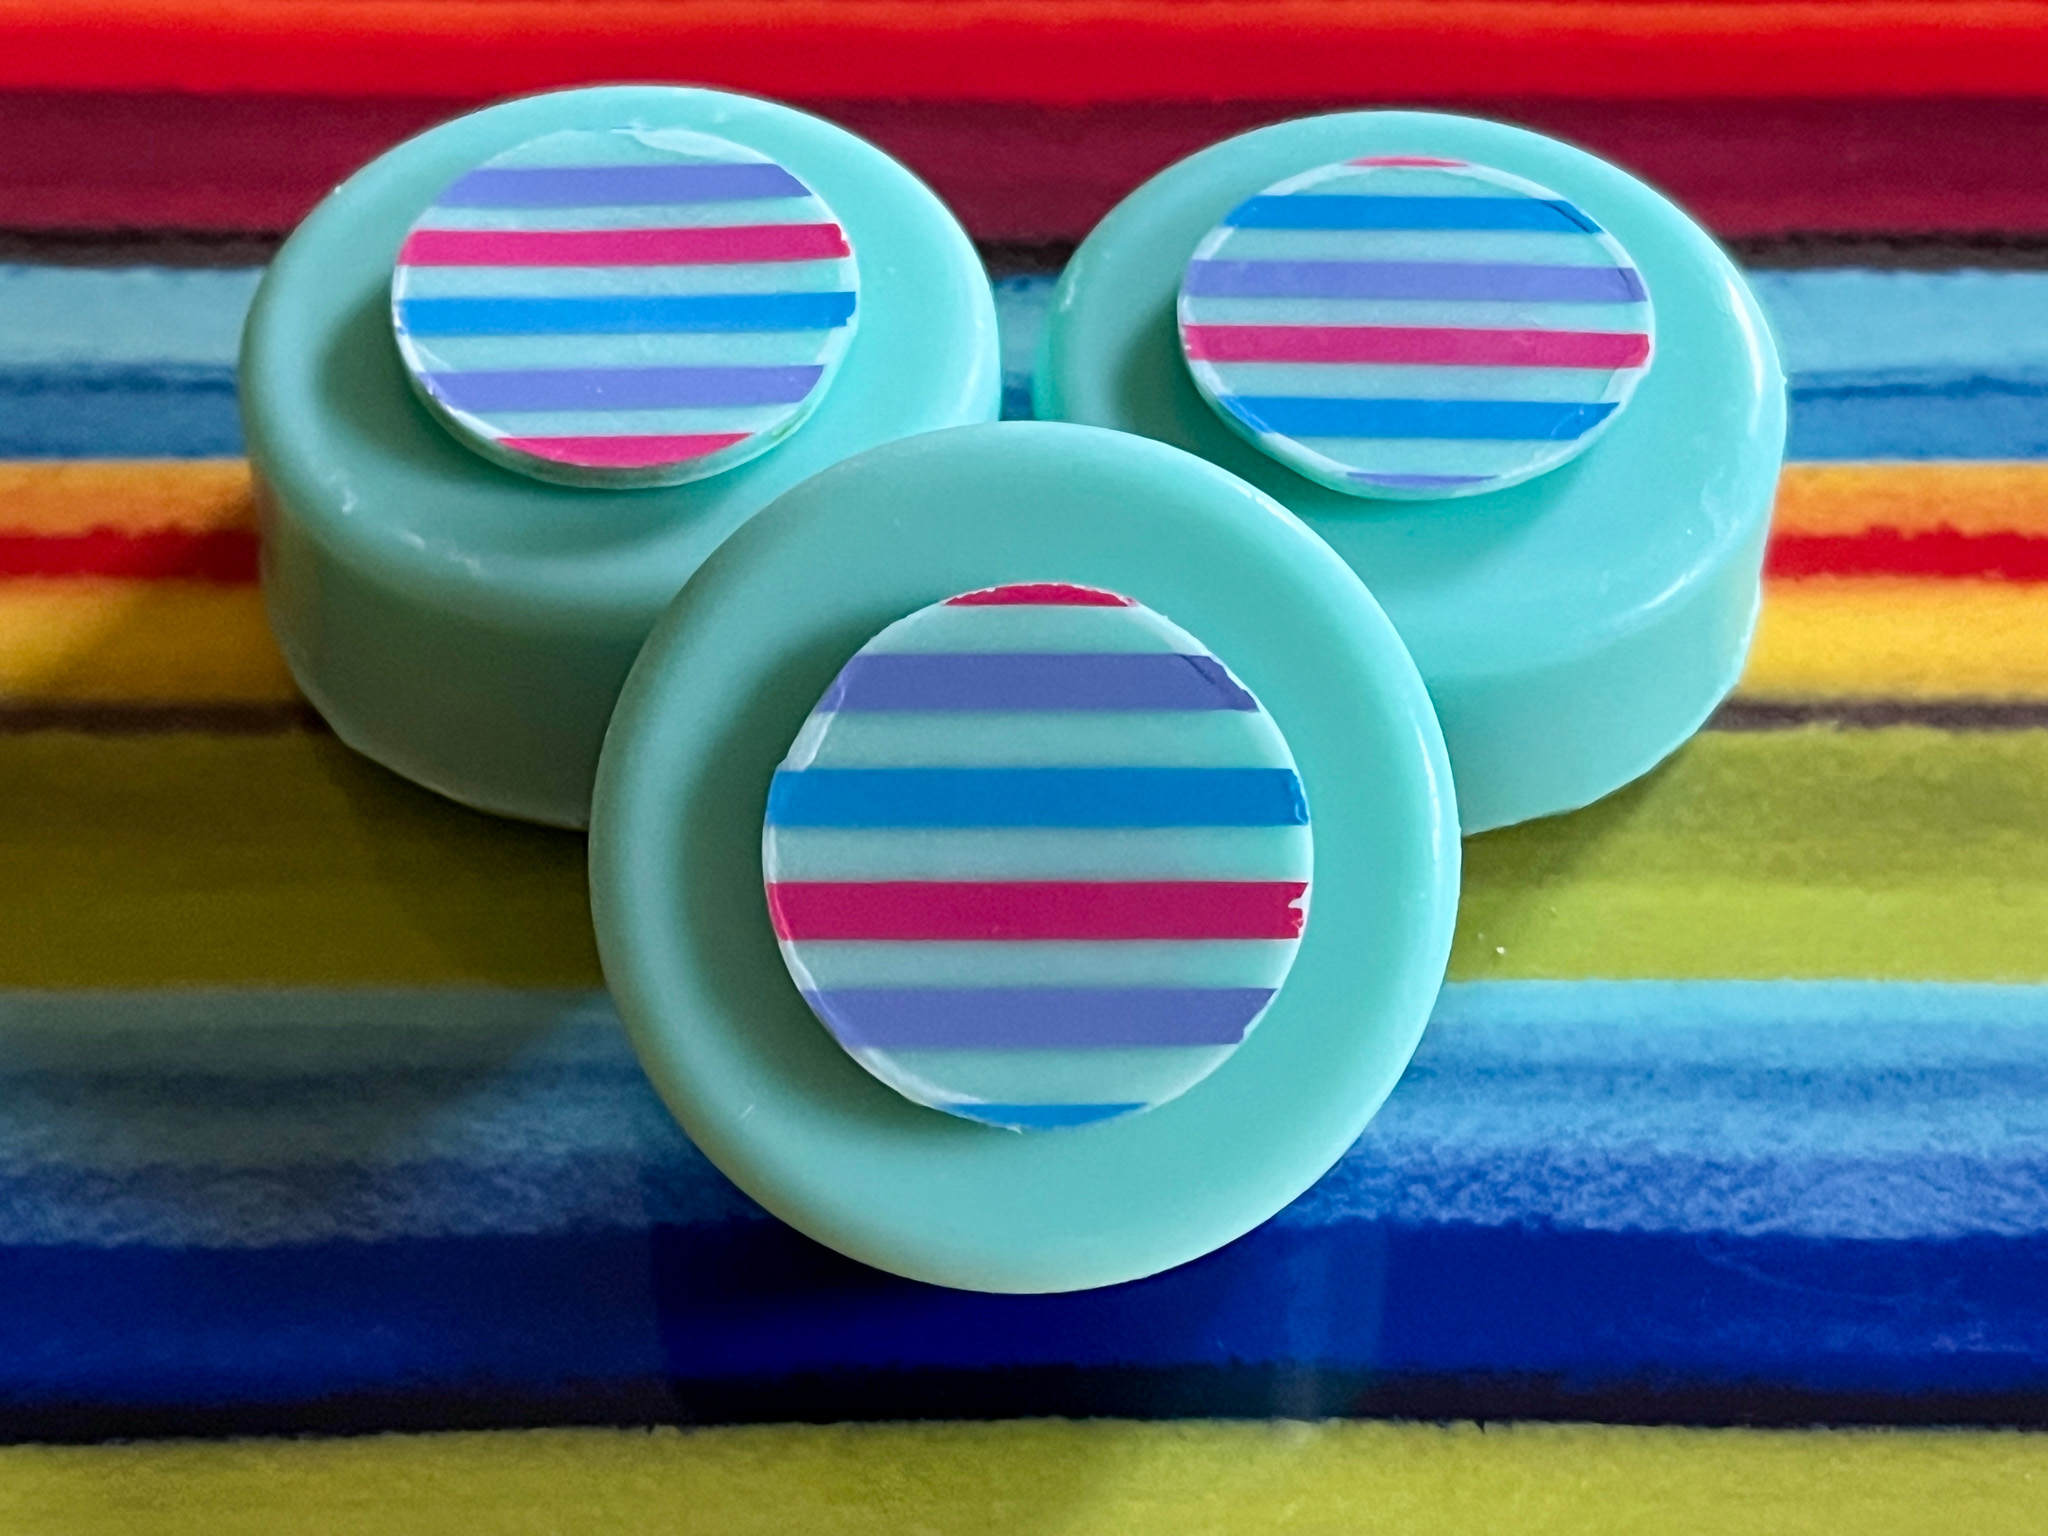
One of my favorite ways to decorate is adding discs of chocolate decorated with transfer sheets. It is quite convenient because normally I have some leftover melted chocolate after filing the molds, so I use that to spread a thin layer over the transfer sheet, let it set in the fridge and then cut circles. Those last forever at room temperature, so normally I make them and save them to use the following week.

FLOWERS ON WHITE

FLOWERS ON PINK

STRIPES ON TURQUOISE

SWIRLS ON BROWN

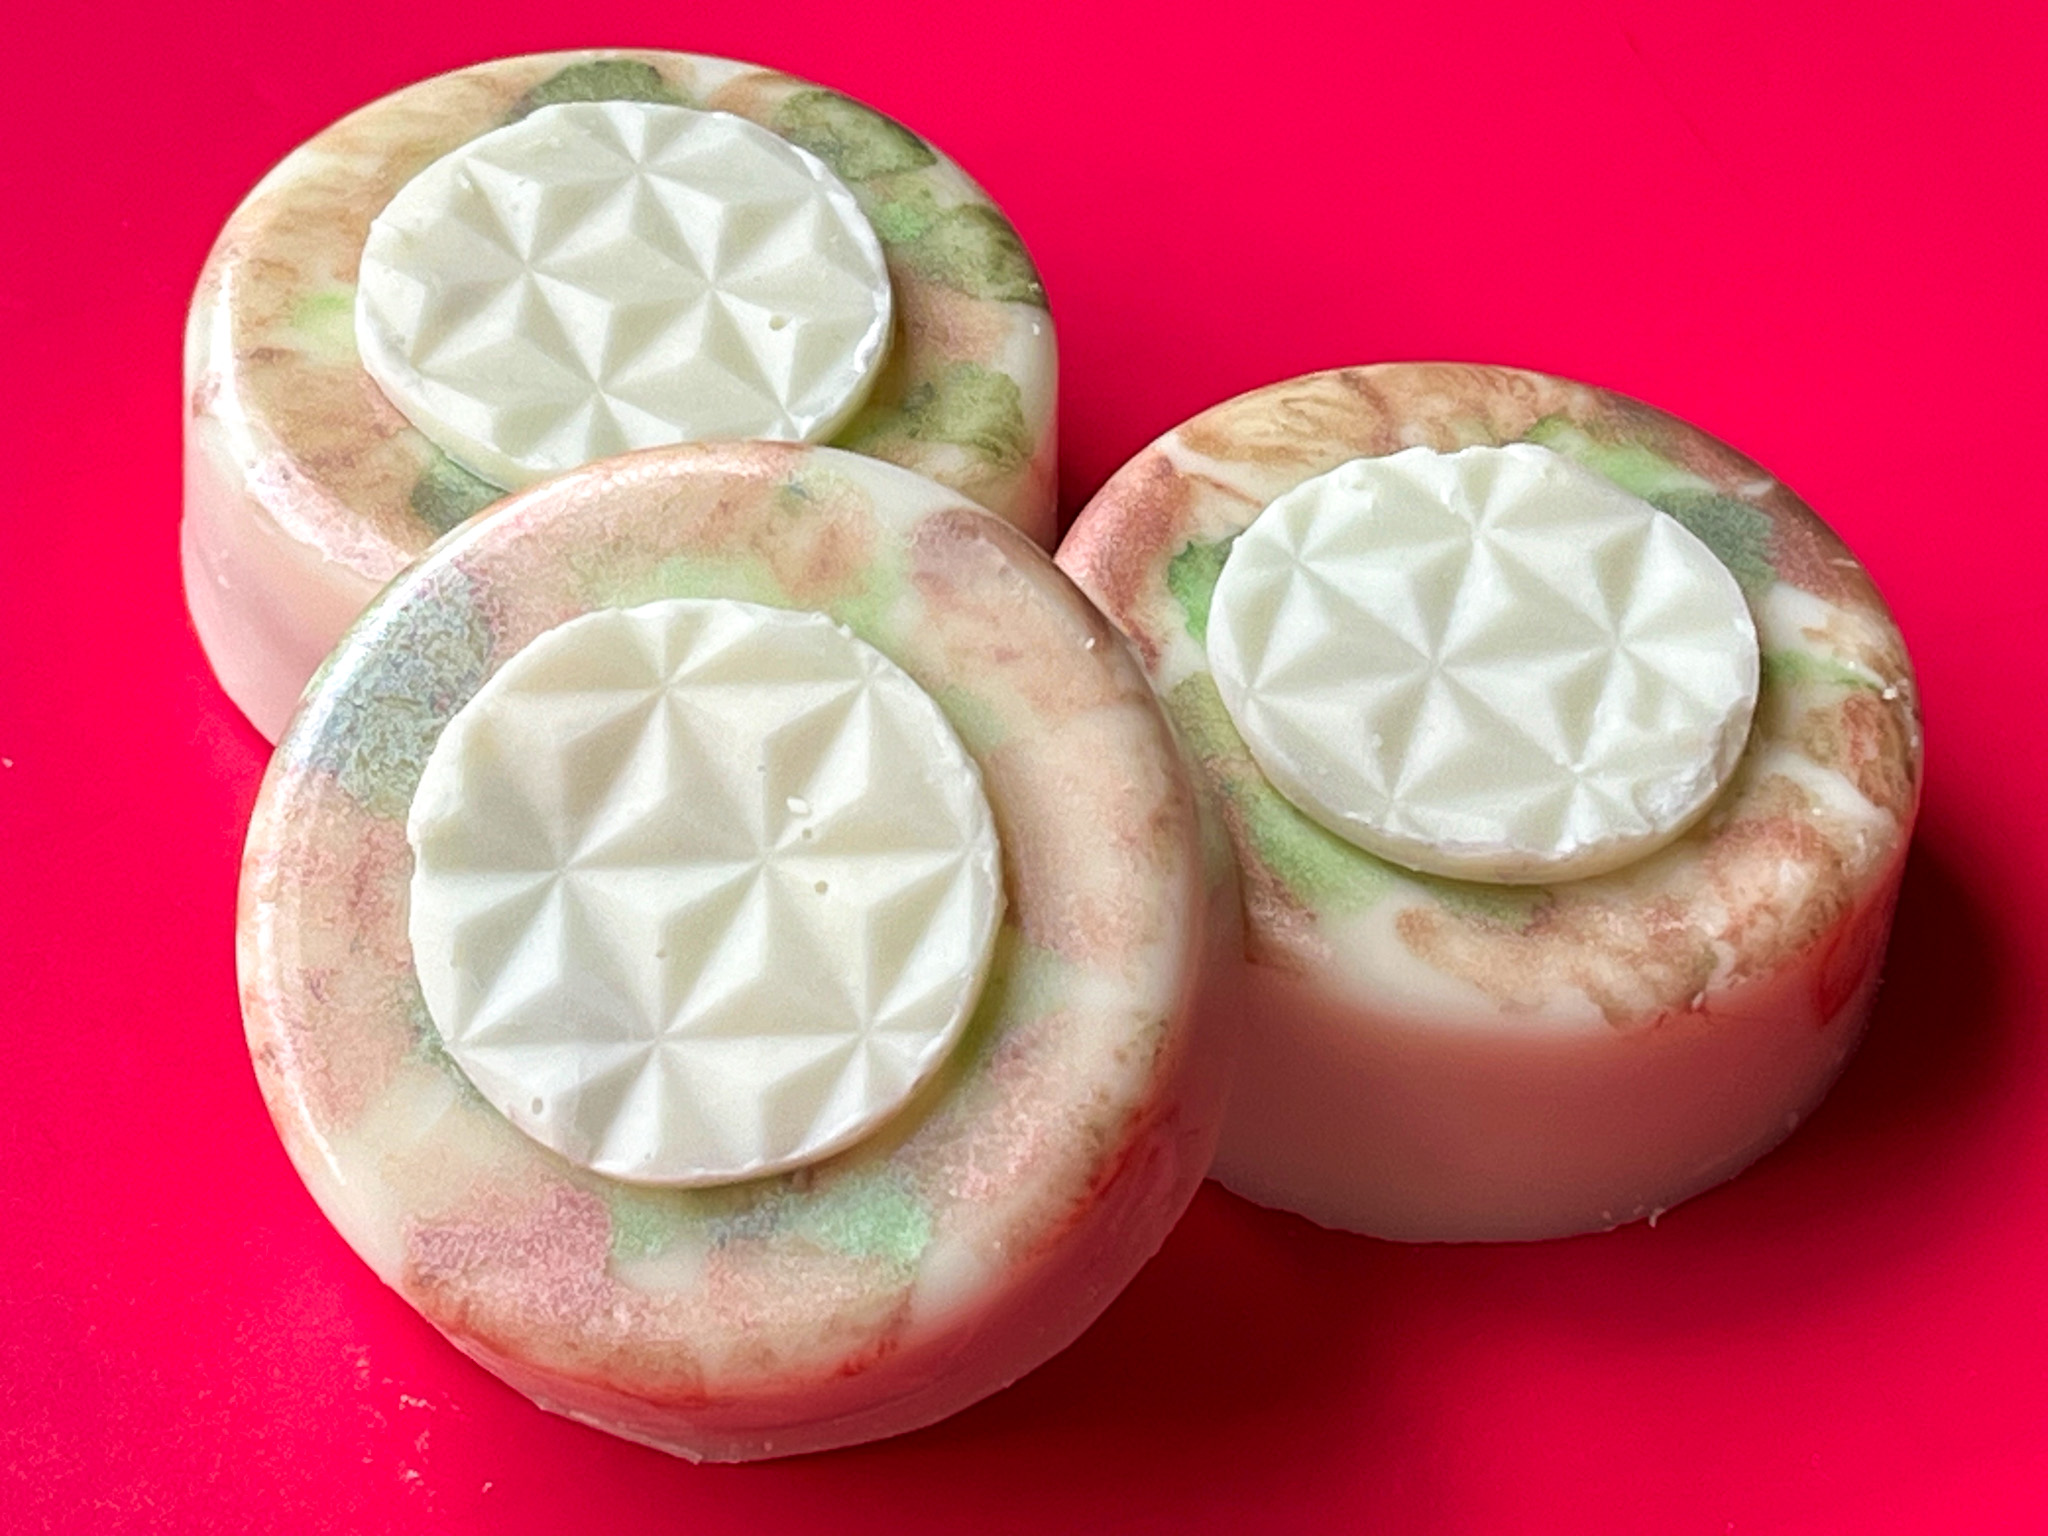
This series had a new technique, I used textured parchment paper to spread the chocolate and after setting, cut circles. I need more practice, it was hard to avoid bubbles, but I got a few to work ok. The background used the tie-dye technique I shared in my previous post about Oreos (link in first paragraph).

TEXTURED CIRCLES ON TIE-DYE BACKGROUND

Moving on, some designs relied on Royal Icing…

GOLD BRUSH EMBROIDERY

MINIMALIST BLACK ON WHITE

LITTLE FONDANT FLOWER

As I always say, making Chocolate-Covered Oreos can be addictive. I am always thinking about the next batch, as I try to make them every single week… I hope you enjoyed this series, and stay tuned for more soon!

ONE YEAR AGO: Sesame-Miso Yakitori

TWO YEARS AGO: Marinated Chickpeas with Slow-Roasted Red Peppers

THREE YEARS AGO: Mini-Pullman Sourdough Bread

FOUR YEARS AGO: Gibassier

FIVE YEARS AGO: Sundried Tomato Twist Bread

SIX YEAR AGO: And now for something completely different….

SEVEN YEARS AGO: Parsnip, Coconut, and Lemongrass Soup

EIGHT YEARS AGO: In My Kitchen, October 2016

NINE YEARS AGO: Paleo Moussaka

TEN YEARS AGO: In My Kitchen, October 2014

ELEVEN YEARS AGO: In My Kitchen, October 2013

TWELVE YEARS AGO: Crimson and Cream Turkey Chili

THIRTEEN YEARS AGO: Taking a break from the nano-kitchen

FOURTEEN YEARS AGO: Chocolate Chip Cookies

PARTY NEXT DOOR!

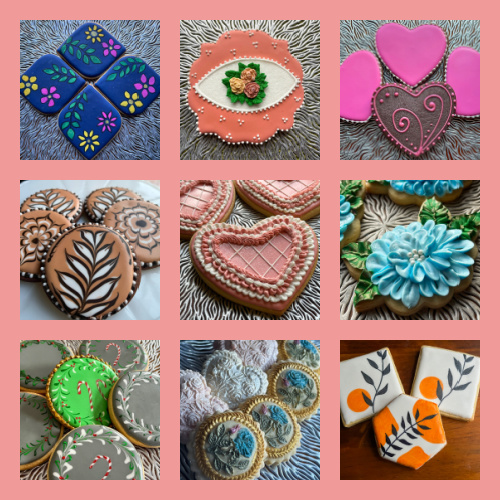
Thrilled to share that my little baby cookie blog turns THREE YEARS OLD TODAY! Three years, three hundred and thirty cookie posts published… Would love if you pay me a visit (click here)

RAVIOLI COOKIE, THE SHORTEST PATH TO INSANITY


The path is not only short, but also pretty messy. You’ve been warned. For a very long time I’ve flirted with the idea of making a stuffed cookie in the shape of a ravioli, inspired by a gorgeous version from Helen Fletcher’s book Craving Cookies, the Quintessential American Cookie Book. She cuts hers by hand, after enclosing a square of chocolate between two sheets of dough. I decided I was going to impress her (cough, cough) with a different twist: using a ravioli press. What could possibly go wrong? I was so excited about my project that I had already a blog post shaping up in my mind. So, first things first, I took a nice picture of the weapons used in the crime.


I dreamed about my blog post going viral, even if in almost 15 years of blogging nothing has ever came close to it. In fact, viruses avoid me so much that even Covid stays safely away. Still a unicorn after all these pandemic years. Anyhow, I digress. Here is the full outcome of 420g flour, 340g butter, and a good amount of sugar to boot.

Six. Cookies. Six. Half a dozen.

The composite picture below shows the steps right before chaos. In theory, you roll the cookie dough, lay on the mold, add your filling, close with another cookie sheet, smooth everything with the cute rolling pin provided. For the square ravioli, I used Peppermint Bark, cut in four small pieces. They fit so nicely in the allotted space! But that was the last reason I would have to smile for a while…

From that point, all hell broke loose and broke loose with bangs of profanity. The cookie dough glued to the mold in perverse ways, I used every trick imaginable, including freezing the whole thing for increasing periods of time. The bond between dough and mold was likely approaching triple-covalent level. I also tried gently probing with a tiny spatula. I don’t recommend doing that. Ever.

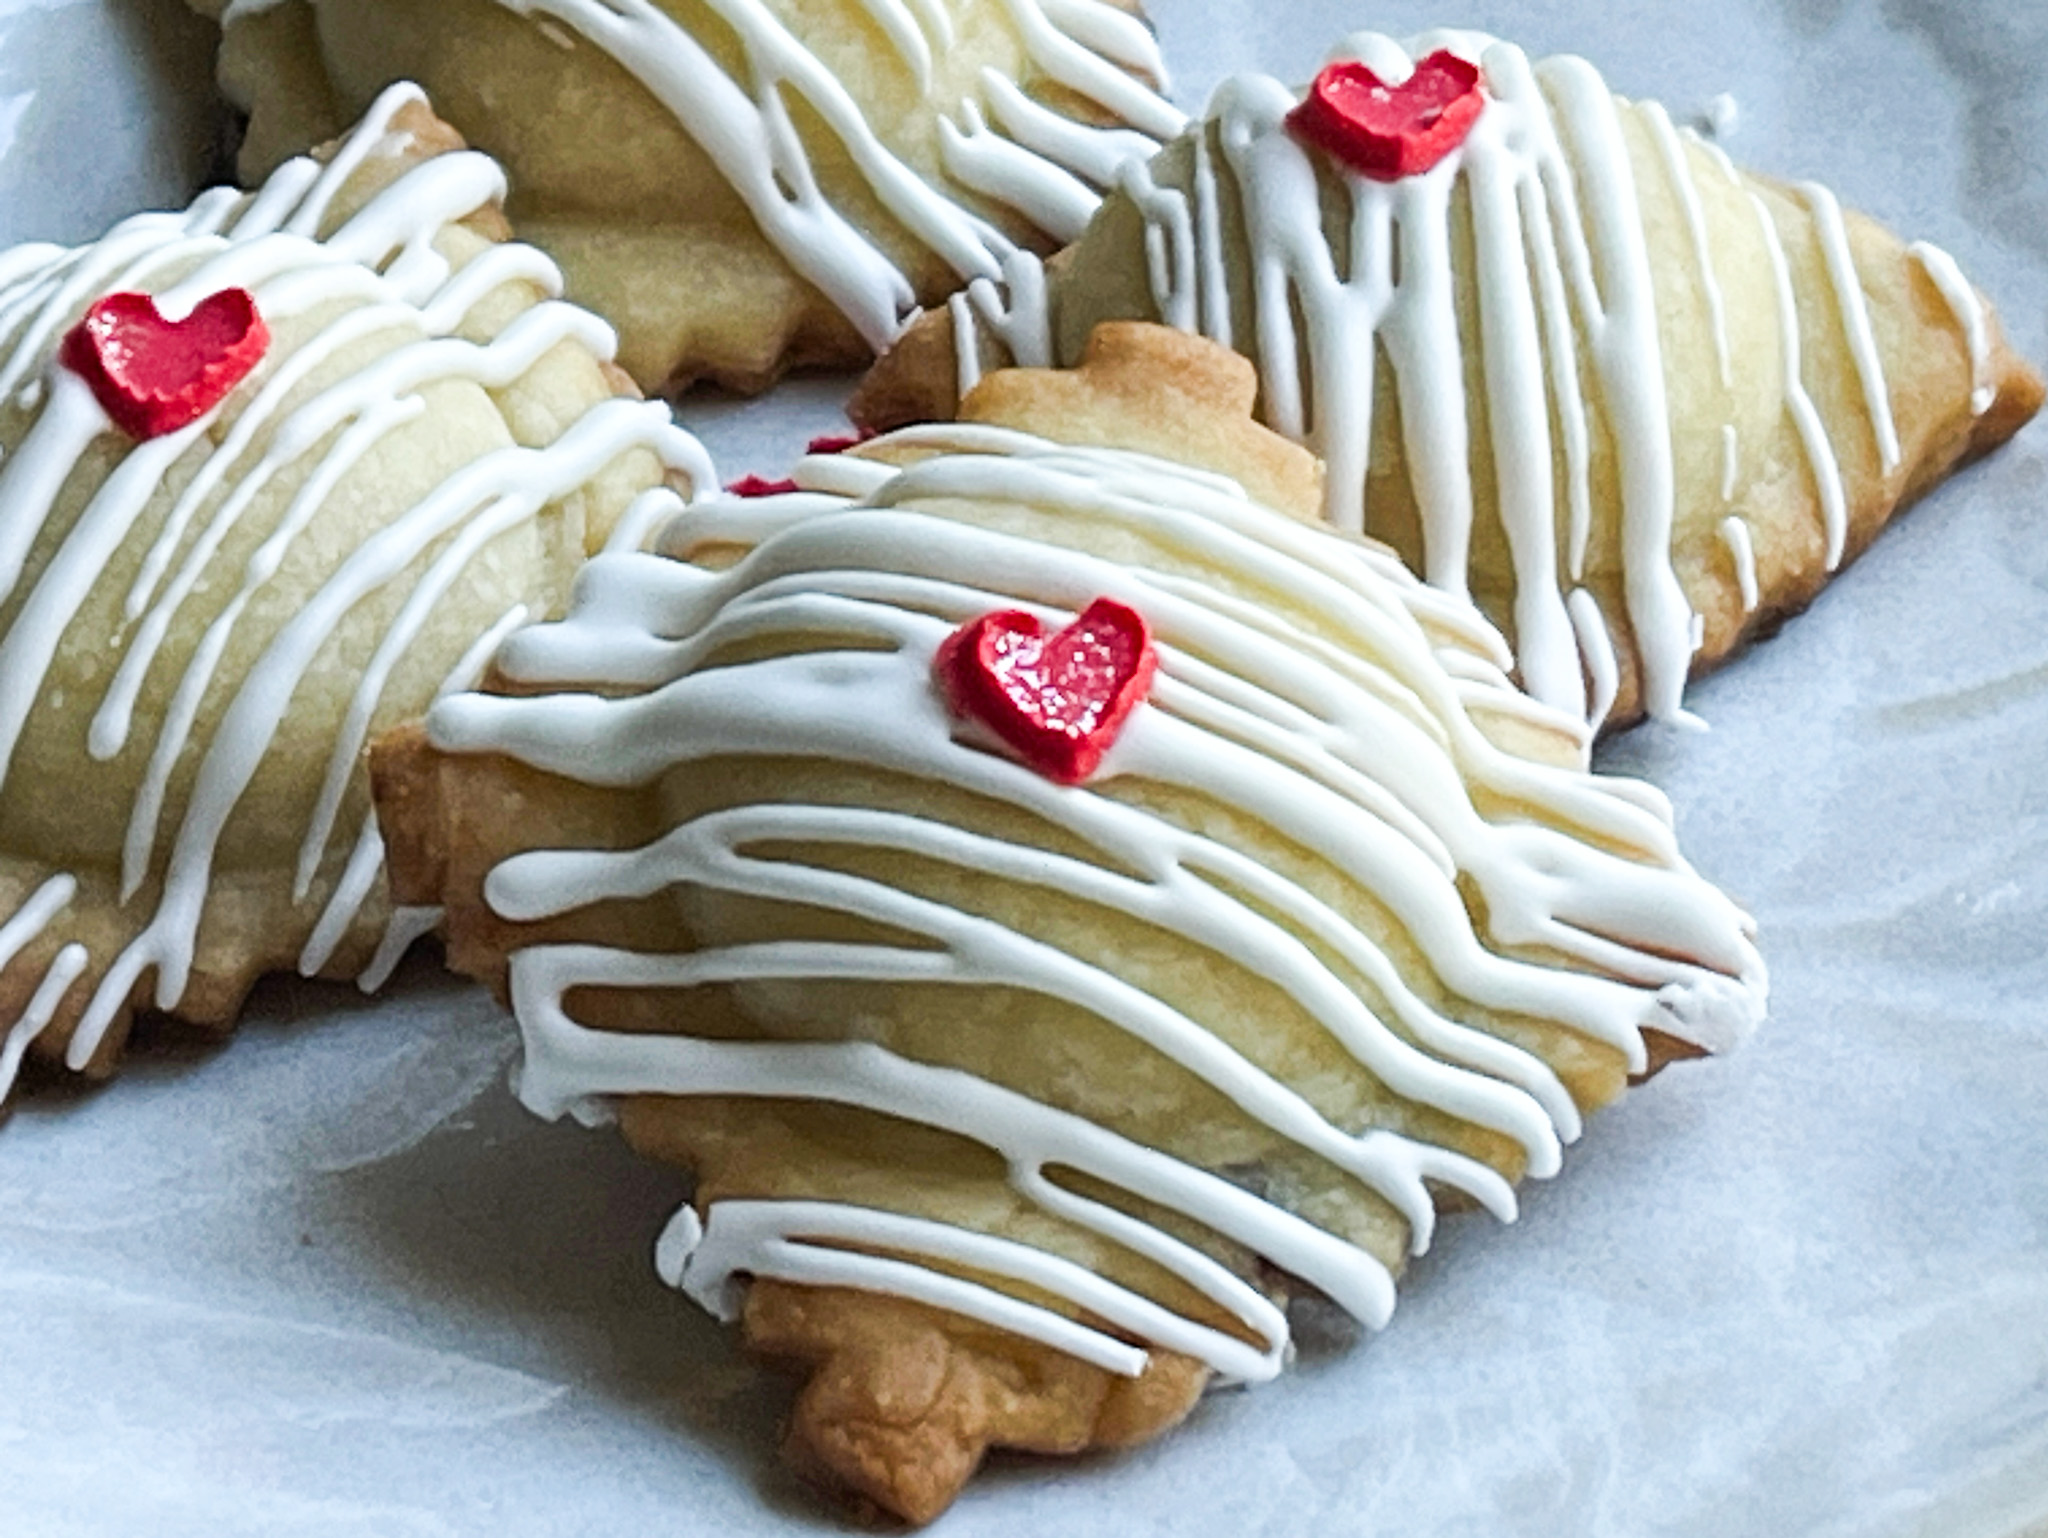
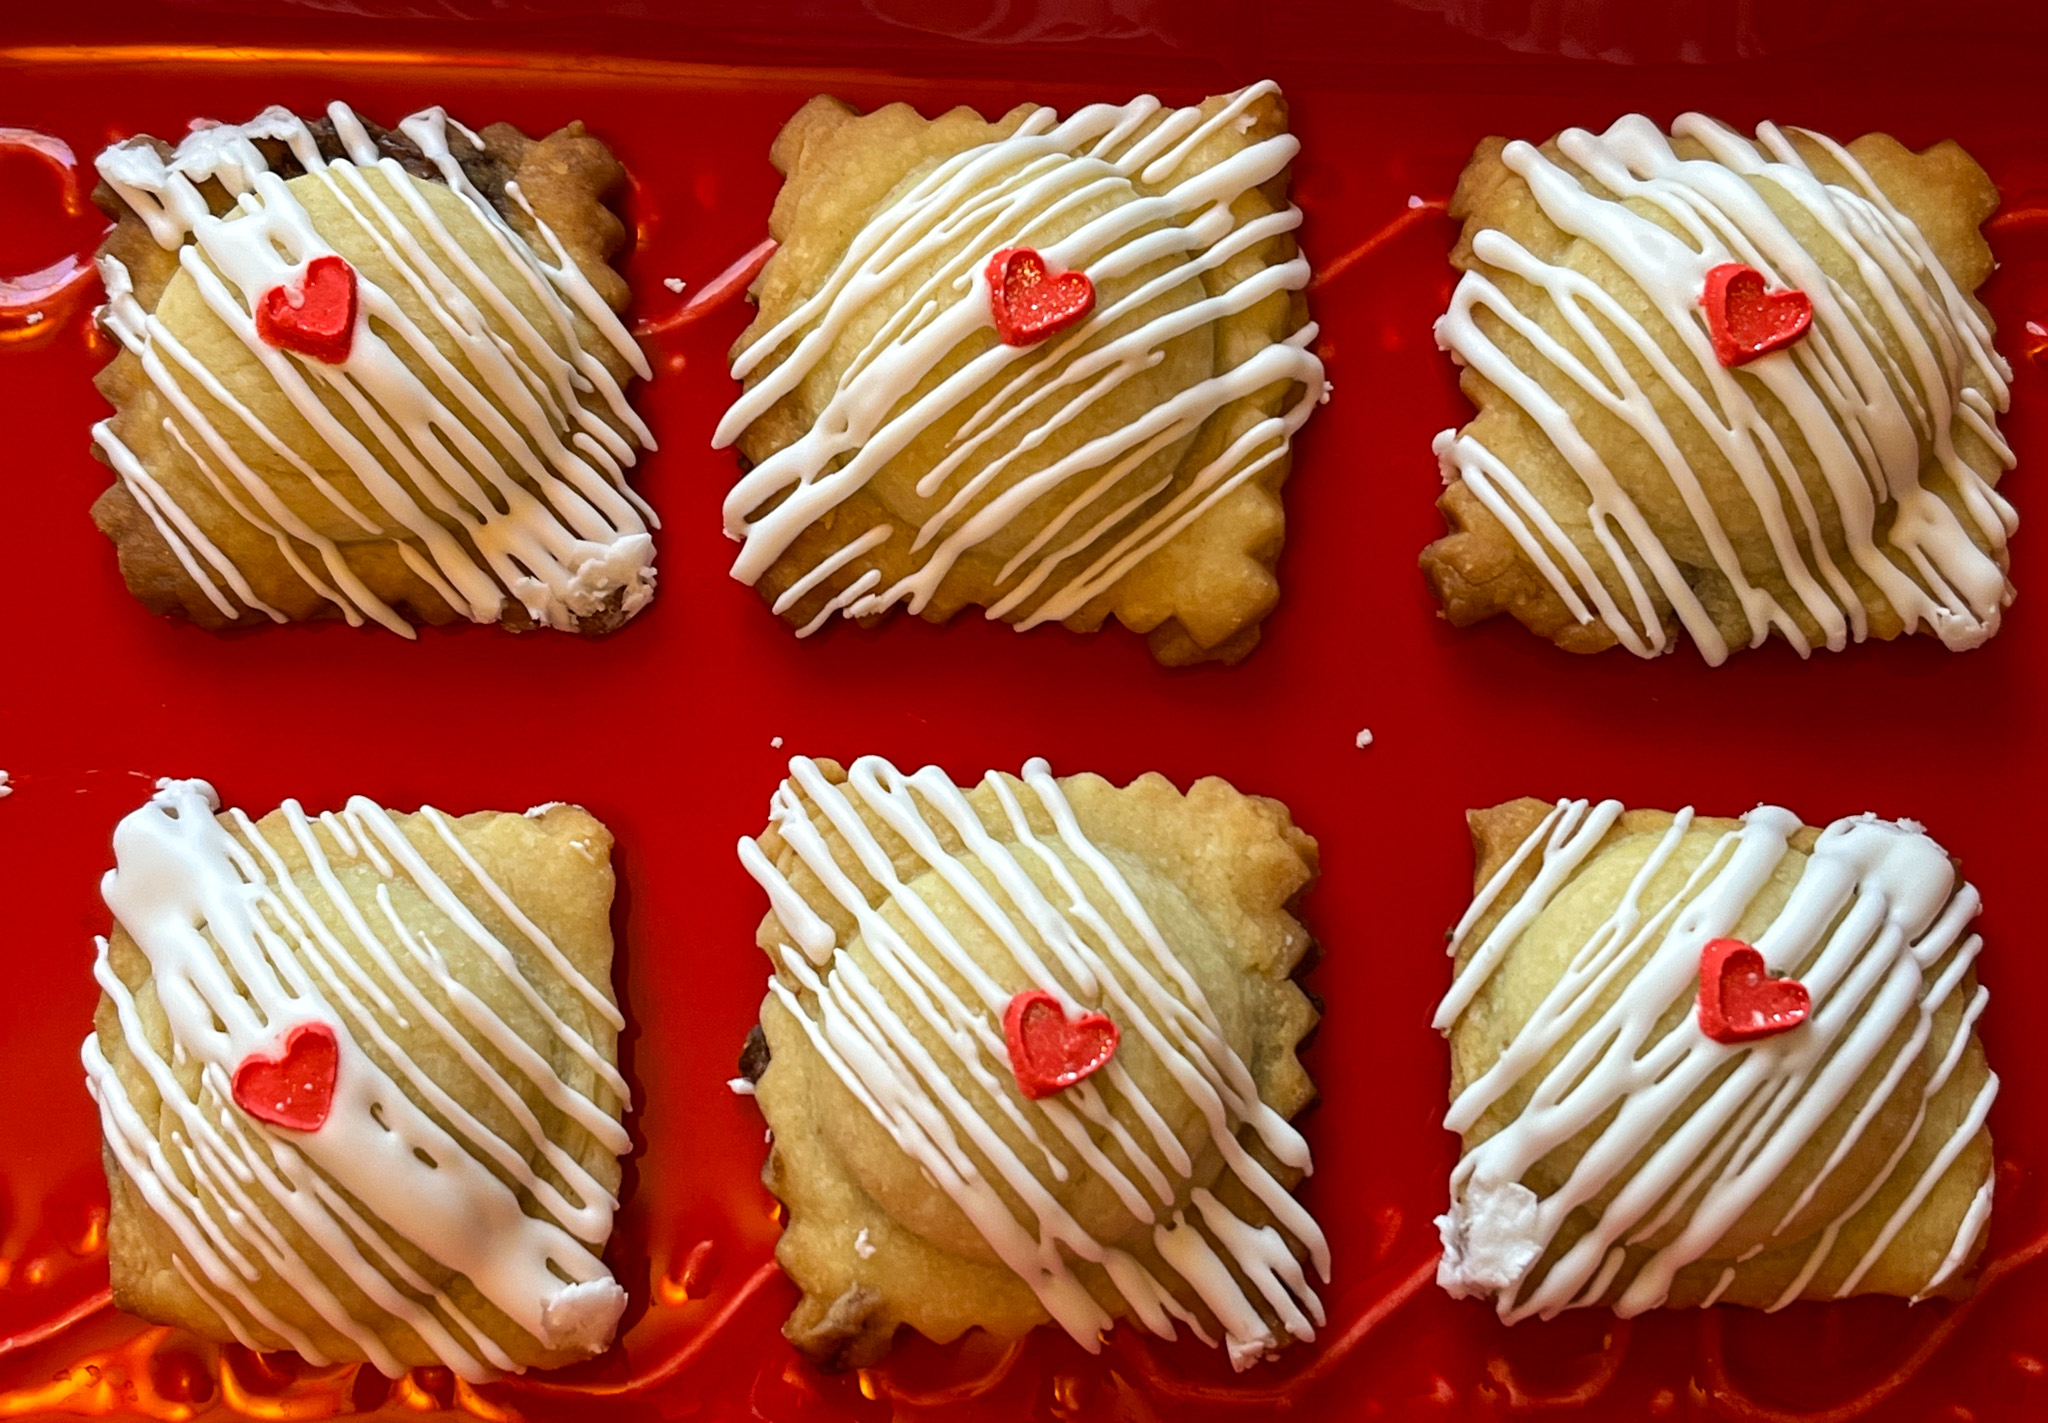
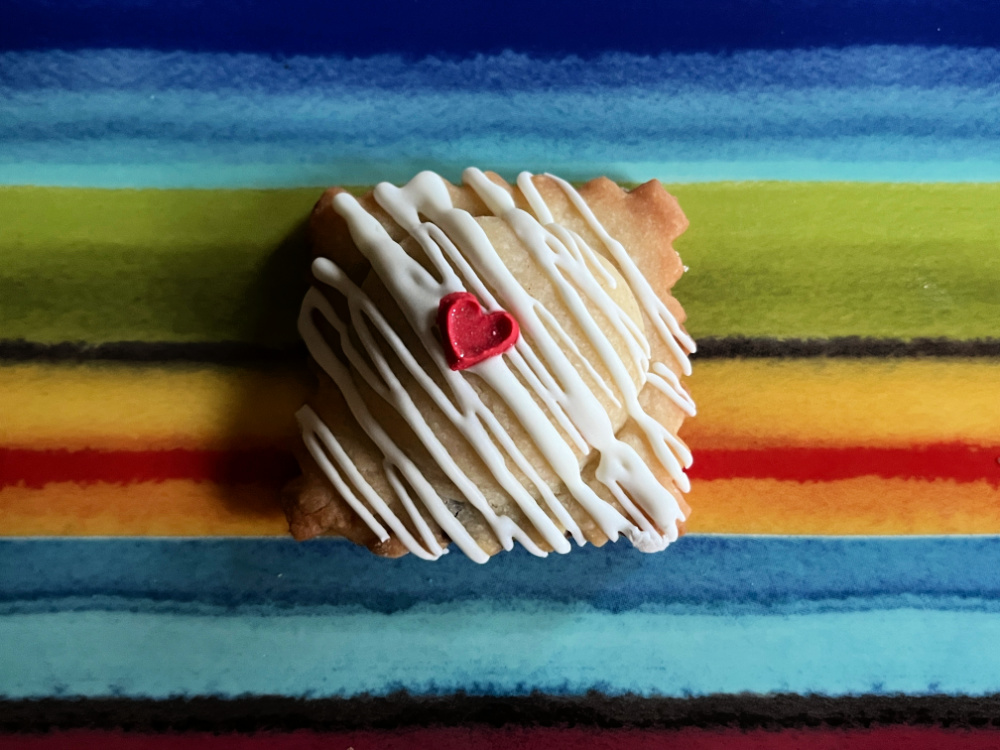
All I could do was try again with the second mold, the round one, using a heavier hand with the flour. I opted for Nutella for the filling, which was another bad decision, as it squirted everywhere as I tried to roll the ravioli shut. Messy, sticky, horrific. I managed to get six severely abused cookies from the adventure, and thanks to the miracle of Royal icing and sprinkles they were able to make a public appearance. It is a good thing you cannot see their bottoms (enough said).

Sooooo, what did I learn from this fiasco? I firmly believe that this could be a PERFECT Technical Challenge for a certain tent… Here’s how to do it: give a list of ingredients to the poor contestants. The instructions should be kept simple:

Make a cookie dough.
Use the ravioli press to make filled cookies.

As to the filling, they can use their tears and frustration. They shall have plenty to take care of all 10 cookies in the mold. So, there you go, organizers of Great British and Great American Baking Show. Free advice to guarantee great entertainment for your audience…

I shall be back, friends! I lost a battle but this war is NOT over! I shall make Helen proud!

ONE YEAR AGO: Peanut Butter and Jelly Babka and a Cookbook Review

TWO YEARS AGO: Painted Sourdough

THREE YEARS AGO: Over-the-Moon Blueberry Lemon Macarons

FOUR YEARS AGO: Springtime Macarons Bake-Along

FIVE YEARS AGO: Macarons for a Little Princess

SIX YEARS AGO: Gilding the Sourdough Loaf

SEVEN YEARS AGO: Lolita Joins the Bewitching Kitchen

EIGHT YEARS AGO: Cashew Cream Sauce

NINE YEARS AGO: Blood Orange Margaritas

TEN YEARS AGO: Smoked Salmon Appetizer

ELEVEN YEARS AGO: Clementine Cake

TWELVE YEARS AGO: Springtime Spinach Risotto

THIRTEEN YEARS AGO: The end of green bean cruelty

FOURTEEN YEARS AGO: Torta di Limone e Mandorle

CHOCOLATE-COVERED OREOS

I make them weekly because they are very popular with the homeless dinner, and as you might imagine, I don’t like to repeat designs. I love variety. These can be decorated in countless ways, some easier than others. In fact, I have tried a few things that quickly went into the “Never Again Folder”… For previous collections, click here and here. Without further ado, here are some of the designs I made in the past couple of months, starting with perhaps my very favorite!

.
THE JAPANESE-MODERN

To make this design, all you need is some different colors of luster powder and a bit of vodka. Make a suspension and add small blotches on the surface of the mold. Let it dry for a few minutes and pour the melted compound chocolate. They will look good just with the colors, or you gild the lily with a small disc of chocolate decorated with a transfer sheet, in this case I used a cherry blossom pattern.

.


The same exact method works with white chocolate… In this case I added some fondant sunflowers I had from last year’s cookie projects. I have quite a few ideas for color combinations in the near future, so stay tuned!

Luster powder can also be used to paint the surface of the chocolate after it sets, as I did for the set below… It does not go into the “Never Again Folder”, but it is a bit time-consuming.

Another great way to decorate is Royal icing… For the ones below I made straight lines in black and before they set I glued a little sprinkle heart in the crossed section. I love their minimalist look.

You can also pipe thicker lines of Royal icing coupled with a little sanding sugar… For added contrast, I dyed the white chocolate poured into the mold with fat-soluble sky blue dye. These were a good match for some macarons I made in that same week (see post here).

Even easier is just making a random drizzle with icing, fast and straightforward..

Sharing perhaps my second favorite of this set: Royal icing in circular piping plus a disc of chocolate decorated with transfer sheet, also saved from a project last year. The Royal icing was dyed with Americolor Gold. And once all was set, I sprayed some gold dust all over because.. why not?

Finally, the method that I don’t recommend and it truly drove me crazy: spread the Royal icing with a stencil. It was very very tricky to hold the stencil over the small surface, I had to scrape it all and start all over many times, as it would smear and end up quite messy. I managed to get three reasonably good ones, but as I said before…. never again!

.

.

.

ONE YEAR AGO: Zucchini-Chickpea Baked Bites

TWO YEARS AGO: Slow-Cooker Hoisin Pulled Pork

THREE YEARS AGO: I Will Cracker you Up

FOUR YEARS AGO: Pickling Ribbons

FIVE  YEARS AGO: Green Beans and Carrots with Spicy Almonds

SIX YEARS AGO: Quiche 101

SEVEN YEARS AGO: Persian Butternut Squash Soup

EIGHT YEARS AGO: Walnut Cranberry Sourdough Bread

NINE YEARS AGO: Ottolenghi in Brazil?

TEN YEARS AGO: Roasted Winter Vegetables with Miso-Lime Dressing

ELEVEN YEARS AGO: 2012 Fitness Report: P90X2

TWELVE YEARS AGO: Caramelized Bananas

THIRTEEN YEARS AGO: Roasted Lemon Vinaigrette

FOURTEEN YEARS AGO: Whole Wheat Bread

BAKING WITH THE HEART

WELCOME TO MY 1700th POST!

Valentine’s Day is almost here! Some don’t care for it, some enjoy each minute. Whatever team you are on, here are some bakes that you can try this week, or anytime love is on your horizon… Without further ado, one recipe and eight ideas for you. Read on…

.
BLUEBERRY CURD SWISS ROLL CAKE
(filling adapted from Caroline’s blog)

for the decoration:
50g butter, softened
50g powdered sugar
50g egg whites
50g all-purpose flour
black and red gel colors

for the cake:
130g cake flour
1 teaspoon baking powder
5 large eggs, at room temperature
200 g granulated sugar
Zest of 1 lemon
1/2 teaspoon lemon extract
1/2 teaspoon vanilla extract
¼ teaspoon kosher salt
2 tablespoons butter, melted and cooled

for the filling:
https://www.easyonlinebakinglessons.com/blueberry-orange-curd/
I did not use plums, and used a little gelatin to thicken it further (see comments).

Make the piping decoration by beating the butter with powdered sugar in a small bowl until fully combined. I used a hand-held electric mixer. Add the egg whites and beat for a couple of minutes. Add the flour and mix by hand with a spoon, divide in one small portion to dye black, one larger portion to dye red.

Make a diamond pattern with a Sharpie pen on parchment paper, and add heart shapes. Flip the paper so that the writing is at the bottom, and pipe the outline black. Freeze for 10 minutes. Quickly fill the hearts with red paste. Freeze again while you make the cake.

Heat oven to 350°F. Sift the flour and baking powder into a small bowl. Reserve. Place the eggs and sugar in the bowl of a standing mixer fitted with the paddle attachment. Beat until the mixture form ribbons, about 12 minutes. Add the lemon zest, lemon extract and vanilla. Beat until combined. Sift the flour mixture over the beaten eggs, fold gently. When the flour is mostly incorporated, add a little bit of the mixture to the melted butter, whisk well. Pour that into the cake batter, whisk gently to disperse. Pour over the frozen parchment paper placed in a half baking sheet, and smooth the surface.

Bake the cake until it begins to pull away from the sides, 12 to 17 minutes.

Transfer the pan to a cooling rack, cover the cake with a towel and let it cool for 10 minutes. Remove the towel, sift a little powdered sugar over the surface and flip it over parchment paper. Gently peel off the paper with the design, flip the cake again over a clean towel. Starting with a short side of the cake, roll the cake gently, using the towel to support the cake as you go. Let the cake cool all rolled up in the towel, seam side down.

Carefully unroll the completely cool cake, spread the blueberry curd filling, then roll it again. Wrap the cake in plastic and refrigerate for at least 3 hours, overnight is best. When ready to serve, slice a small piece of each of the ends, so that it looks more polished.

ENJOY!

to print the recipe, click here

Comments: I haven’t made a patterned roll cake in a while, so I really enjoyed this little adventure. I messed up while making the curd (sorry, Caro!), did not cook it enough, so after 10 hours in the fridge it was still too loose. Lesson learned. I made a gelatin mass with 1 tsp gelatin + 5 tsp water, warmed it to dissolve in the microwave. I heated up the curd to about 60 C and added the melted gelatin. Mixed well and allowed it to cool slowly, then placed in the fridge overnight. It was perfect to use next morning. Huge thank you to my friend Gary for the advice to deal with the curd. I added a very small amount of pink gel dye to the cake batter, but that is optional. I did not include in the recipe, as the cake will look perfectly ok without it.

The cake was moist and tender, the blueberry curd absolutely delicious!
The combination of orange and blueberry is a real winner, thank you Caro!

And now, time to share a few ideas, you can use any recipe you like, or some that are already in my blog

.

CHOCOLATE-COVERED OREOS

I used white Wilton candy melts to cover Lemon-flavored golden Oreos, and once that was set I made the heart decoration with Royal icing. First piped the black outline, let that set a bit and flooded the center with pink.

.

COMIC-STYLE HEART COOKIES

Comic-style, so popular these days! I followed a recent tutorial from Amber (join her club here) to make these babies. Some steps shown below.

.

POLKA-DOT HEART COOKIES

Super simple design, just flood, air-brush with a stencil and add some Royal icing transfers. A little bead border is of course more than welcome…

.

ZENTANGLE HEARTS, TWO WAYS

For a modern look, just flood with any color of your choice, and then use a food safe pen to draw the design…

For a modern but romantic look, just play with flowers…

.

BICOLOR HEART COOKIES

For those who do not care for icing, these will be a huge hit. Just mix two recipes, chocolate and plain, cut shapes and mix-and-match the centers. Bake and you are done!

.

MINI-BONBONS WITH MARSHMALLOW FILLING

I used candy melts to coat tiny silicone molds with heart shapes (available here). Placed a mini-marshmallow in the center and covered the molds with melted chocolate. Once that set, I un-molded the bonbons and drizzled white chocolate for the decoration, adding a little sprinkle heart on some of them.

.

POLKA-DOT HEART SOURDOUGH

For the recipe, check my blog post with a click here.

I hope you’ve found some inspiration in this post for your future bakes, and please enjoy the weekend ahead, particularly if you are a football fan!

ONE YEAR AGO: Roasted Cauliflower with Chickpeas and Quinoa

TWO YEARS AGO: A Savory Phyllo Pie

THREE YEARS AGO: Nut-Free Lady Grey Macarons

FOUR YEARS AGO: Mini-Heart Cakes for your Valentine

FIVE YEARS AGO: Blue Moon Milk

SIX YEARS AGO: Slow-Cooked Chicken Meatballs

SEVEN YEARS AGO: Zesty Flourless Chocolate Cake

EIGHT YEARS AGO: Maple Pumpkin Pecan Snacking Cake

NINE YEARS AGOSilky Gingered Zucchini Soup

TEN YEARS AGO: Sweet Fifteen!

ELEVEN YEARS AGO: Sesame and Flaxseed Sourdough

TWELVE YEARS AGO: Green Beans with Miso and Almonds

THIRTEEN YEARS AGO: Saturday Morning Scones

FOURTEEN YEARS AGO: White Bread