WELCOME TO MY 1700th POST!
Valentine’s Day is almost here! Some don’t care for it, some enjoy each minute. Whatever team you are on, here are some bakes that you can try this week, or anytime love is on your horizon… Without further ado, one recipe and eight ideas for you. Read on…

.
BLUEBERRY CURD SWISS ROLL CAKE
(filling adapted from Caroline’s blog)
for the decoration:
50g butter, softened
50g powdered sugar
50g egg whites
50g all-purpose flour
black and red gel colors
for the cake:
130g cake flour
1 teaspoon baking powder
5 large eggs, at room temperature
200 g granulated sugar
Zest of 1 lemon
1/2 teaspoon lemon extract
1/2 teaspoon vanilla extract
¼ teaspoon kosher salt
2 tablespoons butter, melted and cooled
for the filling:
https://www.easyonlinebakinglessons.com/blueberry-orange-curd/
I did not use plums, and used a little gelatin to thicken it further (see comments).
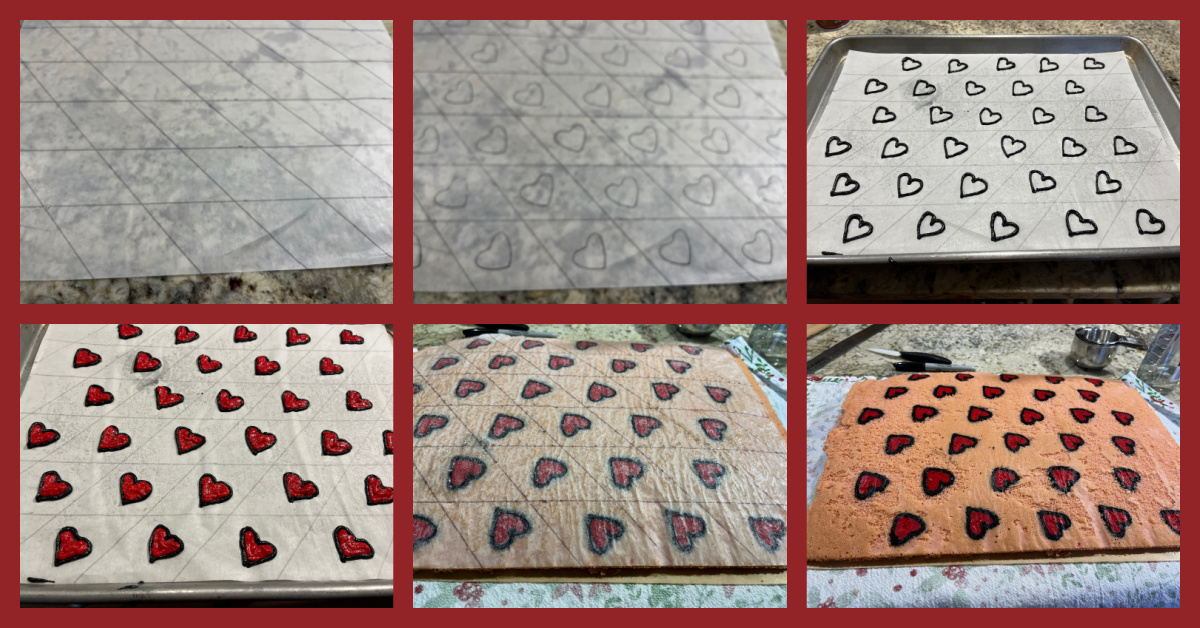
Make the piping decoration by beating the butter with powdered sugar in a small bowl until fully combined. I used a hand-held electric mixer. Add the egg whites and beat for a couple of minutes. Add the flour and mix by hand with a spoon, divide in one small portion to dye black, one larger portion to dye red.
Make a diamond pattern with a Sharpie pen on parchment paper, and add heart shapes. Flip the paper so that the writing is at the bottom, and pipe the outline black. Freeze for 10 minutes. Quickly fill the hearts with red paste. Freeze again while you make the cake.
Heat oven to 350°F. Sift the flour and baking powder into a small bowl. Reserve. Place the eggs and sugar in the bowl of a standing mixer fitted with the paddle attachment. Beat until the mixture form ribbons, about 12 minutes. Add the lemon zest, lemon extract and vanilla. Beat until combined. Sift the flour mixture over the beaten eggs, fold gently. When the flour is mostly incorporated, add a little bit of the mixture to the melted butter, whisk well. Pour that into the cake batter, whisk gently to disperse. Pour over the frozen parchment paper placed in a half baking sheet, and smooth the surface.
Bake the cake until it begins to pull away from the sides, 12 to 17 minutes.
Transfer the pan to a cooling rack, cover the cake with a towel and let it cool for 10 minutes. Remove the towel, sift a little powdered sugar over the surface and flip it over parchment paper. Gently peel off the paper with the design, flip the cake again over a clean towel. Starting with a short side of the cake, roll the cake gently, using the towel to support the cake as you go. Let the cake cool all rolled up in the towel, seam side down.
Carefully unroll the completely cool cake, spread the blueberry curd filling, then roll it again. Wrap the cake in plastic and refrigerate for at least 3 hours, overnight is best. When ready to serve, slice a small piece of each of the ends, so that it looks more polished.
ENJOY!
to print the recipe, click here
Comments: I haven’t made a patterned roll cake in a while, so I really enjoyed this little adventure. I messed up while making the curd (sorry, Caro!), did not cook it enough, so after 10 hours in the fridge it was still too loose. Lesson learned. I made a gelatin mass with 1 tsp gelatin + 5 tsp water, warmed it to dissolve in the microwave. I heated up the curd to about 60 C and added the melted gelatin. Mixed well and allowed it to cool slowly, then placed in the fridge overnight. It was perfect to use next morning. Huge thank you to my friend Gary for the advice to deal with the curd. I added a very small amount of pink gel dye to the cake batter, but that is optional. I did not include in the recipe, as the cake will look perfectly ok without it.

The cake was moist and tender, the blueberry curd absolutely delicious!
The combination of orange and blueberry is a real winner, thank you Caro!
And now, time to share a few ideas, you can use any recipe you like, or some that are already in my blog
.
CHOCOLATE-COVERED OREOS
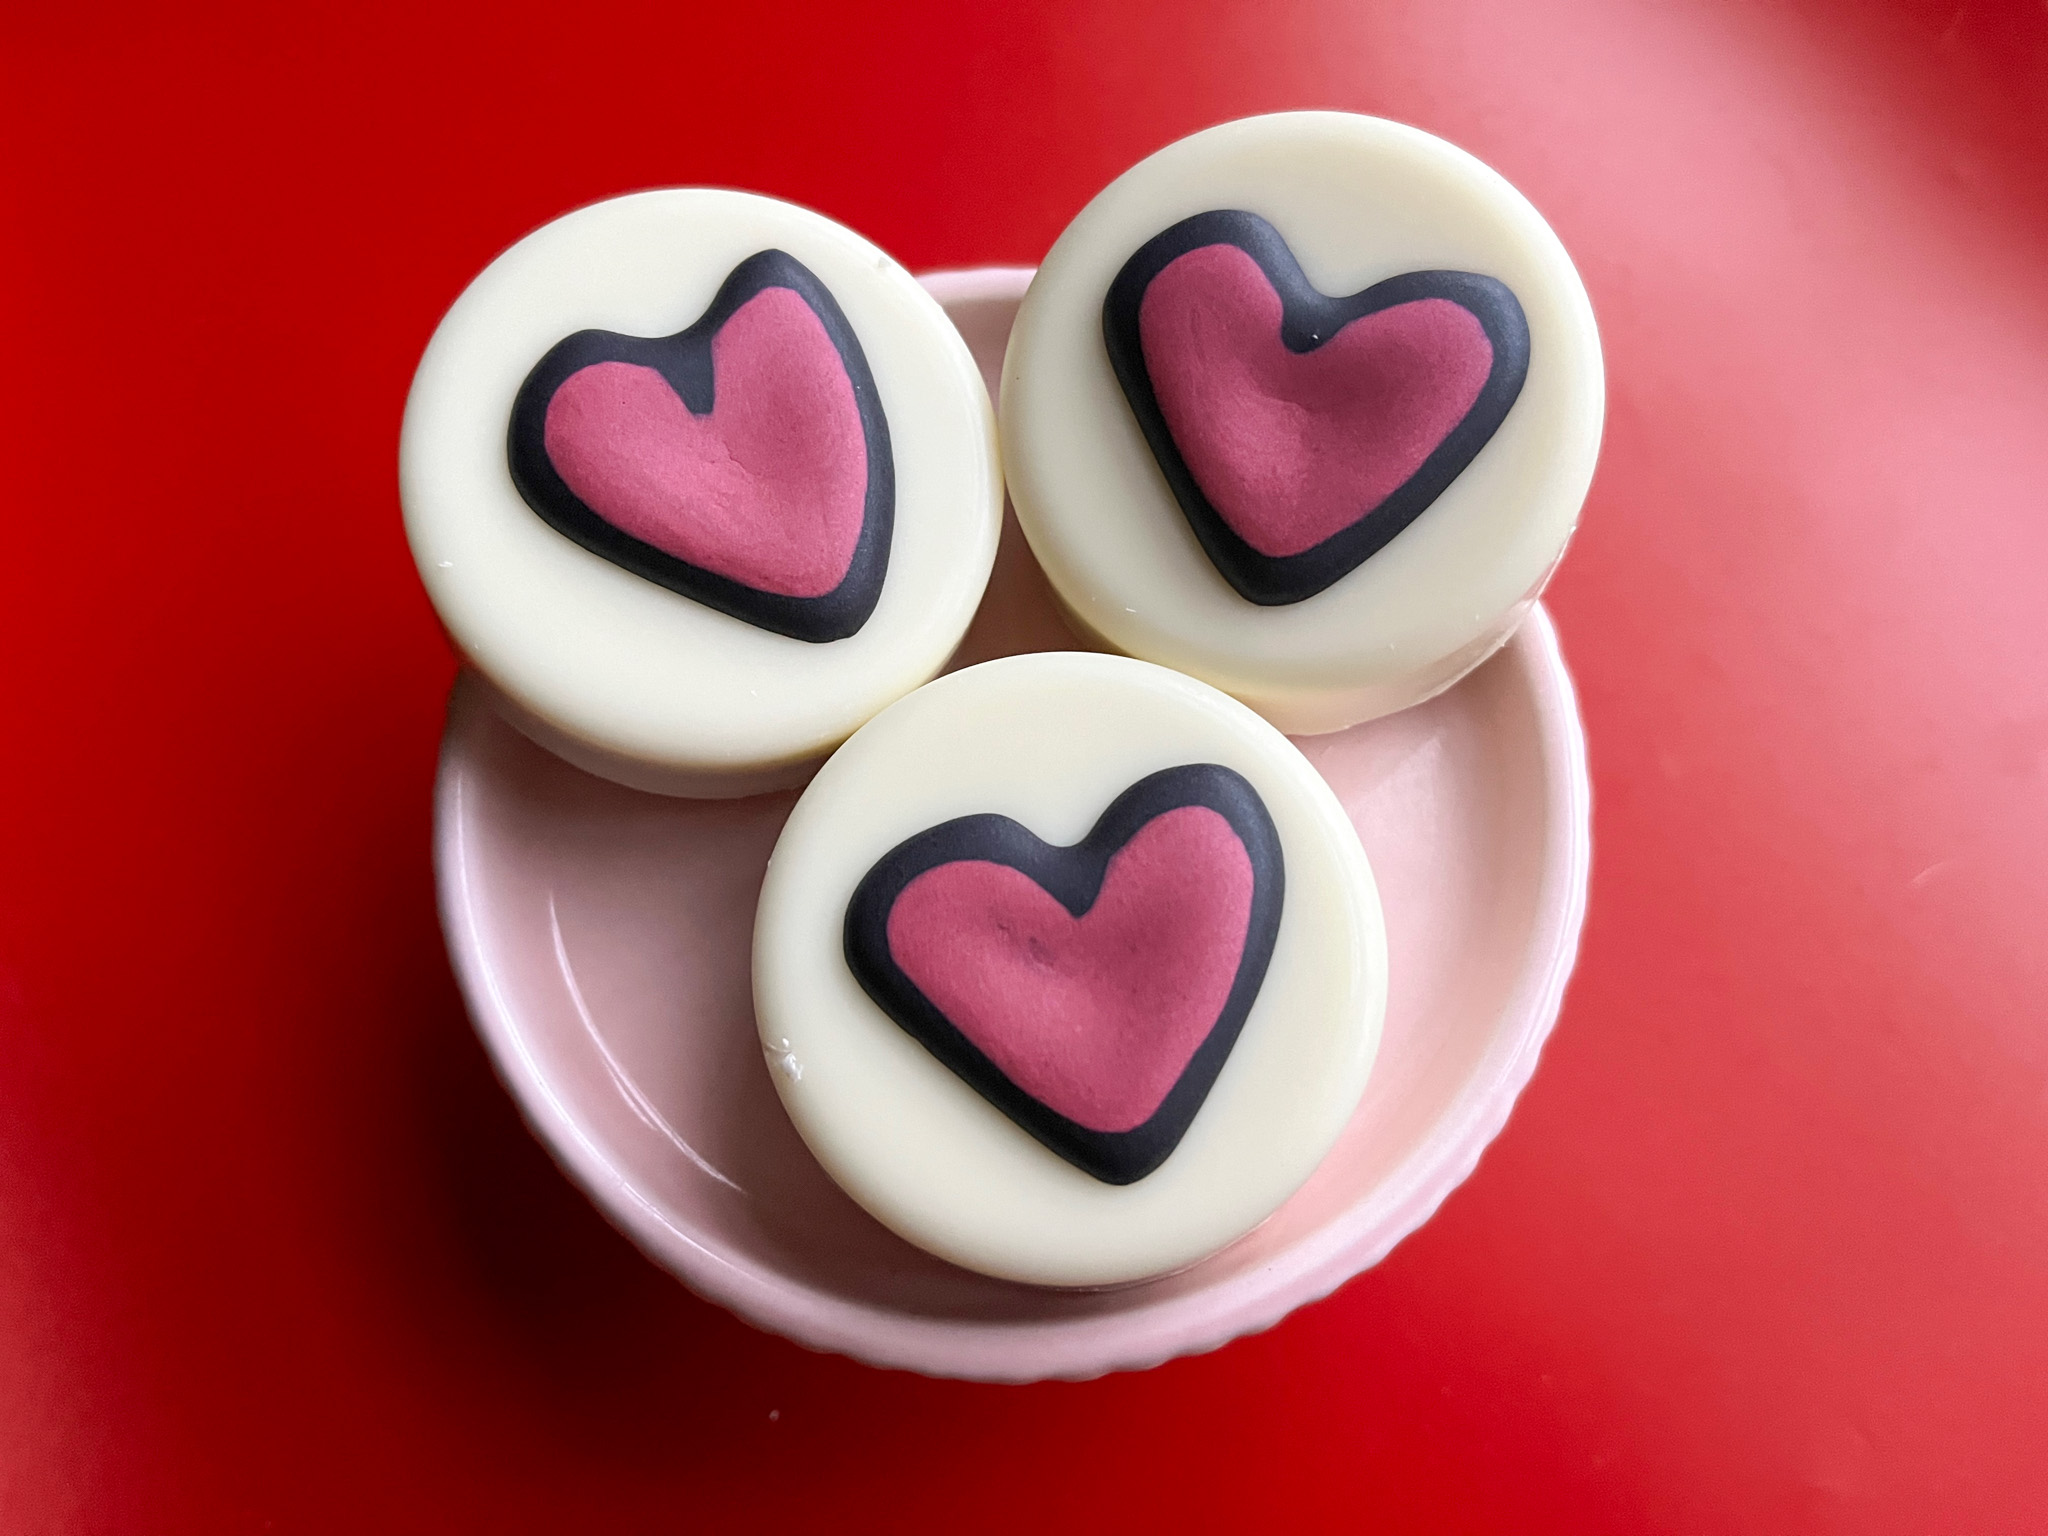
I used white Wilton candy melts to cover Lemon-flavored golden Oreos, and once that was set I made the heart decoration with Royal icing. First piped the black outline, let that set a bit and flooded the center with pink.
.
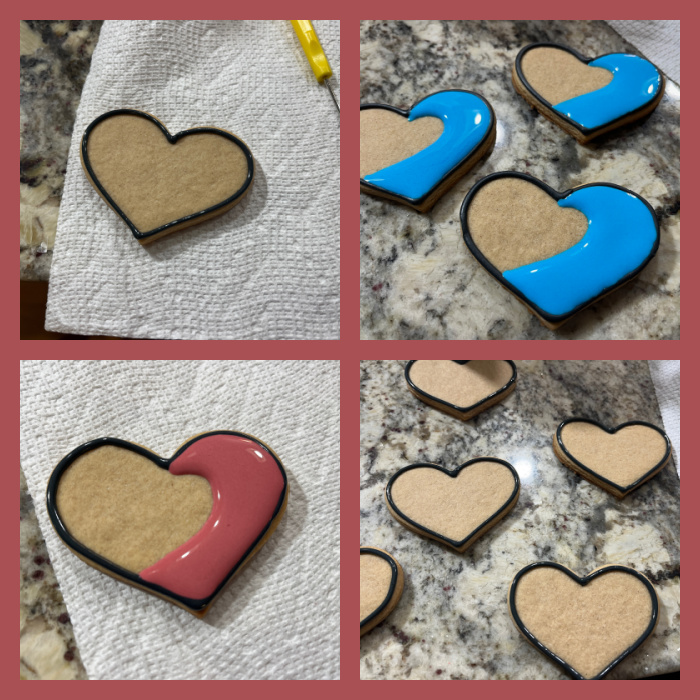
COMIC-STYLE HEART COOKIES

Comic-style, so popular these days! I followed a recent tutorial from Amber (join her club here) to make these babies. Some steps shown below.
.
POLKA-DOT HEART COOKIES
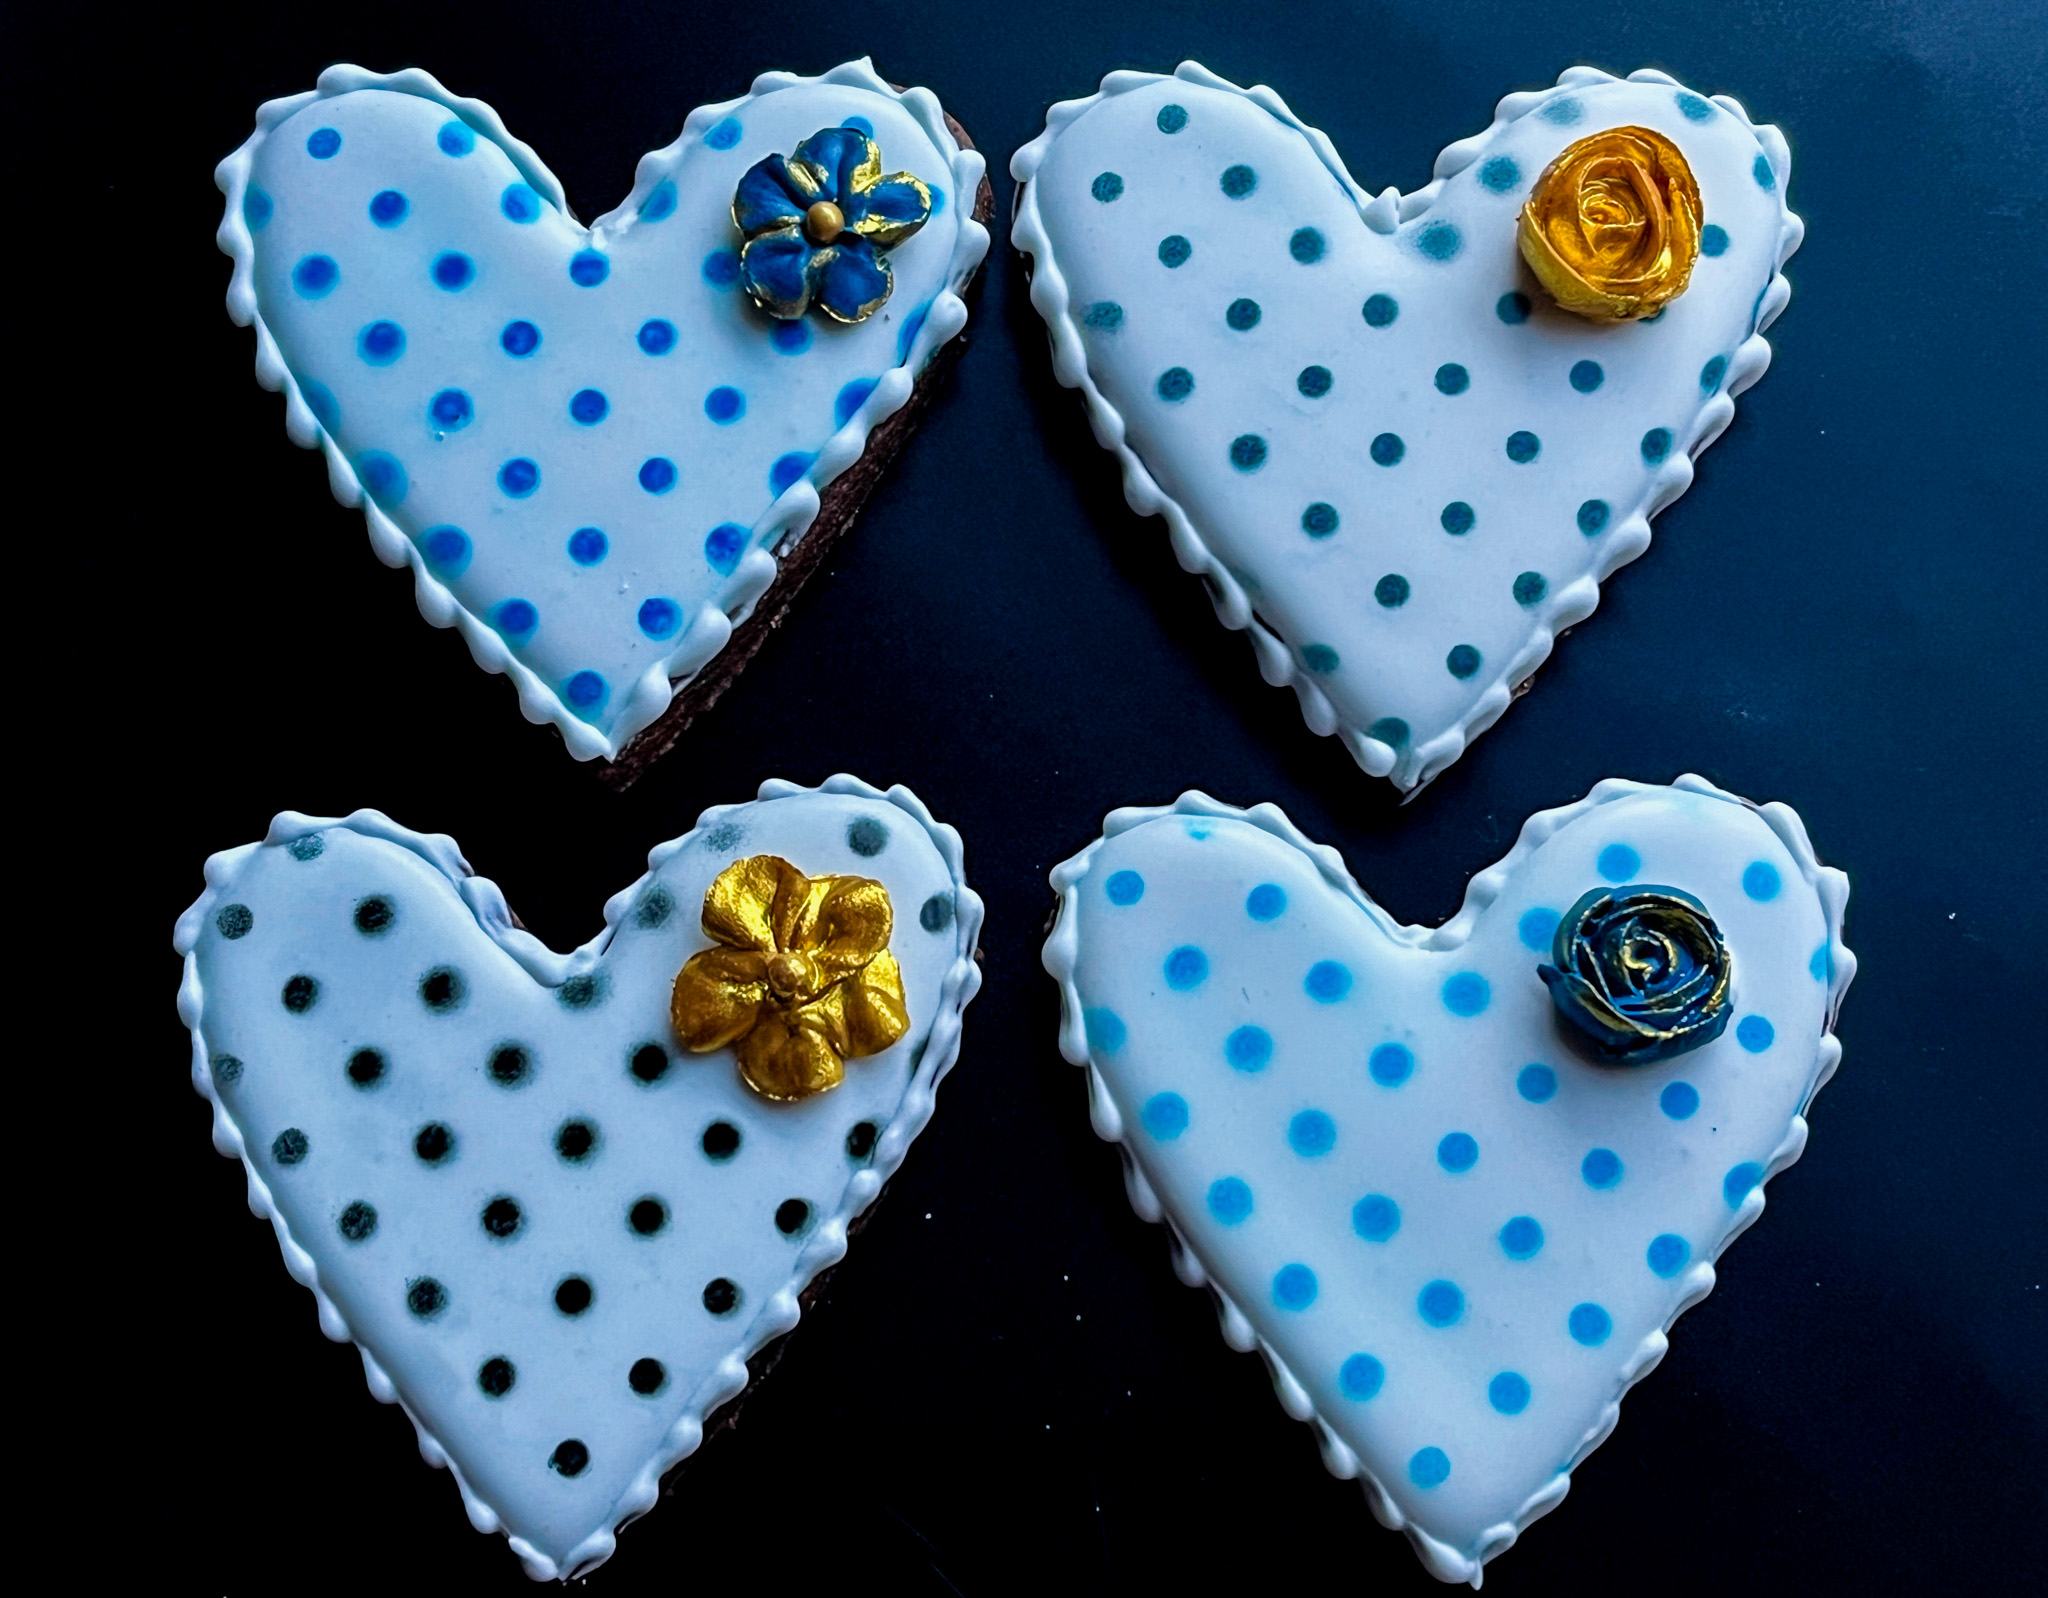
Super simple design, just flood, air-brush with a stencil and add some Royal icing transfers. A little bead border is of course more than welcome…
.
ZENTANGLE HEARTS, TWO WAYS

For a modern look, just flood with any color of your choice, and then use a food safe pen to draw the design…

For a modern but romantic look, just play with flowers…
.
BICOLOR HEART COOKIES

For those who do not care for icing, these will be a huge hit. Just mix two recipes, chocolate and plain, cut shapes and mix-and-match the centers. Bake and you are done!

.
MINI-BONBONS WITH MARSHMALLOW FILLING

I used candy melts to coat tiny silicone molds with heart shapes (available here). Placed a mini-marshmallow in the center and covered the molds with melted chocolate. Once that set, I un-molded the bonbons and drizzled white chocolate for the decoration, adding a little sprinkle heart on some of them.

.
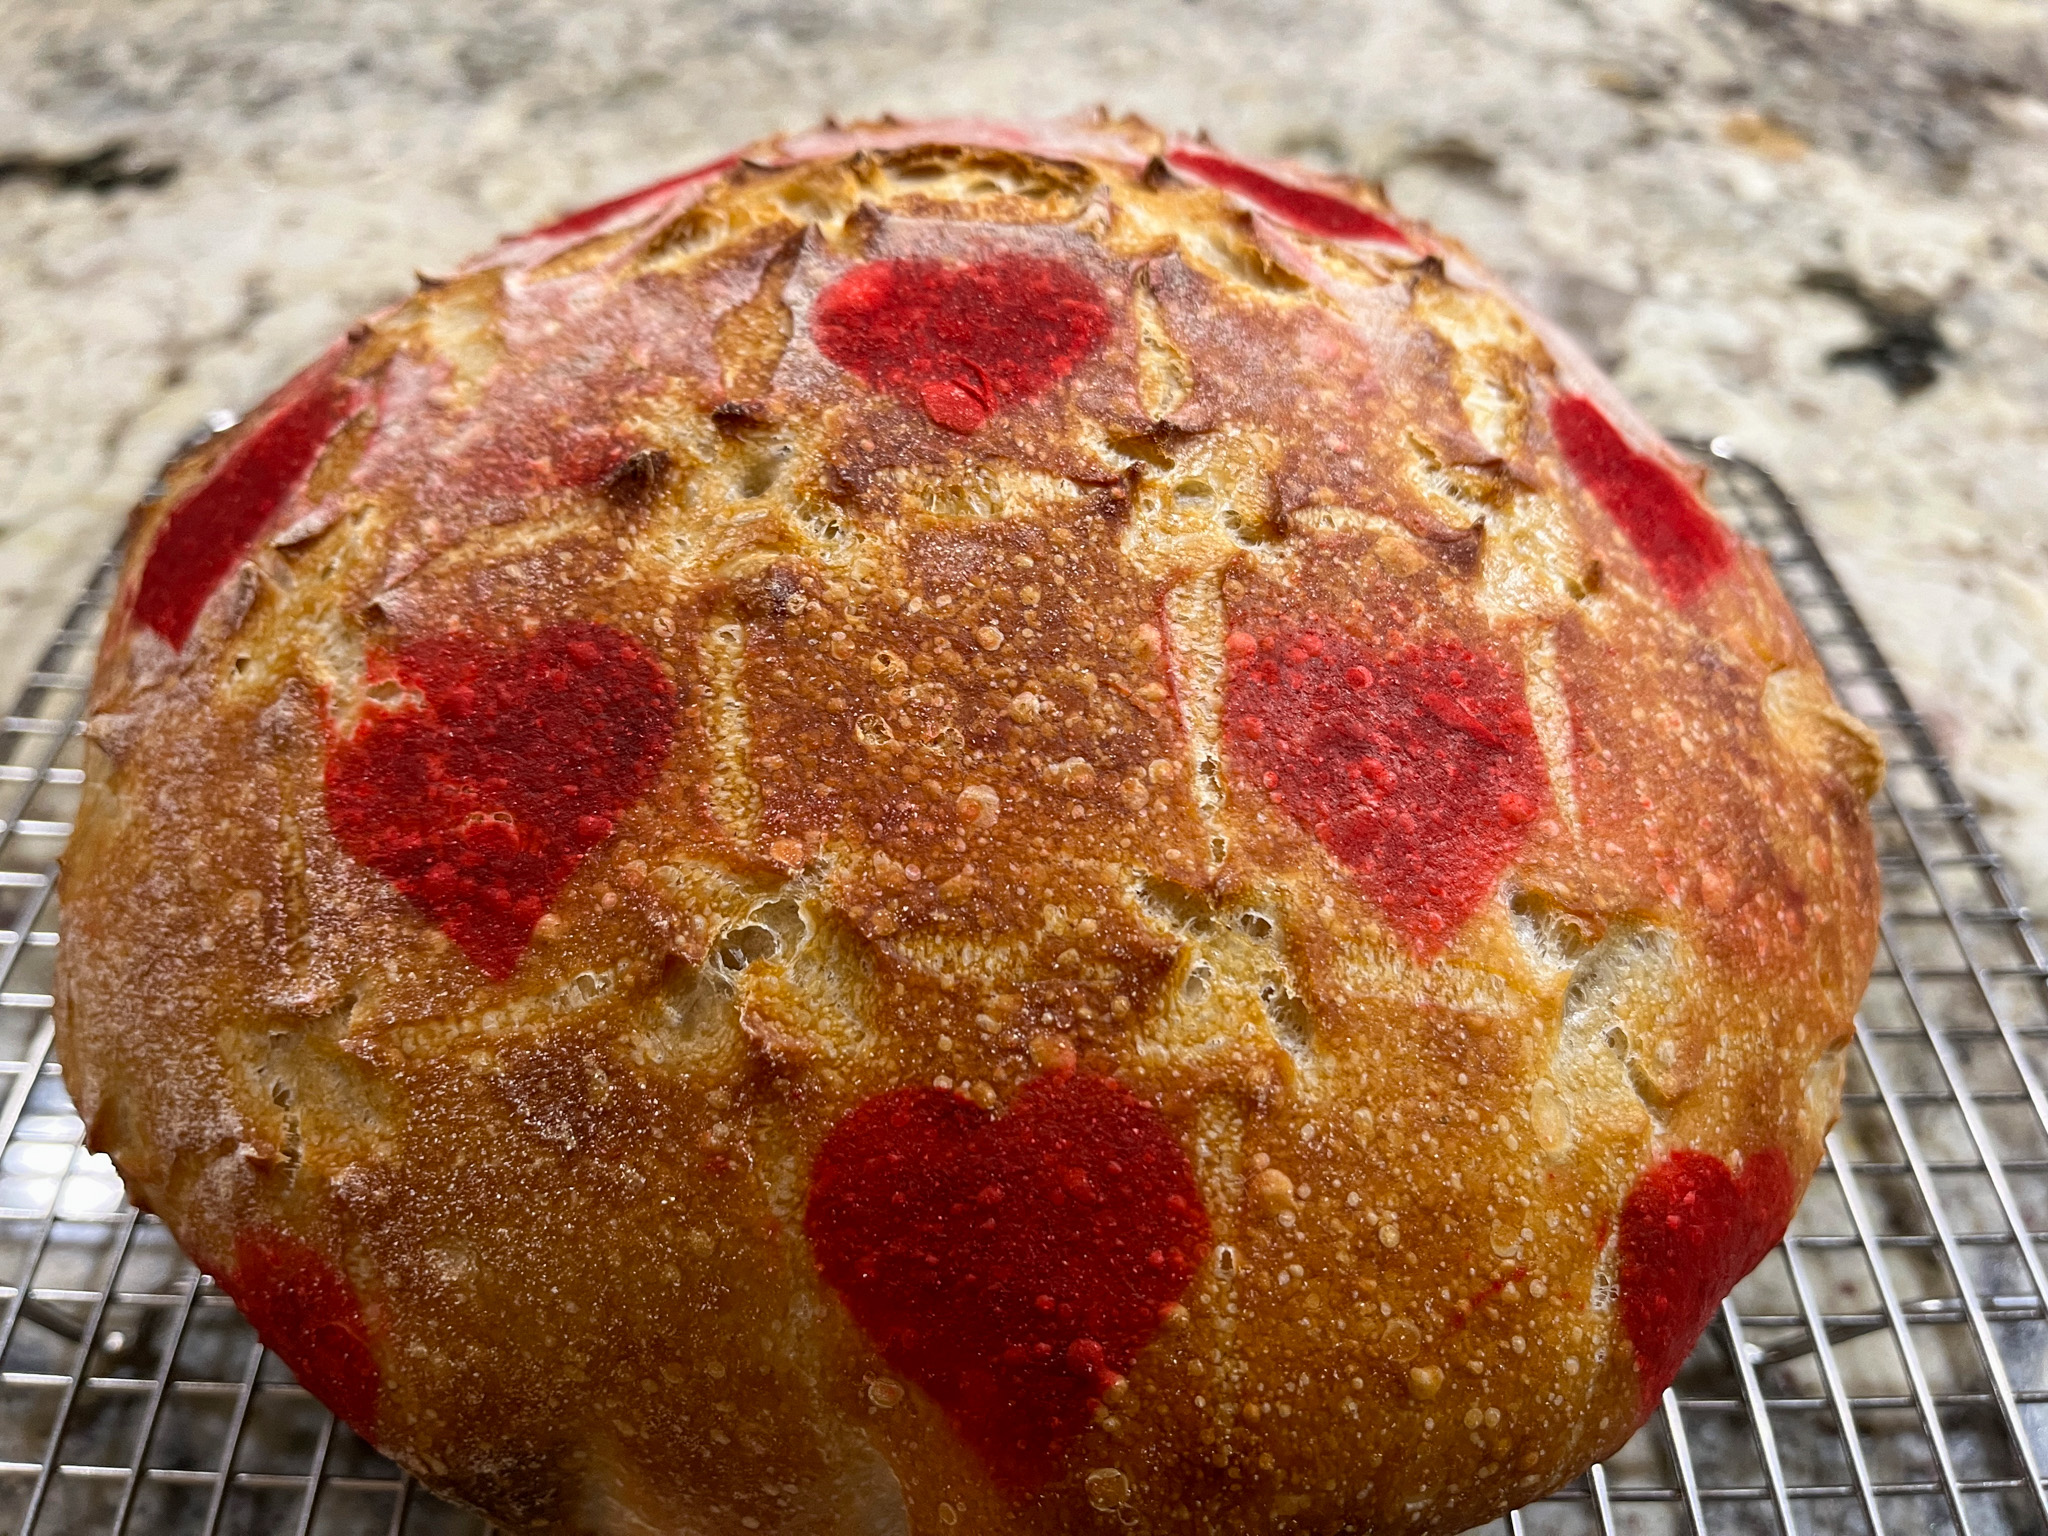
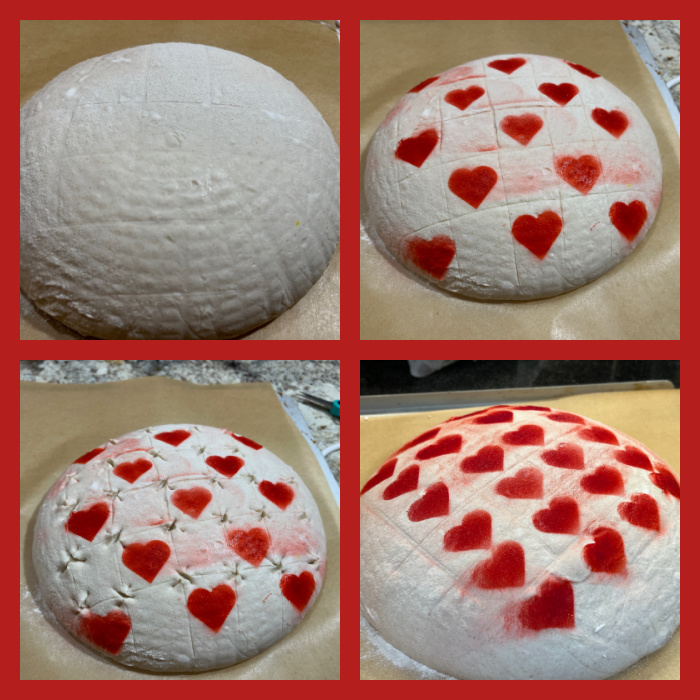
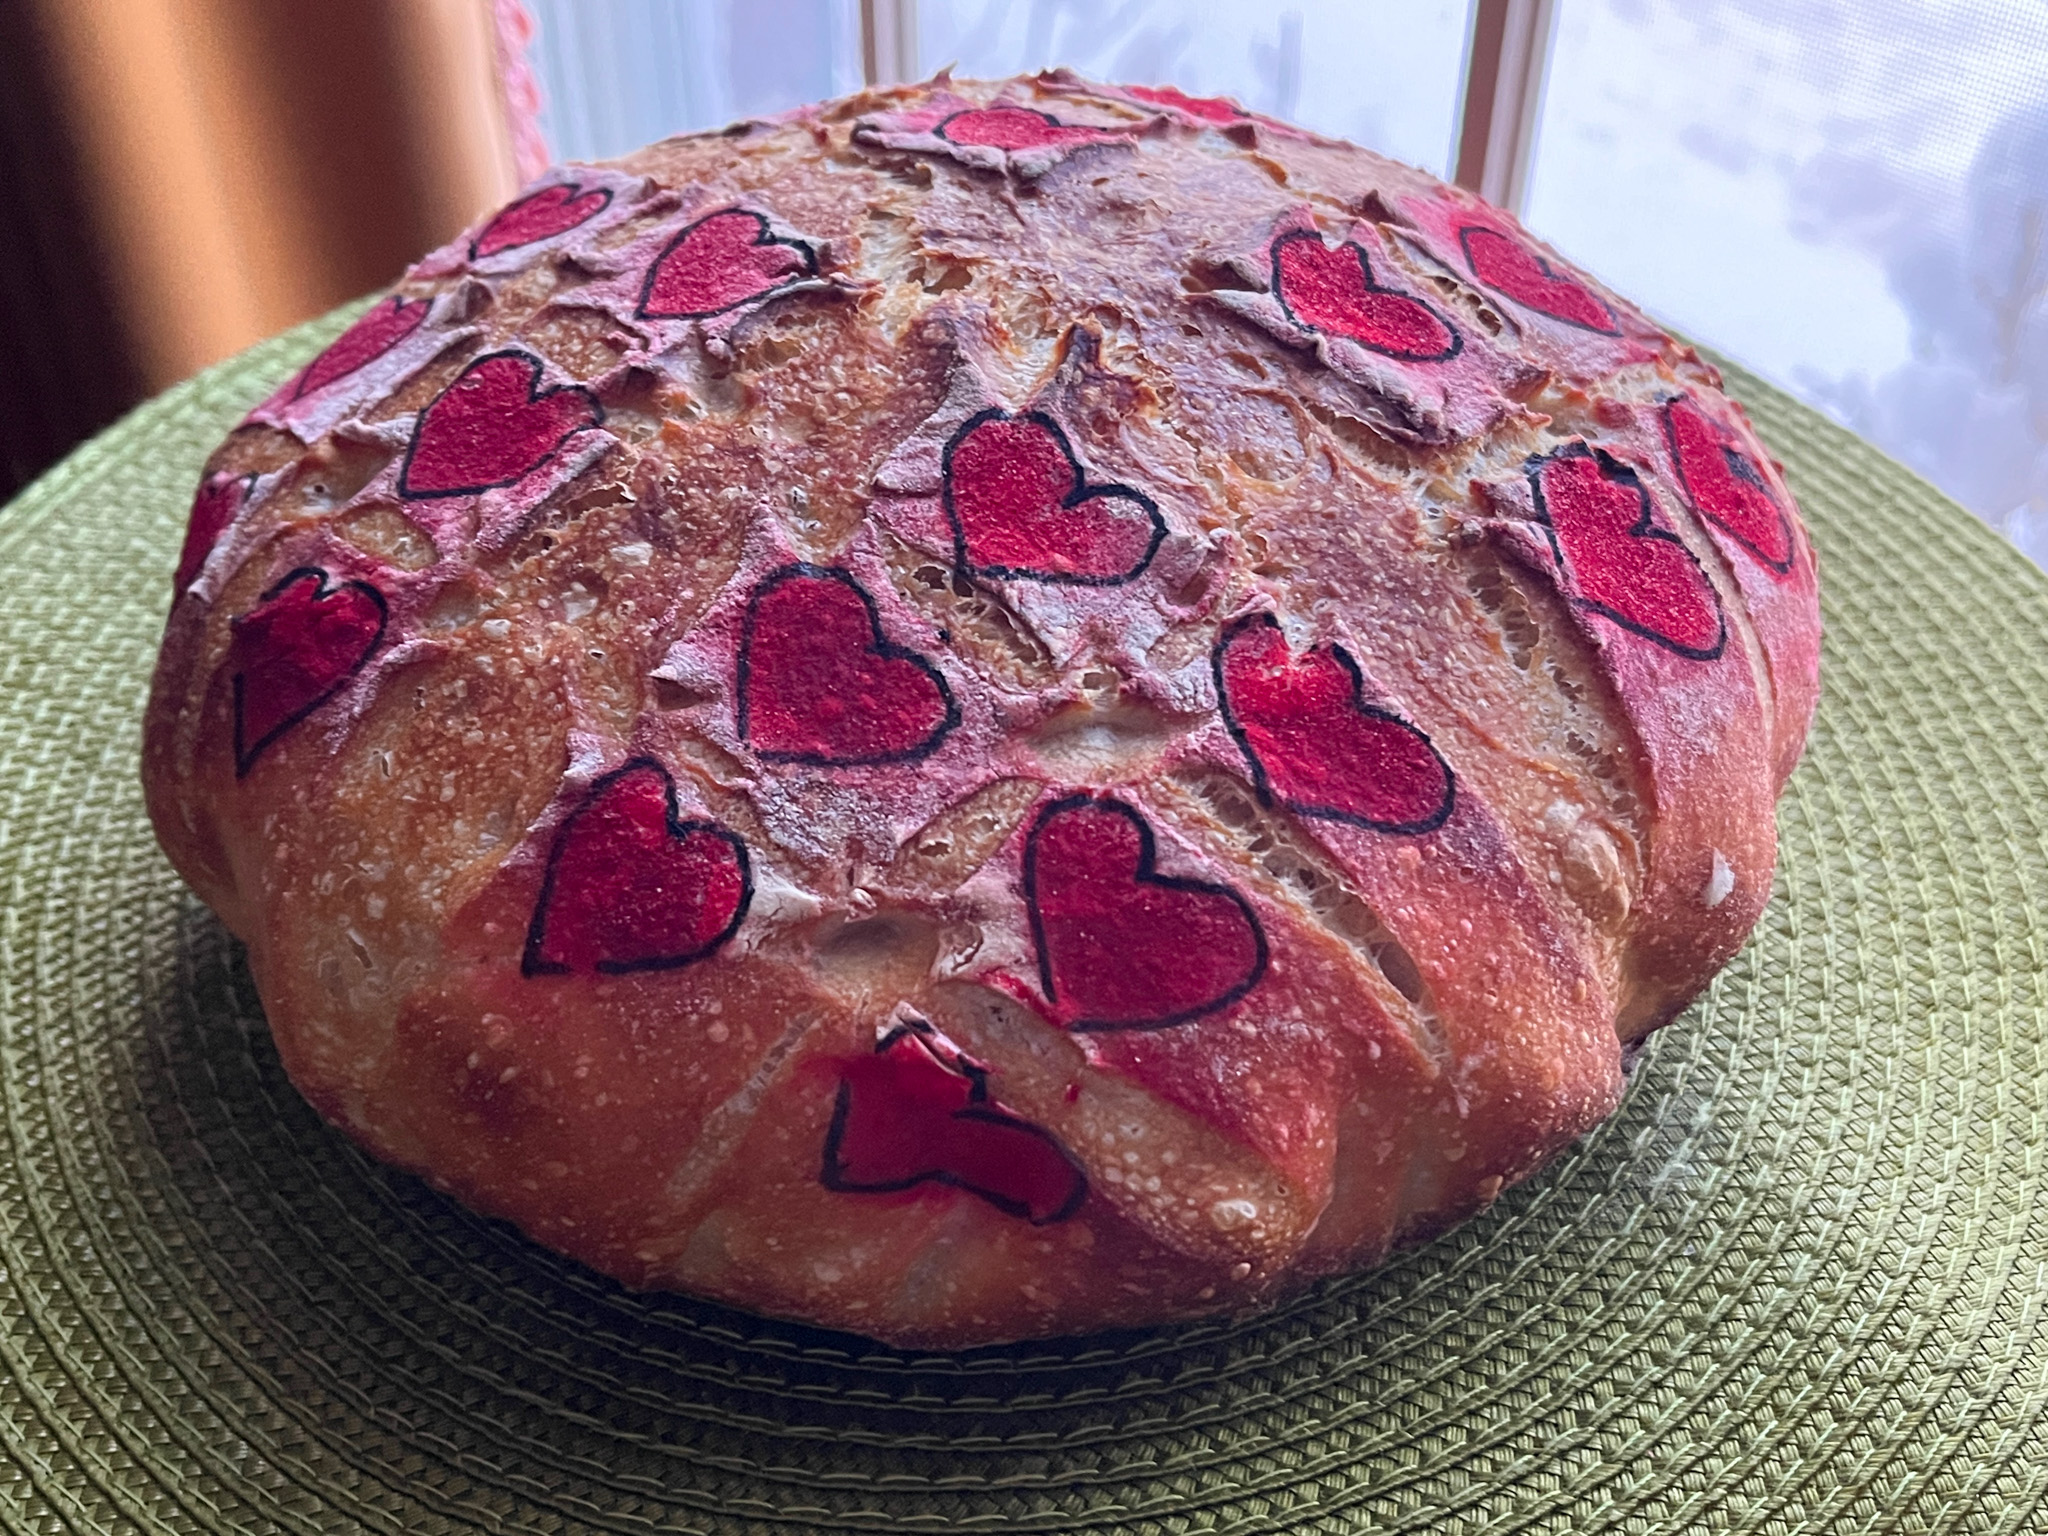
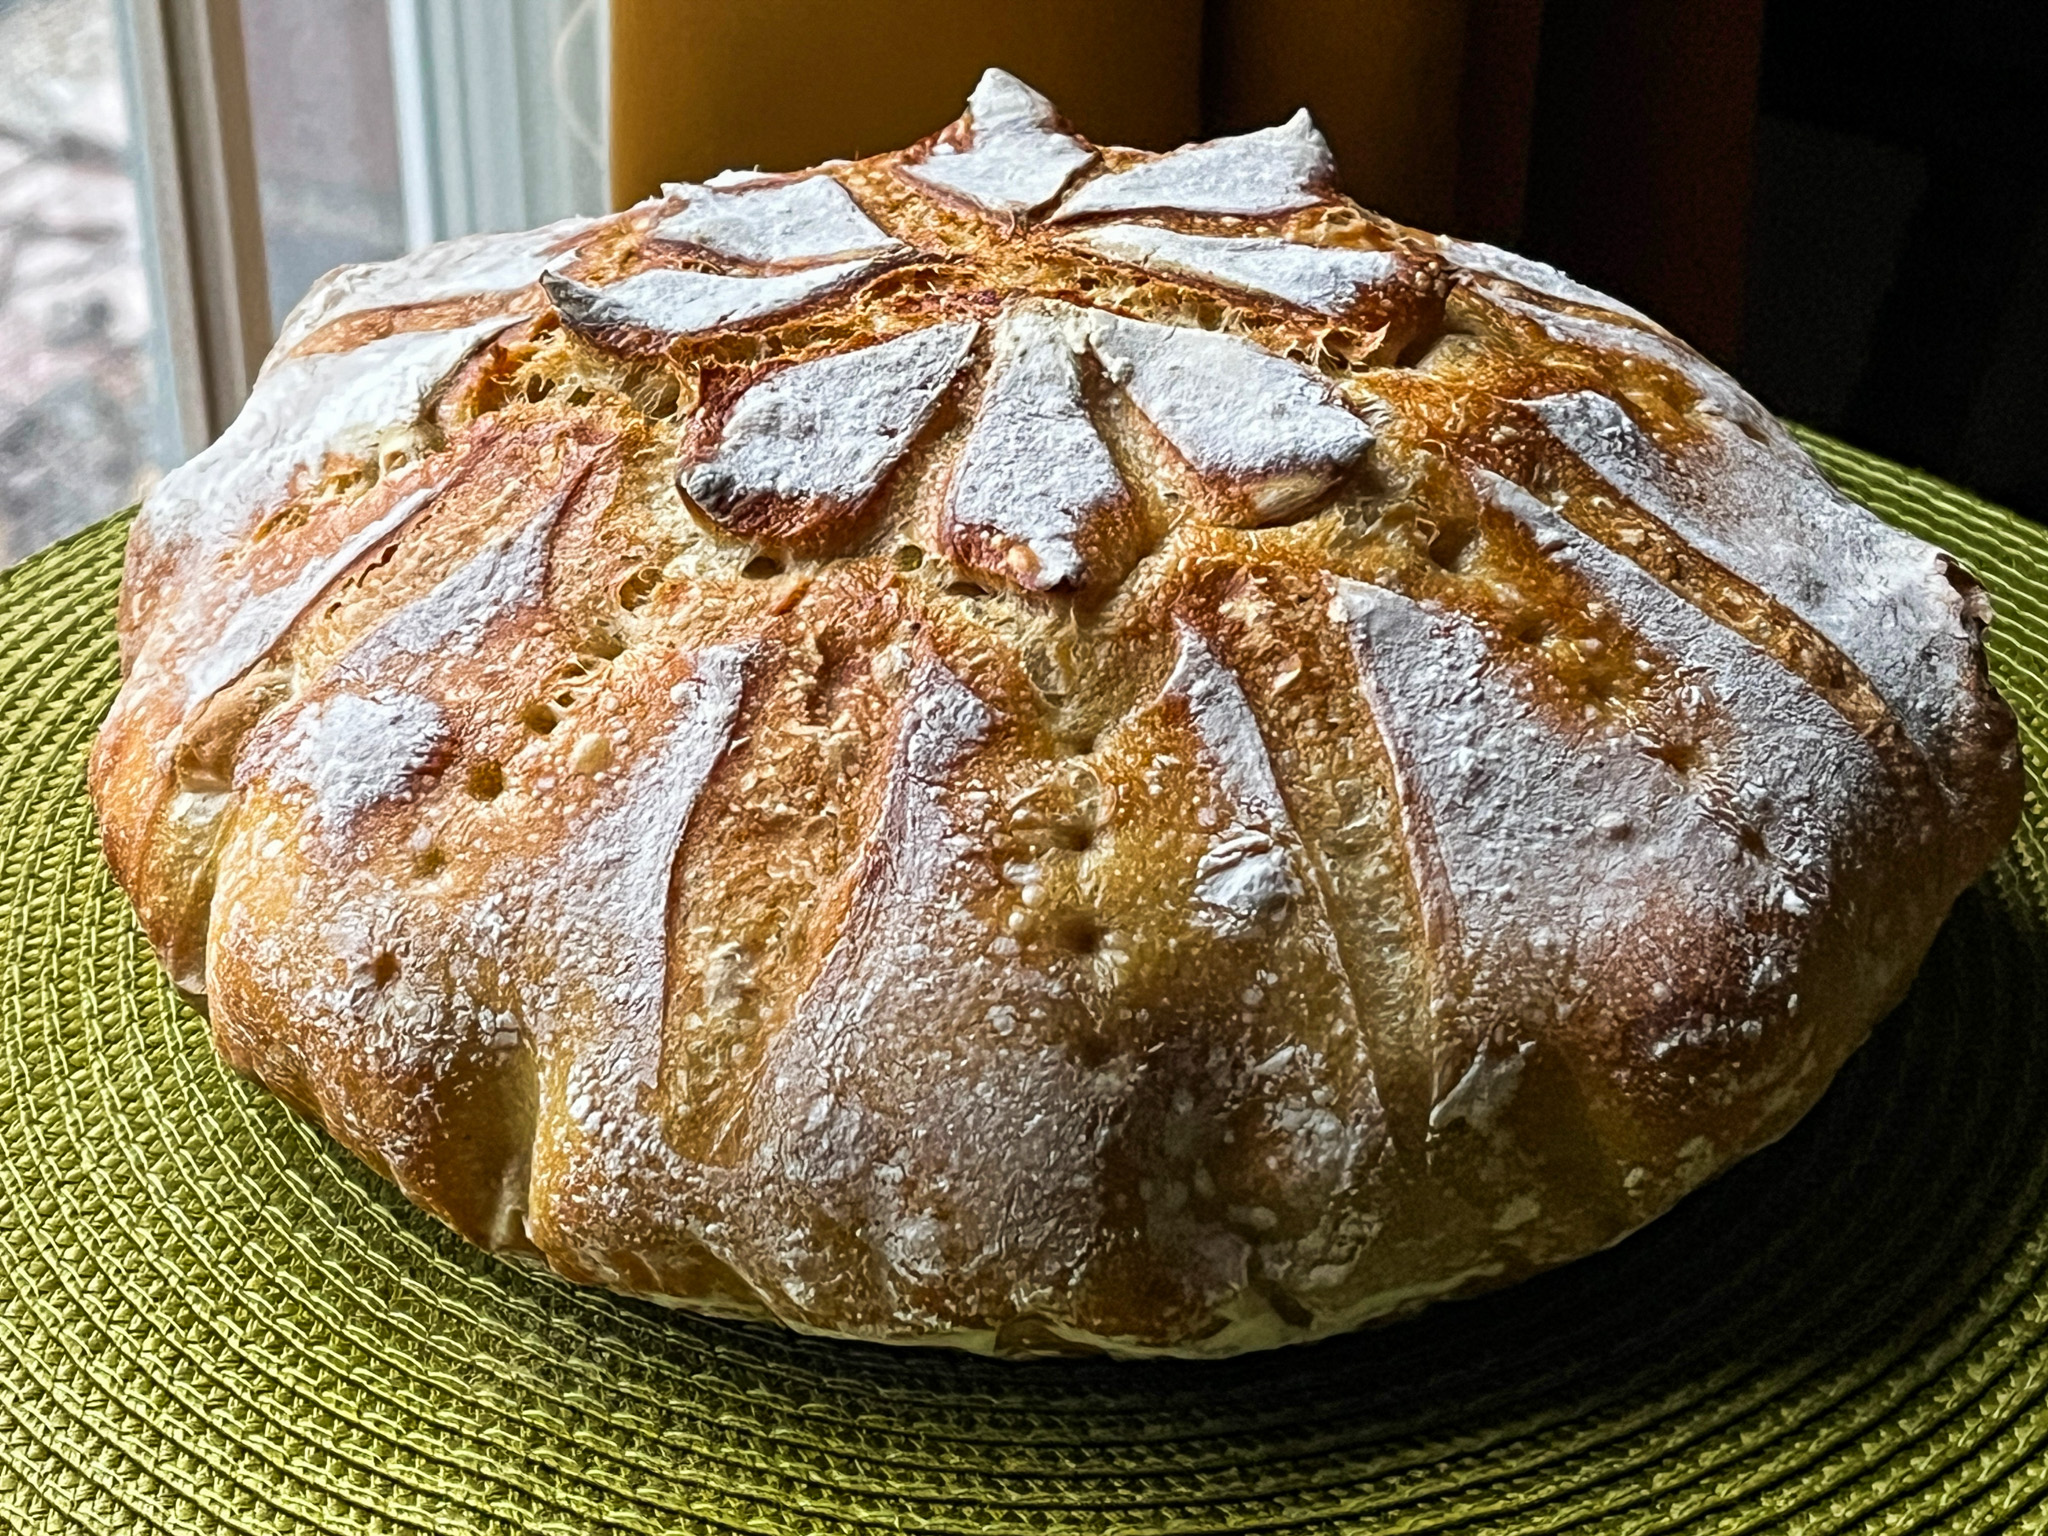
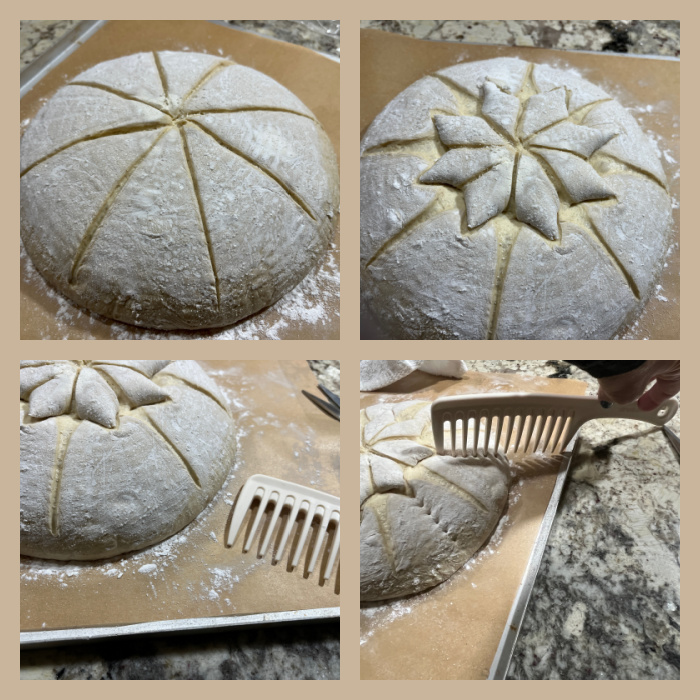
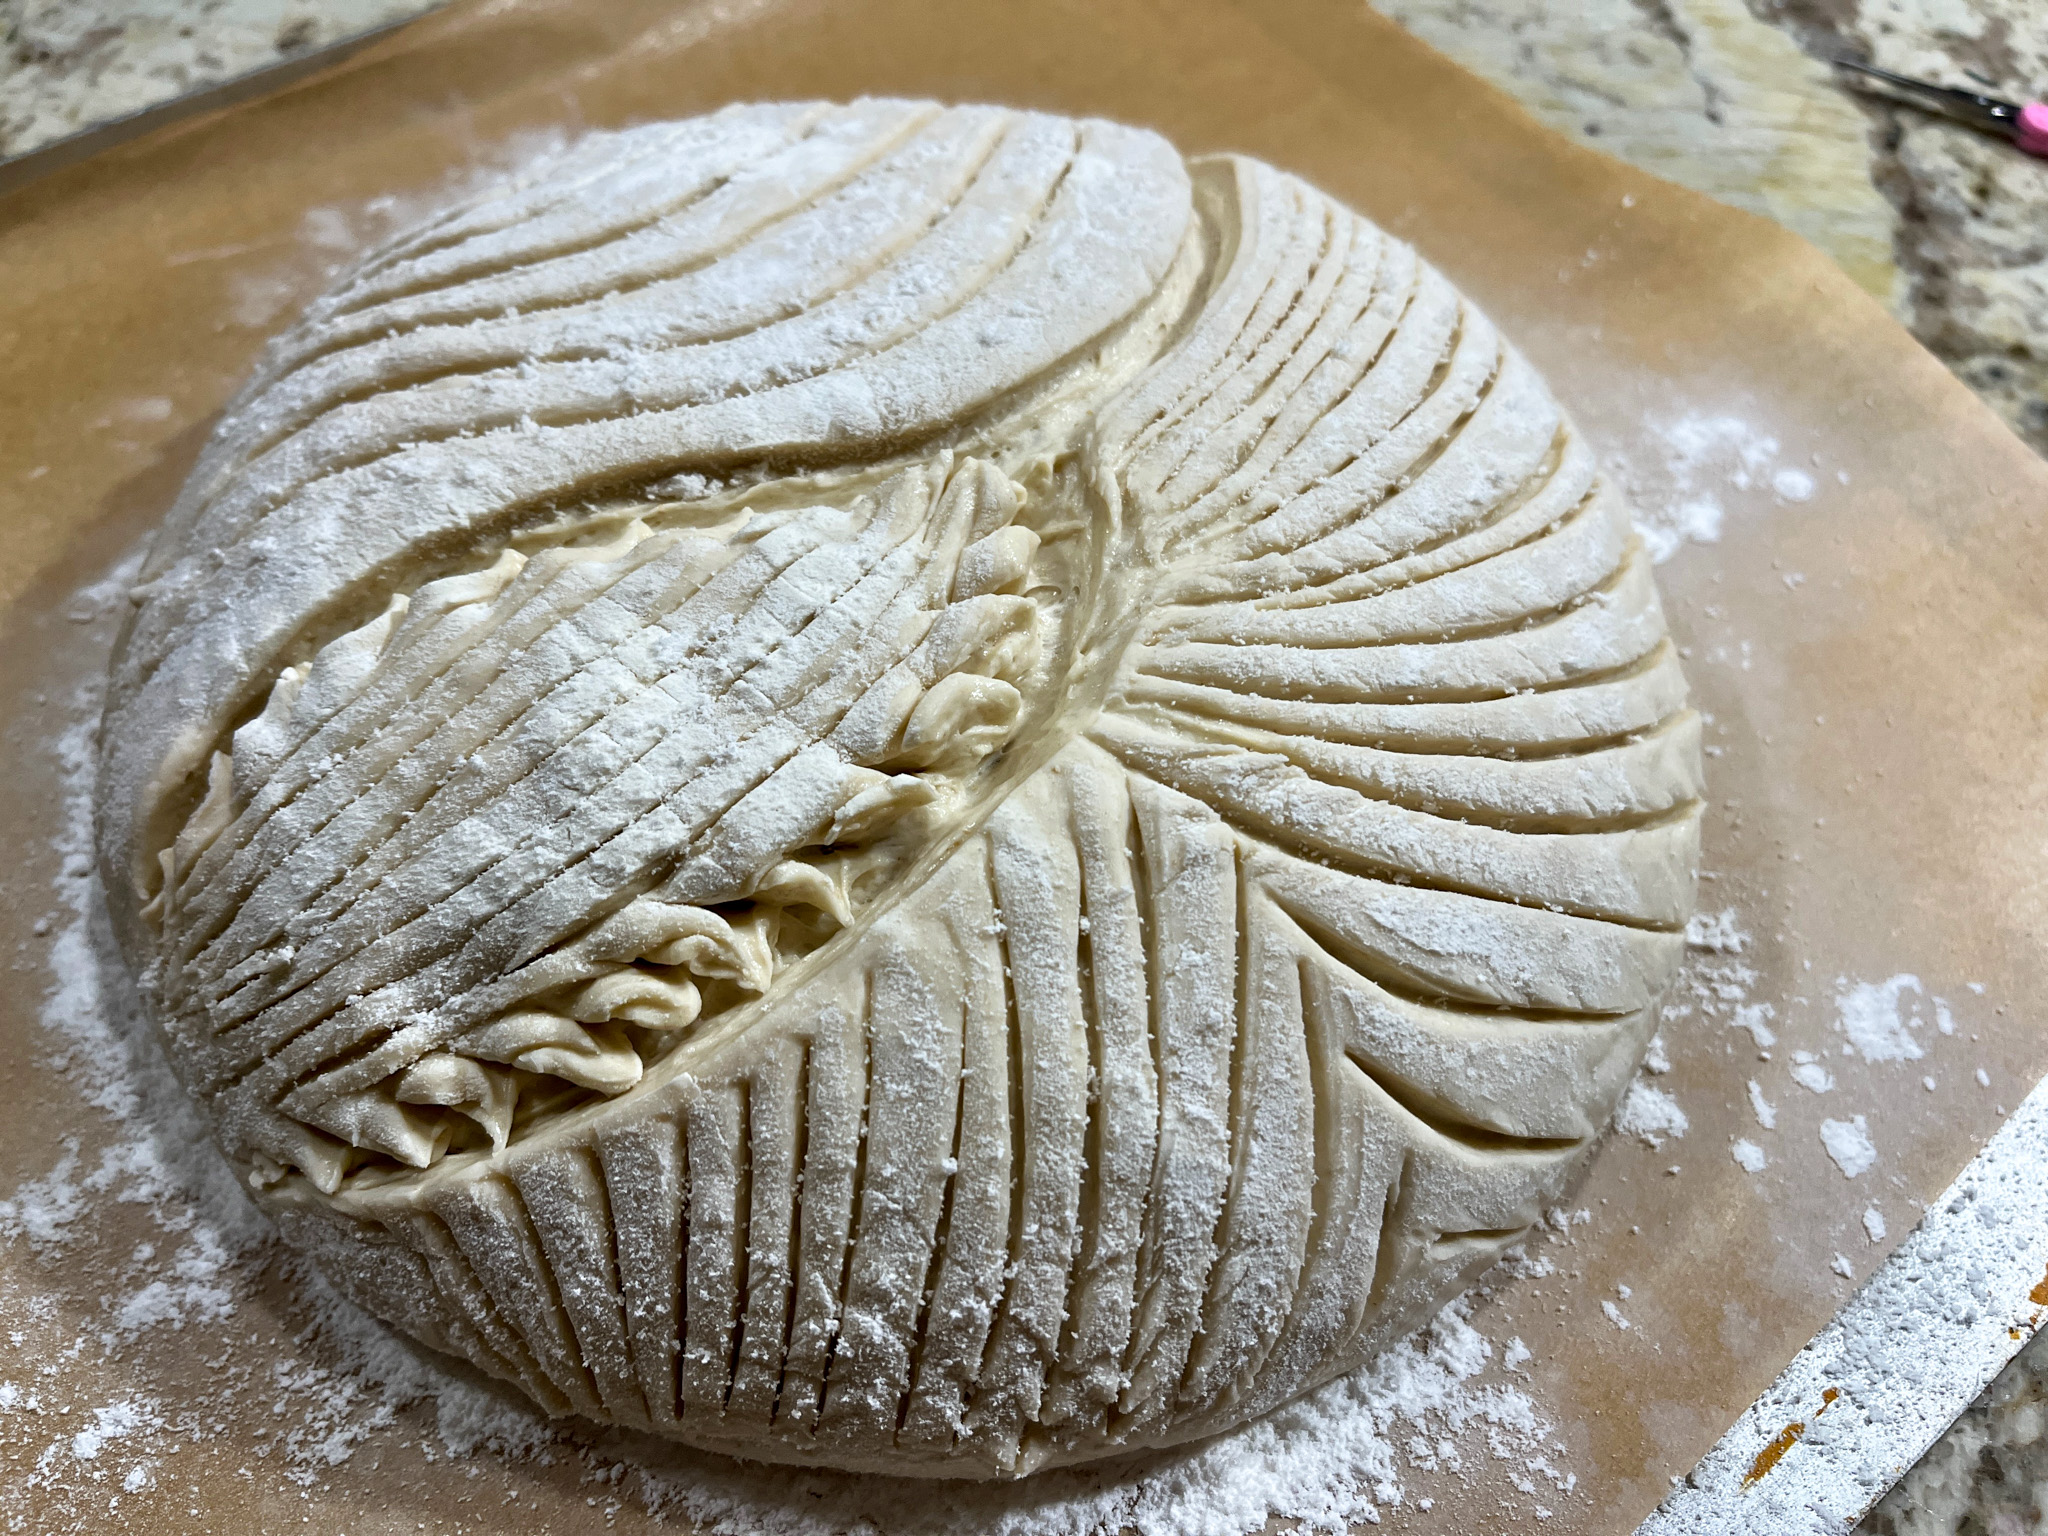
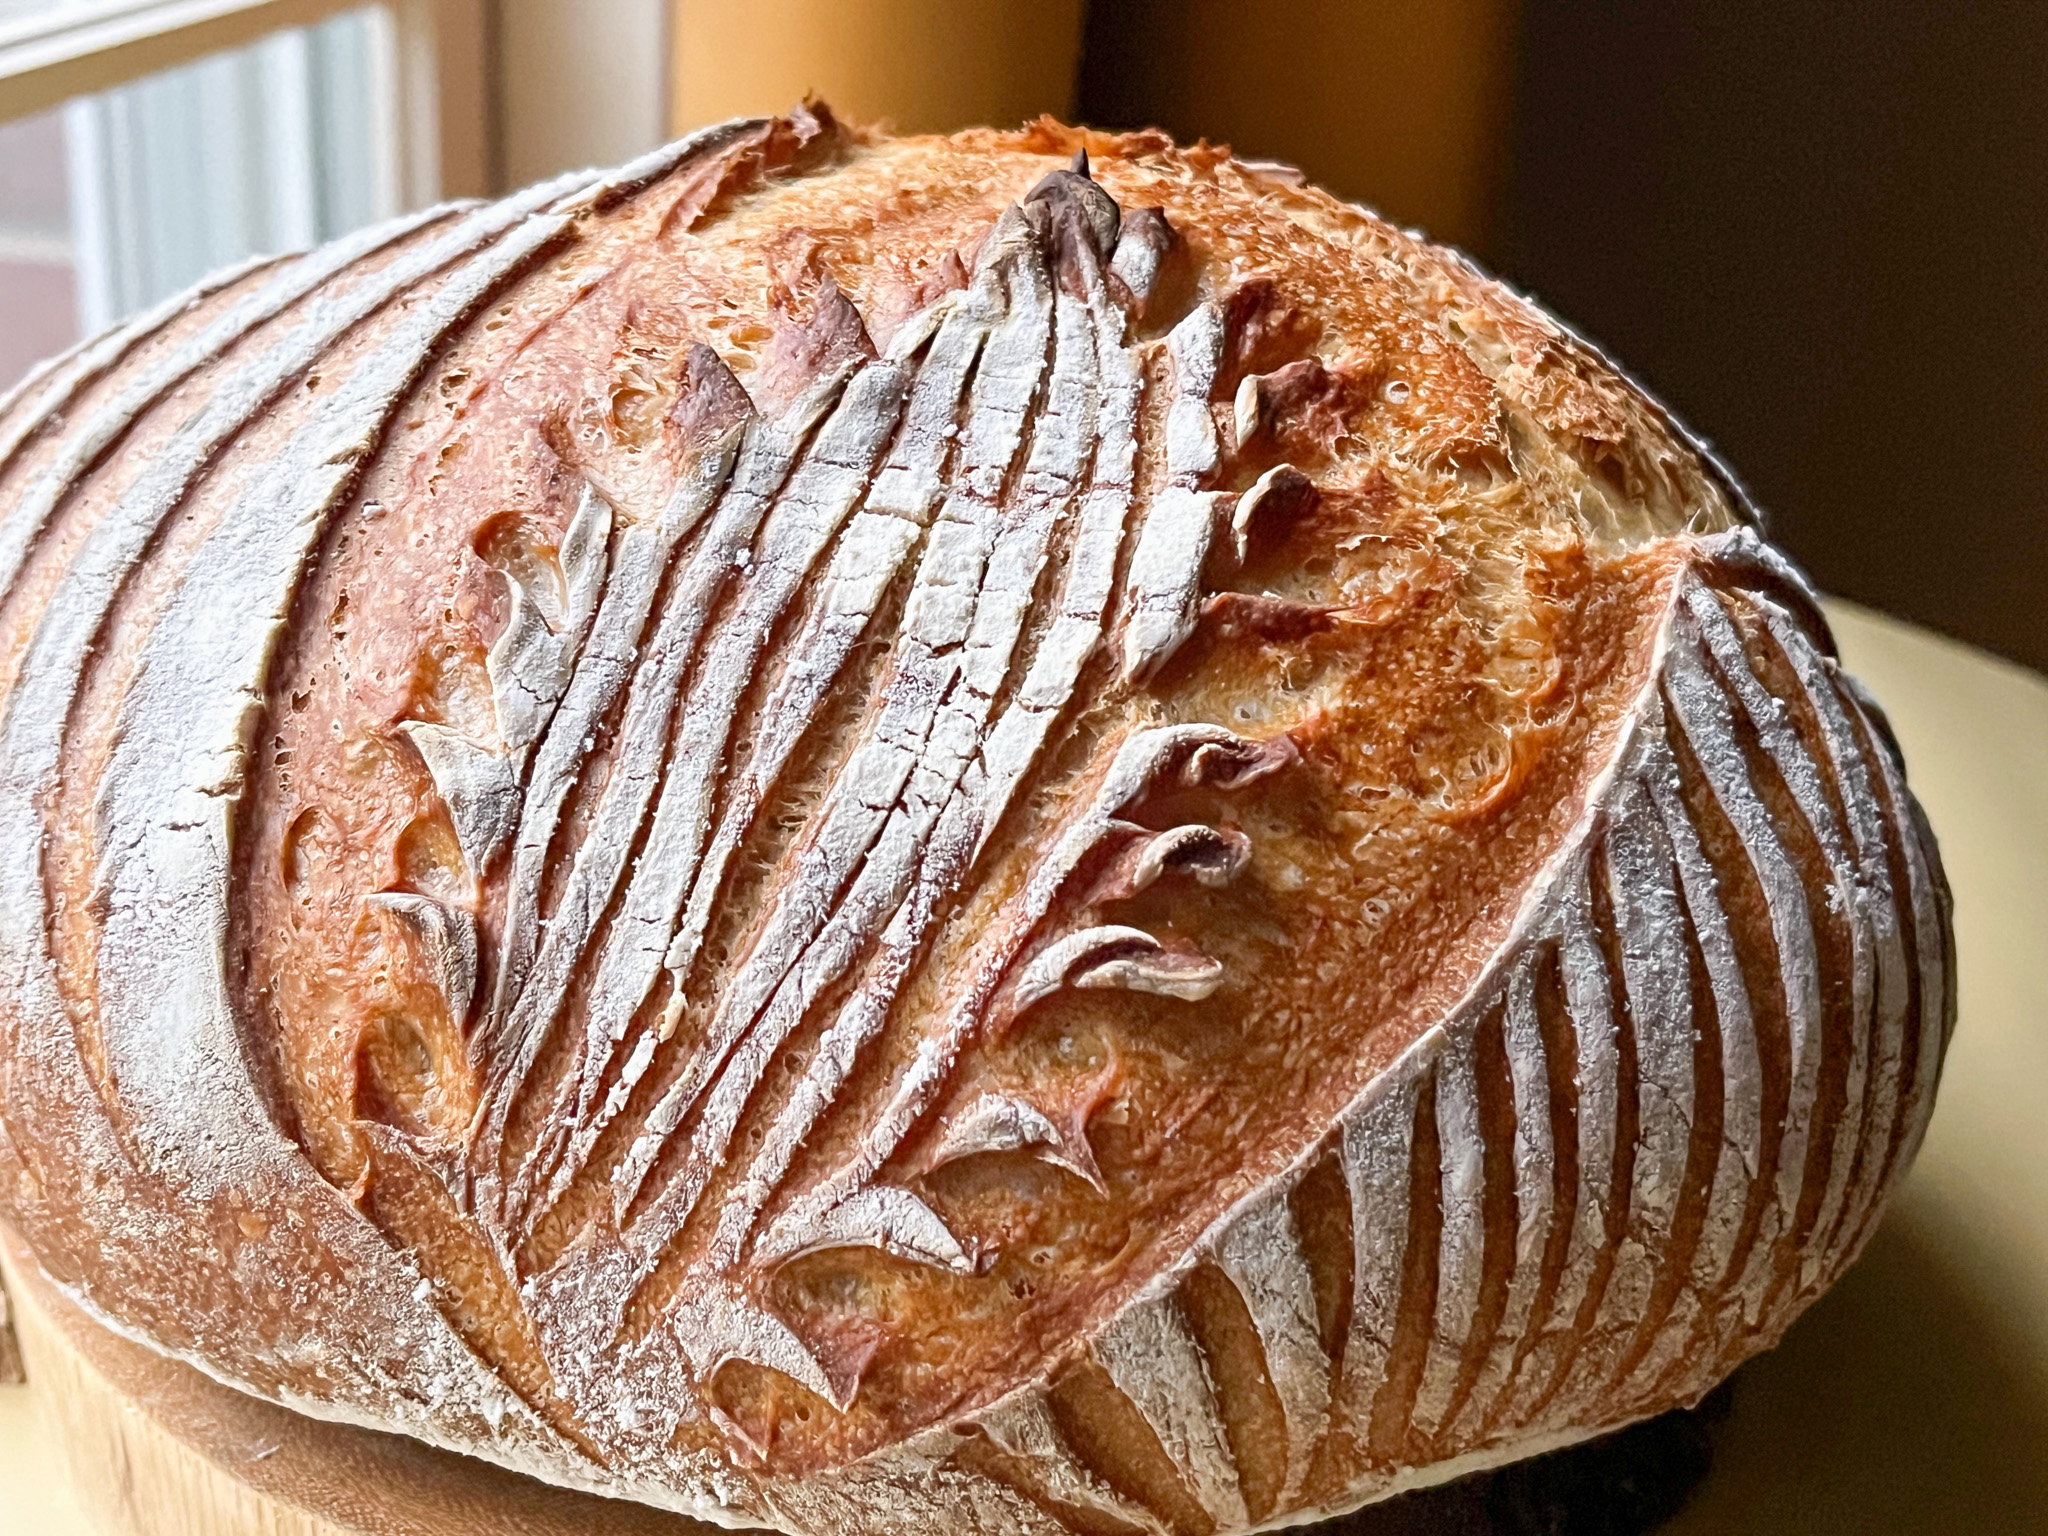
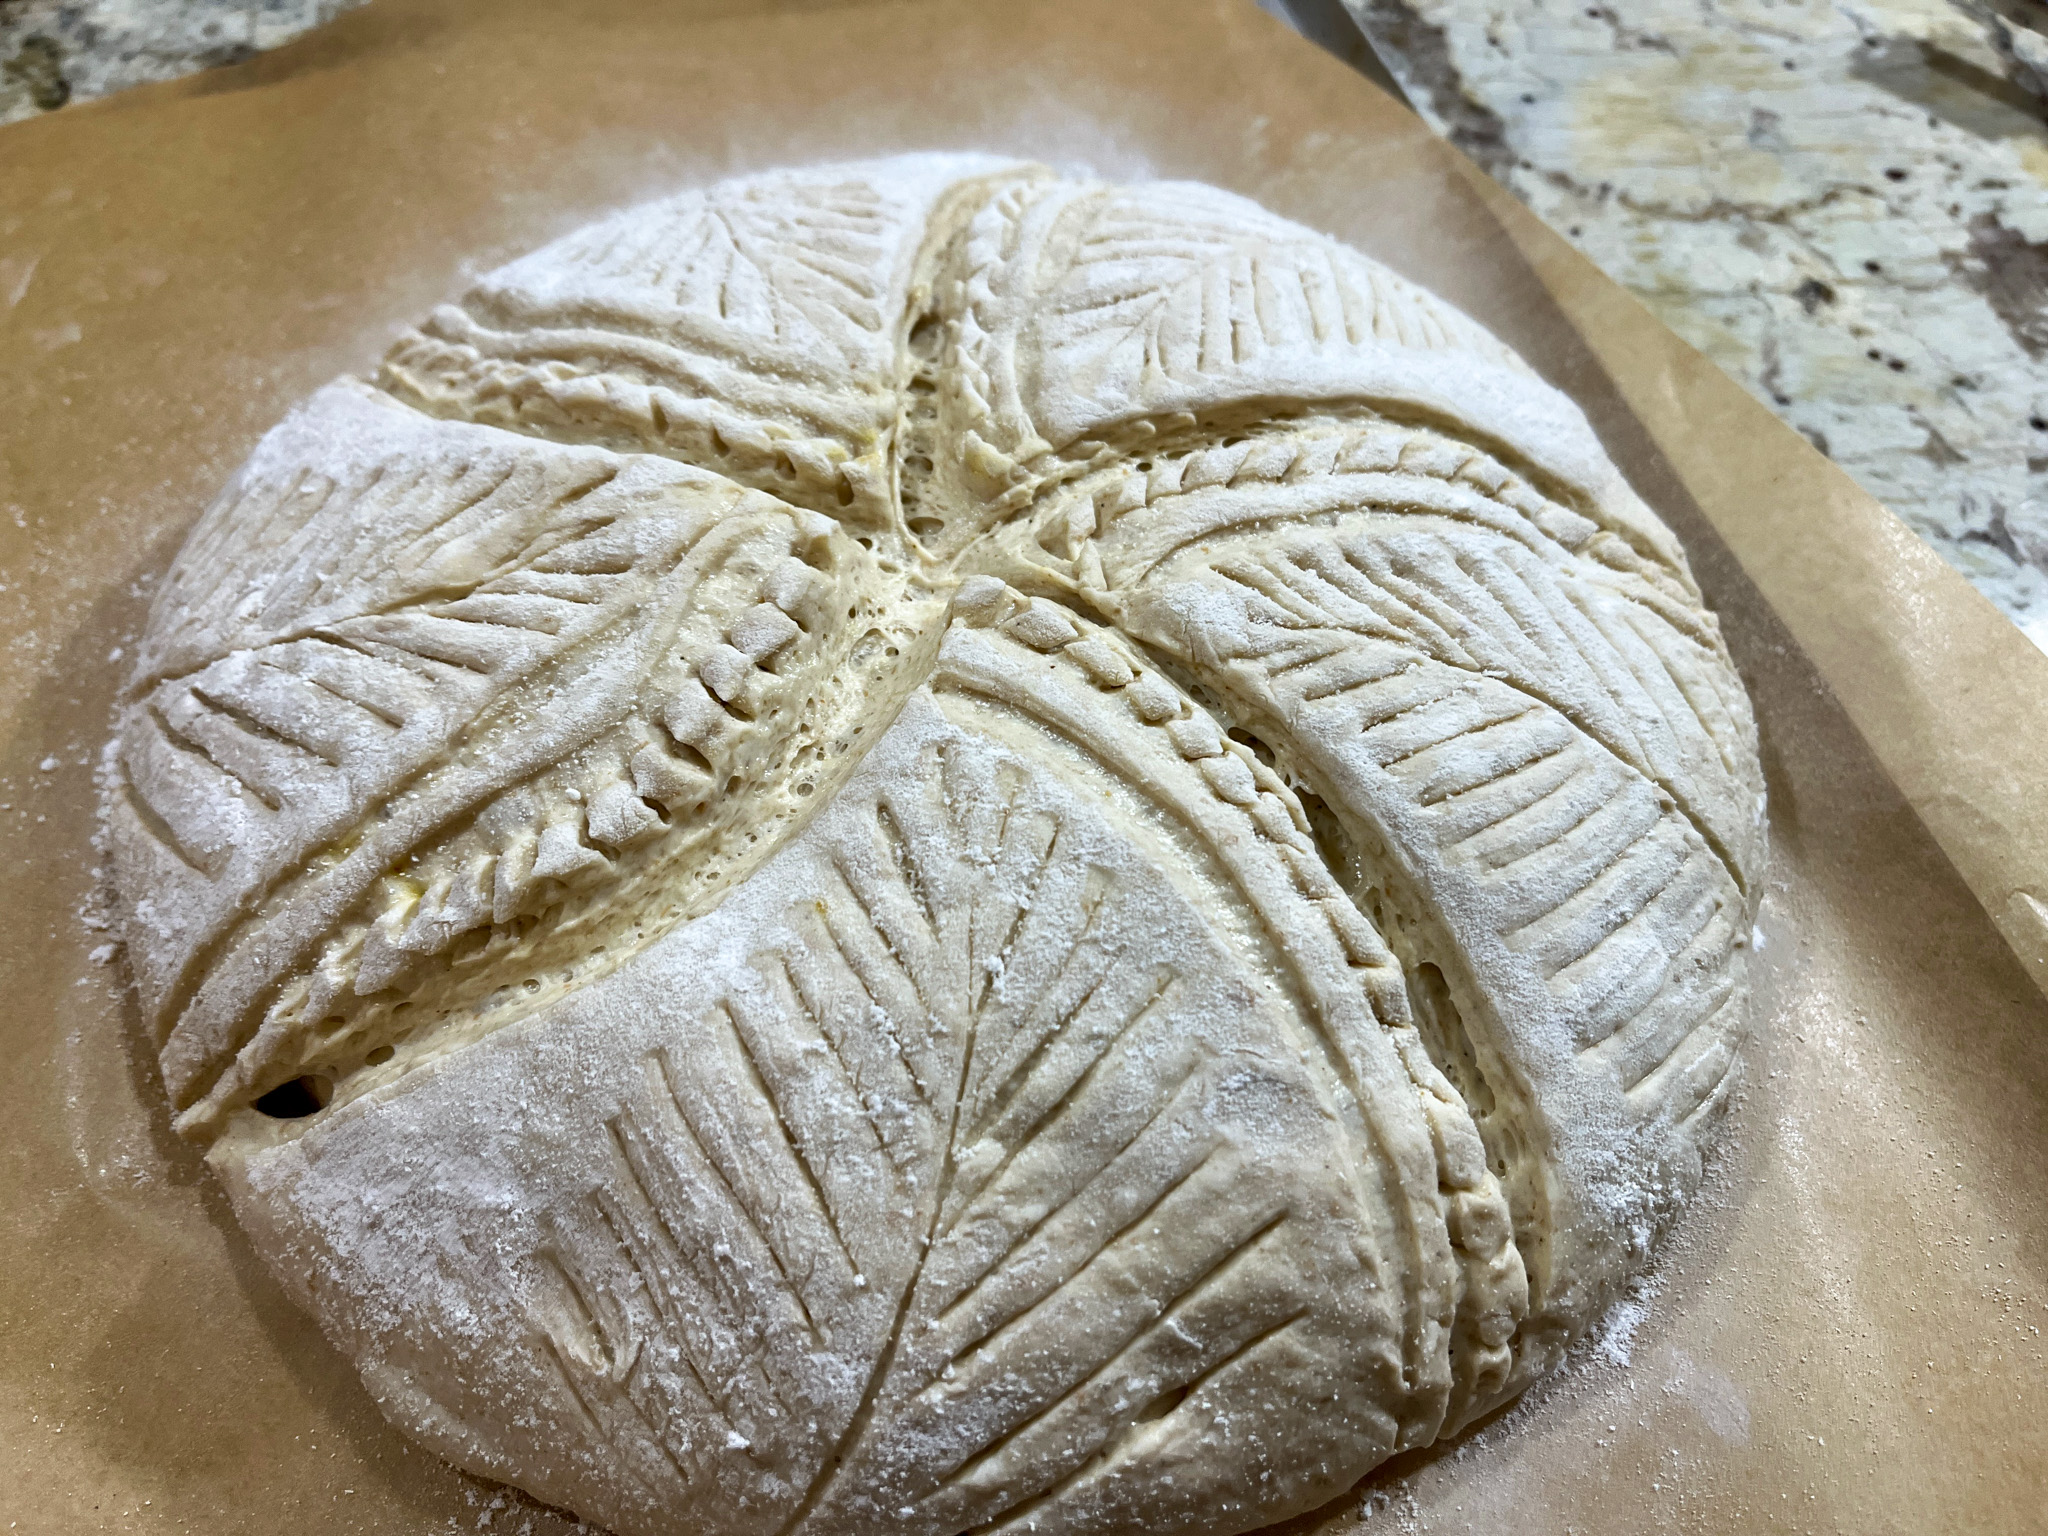
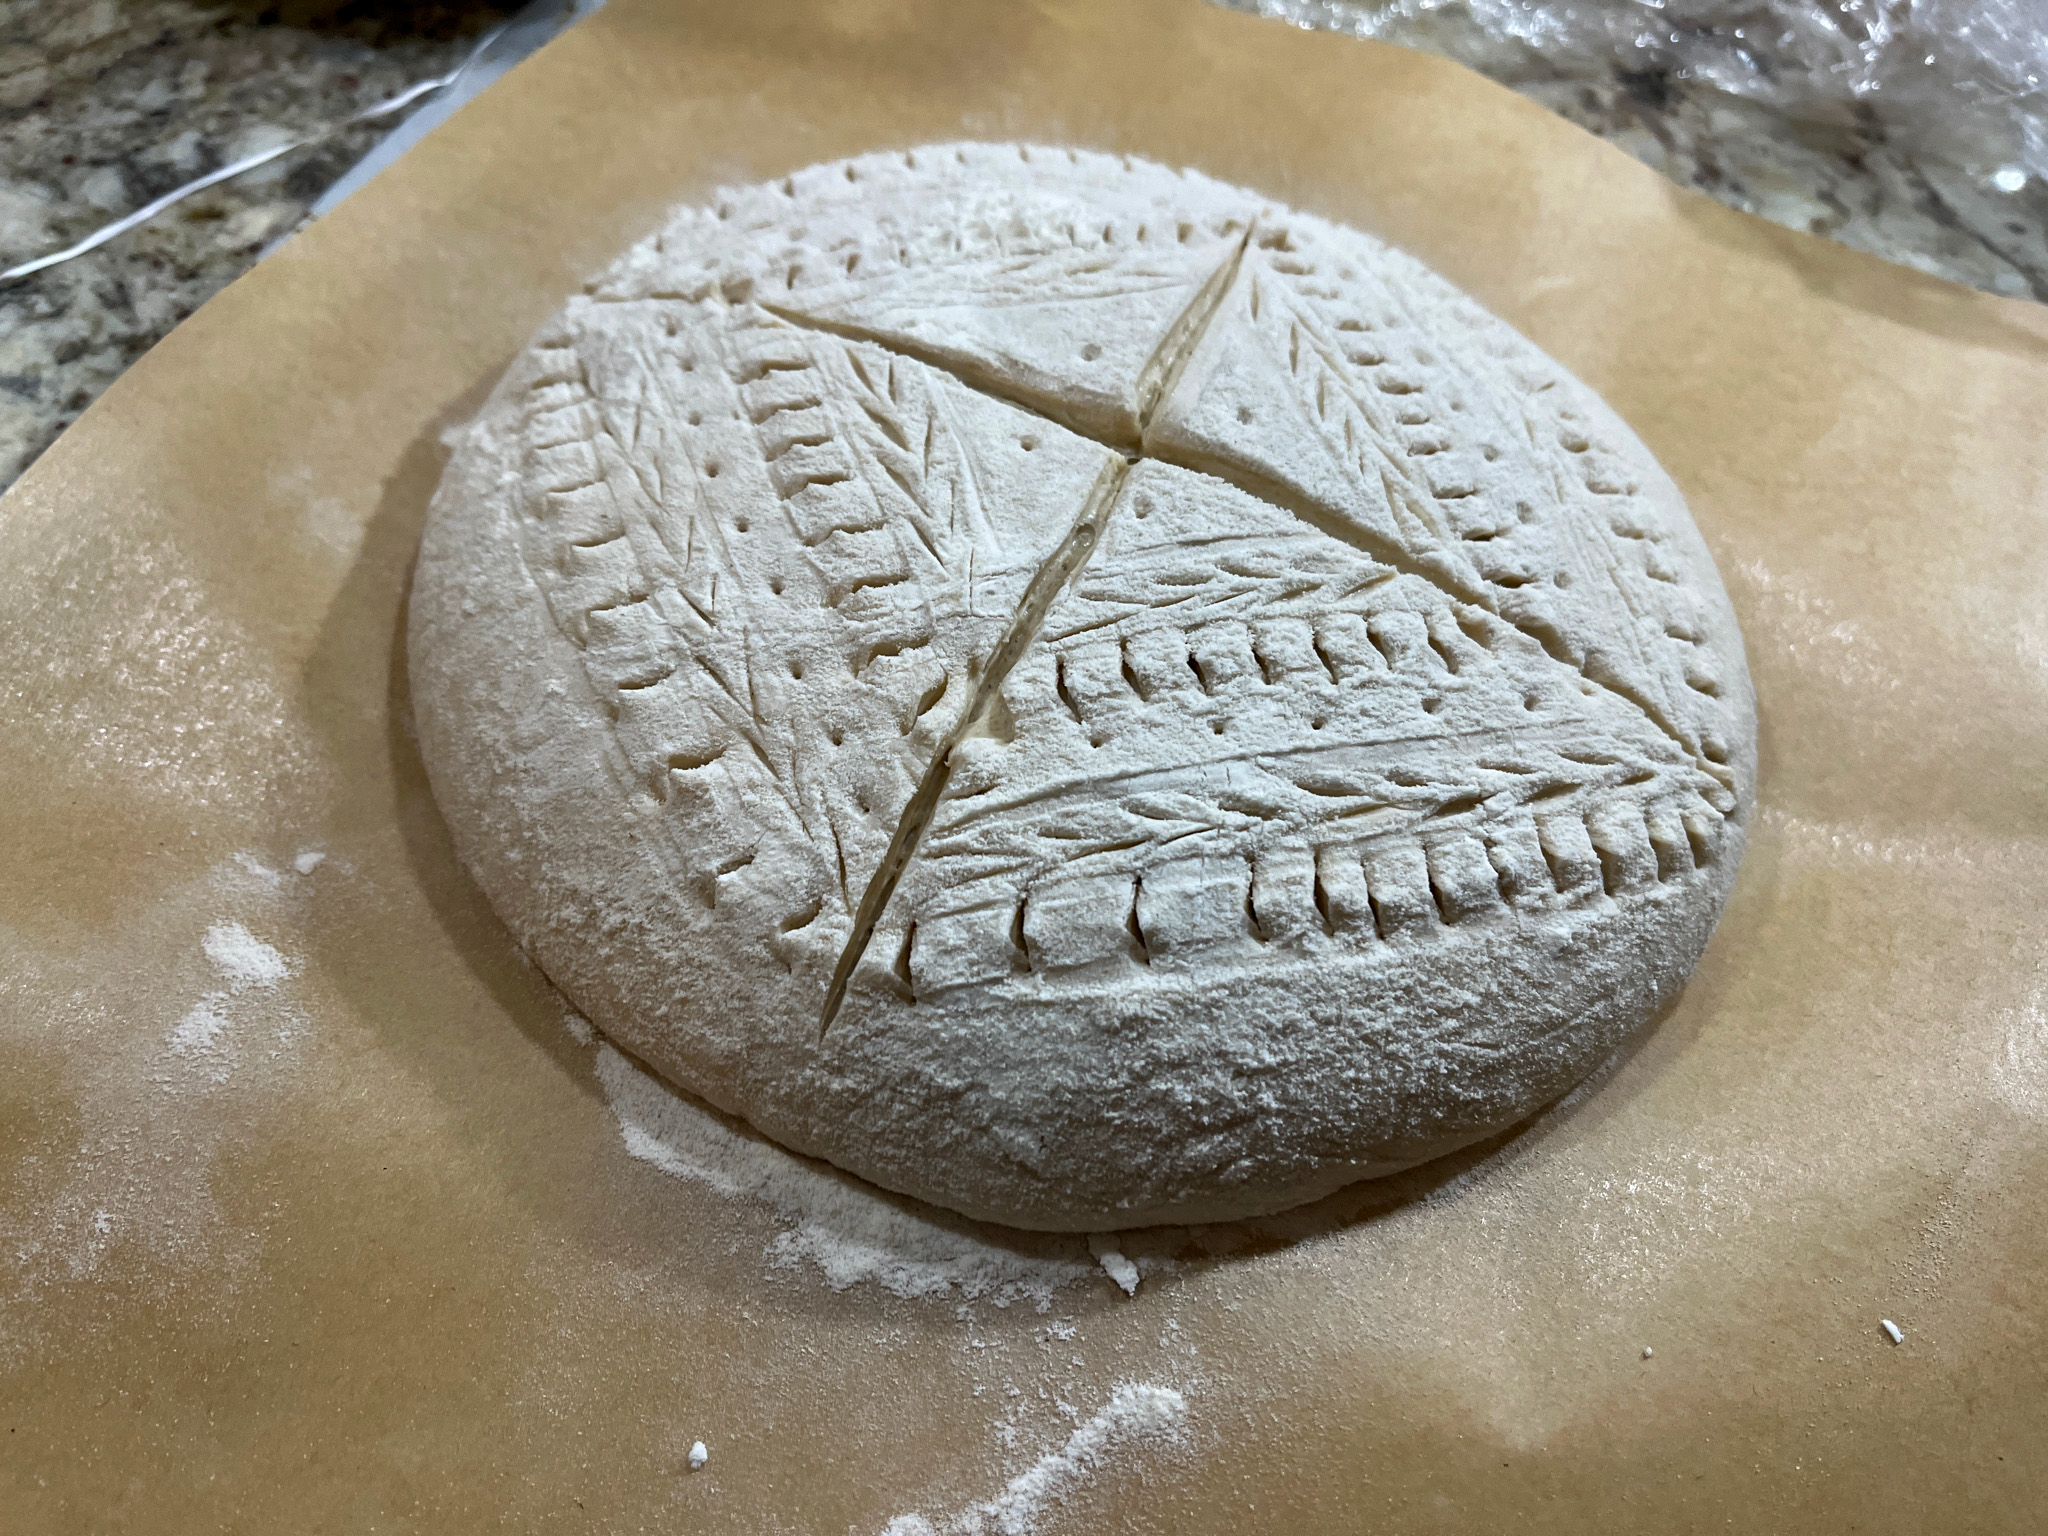
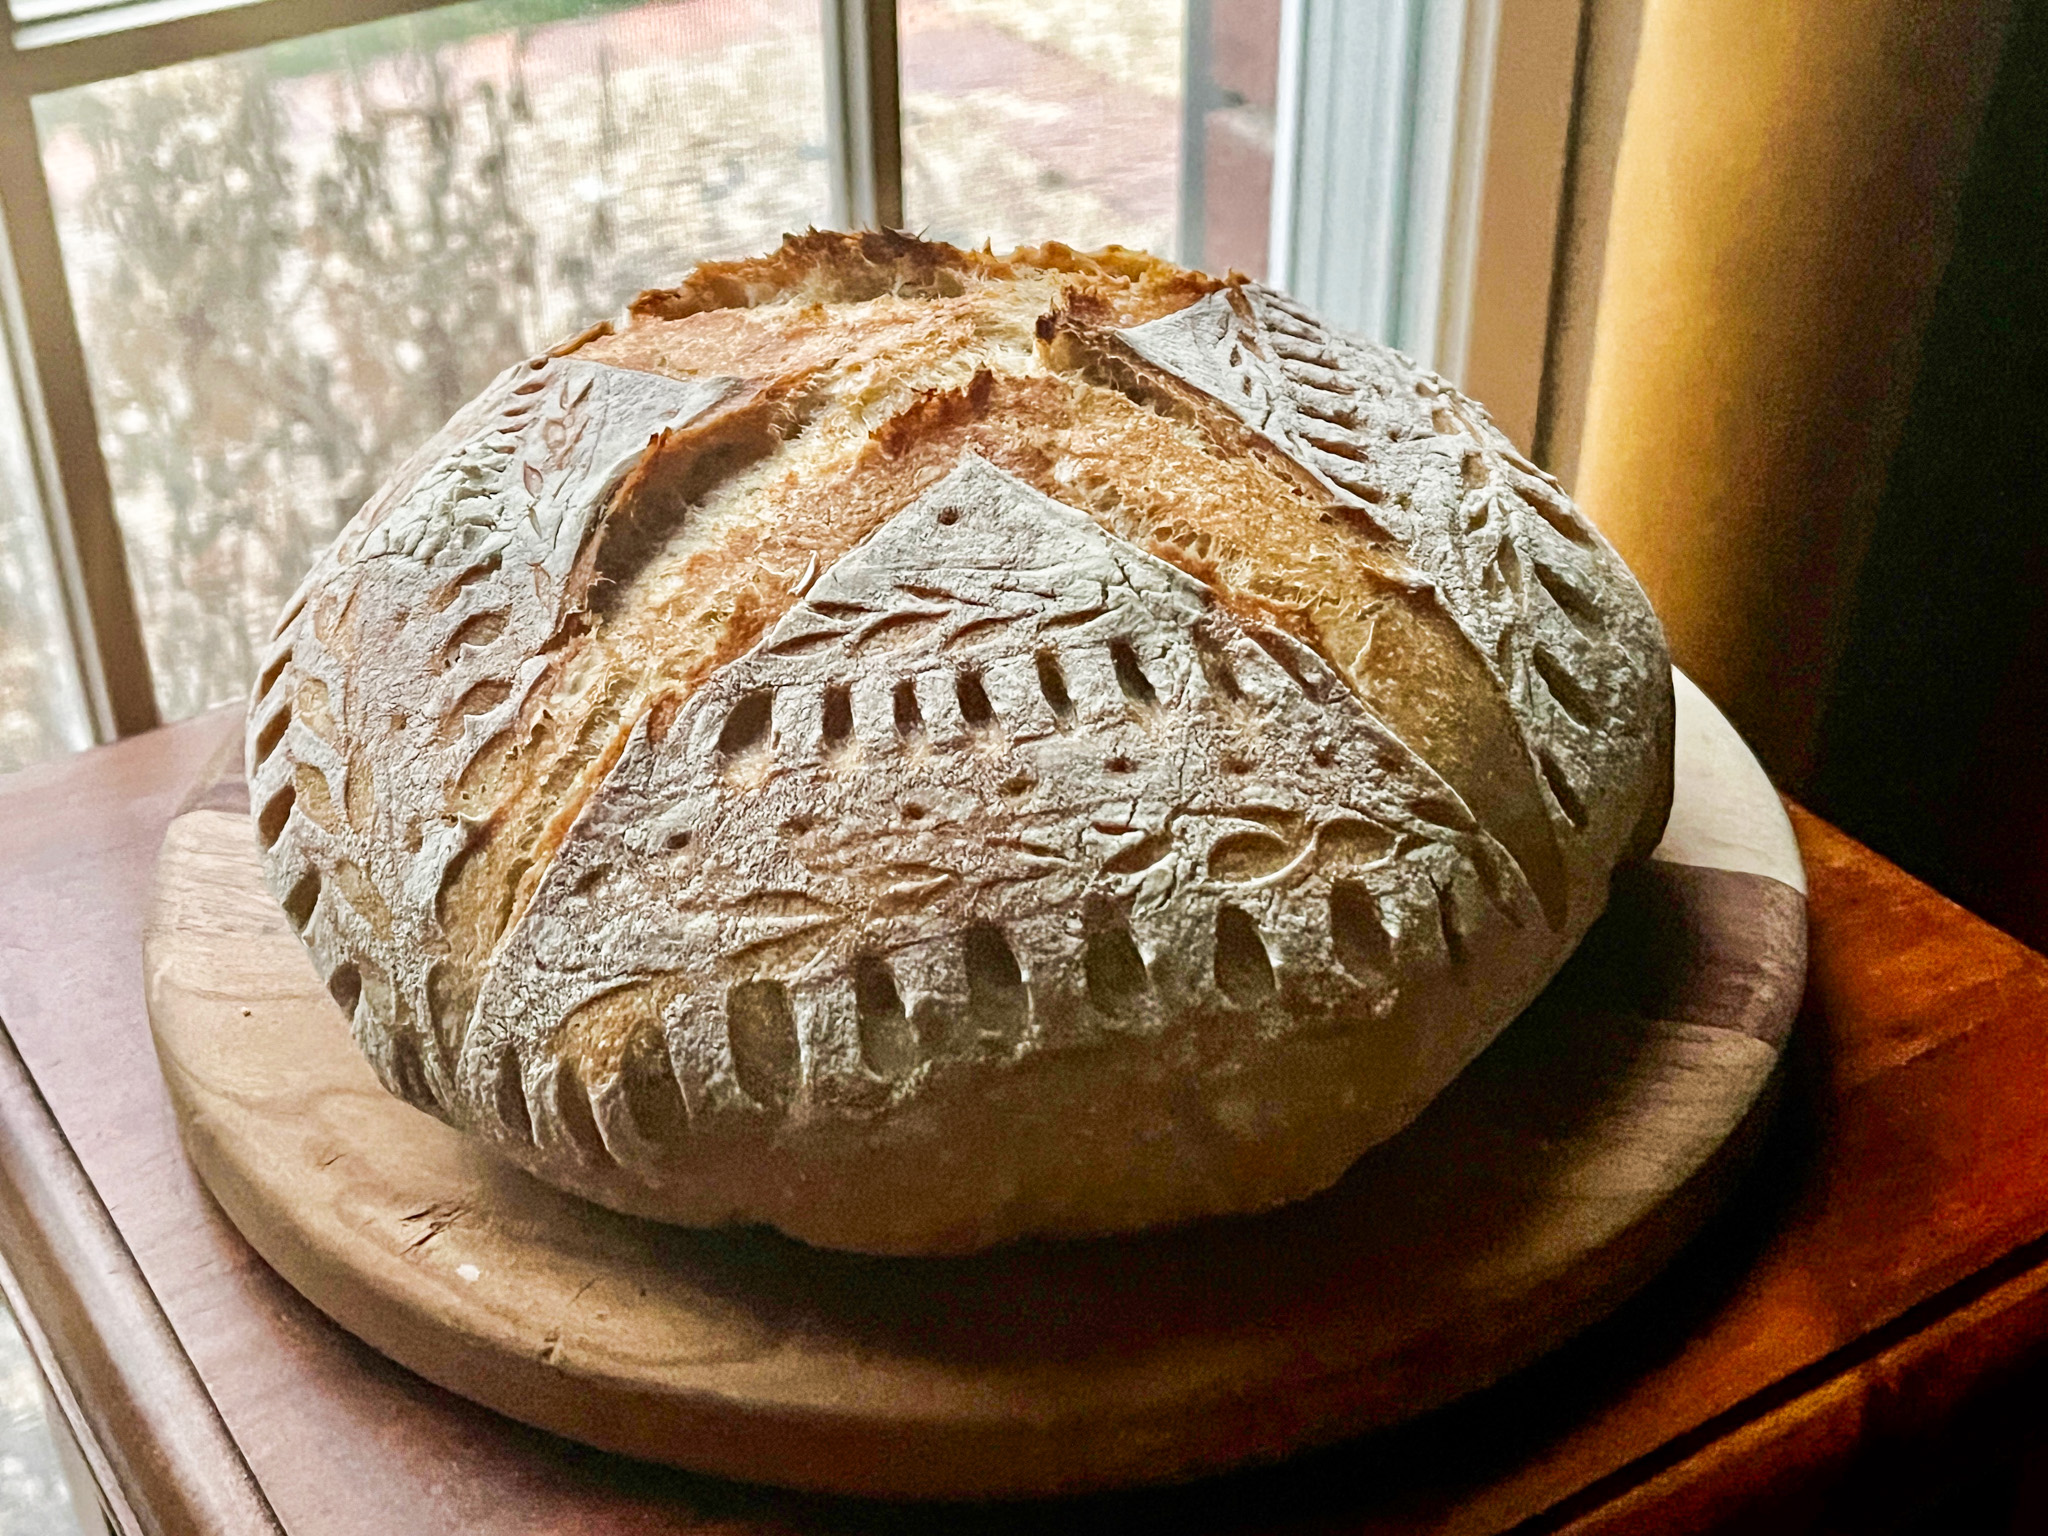
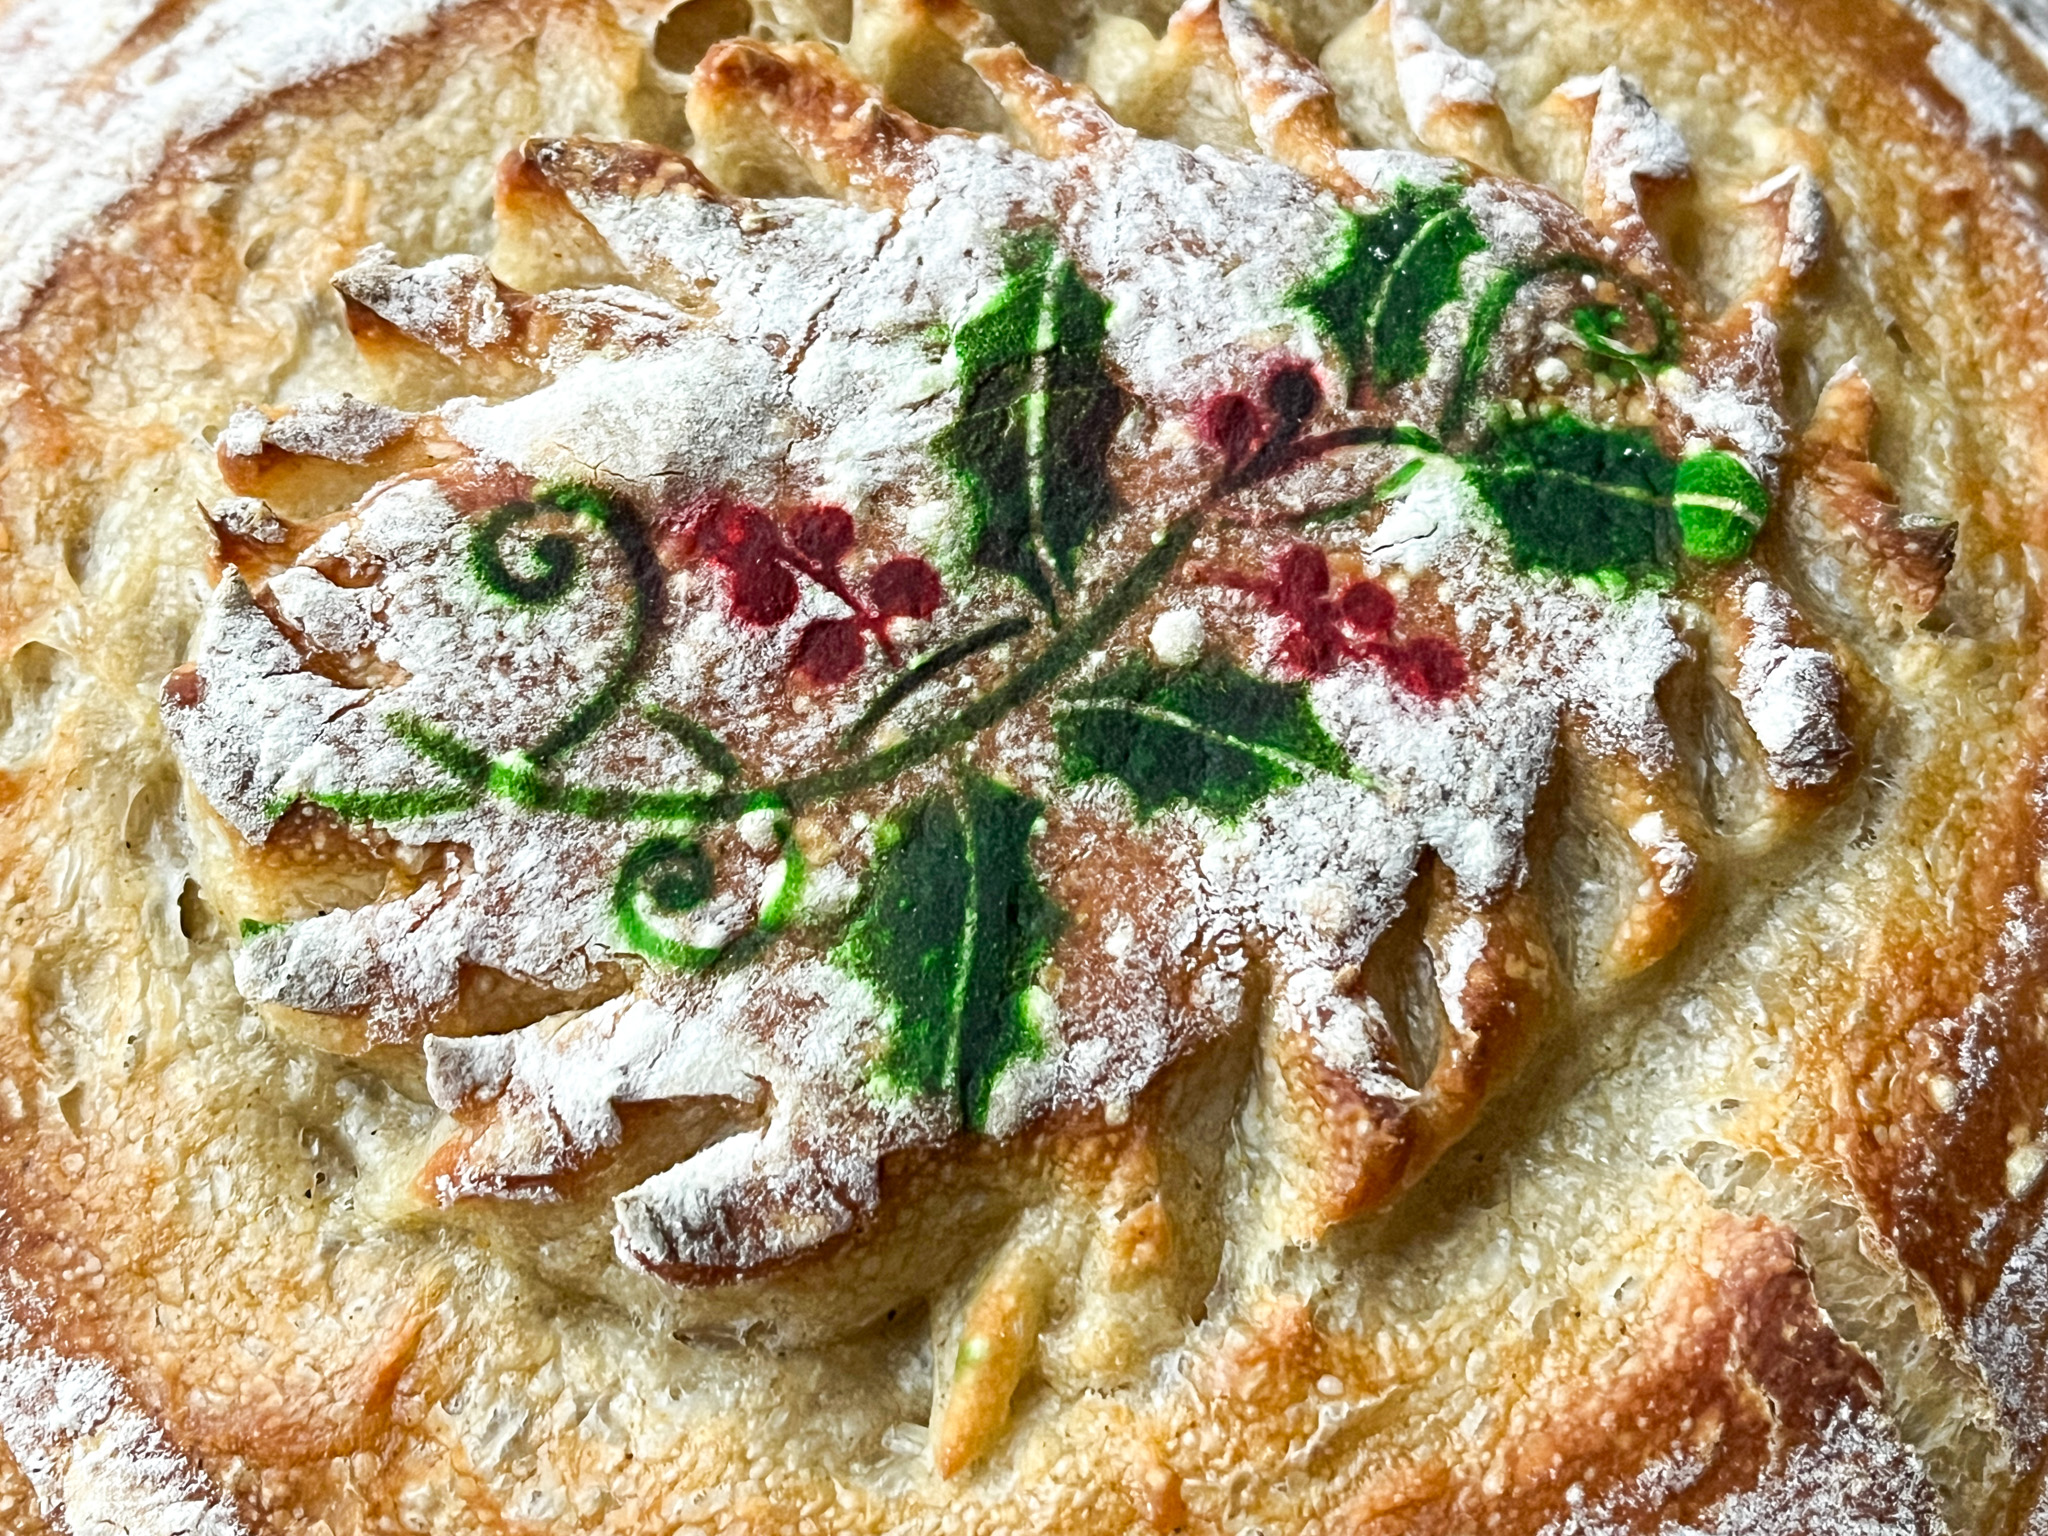
POLKA-DOT HEART SOURDOUGH

For the recipe, check my blog post with a click here.
I hope you’ve found some inspiration in this post for your future bakes, and please enjoy the weekend ahead, particularly if you are a football fan!

ONE YEAR AGO: Roasted Cauliflower with Chickpeas and Quinoa
TWO YEARS AGO: A Savory Phyllo Pie
THREE YEARS AGO: Nut-Free Lady Grey Macarons
FOUR YEARS AGO: Mini-Heart Cakes for your Valentine
FIVE YEARS AGO: Blue Moon Milk
SIX YEARS AGO: Slow-Cooked Chicken Meatballs
SEVEN YEARS AGO: Zesty Flourless Chocolate Cake
EIGHT YEARS AGO: Maple Pumpkin Pecan Snacking Cake
NINE YEARS AGO: Silky Gingered Zucchini Soup
TEN YEARS AGO: Sweet Fifteen!
ELEVEN YEARS AGO: Sesame and Flaxseed Sourdough
TWELVE YEARS AGO: Green Beans with Miso and Almonds
THIRTEEN YEARS AGO: Saturday Morning Scones
FOURTEEN YEARS AGO: White Bread