AUBERGE PECAN-WALNUT BREAD

BBBuddybadgemarch2016Every once in a while I see a recipe and get “the itch.”  It will not leave my mind until I make it. Not only I catch myself thinking about it in the middle of the day, but I often dream about it. In my dreams, I might gather the ingredients and jump into action, or sometimes get into an almost nightmare mode in which I cannot read the ingredients or find them in my pantry. The mind works in odd ways. I have no idea why some recipes do this to me, but the most recent example was the Auberge Walnut Bread blogged by Karen, as part of the Bread Baking Babes group. It is a fun virtual event, also happens monthly as The Secret Recipe Club, but in this case a member of the group picks one bread recipe and everyone makes it. This month’s bread was chosen by  Elizabeth, hostess of From OUR Kitchen.  I highly recommend you stop by and indulge in her blog. She is hilariously witty, and keeps a wonderful site!  Back to BBB, I have thought about joining the group because c’mon, who would not like to be a “Babe?” However, I don’t think I can handle another monthly commitment. Instead, I watch them from a safe distance and marvel at all the breads they bake.  Until  now, that is.  When I saw Karen’s post, I got the itch, and because it is a bread that doesn’t require a sourdough starter, I made it right away. You should too. You won’t need to knead it by hand, you won’t need to fold it, baby it, watch it, nothing. It is one of the easiest bread recipes to tackle, and the result will blow your mind: a soft, moist, flavorful crumb, with a darker color than you would expect from a bread made only with white flour. Smells amazing as it bakes, tastes amazing with anything you’d like to pair it with.  But I advise a little blue cheese.  To quote Karen

Oh Em Gee…   😉

Auberge Pecan Walnut Bread

AUBERGE PECAN-WALNUT BREAD
(slightly modified from Karen’s Kitchen Stories)

120 grams pecan pieces
50 grams walnut pieces
7 grams (one package) active dry yeast
85 grams (1/4 cup) honey (I used acacia)
320 grams (1 + 1/3 cups) warm water
30 grams (2 tablespoons) olive oil
500 grams (3 + 3/4 cups) bread flour
7.5 grams (1 + 1/2 tsp fine sea salt)
 .
Heat the oven to 400 F. Spread the pecan and walnut pieces in a baking sheet and toast them in the oven for about 7 minutes. Let them cool. Pulse them in a food processor until you have both crumbs and medium pieces.
 .
In the bowl of a stand mixer, add the yeast, honey, and warm water. Stir and let stand for about 10 minutes. Add the olive oil, flour, sea salt, and walnut pieces. Stir with a dough whisk or wooden spoon until the ingredients are combined. Knead with the dough hook for about 5 minutes, until the dough is fairly smooth. Place the dough into an oiled bowl and cover with plastic wrap. Let rise until doubled, about 75 minutes.
.
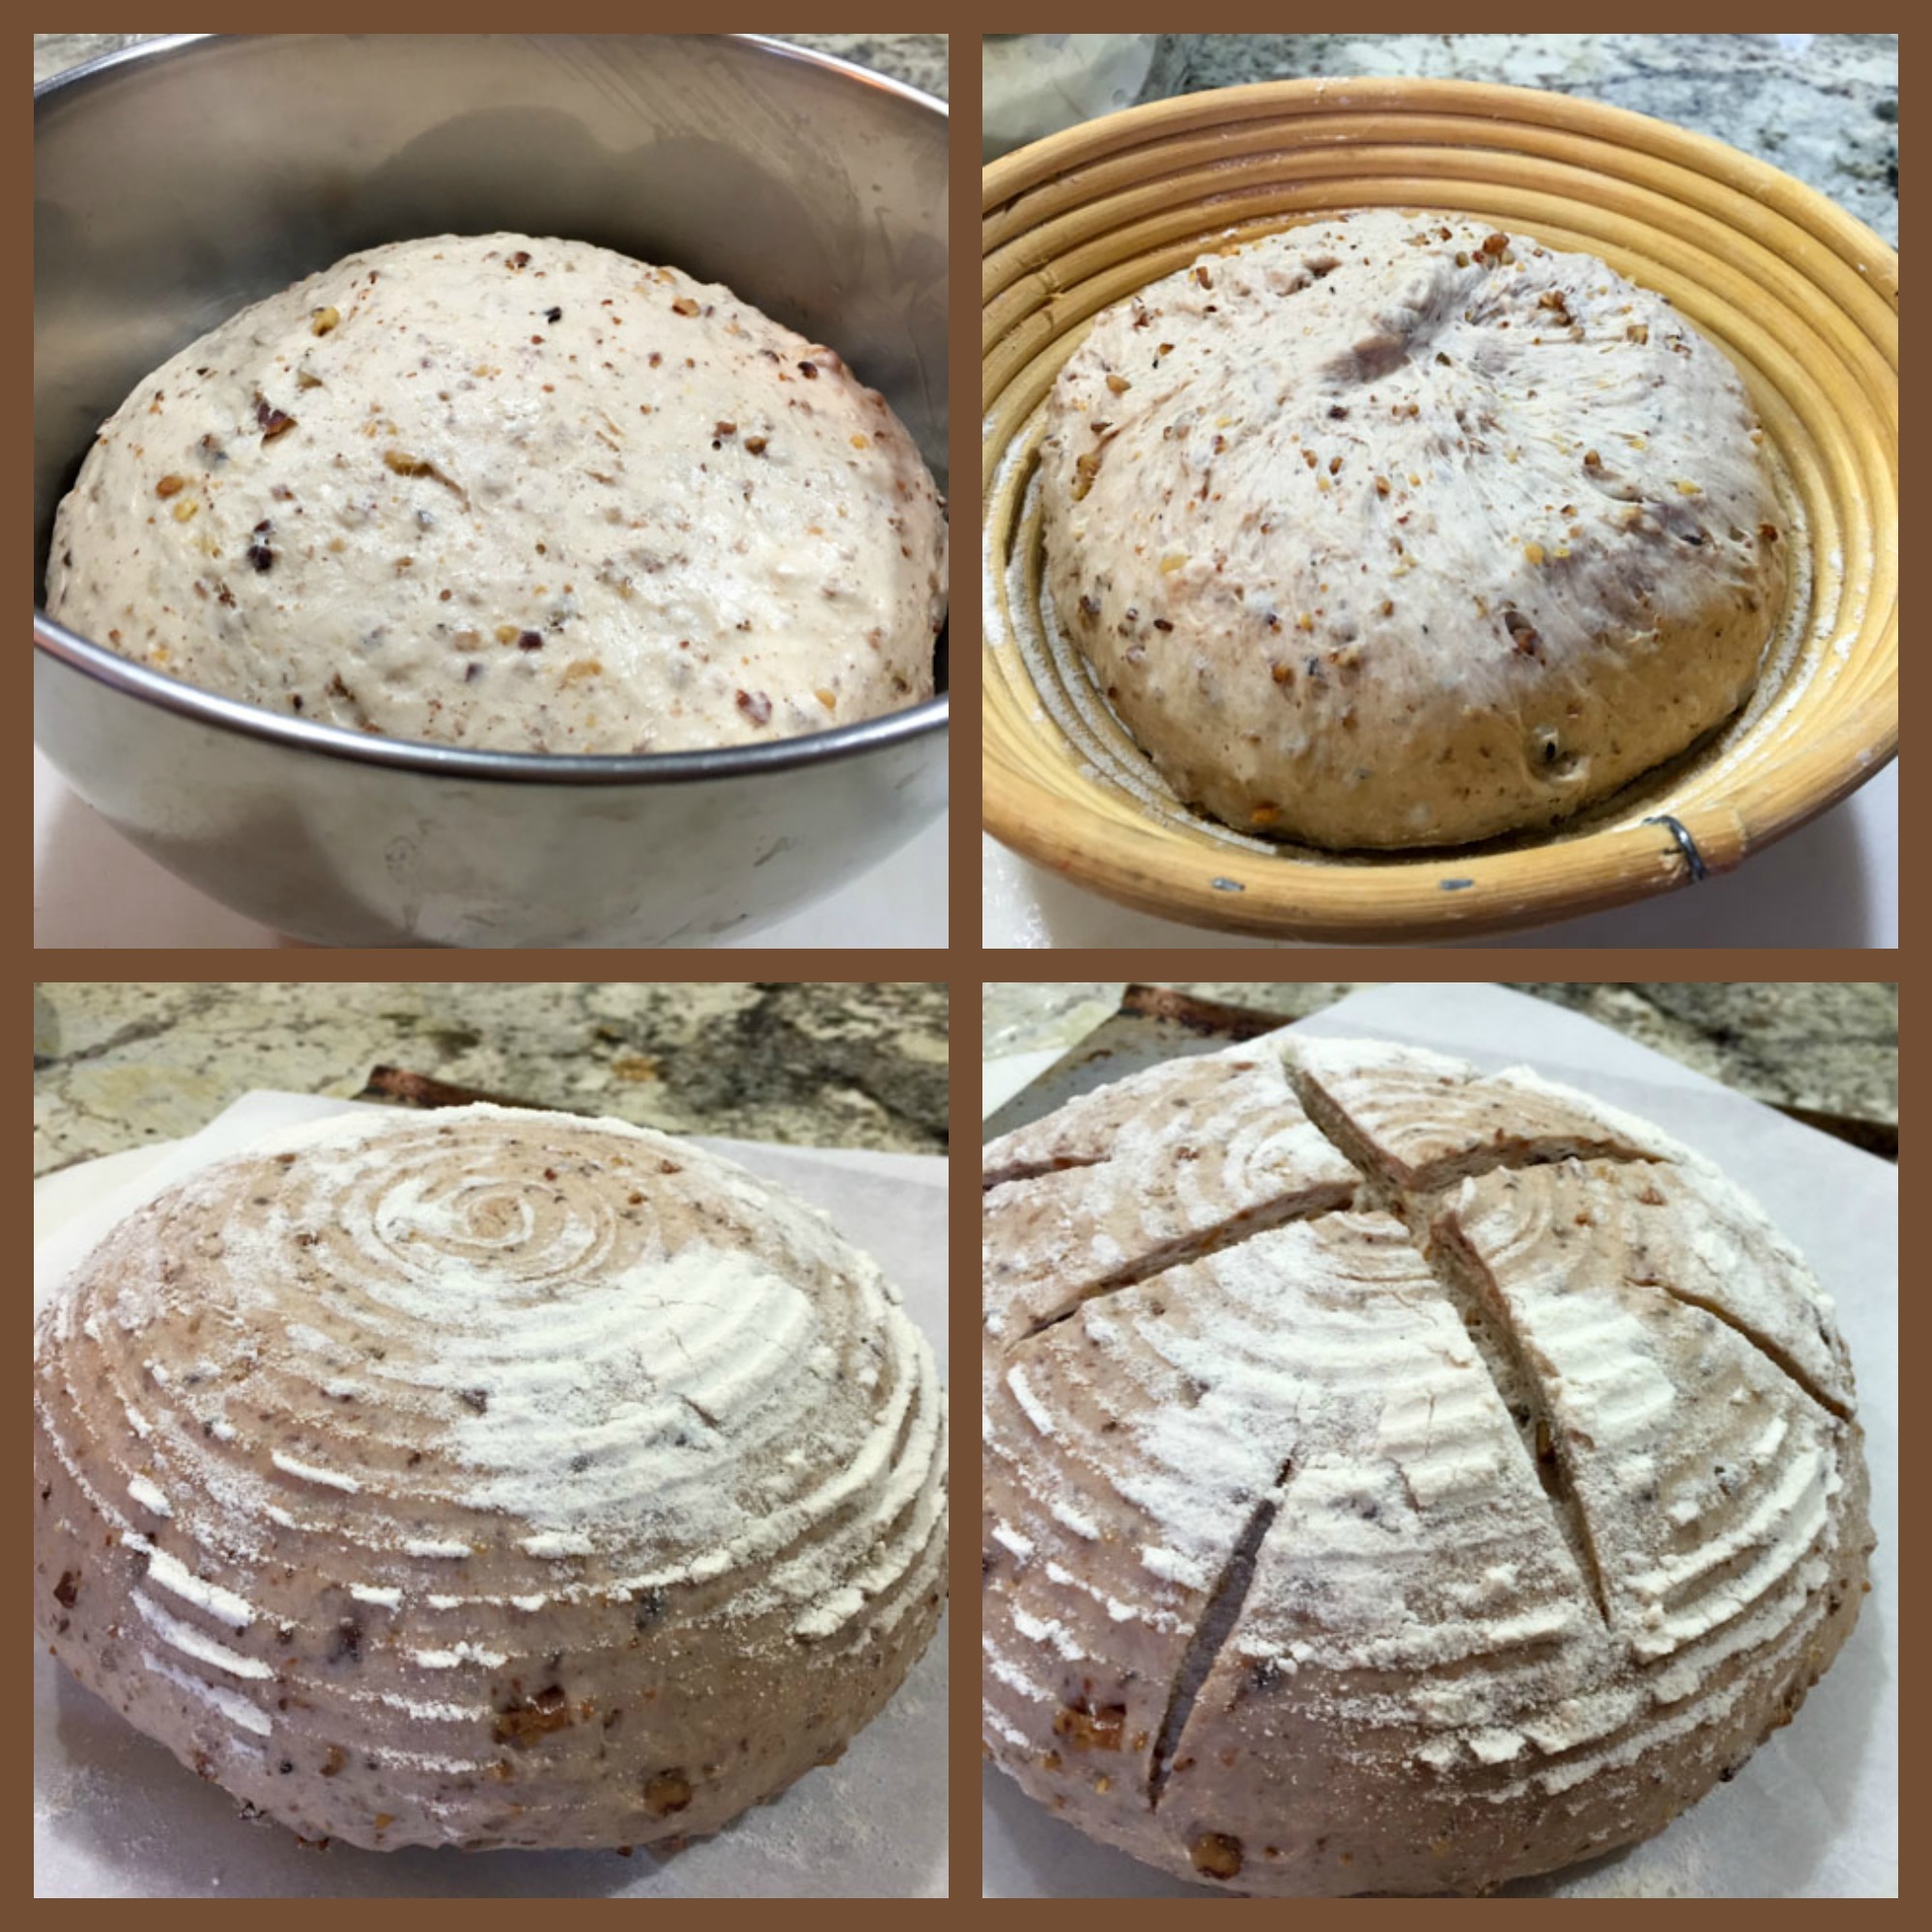
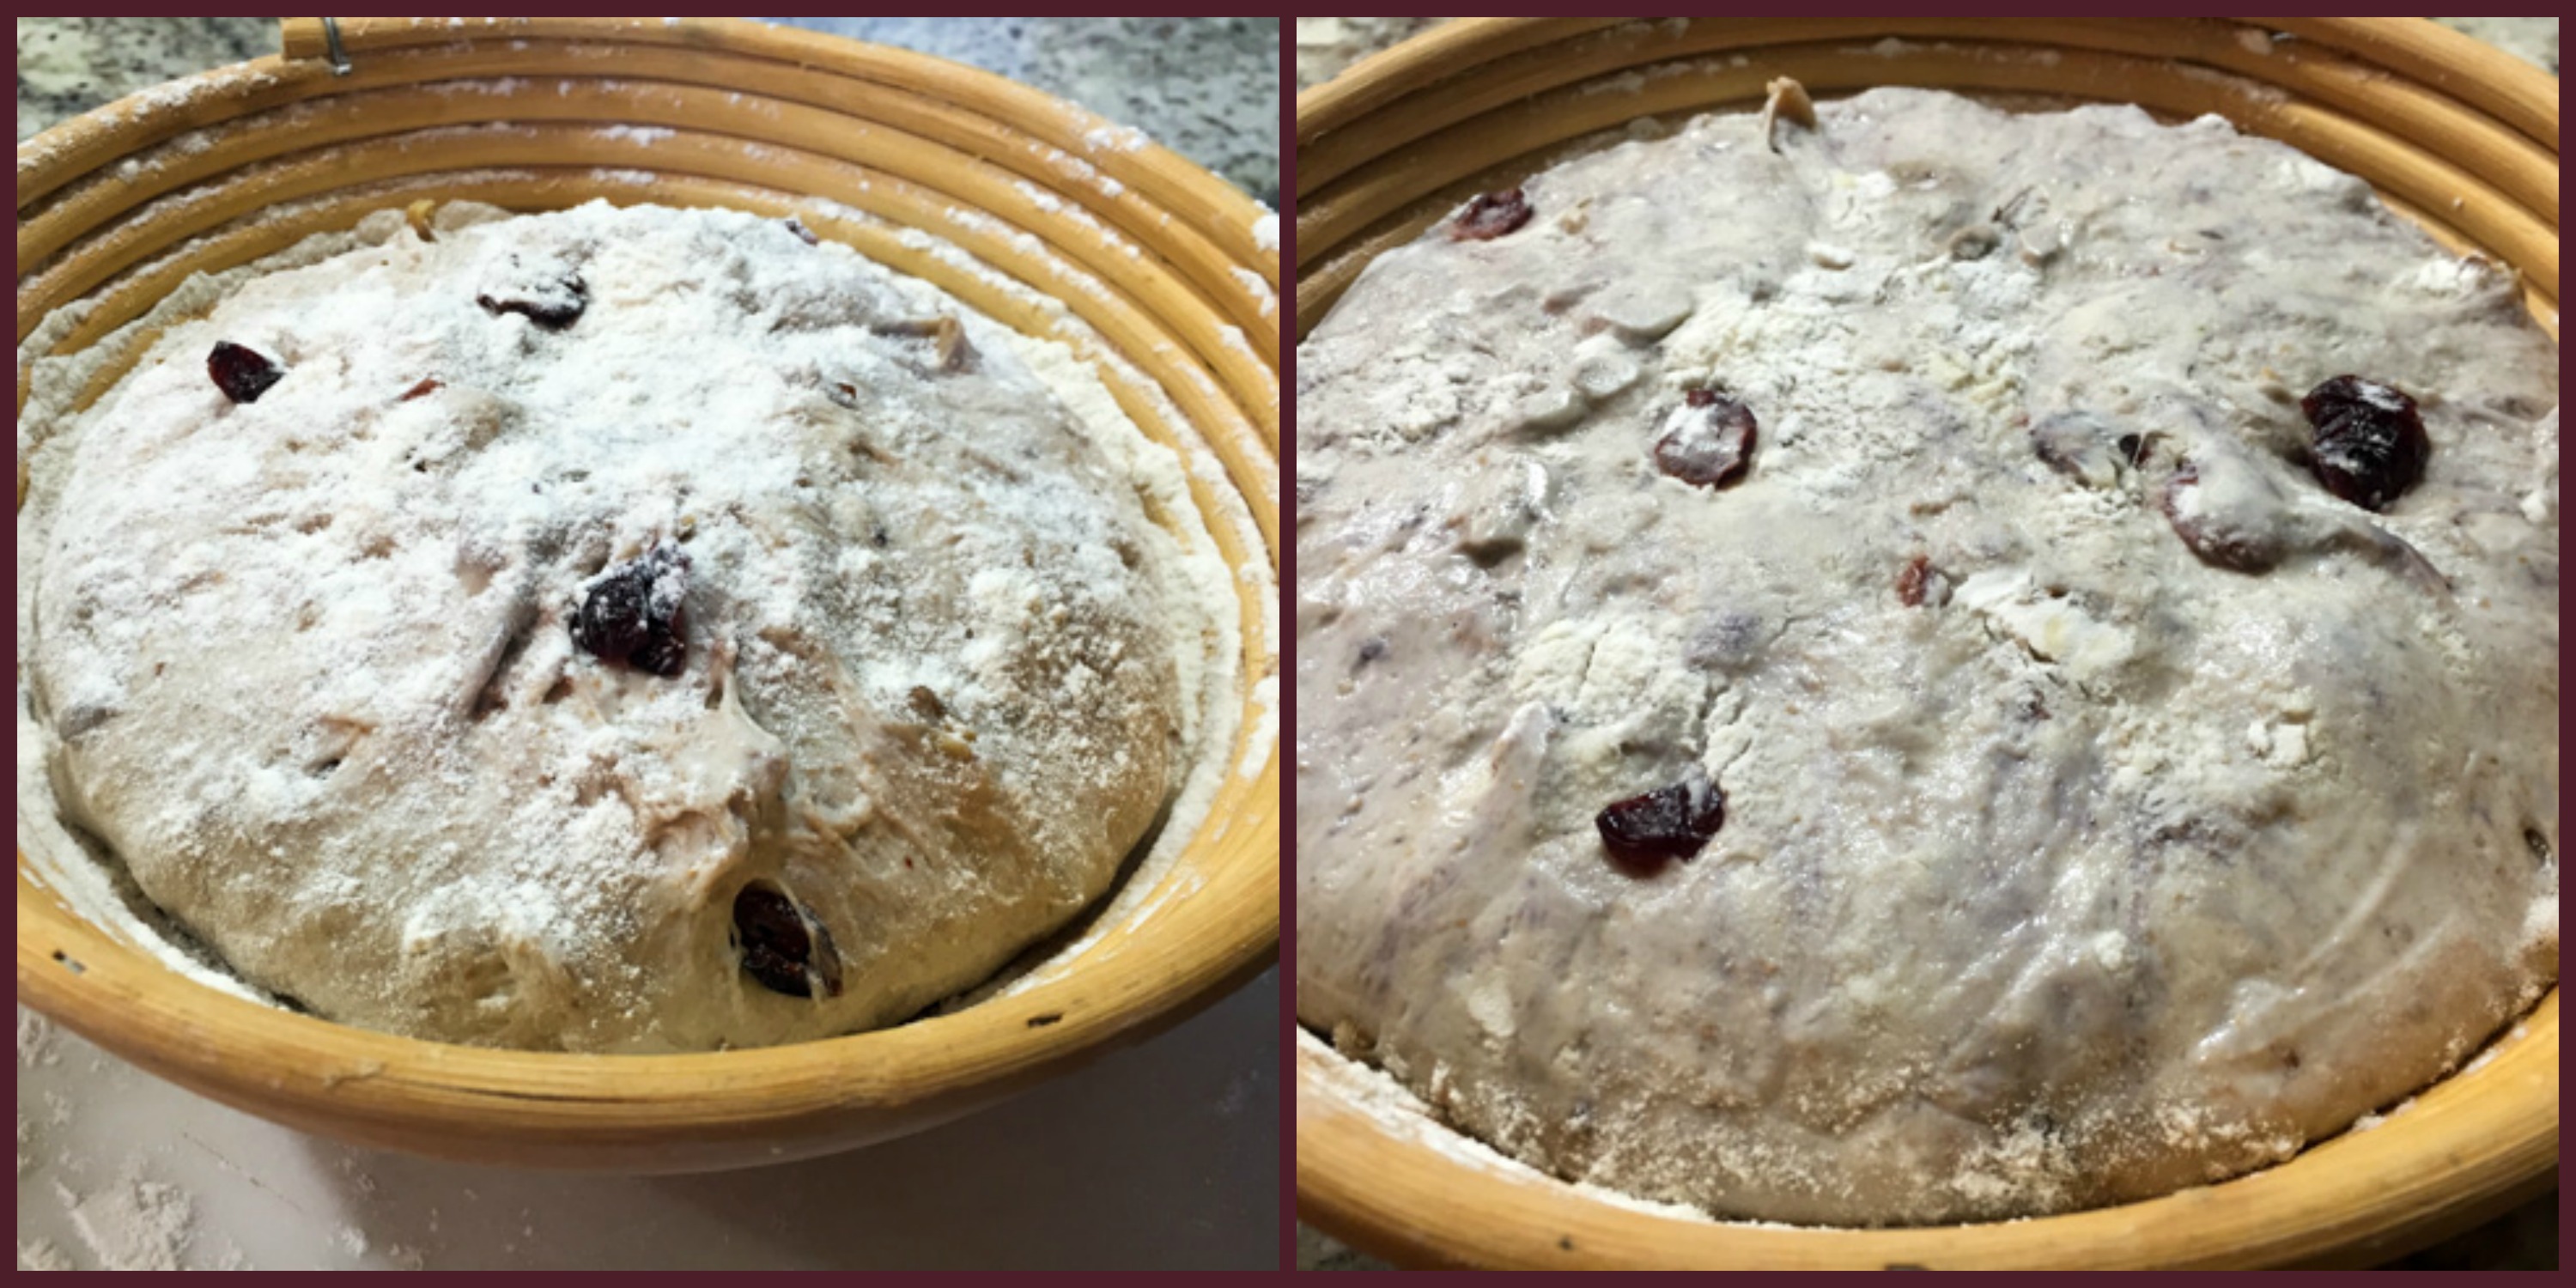
Lightly flour your work surface and turn the dough out without deflating it.  Shape the dough into a ball and place in a floured banneton for the final rise. Cover with oiled plastic wrap and let rise until doubled, about 60 minutes.  While it rises, heat the oven, with a baking stone (if you have one) on the middle rack, to 400 degrees F.  When the dough has doubled, invert it on a sheet of parchment paper, slash the surface with a razor blade and quickly place it over the baking stone.  Use your favorite method to generate steam (I invert the lid of a Dutch oven slightly moist and bake the bread covered for about 20 minutes). Bake at 400 F for 10 minutes. Reduce the oven temperature to 350 degrees F and bake for an additional 40 minutes.  Cool on a wire rack.
.
ENJOY!
 .
to print the recipe, click here
.
aubergecollage

.
Comments:
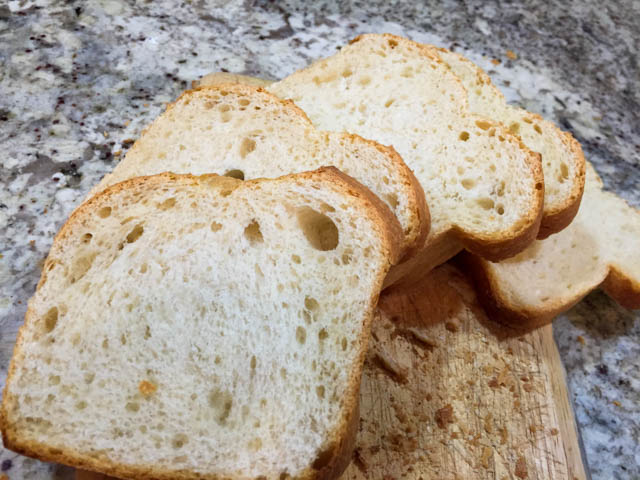
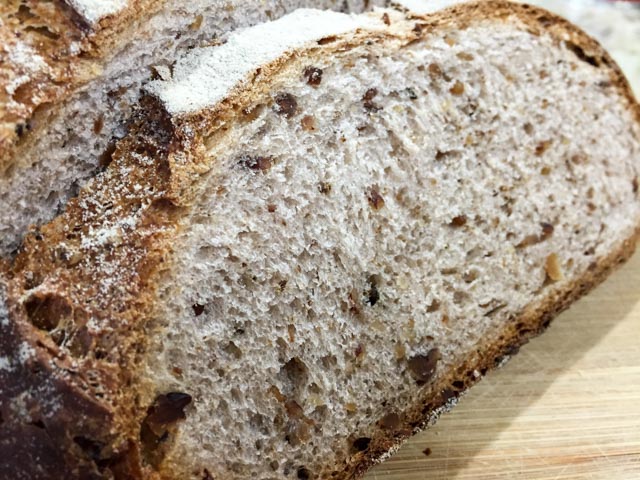
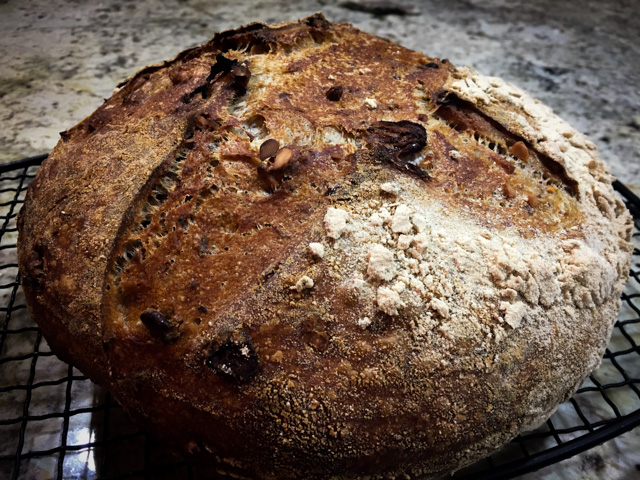
As you know, I love sourdough baking, but there’s something wonderful about having a loaf of bread cooling less than 3 hours after gathering the flour.  In fact, the dough was quite fast to rise, it did not need 75 minutes for the bulk fermentation, in 65 min it was more than doubled, so I shaped it. And instead of allowing a full hour for the final rise, I decided it was good and ready at the 50 min mark.  I toasted the nuts the evening before, and added them to the food processor right before mixing the dough. Easy as pie, except for the fact that the goal was to make a walnut bread and it turned into a pecan bread with a hint of walnuts.  It is my personal saga, a perverse Flour-Vinegar-Nut trilogy. When it comes to those items, I am always stumped by the difference between what “I think I have”, and what “I do have” in the pantry.  But, I can tell you that pecans worked very well, and the bread tasted terrific! Very moist, I am sure it would have lasted for several days at room temperature, but since it’s just the two of us, on the second day it was sliced and frozen for   future enjoyment.
.

Auberge Pecan Walnut Bread2
.

Elizabeth, it was great to “meet” you! Looking forward to following your adventures… And of course, Karen, you never cease to inspire me with your bread baking and cooking in general… Nice to have one more recipe from your site showcased in the Bewitching Kitchen…

crumb
 .


HAZELNUT BLUE CHEESE SOURDOUGH

I am very excited about this bread, because I came up with the formula myself. Well, that is not completely true, as we all follow the footsteps of more experienced folks. Sometimes a dear Grandma, a favorite cookbook author or celebrity chef (excuse me while I try to control my eye roll, the word celebrity does that to me. Every. Single. Time). Back to the bread in question. I had hazelnuts in my mind and thought they would be wonderful added to a rustic sourdough bread. I also had a small amount of blue cheese in the fridge (Bleu d’Auvergne, to be precise), and decided that they could interact nicely with the hazelnuts in the bread environment.  I used a very basic recipe that did not need any special type of starter.  A little spelt flour for added pizzazz. And there you have it, a sourdough bread to call my own. But I would be thrilled if you make it in your kitchen too…

Hazelnut Blue Cheese Sourdough
HAZELNUT BLUE CHEESE SOURDOUGH
(from the Bewitching Kitchen)

125 g  sourdough starter (at 100% hydration)
250 g water, warm to the touch
300 g bread flour
75 g spelt flour
7 g salt
60 g roasted hazelnuts, chopped in large pieces
50 g blue cheese (I used Bleu d’Auvergne)

Add the active starter to a large bowl, mix it with the water until it dissolves more or less smoothly. Add the flours and briefly do a few kneading moves to form a shaggy mess.  Cover loosely with plastic wrap for 30 minutes.

Sprinkle the salt over the dough and incorporate by kneading lightly and folding the dough on itself.  You can keep the dough in the bowl, or transfer to a surface.  After 20-30 seconds of kneading/folding, cover the dough again and let it sit for 40 minutes.

Add the hazelnuts and blue cheese to the dough and repeat cycles of quick kneading/folding two more times, spacing them by 45 minutes.   If the dough doesn’t seem to have enough strength, incorporate one more cycle of folding. After the final kneading cycle, let the dough sit for 20 to 30 minutes, shape it as a round or oval loaf, place it in a banneton with the seam side up and leave it at room temperature  30 minutes longer. Place it in the fridge overnight, lightly covered with a plastic wrap (oil the surface that will be in contact with the dough).

Remove the dough from the fridge 1 hour before baking, while the oven heats to 450 F. If using a Dutch oven, place it in the cold oven as you turn it on. Invert the bread out of the banneton (the easiest way to do it is over a parchment paper on a flat baking sheet), quickly slash it and place it in the Dutch oven. To generate steam, cover the pan with the lid that you rinsed under the sink, allowing some water to be retained on the surface. Bake the bread covered for 30 minutes, remove cover, and allow it to fully bake (reducing the temperature to 425F if the bread seems to be browning too fast) for about 15 minutes longer.  Remove to a rack to cool completely before slicing.

ENJOY!

to print the recipe, click here

compositehazelnut
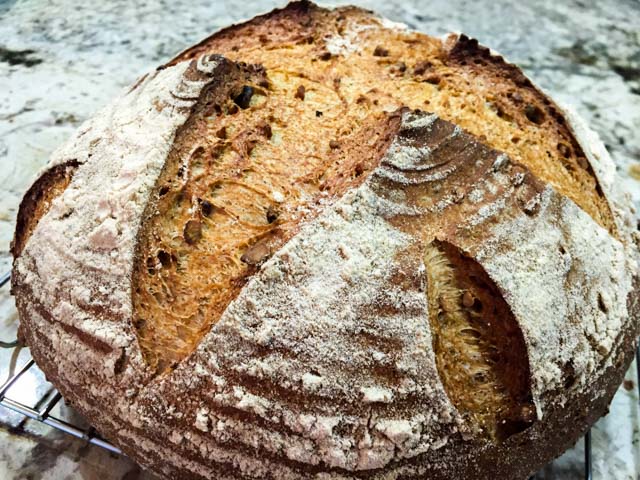
Comments:  The blue cheese I used was quite strong, and until I tasted a slice of this bread I was quite worried. The smell as it baked was so intense, I thought that adding the cheese was overkill. Well, I was wrong. No need to worry at all. The cheese pretty much melted throughout the crumb, and gave it sort of background of flavor, almost smoky, although it could be the roasted hazelnuts speaking. Hard to tell. I love the way the crumb delicately involved each piece of nut, like little eggs in a nest.  And the taste? Incredible. I had to pat myself in the back for this bread, even if my parents insisted that modesty is one of the most important qualities of a human being. A pat in the back is not that bad, right? It’s  not as if I’m bragging to the world about it… what? Is that what blogging is about?  But, but, but… will you look at this crumb?

CrumbShot2

If that’s not a pat-in-the-back crumb, I don’t know what is… 

ONE YEAR AGO: My First Truffle Adventure: Poulet Demi-Deuil

TWO YEARS AGO: My Rio de Janeiro: A Cookbook Review

THREE YEARS AGO: Hearts of Palm Salad with Cilantro Vinaigrette

FOUR YEARS AGO: Watercress Salad

FIVE YEARS AGO: Curried Zucchini Soup

SIX YEARS AGO: Chocolate Bread

WALNUT CRANBERRY SOURDOUGH BREAD

Not too long ago I shared with you The Best Sourdough Recipe, and in that post mentioned that a second bread from Maurizio’s site was undergoing fermentation. So, here I am to talk about that bread, probably one of the top ten best we’ve enjoyed in the Bewitching Kitchen. Considering how many loaves of bread I’ve baked through several years of blogging (almost seven, my friends), I wouldn’t take such a remark lightly…  Something about mixing a sweet and tart fruit with toasted walnuts, plus the complex flavor of the sourdough makes this loaf pretty spectacular.  It was superb with a nice Roquefort cheese, but toasted and enjoyed even without adornments it was a feast for the taste buds.

Cranberry Walnut Sourdough2

WALNUT CRANBERRY SOURDOUGH
(adapted from The Perfect Loaf blog)

for the liquid levain starter:
(make 12 hours before making the dough)
35 g liquid starter (at 100% hydration)
35 g whole wheat flour
35 g bread flour
70 g water

for the final dough:
400 g white bread flour
88 g whole wheat flour
12 g rye flour
440 g water at about 90 degrees F (divided, 400 g + 40 g)
10 g sea salt
100 g toasted walnuts, in pieces
70 g dried cranberries
125 g levain (made as above)

Build the liquid levain 10 to 12 hours before you want to make your final dough. Leave it at room temperature (around 72 F).

Next morning, mix flours and  400 g of water very well in a bowl and cover. Ensure all dry flour is hydrated. Leave it to autolyse for 1 hour.  Add the levain with the reserved water and hand-mix it into the dough until it is very well incorporated.  Leave it 30 minutes at room temperature, or if you have a proofer, set it to 78 F and keep the dough at this temperature all the way through. After 30 minutes, add the salt, and mix well.

After the salt is incorporated perform folds for about 2-3 minutes in the bowl. Grab under one side, pull up and over to the other side, then rotate the bowl a bit and repeat. Do this about 30 times or so (it goes fast and easy). At the end the dough should still be shaggy, but it will be a little more smooth and will slightly start to hold itself together more in the bowl. Now you are ready to start bulk fermentation.  If your home is at 78 to 82 F, bulk fermentation should last 4 hours.

During fermentation, do 4 to 5  sets of stretch and folds (I did five), adding the walnuts and cranberries on the second cycle of folding. Perform the first three foldings at 15 minute intervals, the remaining ones at 45 minute intervals then leave the dough to ferment for a full hour undisturbed.  If your dough is too “weak”, seeming to lack structure, add one extra cycle of folding, then leave the dough undisturbed for another hour.

Lightly shape the dough into a round, cover with inverted bowl or moist towel, and let rest for 20 minutes.  After 20 minutes remove the towel or bowl and let the dough rest 5 more minutes exposed to air. This step helps dry out the dough just a bit so it’s not too sticky during shaping.  Lightly flour the top of your dough rounds and flour the work surface. Shape into a batard or boule. Place in a banneton very well floured, leave it at room temperature for about 20 minutes, then retard in the refrigerator  for 15-16 hours.

Heat oven at 500ºF. Bake 20 minutes at 500ºF with steam, and an additional 25-35 minutes at 450ºF, until done to your liking. Cool completely on a rack before slicing.

ENJOY!

to print the recipe, click here

doughcollage

Comments: For a bread so heavy with goodies, the crumb turned out a lot more open than I expected. I decided to add one extra cycle of folding (for a total of five) because I felt the dough was asking for it. When the dough speaks to me, I listen.  This method of retarding the dough in the fridge overnight and baking early next morning is perfect. You can use this basic recipe and add other nuts, seeds, dried fruits, olives, just use it as a basic formula.  If your additions are heavy, wait for the second cycle of folding to incorporate them, because it will be easier.  The proportion of white, whole wheat and a touch of rye was perfect to our taste, I would not change it a bit.

Maurizio, thanks again for a great recipe!

crumb shot
ONE YEAR AGO: Ottolenghi in Brazil?

TWO YEARS AGO: Roasted Winter Vegetables with Miso-Lime Dressing

THREE YEARS AGO: 2012 Fitness Report: P90X2

FOUR YEARS AGO: Caramelized Bananas

FIVE YEARS AGO: Roasted Lemon Vinaigrette

SIX YEARS AGO: Whole Wheat Bread

THE BEST SOURDOUGH RECIPE

Bread bakers are a very passionate bunch. The passion can become obsessive, particularly once you get into baking with wild yeast and slowly reach that snobbish point of view that baking with commercial yeast is “for sissies.”  Granted, I am not that snobbish, but I admit that once you start down the wild path, it’s hard to turn back.  The flavor of bread leavened with wild yeast is more complex, and the whole process a lot more elusive, therefore so much more fun! Some days your bread will be spectacular, others not so much, even when everything seems to be the same.  Last month I stumbled onto this post by a super passionate baker named Maurizio.  Of course,  a post entitled My Best Sourdough Recipe got my attention right away, and what I found inside was a very detailed picture-loaded tutorial of the making and baking of a superb sourdough loaf. If you are new to bread baking, then dive into his article, read it carefully, and go to work.  I am sharing with you just the basic recipe, but insist that you should visit his site for the full details. He’s got a ton of great bread recipes! In fact, just as I type this post, I have another recipe from his site undergoing its bulk proof. One hint: it has walnuts…  Are you in love yet?  What if I say it has a particularly tasty dry fruit too?

😉

Best Sourdough2


MAURIZIO’S BEST SOURDOUGH RECIPE
(slightly modified from The Perfect Loaf blog)

for the liquid levain starter:
(make 12 hours before making the dough)
35 g liquid starter (at 100% hydration)
35 g whole wheat flour
35 g bread flour
70 g water

for the final dough:
402 g white bread flour
37 g whole wheat flour
375 g water at about 90 degrees F (divided, 350 g + 25 g)
9 g sea salt
75 g levain (made as above)

Build the liquid levain 10 to 12 hours before you want to make your final dough. Leave it at room temperature (around 72 F).

Next morning, mix flour and  350 g of water very well in a bowl and cover. Ensure all dry flour is hydrated. Leave it to autolyse for 1 hour.  Add the levain with the reserved water and hand-mix it into the dough until it is very well incorporated.  Leave it 30 minutes at room temperature, or if you have a proofer, set it to 78 F and keep the dough at this temperature all the way through. After 30 minutes, add the salt, and mix well.

After the salt is incorporated perform folds for about 2-3 minutes in the bowl. Grab under one side, pull up and over to the other side, then rotate the bowl a bit and repeat. Do this about 30 times or so (it goes fast and easy). At the end the dough should still be shaggy, but it will be a little more smooth and will slightly start to hold itself together more in the bowl. Now you are ready to start bulk fermentation.  If your home is at 78 to 82 F, bulk fermentation should last 4 hours.

During fermentation, do 6 sets of stretch and folds, the first three at 15 minute intervals (it will take you to 45 minutes of bulk fermentation), the last three at 45 minute intervals (by the time you do the last one you will be at 3 hours, with a final hour in which the dough is left undisturbed). If your dough is too “weak”, seeming to lack structure, add one more cycle of folding after 30 minutes and leave the dough undisturbed for another hour.

Lightly shape the dough into a round, cover with inverted bowl or moist towel, and let rest for 20 minutes.  After 20 minutes remove the towel or bowl and let the dough rest 5 more minutes exposed to air. This step helps dry out the dough just a bit so it’s not too sticky during shaping.  Lightly flour the top of your dough rounds and flour the work surface. Shape into a batard or boule. Place in a banneton very well floured, leave it at room temperature for about 20 minutes, then retard in the refrigerator  for 15-16 hours.

Heat oven at 500ºF. Bake 20 minutes at 500ºF with steam, and an additional 25-35 minutes at 450ºF, until done to your liking. Cool completely on a rack before slicing.

ENJOY!

to print the recipe, click

sourdoughcomp
I made this bread a day before our dear friends from Brazil arrived for their visit. They loved it, and were actually quite interested in the process of sourdough baking. So, I decided to refresh my starter and make a second loaf with them, this time shaping it as a round loaf instead of slightly oblong. The second loaf, much to my delight, had even better oven spring…

best sourdough boule

That loaf traveled all the way with us to Colorado, and made our first evening in Silverthorne quite special… nothing like a nice loaf of  bread to make you feel home and cozy….

So, is it the best sourdough recipe ever? I think the best bread recipes are the ones that work consistently and fit your schedule well. It also helps to have a method that is easy to follow, so that by the time you make it for the third or fourth time, it becomes second nature. I don’t have the exact same flours Maurizio used, so every time I baked this bread I felt that as written the formula had a tad too much water.  It was hard – for my level of technique with the folding – to obtain good gluten structure. Once I held back a little of the water the dough turned out perfect, it had more “muscle”, which ultimately gives a better oven spring and crumb structure.  You will have to play with it a little. I published the recipe the way it worked best for me.

The schedule is perfect for my style of baking. I can start mixing the dough early in the morning on a Saturday or Sunday, by 3pm maximum it is in the fridge and I don’t need to think about it until next day. I am usually up at 5am, so I can turn the oven on and have the bread ready before it’s time to go to work, if I made the dough on a Sunday. So, all things considered, it is a GREAT recipe that I intend to use often and play with to add goodies to the dough. Walnuts, seeds, cheese, olives, herbs… you just wait and see!

ONE YEAR AGO: Two Appetizers for those who like it hot

TWO YEARS AGO: Baked Ricotta, Take Two

THREE YEARS AGO: Pumpkin Uncanned

FOUR YEARS AGO: Pork Ragu

FIVE YEARS AGO: Friendly Kuri Squash

SIX YEARS AGO: Celery and Apple Salad


ANNE BURRELL’S FOCACCIA

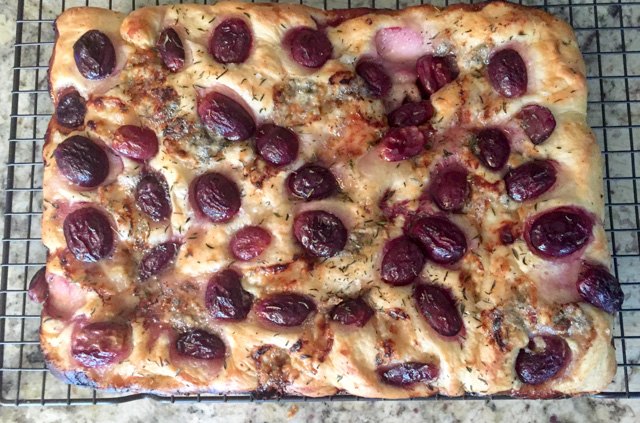
You know you’ve been blogging for too long when you’ve got several focaccia recipes in your site…  Granted, I had no intention of trying a new recipe. Instead, for our Halloween party I was set on using one of my tried and true blogged about not too long ago. However, in typical Sally fashion, I never bothered to check the recipe the day before.  I knew I would be up very early and c’mon, how long can a focaccia dough take?  It turns out that very long. For the recipe I had in mind, the dough goes through a fermentation overnight in the fridge. Bummer.  A quick plan B was set into motion, and a frantic calm and collected google search took me to one of Anne Burrell’s recipes from years ago. Not surprising when Anne is concerned, her focaccia calls for a substantial amount of olive oil, more than any other I’ve ever made.  I actually cut the amount a little and it was still delicious and with a crust that left our guests going back for seconds. And thirds. A very simple recipe to put together even if you decide to bake focaccia on a whim.

Anne Burrell Focaccia

ANNE BURRELL’S FOCACCIA
(slightly modified from Food TV Network)

1 3/4 cups warm water
1 package active dry yeast
1 tablespoon sugar
5 cups all-purpose flour, plus additional for kneading
1 tablespoon kosher salt, plus coarse sea salt, for sprinkling
2 tsp Herbes de Provence
3/4  cup extra-virgin olive oil, divided (1/2 cup + 1/4 cup)
a little more olive oil for a final drizzle on top

Combine the warm water, yeast and sugar in a small bowl. Put the bowl in a warm, not hot or cool, place until the yeast is bubbling and aromatic, at least 15 minutes.

In the bowl of a mixer fitted with a dough hook, combine the flour, 1 tablespoon of kosher salt, 1/2 cup olive oil and the yeast mixture on low-speed. Once the dough has come together, continue to knead for 5 to 6 minutes on a medium speed until it becomes smooth and soft. Give it a sprinkle of flour if the dough is really sticky and tacky.

Transfer the dough to a clean, lightly floured surface, then knead it by hand 1 or 2 times. Again, give it another sprinkle of flour if the dough is really sticky and tacky.

Coat the inside of the mixer bowl lightly with olive oil and return the dough to the bowl. Cover it with plastic wrap and put it in a warm place until the dough has doubled in size, at least 1 hour.

Coat a jelly roll pan with the remaining 1/4  cup olive oil. Put the dough onto the jelly roll pan and begin pressing it out to fit the size of the pan. Turn the dough over to coat the other side with the olive oil. Continue to stretch the dough to fit the pan. As you are doing so, spread your fingers out and make finger holes all the way through the dough.

Put the dough in the warm place until it has doubled in size, about 1 hour. While the dough is rising a second time, preheat the oven to 425 degrees F.

Liberally sprinkle the top of the focaccia with some coarse sea salt and Herbes de Provence, then lightly drizzle a little oil on top. Bake the dough until the top of the loaf is golden brown, about 25 to 30 minutes. Remove the focaccia from the oven and let it cool before cutting and serving.

ENJOY!

to print the recipe, click here

composite1

Comments: Anne Burrell’s original version calls for a full cup of olive oil, half of it for the dough and half poured on the baking sheet. I simply could not bring myself to use so much oil, so I wrote the recipe with 3/4 cup total, but it could have been just a little less than that.  It was still decadent. You know how a good croissant leaves your fingers a bit coated with butter?  This focaccia will do the same. As Anne likes to say… accept it and move on.  Also, my personal advice for the move on part: increase your running distance a little bit next day, or add a few more push-ups and bicep curls to your routine…

DISCLAIMER

This recipe is not:

Paleo-friendly

Low-carb 

Low-fat

Gluten-free

Atkins-approved

Dukan-compliant

South-Beach friendly

Ketogenic


However, it is MIGHTY TASTY! 

😉

Anne Burrell Focaccia2

ONE YEAR AGO: Double Chocolate and Mint Cookies

TWO YEARS AGO: Cappuccino Panna Cotta

THREE YEARS AGO: Chicken Parmigiana, the Thriller

FOUR YEARS AGO: Wild Mushroom Risotto

FIVE YEARS AGO: Tartine Bread:  Basic Country Loaf 

SIX YEARS AGO:  Pugliese Bread