In My Kitchen posts are hosted by Sherry, from Sherry’s Pickings. Please visit her site to see what everybody else is sharing this month. I join four times each year, on the first day of January, April, July and October. If you are a food blogger, consider taking part of this fun event. It is a chance to share those little things you bought or received as gifts and that make your life in the kitchen easier.

The picture above was made by my friend and cookie magician, Haniela as a virtual Bday gift to yours truly. I just adore it… March is a busy moth for the Bewitching Kitchen: both Star and I celebrate our Birthdays just a couple of weeks apart, but there is also my sister Nyrma, and our grandkids Greenlee and Leo. March people are great people, even if I say so myself. Don’t you agree? 🙂 I knew you would…
Starting with a gift…

From The Haydens, a surprise gift that arrived in the mail, in fact they also sent one to Phil with “King of the Grill”, so that pretty much settle our placement in the Kingdom! THANK YOU!
In our kitchen…
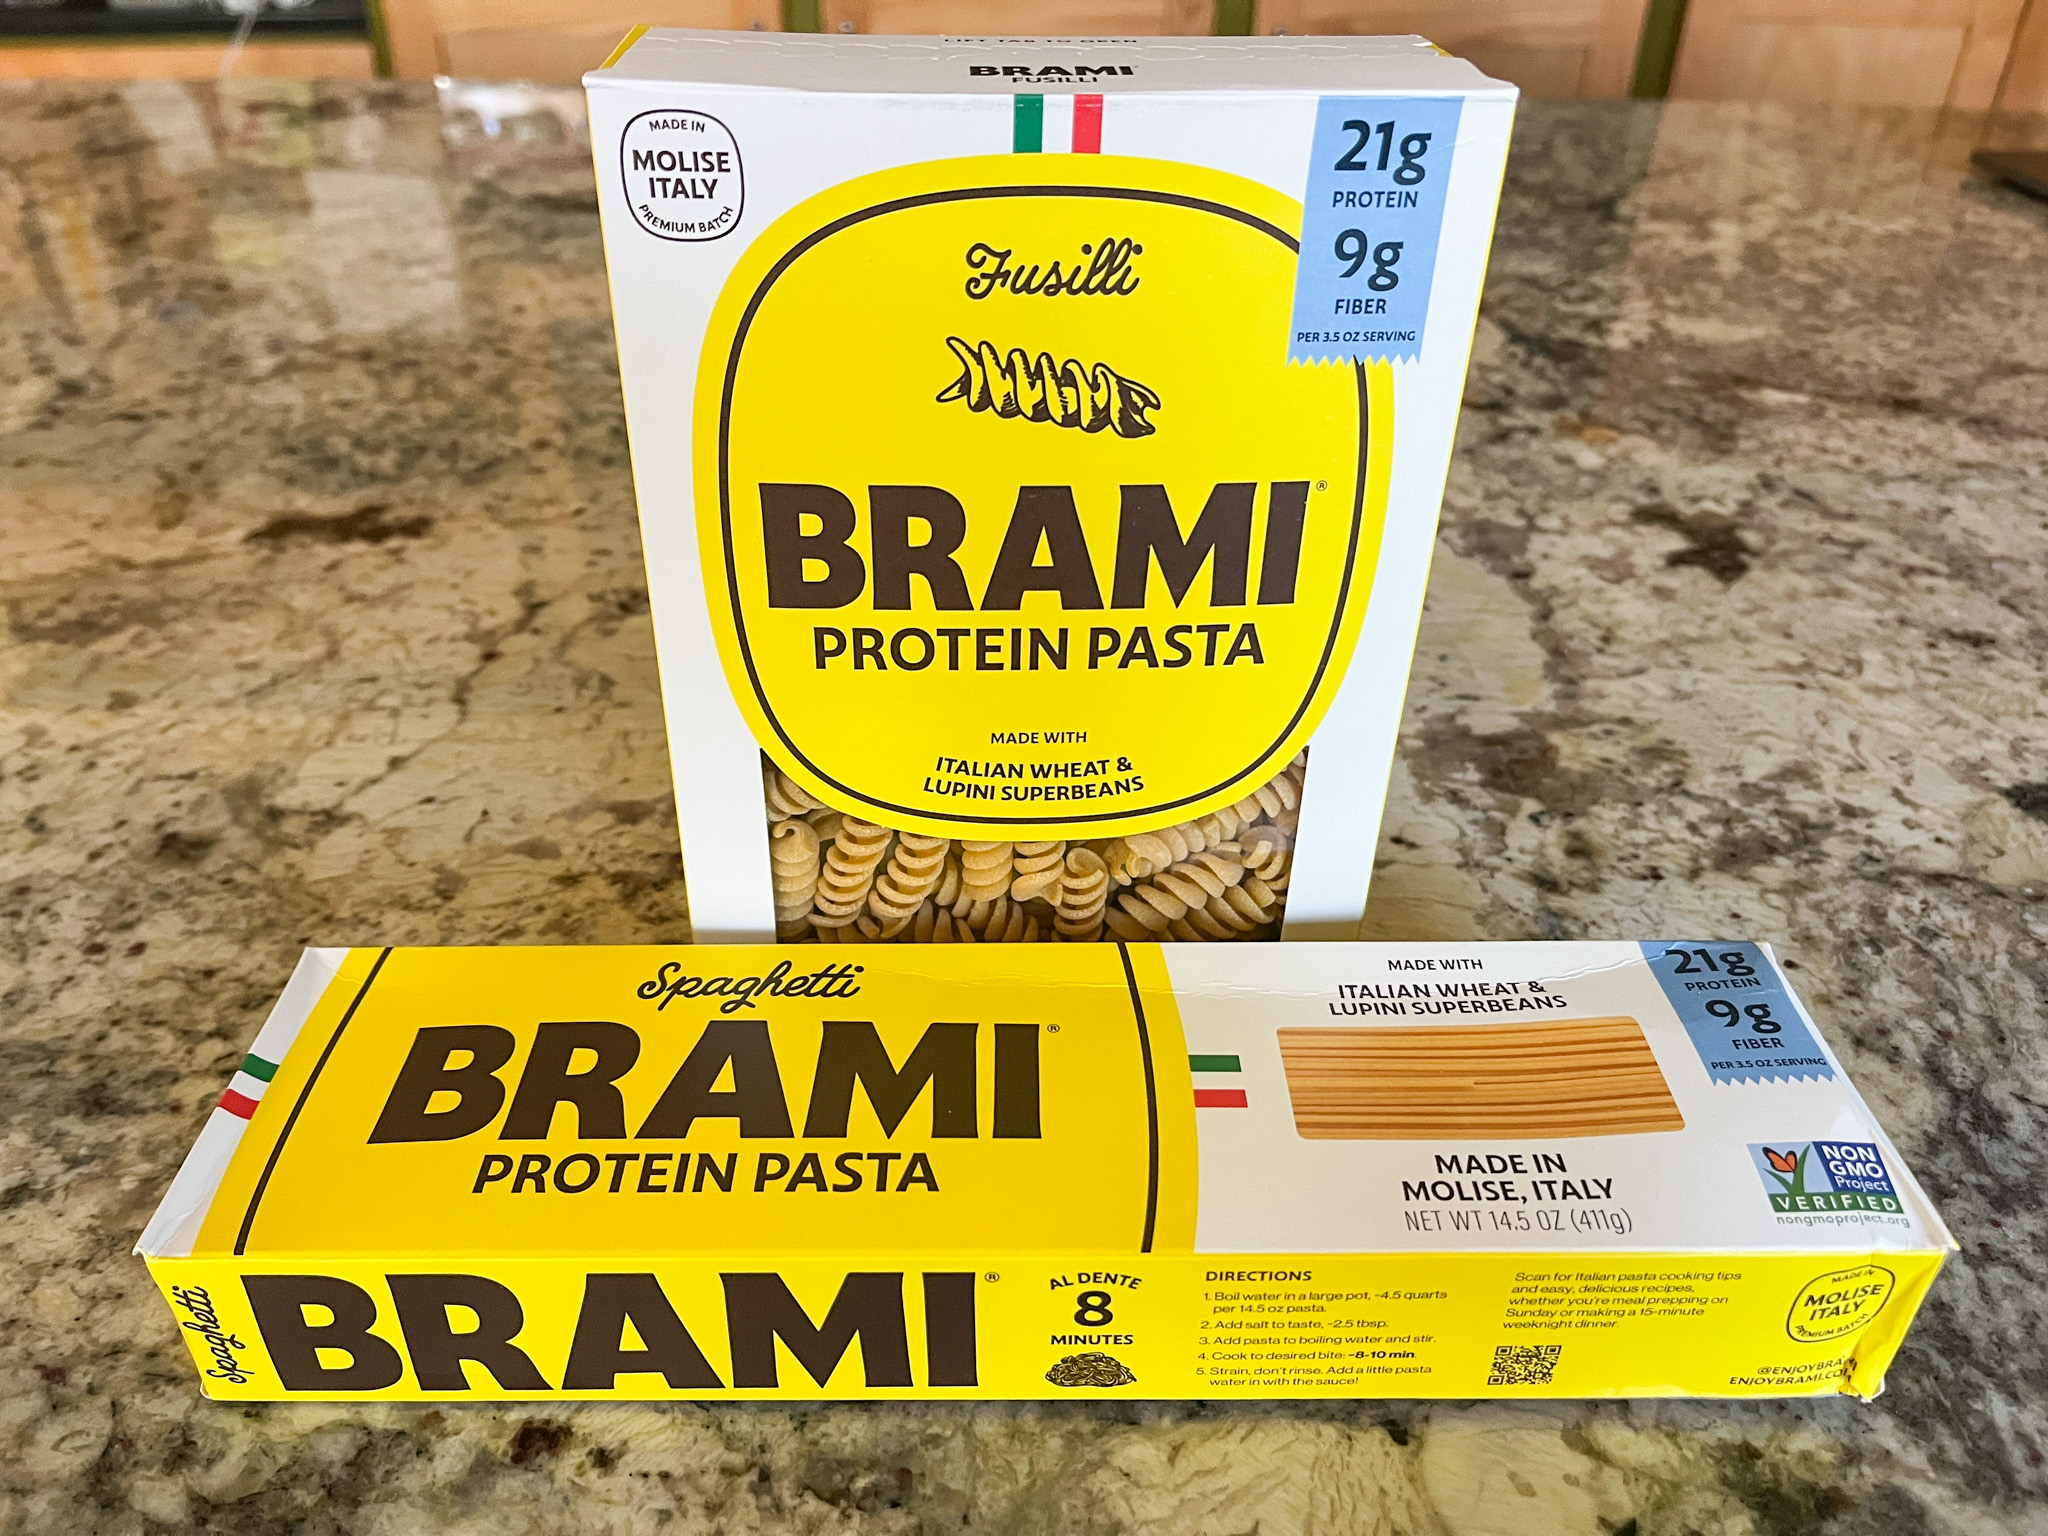
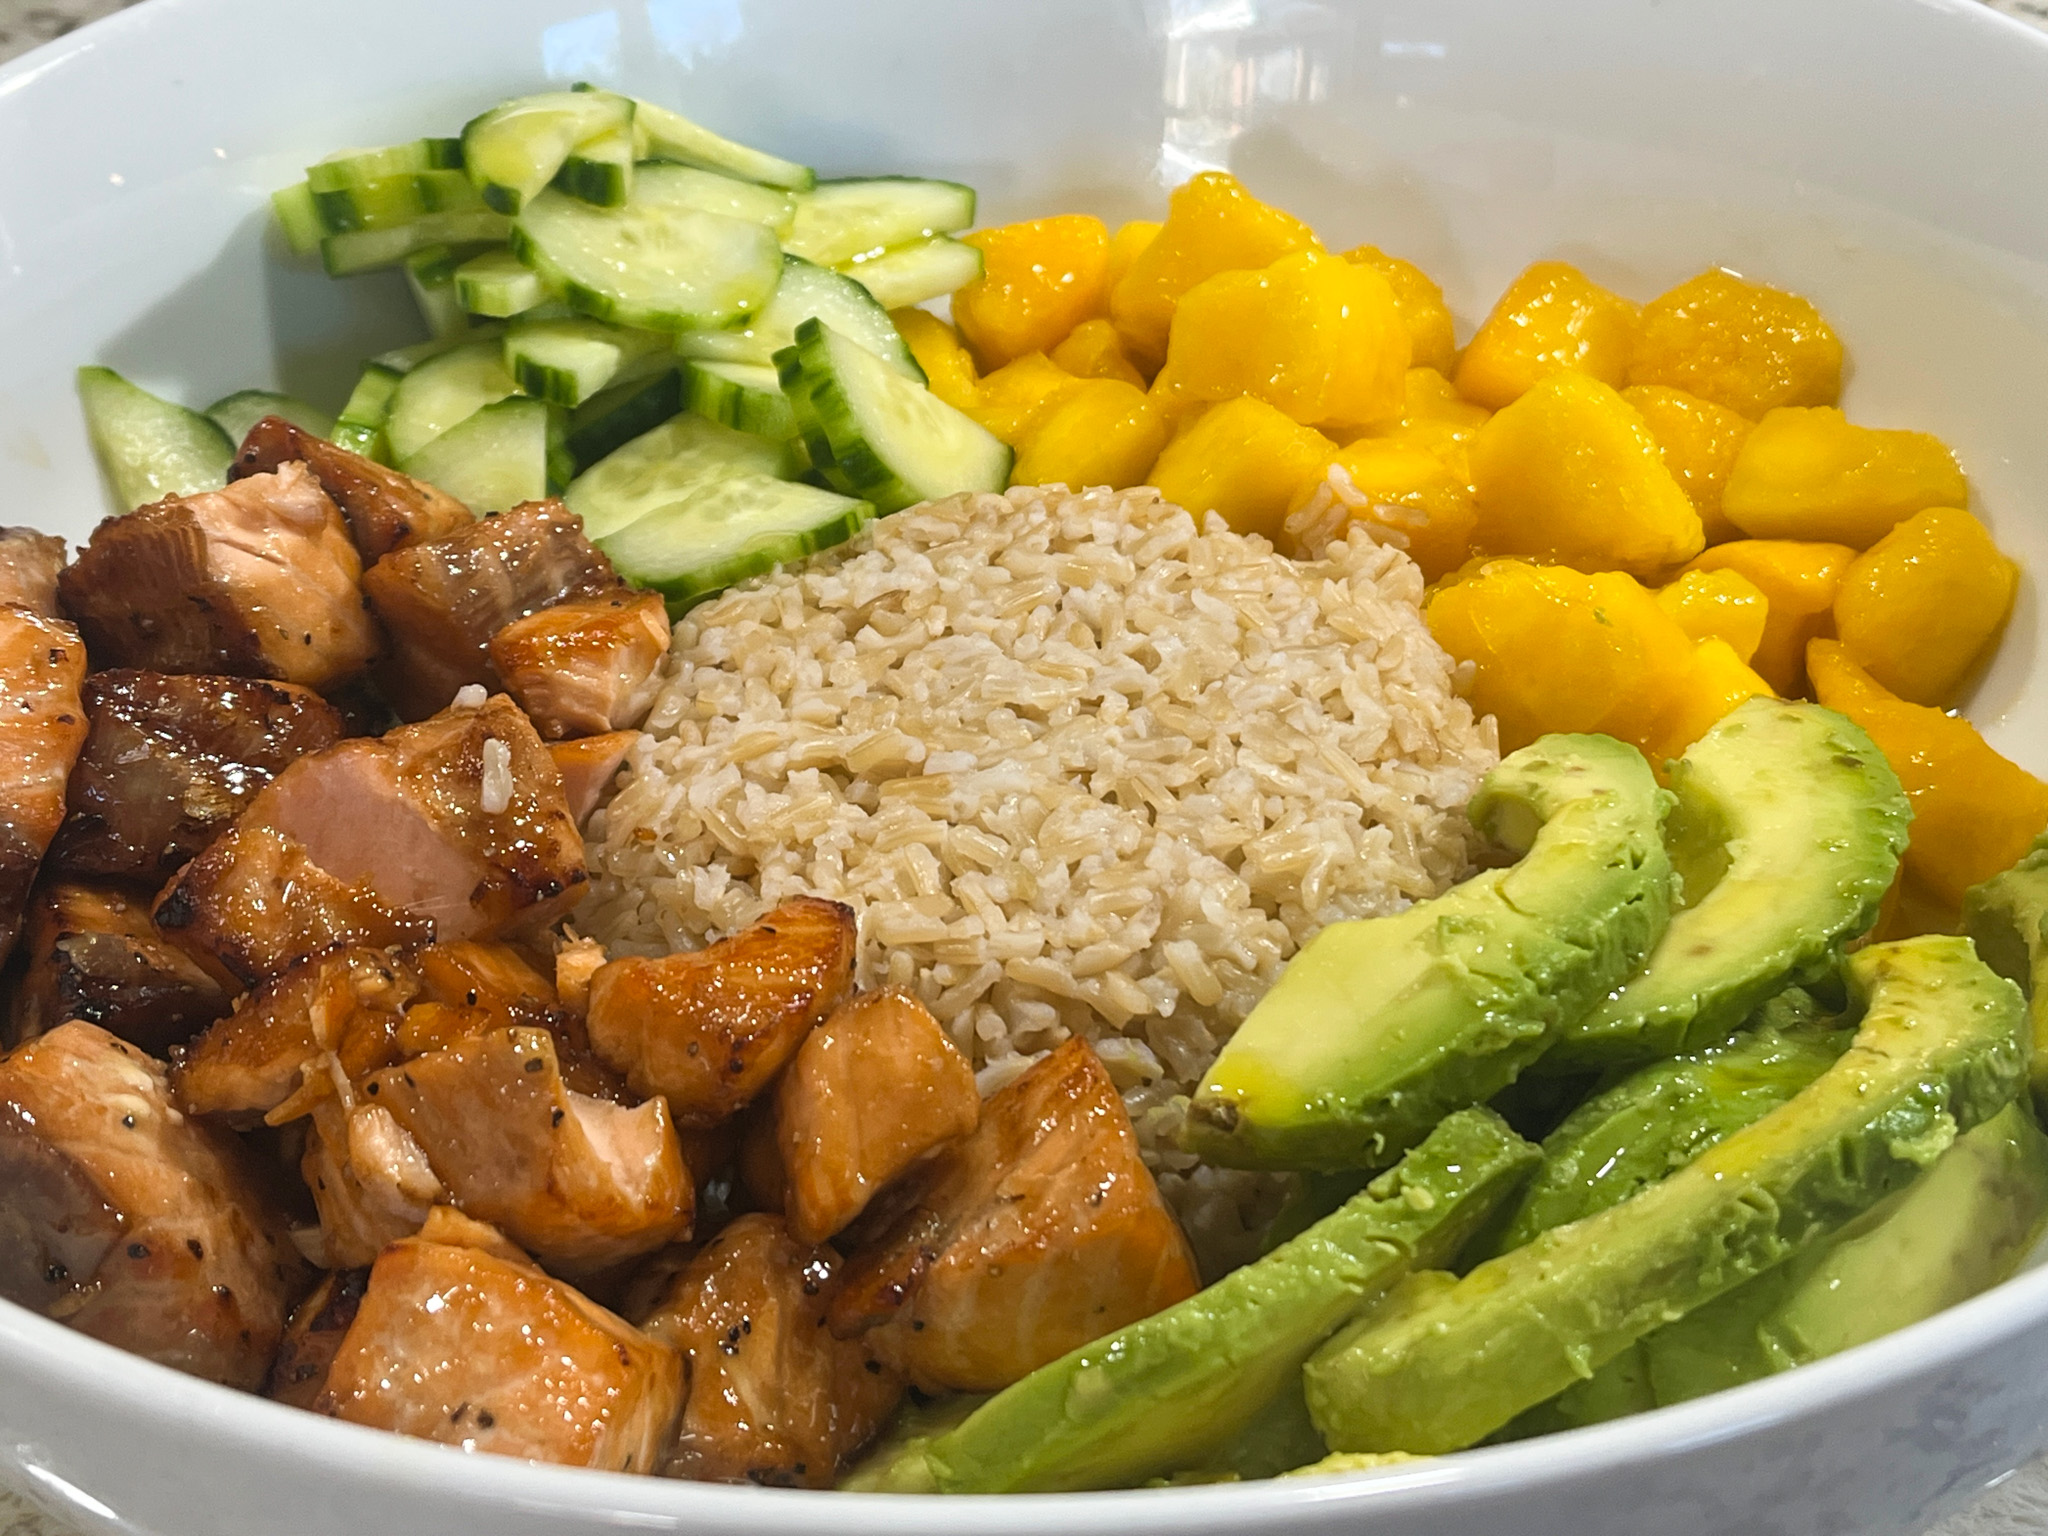
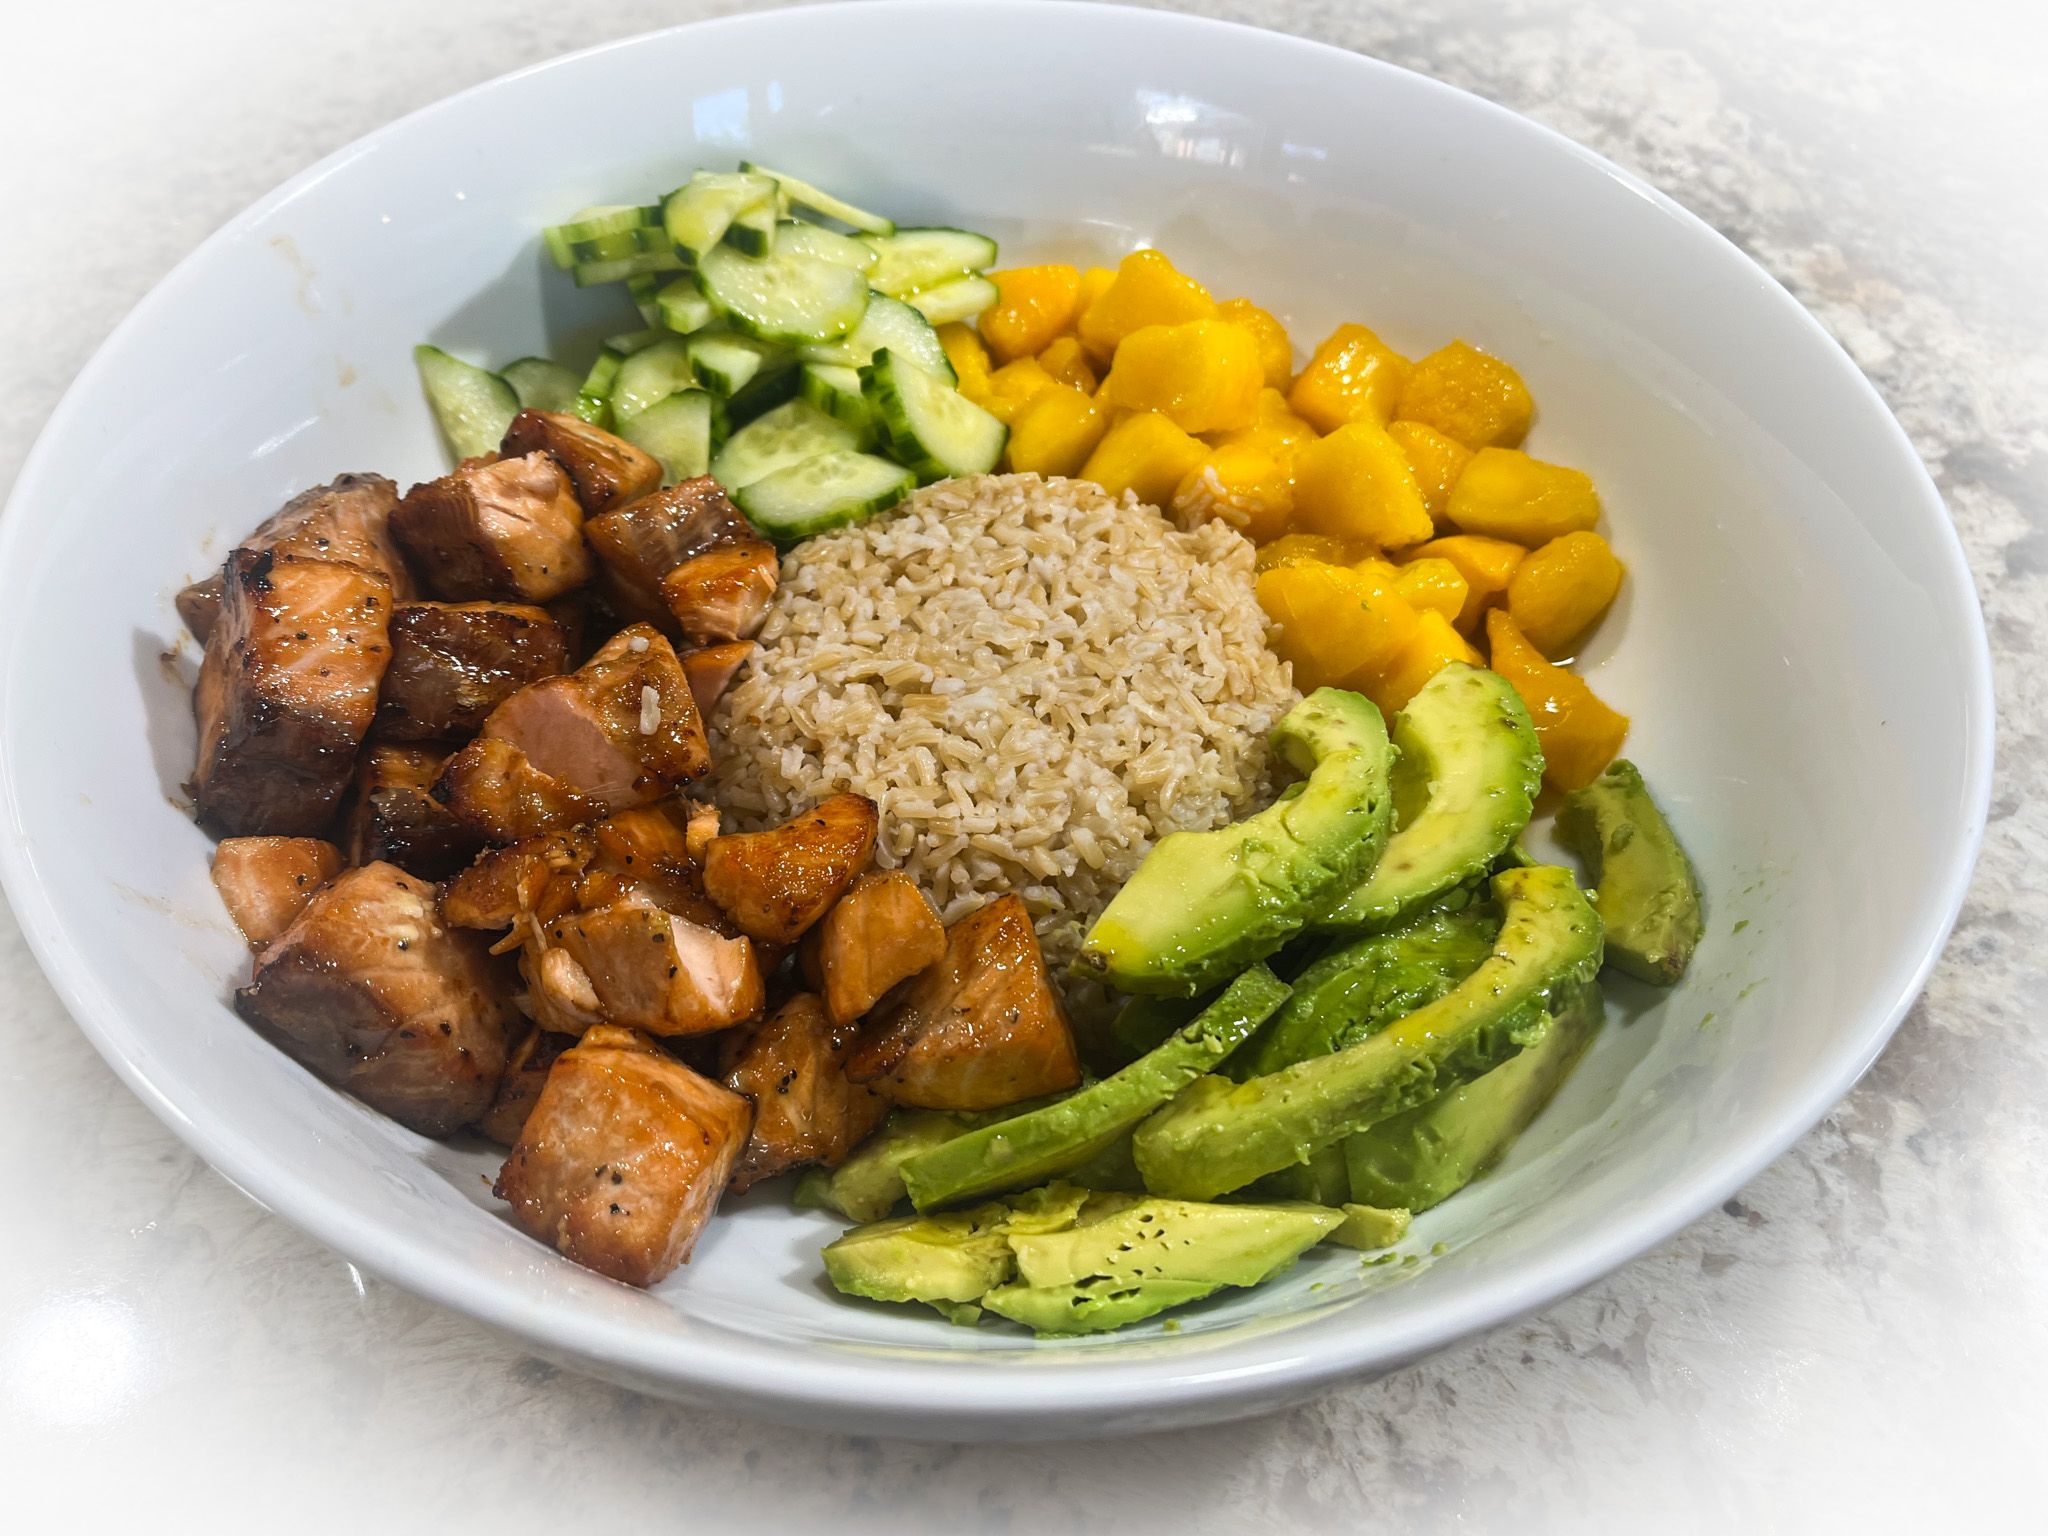
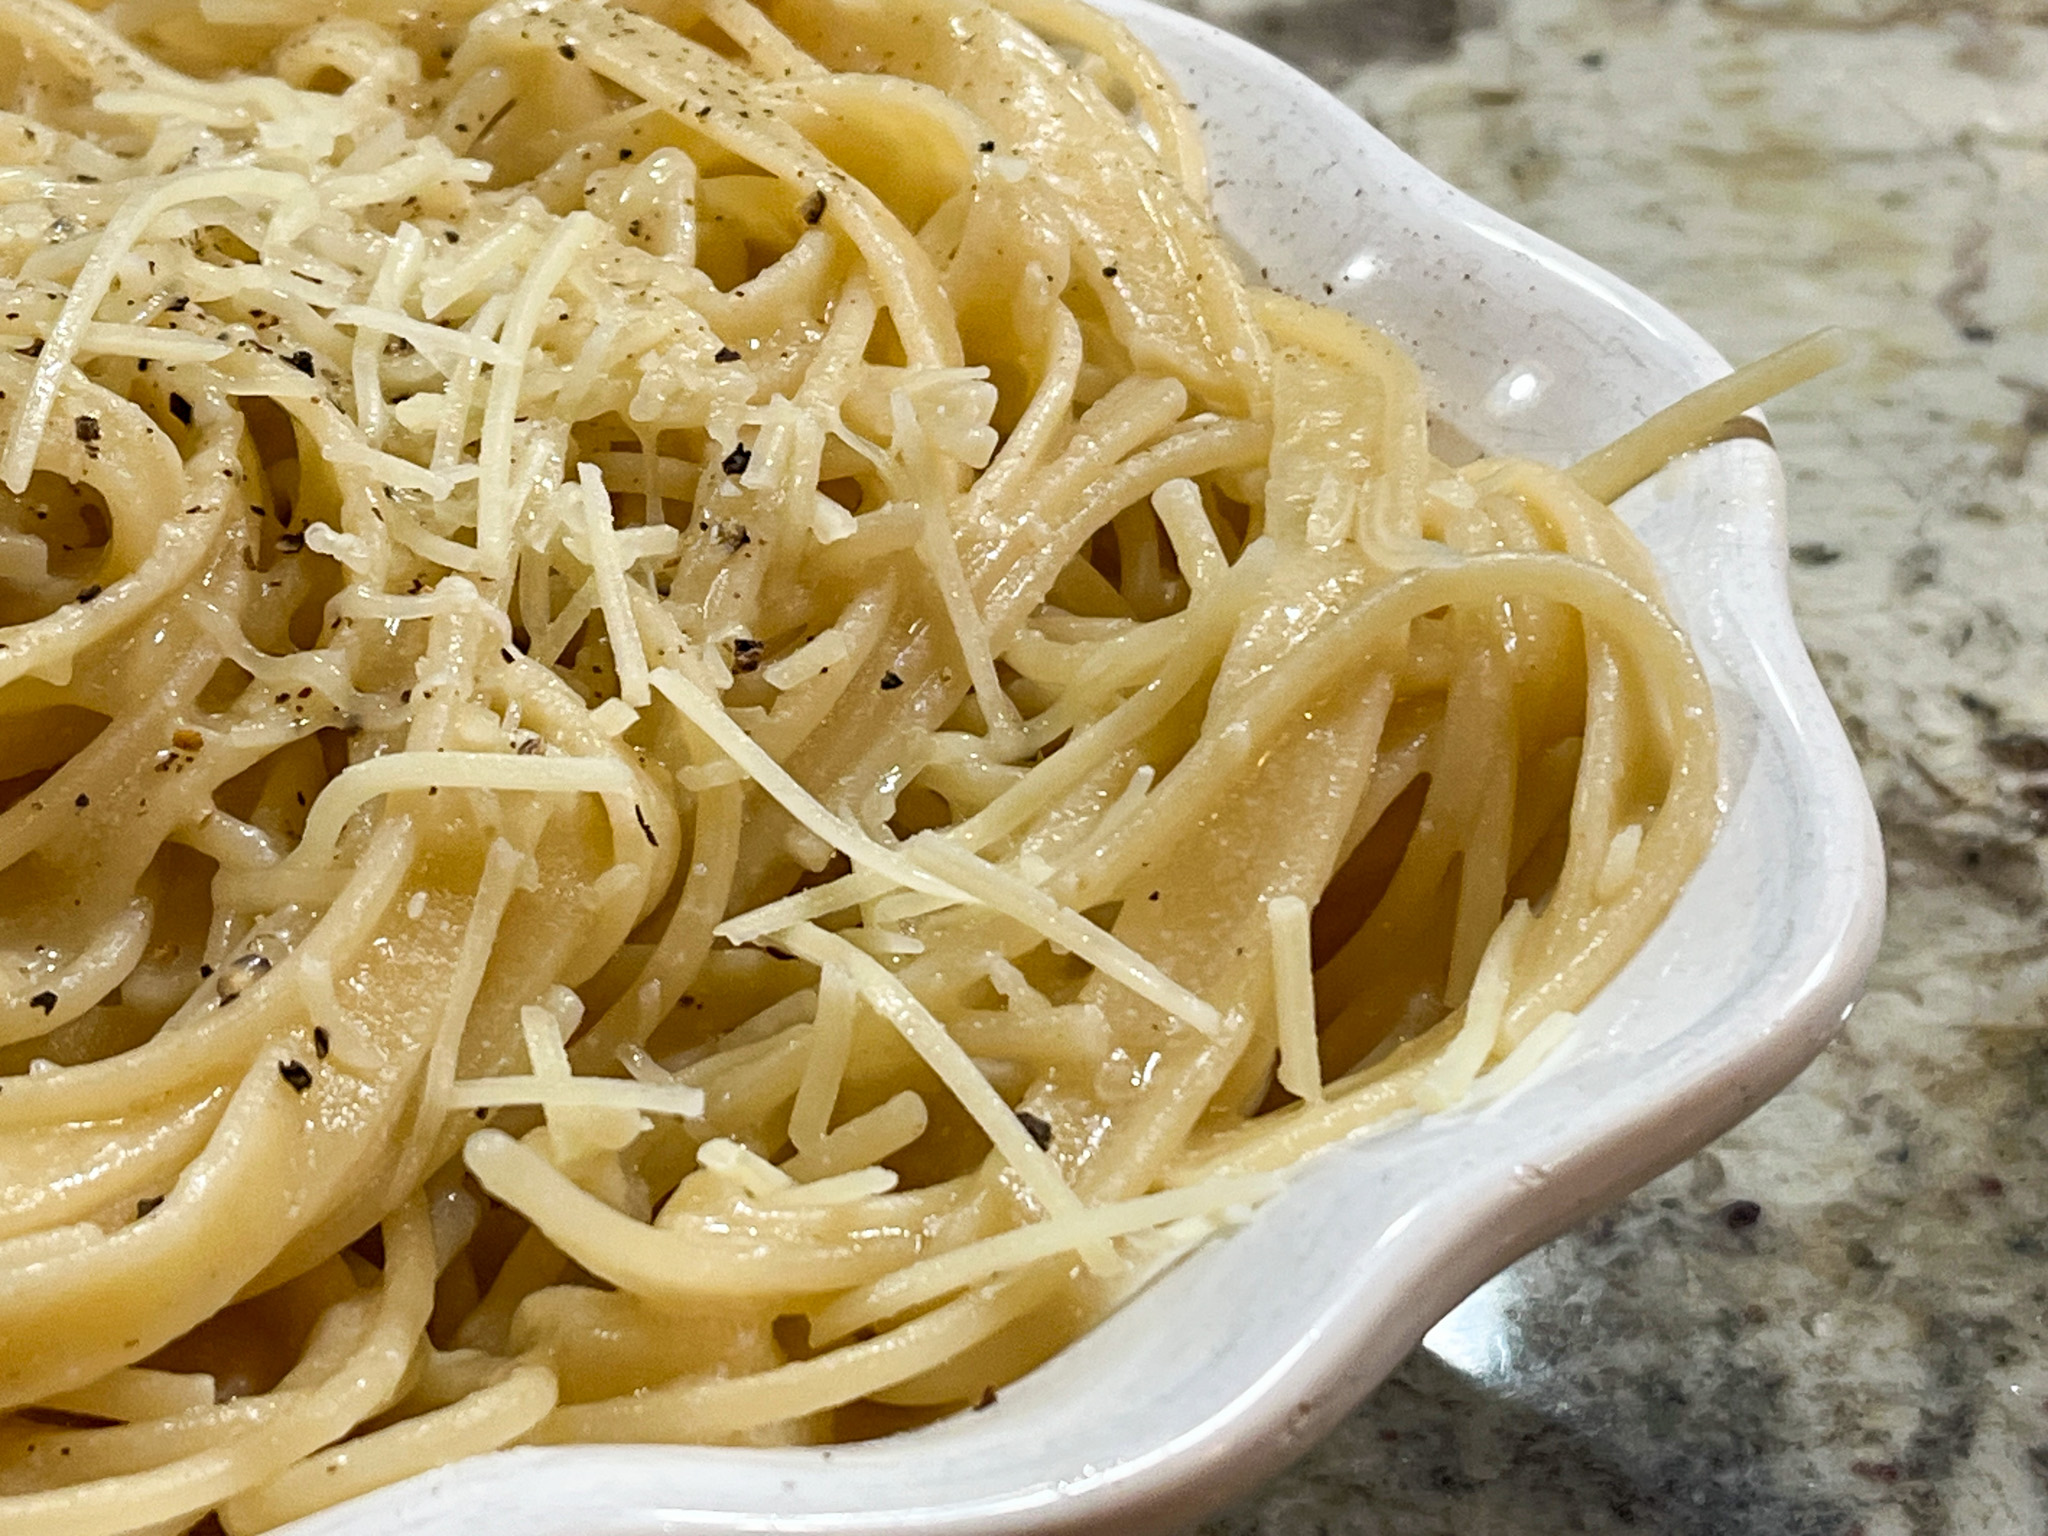
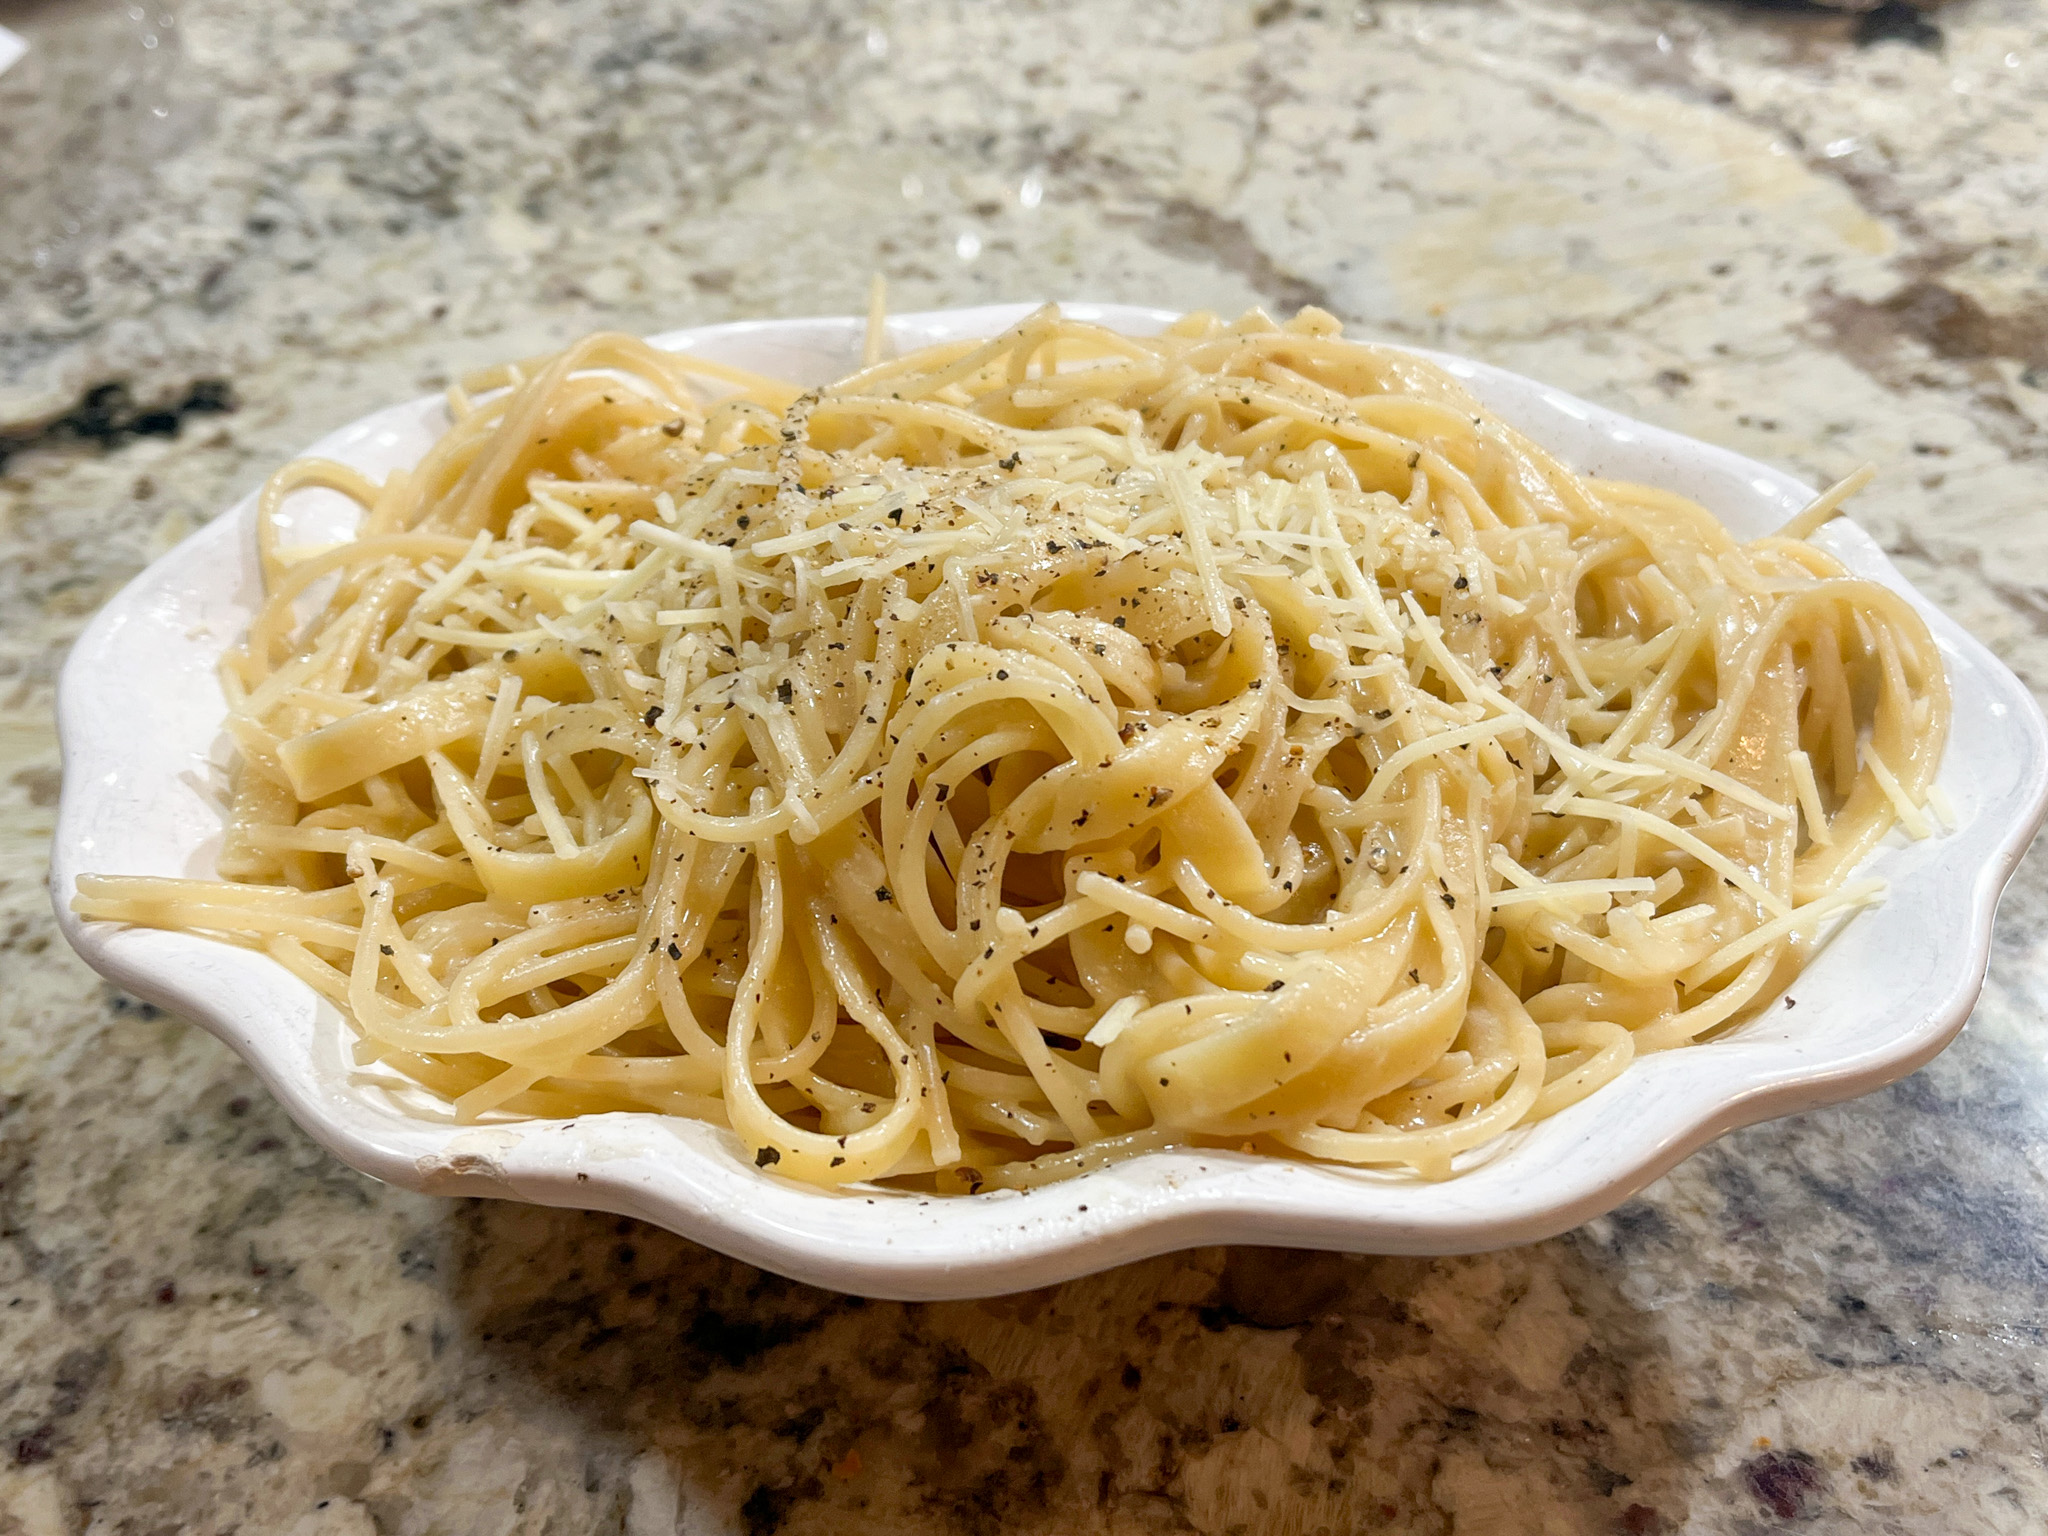
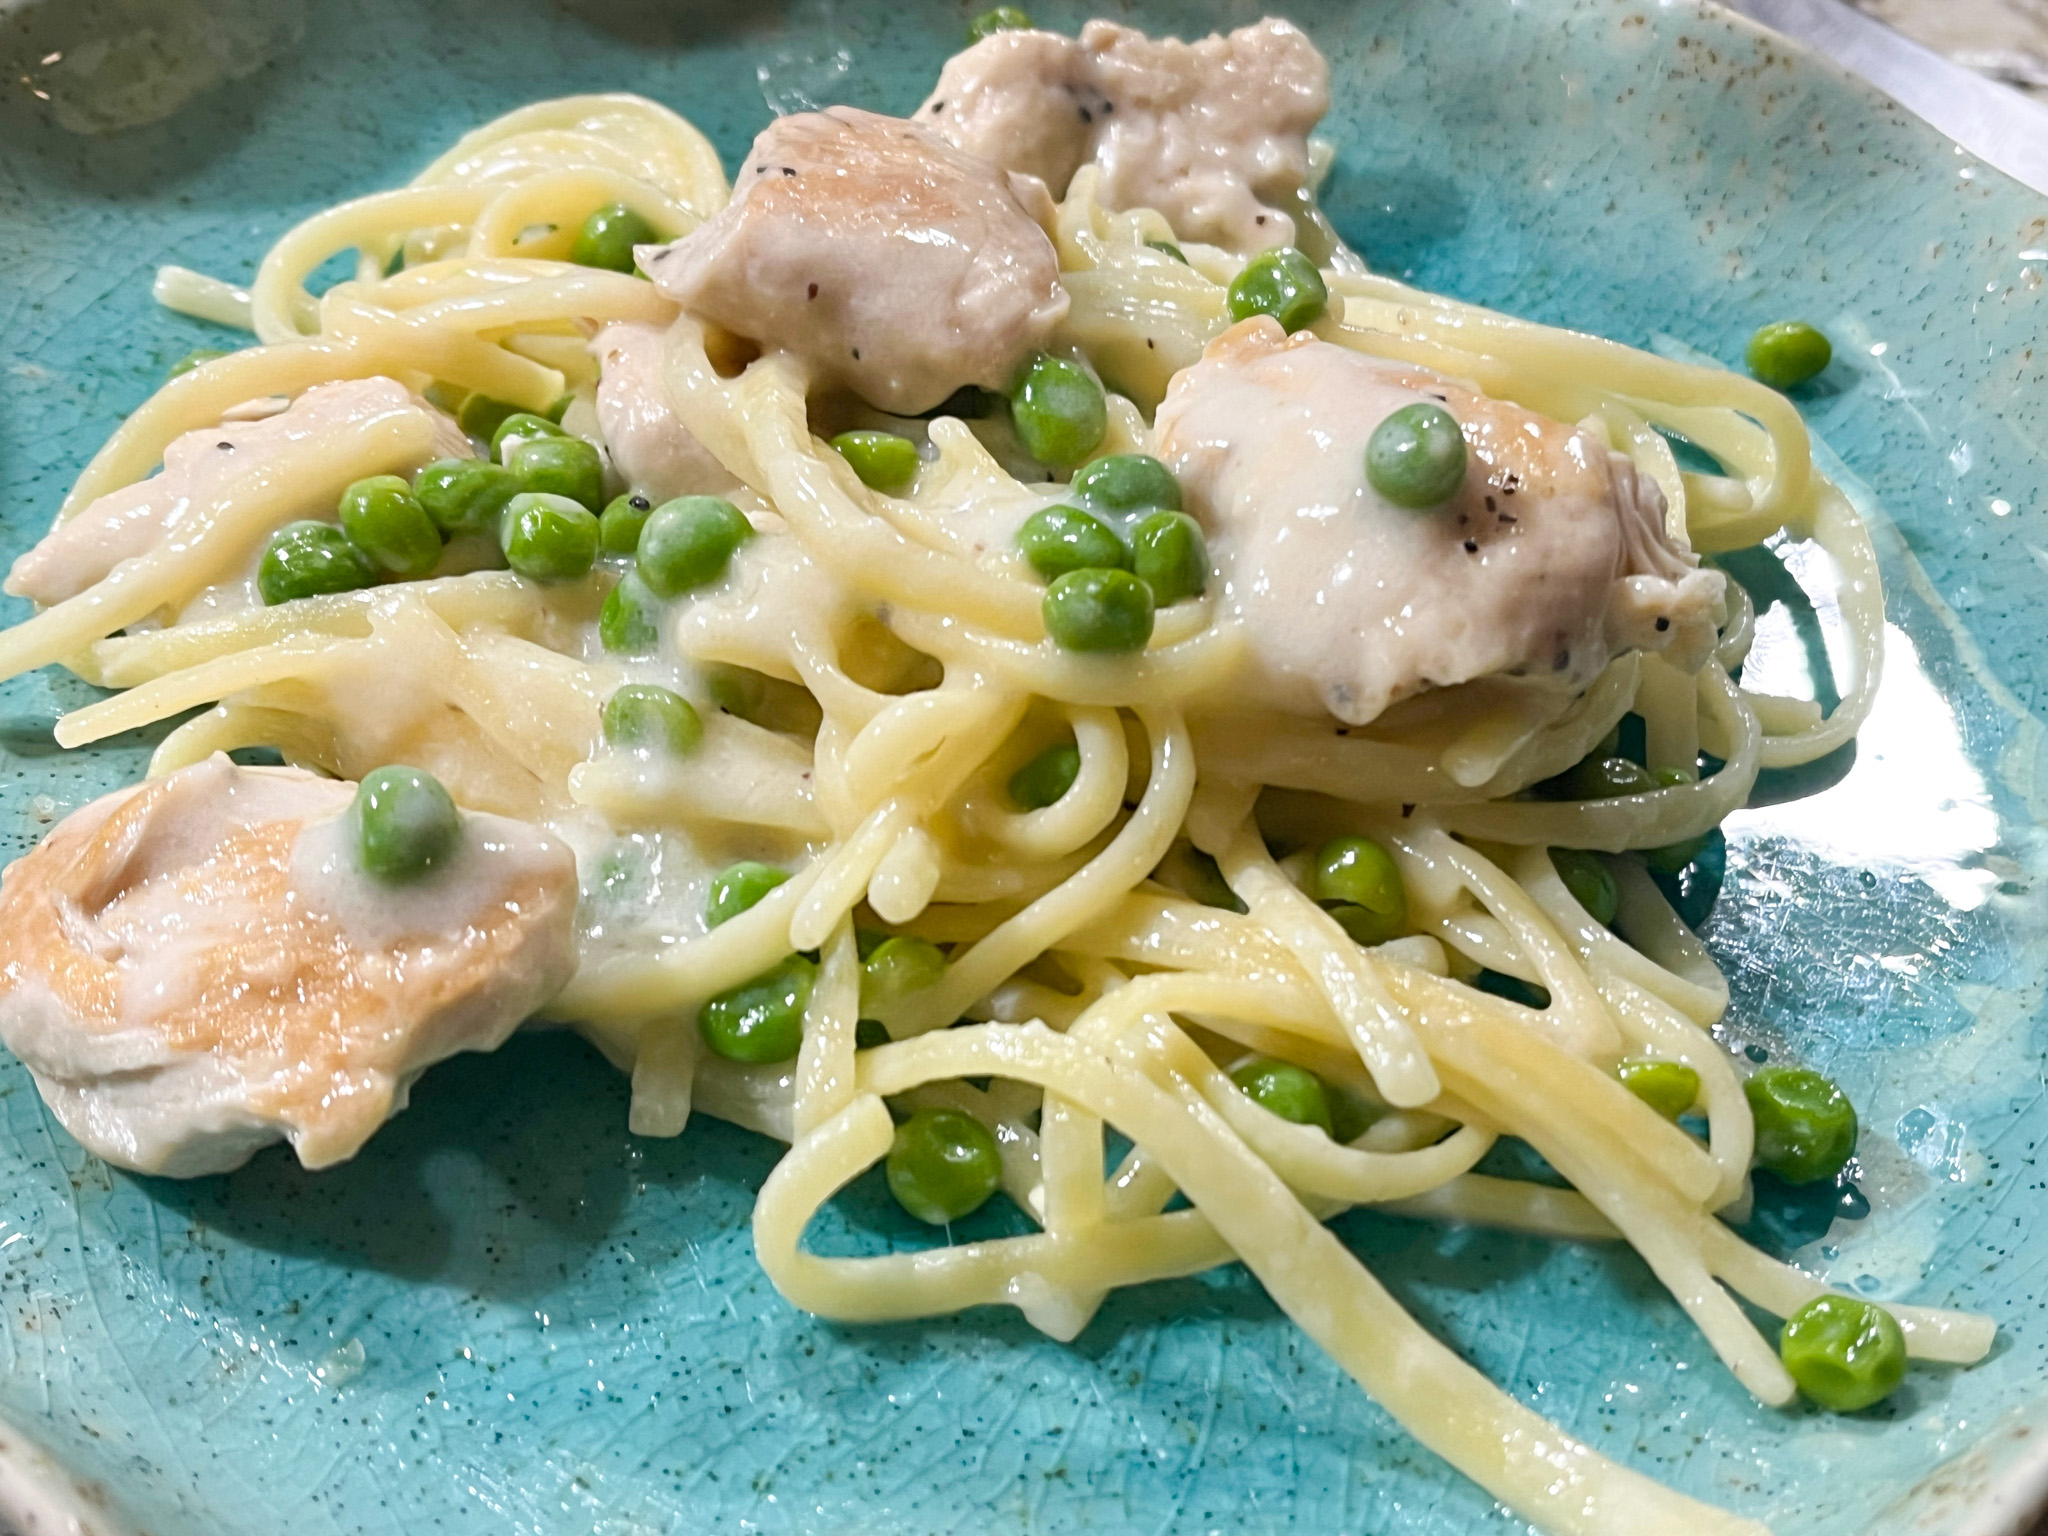
I first learned about this lower-carb, high protein pasta in a food blog. Much to my surprise, doing a search online I realized that our Wal-Mart store carries several shapes. Of all the brands I tried, this is the closest to the real thing. Shiratake noodles have zero carbs and almost no calories to speak of, but they will not leave you happy and satisfied. Brami pasta will. It is made from lupini beans and it also contains wheat, but much less than a regular type.
In our kitchen…
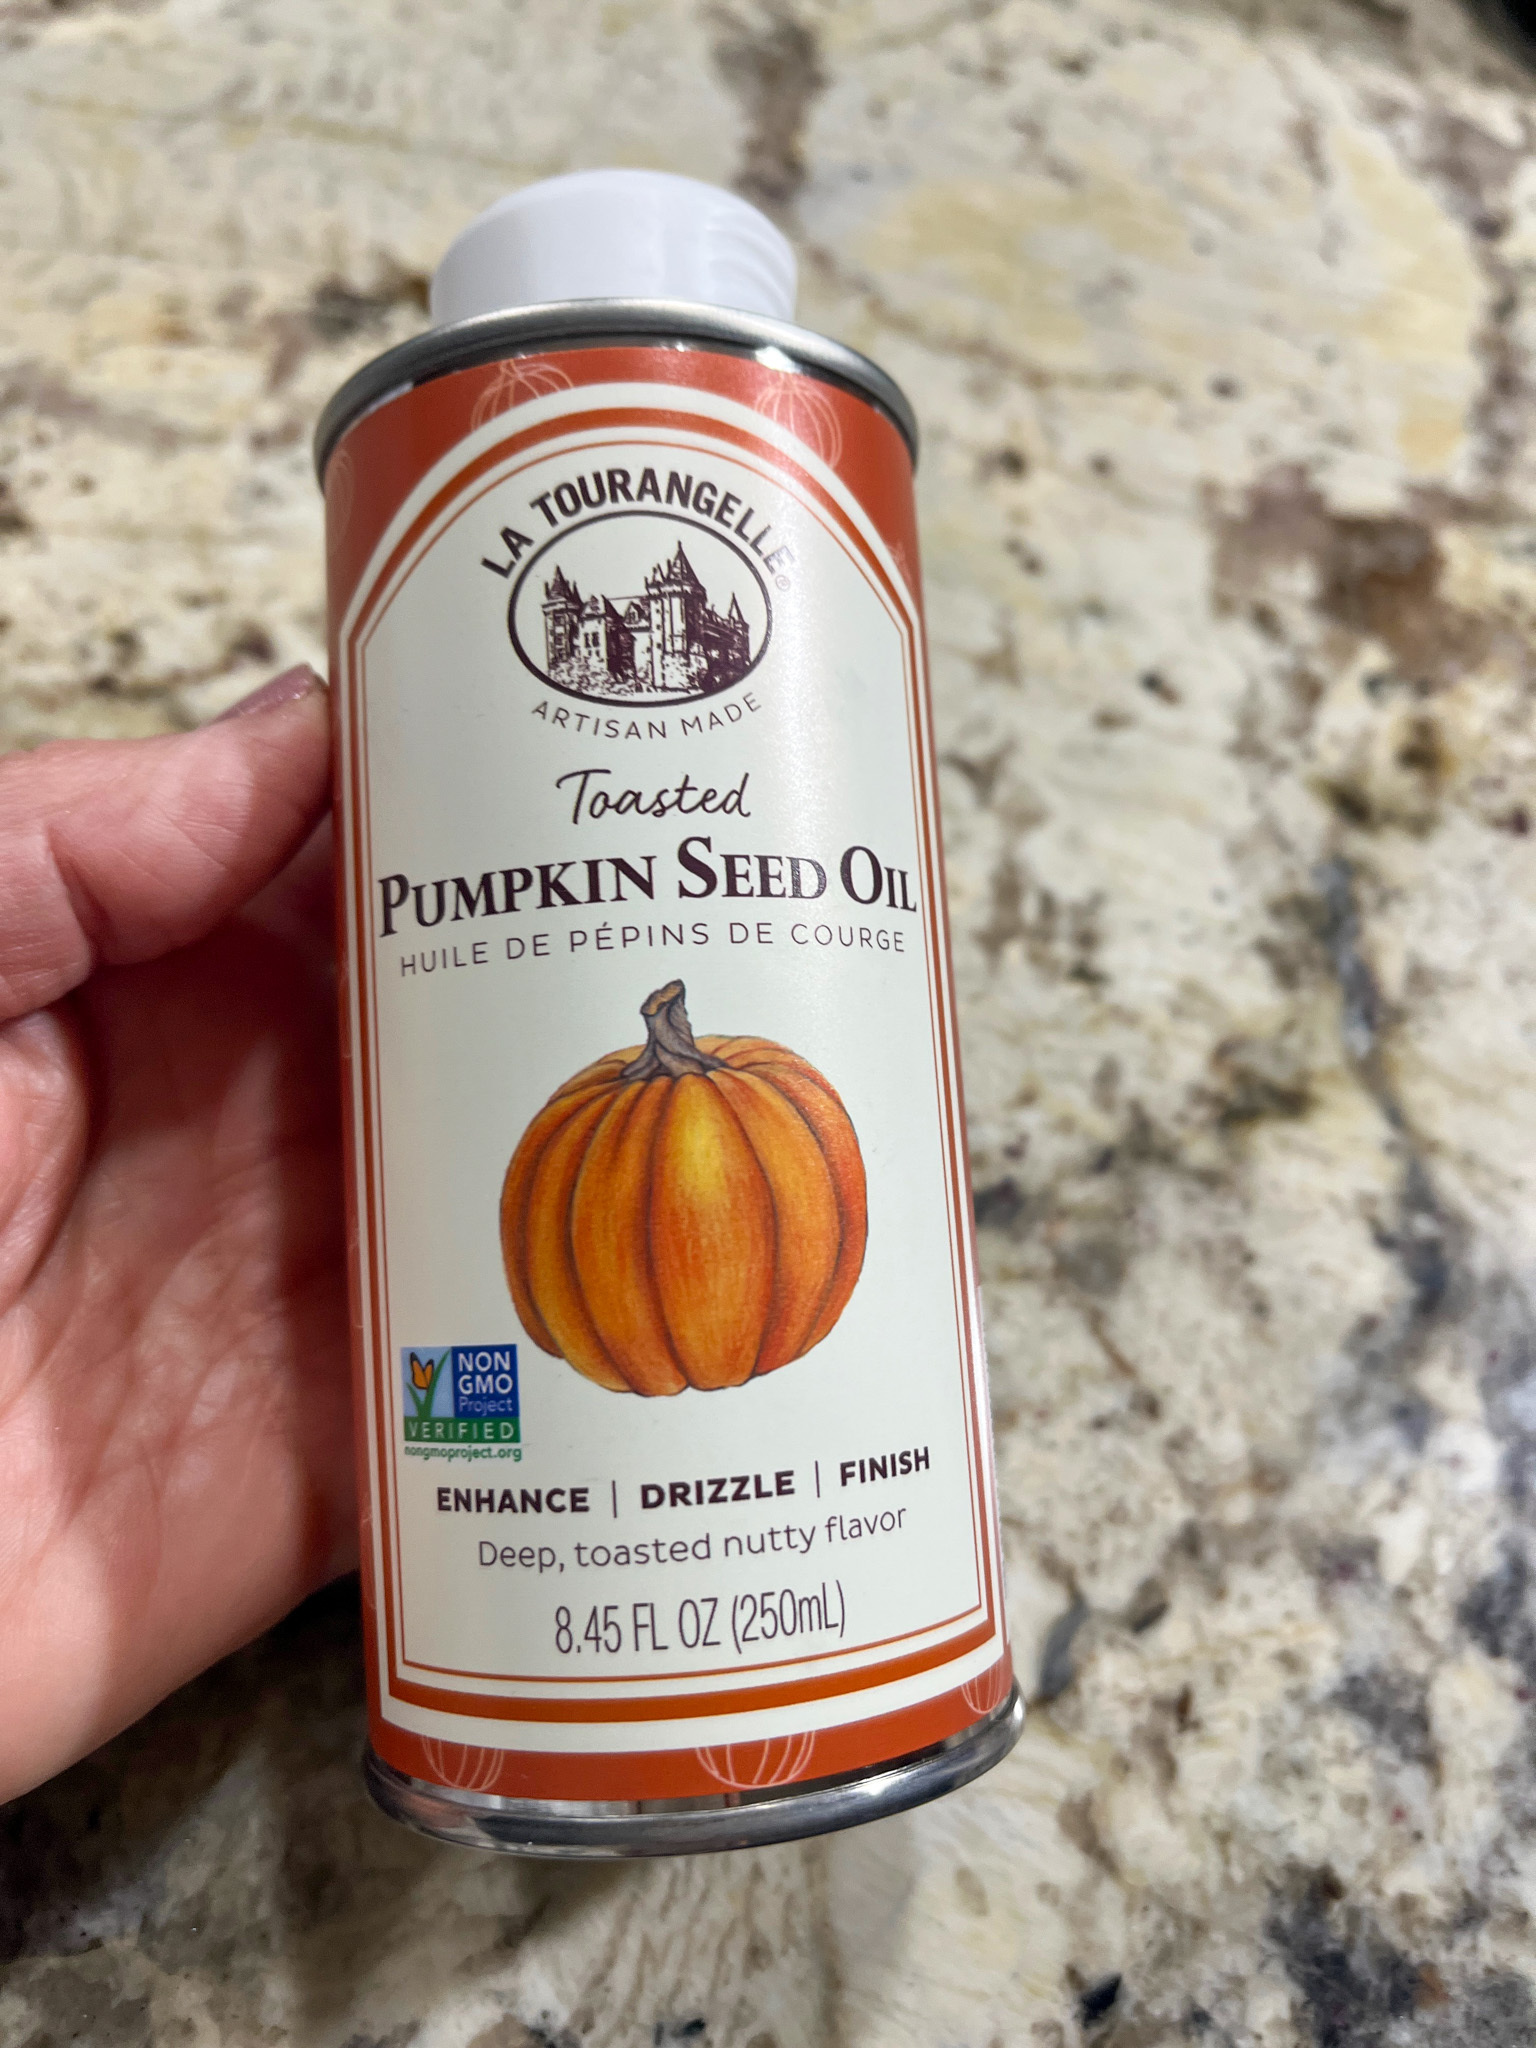
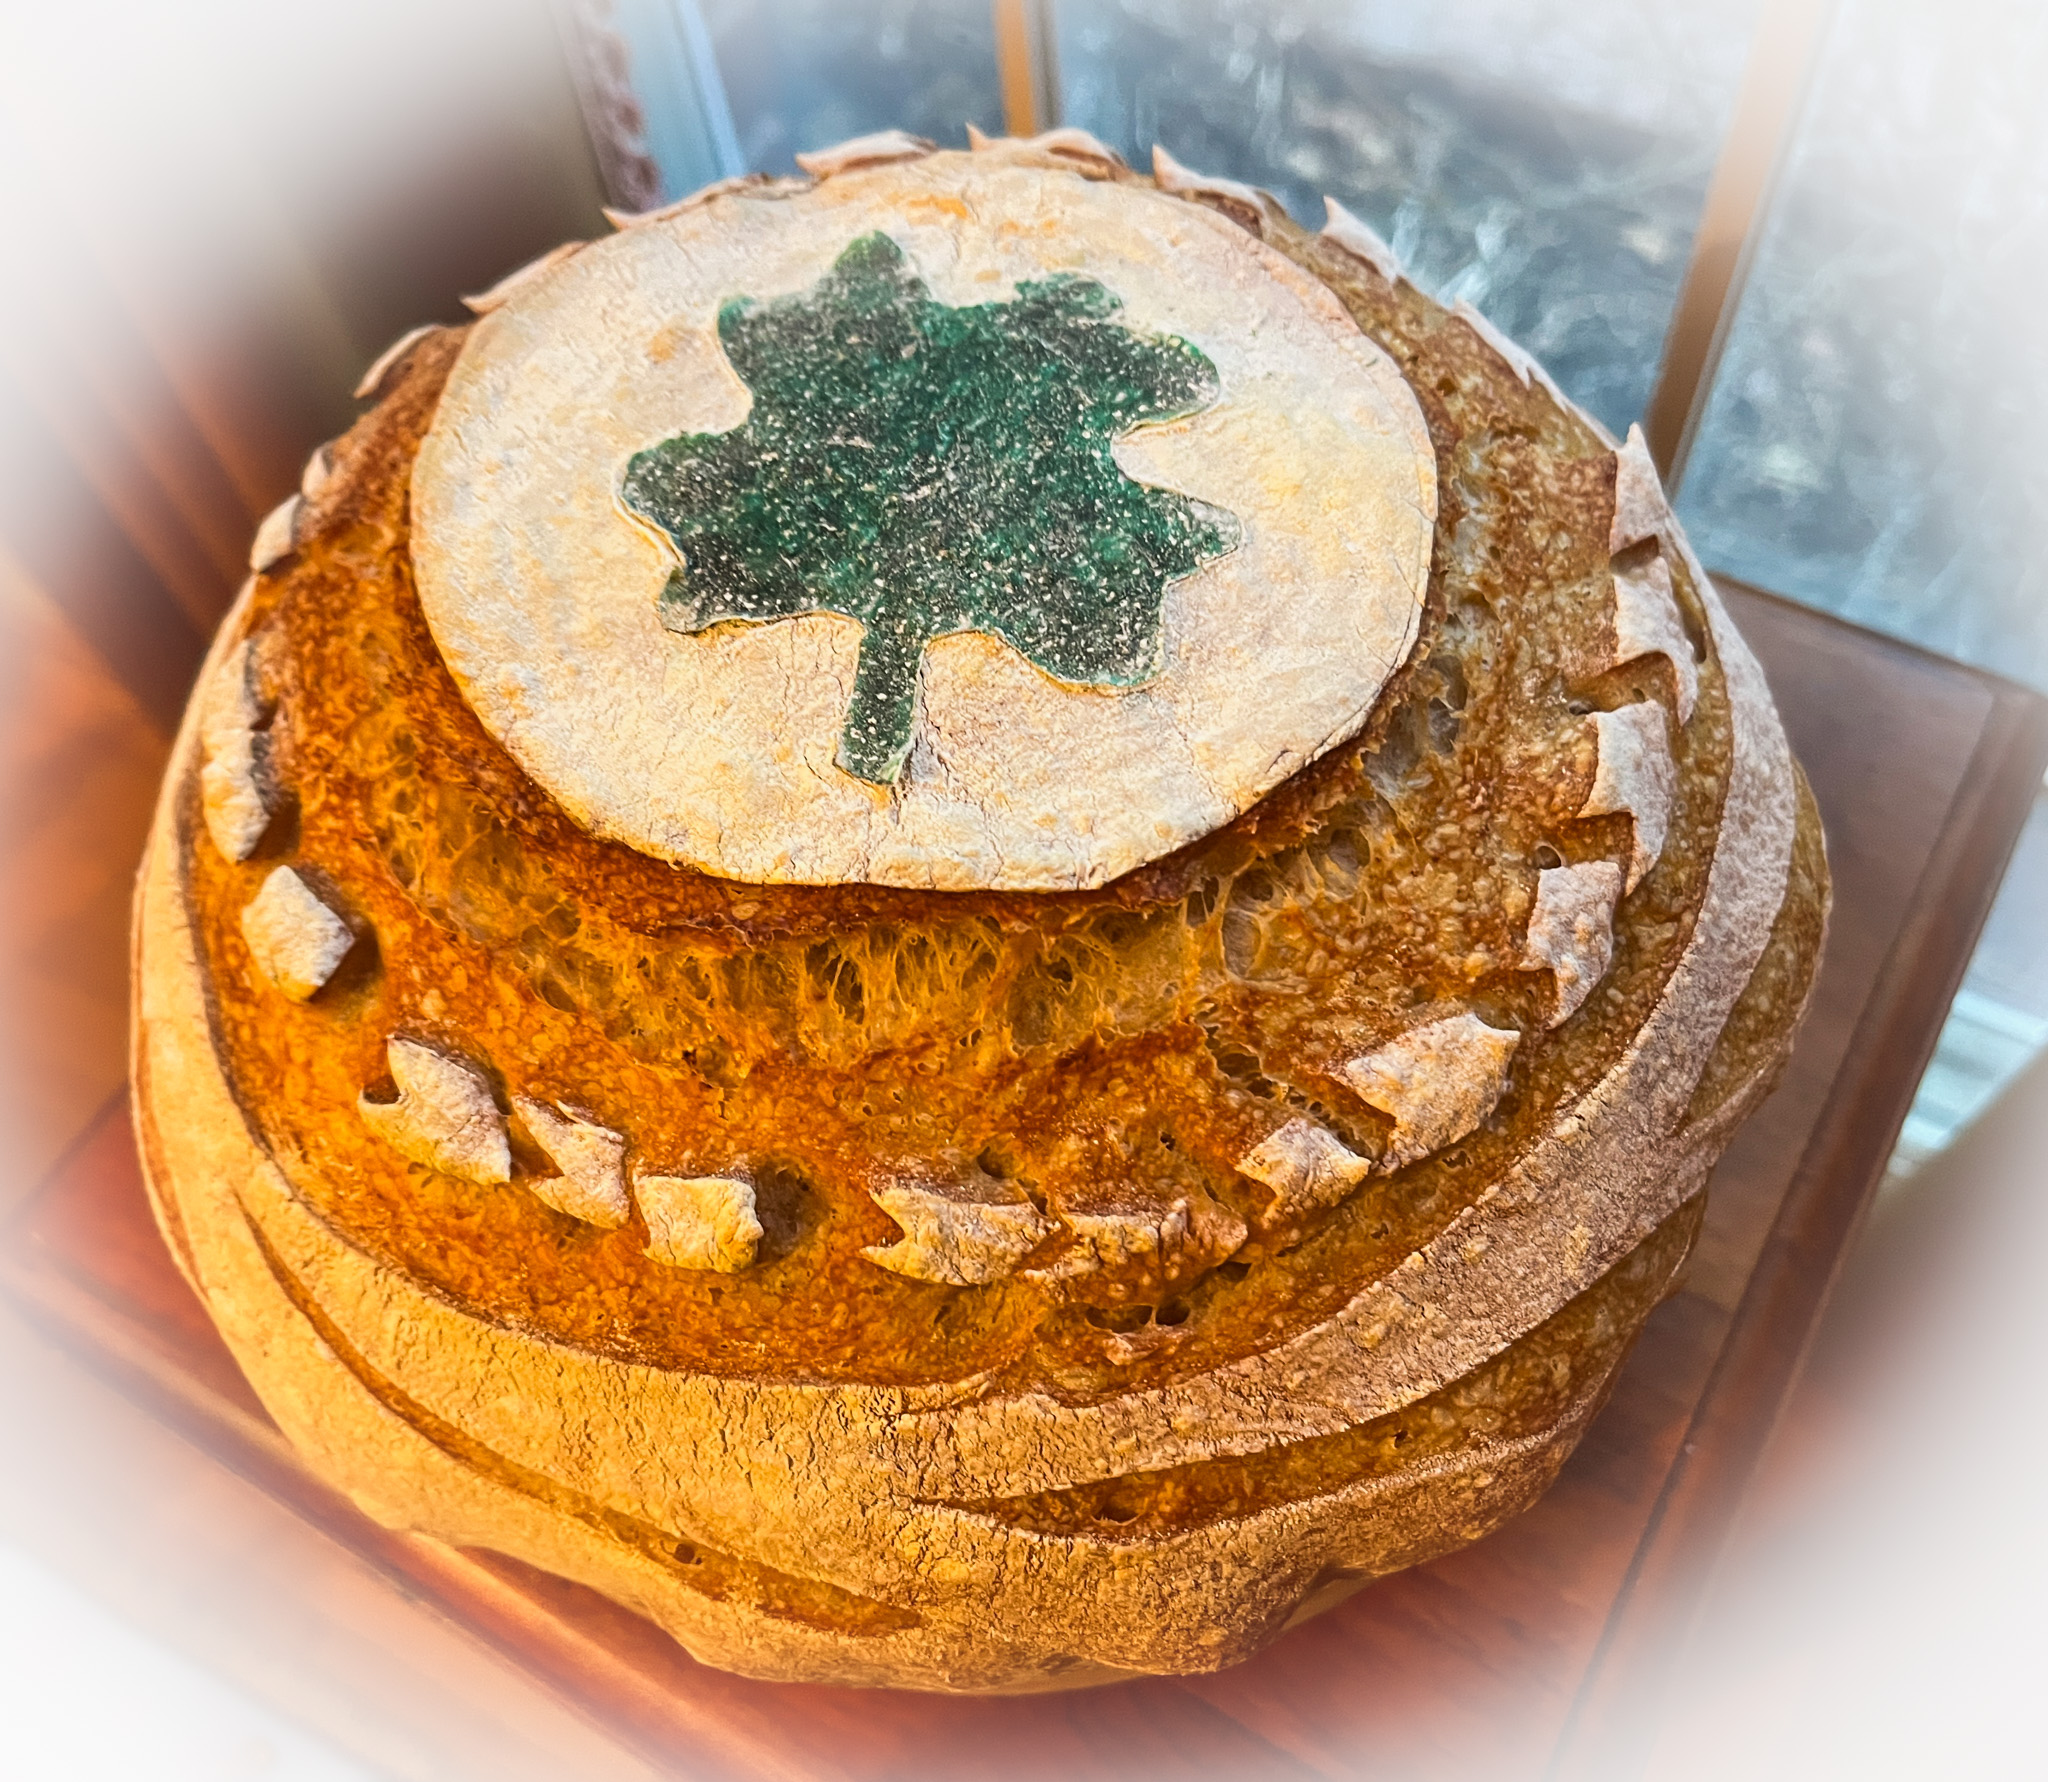
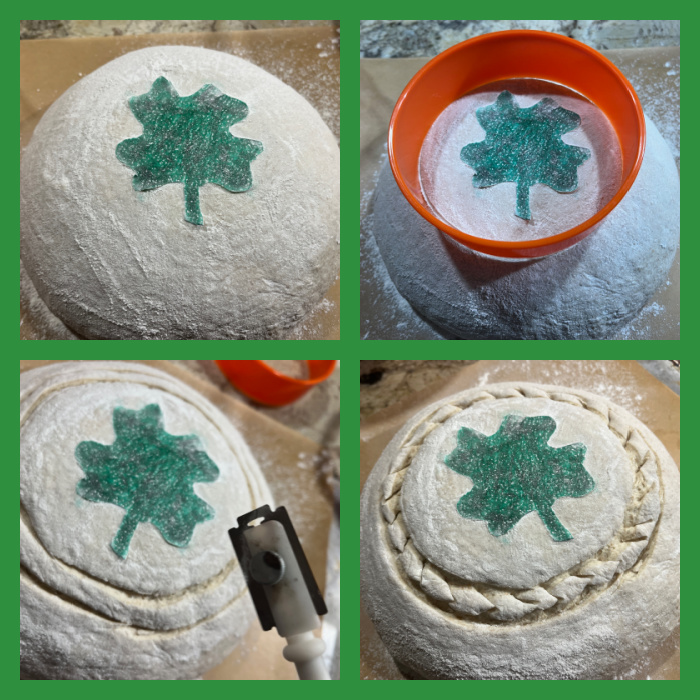
A super flavorful oil that I got after a recommendation from Martin, winner of Great American Baking Show a couple of years ago. He used it in a bread, which is fantastic and I urge you to try. Super simple to make, by the way. Check his recipe here.
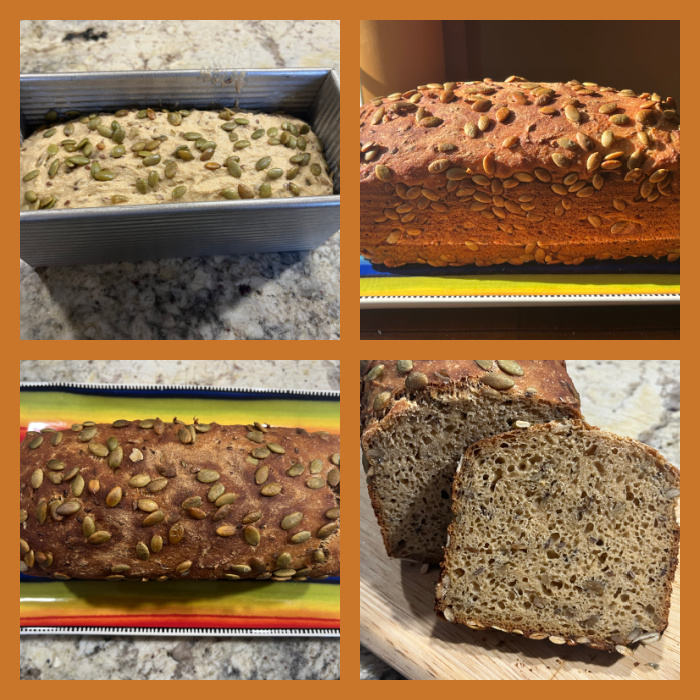
And this is my delicious version of his bread….
.
In our kitchen….
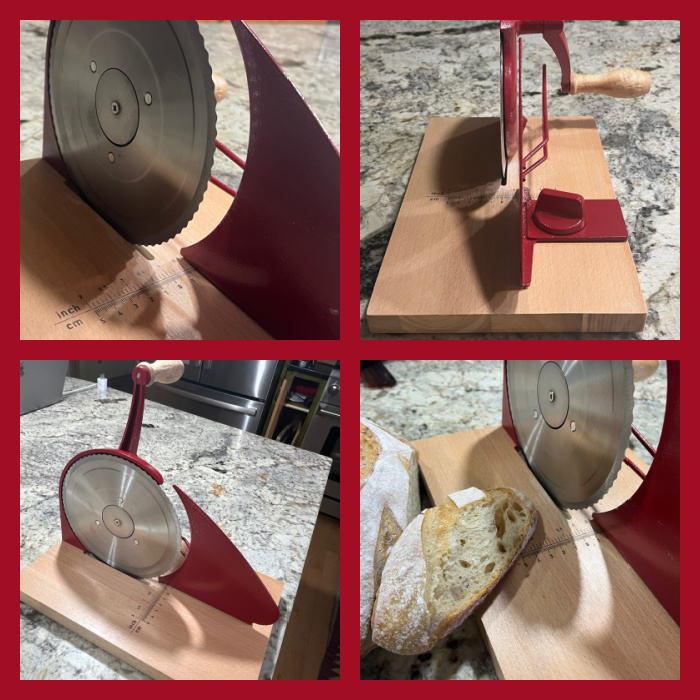
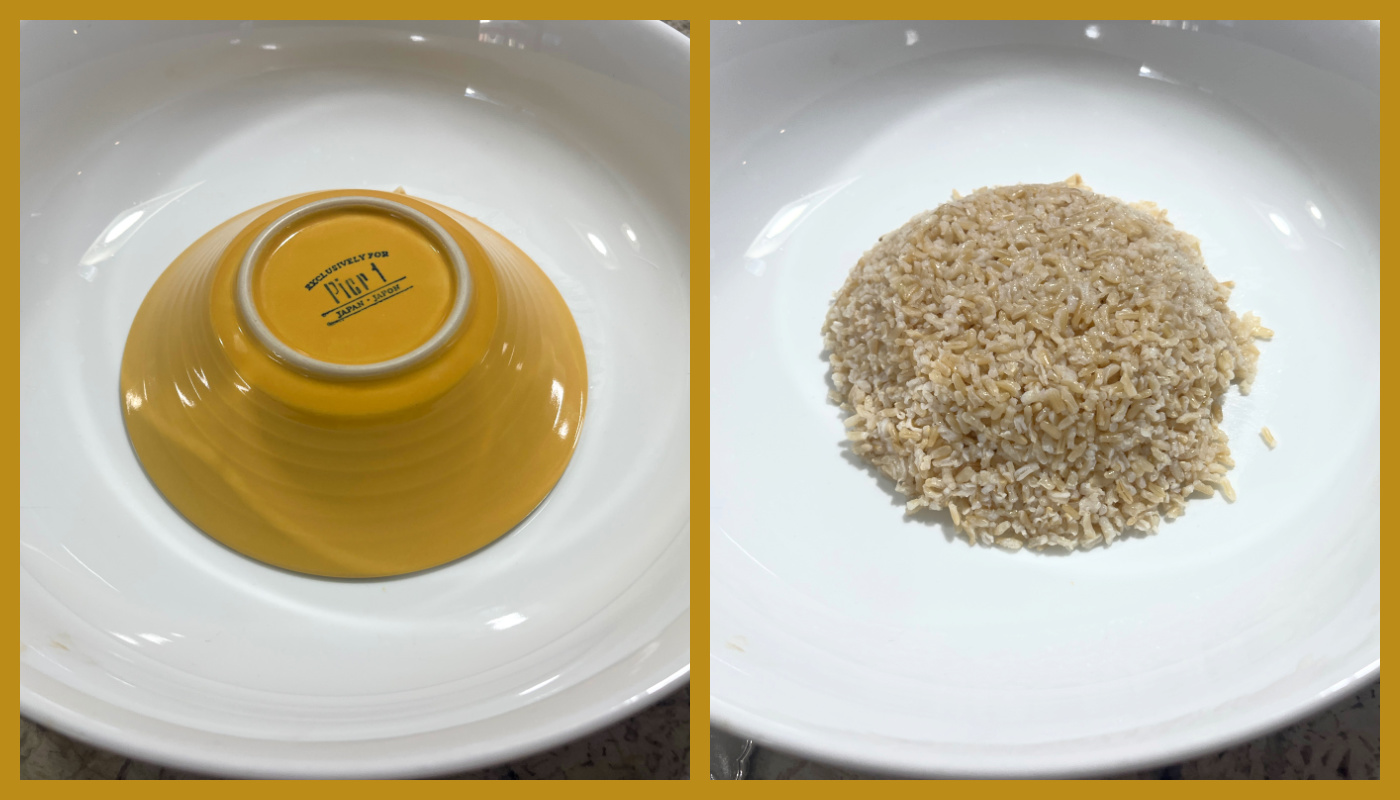
Speaking of bread, I can’t tell you how much we love this little baby! I have tried all sorts of knives that promise to deliver as far as slicing a hearty loaf of sourdough goes, but nothing compares to this. I highly recommend you get one. Ordering info here.
You can see it in action here, and it is sooooo cool!
.
In our kitchen…
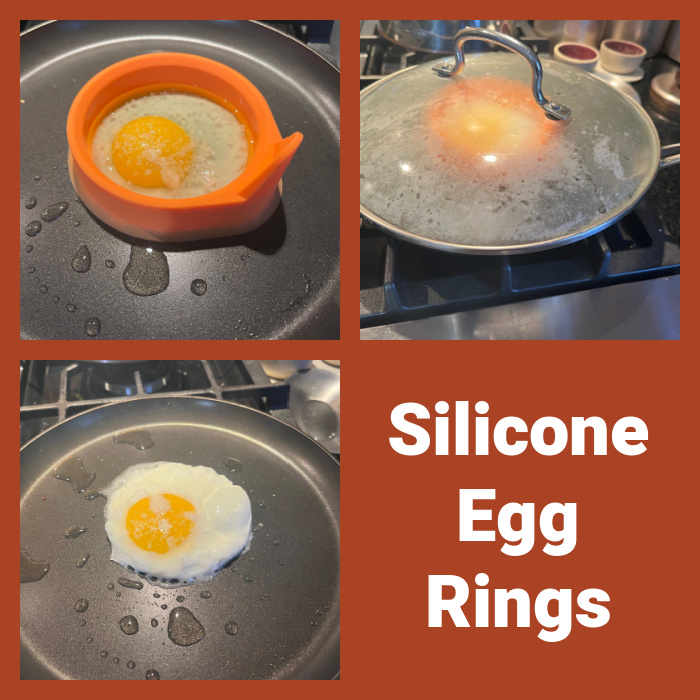
I eat A LOT of eggs, love to have a fried egg with sourdough for lunch. Do you “need” a silicone ring? Probably not, but isn’t that super cute? I like this one because it allows me to put a lid on the pan, which helps create steam and properly cook the egg white. I hate a slimy white, don’t you? You will find the rings here.
.
In our kitchen…
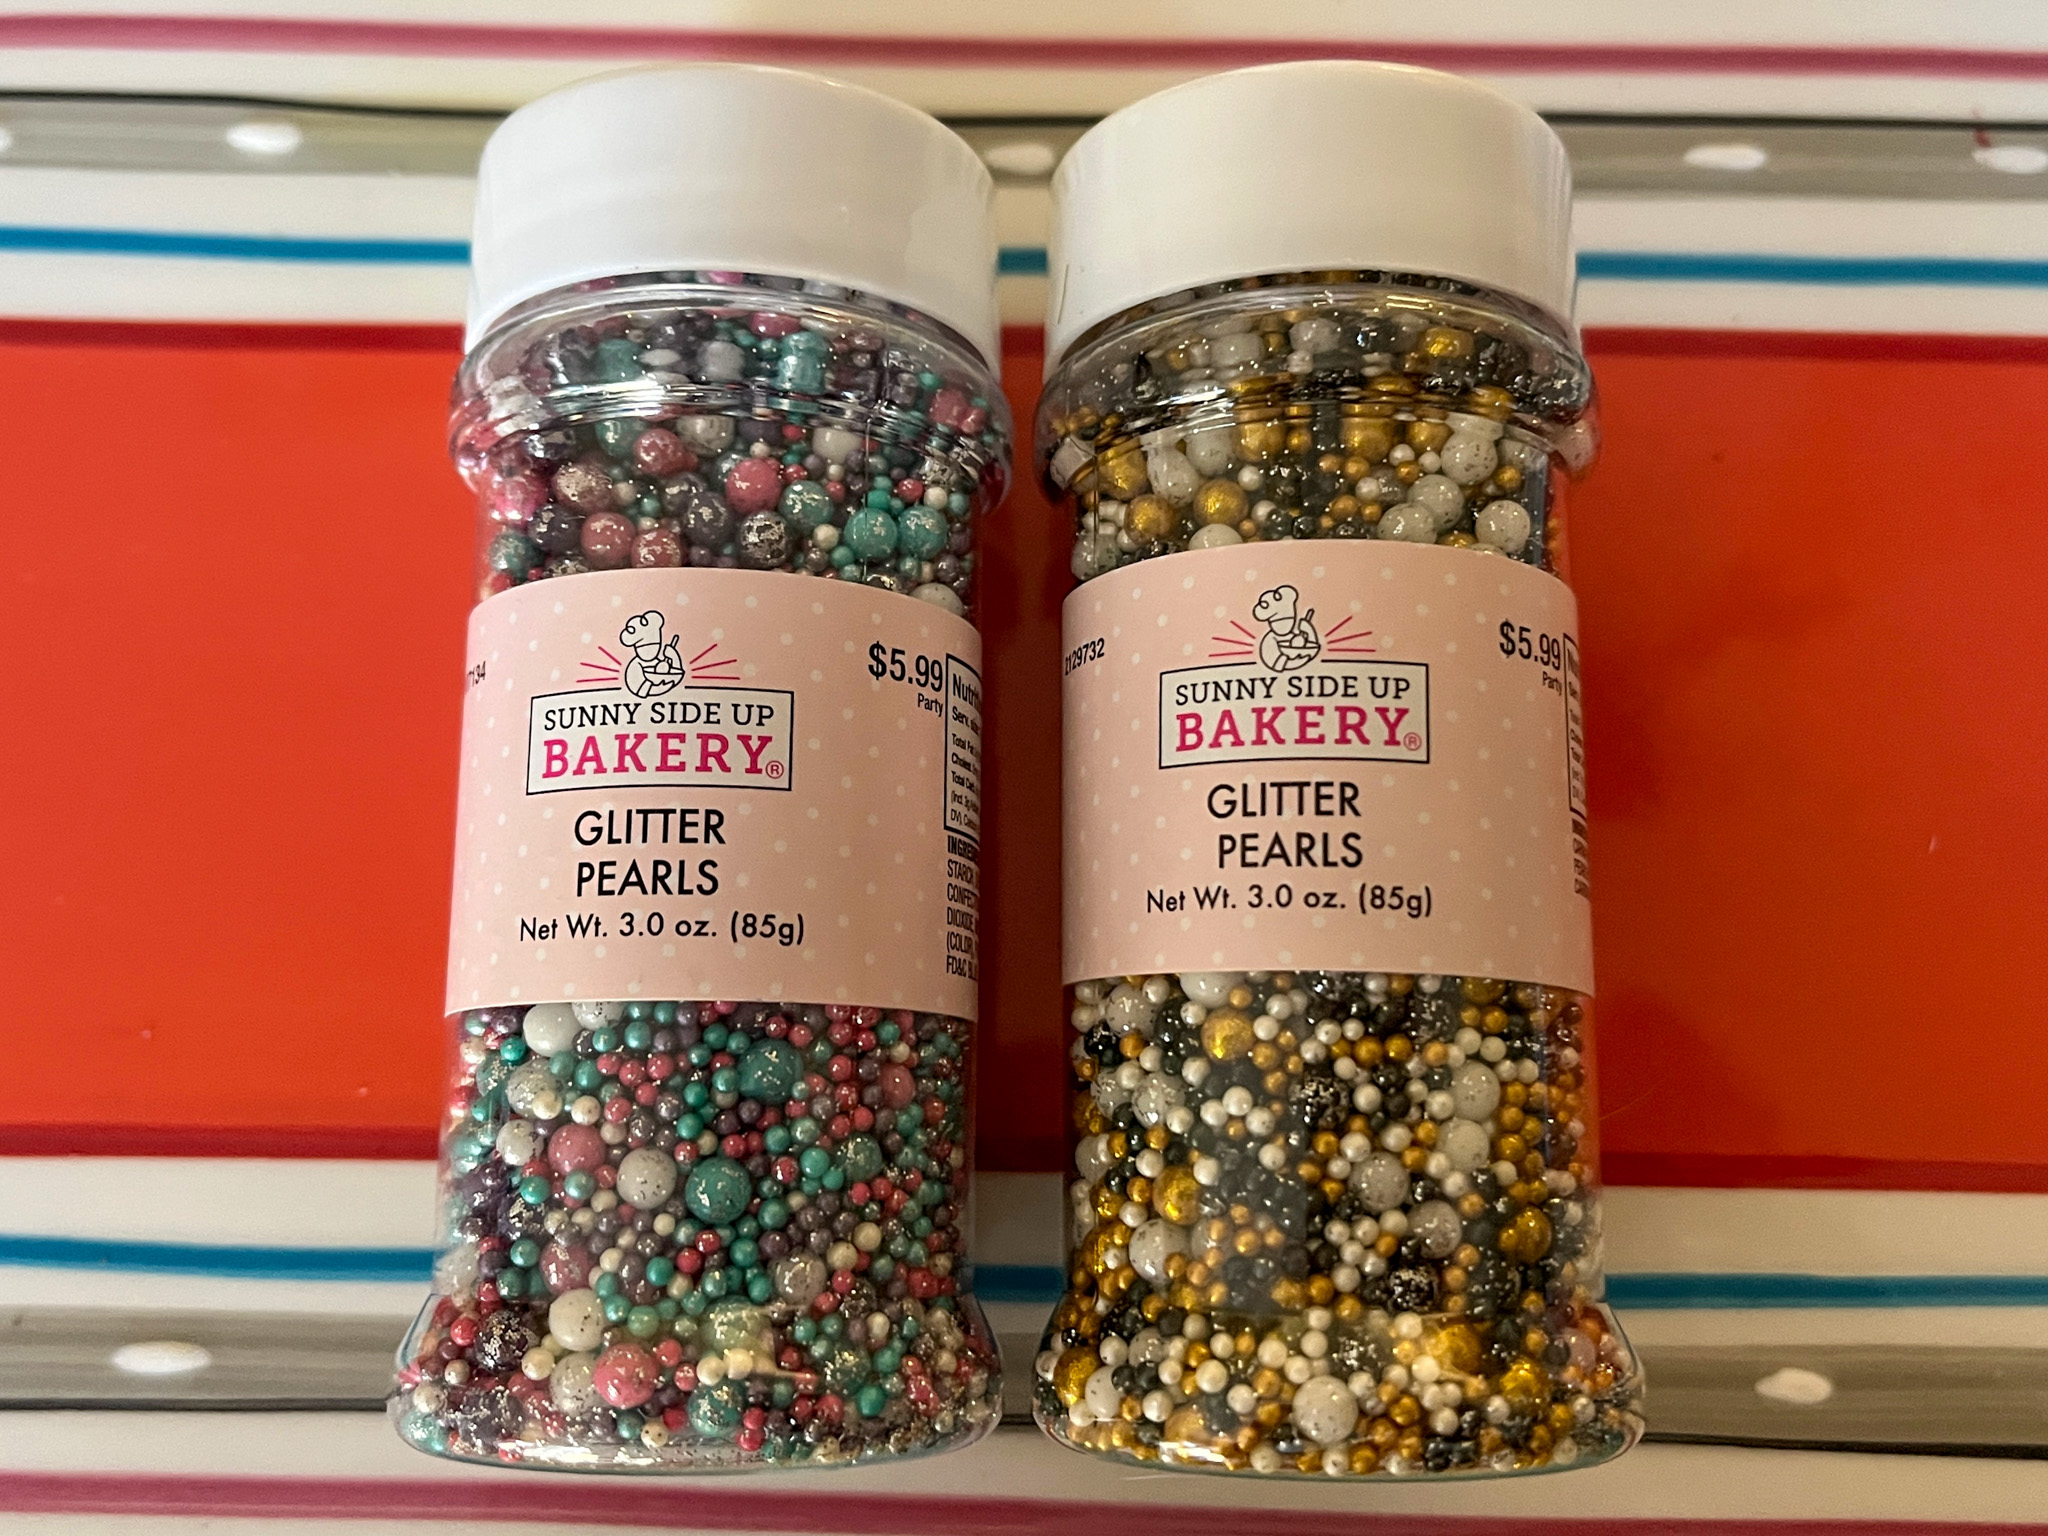
These are my favorite sprinkles for the time being… They are not hard, and have a fantastic shine. Great on cupcakes! I found them at Hobby Lobby, and they were on sale, lucky me!
.
In our kitchen…
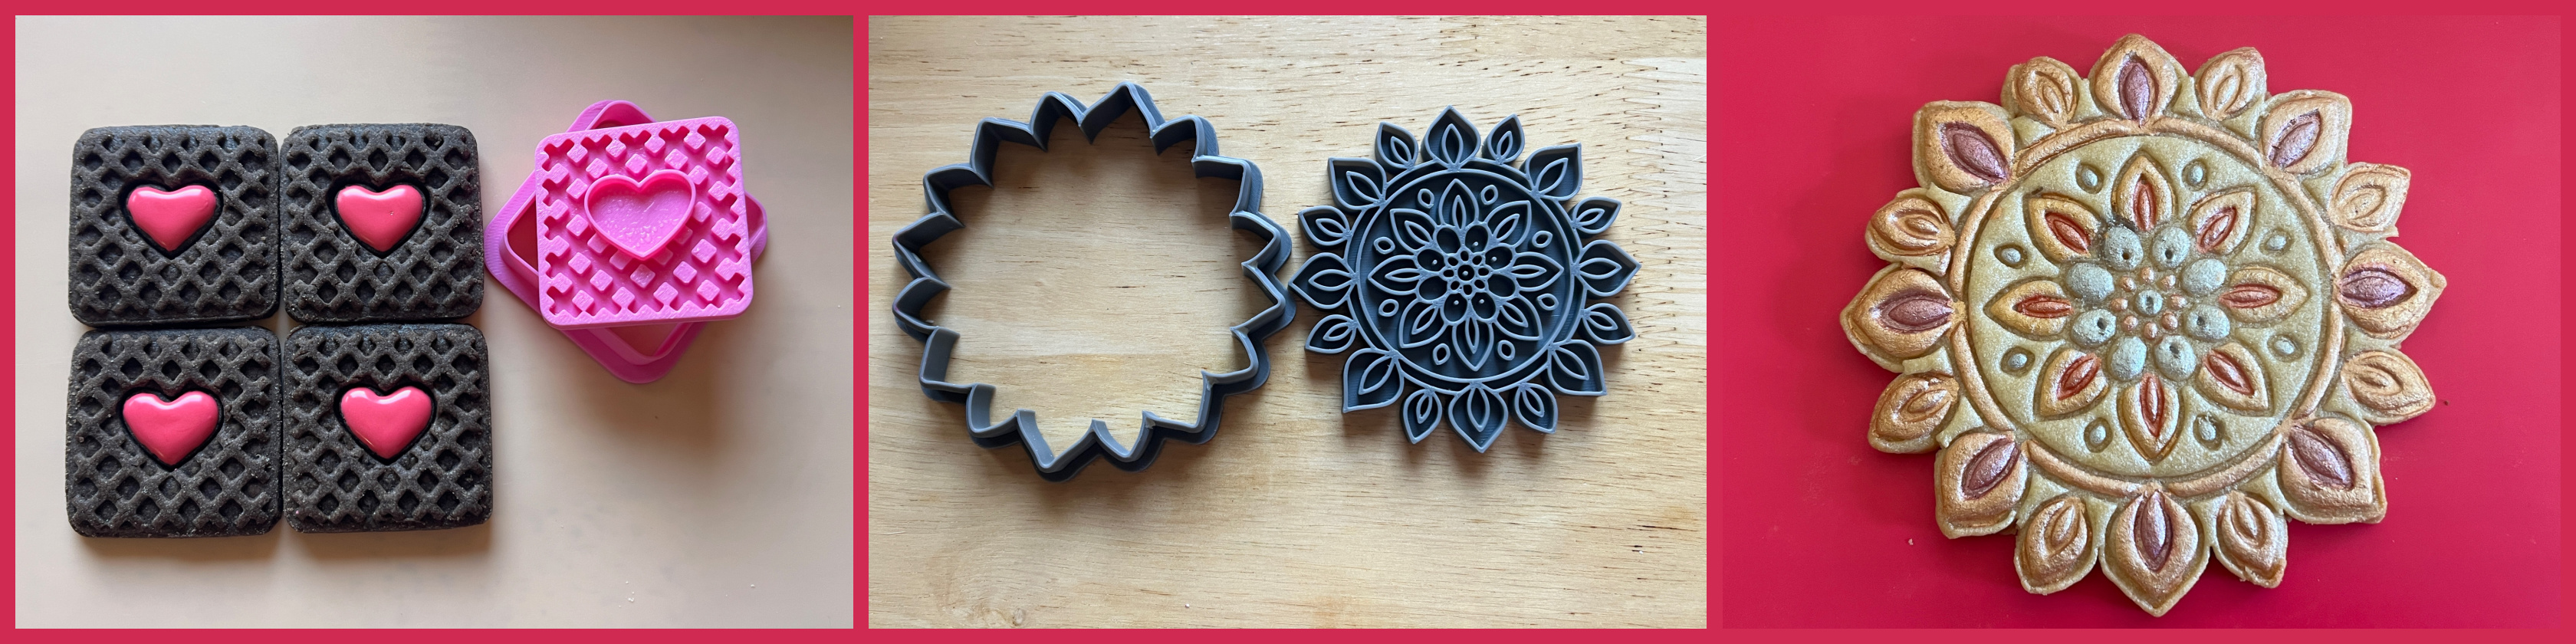
I just love a stamped cookie, because it makes decorating so easy… The square ones are part of a set with several different adorable shapes. Check them out here. The second one I got at a store in etsy, but it is not available anymore. I have a very soft spot for anything mandala.
.
In our kitchen….
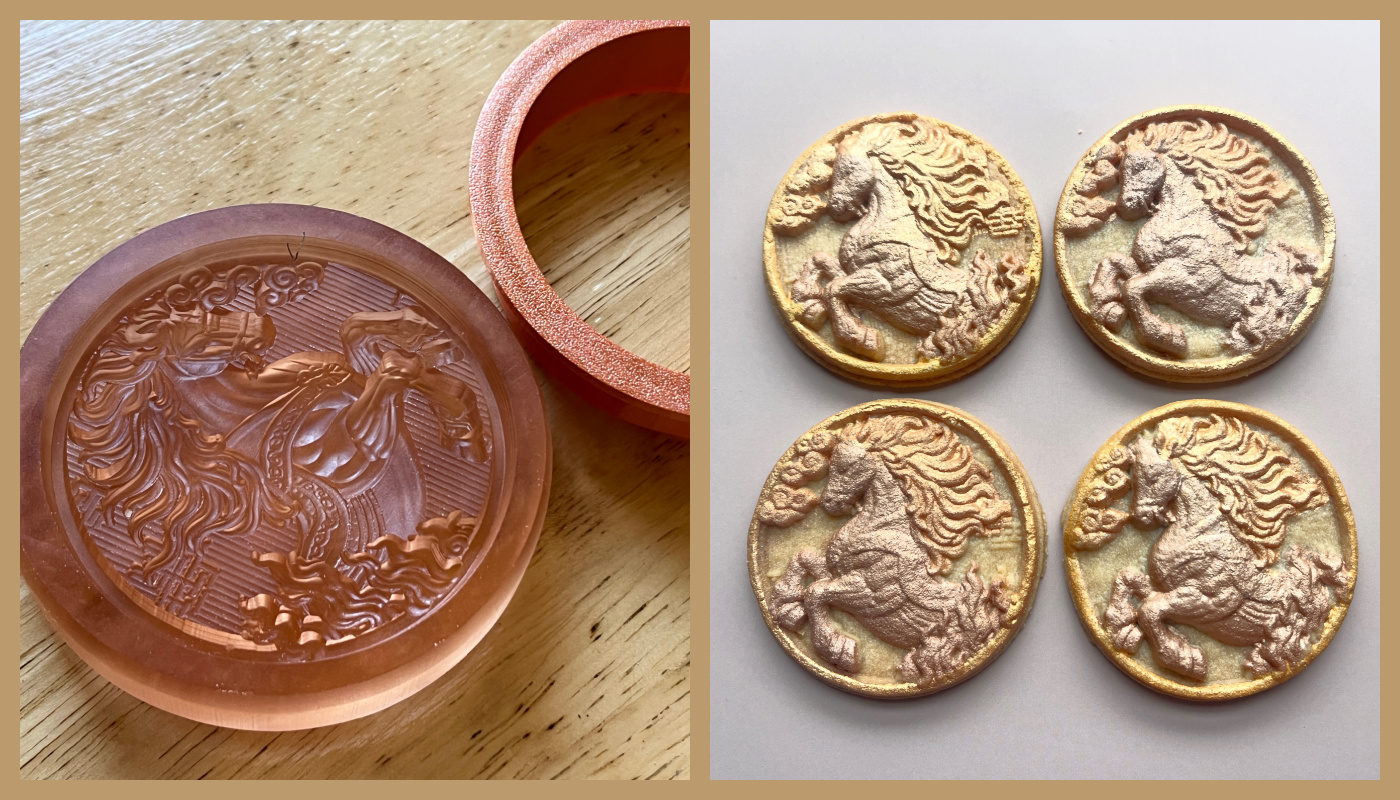
Still on the subject of stamped cookies, I gave myself this new one as a Birthday present. You can find it on KitchenVixen’s store at etsy. I adore it!
.
In our kitchen….
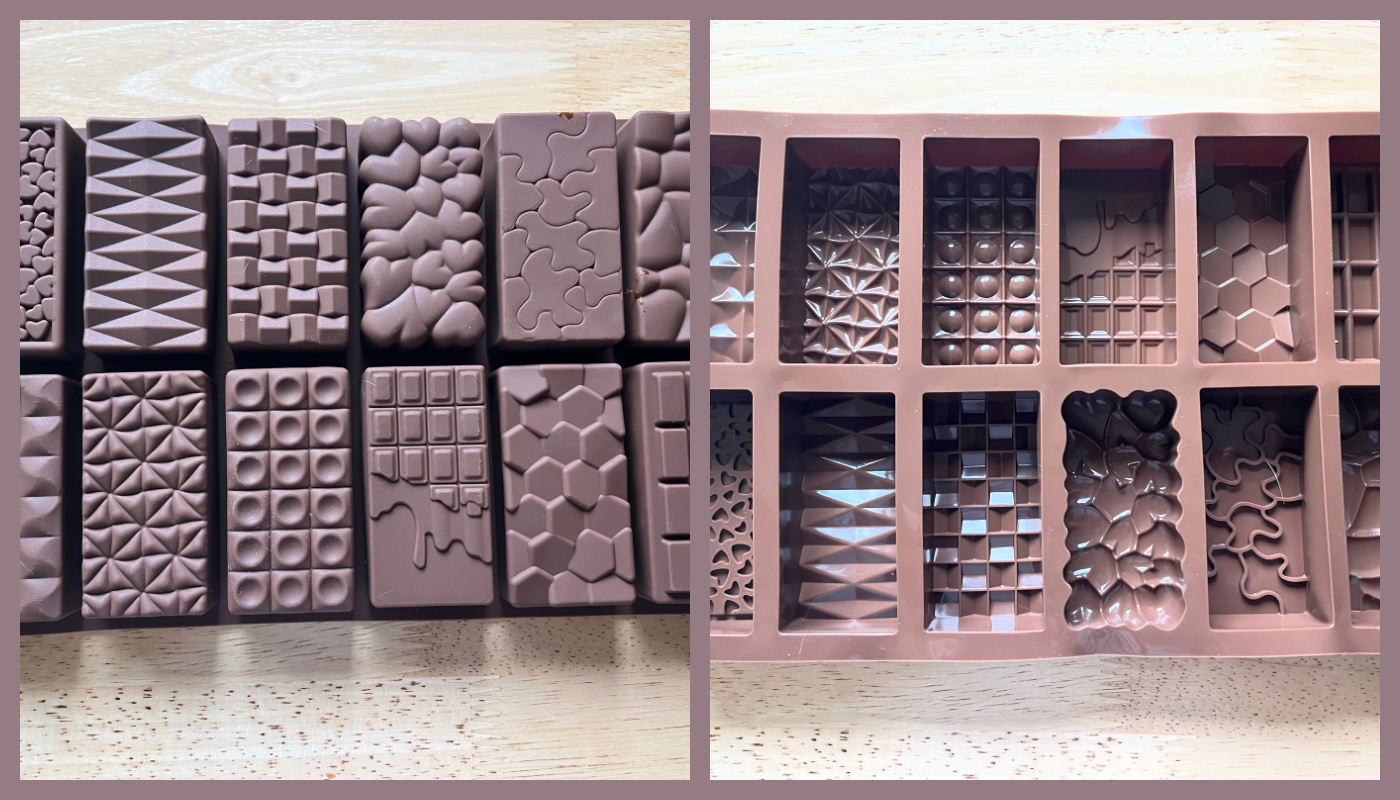
I’ve been seriously considering expanding my horizons into the chocolate world. I bought this little mold which has a very interesting feature: it is holographic! So the surface of the chocolate bar will have a special color effect. Apparently the effect lasts for quite a few uses, and even when it fades it still makes nice looking bars. I just got them last week, now I will go through my normal inertia phase, before attempting something new. In any case, stay tuned. Sooner or later I’ll put this baby to use!
.
Not quite in our kitchen, but close enough…
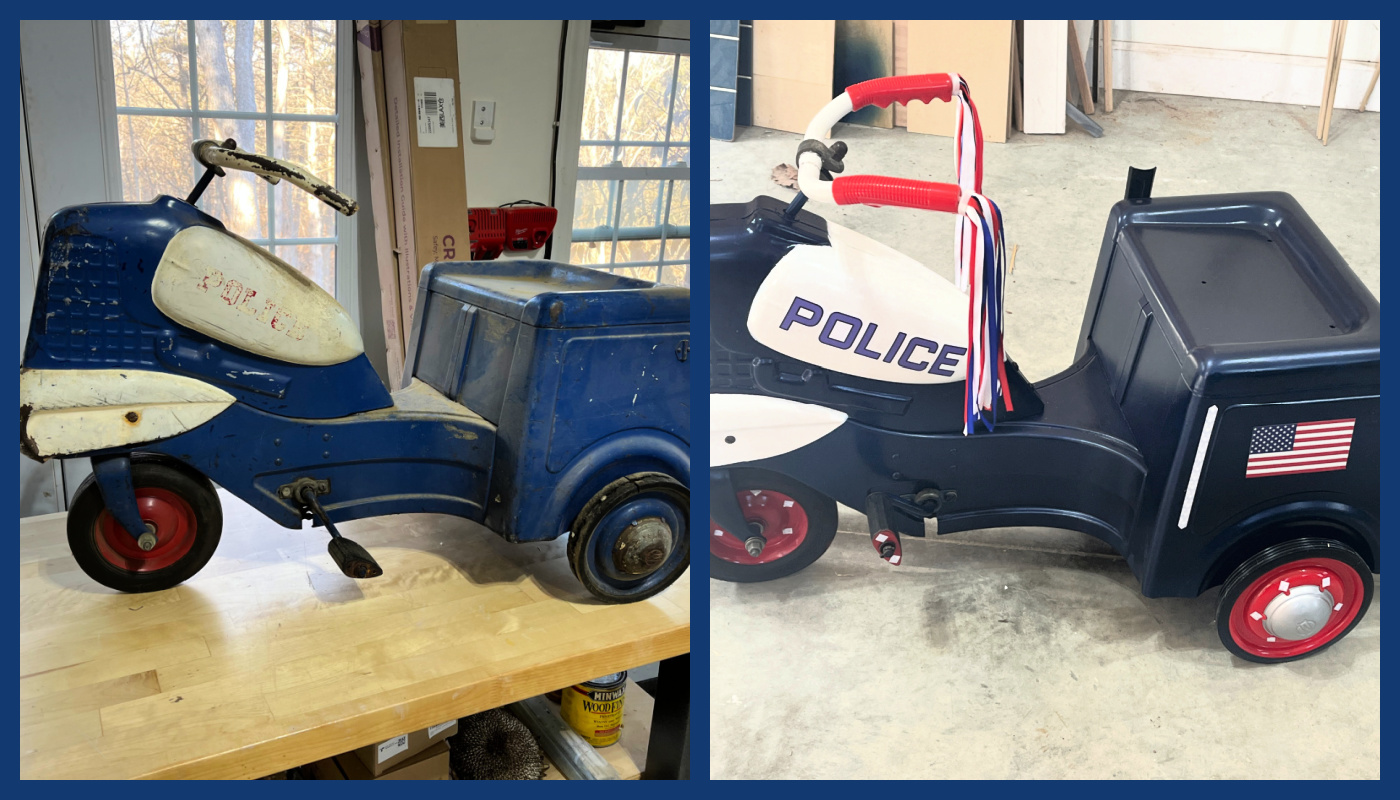
I need to show you one of the many hidden qualities of my hubby… This little tricycle belonged to him as a very young boy, maybe 6 years old. He carefully refurbished, weeks of work, finding small pieces online (mostly on eBay). replaced the wheels, which was quite a tricky task. Isn’t that amazing? So many details! SORRY, LADIES, HE’S TAKEN!
.
In our kitchen….
How could I possibly resist getting this blanket? Star seems a little puzzled, but as you shall see later in this post, she and the Royal brother ended up giving this purchase two paws up!
Speaking of the pups, they’ve been anxiously waiting
to tell you all about their adventures
since last time we met…
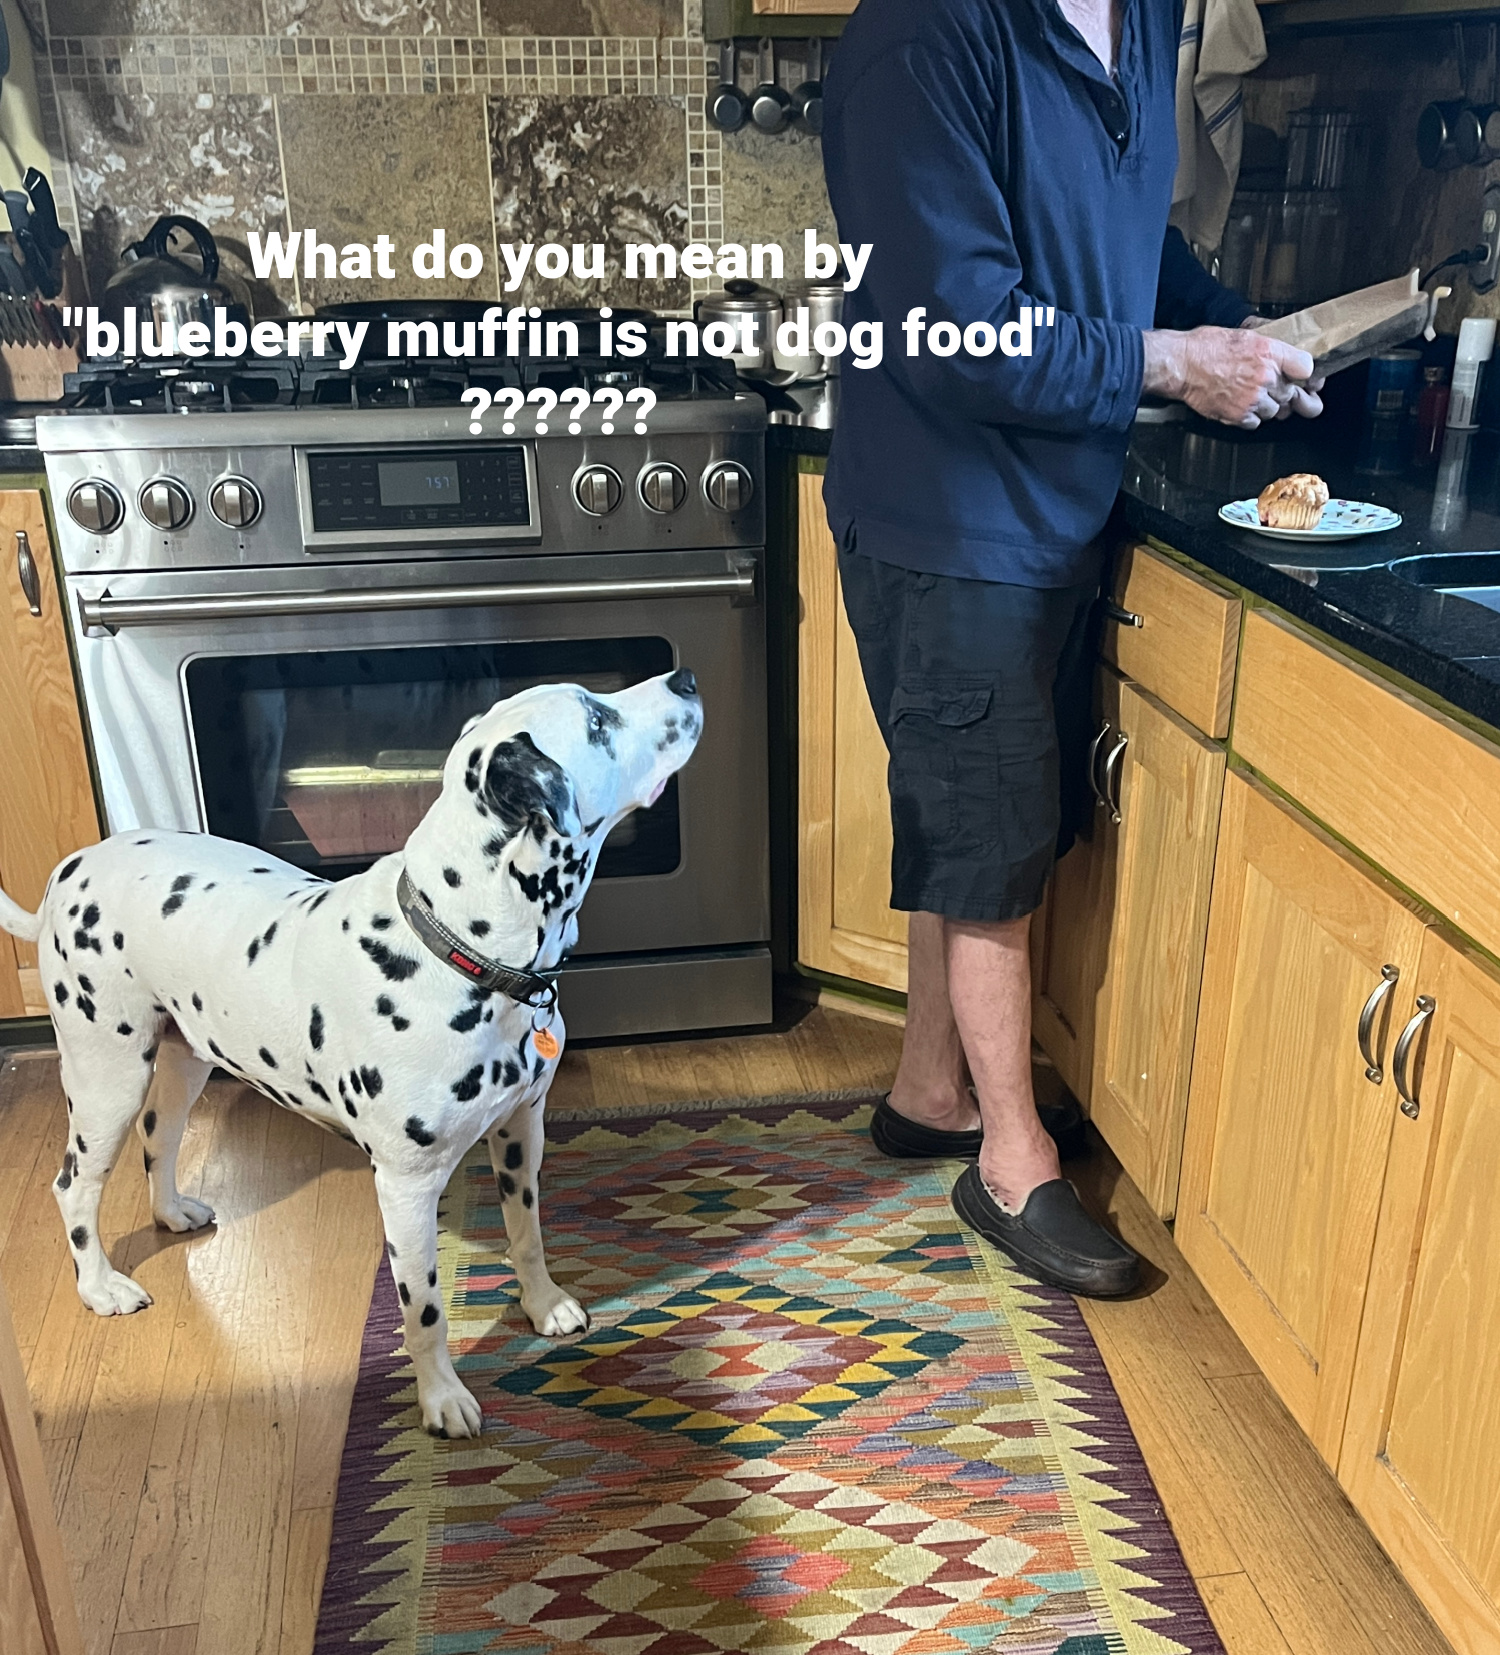
They’ve been indulging in one of their favorite activities, which is watching TV with Dad. It does not really matter what is on the big screen, although Prince seems to be quite fond of golf and anything with active quadrupeds. Horses and bears are high on the adrenaline-inducing list.

.
But the usual routine is…. once dinner and dishes are done, it is time for our humans to watch TV laying on their yoga mats with us. Big party, made even more special with a blanket that celebrates the best dog breed in the known universe: The Black Dotted Heroes!

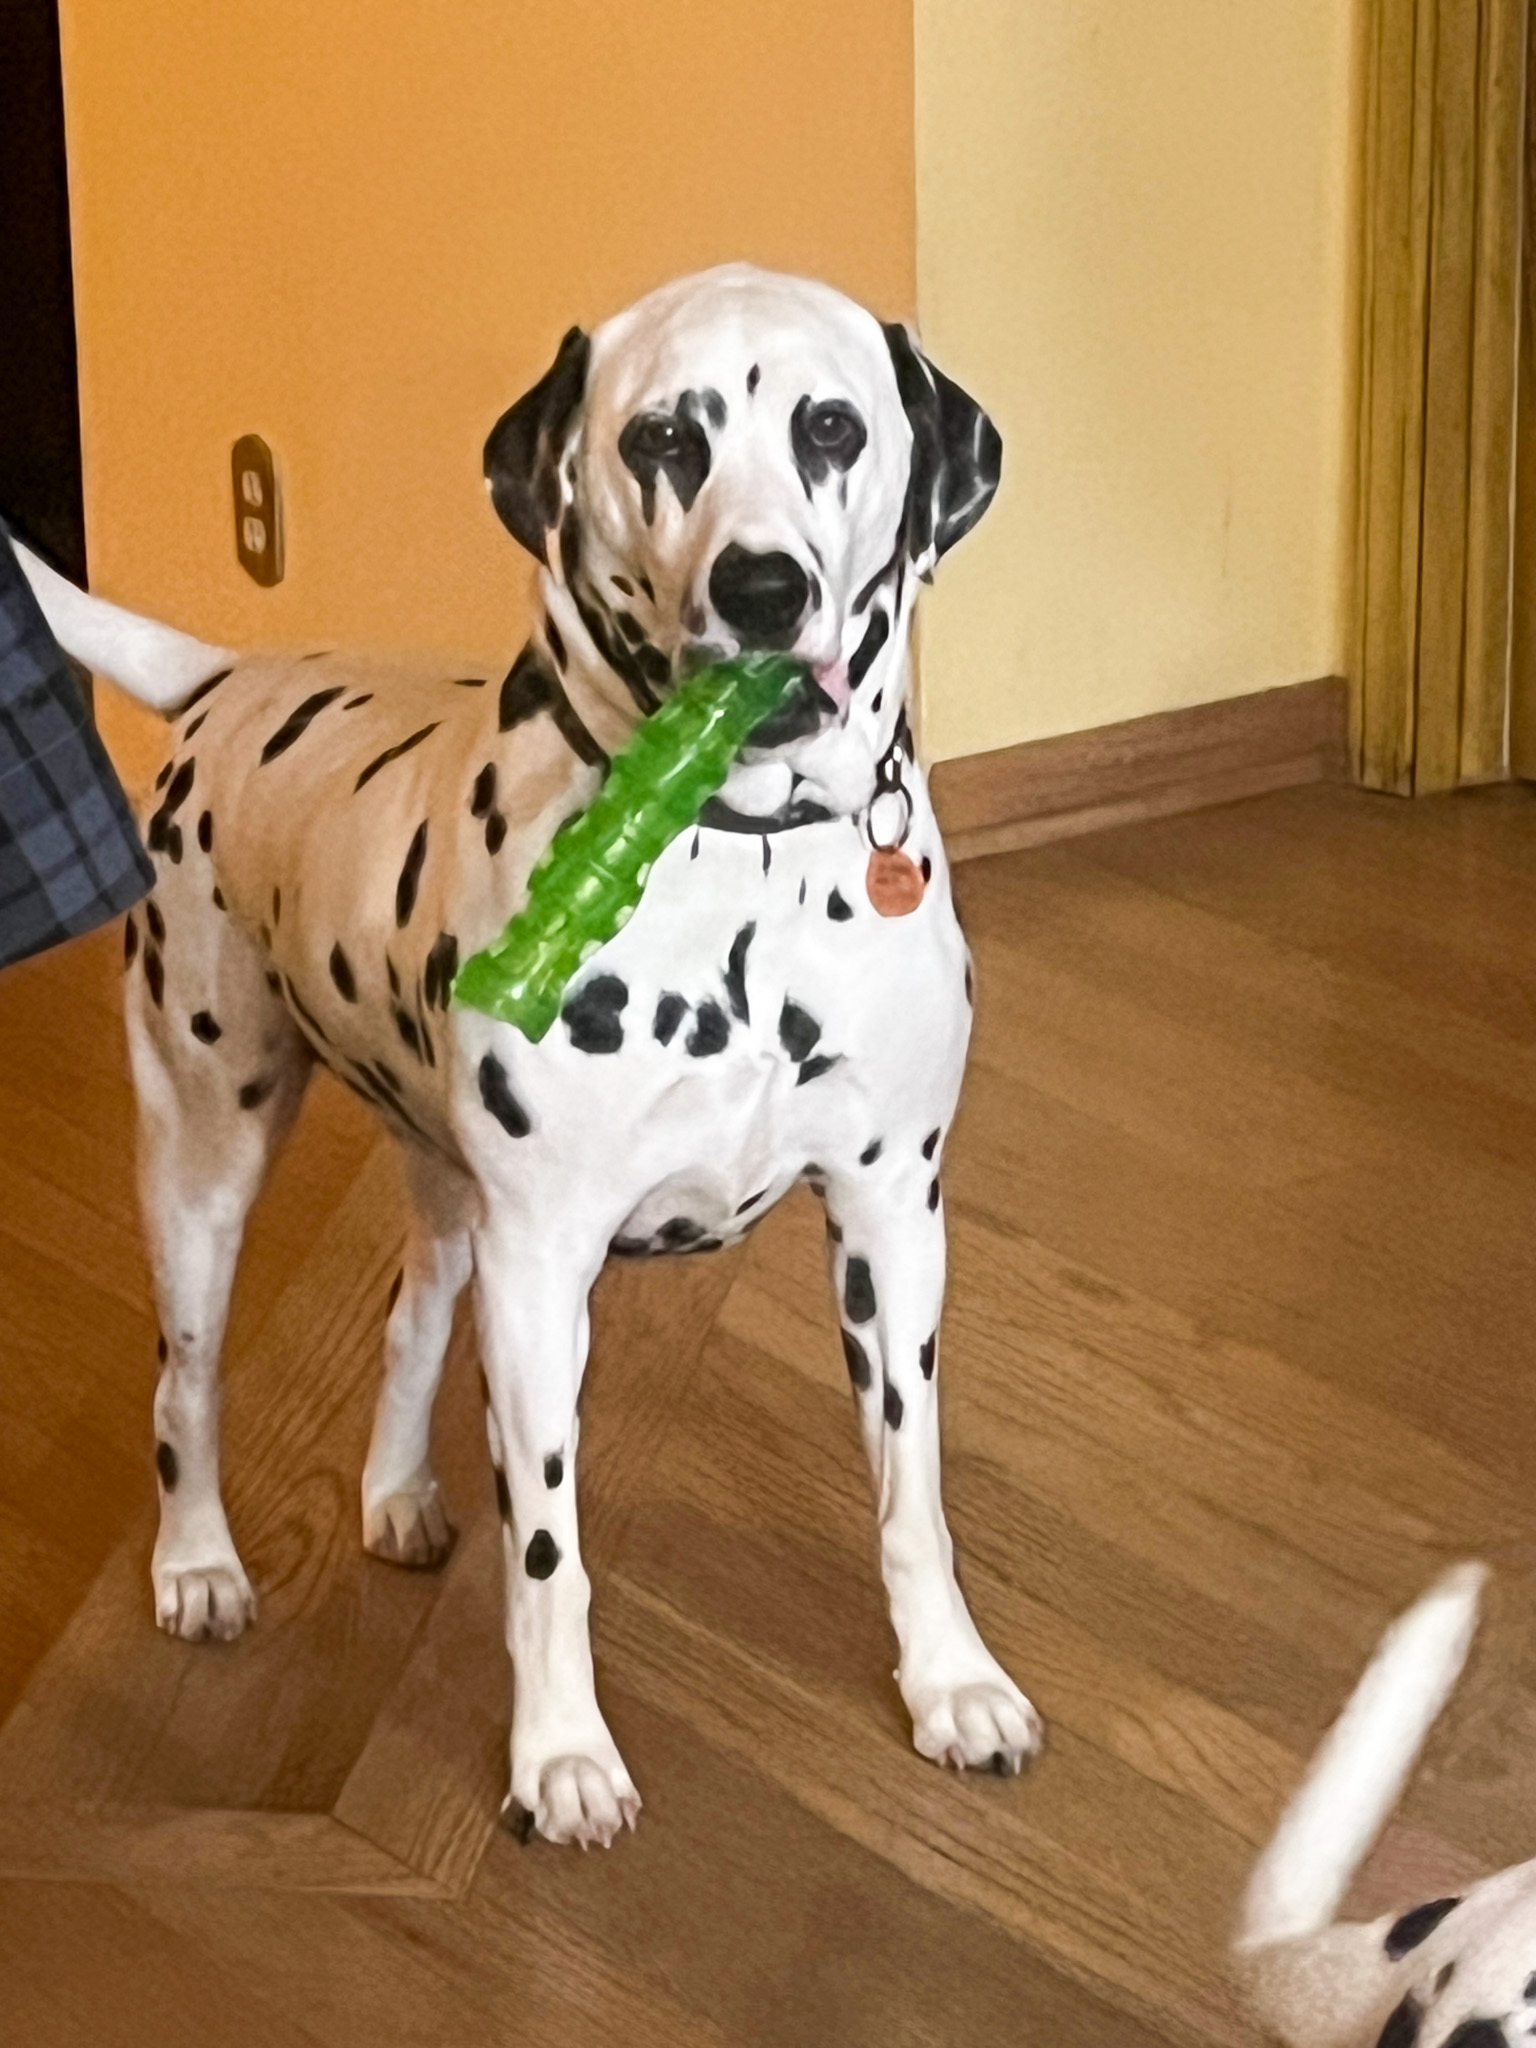
Once we are all settled and ready, we each get a special chewy for the evening. We await that moment with great anticipation, and if Dad takes his time to deliver the goodies, here is the look he gets…

.
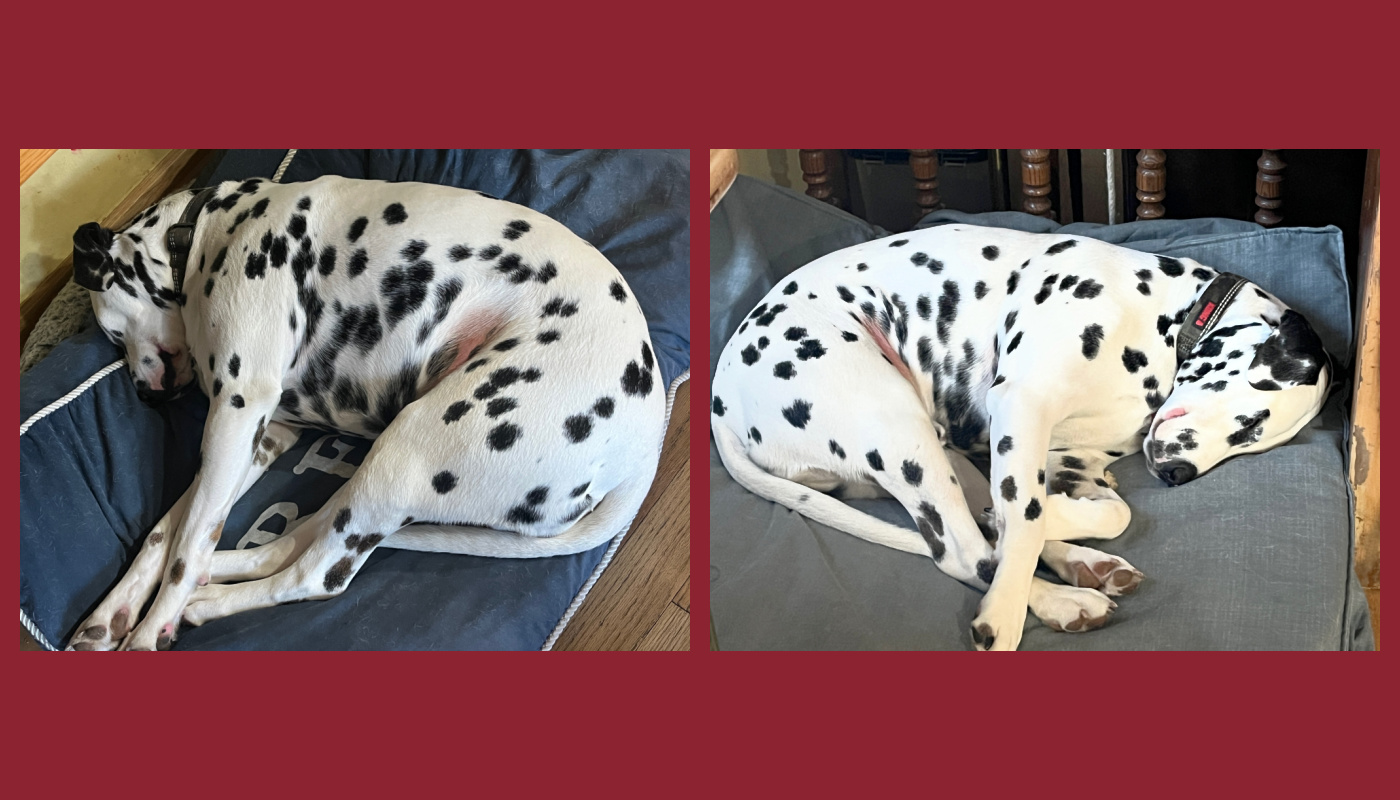
But, overall life has been pretty awesome… Star practices her power naps on a regular basis….

.
Prince shows quite a bit more class and dignity as he indulges in that activity, like the Royal being he is….
.
Star does not care, Discombobulated is often a middle name she carries with pride, much to her brother’s amusement!

.
But let’s face it, even Royals can act a little quirky at times…
Anyhoo, life is for the most part pretty awesome in the Kingdom,
but sometimes things do not go quite the way the pups expect…
.
And when they rough play around the Kingdom, things can get messy…

.
For more on that tricky subject, watch the video below…
.
But who can get mad at these two adorable beings for more than a few seconds? Particularly when they promised to never ever again mess up with the rug….

.
And when the apologies come with kisses, now that is even better!

That is all for now, folks, we are headed to warmer temperatures, which means more time outside, more walks off-leash, more fun and games!

SEE YOU IN JULY!
ONE YEAR AGO: In My Kitchen, Spring 2025
TWO YEARS AGO: In My Kitchen, April 2024
THREE YEARS AGO: In My Kitchen, Spring 2023
FOUR YEARS AGO: In My Kitchen, April 2022
FIVE YEARS AGO: In My Kitchen, April 2021
SIX YEARS AGO: In My Kitchen, April 2020
SEVEN YEARS AGO: In My Kitchen, April 2019
EIGHT YEARS AGO: In My Kitchen, April 2018
NINE YEARS AGO: First Monday Favorite
TEN YEARS AGO: In My Kitchen, April 2016
ELEVEN YEARS AGO: Spring has Sprung with Suzanne Goin
TWELVE YEARS AGO: Chai Brownies
THIRTEEN YEARS AGO: Pomegranate-Molasses Glazed Carrots
FOURTEEN YEARS AGO: Braised Brisket with Bourbon-Peach Glaze
FIFTEEN YEARS AGO: The Real Vodka Sauce
SIXTEEN YEARS AGO: Spring Rolls on a Spring Day