The key to this bread is to use fine semolina, I highly recommend this brand if you find it where you live, or if you don’t mind supporting the so-called Evil Empire aka amazon.com… The dough is soft, a pleasure to work with, the crumb develops a light yellow tone, and has great texture and taste. I am sold.
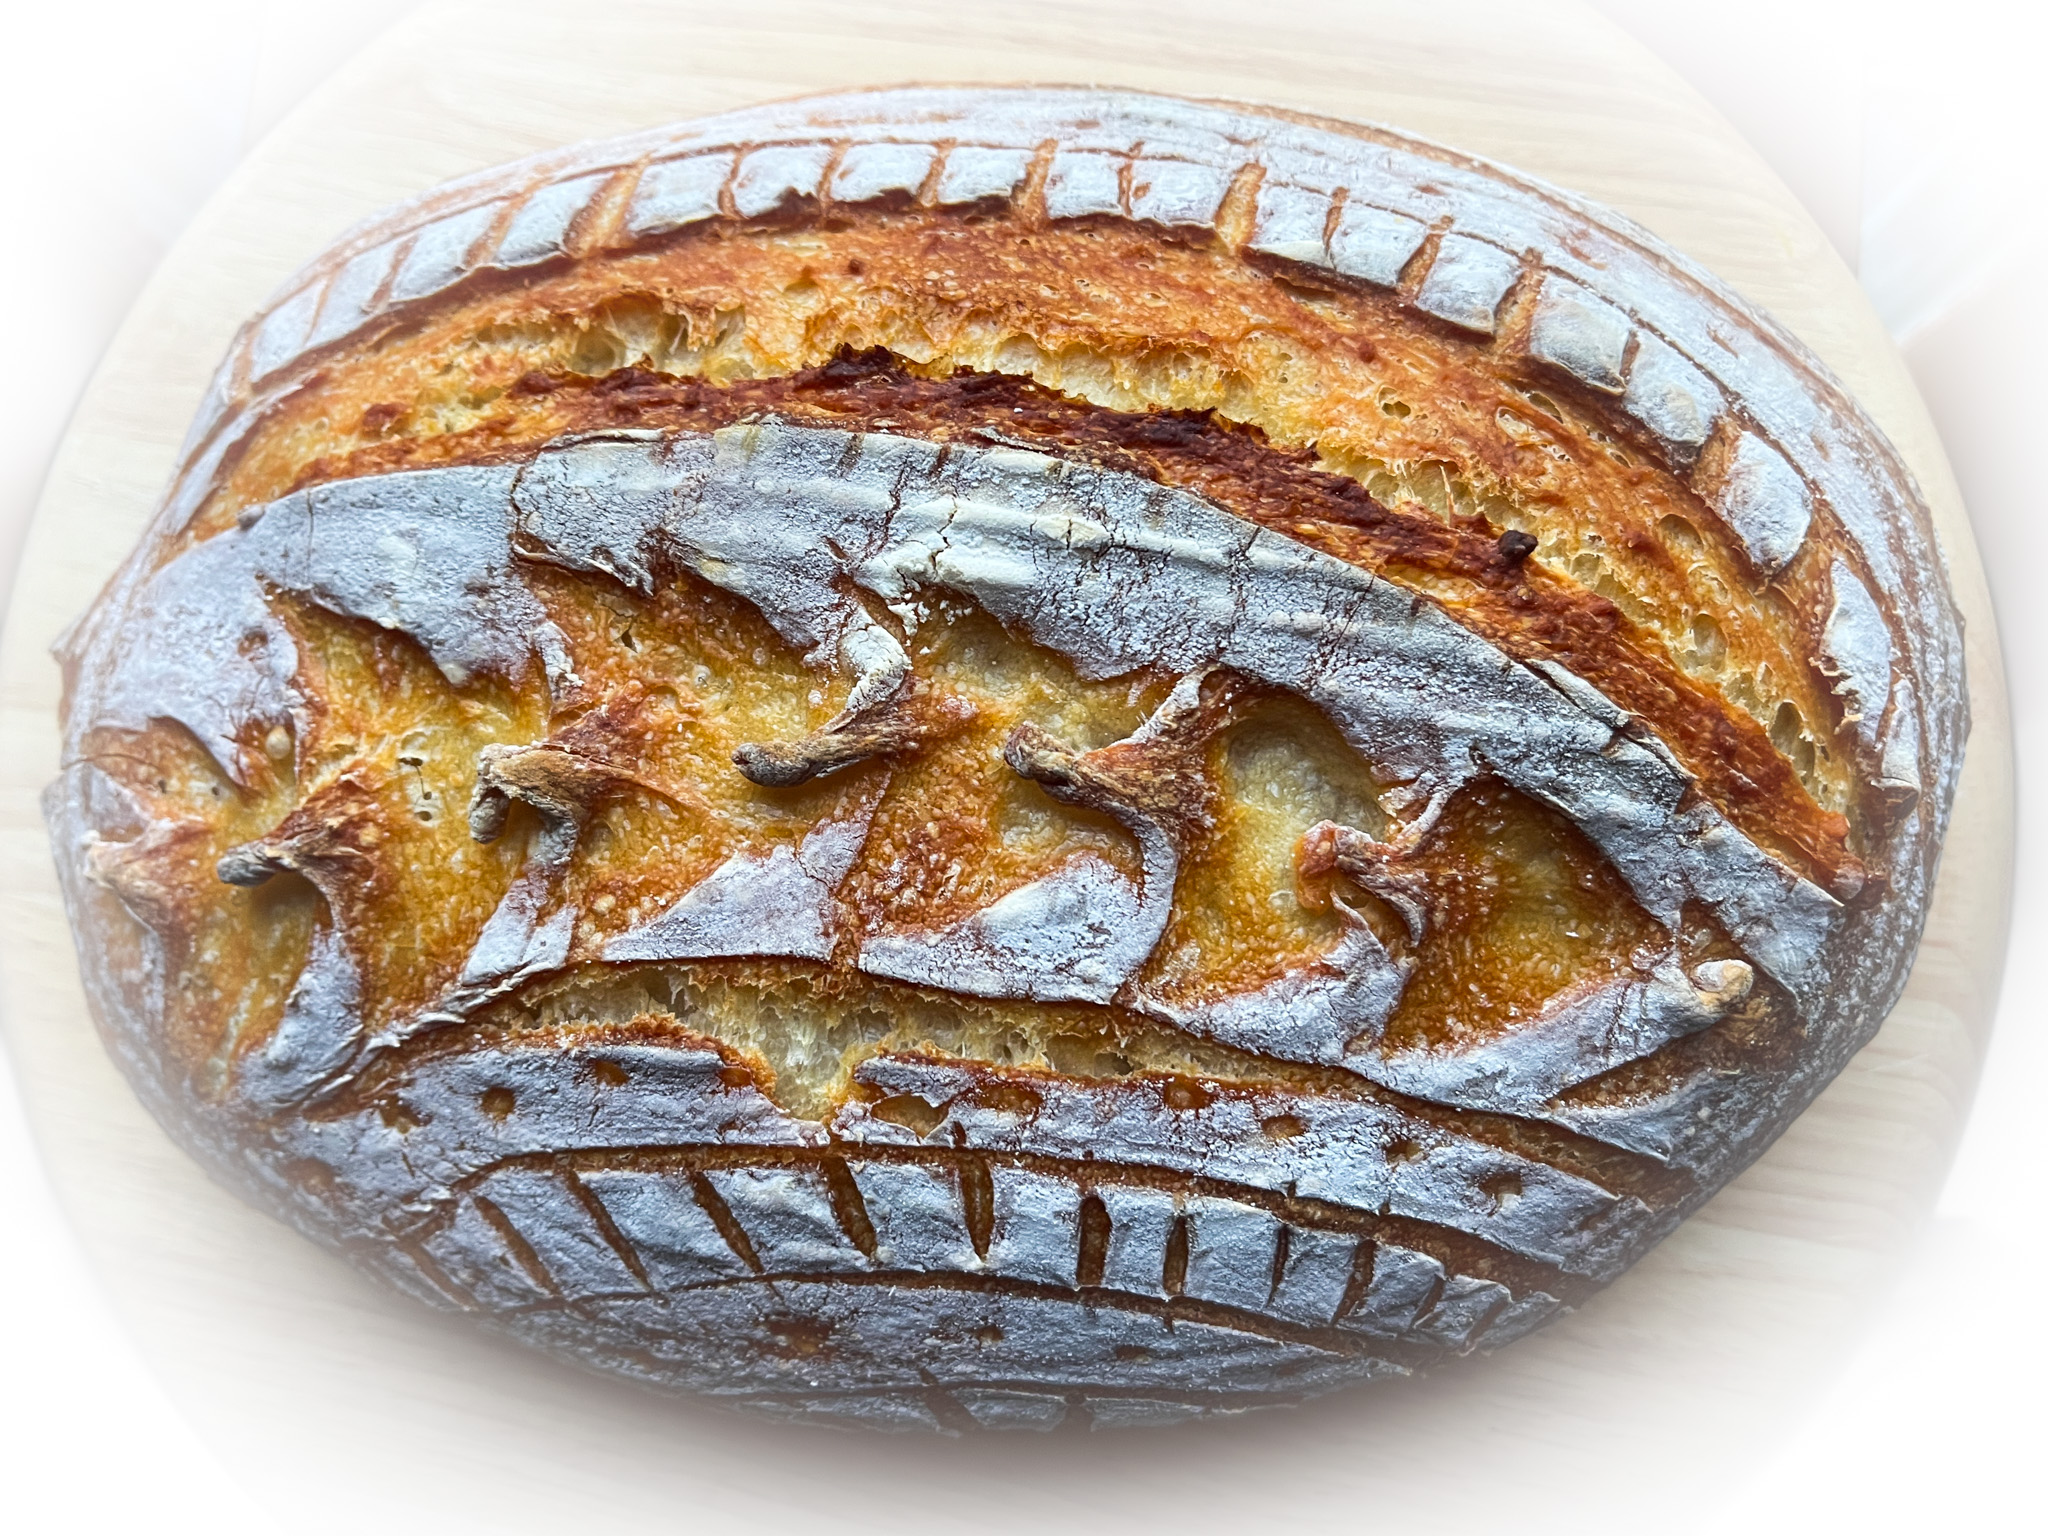
SEMOLINA SOURDOUGH (from the Bewitching Kitchen)
300g white bread flour 225g fine semolina flour 355g water 50g sourdough starter at 100% hydration 9g salt
Mix all ingredients in the bowl or a KitchenAid type mixer fitted with the dough hook. Knead on low speed for about 4 minutes, adjust dough with flour is needed (I like to have it still glueing to the bottom of the bowl as it spins).
Transfer to an oiled bowl and ferment for 5.5 hours total. Perform a set of folds at 45 minutes intervals five times, which should take you about 3 hours and 45 minutes. Let the dough alone for the remainder of bulk fermentation. Shape as a batard, keep at room temperature for 1 hour and retard in the fridge.
Score and bake at 450F in a Dutch oven with the lid on for 30 minutes, remove the lid and bake for additional 15 to 20 minutes. Cool completely before slicing.
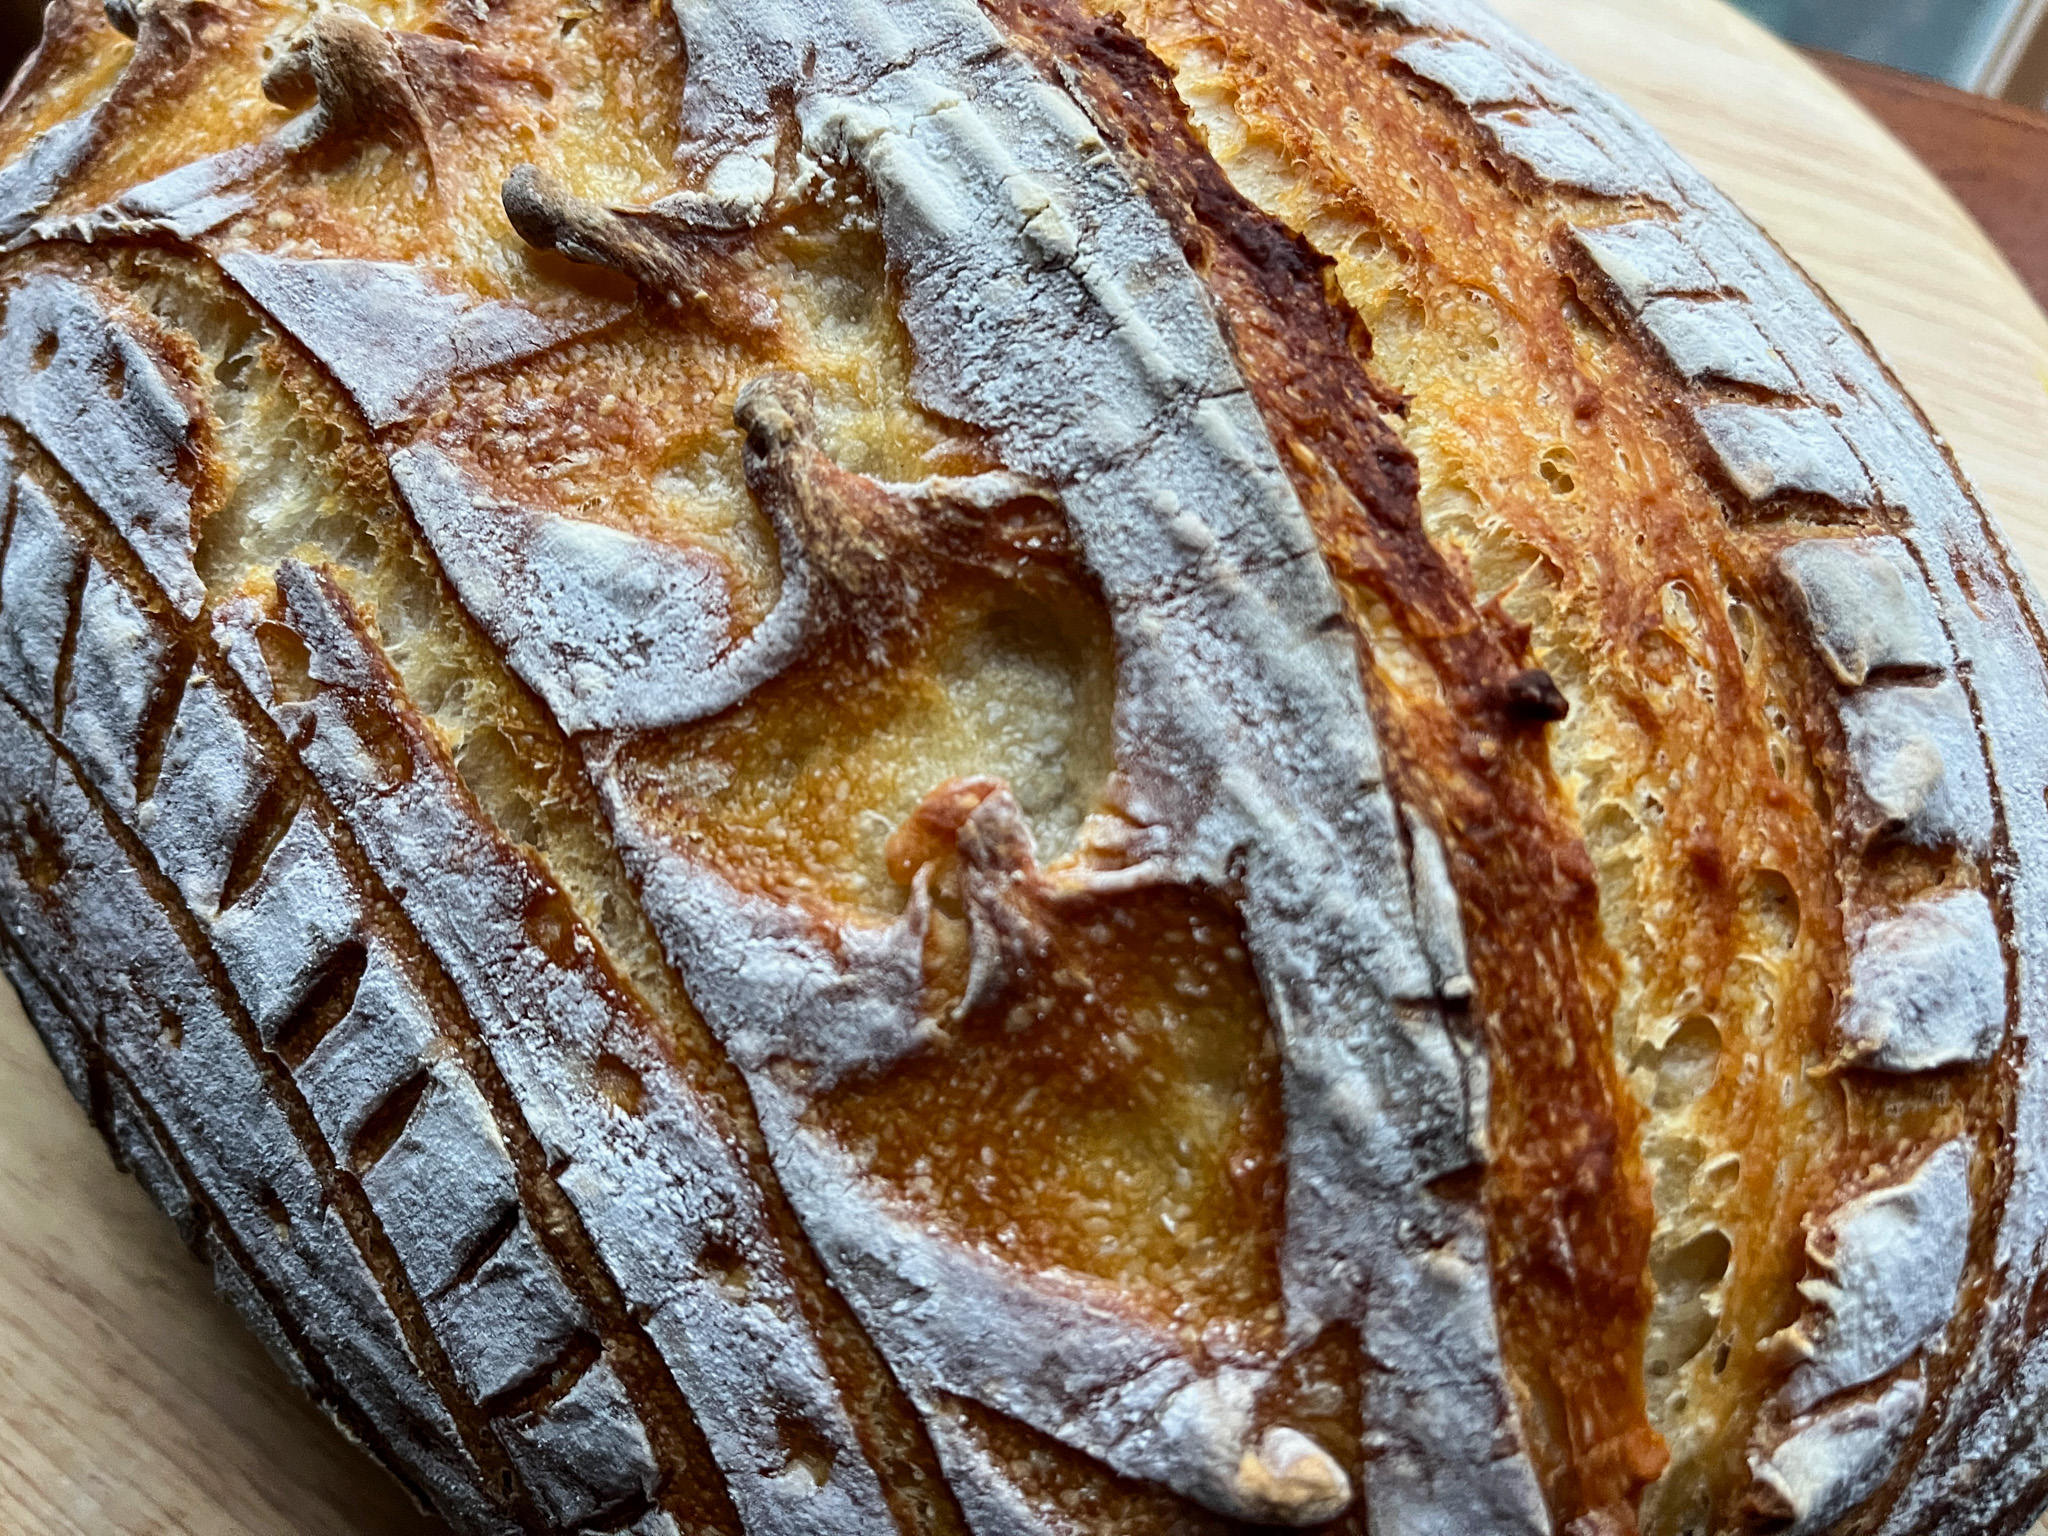
Comments: I used tapioca flour for the scoring because I like how it stays super white during baking, but you can use regular bread flour or rice flour if you don’t have tapioca. The central scoring was made with a razor blade in a series of V cuts and then I pulled the bottom part of the V shape and twisted backwards. The rest of the design was just razor blade and holes made with a chopstick.
I hope you give semolina sourdough a try, we absolutely loved this simple bread!
Totally in love, I must admit… Huge thank you to Mimi, a food blogger and friend I’ve been following and learning from for so many years! Check her detailed post about it clicking here. If you want to make the real authentic version, a special rolling pin is a must, but you can probably get by with a dough rolling docking gadget of even the tines of a fork. I have a tough time resisting gadgets, as you may have noticed, so I got one (amazon is your friend, I suppose).
2 cups bread flour plus an extra tablespoon or two if necessary and more for rolling the dough 3/4 cup barley flour 1 1/2 teaspoons instant yeast 1 teaspoon fine sea salt 1 teaspoon granulated sugar 1 cup water room temperature 1/4 cup plain whole-milk Greek yogurt 1 tablespoon canola oil plus more for oiling the bowl and cooking the flatbreads 2 tablespoons unsalted butter, melted Flaky sea salt for sprinkling
Whisk bread flour, barley flour, yeast, salt and sugar together by hand in the bowl of a stand mixer. Add water, yogurt and 1 tablespoon oil to the dry ingredients.
Fit a stand mixer with the dough hook and begin mixing at medium-low speed until dough just comes together. Increase mixer speed to medium and knead dough for three minutes. If dough is sticking to the sides or the bottom after the first 3 minutes of kneading, add an additional tablespoon of bread flour before continuing the kneading process. Continue kneading at medium speed until the dough is tacky but not sticky and clears the bottom and sides of the bowl, approximately 2-3 more minutes. Add an additional tablespoon or two of bread flour if dough continues to stick to the sides or bottom of the bowl during the kneading process.
Transfer the dough to an oiled bowl. Cover and let rise for an hour at room temperature or until doubled in size. Transfer dough to a clean countertop and divide into 8 equal pieces, about 80 g each. Roll each piece into a rough ball. Cover with plastic wrap.
Working with one piece of dough at a time, use a rolling pin to create a thin circular flatbread (like a thin tortilla). If the dough sticks to the rolling pin, sprinkle a little flour on top. It’s okay if the dough is sticking to the work surface. Finish by rolling the flatbread a couple of times with a deep notched rolling pin. Brush off any excess flour from the top of the dough.
Using a dough scraper and your fingers, gently release the flatbread from the countertop. Add to a skillet with a little oil heated over medium heat. Cook the first side for 1 to 2 minutes, flip and cook the second side. Remove the flatbread from the skillet and transfer to a plate. Brush lightly with melted butter and sprinkle with coarse salt, if so desired (I omitted the butter).
Repeat the process with the remaining portions of dough. Eat immediately or wrap tightly and freeze once the flatbreads have cooled to room temperature
Comments: I love the pattern that the rolling pin makes on the dough, and also how it prevents the bread from puffing too much during cooking. I used a dosa flat pan to cook it over the stove, but you can use cast iron and probably a griddle might work too. As to oiling the pan, what worked better for me was brushing oil right on the bread after rolling and brushing the excess flour off. I used a silicone brush and added a very light coating. I did not add more oil to the other side before flipping the bread, it was not necessary.
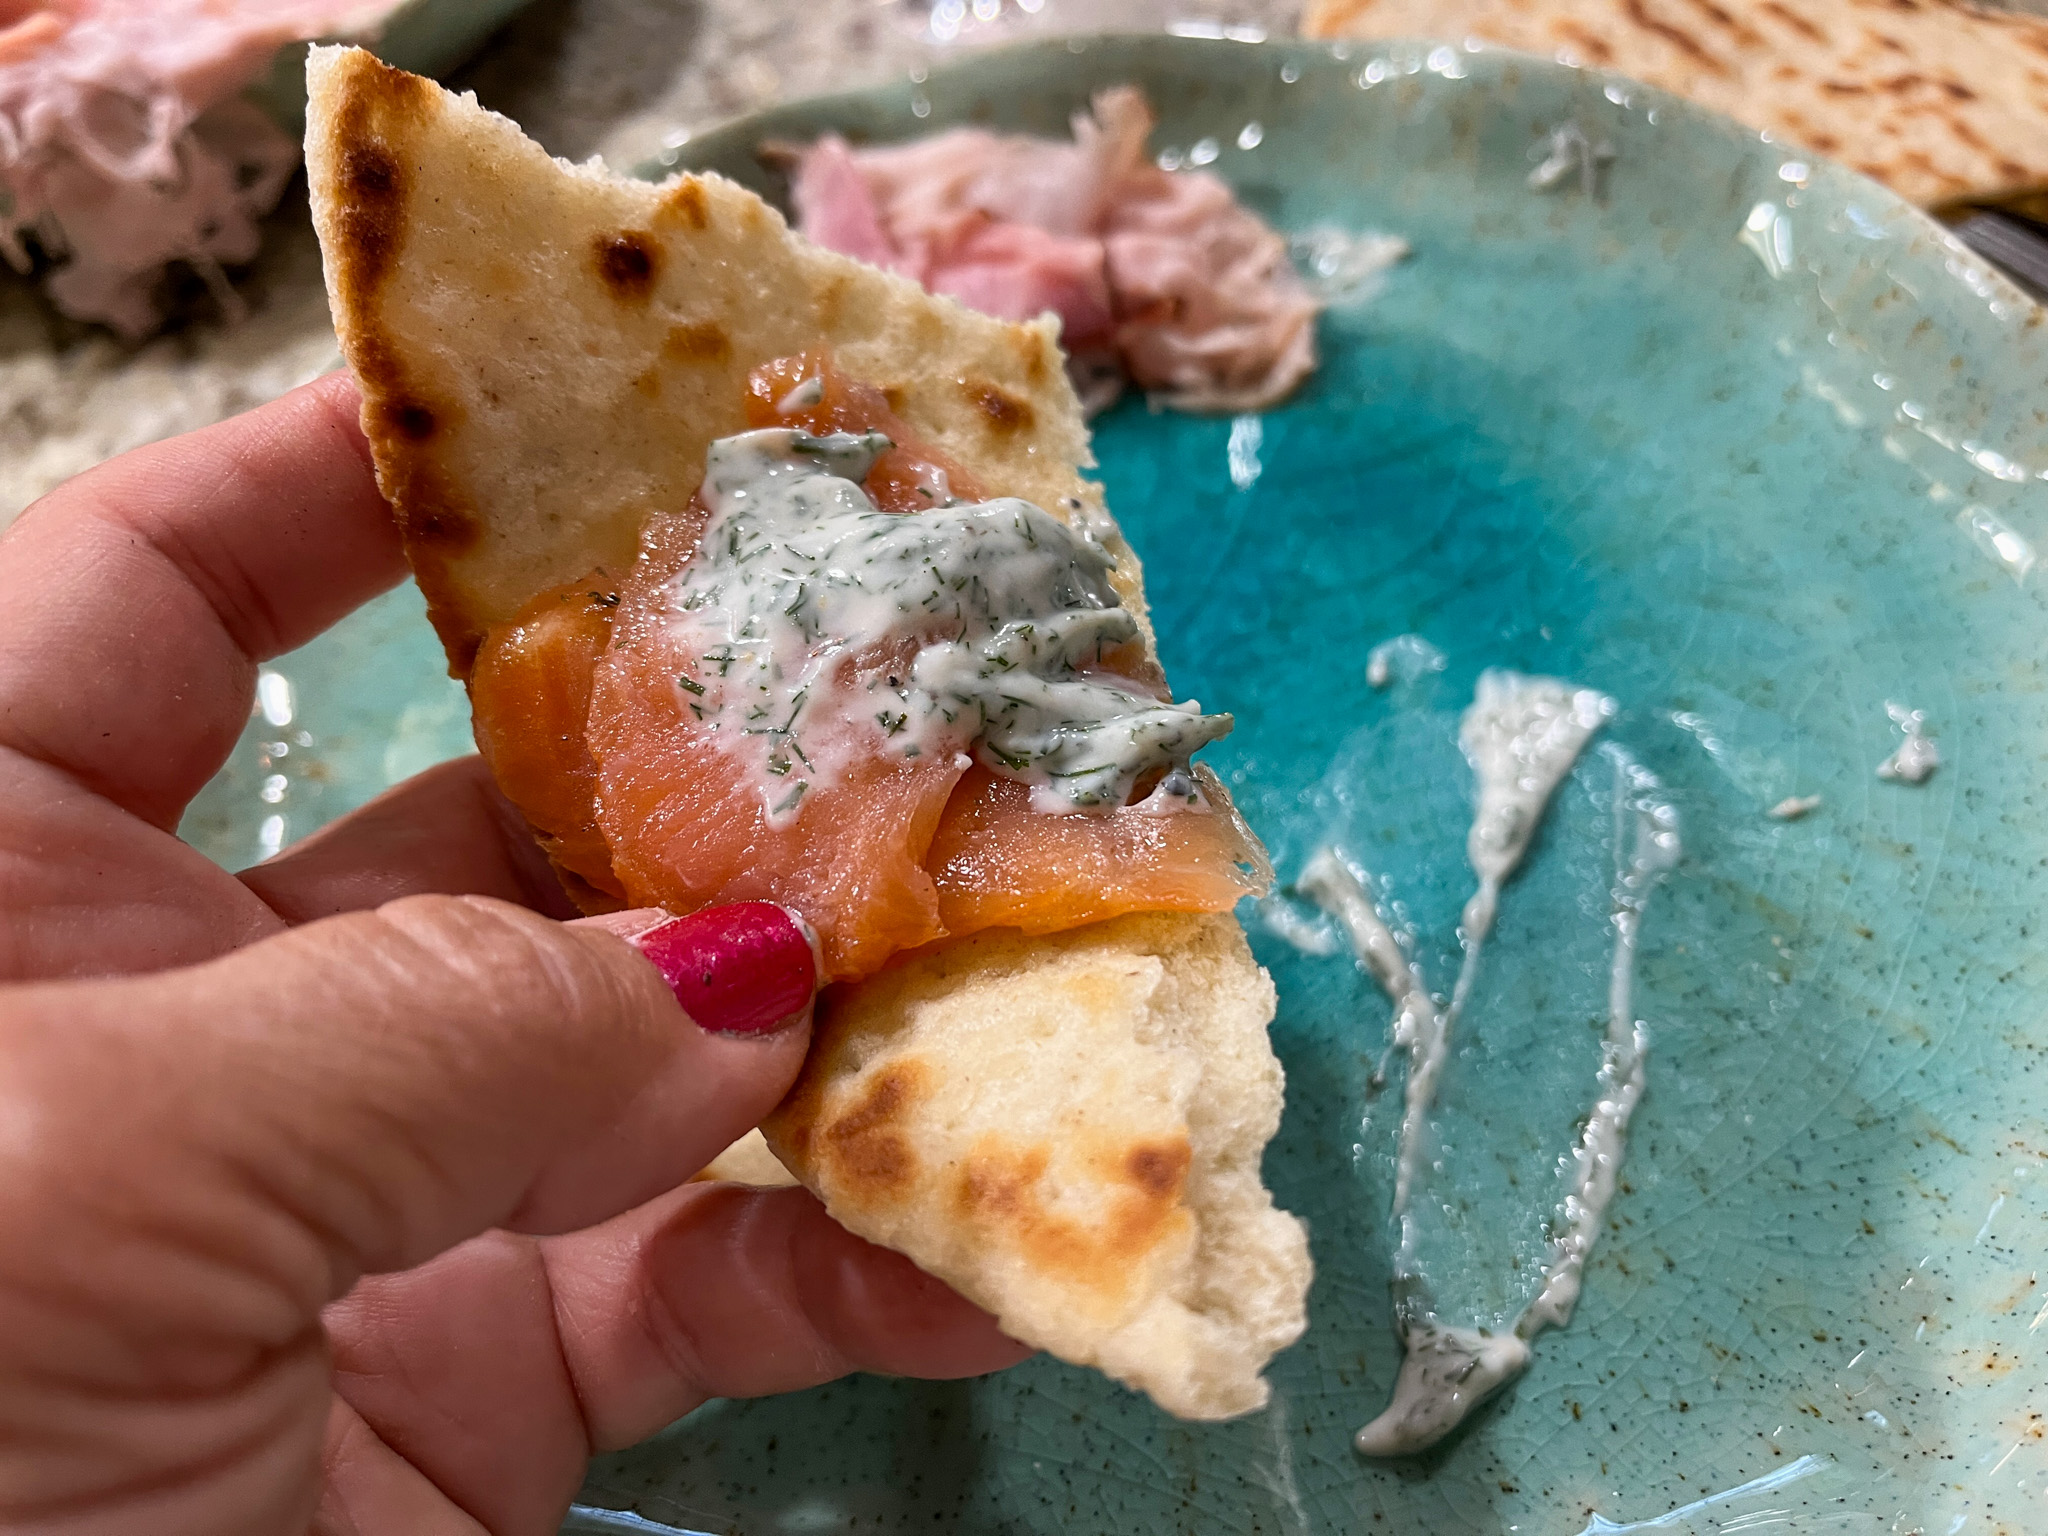
We had it for a weeknight dinner with several different goodies: smoked salmon with yogurt dill dipping sauce, ham, prosciutto, mortadella, mustard, hummus… It was simple and fun at the same time. I placed all flatbreads wrapped in foil in a very low oven (used our Breville small oven for that), and the bread stayed soft and warm through the whole meal. We did not bother slathering the bread with butter, but feel free to do so.
This one is definitely going into our rotation, and I hope you will give this recipe a try. Thank you so much, Mimi!
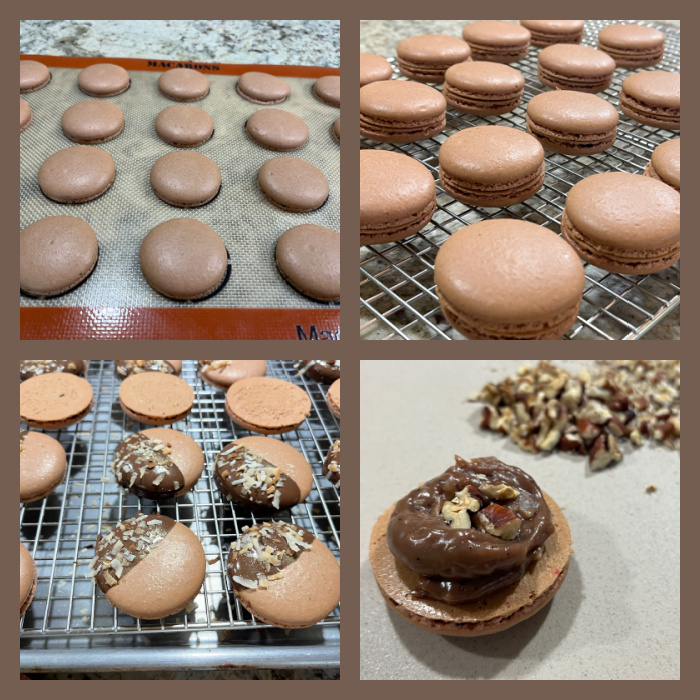
These were made with a colleague from our department in mind, it was a big Birthday for our IT wizard who is also a lover of German Chocolate Cake. I decided to make a filling that started as a brigadeiro would, but with coconut for good measure. Some toasted pecans in the center. And a coating with chocolate. Gold luster powder to add the mandatory bling, as if you don’t sparkle on a Birthday there is something wrong with you!
GERMAN CHOCOLATE MACARONS (from the Bewitching Kitchen)
For the shells: 200g powdered sugar 115 g almond flour, preferably super fine 115 g egg whites at room temperature (approx. 4 eggs) 1/8 tsp of cream of tartar (optional) 100 g granulated sugar ¼ tsp vanilla paste or extract brown and a tiny bit of red gel food color
Line 3 heavy baking sheets with parchment/baking paper or Silpat mats. Layer the powdered sugar and almond flour in a food processor. Pulse until the mixture looks like fine meal, about 12 pulses. Pass through a sieve and transfer to a small bowl or to a sheet of parchment/baking paper. Set aside.
Place the egg whites and cream of tartar in the bowl of a stand mixer fitted with the whisk attachment. Make sure that the bowl and the whisk are impeccably clean. Starting on medium speed, whip the whites with the cream of tartar until they look like light foam. The whites should not appear liquid. The foam will be light and should not have any structure.
Slowly rain in the granulated sugar in five additions, trying to aim the stream between the whisk and the side of the bowl. Turn the speed up to high. Continue to whip the meringue until it is soft and shiny. It should look like marshmallow creme (marshmallow fluff). Add the vanilla. Whip the egg whites until the mixture begins to dull and the lines of the whisk are visible on the surface of the meringue. Check the peak. It should be firm. Transfer the whites to a medium bowl, add the gel color.
Fold in the almond flour mixture in two increments. Paint the mixture halfway up the side of the bowl, using the flat side of a spatula. Scrape the mixture down to the center of the bowl. Repeat two or three times, then check to see if the mixture slides slowly down the side of the bowl. Put the mixture in a piping bag fitted with your choice of piping tip (round, ¼ or ½ inch in diameter or 6 – 12 mm). Pipe circles. Slam each sheet hard four to six times on the counter/worktop. Let the unbaked macarons dry until they look dull but not overly dry. Drying time depends on humidity. In a dry climate, the macarons can dry in 15 to 20 minutes; in a humid climate, it can take 35 to 40 minutes.
While the macarons are drying, heat the oven to 300 F. Bake one sheet at a time on the middle rack. Check in 11 minutes. If the tops slide or move (independently of the ‘feet’ when you gently twist the top), then bake for 2 to 3 more minutes. Check one or two. If they move when gently touched, put them back in the oven for 1 to 2 more minutes until they don’t move when touched. Let the macaroons cool for 10 minutes before removing from the pan. The macarons should release without sticking.
Assemble the macarons: find two macarons similar in size and add a good amount of filling to the bottom of one of them. Place the other on top and squeeze gently to take the filling all the way to the edge. Store in the fridge for 24 hours for perfect texture.
For the filling: 1 can condensed milk 1 tablespoon butter 1/4 cup shredded unsweetened coconut 1 tbsp cocoa powder toasted pecans, chopped fine melted dark chocolate or candy melts toasted sweetened coconut golden luster spray (optional)
Before filling the shells, melt chocolate or candy melts and dip ONE shell that will be the top half way into it. Immediately sprinkle toasted coconut on top.
Make a “brigadeiro” mixture by adding condensed milk, butter, cocoa powder and coconut to a sauce pan. Heat in medium heat constantly stirring until the mixture releases from the bottom of the pan. Transfer to a bowl and let it cool, but do not refrigerate. You can pipe it on the shells if it is still slightly warm, but not too hot.
Add a circle of coconut brigadeiro to a bottom shell, sprinkle a little bit of pecans in the center. Cover with the decorated and fully set top shell. Spray gold luster if you like. Place shells in the fridge overnight.
Comments: I normally prefer not to add cocoa to the shells, just to the filling, because macarons are finicky enough and sometimes “stuff happens” when you add cocoa. I had never used brigadeiro to fill them, and from the feedback I got, it worked quite well. I did not have a macaron but tried the brigadeiro mixture and that is one good tasting brigadeiro, I might repeat it and roll it like the traditional stuff.
In My Kitchen posts are hosted by Sherry, from Sherry’s Pickings. Please visit her site to see what everybody else is sharing this month. I join four times each year, on the first day of January, April, July and October. If you are a food blogger, consider taking part of this fun event. It is chance to share those little things you bought or received as gifts and that make your life in the kitchen easier.
Starting with gifts…
From my dear friend, and tent-baker Tanya, this gorgeous cup for my evening tea in the shape of my favorite animal! As I always say, I have great friends and they know me well…
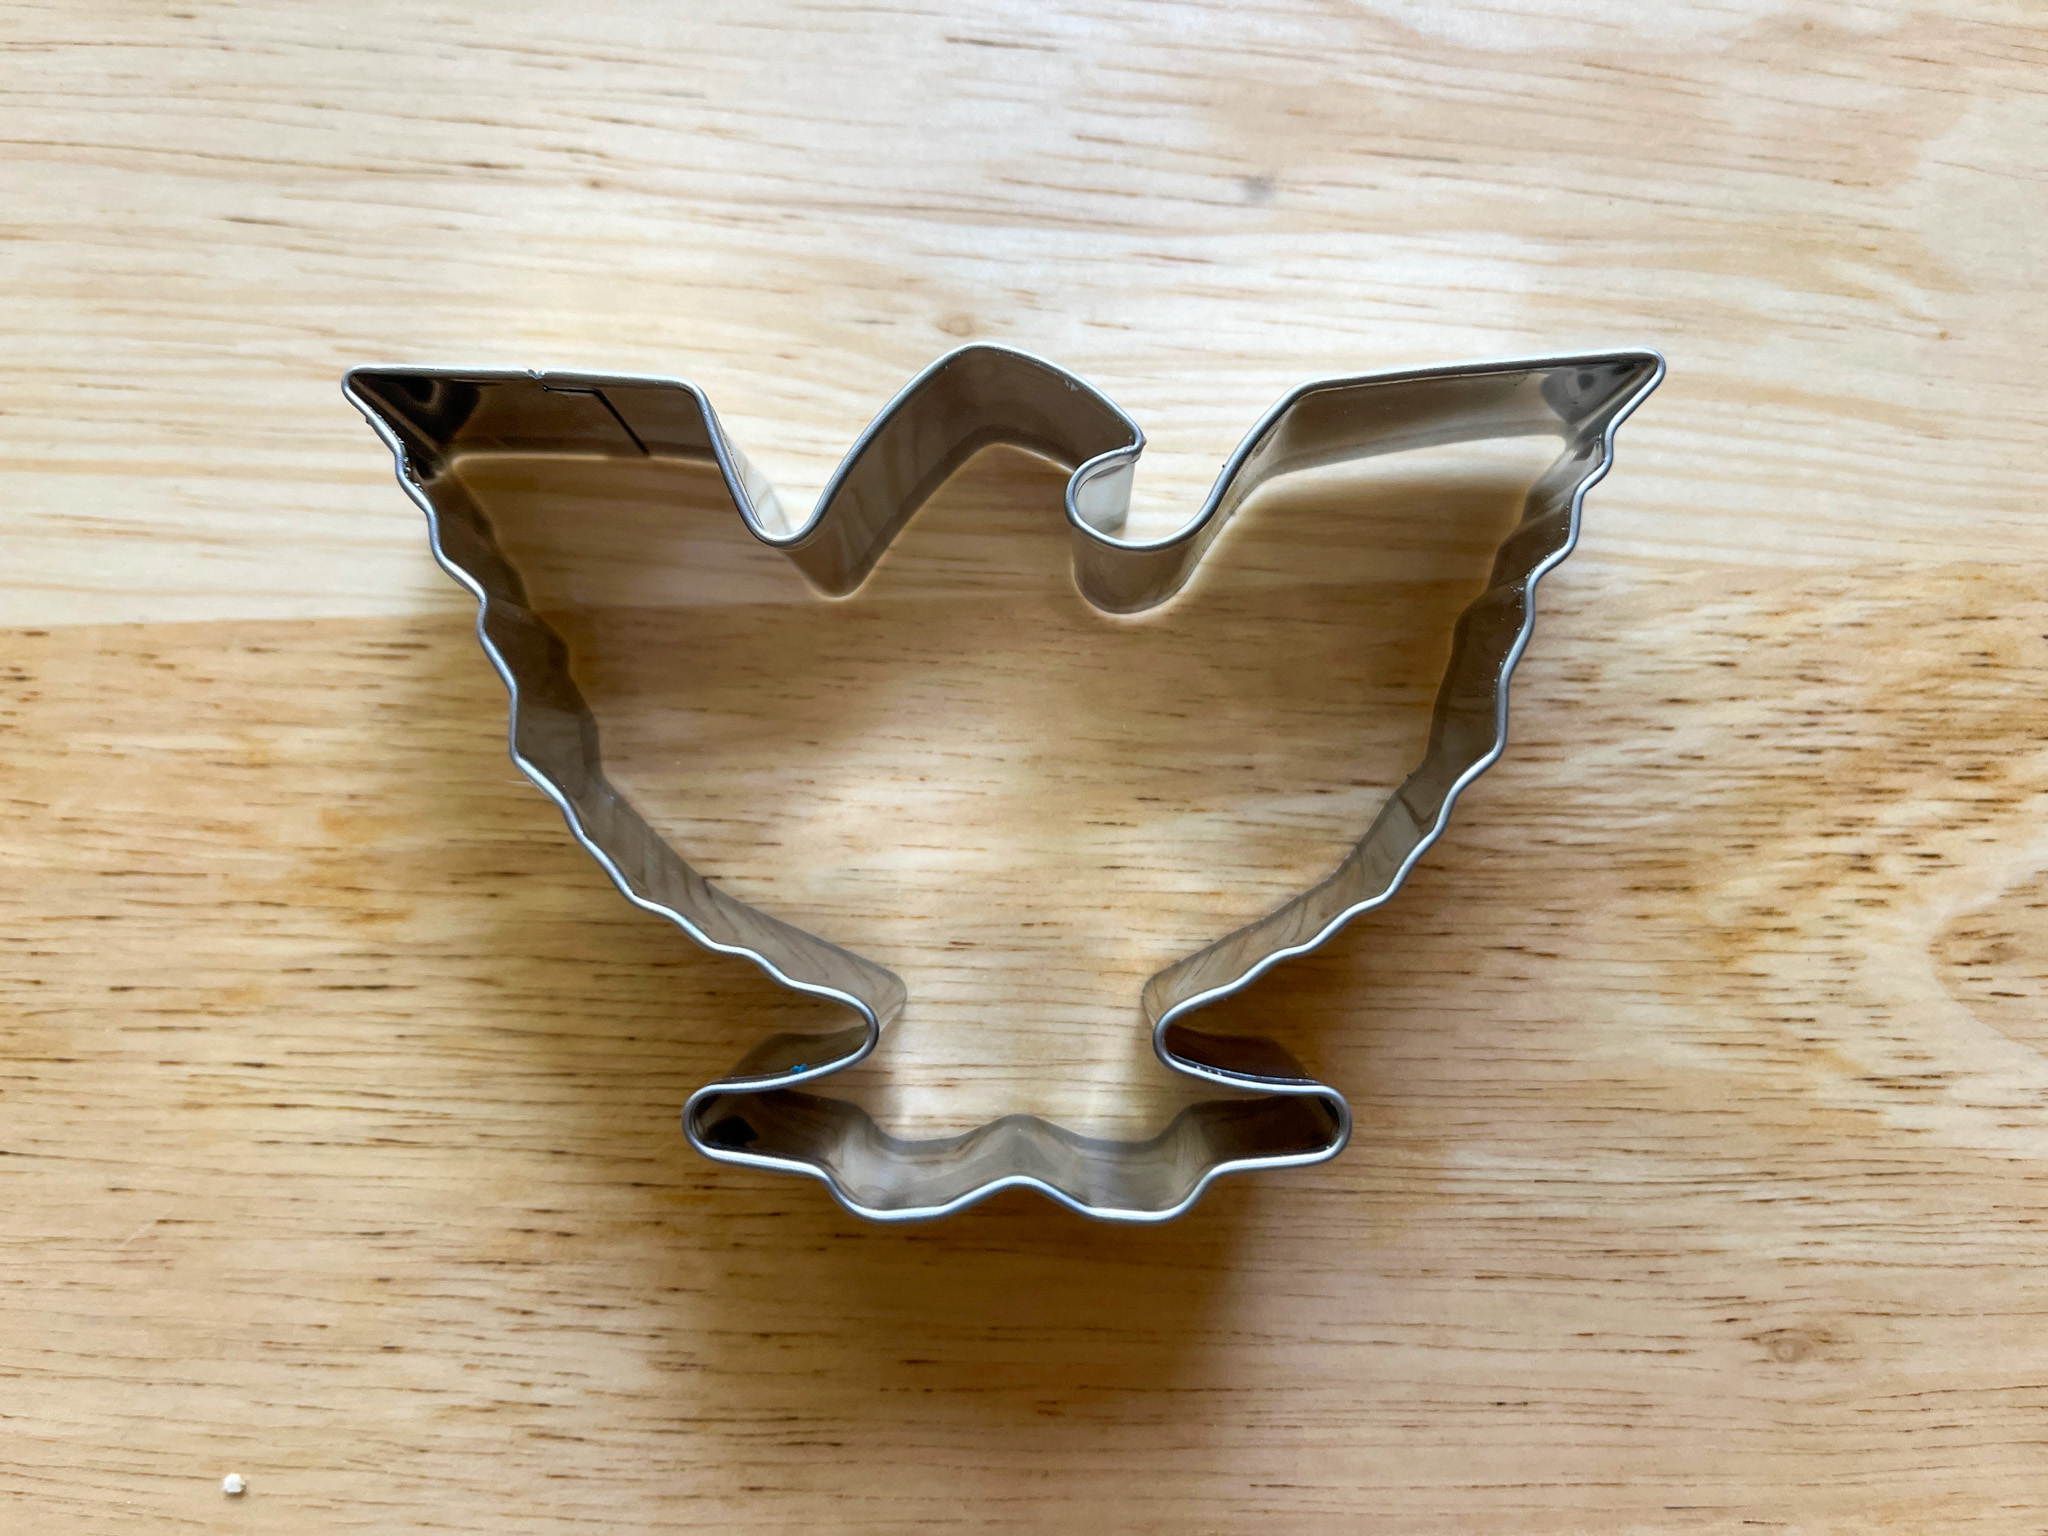
From a very dear friend from California this cookie cutter that she sent me when I needed ideas to bake cookies for a special donation box and it really made everything perfect for me…
Here’s what I made with it…
In our kitchen…
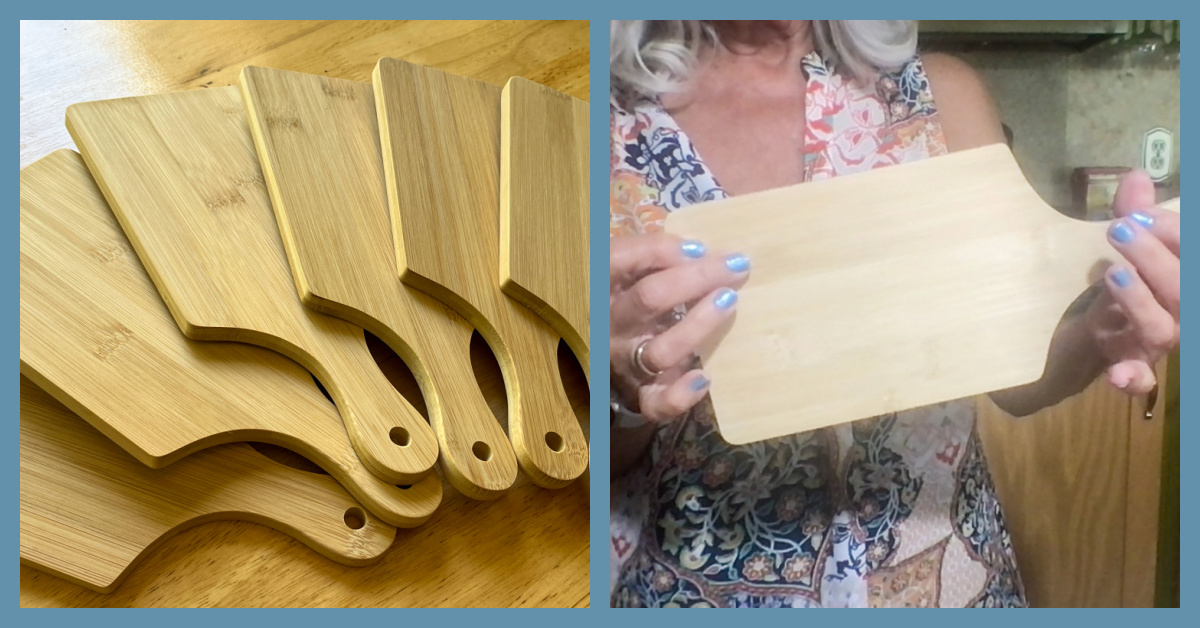
Very small wooden boards that are perfect for entertaining! In the picture I give you an idea of their size. They are perfect to offer a small sampling of cheese, crackers, Cristini or dumplings, offering one to each of your guests. Available here.
In our kitchen…
These are silicone trivets that you can use to roast things and avoid making them soggy during baking. In this case, I am showing boneless pork chops, breaded and fried and later finished in a slow oven. I got it at Marshalls in town.
In our kitchen…
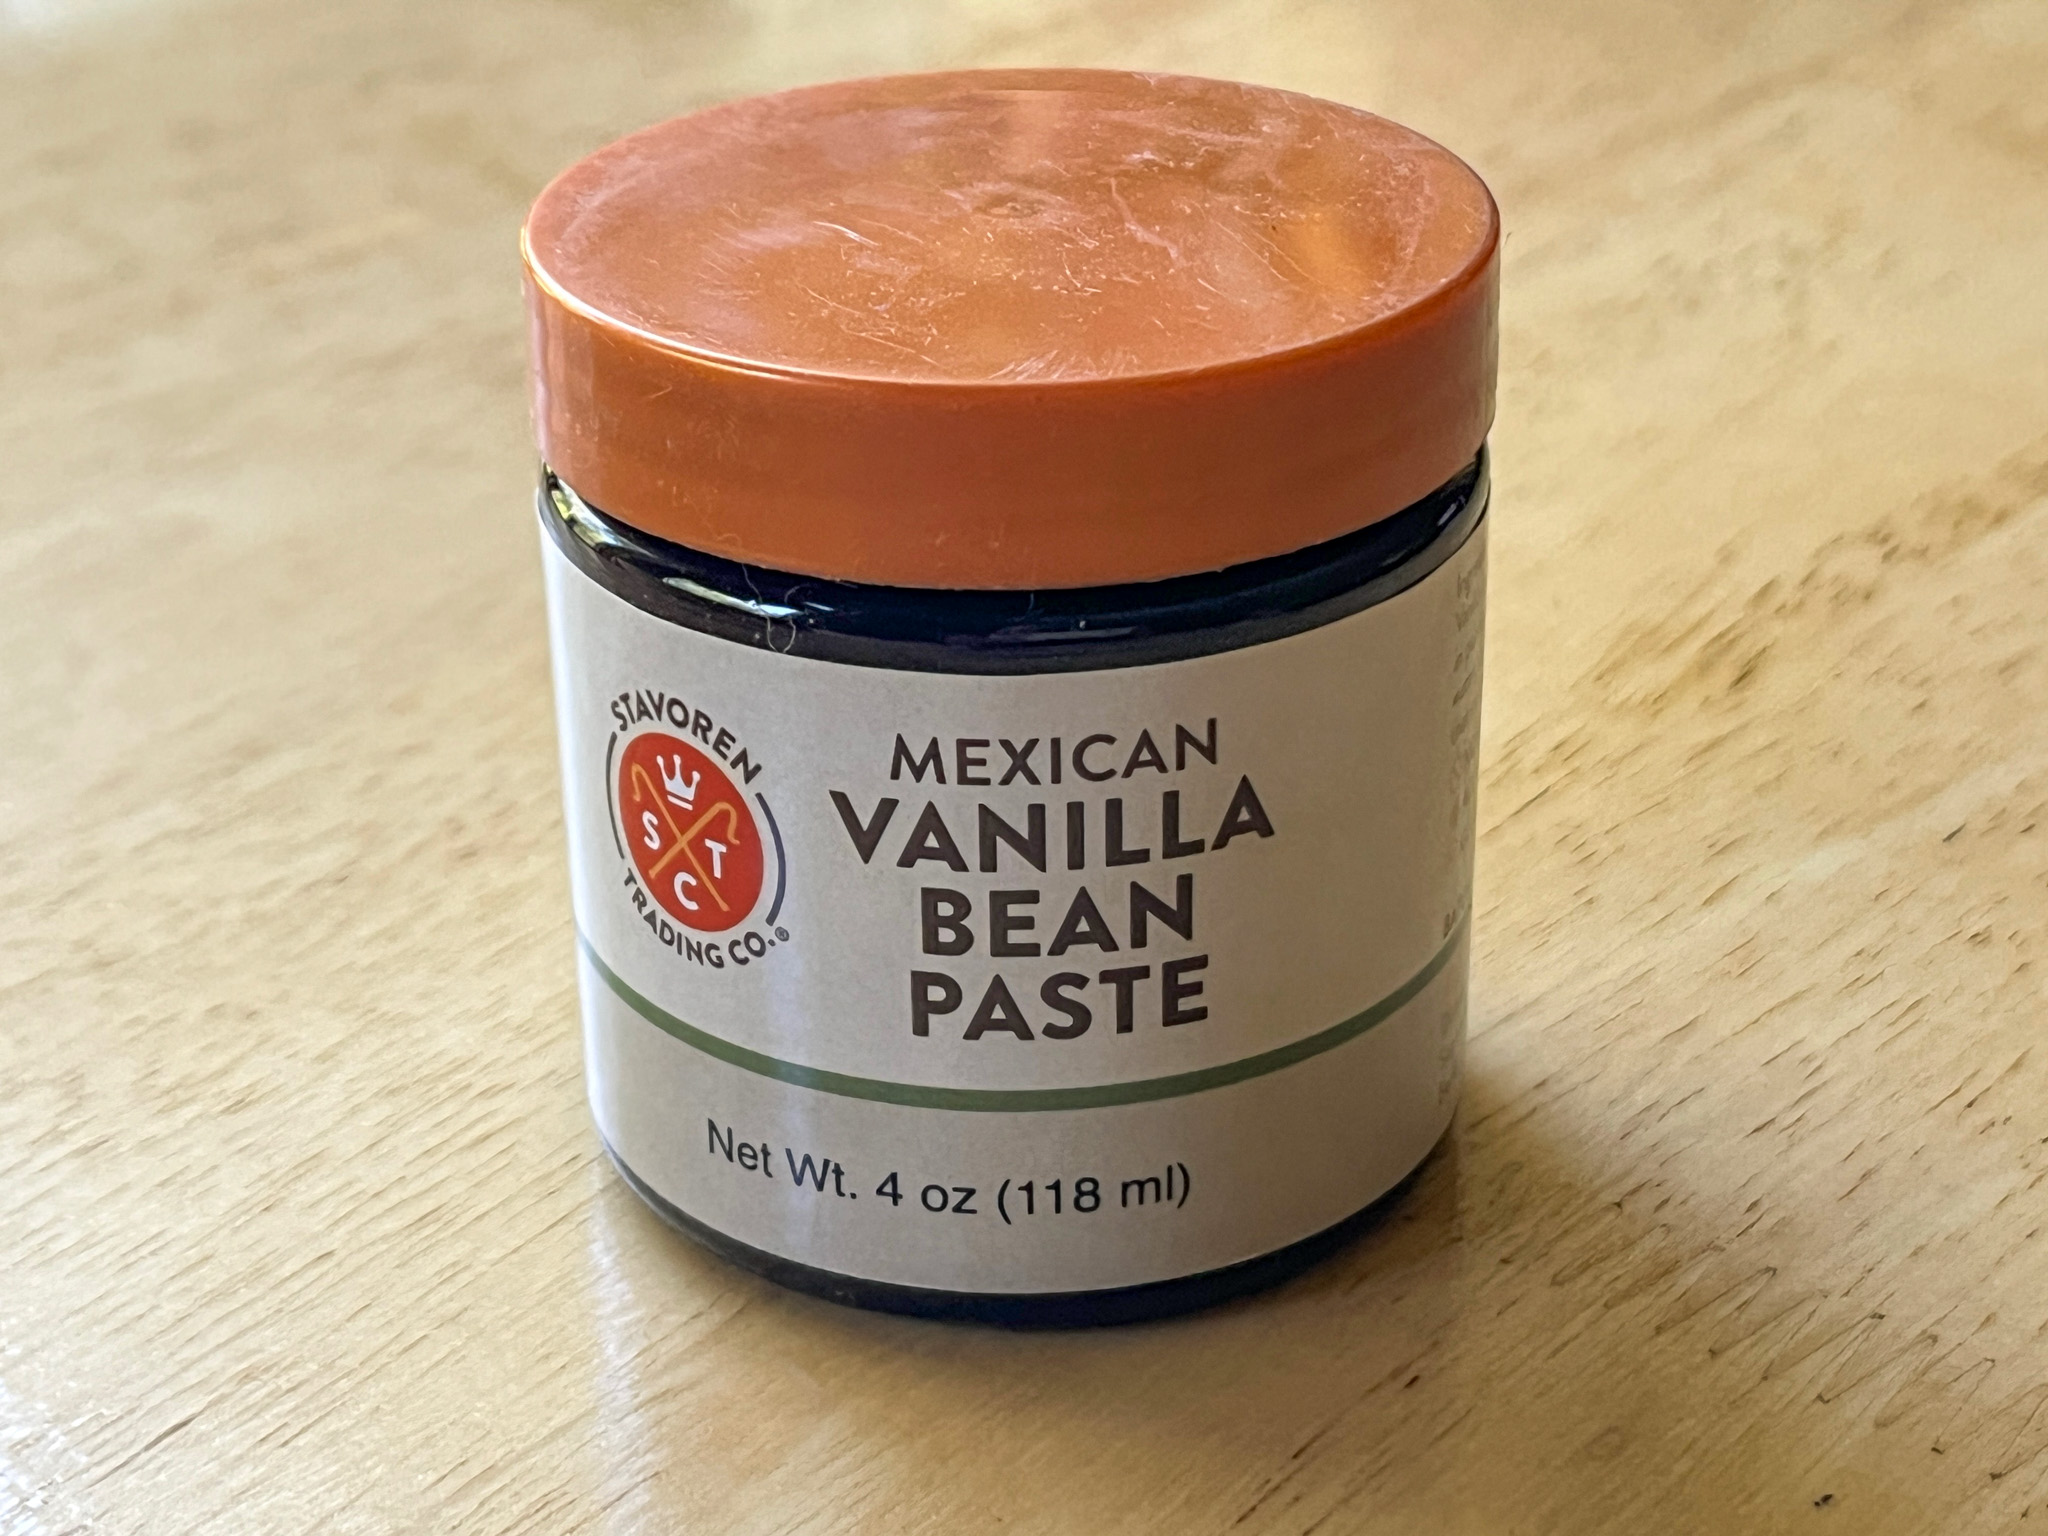
One of my favorite vanilla bean pastes. This one comes from Mexico and it is not too expensive. I love the flavor! Available here.
In my kitchen…
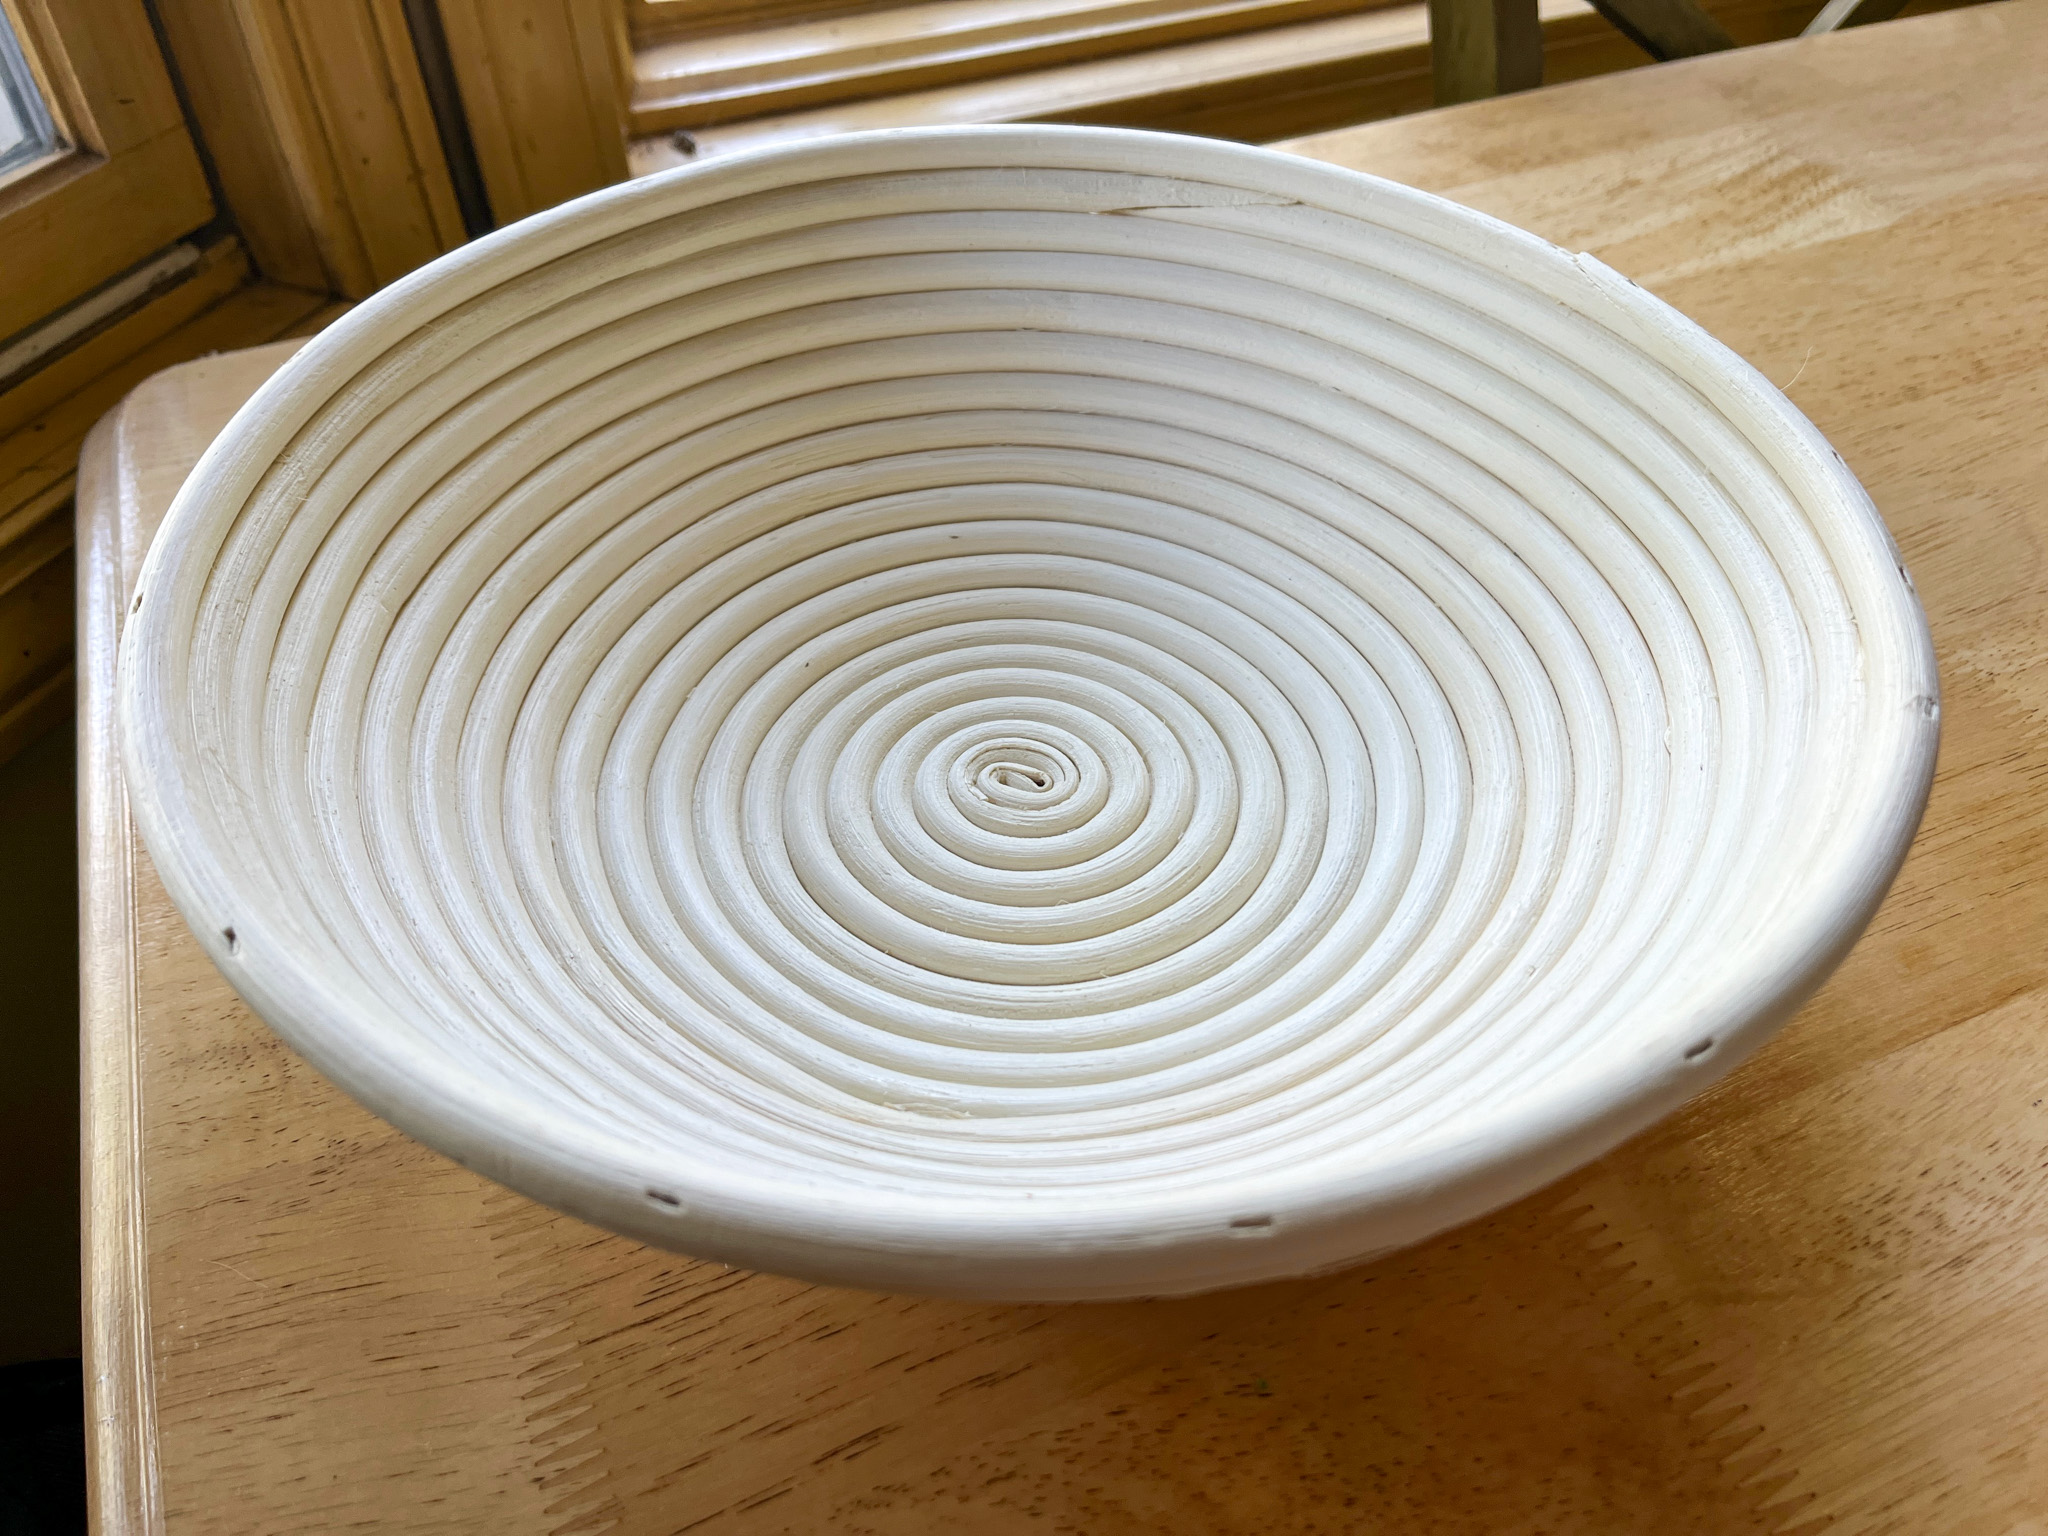
A special large Banetton that I bought with a special bread project in mind which in fact I shared with you very recently (click here for post). Banetton available here.
In our kitchen…
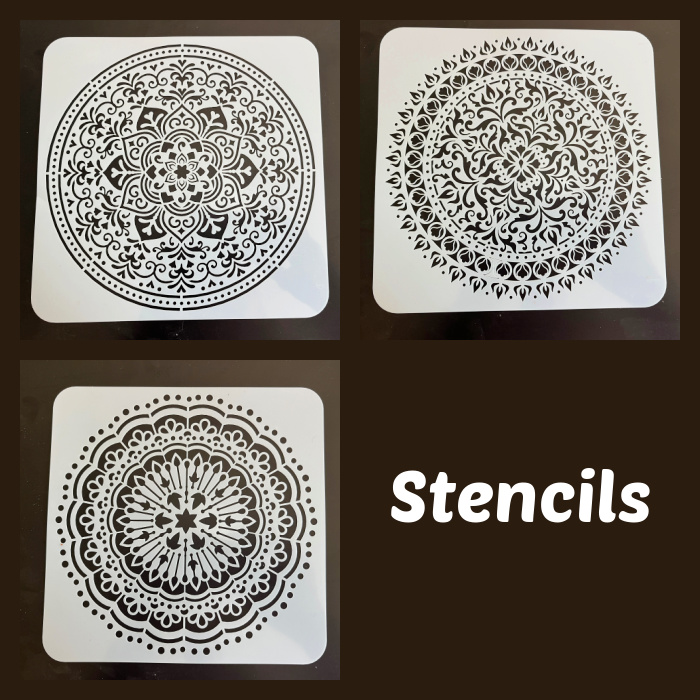
A few large stances that I also bought with the same bread project in mind, but that can come in handy for many other uses. I just love their design! Available at etsy.
In our kitchen…
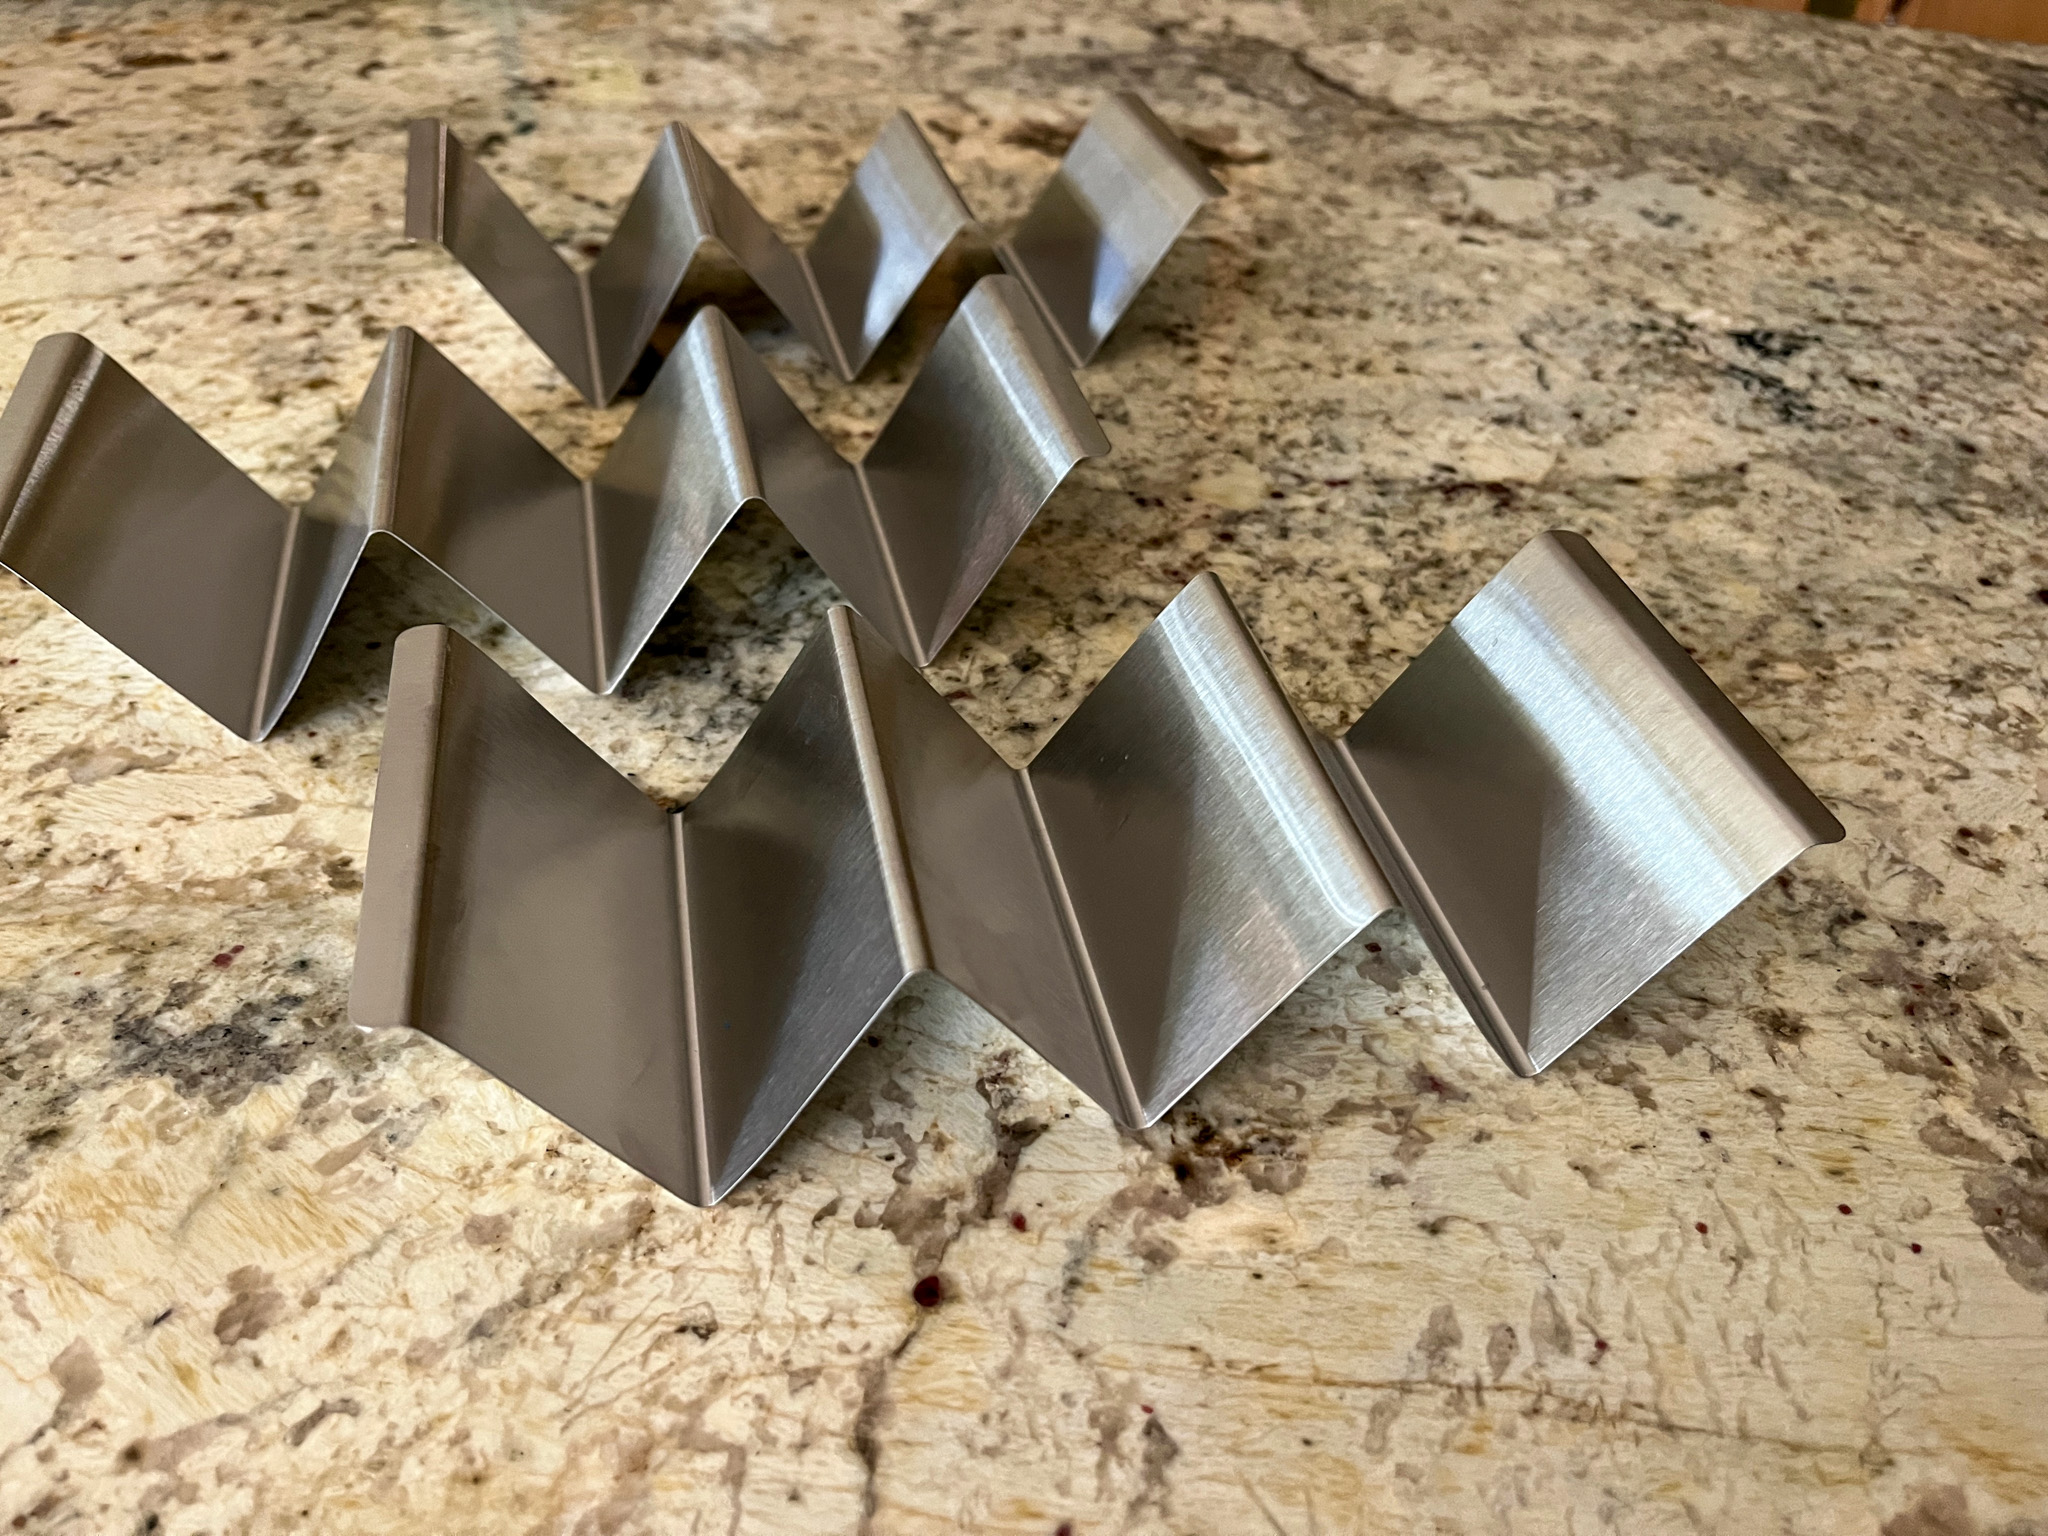
This I offer as a gift to my dear husband. He often makes tacos for dinner and now he has a way to serve them nicely instead of trying to balance them inside some awkward serving dish. We are using them very often. Available here.
In our kitchen…
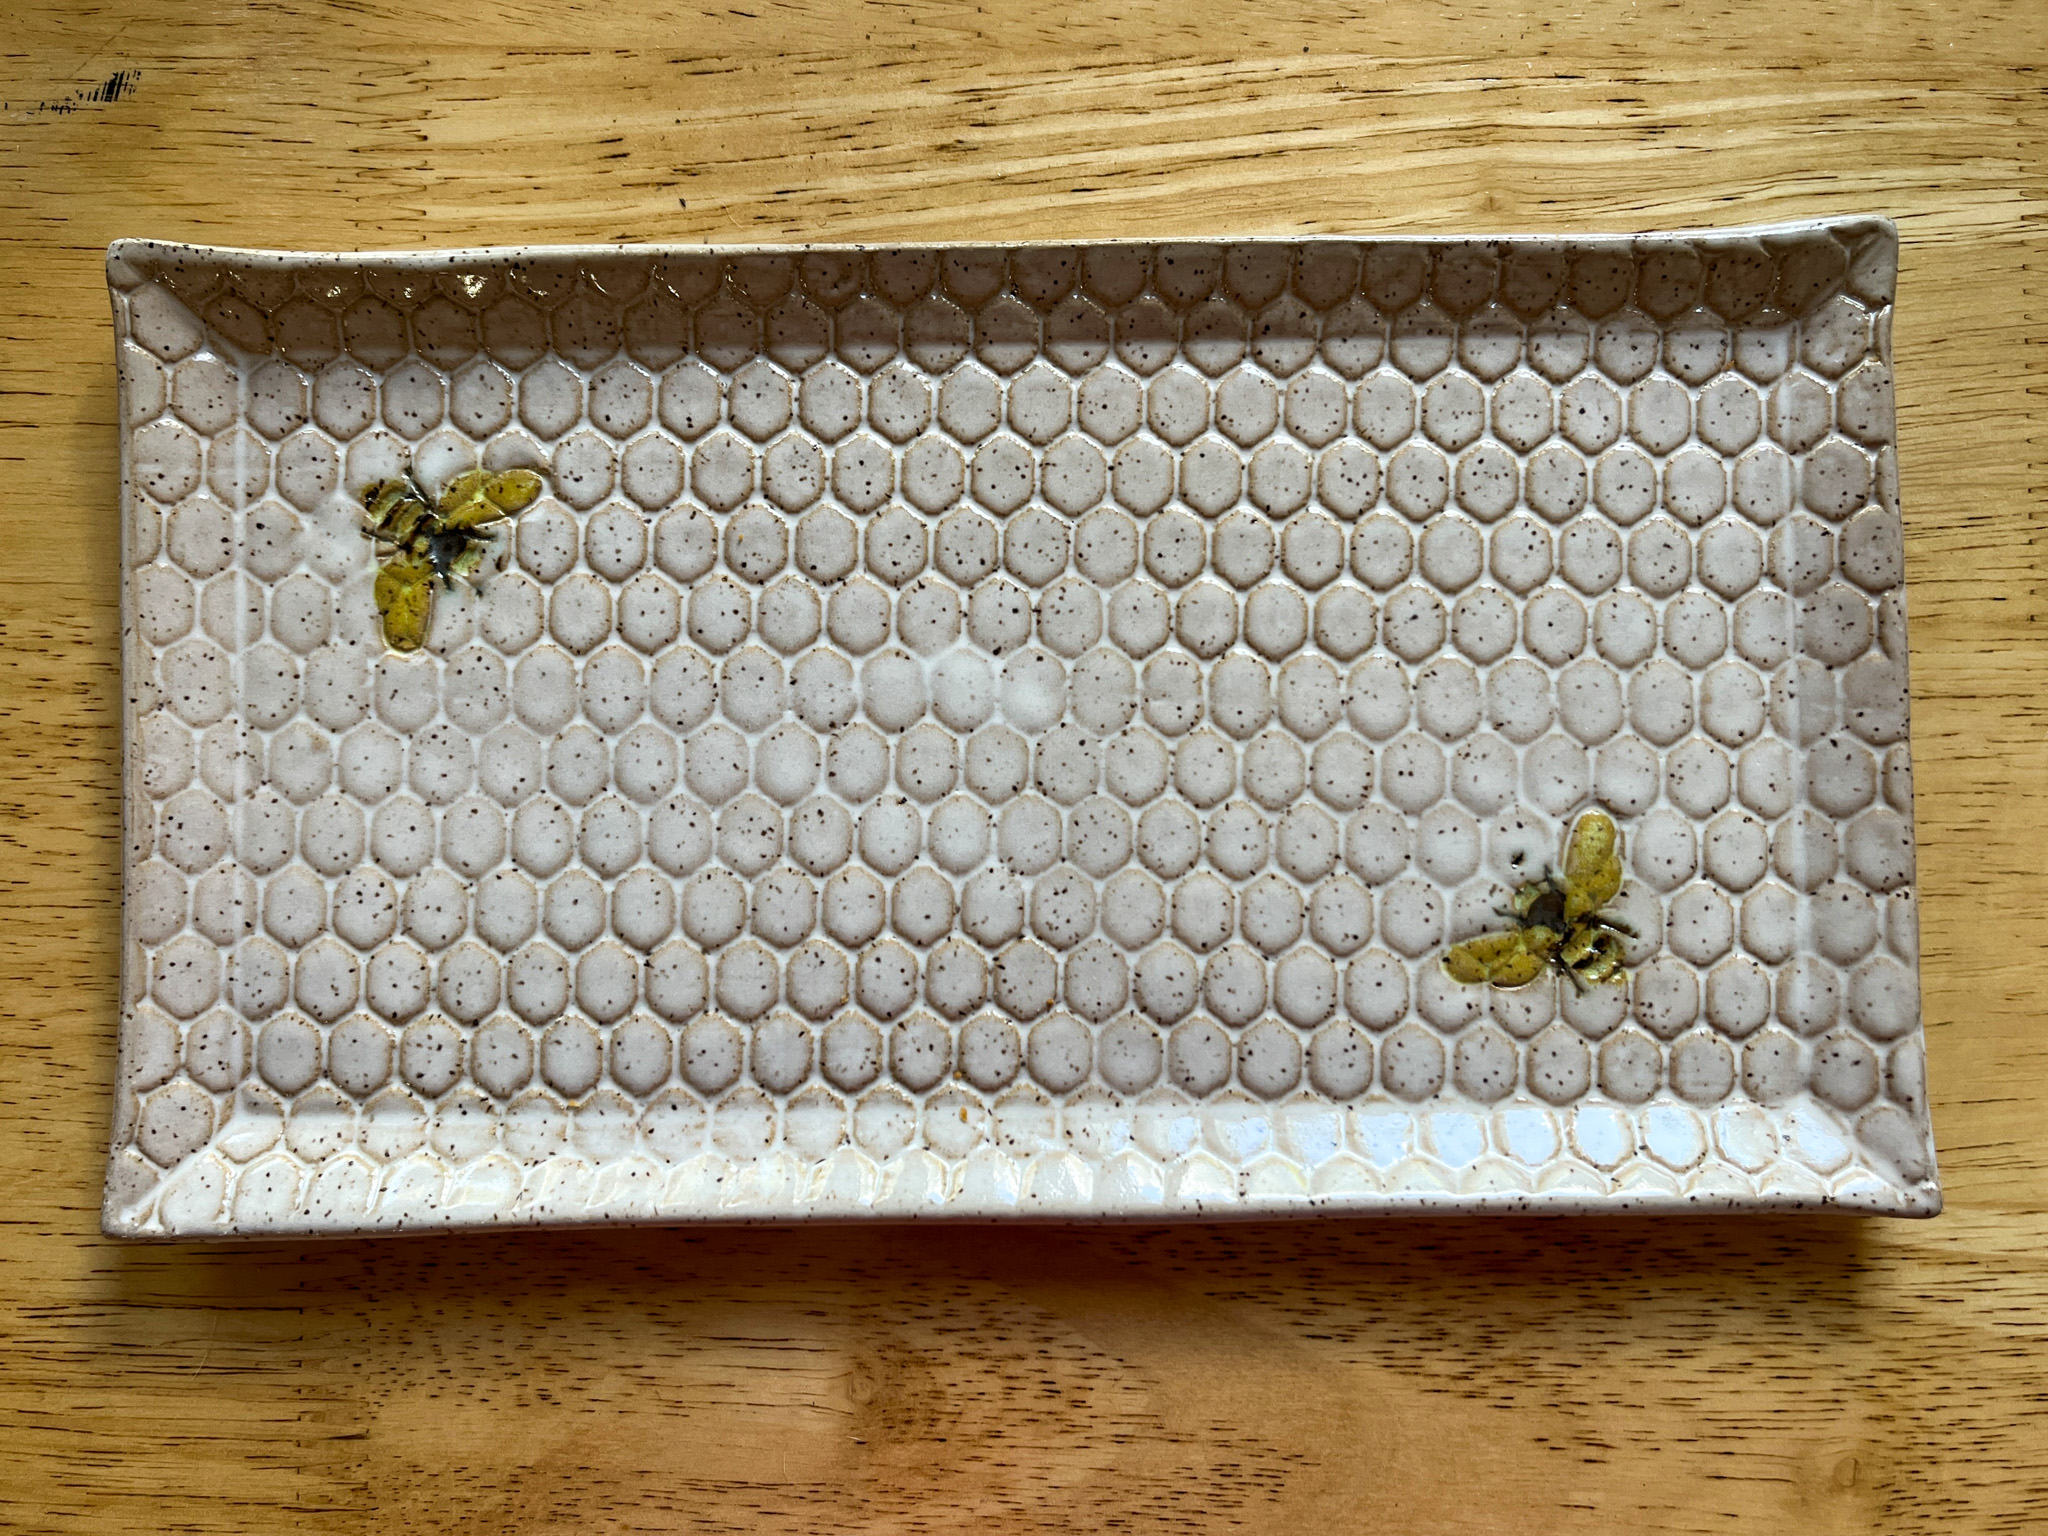
A small serving tray that I fell in love with when I saw it by accident in a shop at Etsy. I predict it will be used for many cookie pictures in the future!
In our kitchen..
If you decorate cookies, you absolutely totally completely NEED these! A bought a set of three, small, medium and large. Perfect to fill piping bags with Royal icing, they thought about EVERYTHING when designing these containers. Get them here.
In our kitchen…
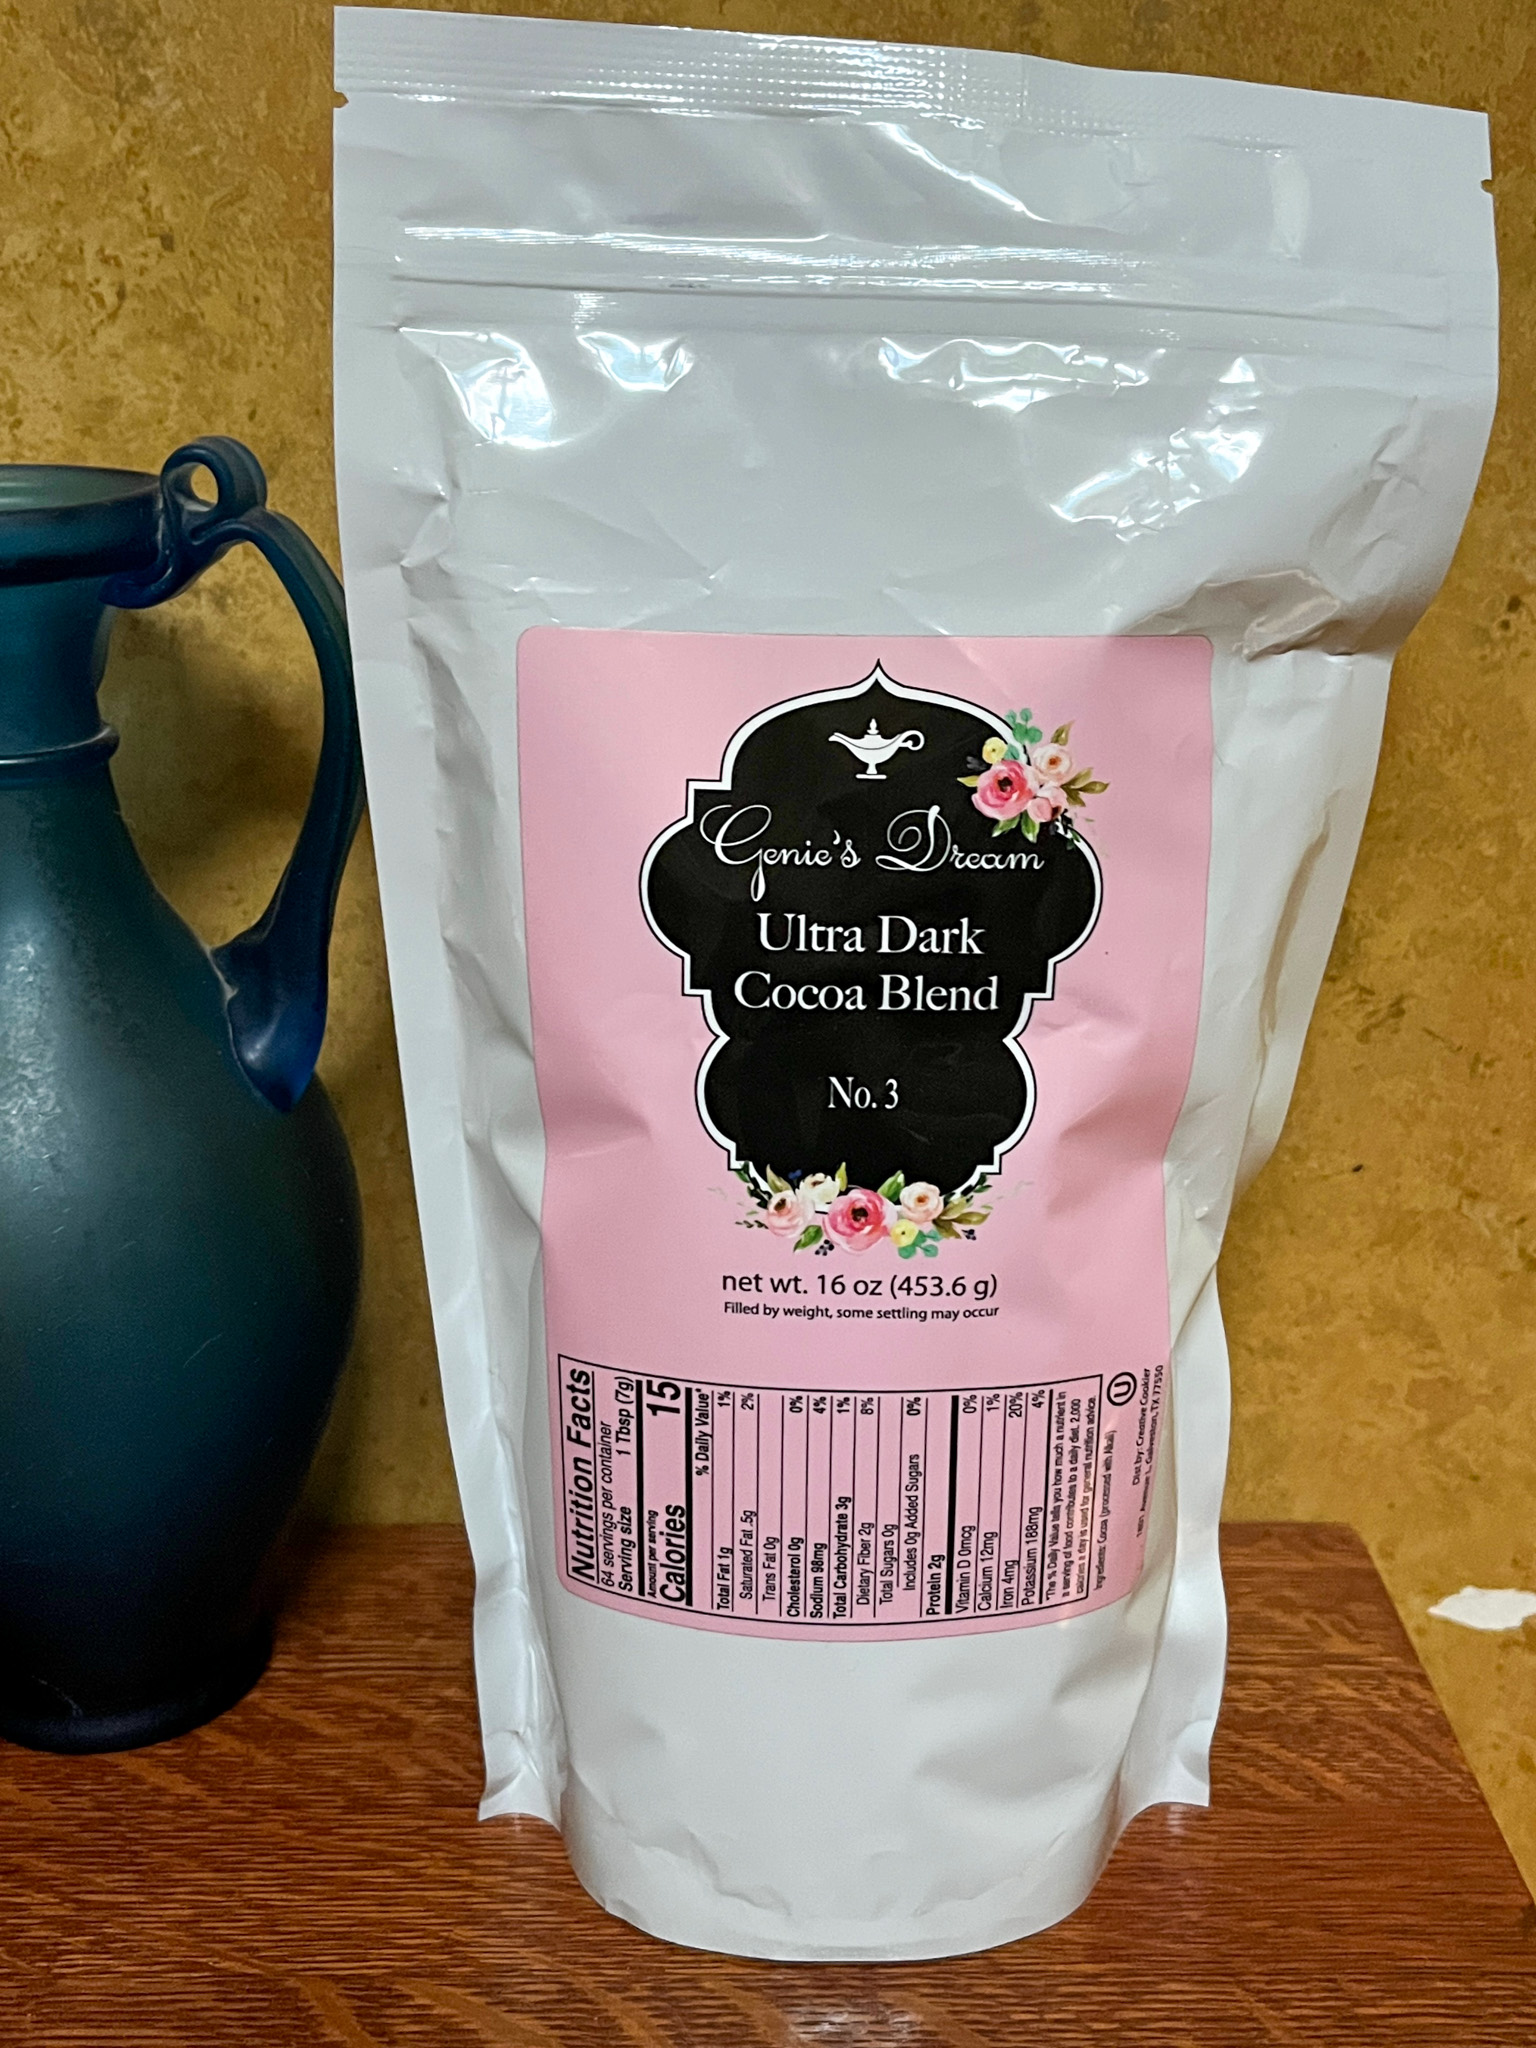
When it comes to black cocoa, this one is quite a bit more mellow than others I’ve tried. It will be my brand of choice, although I tend to continue exploring possibilities as they show up in my horizon. It is intense and perfect to make Oreos and other cookies with similar “personality”. Available here.
AND NOW IT IS TIME TO HEAR WHAT OUR BELOVED FOUR-LEGGED FRIENDS HAVE TO BARK
Life has been quite awesome, according to the pups. Our humans did not take any trips, so we enjoyed all the amenities of The Kingdom of Tatarrax without nasty interruptions… For us youngsters, it involved daily trips in our favorite vehicle!
Osky, the Grumpy does not dig rides in trucks. He prefers to stay behind and exercise his pseudo-alpha-dominance in the backyard…
.
We love our backyard also, but for us Royals and Superstars it is more about playing…
Either with a ball, or even better, K9 X-Games, as narrated by The Queen Mother, check it out:
So much playing sometimes gets my sister in trouble, she is known to dig in mud, preferably after getting a bath…
I don’t normally get in trouble. But, if I am to bark honestly, I do have daily requests that need to be fulfilled. Early, very early in the morning, as The Dad is preparing coffee for the Zenless, I stare at the box of puppy goodies they keep in that area and won’t move until I get my morning treat. And due to The Canine Equality Act, my siblings get one also. After that, we proceed to take our extended version of the morning nap.
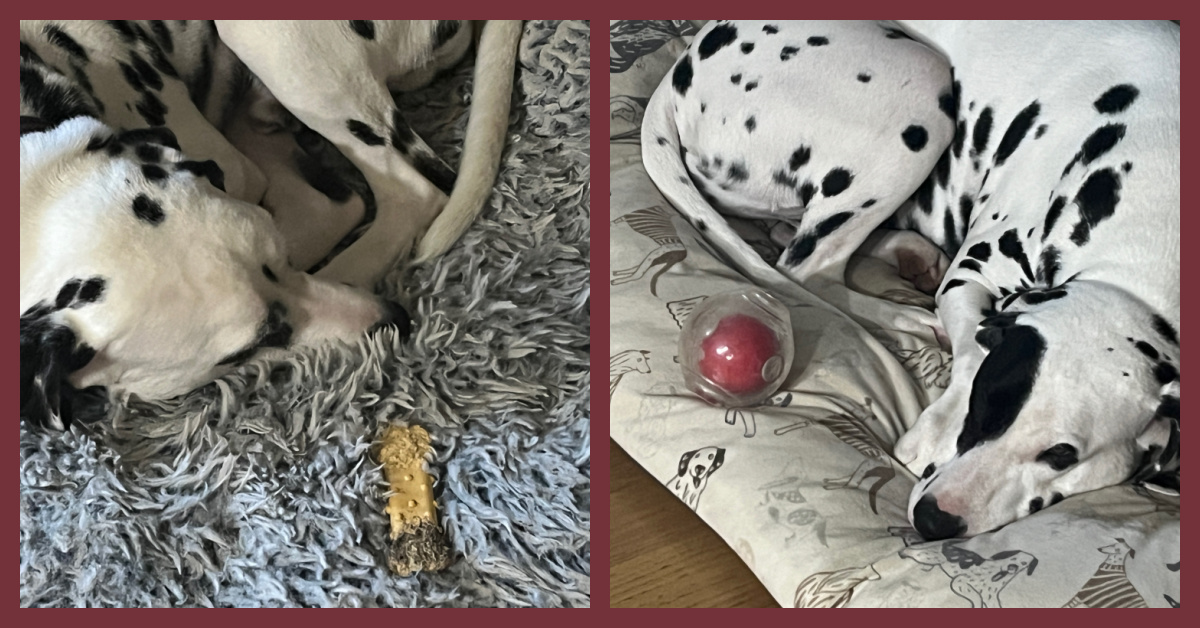
Obviously… Sleeping is better with a toy!
Some beg to differ, though….
Who is he trying to fool?
.
Wee see you, Grumpiest!.
.
This year has also been super special because my little huge sister is getting trained into the complicated game of golf. She has caused a few issues because she insists on running to greet every single group of players in the field, but that’s what superstars do…
At home, we play pretty much non-stop, except when we do stop. It is called The Toy Impasse, and we might stay like that, evaluating each other’s jaw power until one of us gives up. As I am Royal and therefore magnanimous by definition, I often allow my little huge sister to run away with it.
I must confess, though, she recently hurt my royal feelings, by getting all infatuated with another guy. Look at the way she looked at him!
I have to bark, I was not digging it at all, particular not all that kissing!
Once that “gentleman” left, she was despondent and playing difficult with me….
Thankfully that did not last for long. Because who could resist my Royal charm?
Life is now fully back to normal in The Kingdom, the only dark cloud in the horizon: constant disapproving looks by The Grumpiest…
But he is the only one with grievances against us…
That’s all for now, folks, we have squirrels to chase, mailmen to bark at, and bellies to be rubbed!