Today I share a recipe for delicious cookies that happen to be vegan. No eggs, no dairy, but no sacrifice of flavor and texture. The recipe comes from Modern Vegan Desserts, written by a professional patissiere, Petra Stahlová. I invite you to read my review on her book (as well as musings on vegan baking in general) by visiting the Home Bakers Collective site, with a click here.
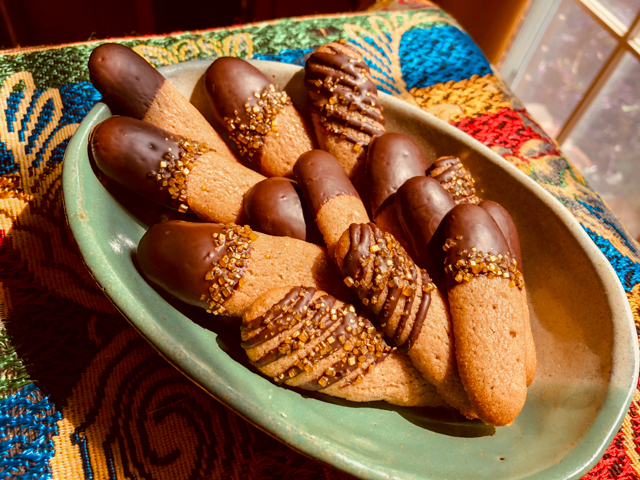
CHOCOLATE-DIPPED CINNAMON COOKIES
(published with permission from Petra Stahlová)
62g soft vegan butter (I used Country Crock plant butter)
62g icing sugar
15g almond flour
54g aquafaba
82g plain flour
3g ground cinnamon
200g 70% dark chocolate
In a mixer, beat the softened butter and the icing sugar until light and fluffy, then mix in the almond flour. Gradually mix in the aquafaba, adding a tablespoon of plain flour after each addition of liquid. Once all the liquid has been mixed in, carefully stir in the rest of the flour and the cinnamon with a spatula.
In a bowl, cover the batter with cling film so that it directly touches the surface, and leave to rest for half an hour at room temperature. Put the dough into a pastry bag with a 10mm diameter tip. Place either a silicon mat or some baking paper on the baking tray and pipe out 2.5 inches long lines onto the sheet. Don’t squeeze the bag too hard; the width of the batter should correspond to the diameter of the tip, i.e. 10mm. Leave half-an-inch space between the cookies, as they will spread out during baking.
Heat your oven to 375F (convection on, if available) and bake for about 7 minutes until the cookies are golden brown. Afterwards, leave the cookies on the baking tray for half a minute to firm up and then transfer them onto a cooling rack.
Temper the chocolate, then dip the cooled cookies and put them on either a silicon mat or baking paper to let the chocolate crystallize. Decorate with sprinkles, if so desired.
ENJOY!
to print the recipe, click here

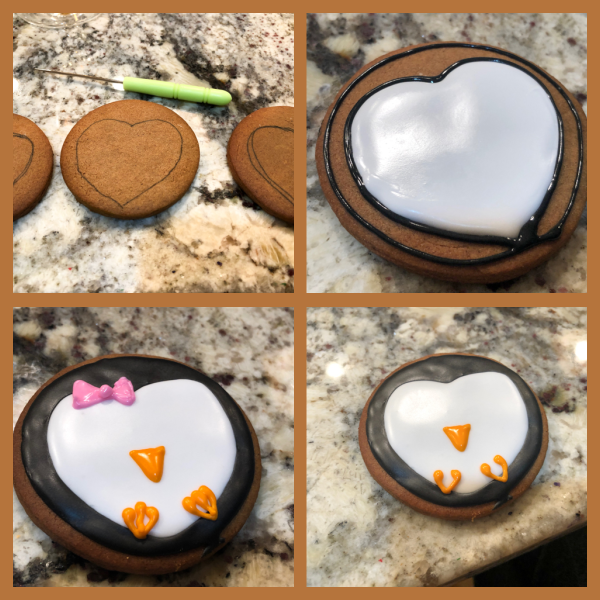
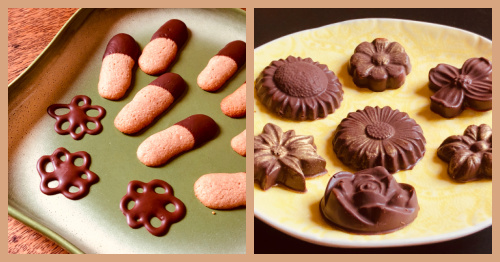
Comments: I made these cookies for Mondays with Sweetness, in which I share bakes with our departmental colleagues. Since there is one adorable person who is allergic to eggs, I am always trying to find bakes that she will be able to enjoy. Nobody could tell these are vegan. The cinnamon flavor is perfect, the chocolate complements it well, and with the golden sprinkles they get a festive look. If you don’t feel like tempering chocolate, you can get by with candy melts but there will be a little compromise in flavor. I usually take the opportunity of tempering chocolate to make some extra decorations that might come in handy in future bakes.
I close this post inviting you to read more about Modern Vegan Desserts,
so please stop by the Home Bakers Collective.
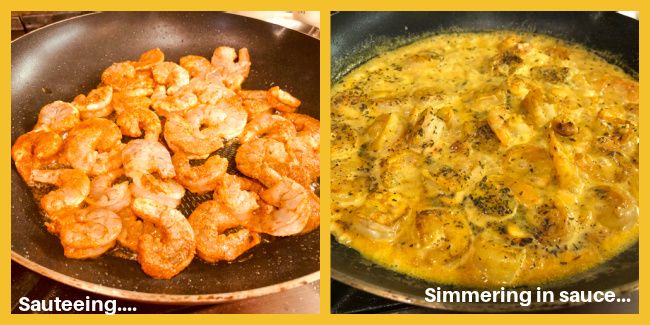
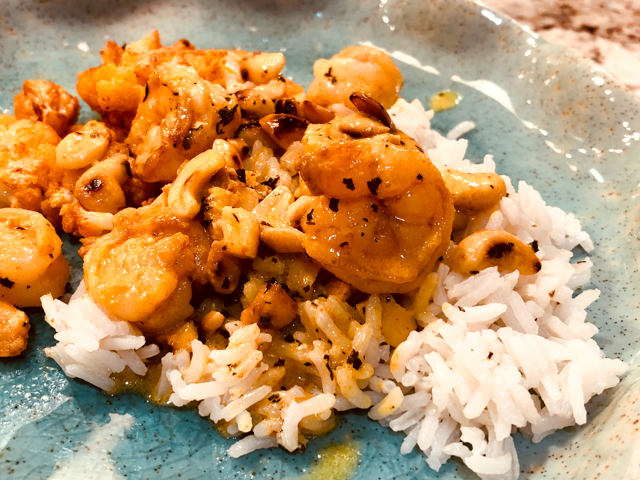
ONE YEAR AGO: Lemony Barley with Shrimp and Spinach
TWO YEARS AGO:Black Rice with Roasted Cauliflower
THREE YEARS AGO:La Couronne Bordelaise
FOUR YEARS AGO: A Special Birthday Dinner
FIVE YEARS AGO: Duck Confit for a Special Occasion
SIX YEARS AGO: Tuscan Grilled Chicken and Sausage Skewers
SEVEN YEARS AGO: Celebrate Wednesday with Pork Tenderloin & Apples
EIGHT YEARS AGO: Salmon Wellington
NINE YEARS AGO: The Green Chip Alternative
TEN YEARS AGO: Weekend Pita Project
ELEVEN YEARS AGO: Let it snow, let it snow, eggs in snow