
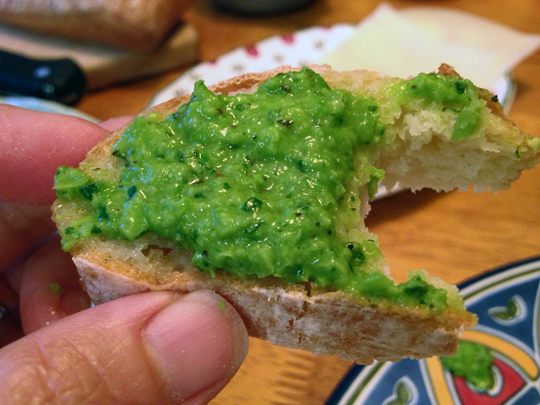
Vegetarian readers: stick around, because the GREEN PEA PESTO IS AMAZING!
One of Phil’s favorite sandwiches is a roast beef au jus, also called a French Dip. I had never heard of it until we started dating, and was a bit confused by the association with France, as I had never seen it while living in Paris either. 😉 It turns out that this is an American classic, created in the beginning of last century in Los Angeles, of all places! Two restaurants claim to have “invented” the deliciously moist sandwich, and quite likely the issue will never get settled. You can read all about it here. I never thought of making it at home, but watching FoodTV the other day I caught a show by Rachael Ray in which she made her own version. It perked my attention, not only for the sandwich itself, but also for her choice of green pea pesto to gild the lily. Something told me that would be a winning combo. Plus, the fact you can prepare the meat in advance and just re-heat the slices in simmering beef broth makes it a perfect option for a quick and easy dinner after work. If you have home-made beef broth (also known in our home as “liquid gold”), by all means use it, as it will make your sandwich very special.
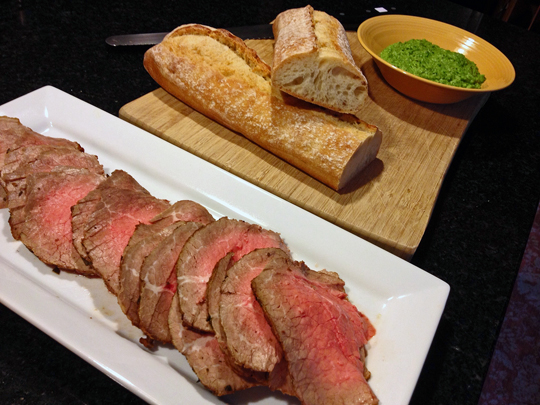
ROAST BEEF FRENCH DIP SANDWICH WITH GREEN PEA PESTO
(adapted from Rachael Ray’s Week in a Day TV show)
for the green pea pesto:
1 cup fresh basil leaves (about 20)
1 cup defrosted frozen green peas
1 tsp dried mint leaves
1 clove garlic, pasted (optional)
Juice of 1/2 lemon
salt and pepper to taste
olive oil for desired consistency
for the roast beef:
2 pounds beef eye of round roast
Kosher salt and freshly ground black pepper
3 tablespoons chopped fresh rosemary
2 tablespoons olive oil
2 cups beef stock, home-made is best
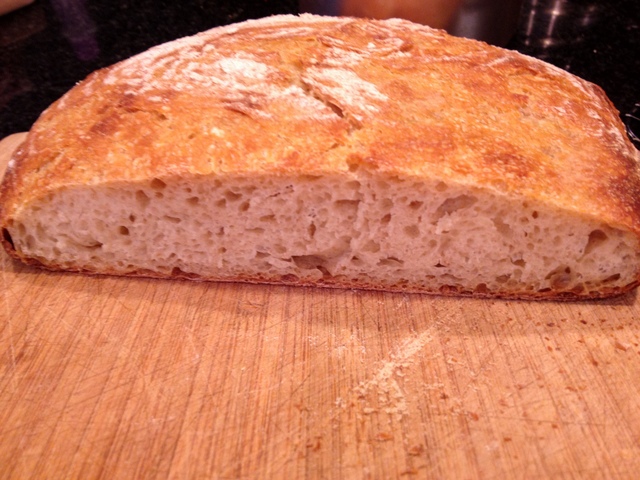
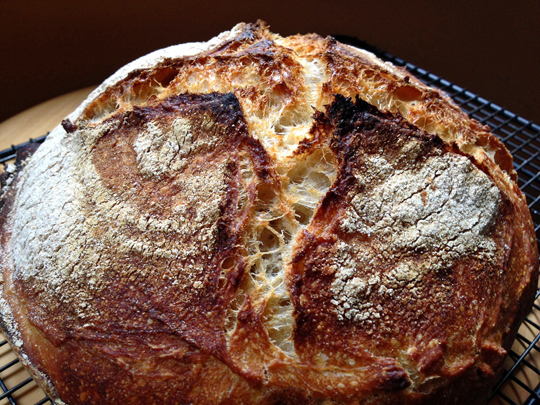
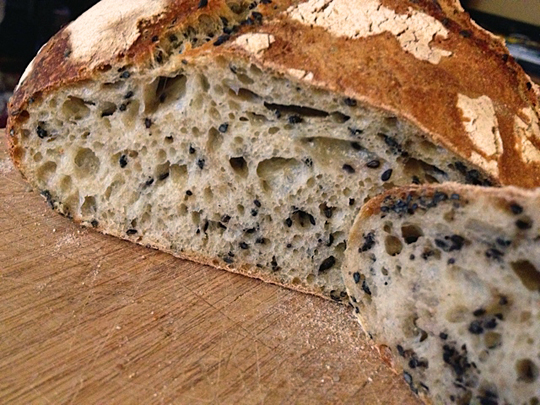
bread of your choice for the sandwich
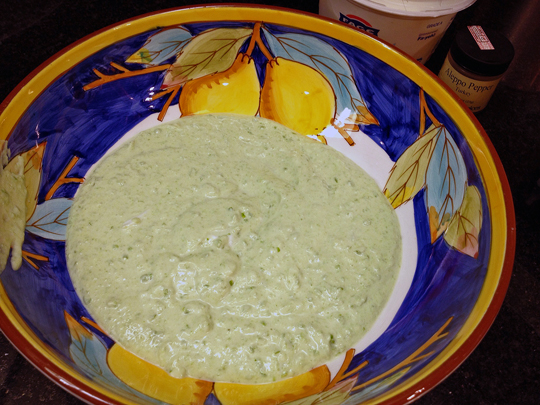
For the pesto: In a food processor, combine the basil, peas, mint, lemon juice, and garlic (if using) and process until a paste forms. Add just enough olive oil to get a spreadable consistency. Season with salt and pepper and process to almost smooth. Refrigerate and bring to room temperature when ready to serve.
For the beef: Bring the roast to room temperature. Sprinkle the meat with the salt, pepper and rosemary.
Heat the oven to 475 degrees F.
Heat 2 tablespoons olive oil in a Dutch oven over medium-high heat. Brown the meat evenly, 5 minutes. Transfer to the oven and roast 30-40 minutes, or until the internal temperature registers 120 degrees F on a meat thermometer.
Transfer the roast to a cutting board and cover with foil, 30 minutes. Wrap and store if not serving right away.
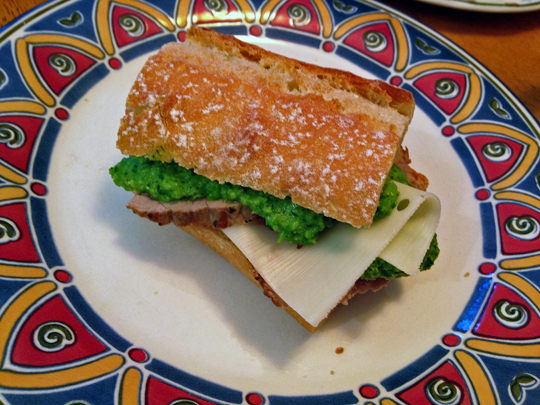
To serve, very thinly slice the meat. Heat the stock to warm but not boiling. Quickly dip the meat slices in the stock and place on the French bread. Top with the green pea pesto and set the bun top in place.
ENJOY!
to print the recipe, click here

Comments: You might be wondering how on Earth would I be turning the oven at 475 F in the height of the Kansas summer to roast the meat? Well, let’s say I did not need to heat up the house for that. Stay tuned for my next installment of “In My Kitchen”, when the mystery will be solved. I loved making this meal! Some people like to have the bread very moist with the beef broth, so you might offer a small, individual bowl with hot beef broth at the table. I prefer to just add a tablespoon or two of beef broth to the bread before assembling the sandwich. The combination of the meat with the green pea pesto is simply fabulous! We added a slice of cheese, did not seem to hurt at all…
I cannot give enough praise to the green pea pesto. Next day my lunch was just a few slices of the roast beef simmered in beef broth, and all the leftover pesto. All of it. I did not share. I announced that the pesto would be consumed, so that Phil would not count with it for his dinner preparation that evening. You know, we do the “alternate cooking days thing”. It was a perfect lunch, and in fact I would have been equally happy with just the pesto on some bread. Wouldn’t you?
ONE YEAR AGO: A Smidgen of a Tart
TWO YEARS AGO: A Tropical Street Market
THREE YEARS AGO: Groceries
FOUR YEARS AGO: A Souffle to Remember Julia Child


