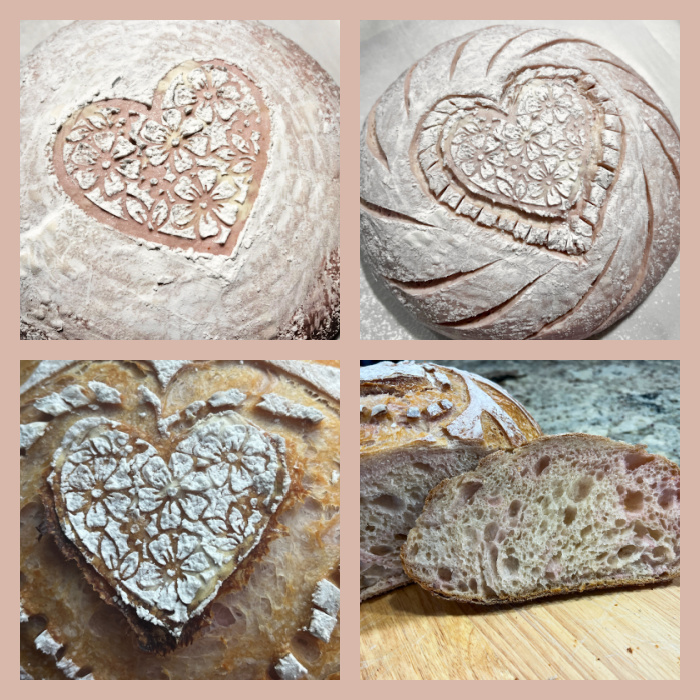
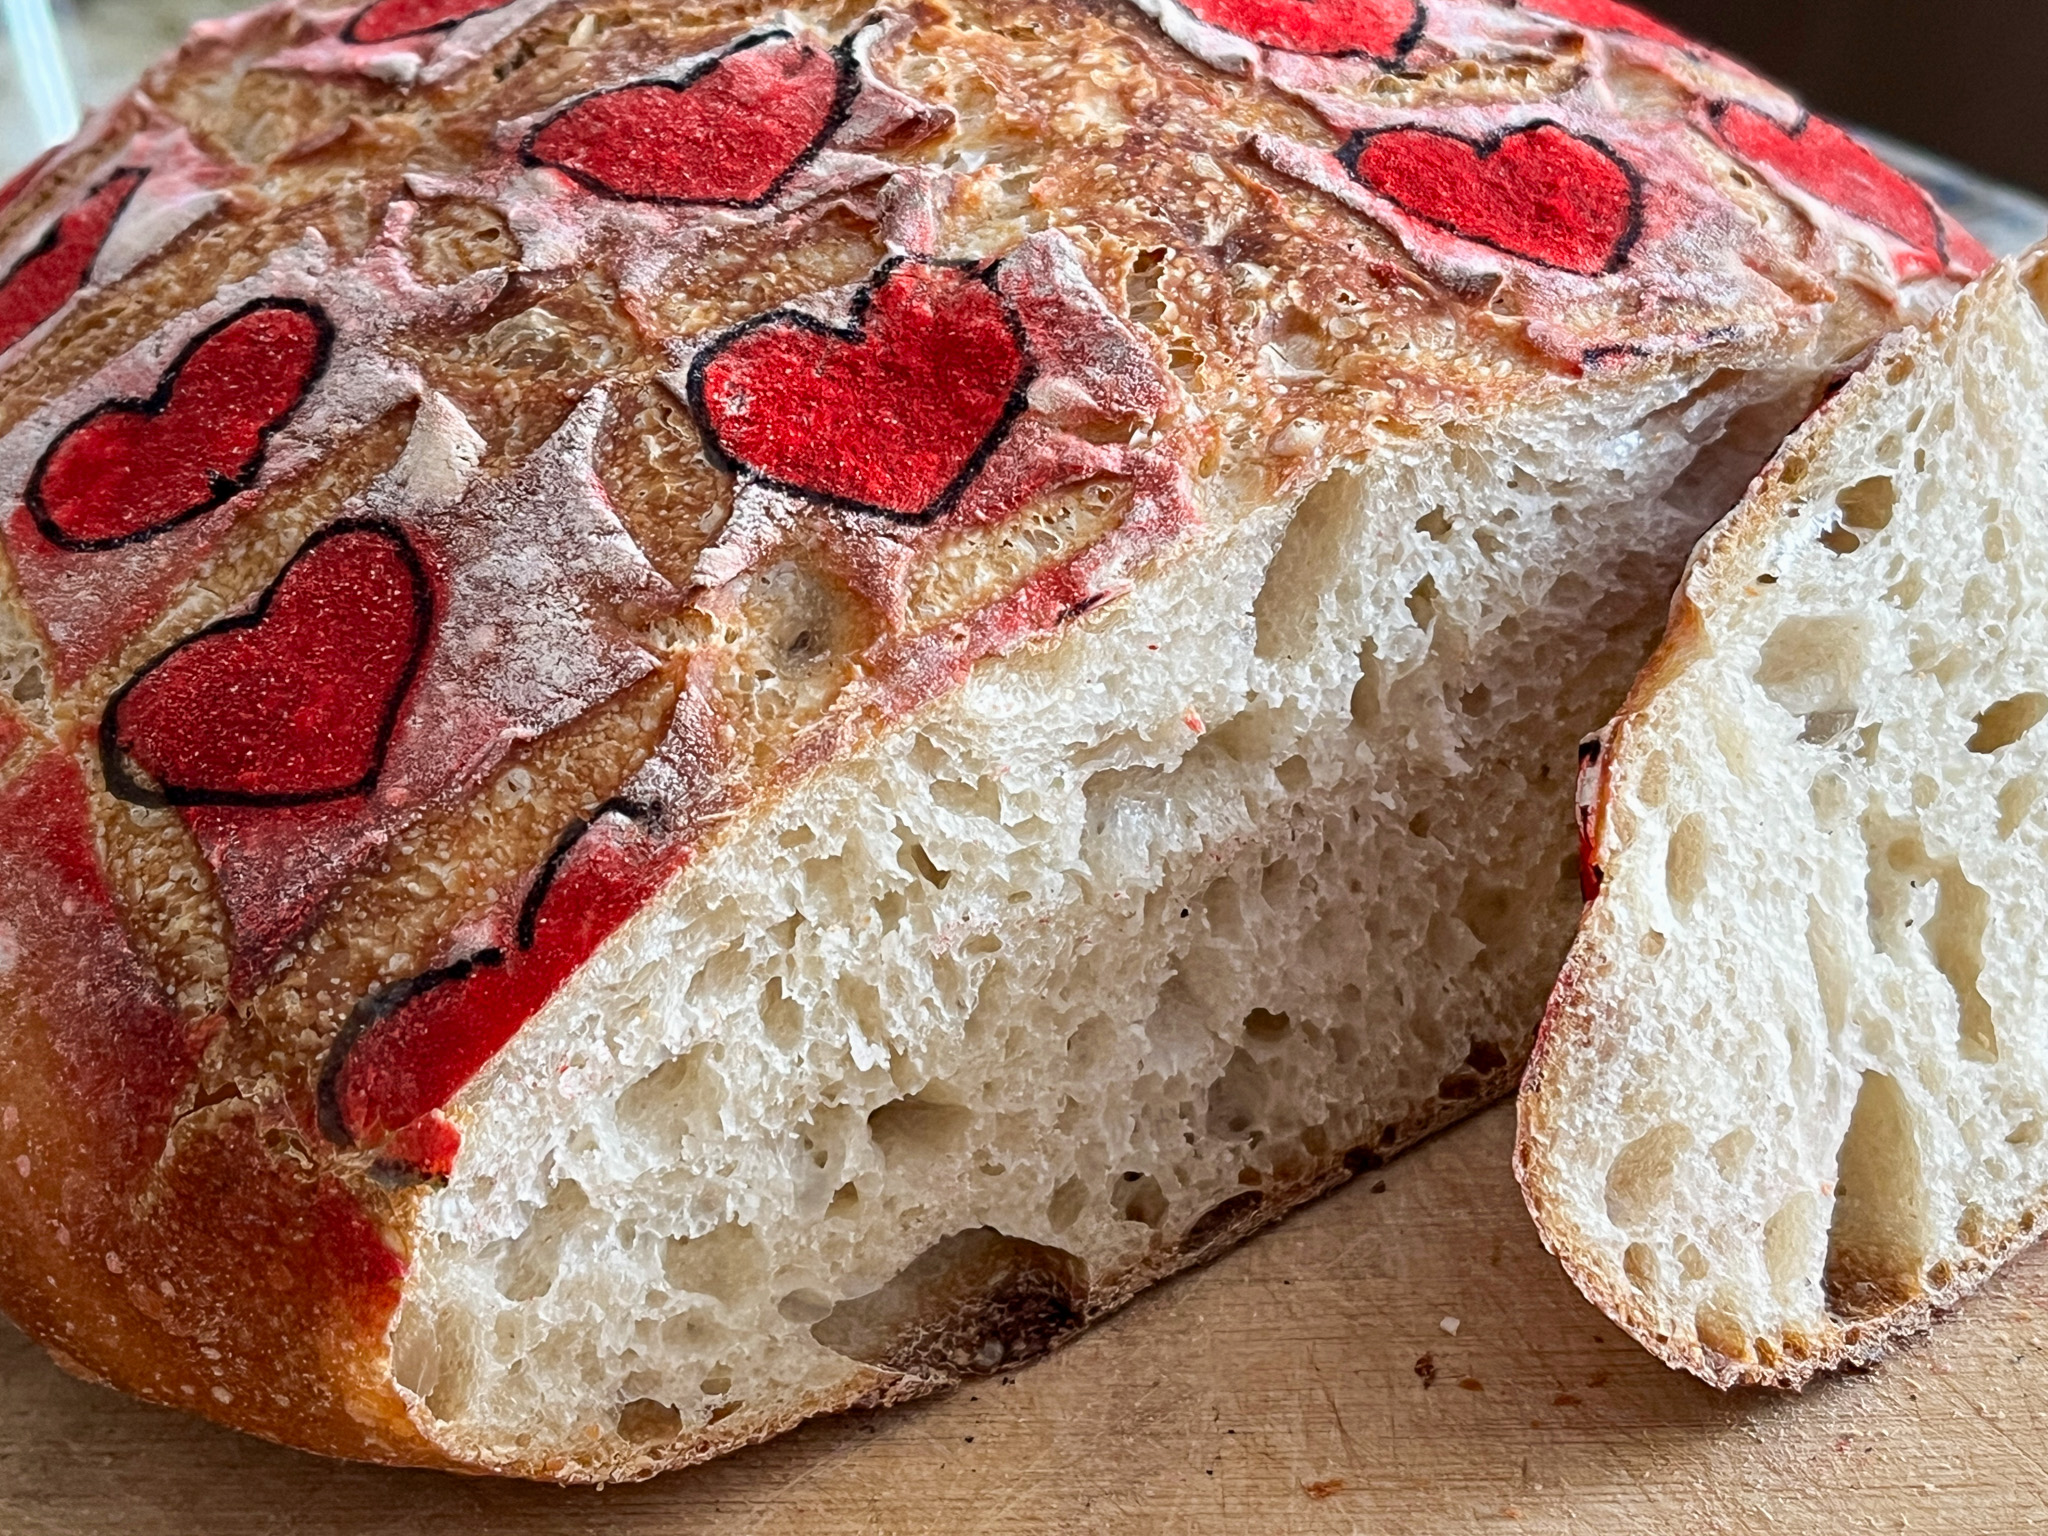
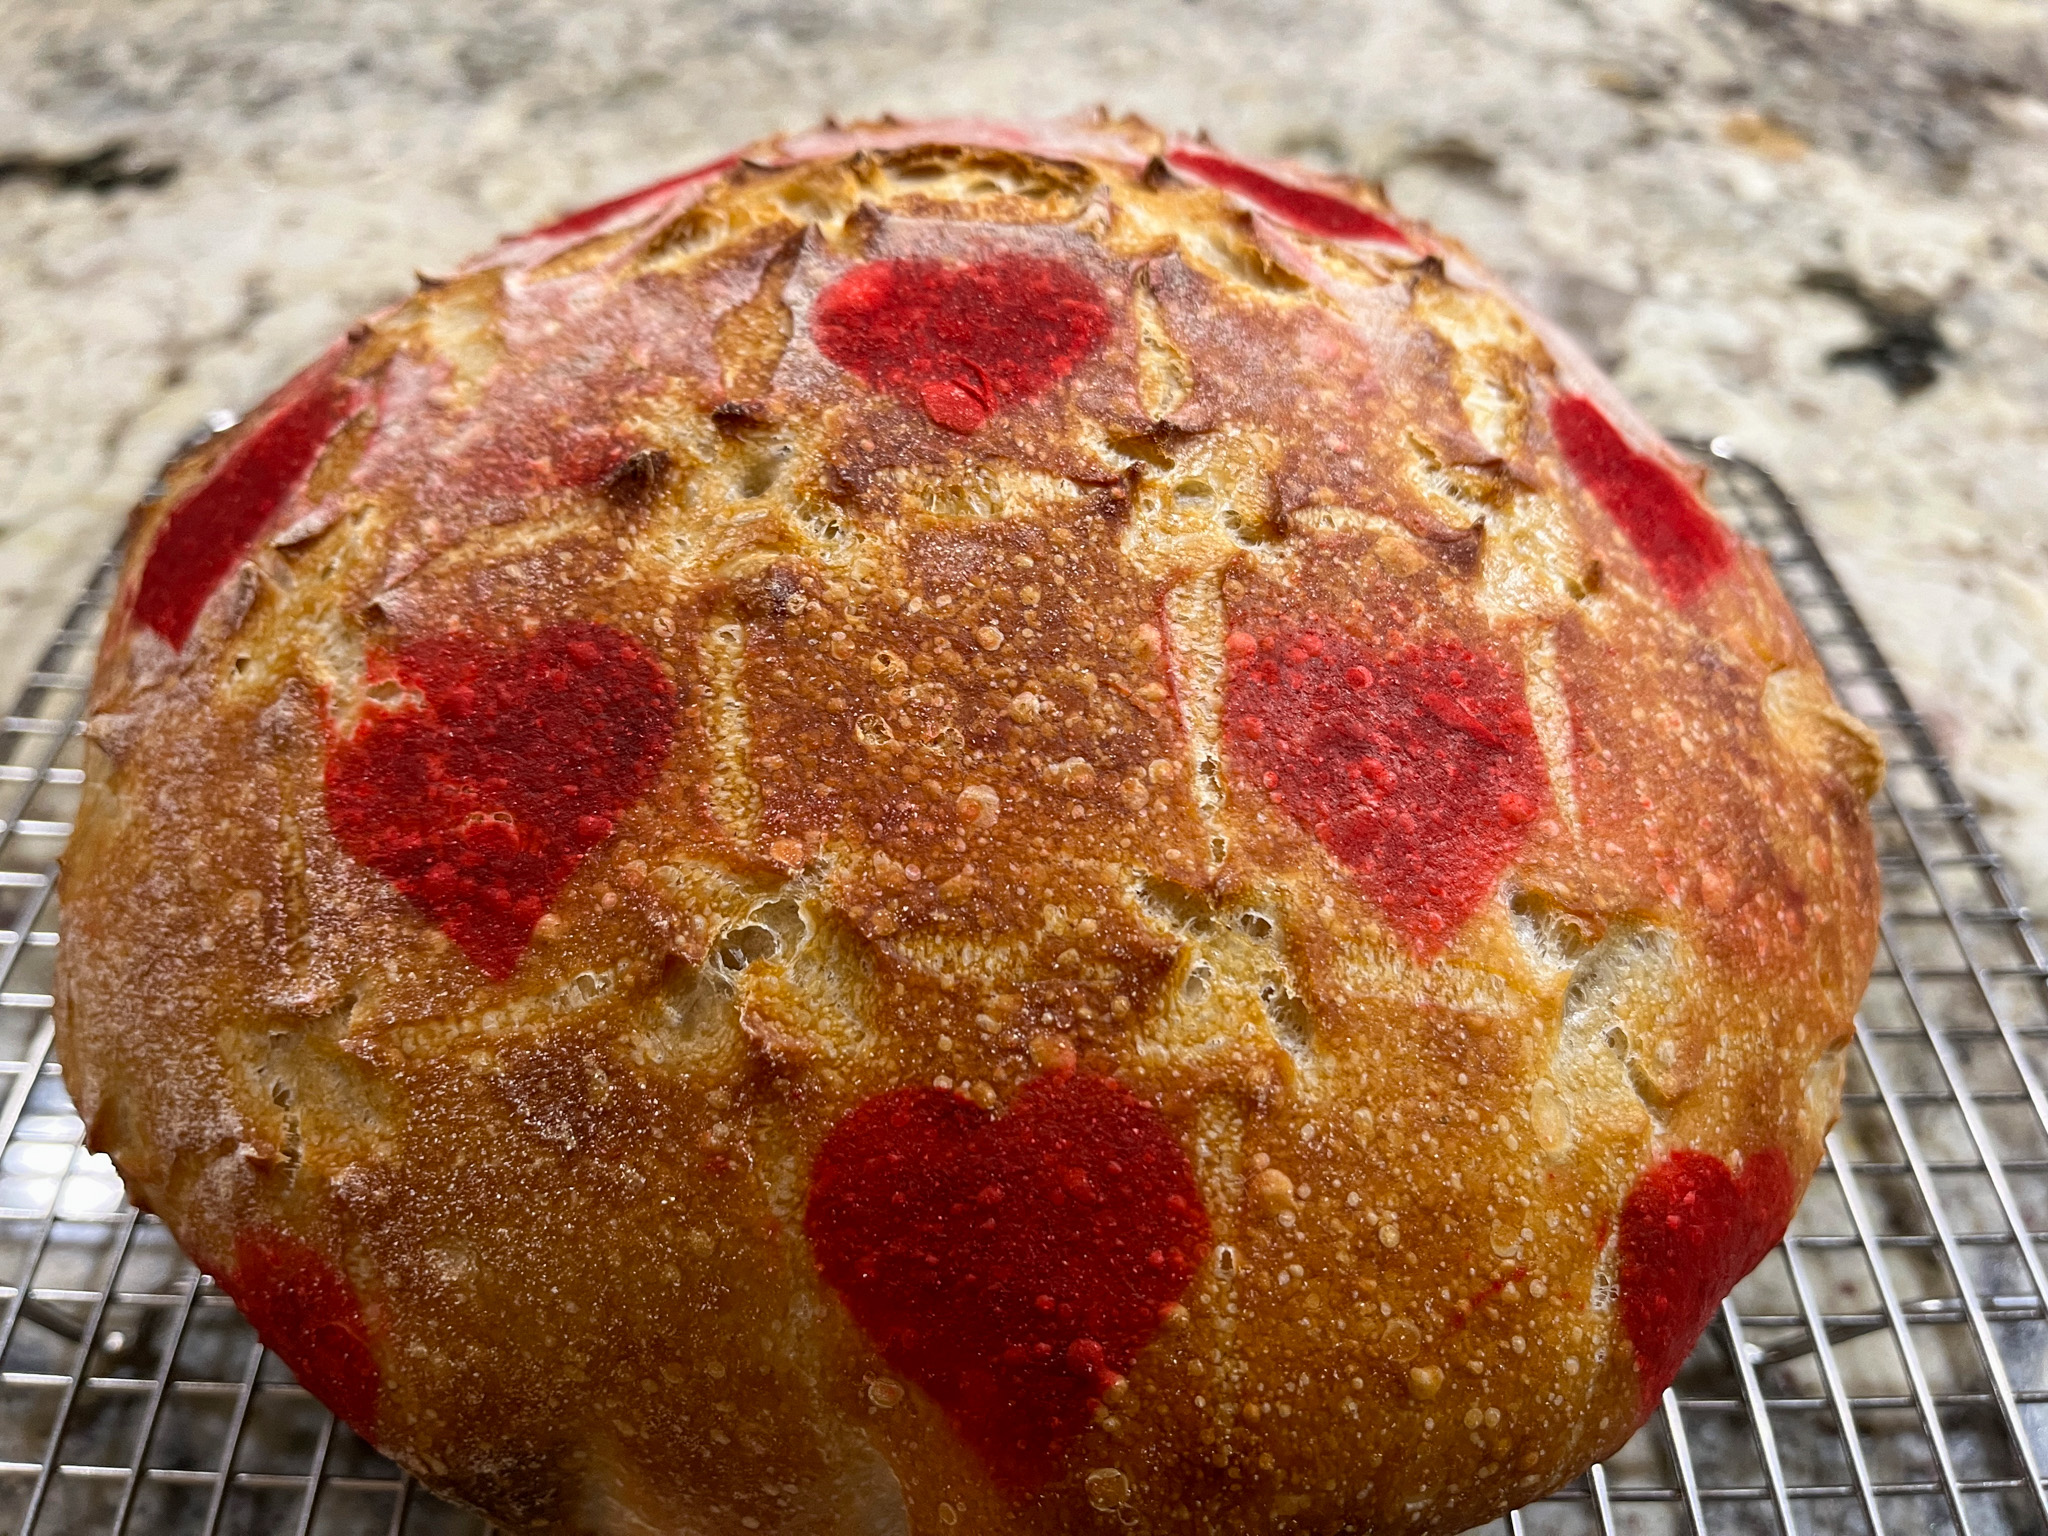
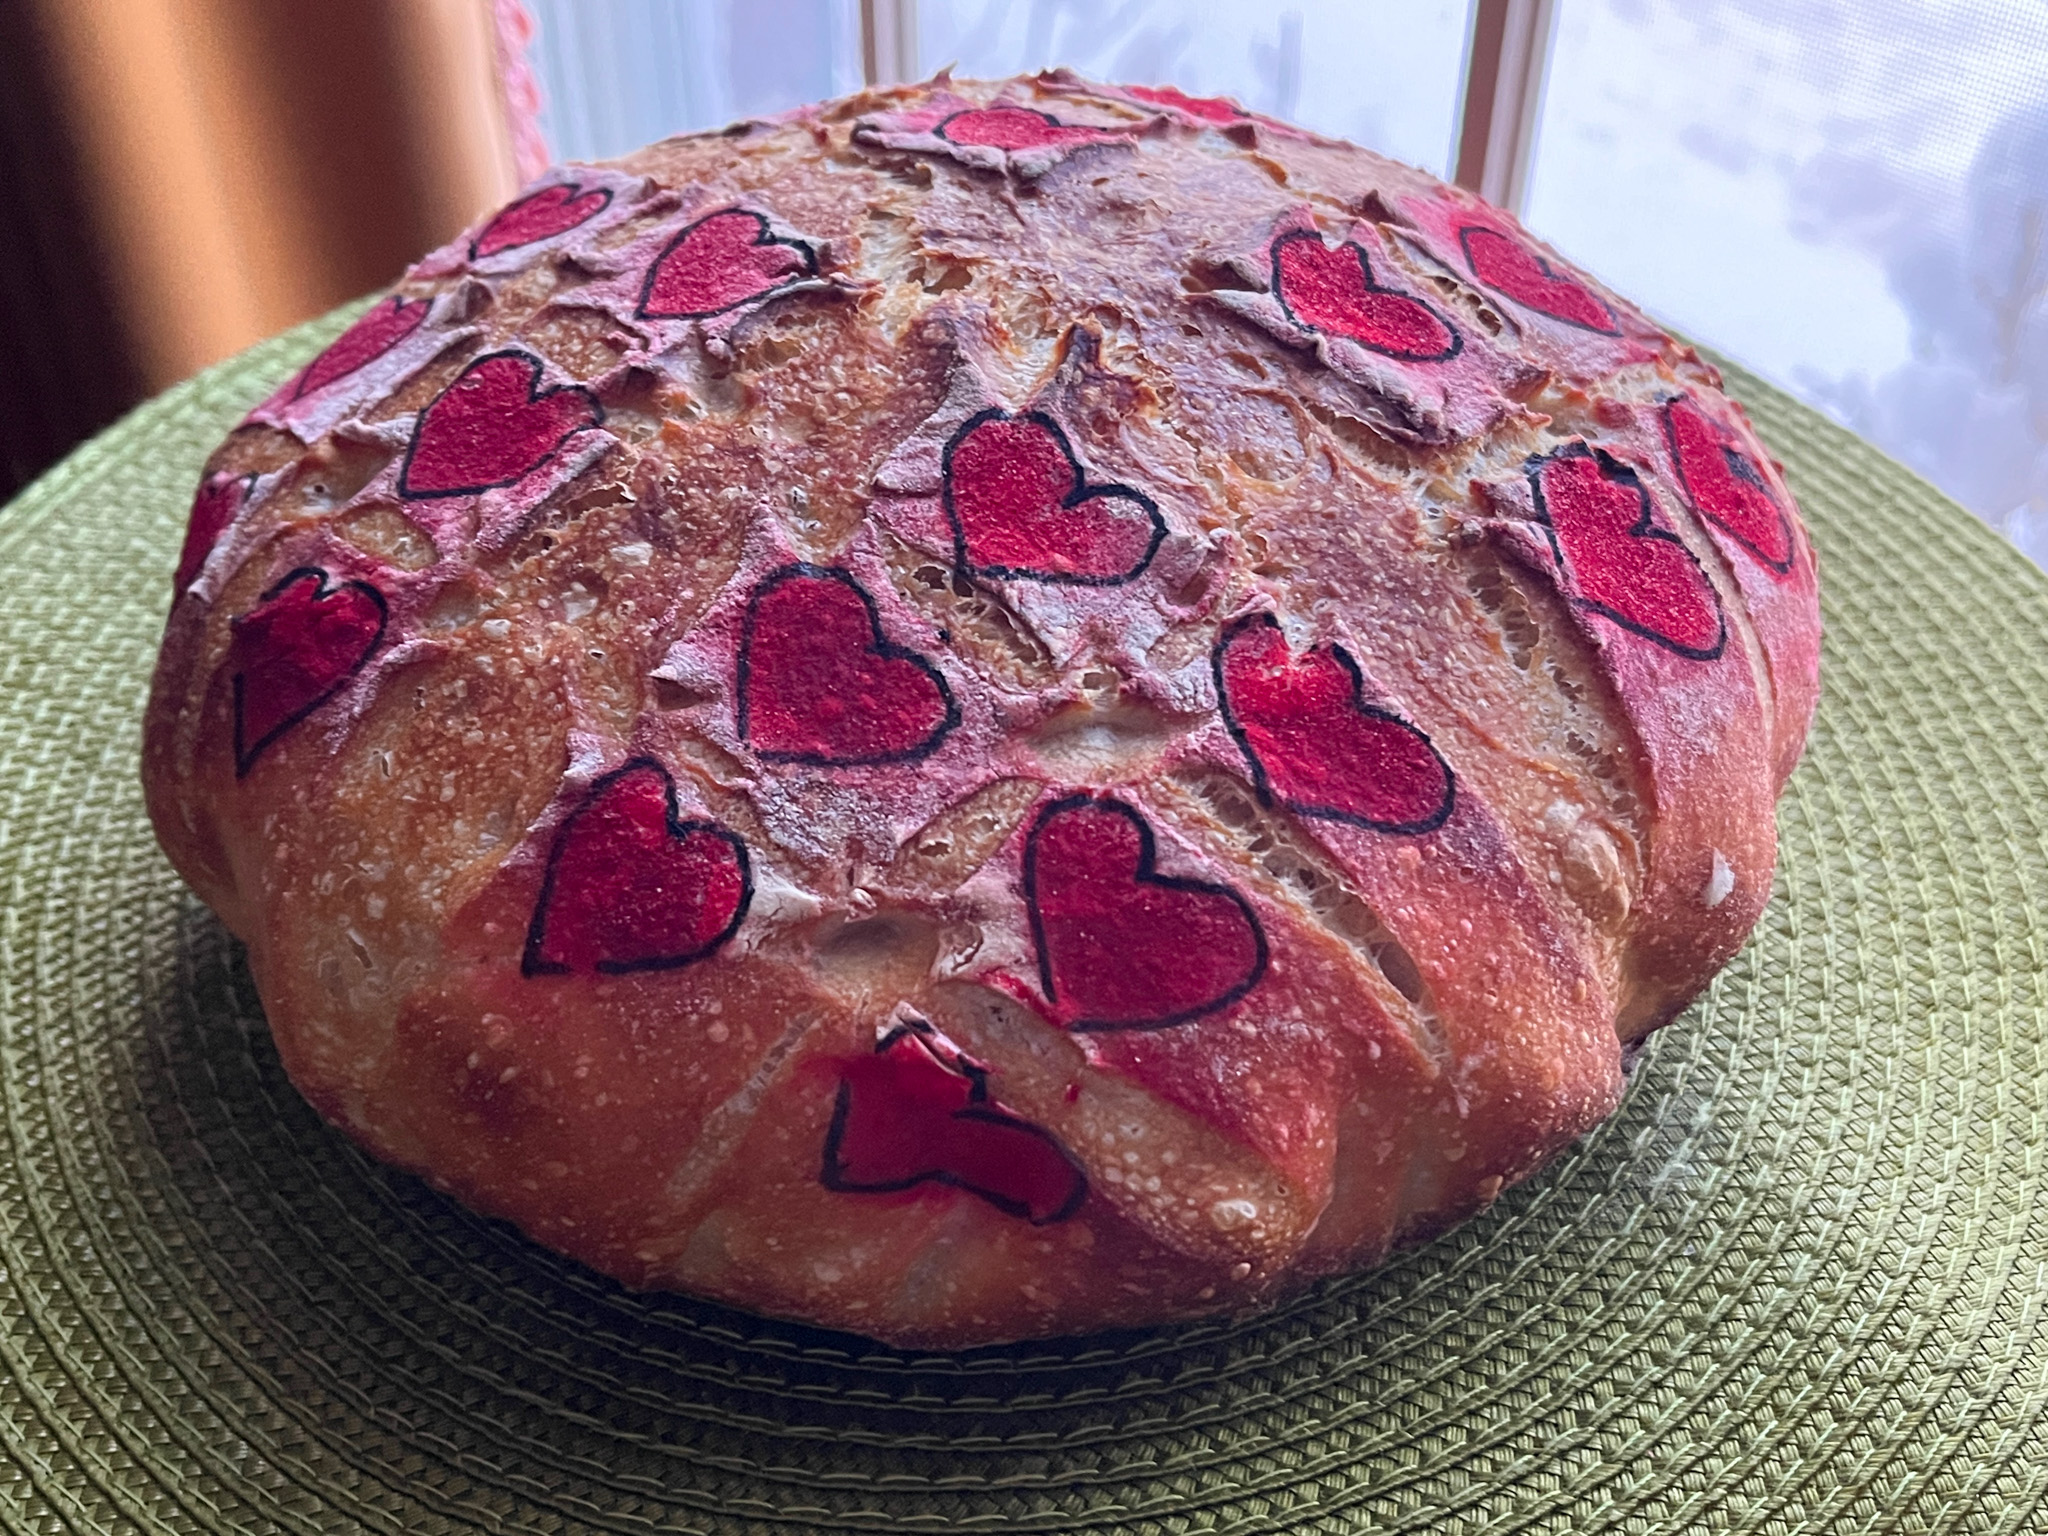
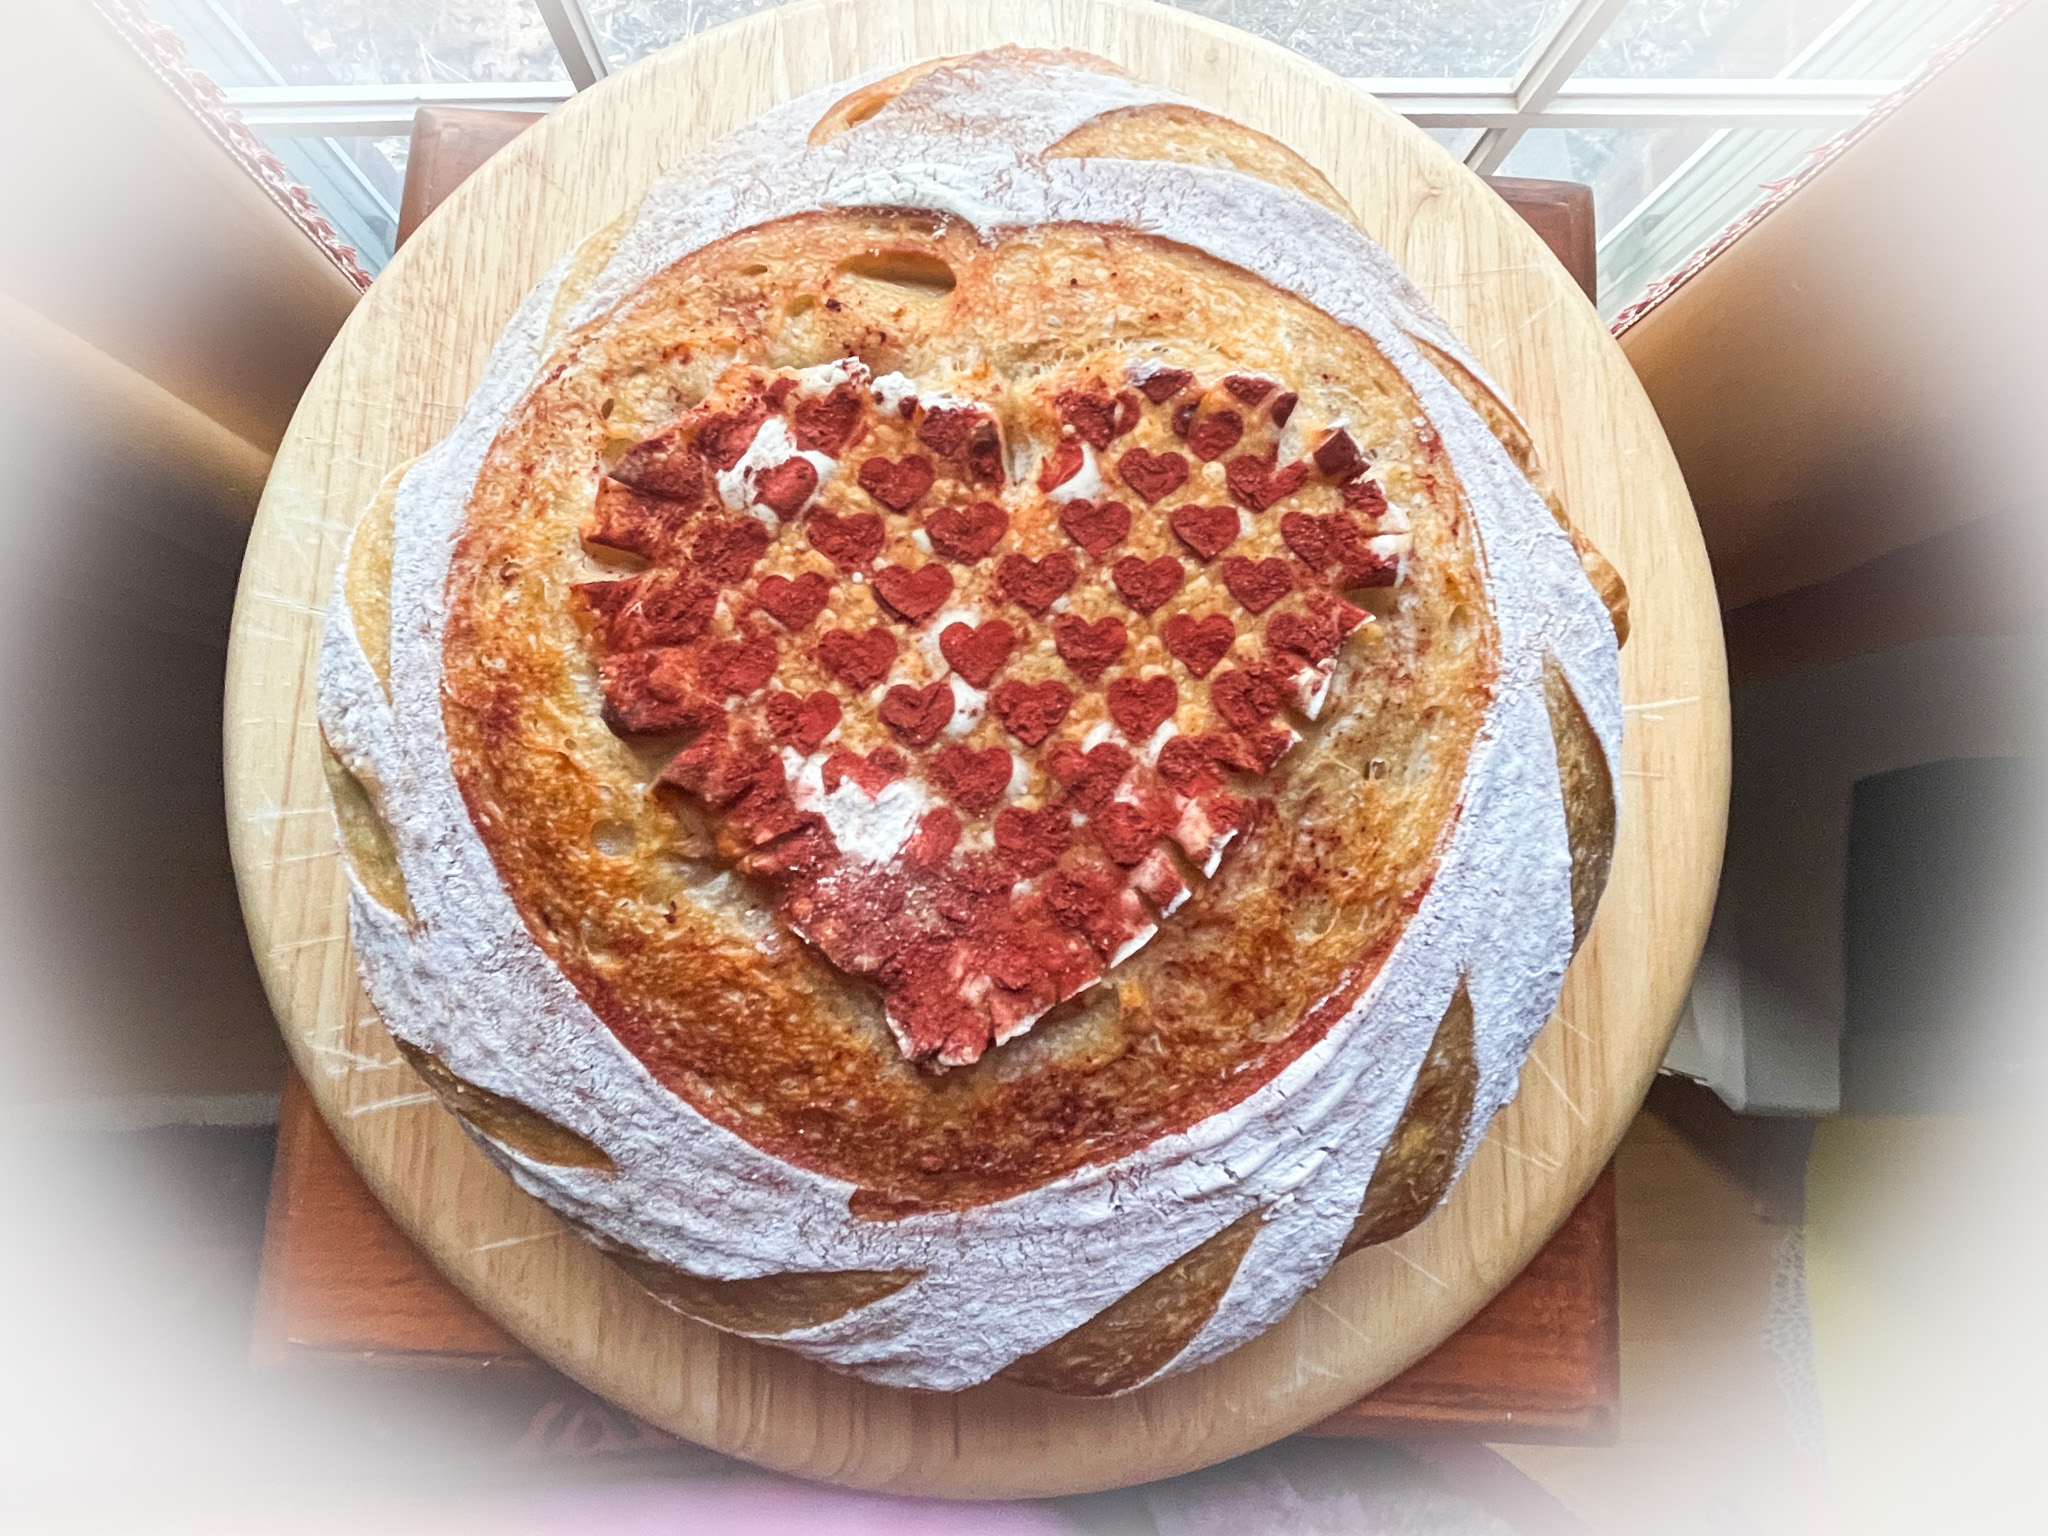
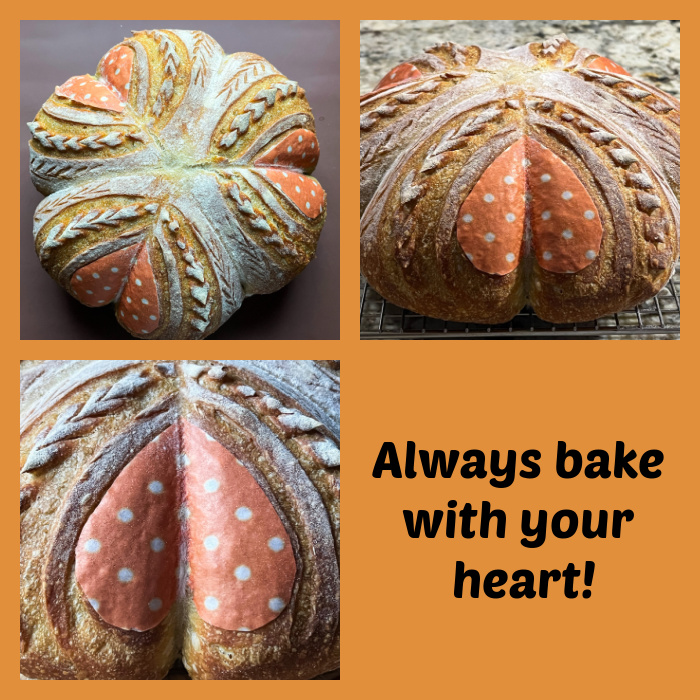
You can use any recipe you are fond of, the scoring is not intricate so you can even increase a bit the hydration level if you prefer. You will need parchment paper cut with a heart shape (save the heart and the outside area), and a stencil with little hearts. I used Red Yeast Powder to add color, but air-brushing would also work. I love how the little white heart popped into the design, totally by accident! Serendipity at work…
VALENTINE’S SOURDOUGH
(from The Bewitching Kitchen)
450g bread flour
50g whole wheat flour
75g sourdough starter (stiff or 100% hydration)
10g salt
360g water
Thai rice flour (or tapioca flour)
Red Yeast Powder for color (I used this one)
Mix all ingredients in the bowl of a KitchenAid type mixer fitted with the dough hook. Knead gently for about 4 minutes (first or second speed maximum).
Transfer dough to a lightly oil bowl and do a bulk fermentation with 4 folds made 45 minutes apart. Before you start the fermentation , remove a very small amount of dough to a small glass container (like those that hold spices), and mark where the level of the dough is with a permanent marker. Keep that at room temperature to monitor fermentation.
After the last folding cycle, keep an eye on the fermentation using the small vial. Ideally you want to let the dough ferment until it is double in size. Depending on the day, temperature of your kitchen, it might take 8 hours or more.
Once bulk fermentation is over, shape the dough as a round ball. Place in the fridge overnight.
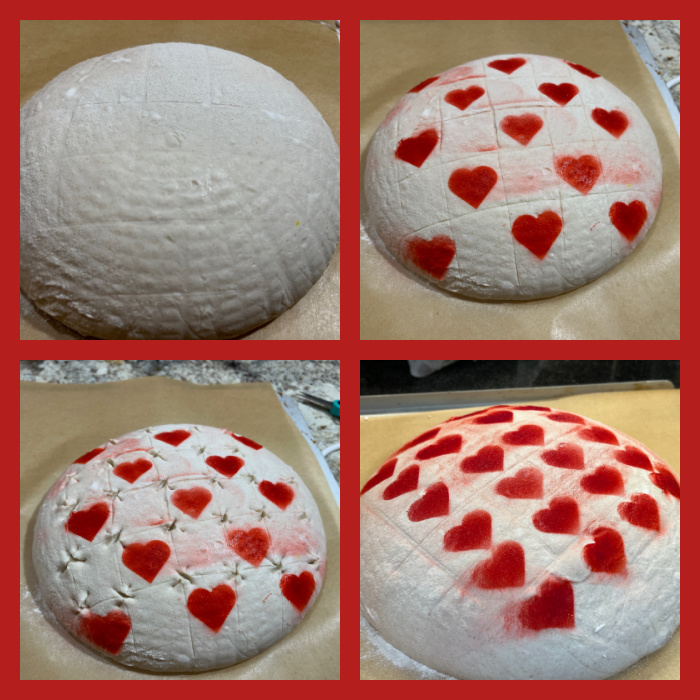
Next day, freeze the dough for 30 minutes in the banetton, to make it easier to score later. Invert the dough on a paper liner, add the heart shape in the center, and flour the region around it (I used Thai rice flour). Lift the heart shape, place the larger parchment as a mask to cover the rest of the dough. Add your stencil, making sure it is tight on the surface. Rub Red Yeast powder over the design, lift the stencil carefully. Score the perimeter of the heart and the outer area of the dough, and place in a Dutch oven.
Close the pan and bake at 450F for 7 minutes. Remove the lid, go back and re-inforce the cut around the heart, although this step is optional. Close the pan and bake for 30 minutes, open and allow the bread to brown for a further 15 minutes.
Cool completely over a rack before slicing.
ENJOY!
to print the recipe, click here
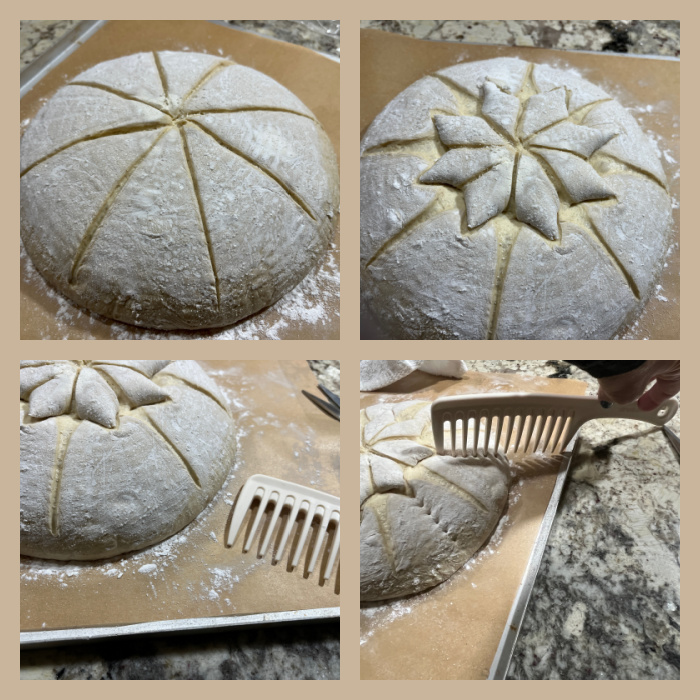
Comments: This was a lot of fun to make, although I could have done a better job keeping the stencil tighter to the surface for a sharper edge around the little hearts. Here is the full process…
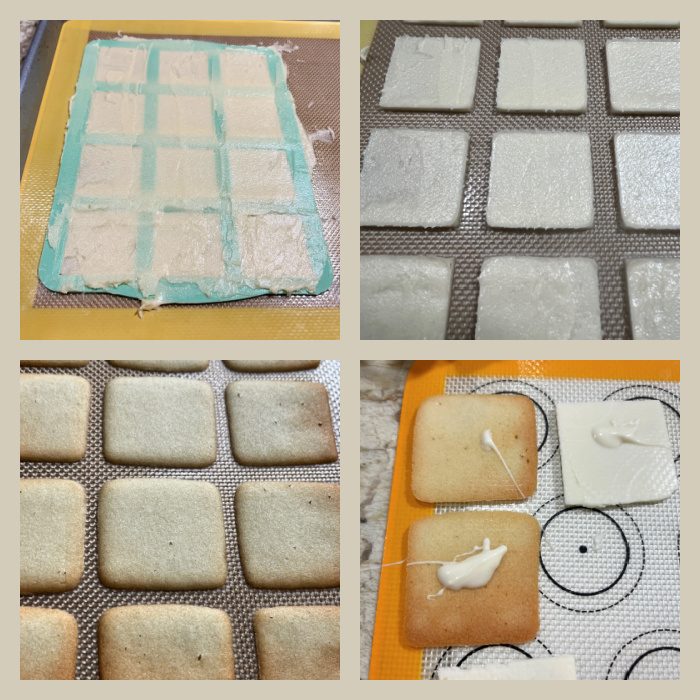
First, get the parchment paper cut and the stencil ready.

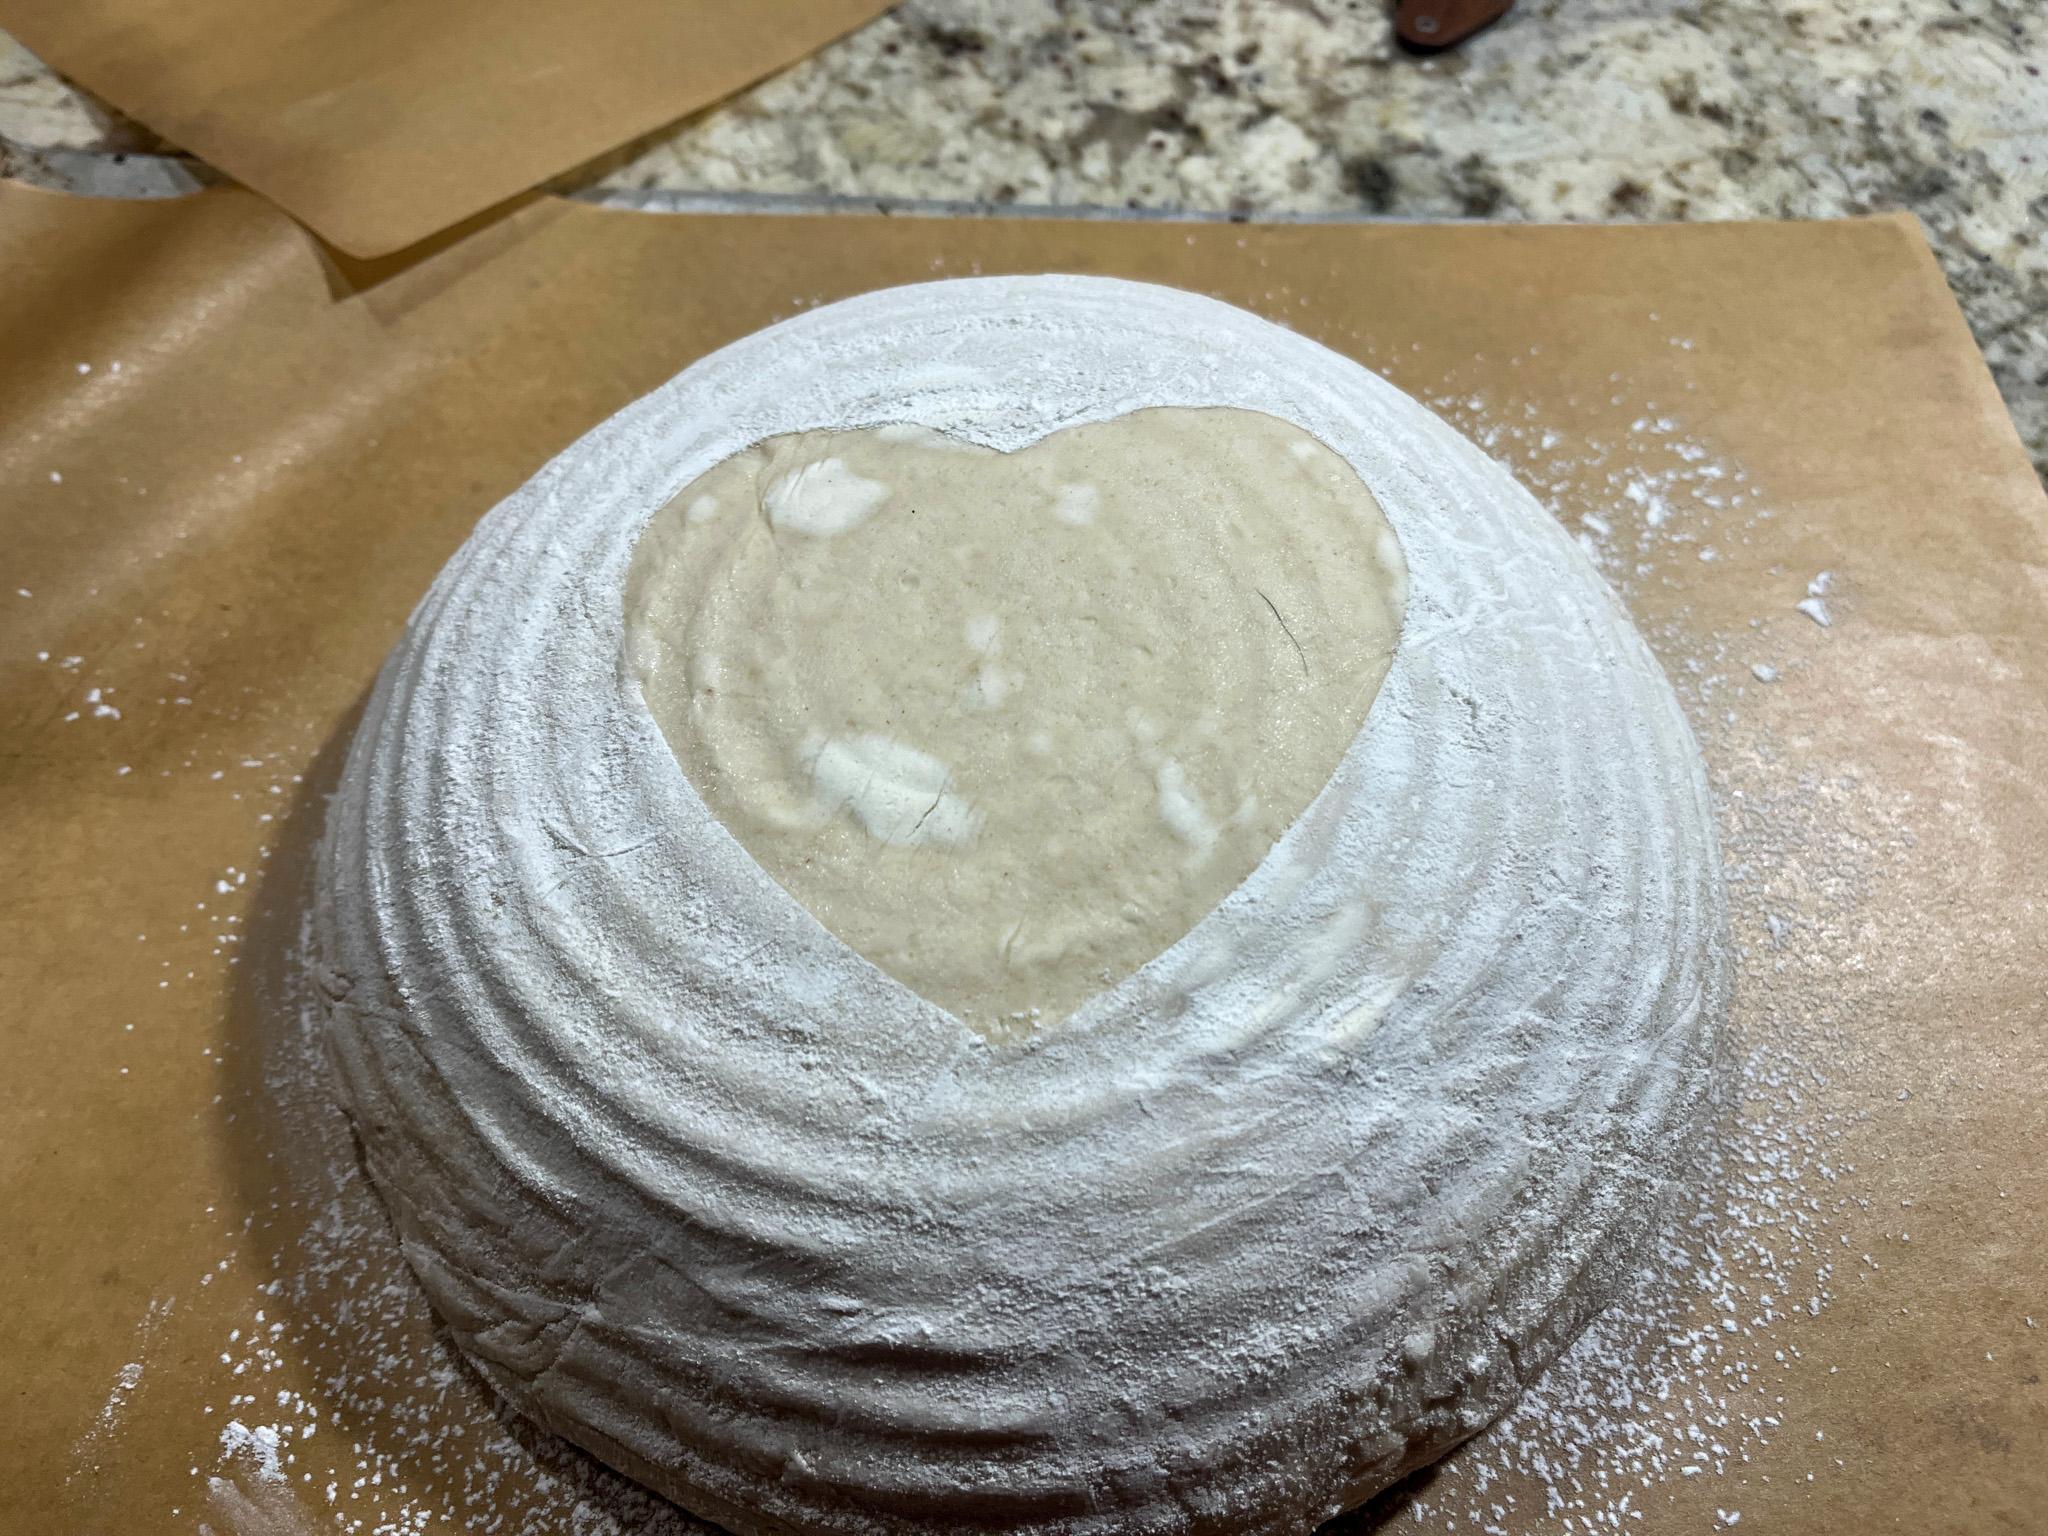
Now start by placing the heart on the top of the loaf, fresh from its little rest in the freezer… Rub flour all around.
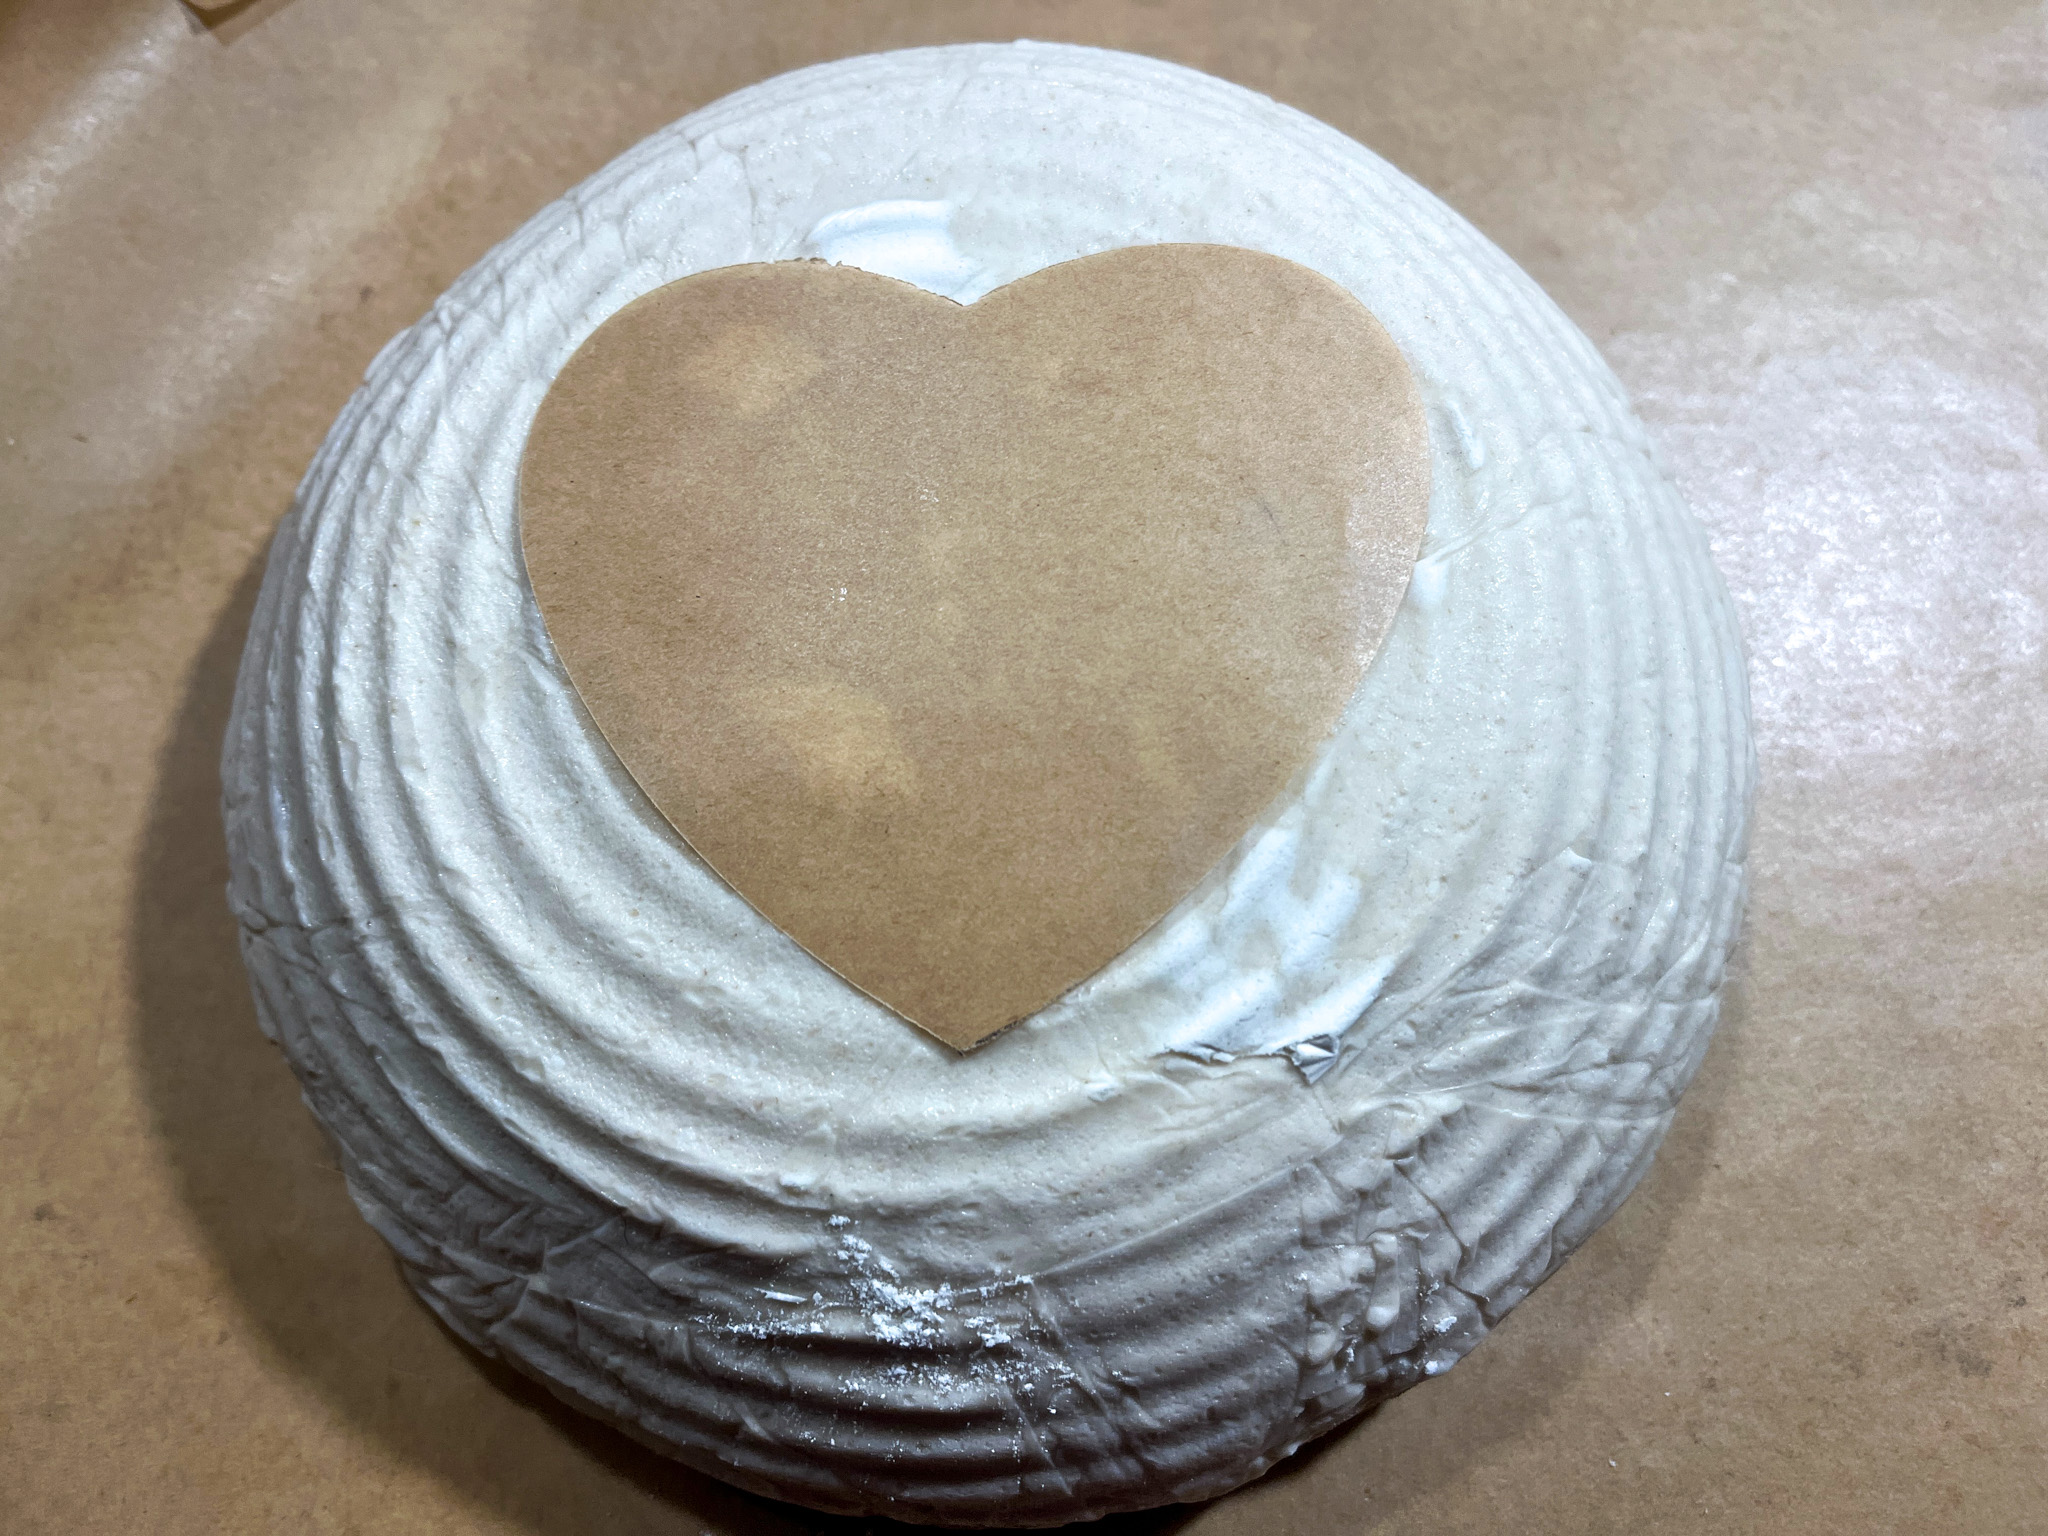
Lift the stencil, revealing the heart underneath with no white flour on it…
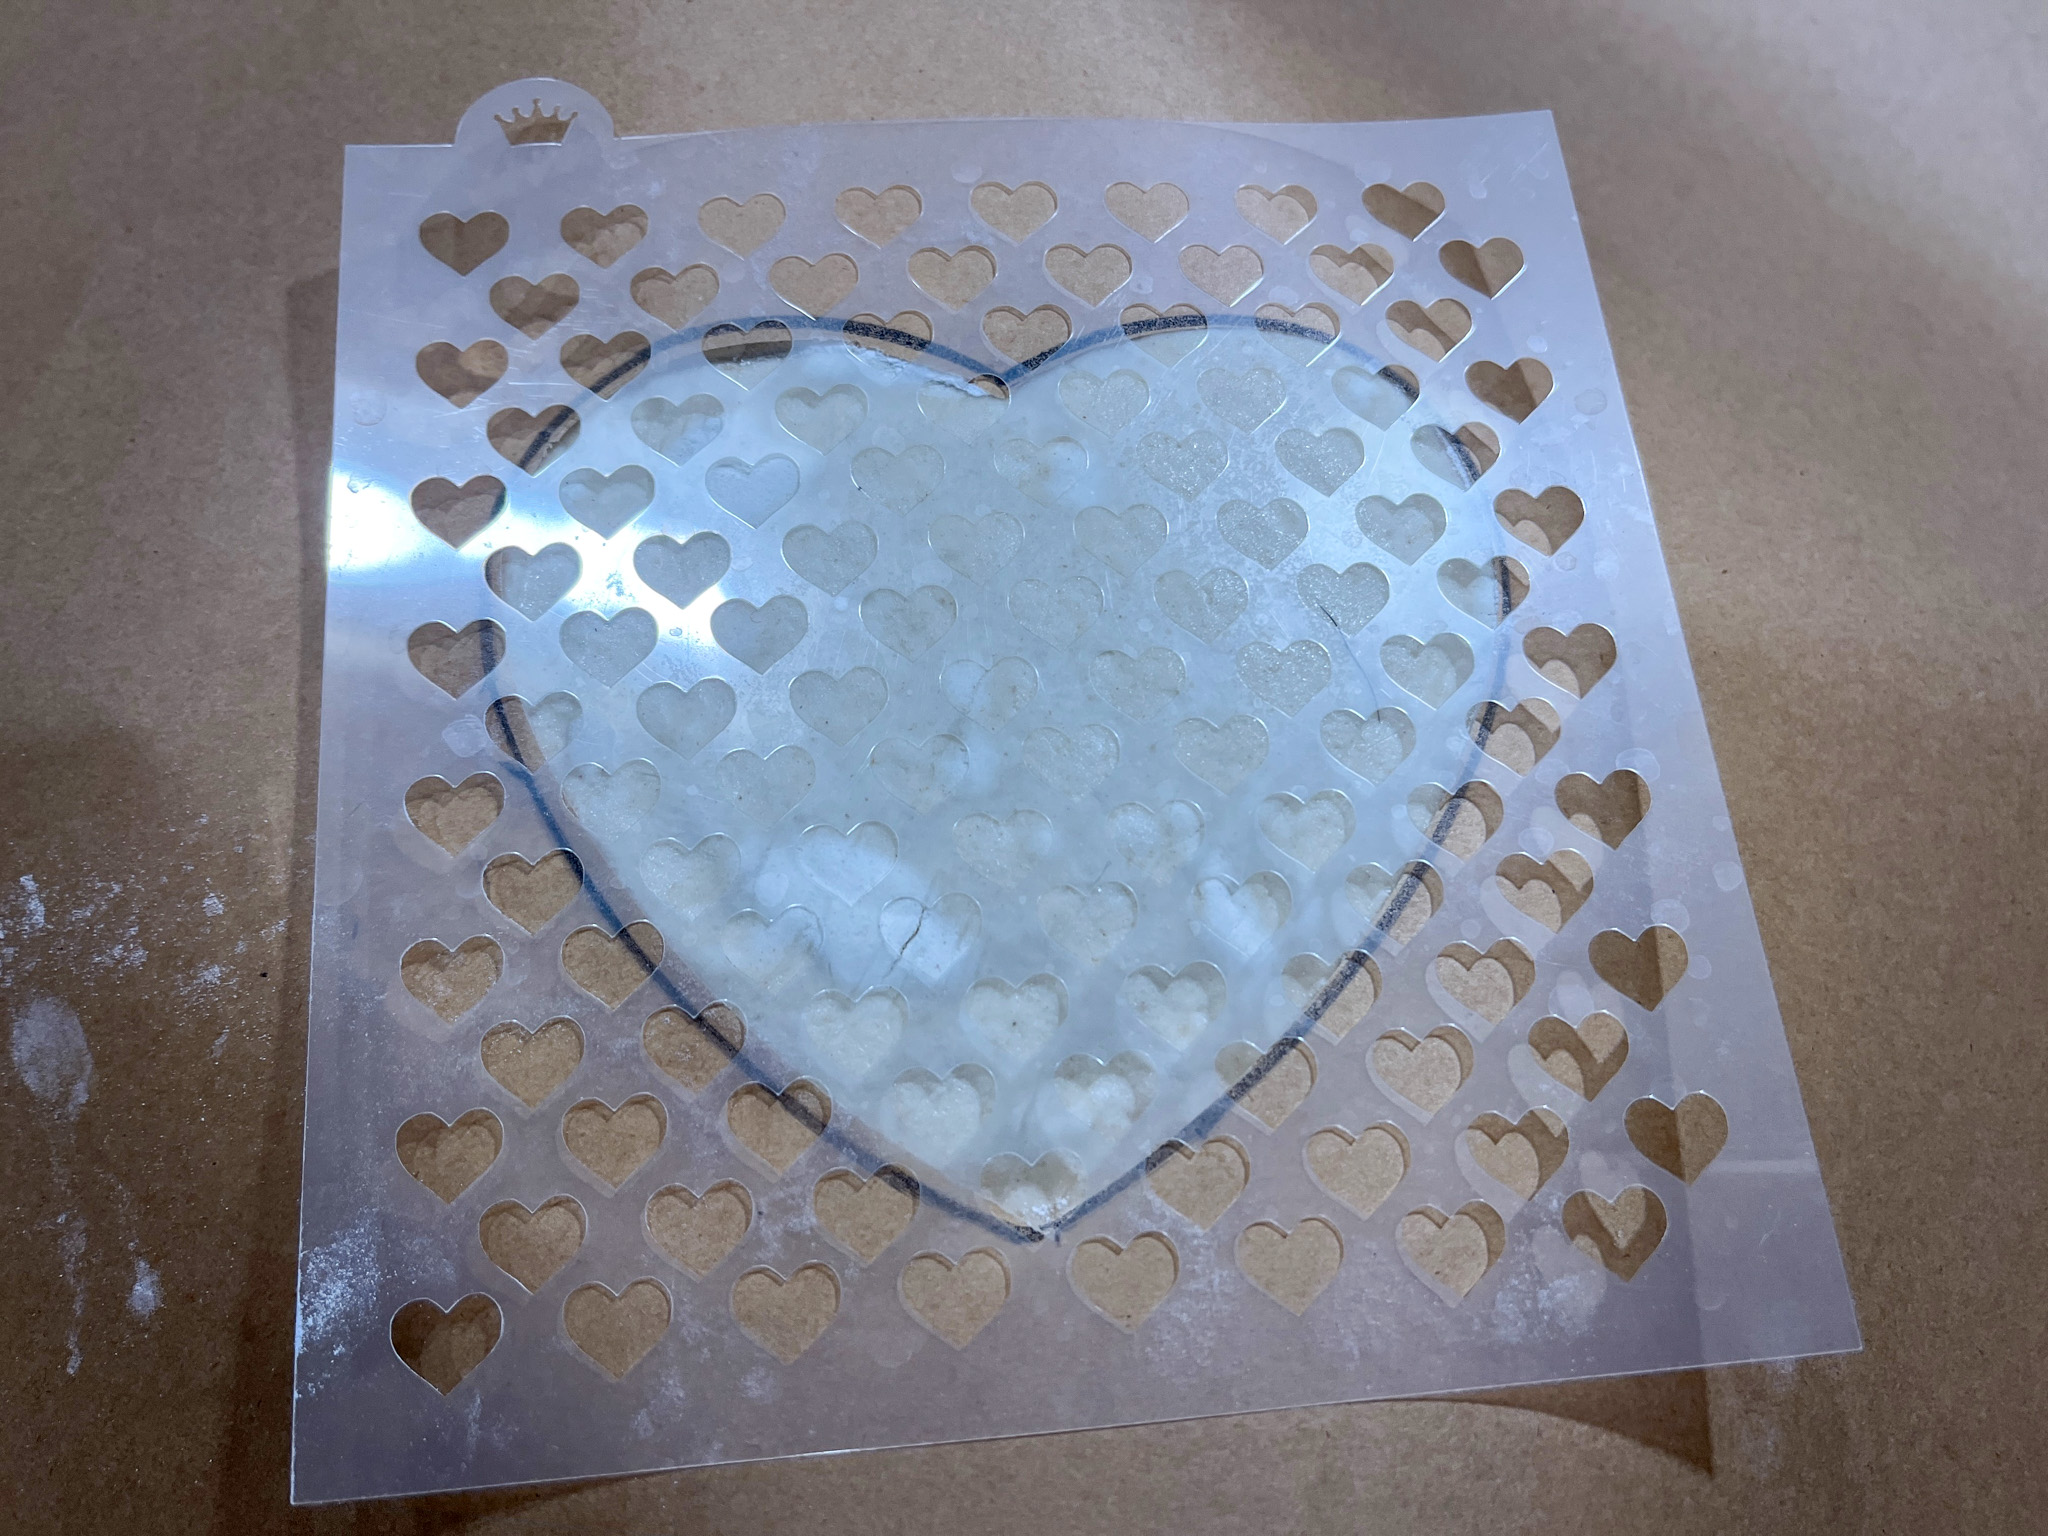
Place the parchment paper as a mask hiding the areas outside the heart, the stencil on top of it…
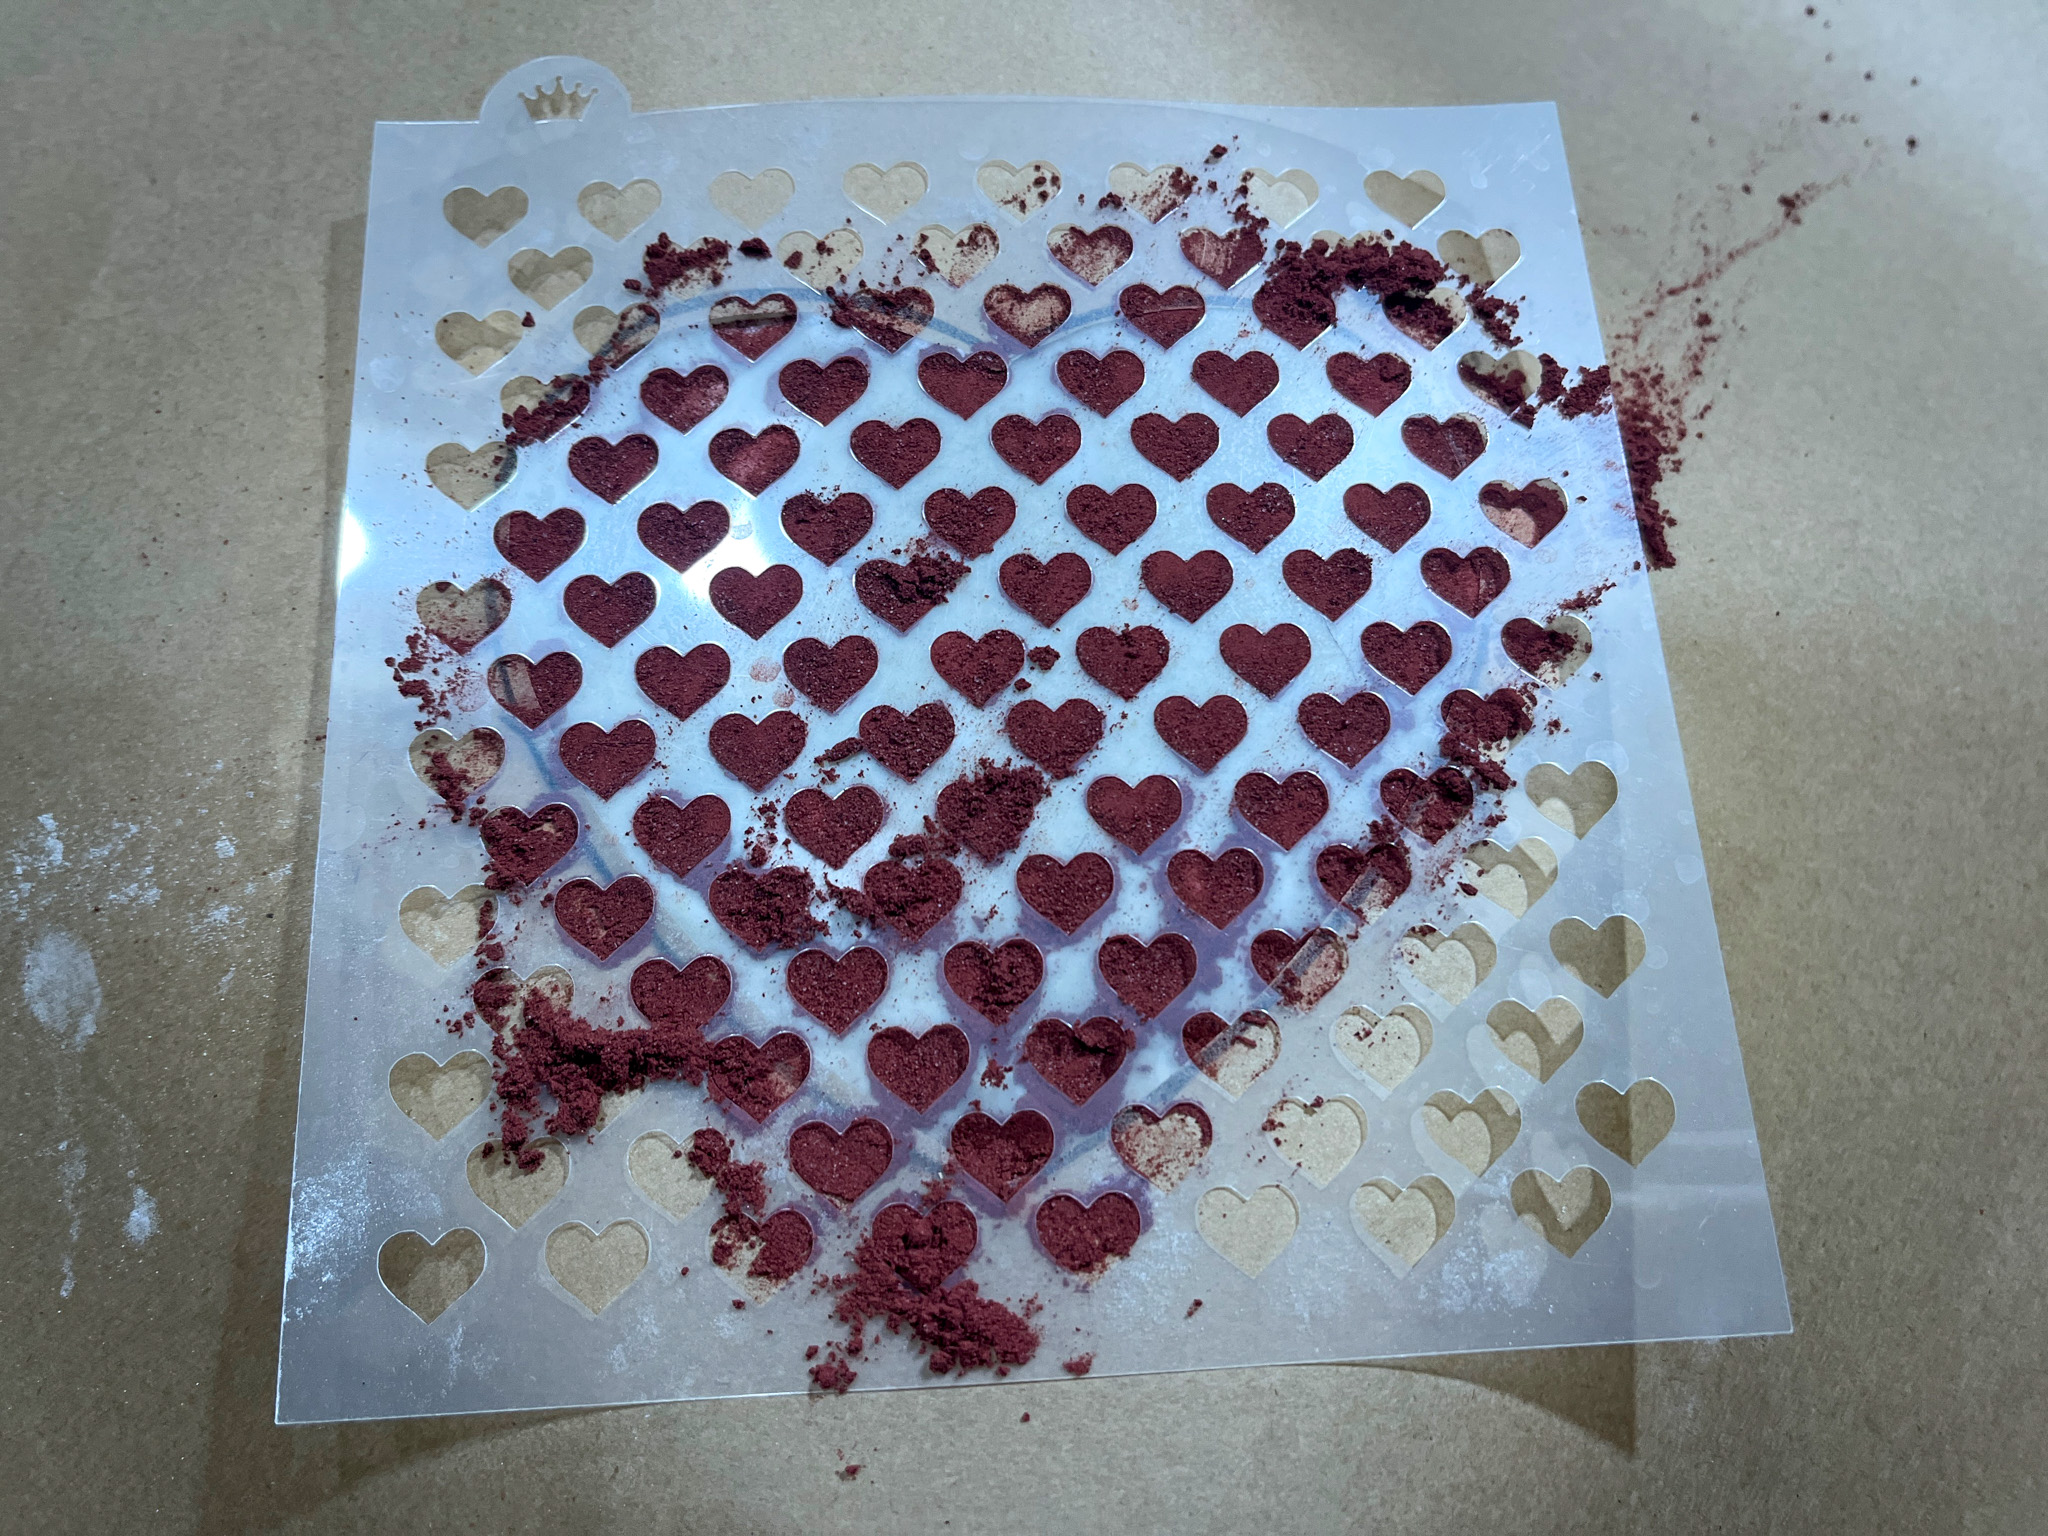
Rub the red powder over the design…
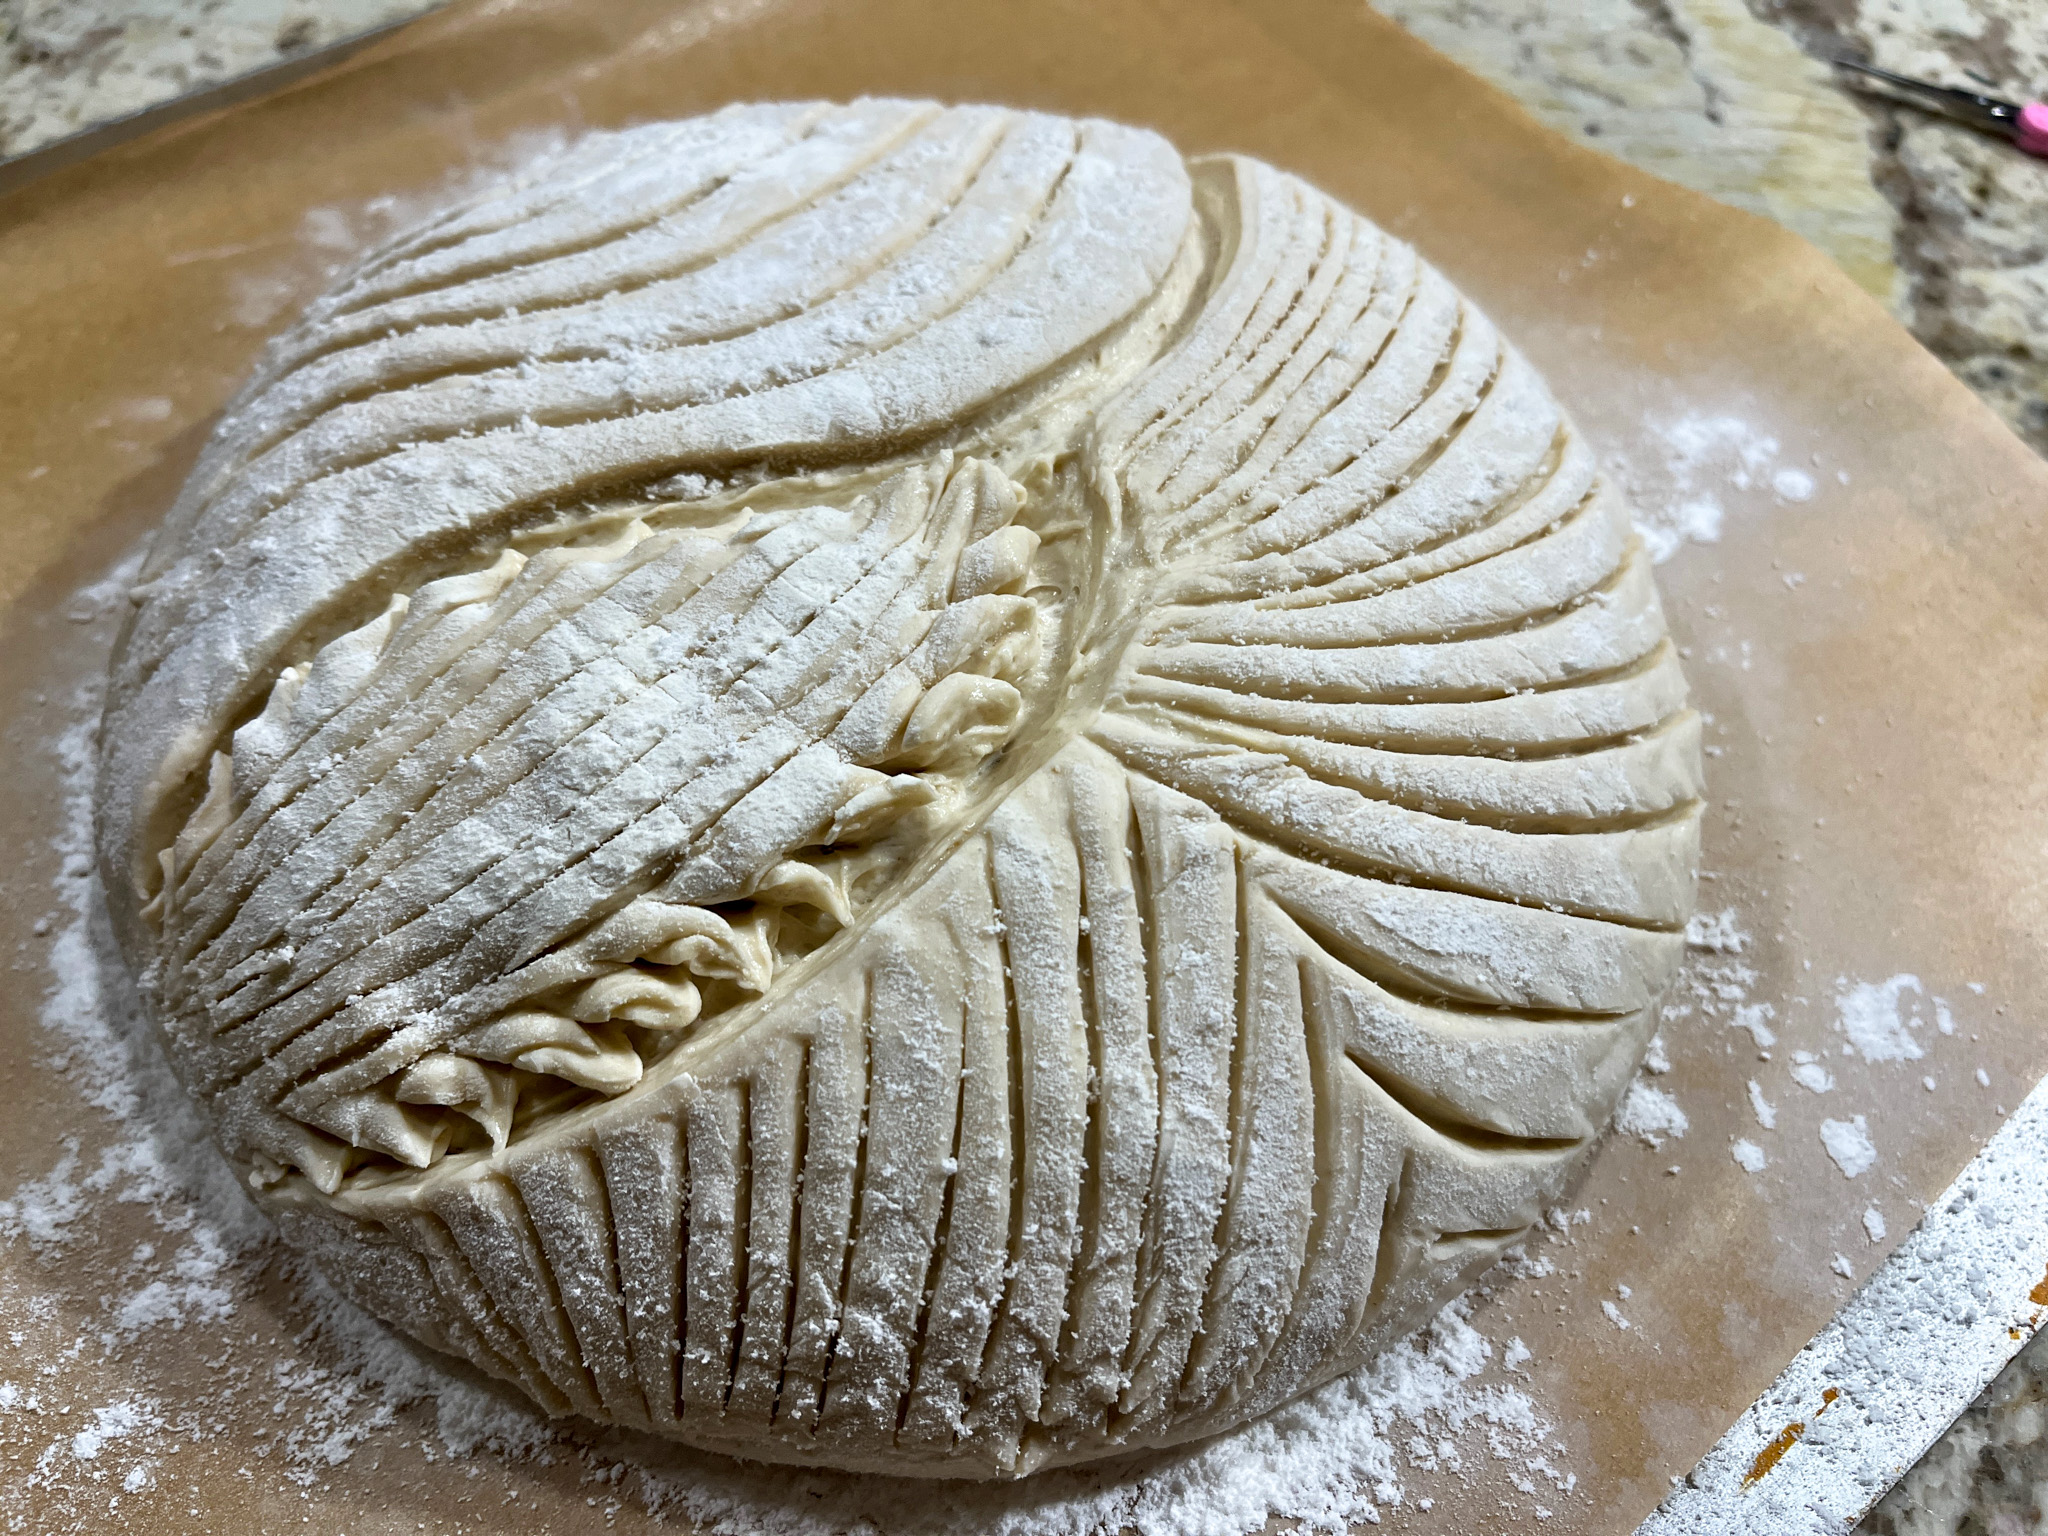
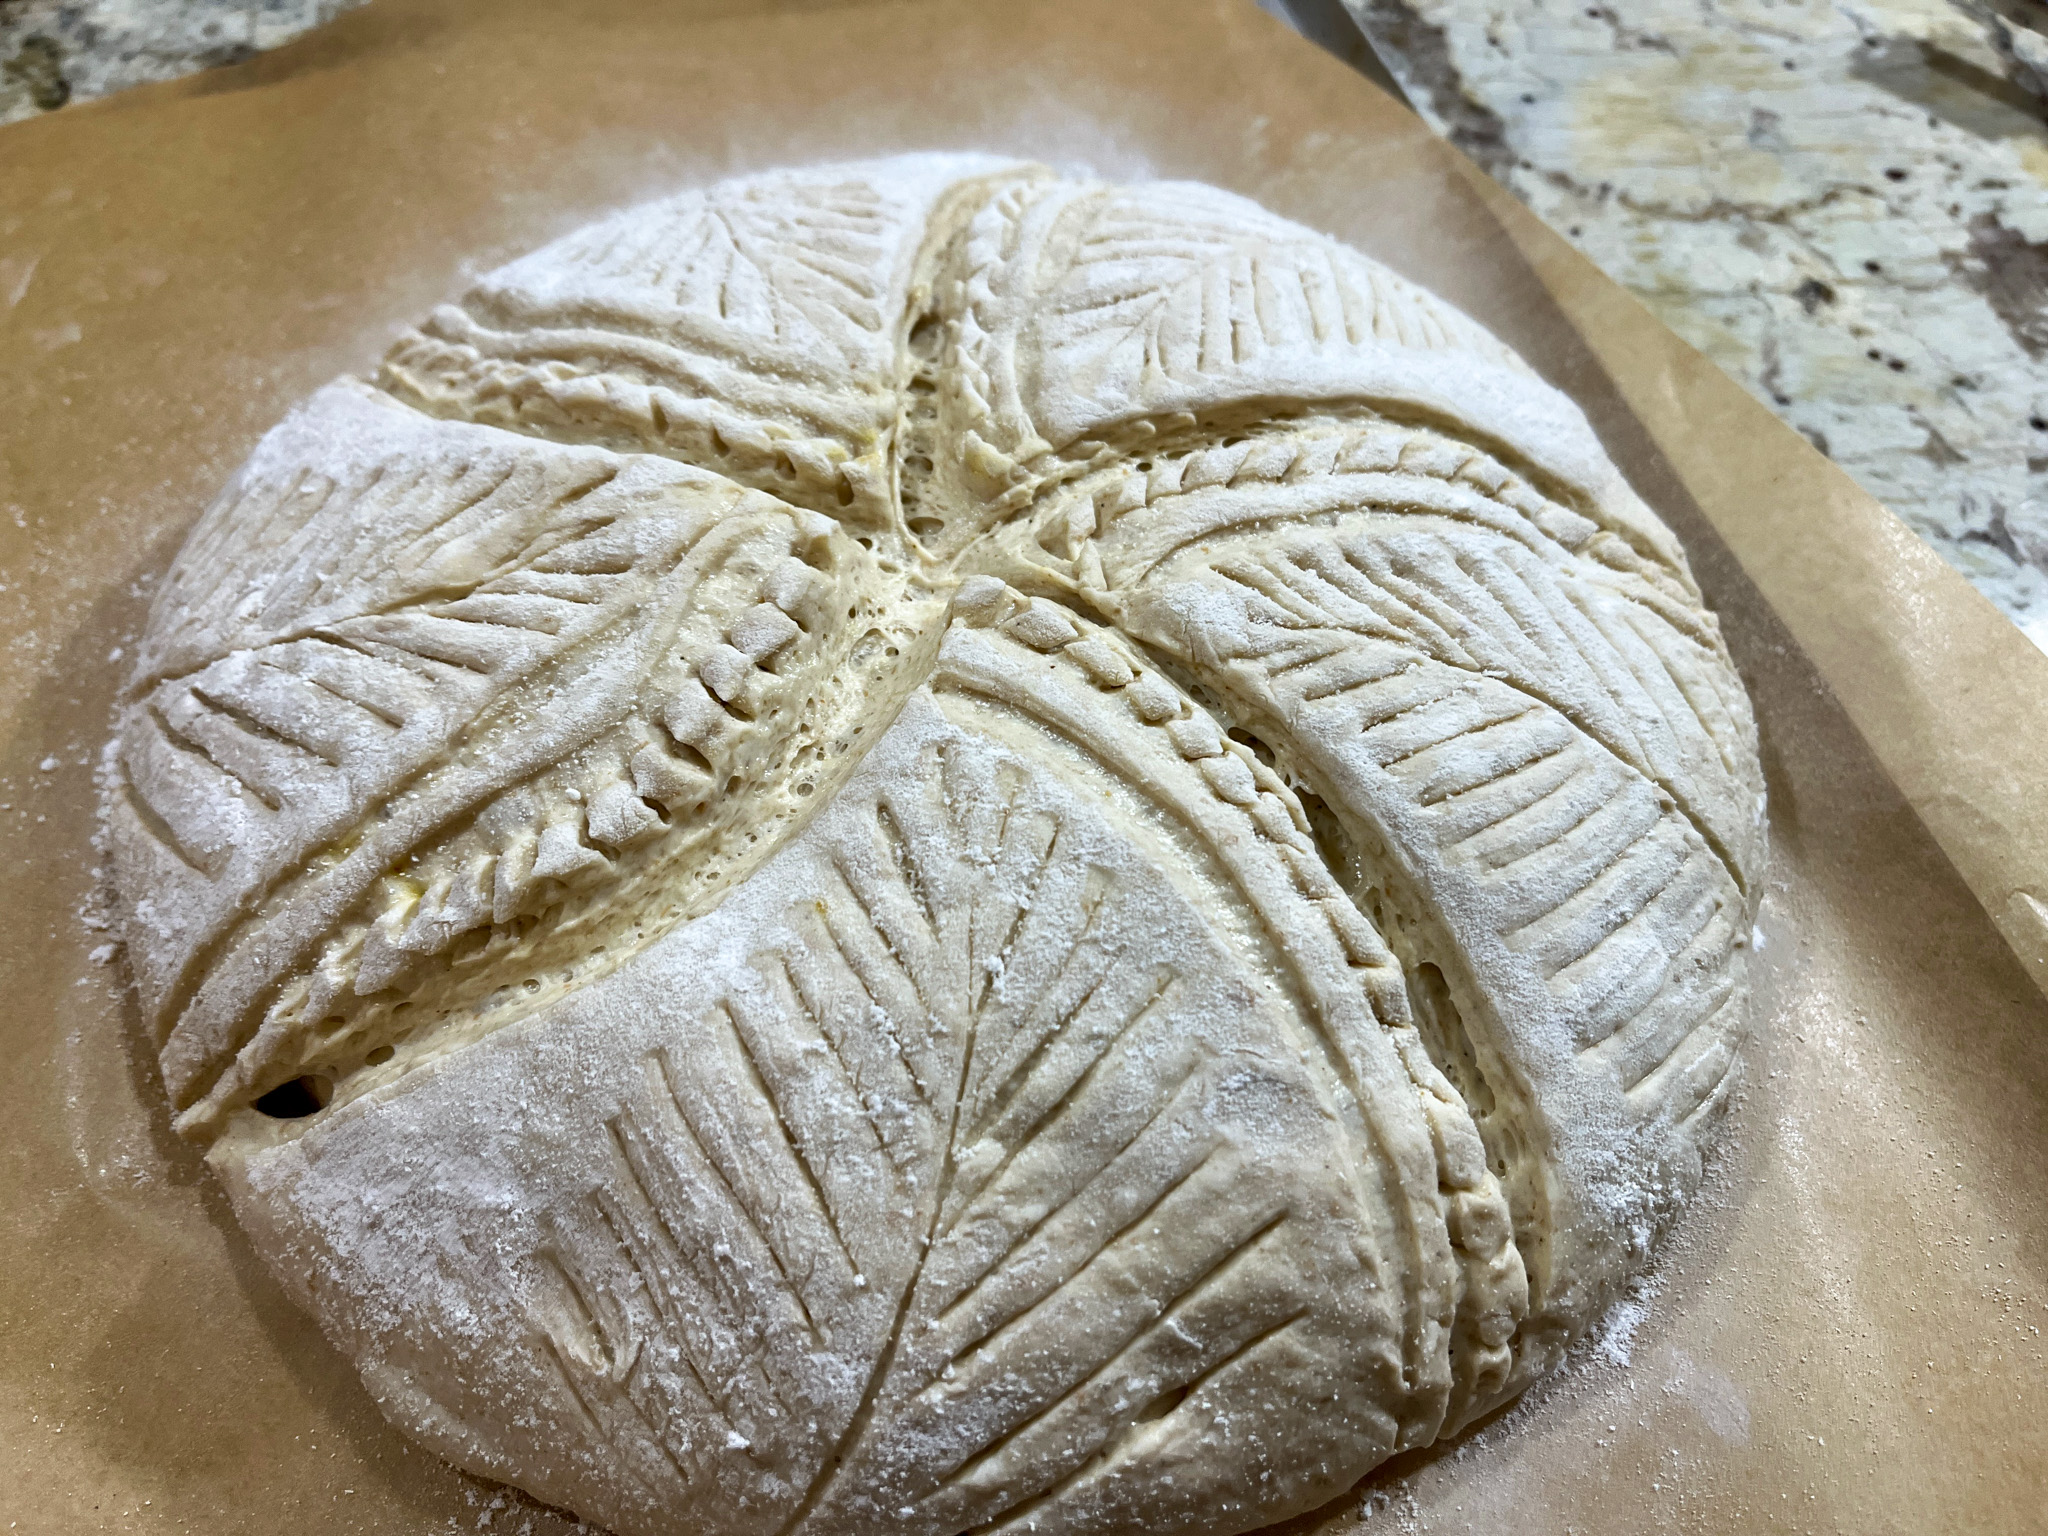
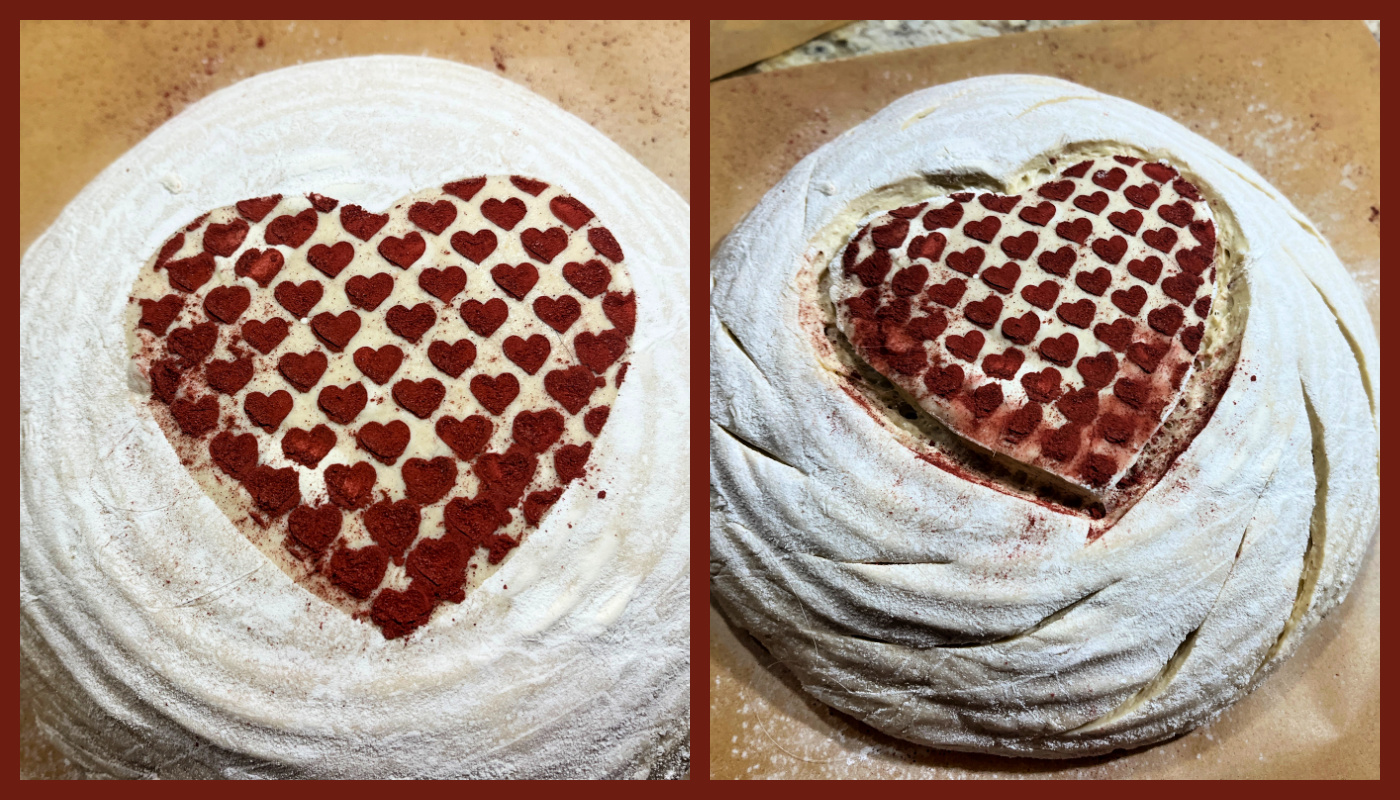
Gently lift the stencil, score the dough and you are ready to bake!
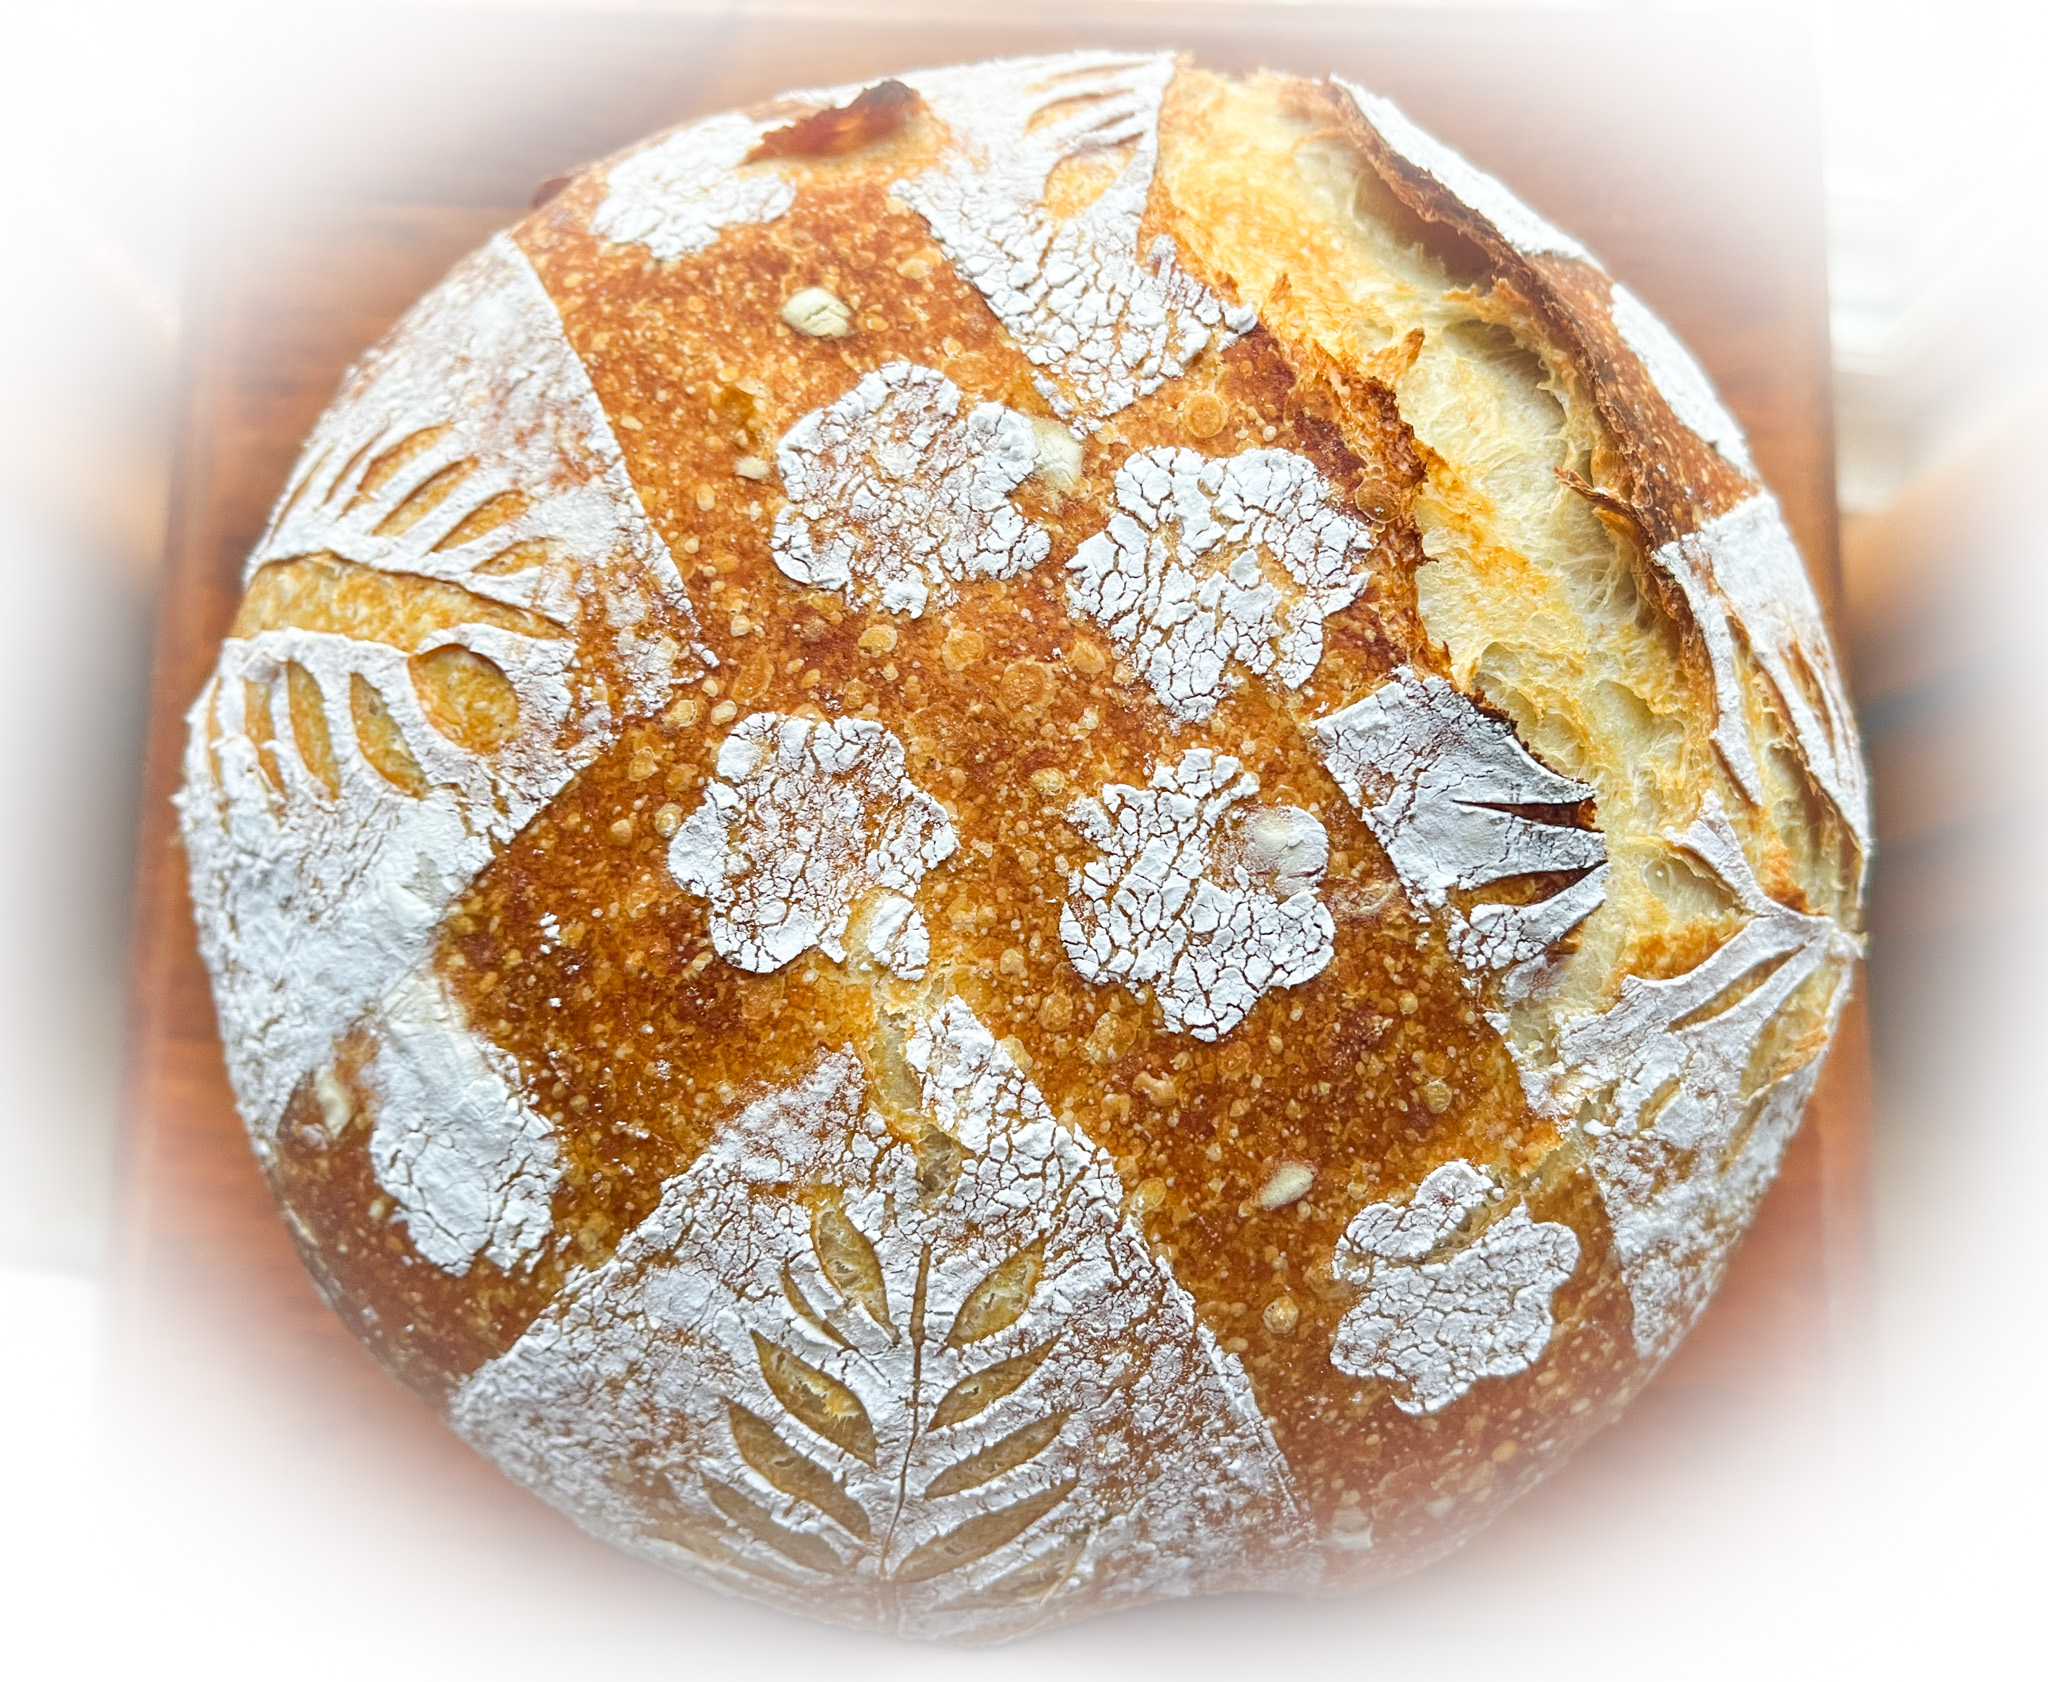
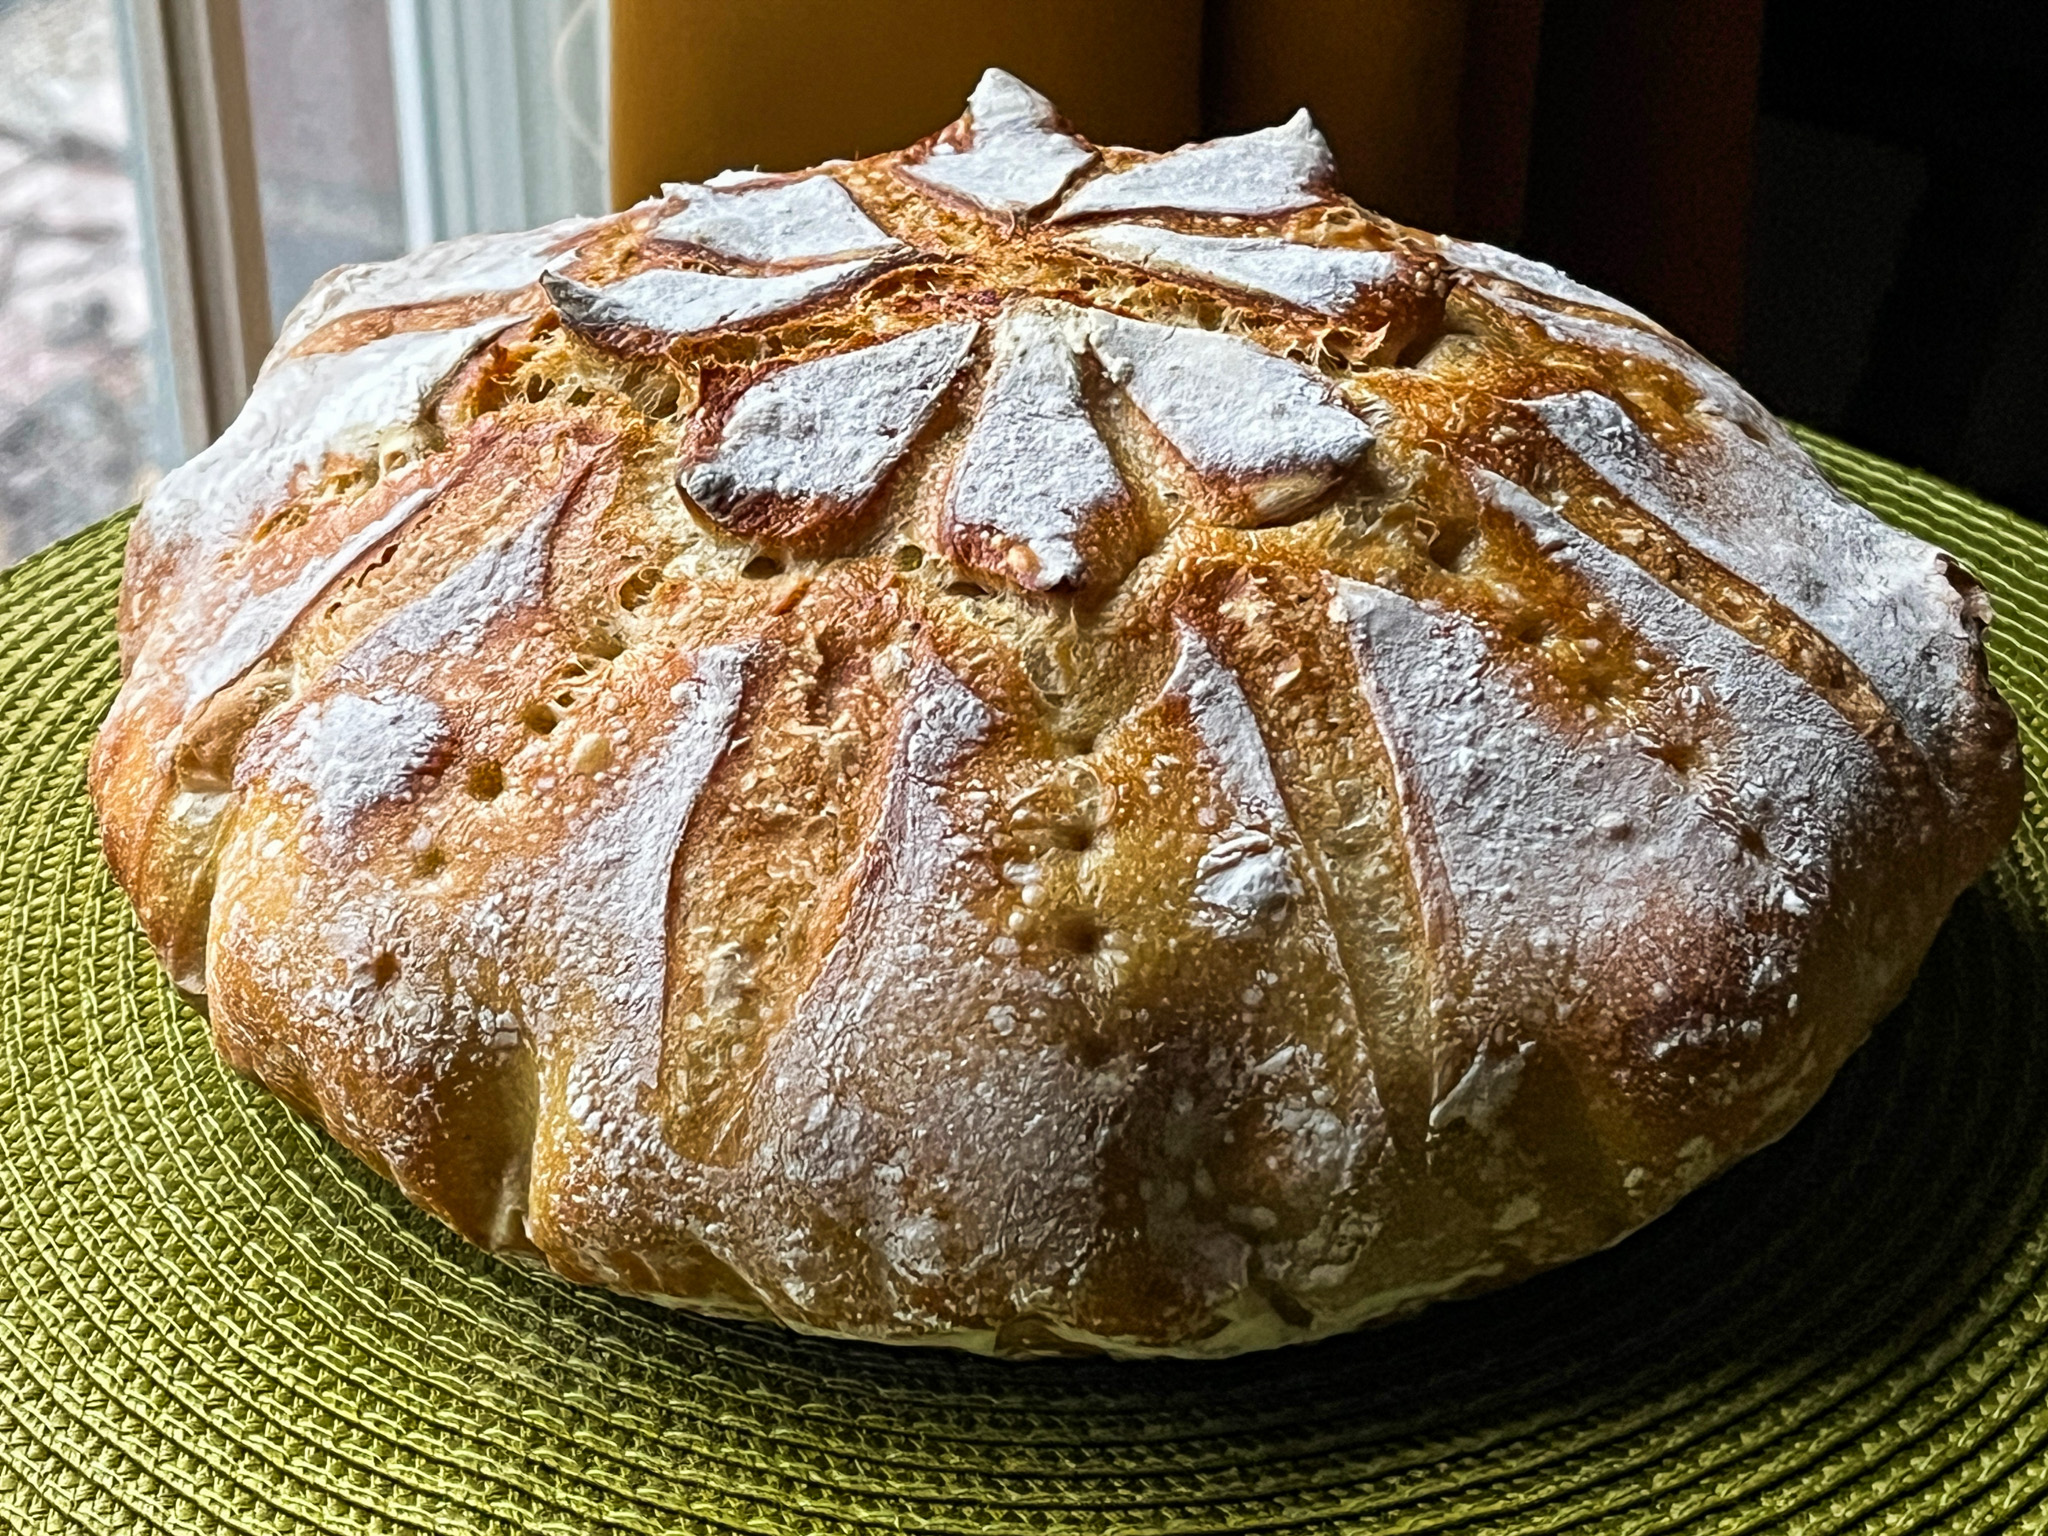
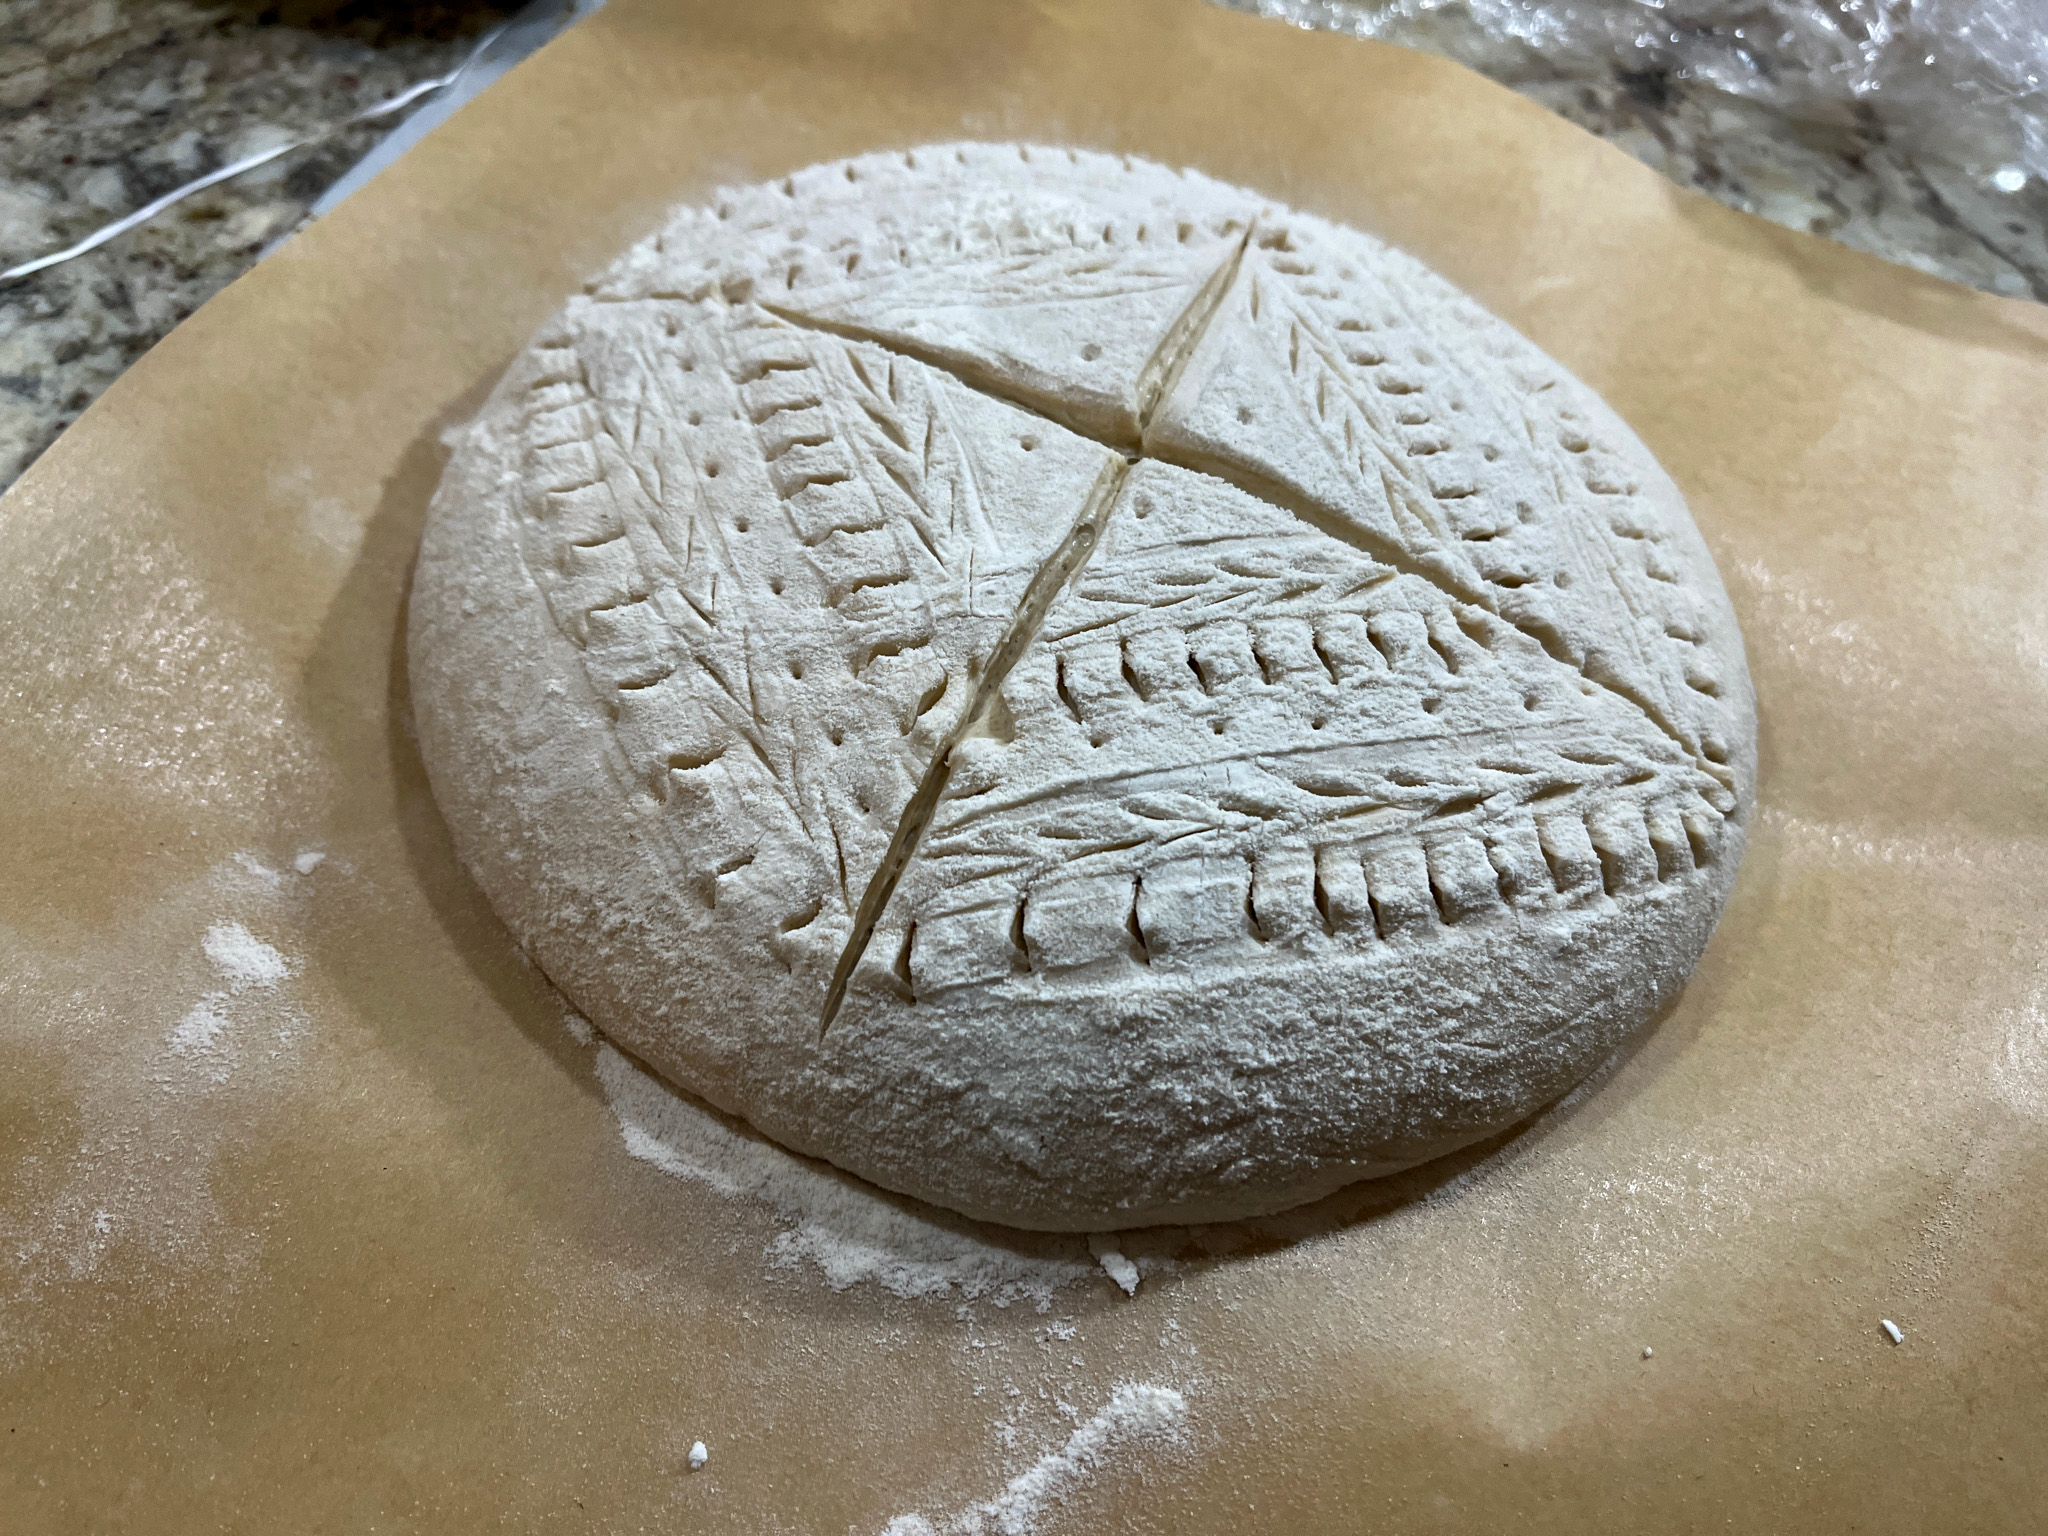
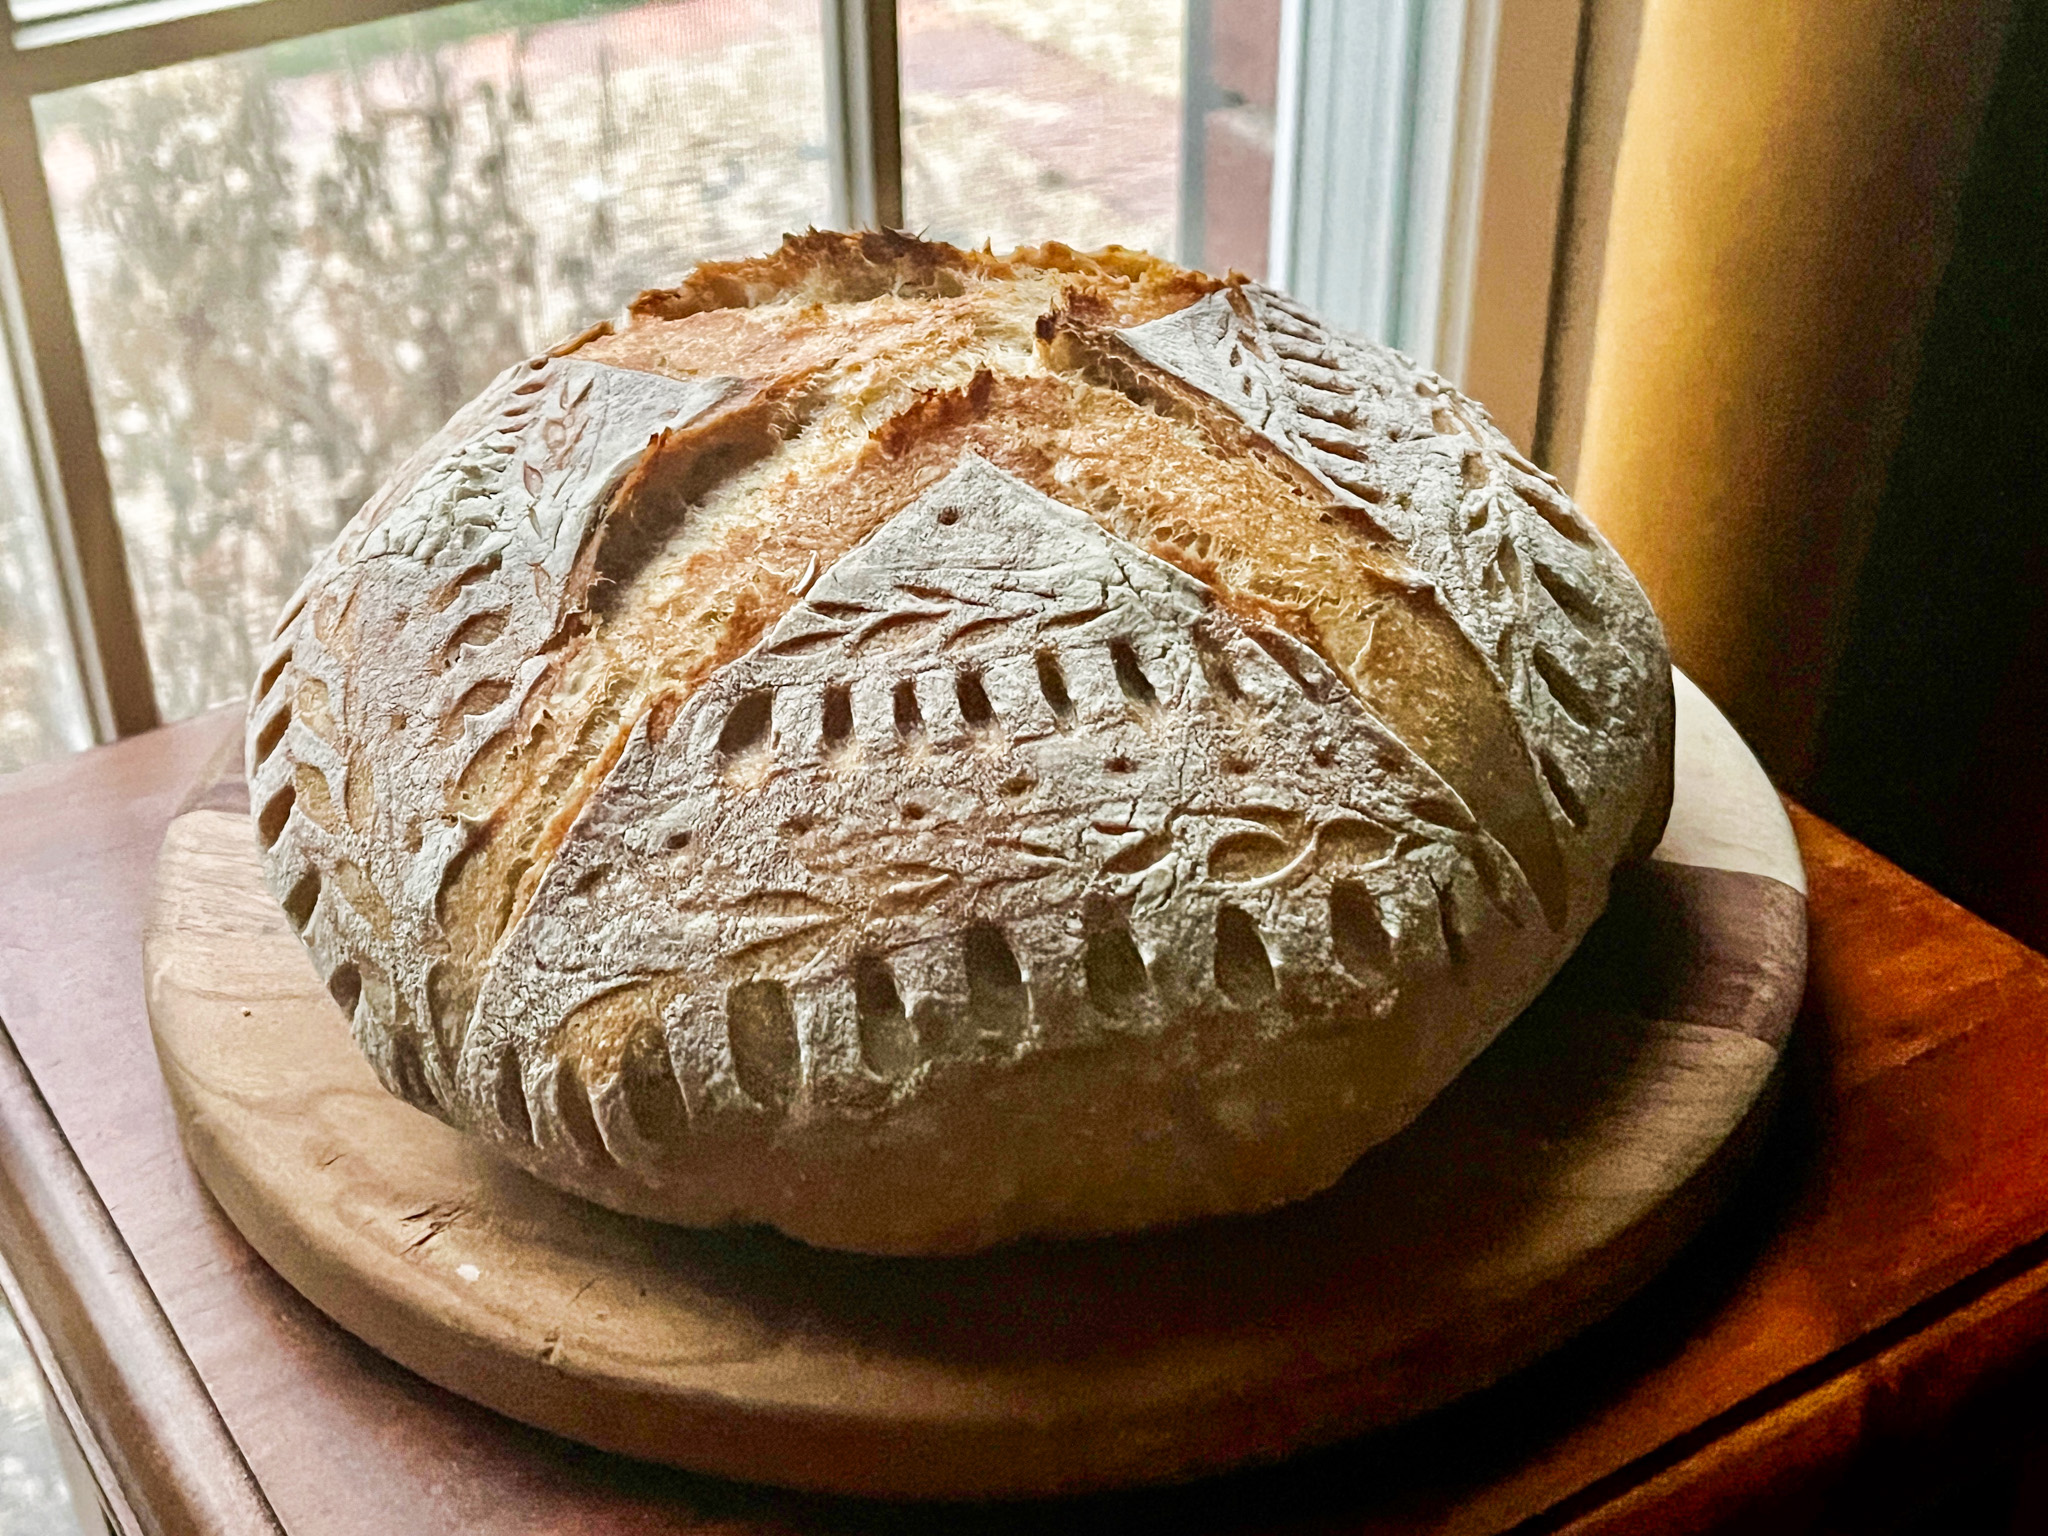
I close this post with a baking memory from 2023 (click here for full details)
ONE YEAR AGO: Yogurt and Pistachio Sourdough
TWO YEARS AGO: Chinese-Style Orange Chicken goes Light
THREE YEARS AGO: Roasted Cauliflower with Chickpeas and Quinoa
FOUR YEARS AGO: A Savory Phyllo Pie
FIVE YEARS AGO: Nut-Free Lady Grey Macarons
SIX YEARS AGO: Mini-Heart Cakes for your Valentine
SEVEN YEARS AGO: Blue Moon Milk
EIGHT YEARS AGO: Slow-Cooked Chicken Meatballs
NINE YEARS AGO: Zesty Flourless Chocolate Cake
TEN YEARS AGO: Maple Pumpkin Pecan Snacking Cake
ELEVEN YEARS AGO: Silky Gingered Zucchini Soup
TWELVE YEARS AGO: Sweet Fifteen!
THIRTEEN YEARS AGO: Sesame and Flaxseed Sourdough
FOURTEEN YEARS AGO: Green Beans with Miso and Almonds
FIFTEEN YEARS AGO: Saturday Morning Scones
SIXTEEN YEARS AGO: White Bread