A sourdough loaf to celebrate the season…

RAS-EL-HANOUT CHRISTMAS SOURDOUGH
(from the Bewitching Kitchen)
480g bread flour
20g spelt flour
75g sourdough starter at 100%
10g salt
335g water
1/2 tsp Ras-El-Hanout
Make the levain mixture about 6 hours before you plan to mix the dough. It should be very bubbly and active.
When you are ready to make the final dough, place the water in the bowl of a KitchenAid type mixer and dissolve the starter in it, mixing with a spatula briefly, then add the two types of flour, salt and spices. Turn the mixer on with the hook attachment and knead the dough for 4 minutes at low-speed all the time. You will notice the dough will gain quite a bit of structure even with just 4 minutes in the mixer. Remove from the machine, and transfer to a container lightly coated with oil, cover lightly with plastic wrap and allow it to ferment for 4 hours, folding every 45 minutes or so. Because the dough is already a bit developed from the initial time in the mixer, you should get very good structure after 3 and a half hours, or even sooner than that.
After four hours bulk fermentation, shape the dough as a ball, and place, seam side up, in a lightly floured banetton. Leave at room temperature one hour, and then place in the fridge overnight, from 8 to 12 hours.
Next morning, heat the oven to 450F.
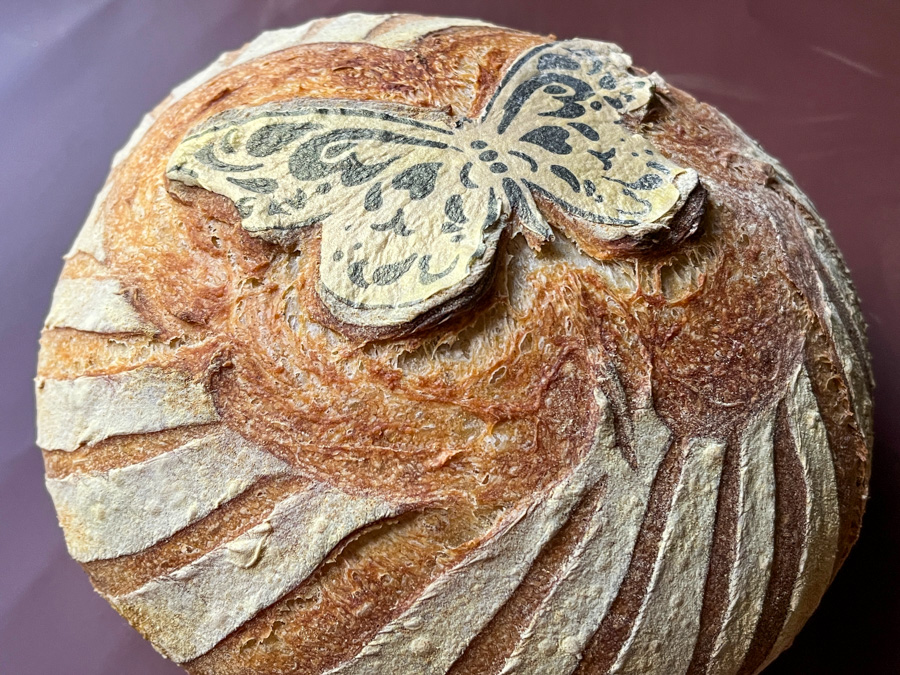
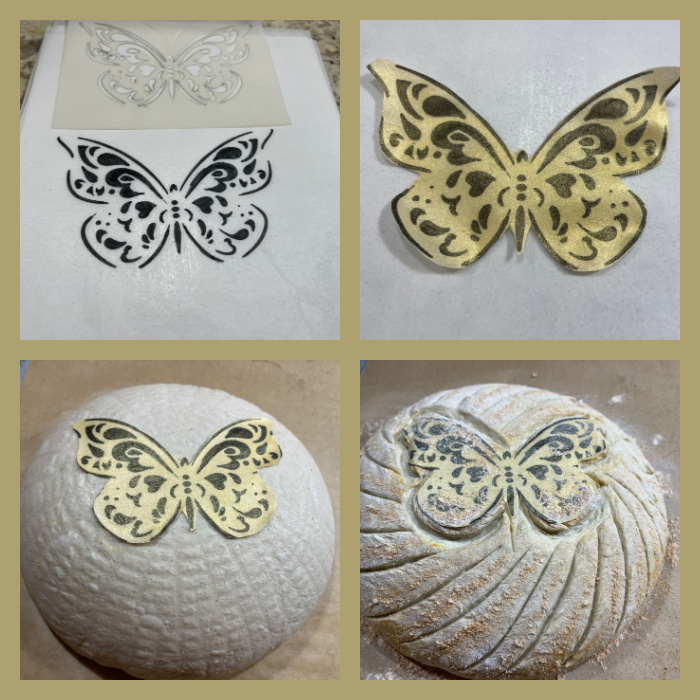
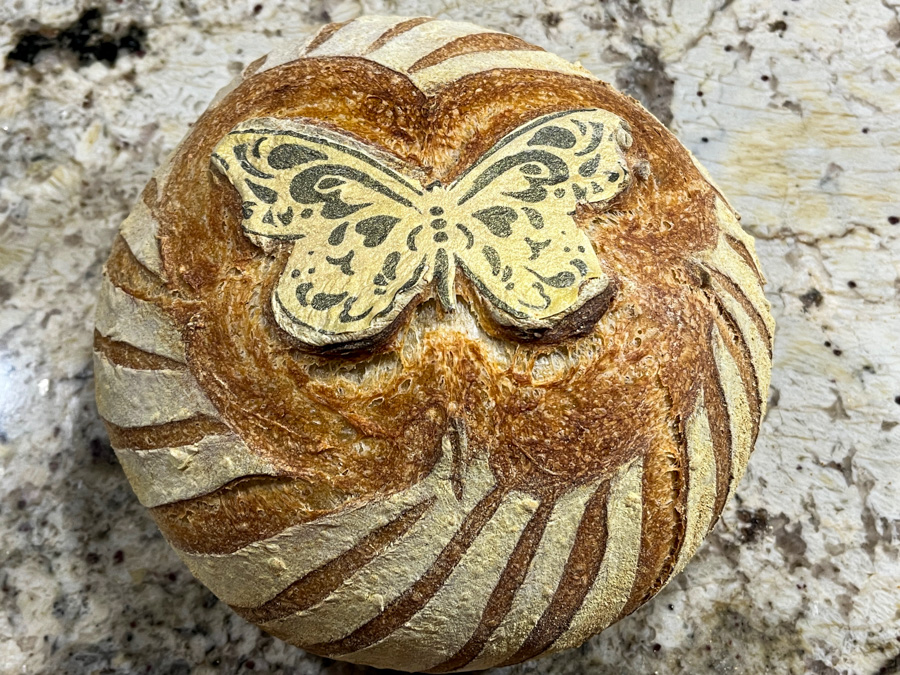
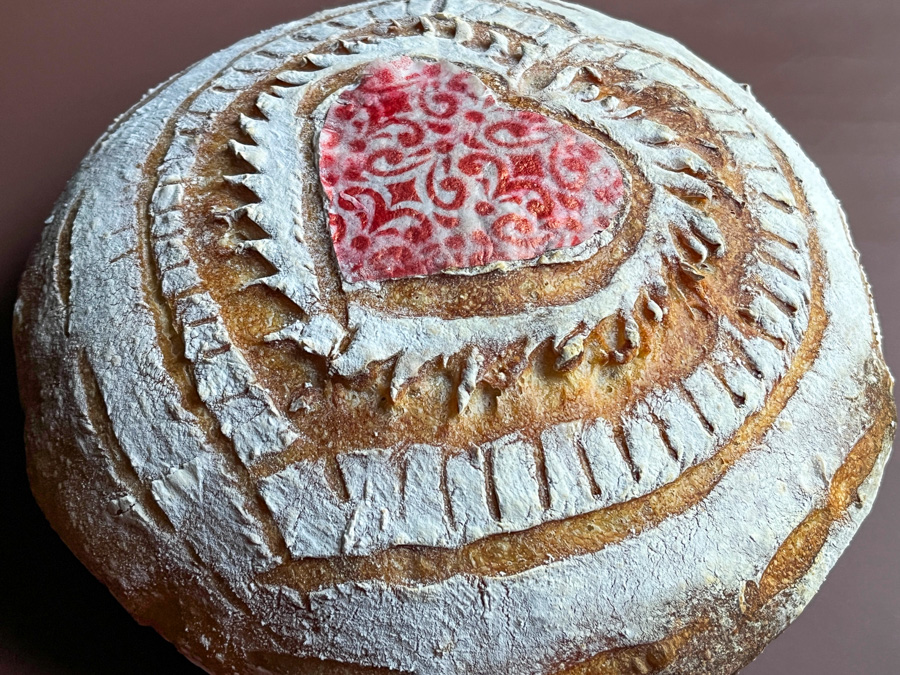
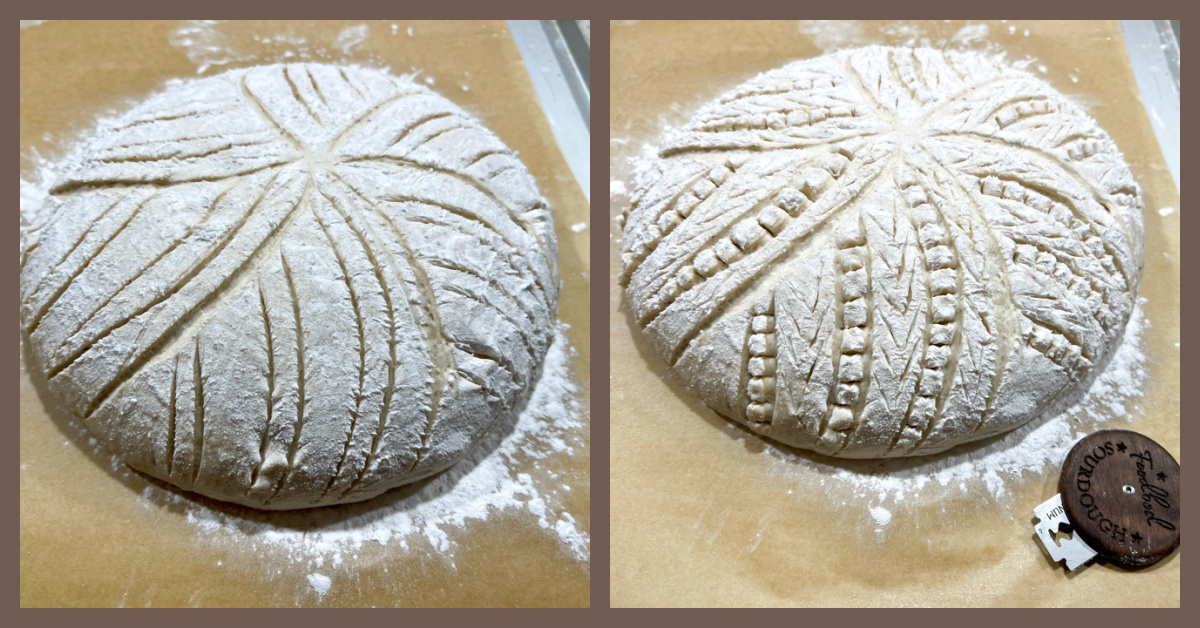
Place a parchment paper on top of the dough, a flat baking sheet, and invert the dough, flipping it out of the banneton. Flour the surface of the dough, add the stencil and air-brush if so desired. Score with a razor blade.
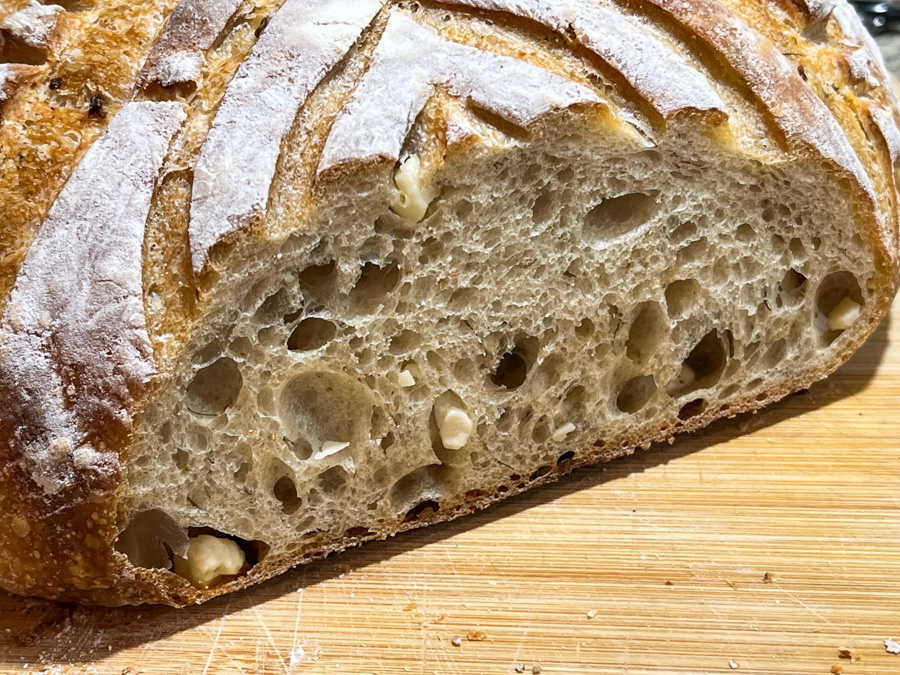
Bake at 450F for 45 minutes, preferably covered for the first 30 minutes to retain steam. Cool completely over a rack before slicing.
ENJOY!
to print the recipe, click here

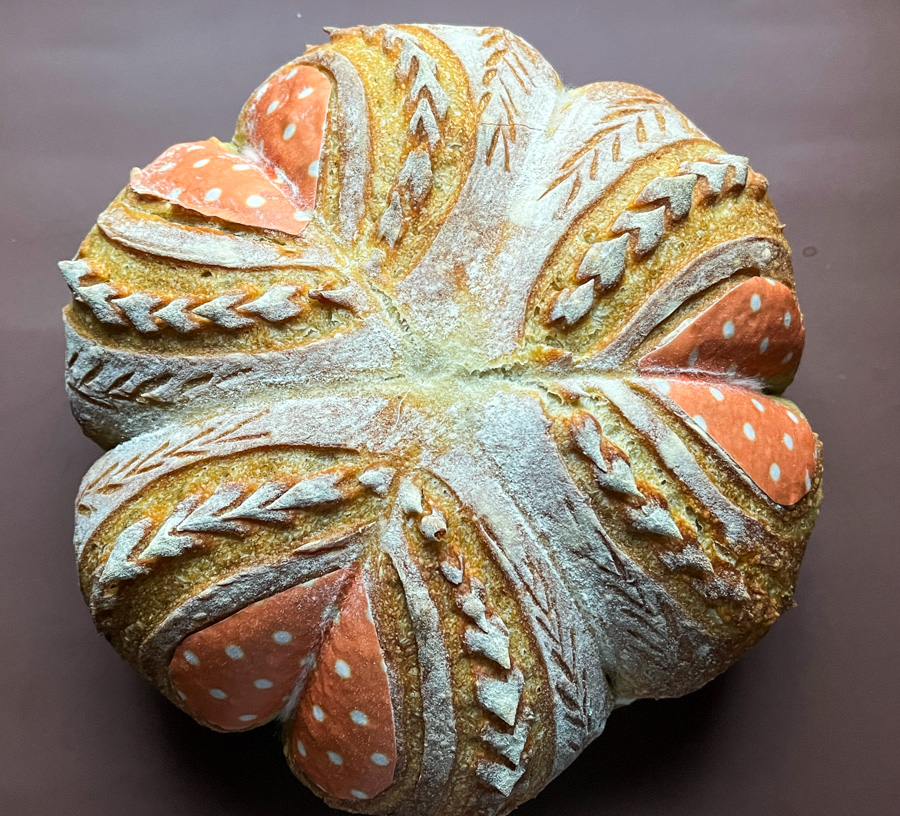
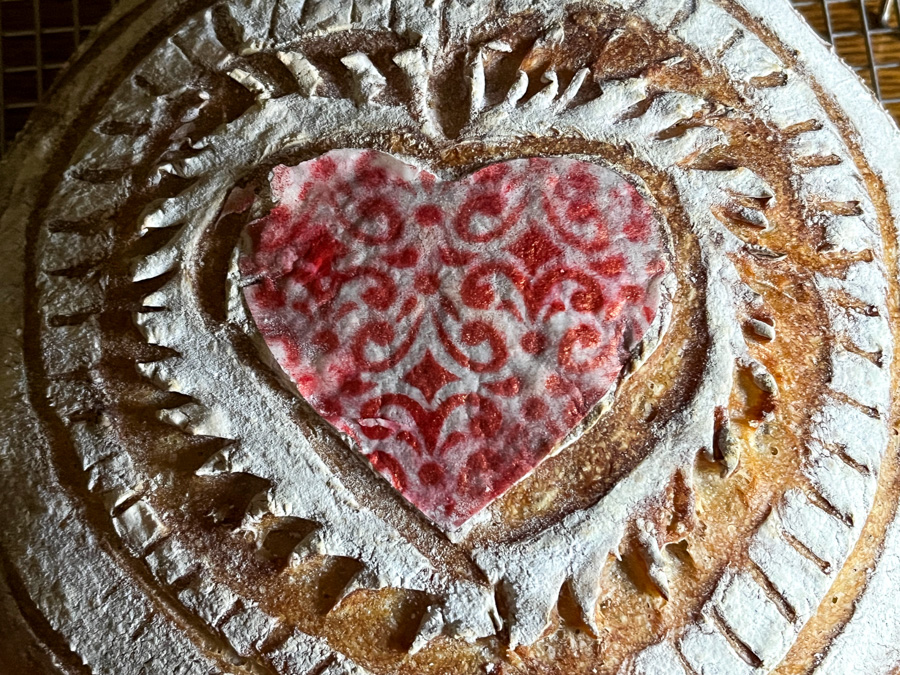
Comments: I think I’m finally getting the gist of stenciling bread. You need to really keep the stencil tightly on the surface, and get just a drop or two of air-brush color in the machine so that you can hold it vertically and get the spray to go exactly where you need. Work in small passes instead of trying to add a heavy layer all at once. I did not even wash the container, I started with green, sprayed it, emptied the air-brush, added the red and tested on a piece of paper until the color came out truly red.

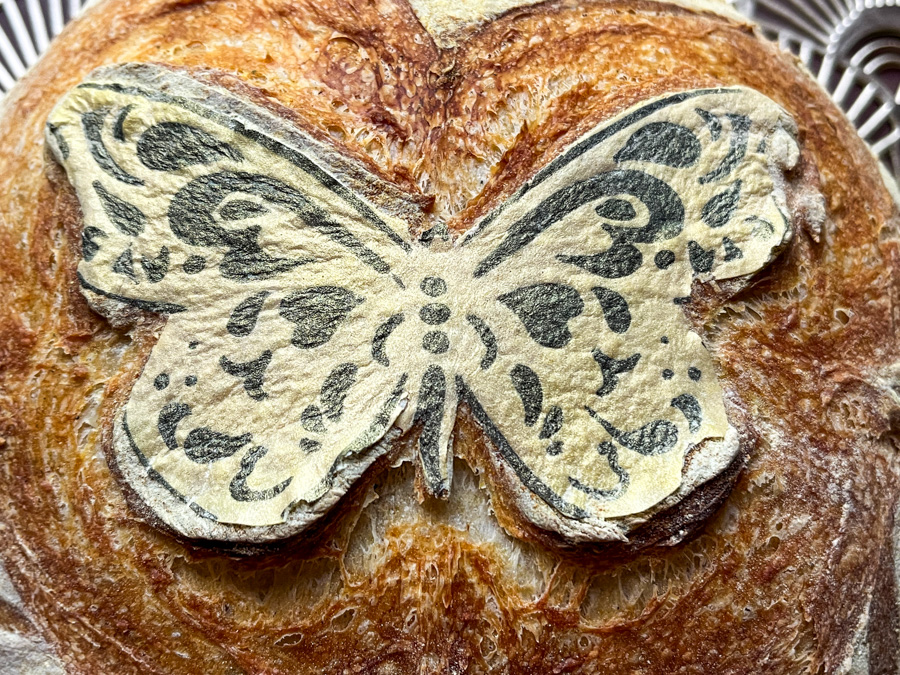
For the scoring I used a razor blade combined with scissors, and after 6 minutes in the oven I opened the lid quickly and scored it deeply again around the design to make sure it would lift during baking.
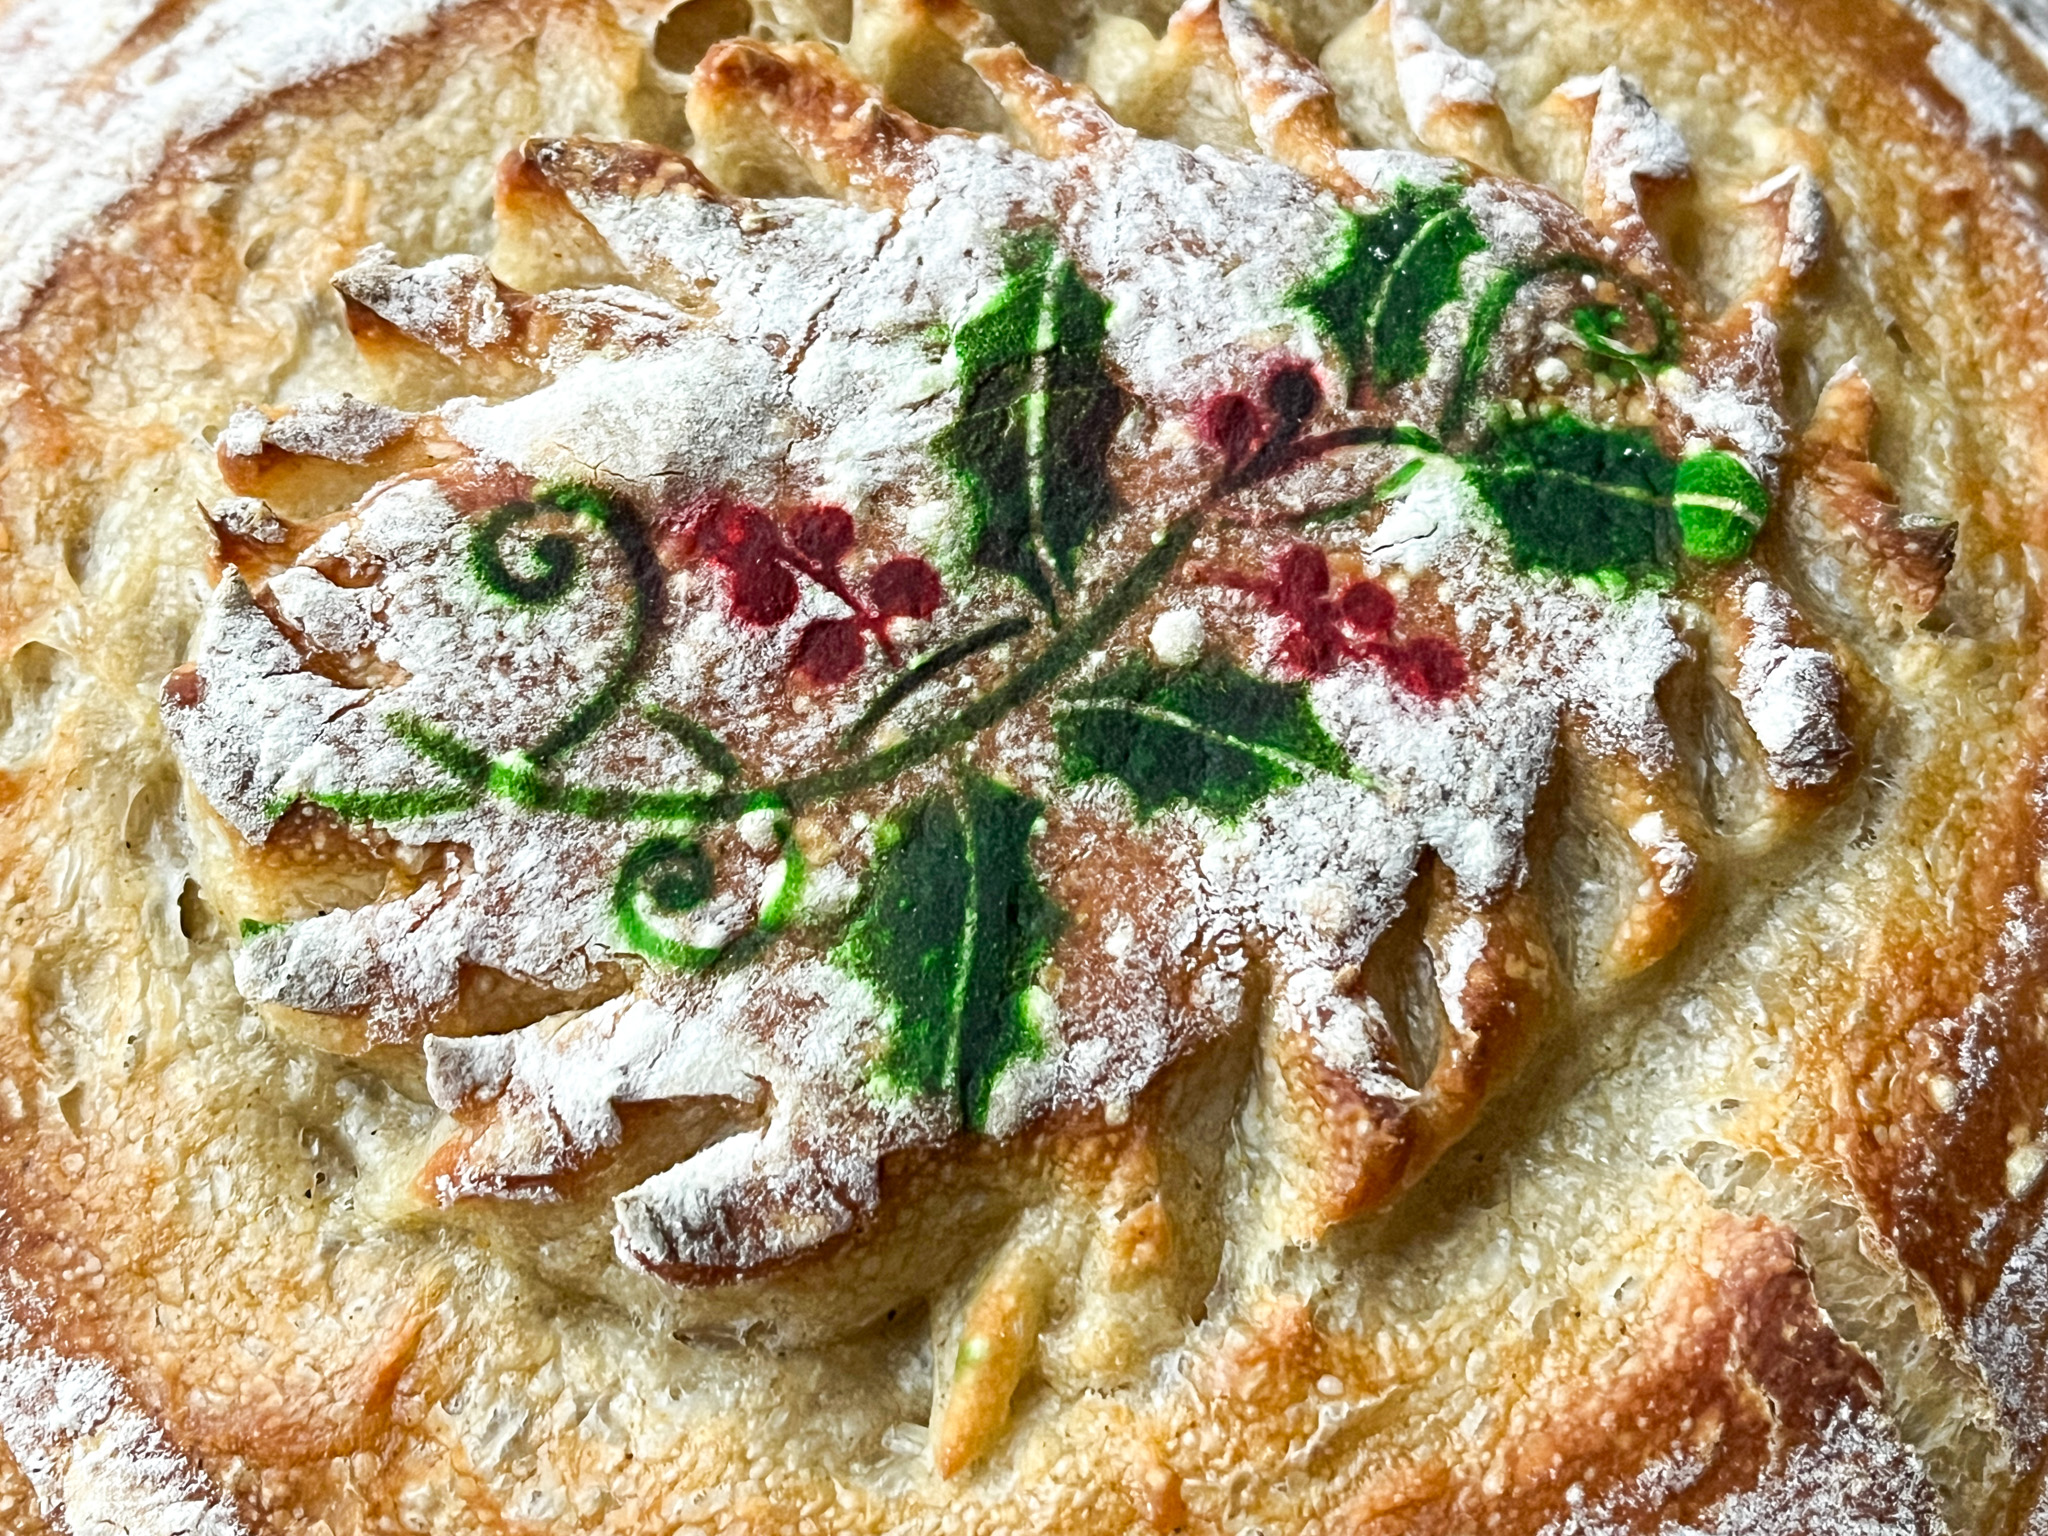
We all loved this bread, I think the mixture of spices gives it a super subtle extra flavor, not overpowering at all. And of course, the stencil on top is perfect for the season!

ONE YEAR AGO: Christmas Sourdough
TWO YEARS AGO: Star-Shaped Sun-dried Tomato Bread
THREE YEARS AGO: Cranberry White Chocolate Tart
FOUR YEARS AGO: I dream of Madeleines and a Tower of Cheesecakes
FIVE YEARS AGO: Dominique Ansel’s Chocolate Mousse Cake
SIX YEARS AGO: Slow-Roasted Eye of the Round Beef
SEVEN YEARS AGO: Steam-Roasted Indian-Spiced Cauliflower
EIGHT YEARS AGO: Creamy Zucchini-Mushroom Soup
NINE YEARS AGO: Ken Forkish’s Pain au Bacon
TEN YEARS AGO: Carrot and Cumin Hamburger Buns
ELEVEN YEARS AGO: Potato Galettes a l’Alsacienne & Book Review
TWELVE YEARS AGO: Caramelized Carrot Soup
THIRTEEN YEARS AGO: Miso-Grilled Shrimp
FOURTEEN YEARS AGO: Pain Poilane