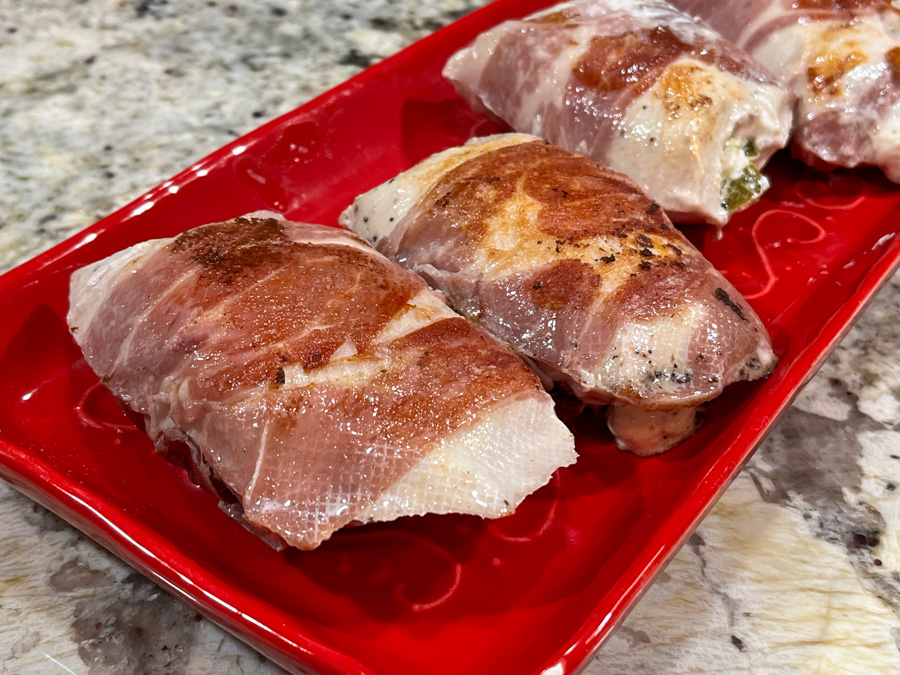
This is a sous-vide preparation, but you can change to regular cooking in any way you like to make pork tenderloin. The recipe was adapted from Melissa Clark, via The New York Times (click here for original post). I usually increase the cooking temperature because we dislike pork that is still pink in the center, no matter what the “experts” say. If you prefer it less done, set your sous-vide to 135F to 140F.

SOUS-VIDE PEANUT-GINGER PORK WITH CELERY SLAW
(adapted from The New York Times)
for the pork:
3 tablespoons smooth peanut butter
2 tablespoons sesame oil
2 tablespoons soy sauce
2 tablespoons fresh lime juice
1 tablespoon finely grated ginger
2 teaspoons dark brown sugar
2 teaspoons Sriracha or chile-garlic paste
1½ teaspoons fish sauce
2 (1-pound) pork tenderloins, trimmed
Extra-virgin olive oil, as needed
for the celery slaw:
2 teaspoons toasted sesame oil
2 teaspoons rice vinegar
½ teaspoon freshly ground black pepper
¼ teaspoon fine sea salt
2 small celery stalks, cut crosswise into thirds, then very thinly sliced lengthwise
1 cup thinly sliced fennel bulb
fresh cilantro leaves
Chopped roasted peanuts, for garnish
sesame seeds for garnish
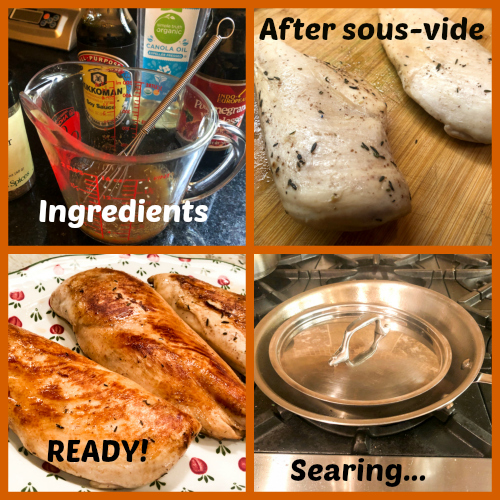
Fill a pot with water, add the sous-vide machine and set the temperature to 150 degrees.
Meanwhile, prepare the sauce: In a small bowl, whisk together peanut butter, sesame oil, soy sauce, lime juice, ginger, sugar, Sriracha, and fish sauce. Place pork in a sous-vide bag, then pour sauce all over meat. Lower bag into heated water, weighing the bag down if necessary, and cook pork for 3 hours.
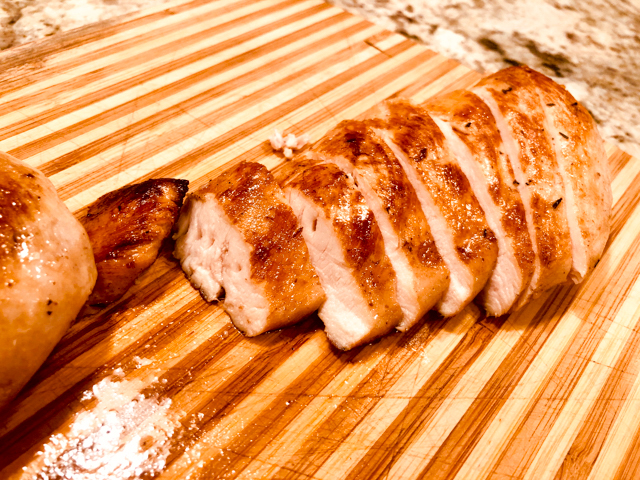
Heat broiler and place a rack 4 inches from heating element. Remove pork from sous-vide bag and transfer to a rimmed baking sheet. Pour remaining cooking liquid into a small saucepan. Bring sauce to a simmer over high and let cook until slightly thickened, about 2 minutes. Cover to keep warm, and set aside.
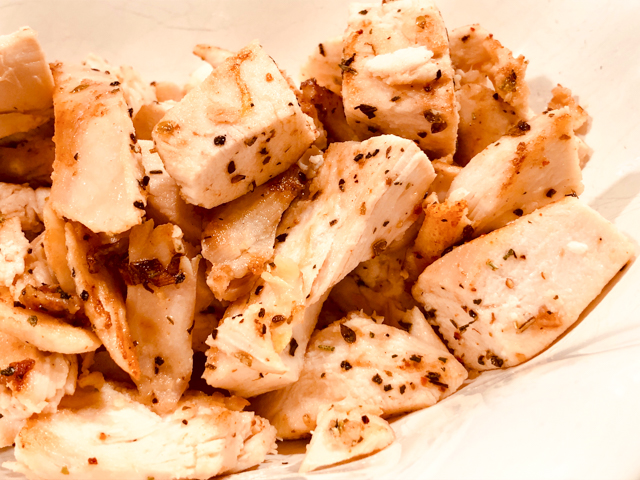
Drizzle pork with olive oil and broil until charred in spots, 2 to 3 minutes. Transfer to a cutting board and let rest, 5 minutes.
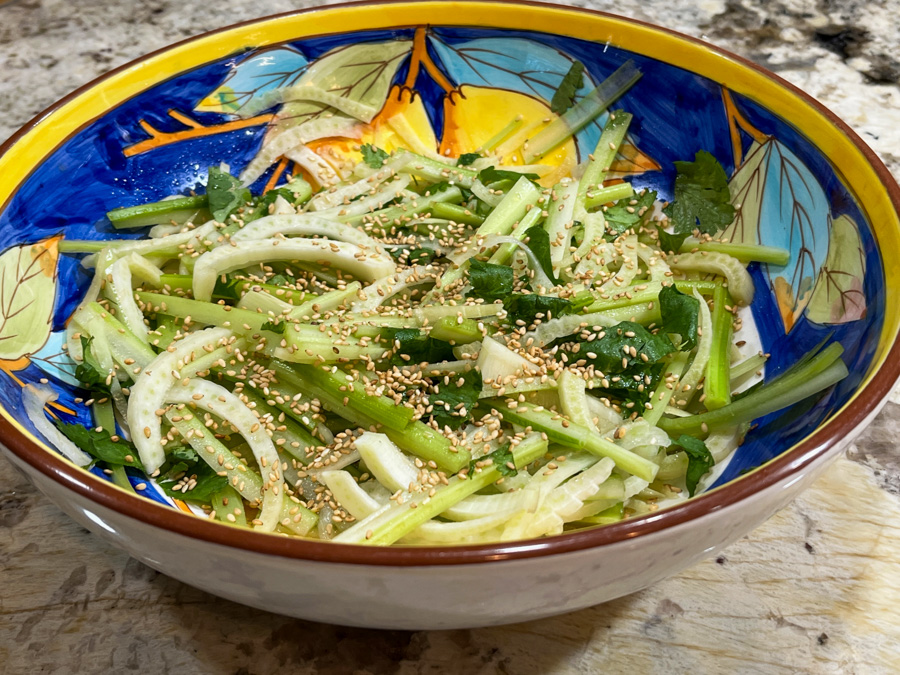
Make the celery salad: In a large bowl, whisk together sesame oil, rice vinegar, pepper and salt. Toss with celery, fennel and cilantro. Taste and add more salt, sesame oil and rice vinegar if needed.
To serve, slice pork and drizzle with sauce. Top with celery salad, and peanuts. Garnish with cilantro leaves, and sesame seeds if you like.
ENJOY!
to print the recipe, click here

Comments: The sauce is absolutely delicious, I am quite fond of peanut butter in savory preparations, in this particular case it goes well with the ginger and all other flavors. The way the recipe was published it called for 135F for 2 hours, but there is no way that would work for us. Do what you think is best. Whatever method you go for, make sure to incorporate the sauce reduction in the end and drizzle it over the meat. It takes the dish to a whole higher level. The slaw was good in terms of flavor, but the texture of the celery was a bit harsh, so next time I might just do the “microwave blanch”, in which I cook the veggie with a tiny bit of moisture (often just a damp paper towel will do) for 10 seconds or so. It is enough to just kill the raw texture. Plus, since it will be slightly warm it will incorporate the dressing even better. I don’t mind the raw fennel at all, so I would not “blanch” it.
ONE YEAR AGO: Cauliflower Tacos with Chipotle Romesco Sauce
TWO YEARS AGO: One gift, one dough, two recipes
THREE YEARS AGO: Rocking the Zucchini Boat
FOUR YEARS AGO: Polenta Bites with Spicy Tomato Sauce
FIVE YEARS AGO: Vague Mousse Cake
SIX YEARS AGO: Cottage Loaf, my very own technical challenge
SEVEN YEARS AGO: Pork Ribs: Sticky, Spicy and Awesome
EIGHT YEARS AGO: Sobering Peach Sorbet
NINE YEARS AGO: Buttermilk-Blueberry Breakfast Cake
TEN YEARS AGO: Silky Cauliflower Puree with Almond Milk
ELEVEN YEARS AGO: Beef and Broccoli Stir-fr
TWELVE YEARS AGO:Wheat Germ and Sage Sourdough Bread
THIRTEEN YEARS AGO:Popeye-Pleasing Salad
FOURTEEN YEARS AGO:Summer’s Finale