Confession number one: I have a macaron obsession. Odd, because when I lived in Paris by myself I never touched a macaron. Then a few years later, when Phil and I went back together for a sabbatical, I got hooked. It is the type of concoction with just the amount of sweetness I like, the different fillings are a feast for the taste buds, but what really gets me, as you might imagine: the colors. I have a soft spot for colors. All of them. You should see my wardrobe. 😉
Back to macarons. A few months ago our friend Gary – Patissier Extraordinaire – brought to my attention a book by Pierre Hermé, called quite simply Macarons. Once I got it, I quickly realized that much like his classic masterpiece Desserts, Macarons is not for the faint of heart. My first adventure with it was almost a complete disaster, save for a few pistachio macarons that would barely qualify as such. In the book he says to use a convection oven at 350F, and I guess that was too high, or my oven misbehaved. Hard to tell. All I know is that my beautiful bright green macarons turned brown in 2.5 seconds right in front of my eyes, as I happened to be staring through the oven door when the metamorphosis took place. You know, the one that took perfect macarons to ruined ones. Of course, they did not turn homogeneously brown, but all blotchy, really unappetizing. Yes, there was considerable amount of profanity that afternoon, in three languages, although French was first.
After that dreadful weekend, serendipity hit big time. I got an email from Craftsy.com with a special offer for their online classes. One of them was Miniature French Desserts, which included – you guessed it – macarons! I read the reviews and everyone raved about it. I signed up, downloaded the class and here I am to share with you my first real nice experience with these finicky creatures! Plus, Colette Christian, the wonderful instructor, gave me permission to share the recipe with my readers. How cool is that?

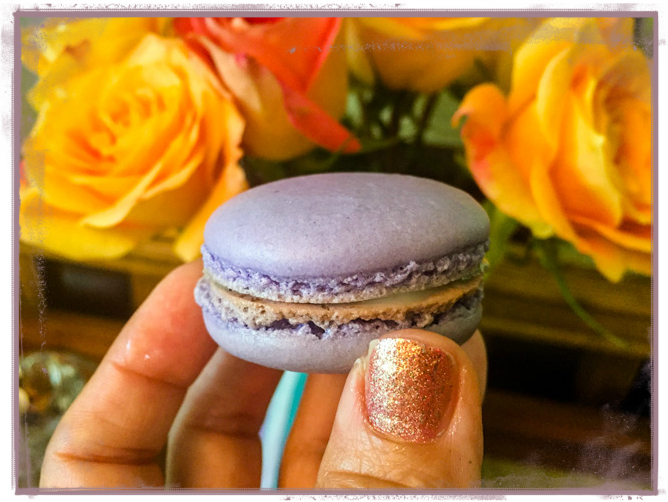
LAVENDER MACARONS WITH WHITE CHOCOLATE GANACHE
(slightly adapted from Craftsy.com, published with permission from Colette Christian)
Yield: About 72 shells; 36 assembled macarons
for the shells:
198 g powdered sugar
113 g almond meal
1/8 teaspoon dried lavender
113 g egg whites (I aged mine for three days)
1 g or a pinch of cream of tartar
100 g granulated sugar
Purple Gel color from AmeriColor
2 drops vanilla extract
for the filling:
170 g white chocolate
85 g heavy cream
2 drops lavender extract
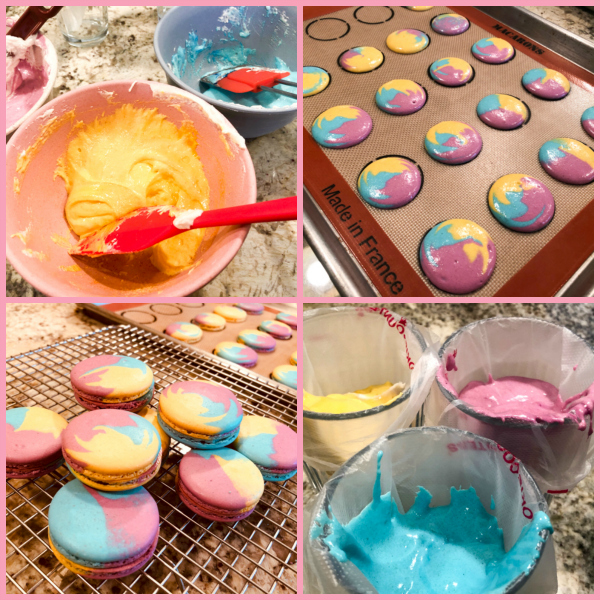
Line 2 or 3 heavy baking sheets with parchment paper or Silpat mats. Layer the powdered sugar, almond meal and lavender in a food processor or mini processor. Pulse until the mixture looks like fine meal, about 15 seconds. Pass through a sieve and transfer to a small bowl. Set aside.
Place the egg whites and pinch of cream of tartar in the bowl of a stand mixer fitted with the whisk attachment. Make sure that the bowl and the whisk are impeccably clean. Starting on medium speed, whip the whites with the cream of tartar until they look like light foam. The whites should not appear liquid. The foam will be light and should not have any structure.
Slowly rain in the granulated sugar, trying to aim the stream between the whisk and the side of the bowl. Turn the speed up to medium-high. Continue to whip the meringue until it is soft and shiny. It should look like marshmallow creme. Add the gel color and the vanilla. Staying at medium-high speed, whip the egg whites until the mixture begins to dull and the lines of the whisk are visible on the surface of the meringue. Check the peak. It should be firm. When you hold the beater up, the meringue should gently fall with and angle supporting the peak at the with the angle supporting the peak at 11:30hs (easier to understand on the tutorial video). Transfer the whites to a medium bowl.
Fold in the almond meal mixture in three increments. Paint the mixture halfway up the side of the bowl, using the flat side of a spatula. Scrape the mixture down to the center of the bowl. Repeat two or three times, then check to see if the mixture slides slowly down the side of the bowl. Put the mixture in a piping bag fitted with one of the tips listed above. Pipe on the prepared baking sheets.
Slam each sheet hard four to six times on the counter. Then fist bump each end of the sheet’s underside twice. Let the unbaked macarons dry until they look dull but not overly dry. Drying time depends on humidity. Ina dry climate, the macarons can dry in 15 to 20 minutes; in a humid climate, it can take 35 to 40 minutes.
While the macarons are drying, heat the oven to 330 F (170 C/gas mark 3). Bake one sheet at a time on the middle rack. Check in 11 minutes. If the tops slide, then bake for 2 to 3 more minutes. The macarons should release without sticking. Check one or two. If they stick, put them back in the oven for 1 to 2 more minutes. Let the macaroons cool for 10 minutes before removing from the pan.
Make the filling: Place the white chocolate in a heatproof bowl. Bring the cream to a rolling boil in a small saucepan. Pour the hot cream over the chocolate, and let stand for 15 seconds. Stir with a spatula until smooth. If the chocolate has not fully melted, place the bowl in a saucepan of steaming water (the heat should be off), and let stand for 1 or 2 minutes. Stir again until the chocolate is fully melted. Add the lavender extract.
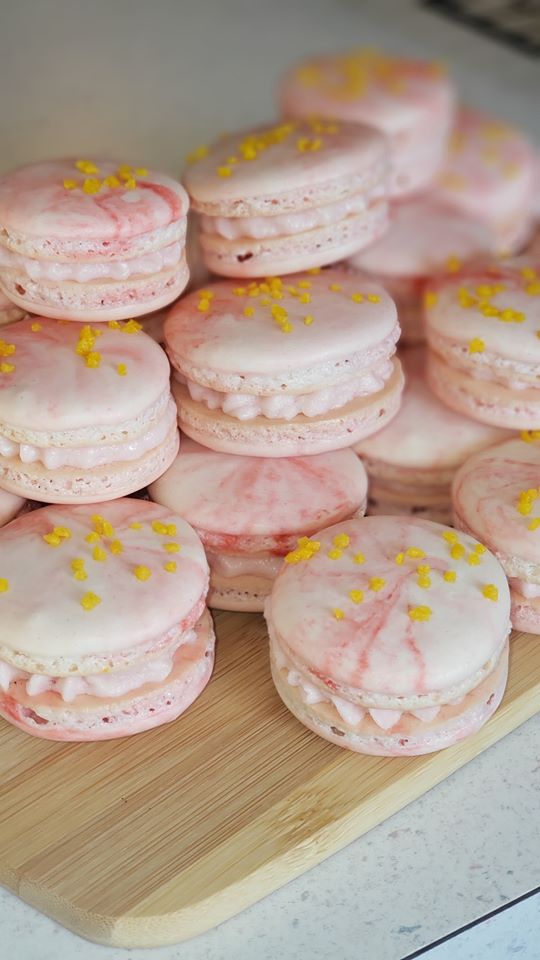
Assemble the macarons: find two macarons similar in size and add a good amount of ganache to the bottom of one of them. Place the other on top and squeeze gently to take the filling all the way to the edge. Ideally, store in the fridge for 24 hours before devouring them… or sharing with great friends!
ENJOY!
to print the recipe, click here

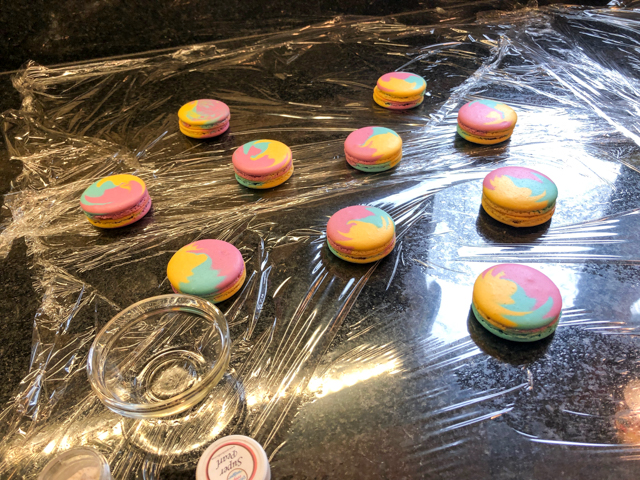
We’ve got feet!
Comments: I cannot tell you how much I loved this online class! Colette is personable, fun and a natural teacher. The video perfectly timed so that you can actually make them in real-time together with her, pausing the video during baking, obviously. You can pause it, rewind it, save and watch it again and again. You’ll also get printed material with full recipes and variations. Now, Colette is one super neat chef, because her kitchen ends up in the exact pristine condition as it was in the beginning. The same applies to her apron. I need to evolve into another type of human being to match her serenity and grace.
Her method is pretty straightforward. For starters, she skips the sifting – and has a rationale for doing so. And she also prefers the simpler French meringue, again for reasons she states during class. I have to say that visualizing the macaron batter, and following her very careful explanation made all the difference. I concluded that in all my previous attempts I failed to mix the batter enough – that’s why many of my shells would crack and end up with a coarse texture, some hard chunks inside. If you have a deep desire to conquer macarons, her online video is a great option. I haven’t watched the other classes in the same video (Madeleines, Lemon Meringue Tartlets, and Opera Cake), but intend to do so in the near future. Madeleines have been on my list of goodies to make for… ever. Or so it seems.
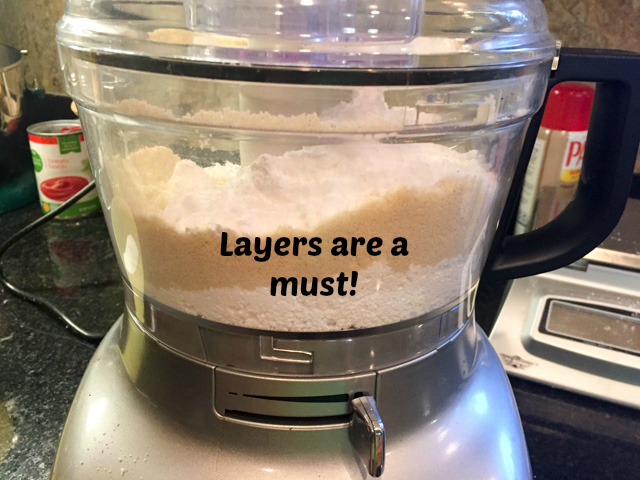 Her tip to add the dry ingredients in layers inside the food processor makes sure that things are incorporated smoothly. Macaron success is all in the small details and proper technique. These had a very delicate lavender flavor. When you taste the white chocolate ganache – I know you will do it – try to stop after the second teaspoon, or you might run out of filling. Just saying…

Colette also gives many tips to create your own flavors, it is amazing how versatile this cookie can be. As long as you respect simple rules to avoid messing up the basic formula, you’ll be fine. I would also like to invite you to take a tour of the blog Pizza Rossa. Rachael is very creative with her macarons, and came up with wonderful variations, including one that uses sesame seeds instead of almonds. She is inspiring me to spread my wings and try to fly a little higher.
I still want to try again the Italian meringue method because I am stubborn. There, I admitted it. And yes, that was confession number two. But Phil doesn’t need to know.


ONE YEAR AGO: Raspberry Chocolate Truffles
TWO YEARS AGO: Red Velvet Cupcakes
THREE YEARS AGO: Happy Valentine’s Day!
FOUR YEARS AGO: A Few Blogging Issues
FIVE YEARS AGO: Dan Dan Noodles
SIX YEARS AGO: Sophie Grigson’s Parmesan Cake
SEVEN YEARS AGO: Antibiotics and Food
Save
Save
Save