Are you familiar with this Philippine ingredient? I was not, until my dear daughter-in-law Courtnie professed it to be her favorite flavor for all baked things… I was intrigued. Read a lot about it, gathered ingredients and went to work. For the macarons you will need ube extract and ube jam, which you can make yourself or buy it ready at the store. We do have a couple of great Asian markets in town and they carry exotic ingredients from all over the planet. For this adventure, I used store-bought jam, but stay tuned for my next post about it, in which I will show you how to make the jam from scratch.
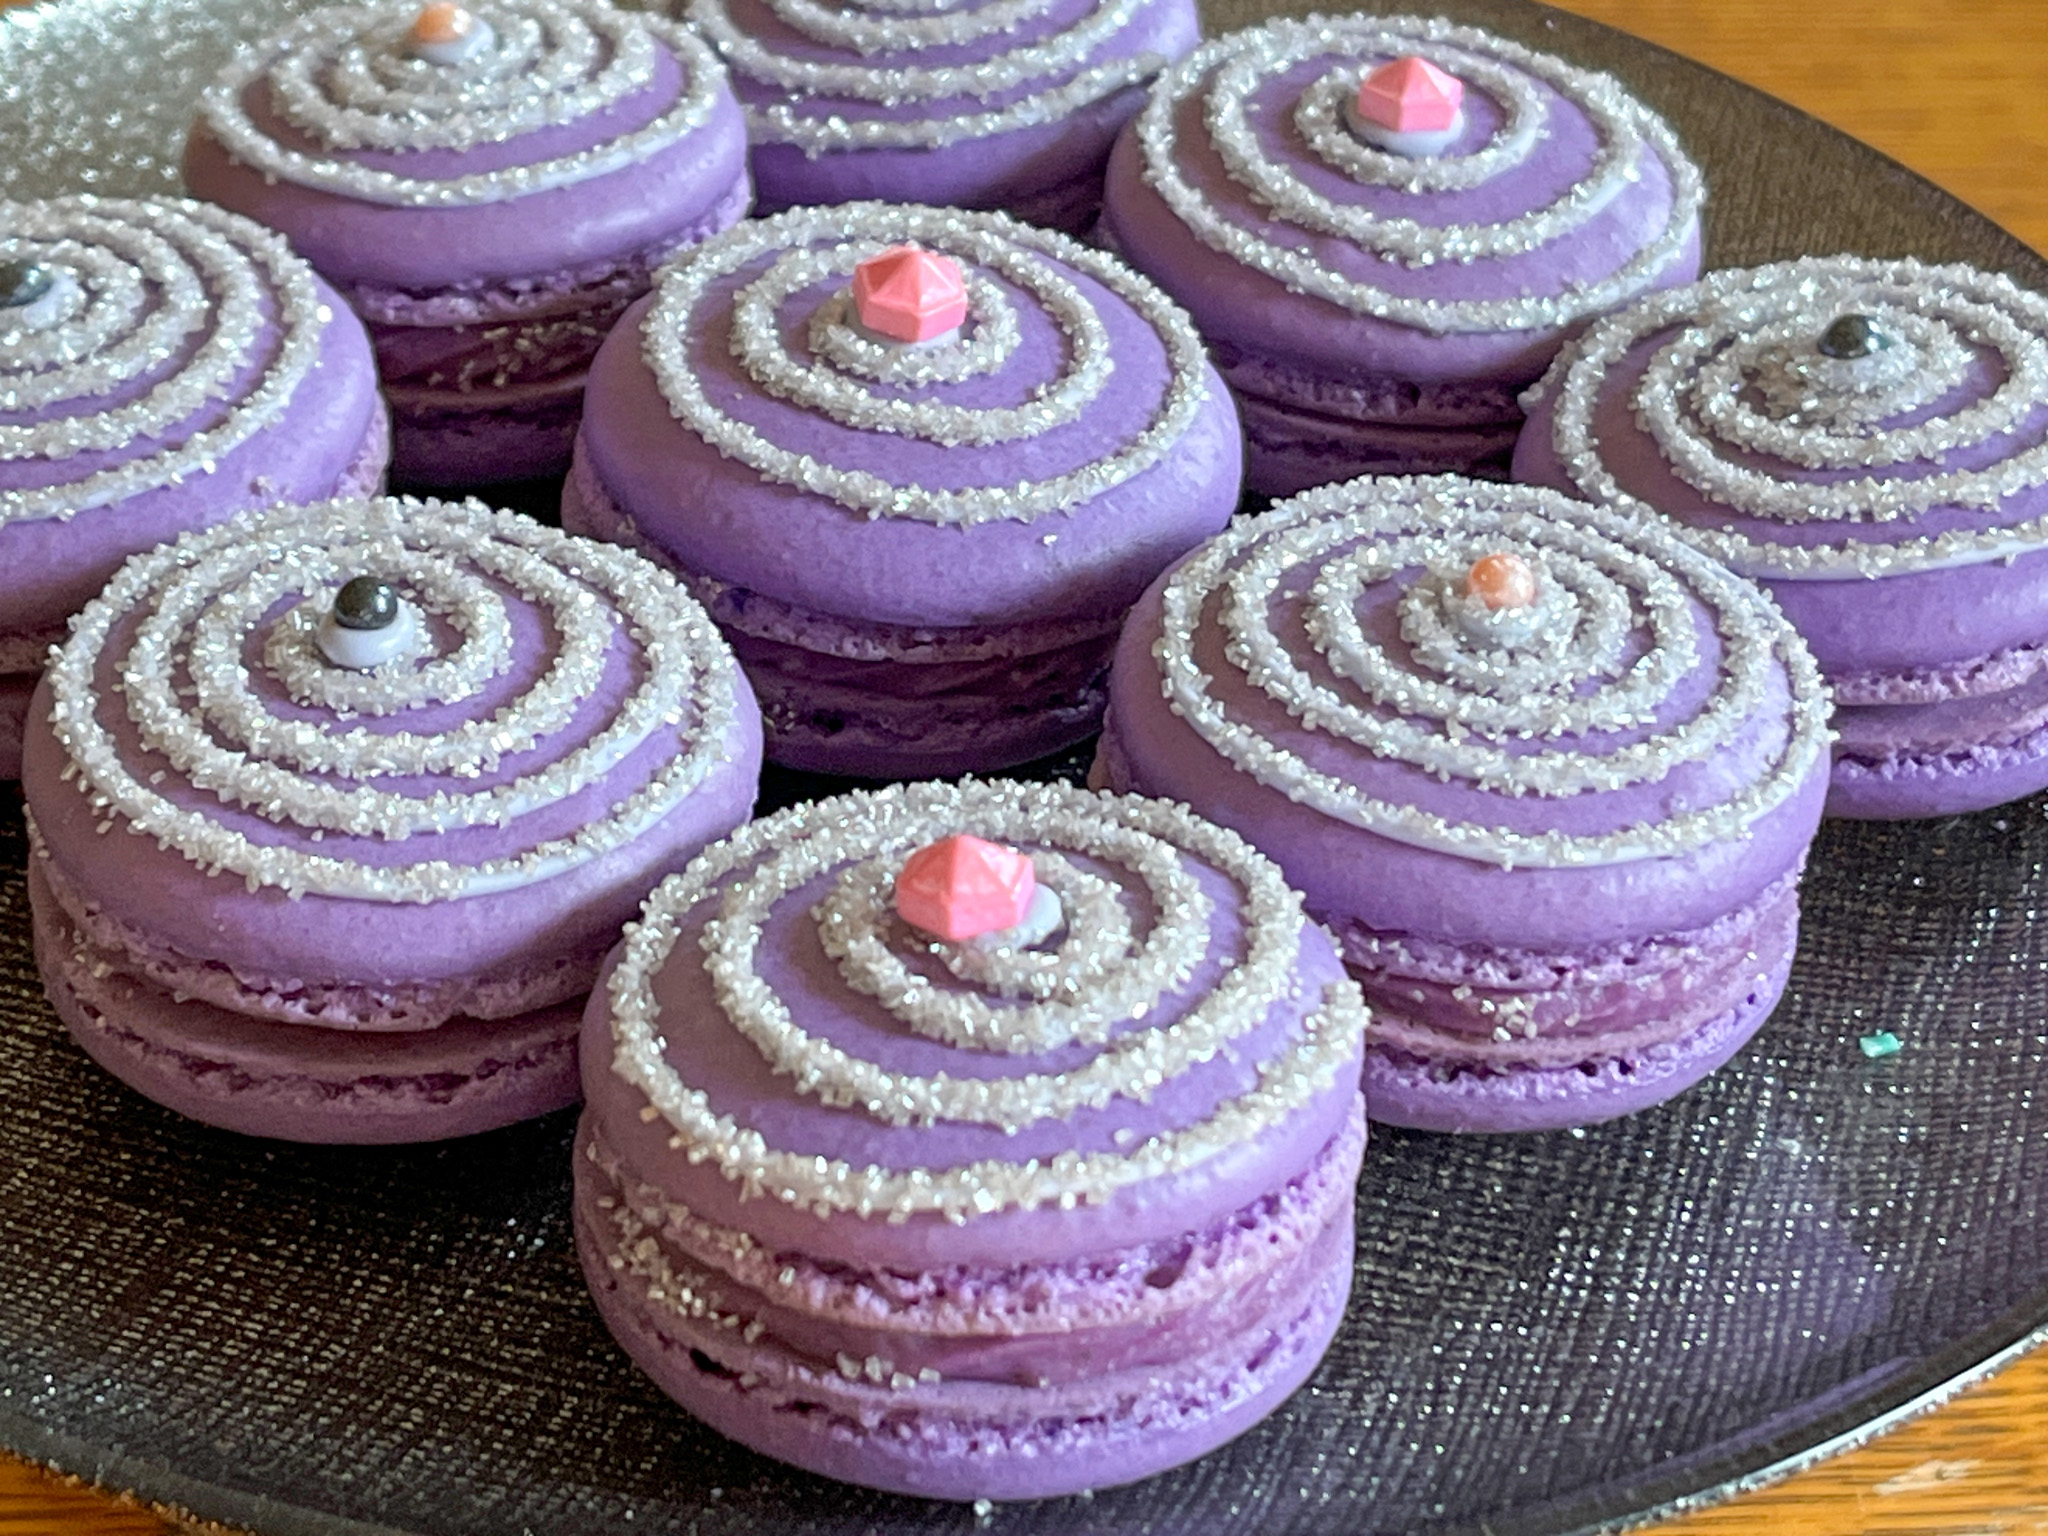
UBE MACARONS
(from The Bewitching Kitchen, adapted from several sources)
For the shells:
200g Icing/powdered sugar (1 ⅔ cups)
115 g Almond Meal (1 + scant ¼ cup)
115 g egg whites at room temperature (approx. 4 eggs)
1/8 tsp of cream of tartar (optional)
100 g granulated sugar (½ cup)
¼ tsp ube extract
1/8 tsp vanilla extract
Line 3 heavy baking sheets with parchment/baking paper or Silpat mats. Layer the powdered/icing sugar and ground almonds/almond meal in a food processor. Pulse until the mixture looks like fine meal, about 12 pulses. Pass through a sieve and transfer to a small bowl or to a sheet of parchment/baking paper. Set aside.
Place the egg whites and cream of tartar in the bowl of a stand mixer fitted with the whisk attachment. Make sure that the bowl and the whisk are impeccably clean. Starting on medium speed, whip the whites with the cream of tartar until they look like light foam. The whites should not appear liquid. The foam will be light and should not have any structure.
Slowly rain in the granulated sugar in five additions, trying to aim the stream between the whisk and the side of the bowl. Turn the speed up to high. Continue to whip the meringue until it is soft and shiny. It should look like marshmallow creme (marshmallow fluff). Add the vanilla and ube extract. Whip the egg whites until the mixture begins to dull and the lines of the whisk are visible on the surface of the meringue. Check the peak. It should be firm. Transfer the whites to a medium bowl.
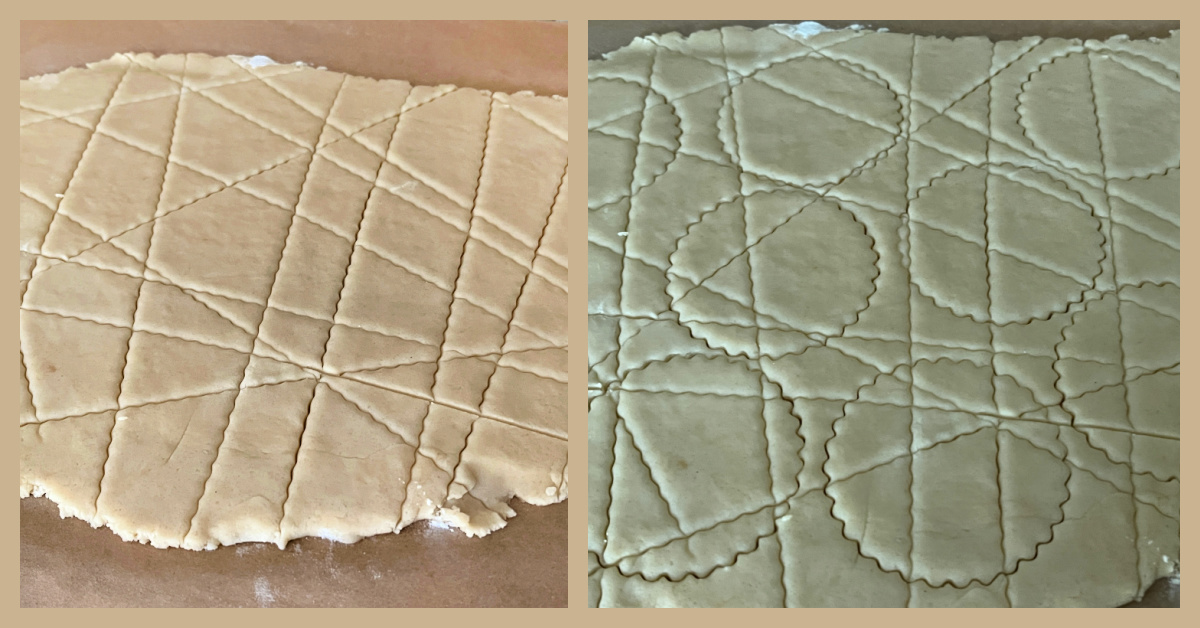
Fold in the ground almond/almond meal mixture in two increments. Paint the mixture halfway up the side of the bowl, using the flat side of a spatula. Scrape the mixture down to the center of the bowl. Repeat two or three times, then check to see if the mixture slides slowly down the side of the bowl. Add drops of gel color and mix them briefly with a toothpick. Put the mixture in a piping bag fitted with your choice of piping tip (round, ¼ or ½ inch in diameter or 6 – 12 mm). If you don’t have a macaron mat, draw circles on baking/parchment paper about 2inches/5cm in diameter & turn the paper over before placing on the baking sheets. Pipe shells, I like to count numbers in my head and use the same count for each shell so they end up similar in size.
Slam each sheet hard four to six times on the counter/worktop. Let the unbaked macarons dry until they look dull but not overly dry. Drying time depends on humidity. In a dry climate, the macarons can dry in 15 to 20 minutes; in a humid climate, it can take 35 to 40 minutes.
While the macarons are drying, heat the oven to 300 F (150 C/130C Fan oven/Gas Mark 2). Bake one sheet at a time on the middle rack. Check in 11 minutes. If the tops slide or move (independently of the ‘feet’ when you gently twist the top), then bake for 2 to 3 more minutes. Check one or two. If they move when gently touched, put them back in the oven for 1 to 2 more minutes until they don’t move when touched. Let the macaroons cool for 10 minutes before removing from the pan. The macarons should release without sticking.
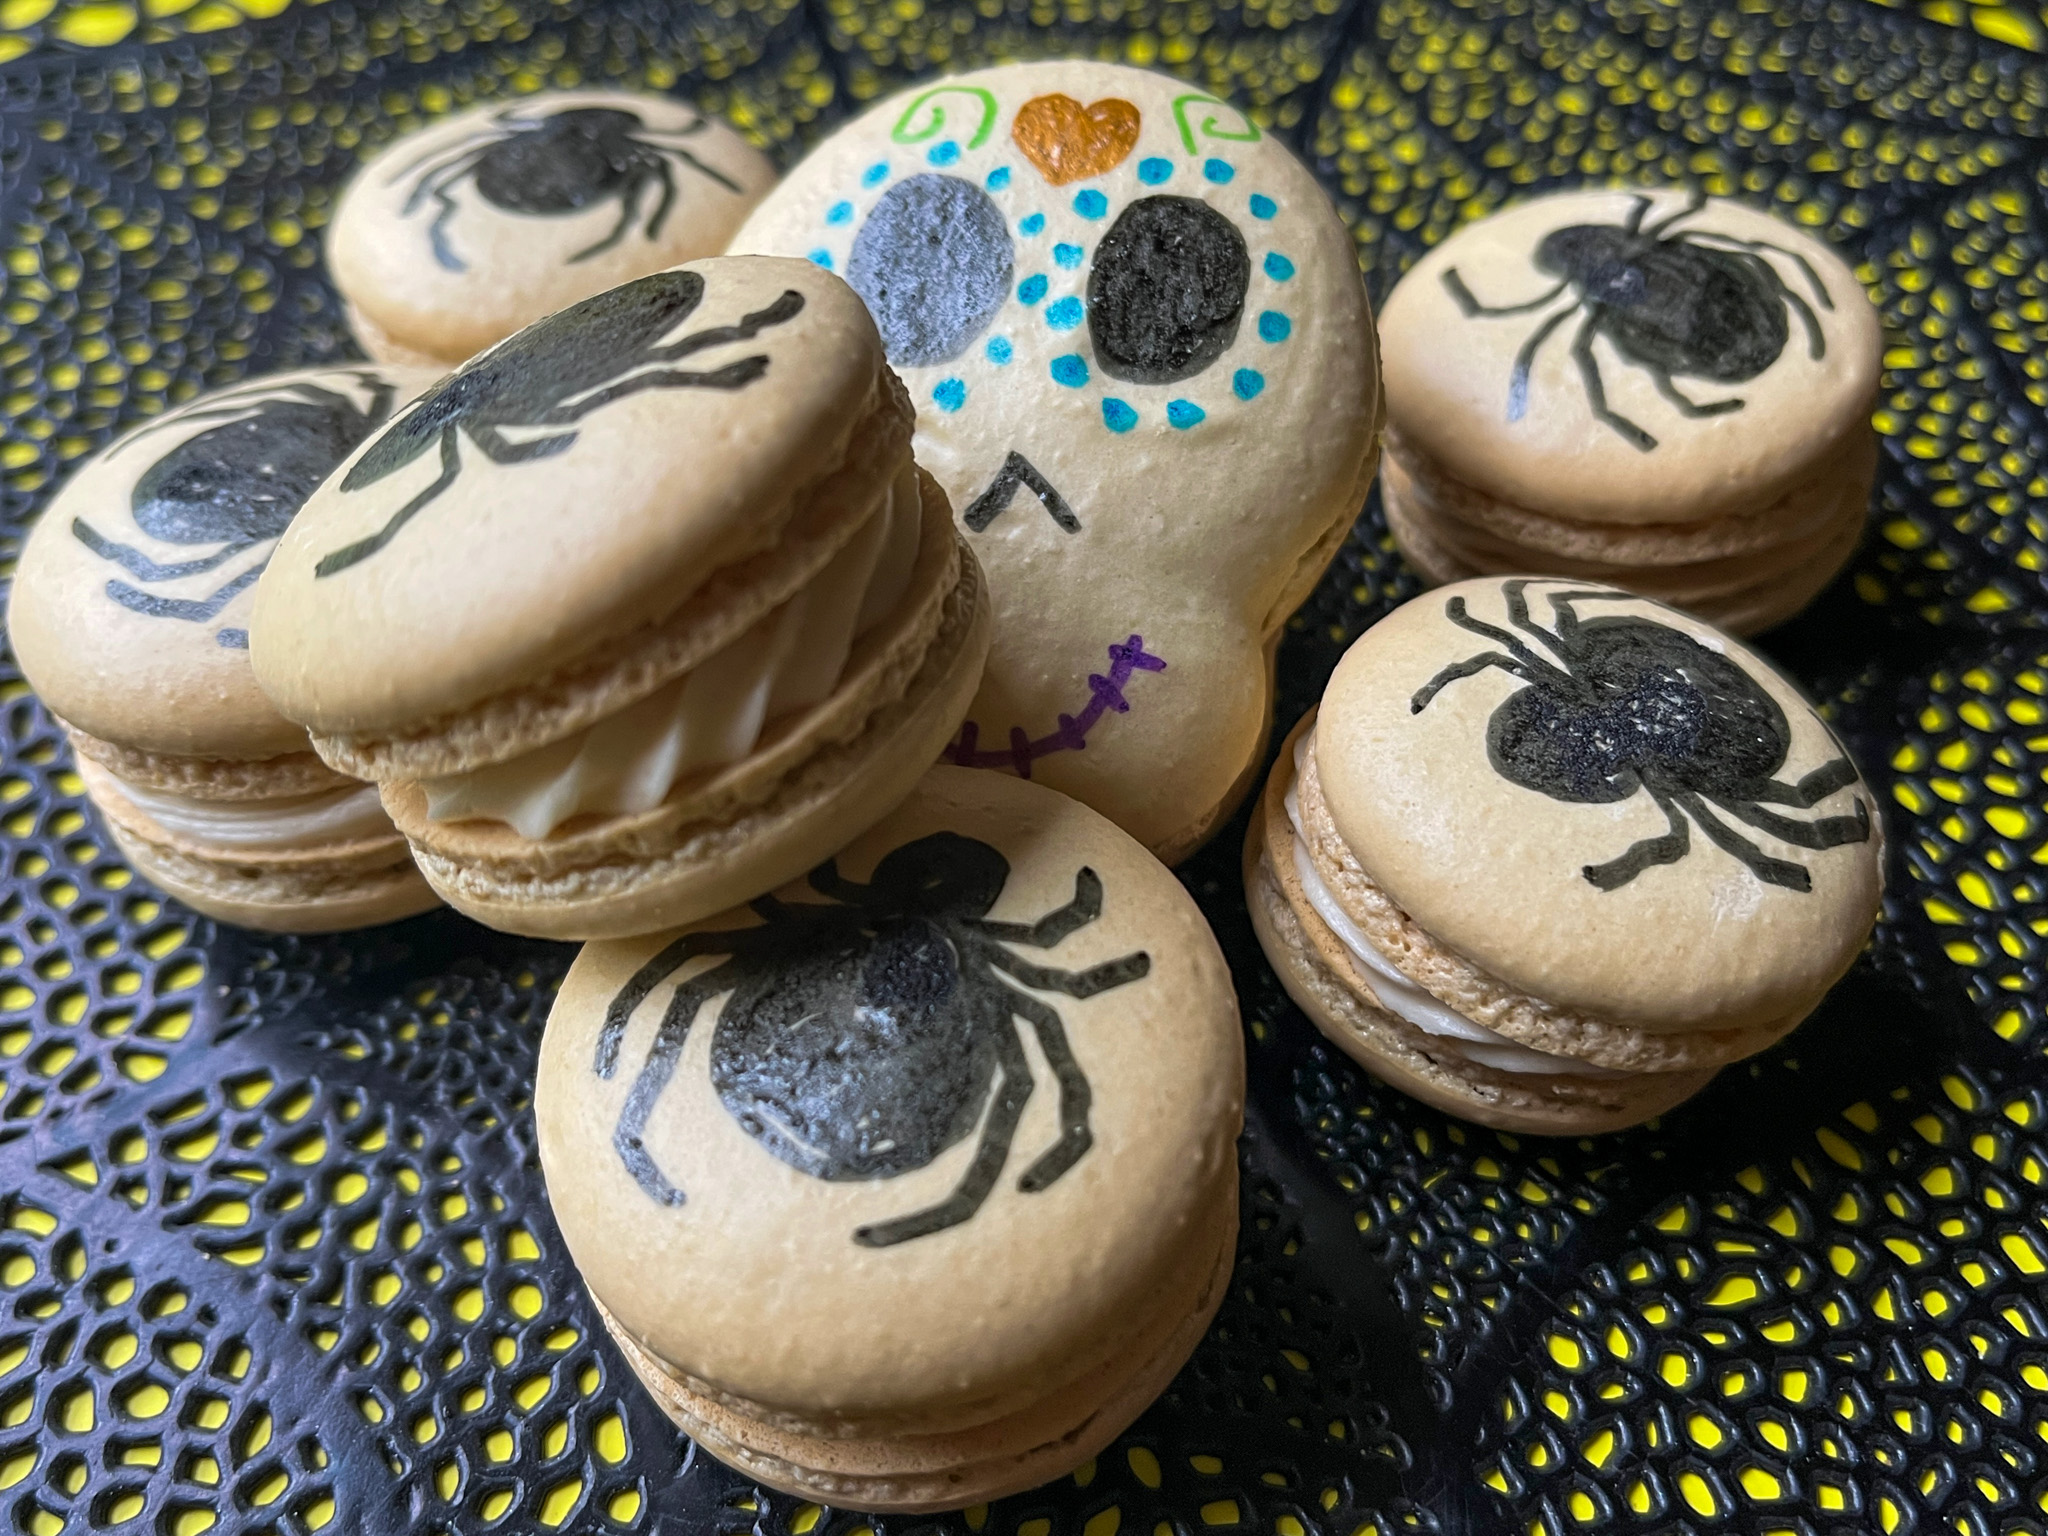
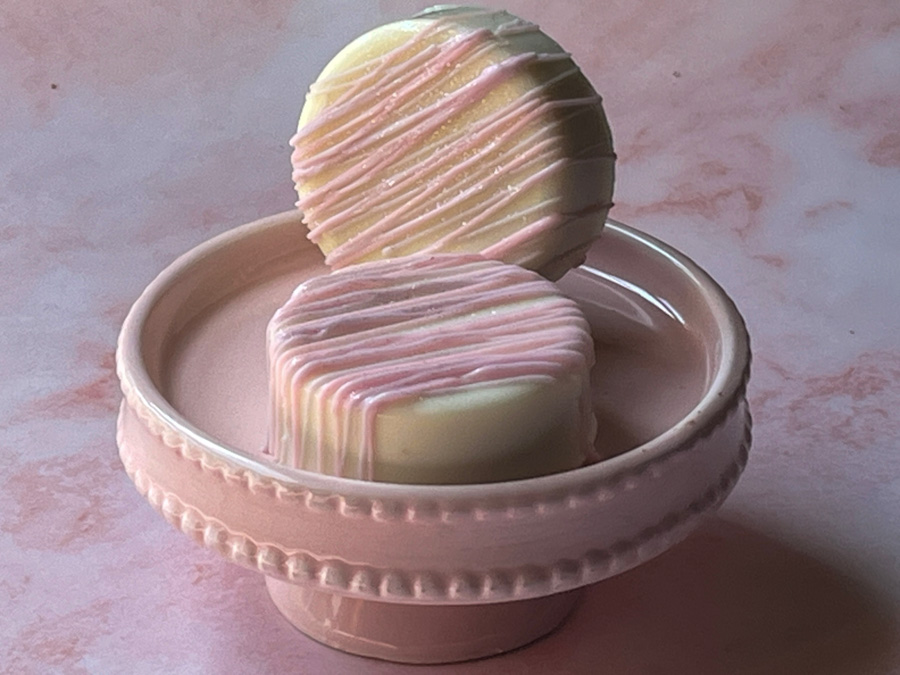
Assemble the macarons: find two macarons similar in size and add a good amount of filling to the bottom of one of them. Place the other on top and squeeze gently to take the filling all the way to the edge. Store in the fridge for 24 hours for perfect texture.
Make the filling:
UBE BUTTERCREAM
100g Unsalted butter, room temperature
65g Cream cheese, room temperature
50g Ube halaya (If you can’t find any use ½ tsp ube extract and 20g icing sugar)
¼ tsp Ube extract
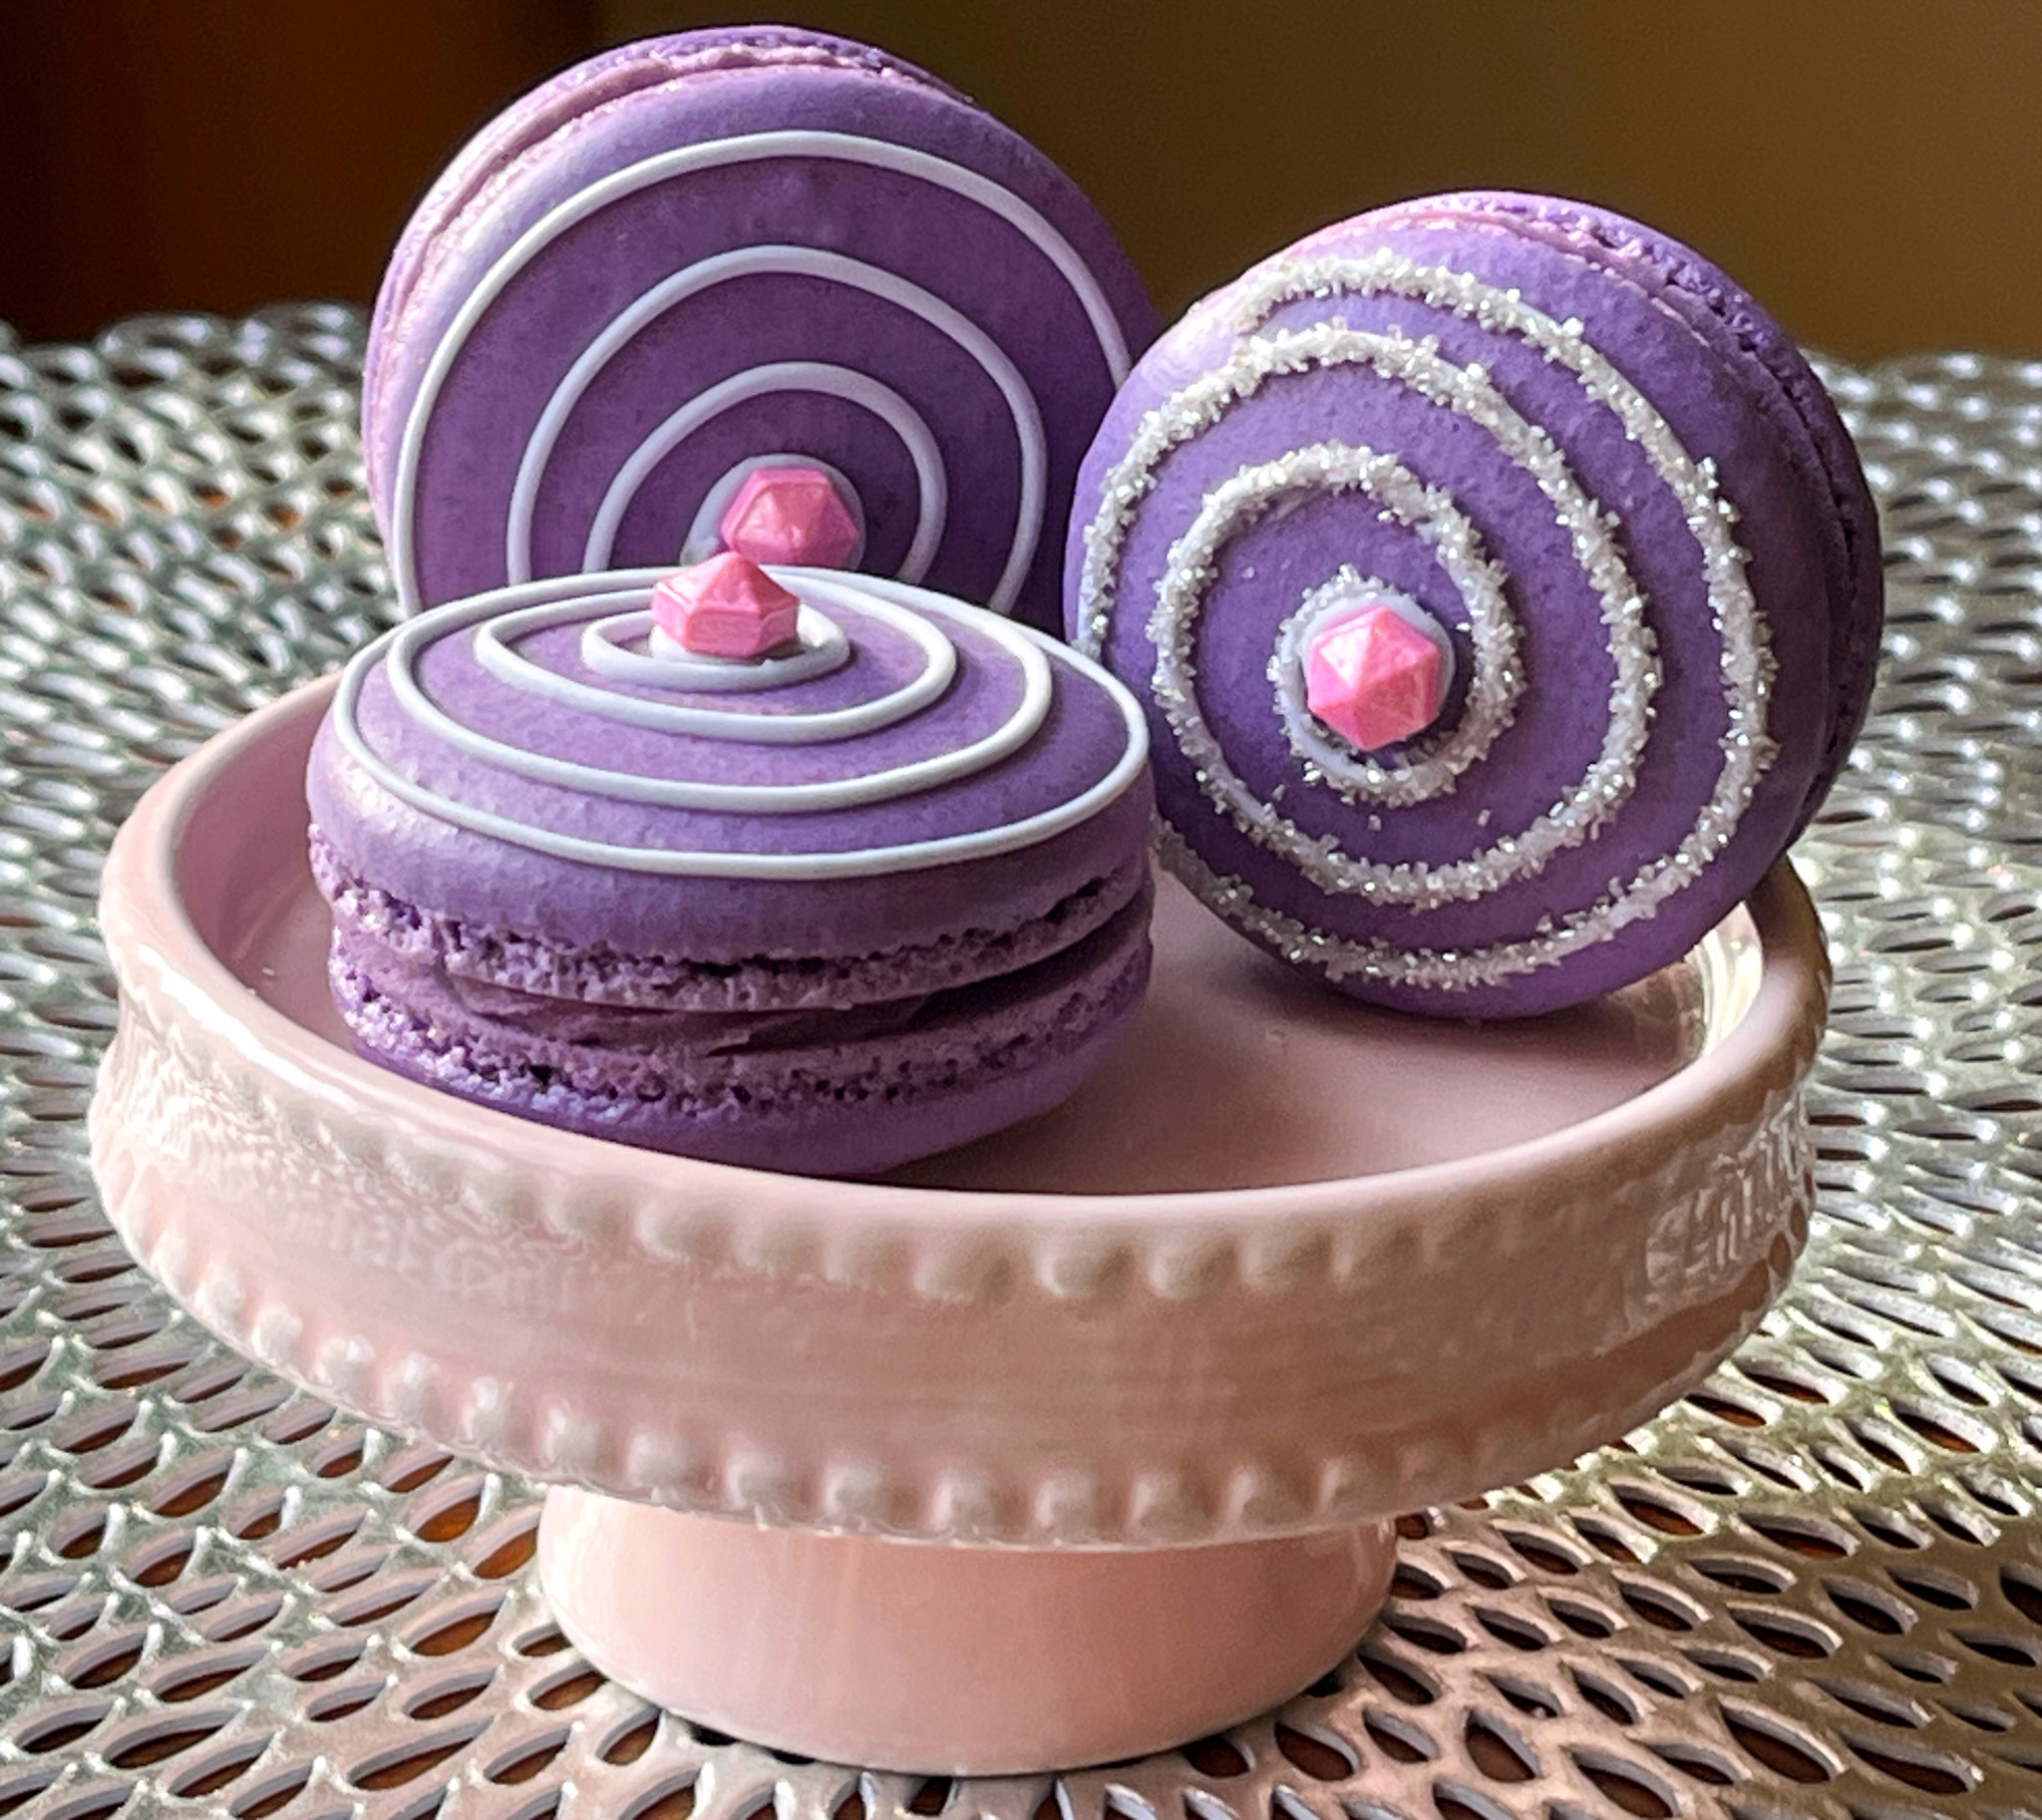
Whisk butter, cream cheese and ube halaya together until light and fluffy. Add ube extract and mix until well combined. Transfer to a piping bag fitted with a star tip. Match similar sized macaron shells with each other, fill and sandwich the cookies. Decorate the top with Royal icing swirls and sanding sugar, if so desired, or leave them plain. Keep in the fridge for 24 hours for perfect texture.
ENJOY!
to print the recipe, click here

Comments: I am pretty happy with these! The ube gives the macarons a very interesting flavor, cutting the sweetness a bit. If you have never tried ube, please do so, you might fall in love with it, as I did… Big thank you to Courtnie for bringing this ingredient to my attention!

ONE YEAR AGO: Christmas Sourdough
TWO YEARS AGO: Star-Shaped Sun-dried Tomato Bread
THREE YEARS AGO: Cranberry White Chocolate Tart
FOUR YEARS AGO: I dream of Madeleines and a Tower of Cheesecakes
FIVE YEARS AGO: Dominique Ansel’s Chocolate Mousse Cake
SIX YEARS AGO: Slow-Roasted Eye of the Round Beef
SEVEN YEARS AGO: Steam-Roasted Indian-Spiced Cauliflower
EIGHT YEARS AGO: Creamy Zucchini-Mushroom Soup
NINE YEARS AGO: Ken Forkish’s Pain au Bacon
TEN YEARS AGO: Carrot and Cumin Hamburger Buns
ELEVEN YEARS AGO: Potato Galettes a l’Alsacienne & Book Review
TWELVE YEARS AGO: Caramelized Carrot Soup
THIRTEEN YEARS AGO: Miso-Grilled Shrimp
FOURTEEN YEARS AGO: Pain Poilane