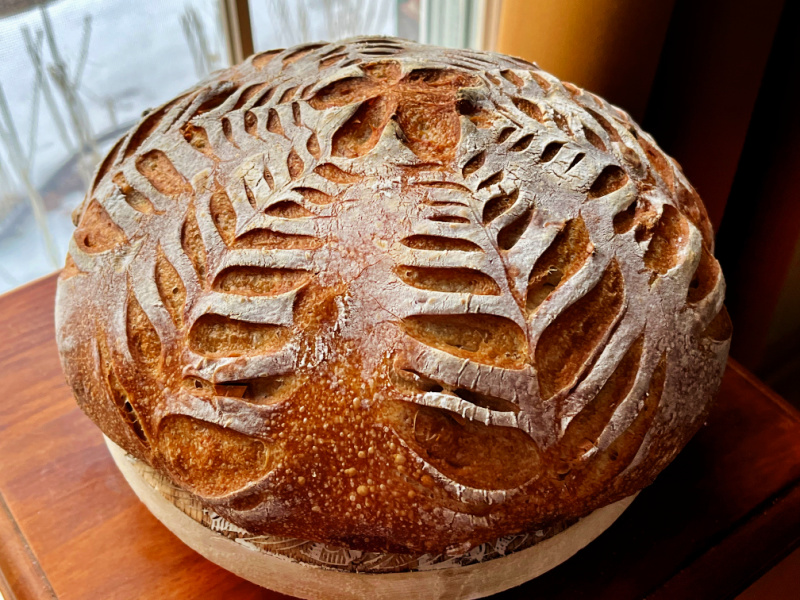
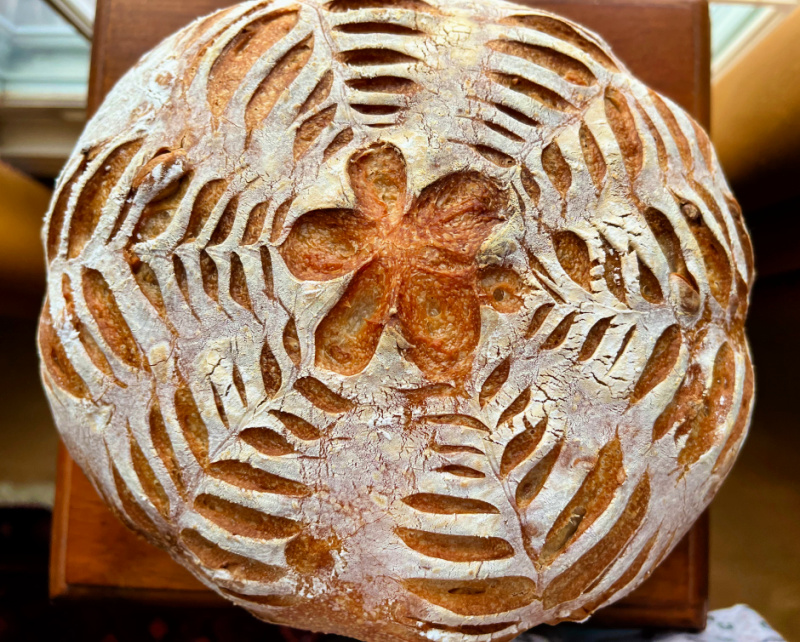
This bread is simply amazing. If you are not too sure about mixing chocolate with sourdough bread, let me tell you, it works! As the husband put it, this is dangerously good. He also said that “we” absolutely must make it again and have slices of this bread in the freezer at all times. I cannot take any credit for the basic formula, but I completely changed the method, and will explain my reasons in the comments. With this loaf, I tried a new way to decorate the surface, using paper towel to emboss a pattern. I definitely intend to explore this method further in the near future.
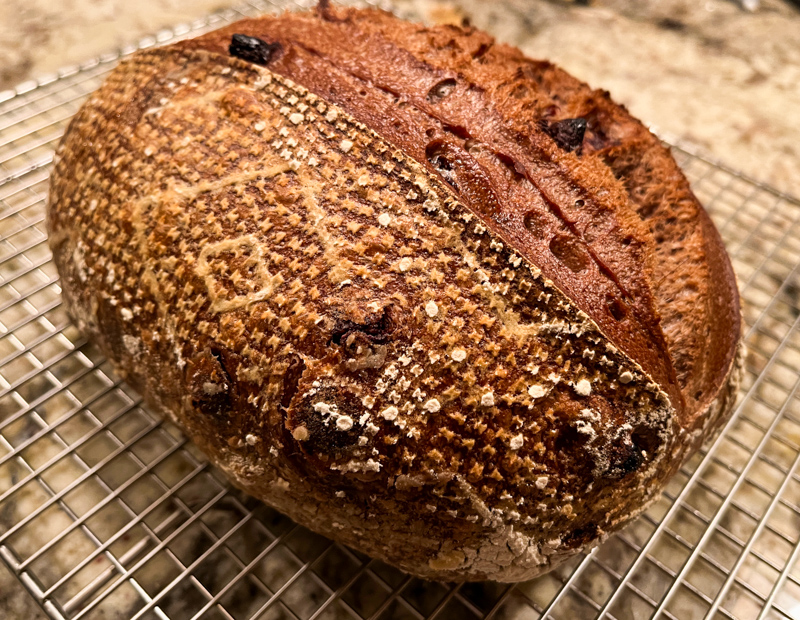
EMBOSSED CHOCOLATE-CHERRY SOURDOUGH LOAF
(modified from The Perfect Loaf)
260g water
80g active sourdough starter at 100% hydration
320g bread flour
40g spelt flour
12g cocoa powder
12g canola oil
60g dark chocolate chips
60g dried sour cherries
8g sugar
7g salt
additional flour for embossing effect (optional)
Bloom the cocoa. Heat the oil in a small saucepan. Add the cocoa and heat, stirring until it thickens slightly. Allow it to completely cool.
Place the water in the bowl of a KitchenAid type mixer and dissolve the starter in it, mixing with a spatula briefly, then add the two types of flour, and all other ingredients, except the chocolate chips and cherries.
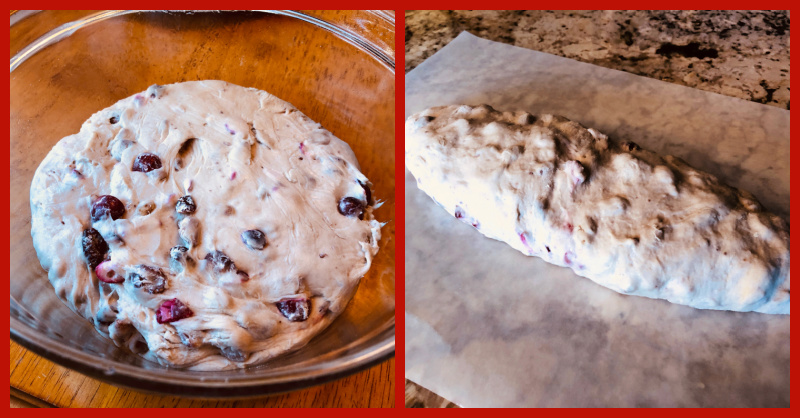
Turn the mixer on with the hook attachment and knead the dough for 2 minutes at low-speed all the time. If the dough is too sticky, add 1/4 cup flour, you want the dough to start clearing the sides of the bowl, but still be sticky at the bottom. Add the chocolate chips and cherries, knead in the machine for 2 and a half minutes more.
Remove the dough from the machine, and transfer to a container lightly coated with oil, cover lightly with plastic wrap and allow it to ferment for 4 hours, folding every 45 minutes or so. If you intend to do the decorative embossing, rub all-purpose or bread flour all over the paper towel. Reserve.
After four hours bulk fermentation, shape the dough in any shape you like, and place, seam side up, in a lightly floured banetton. If embossing, the bread lays on top of the paper saturated with flour. Leave at room temperature one hour, and then place in the fridge overnight, from 8 to 12 hours.
Next morning, heat the oven to 450F. Invert the dough over parchment paper, slash the surface with a sharp razor blade. Bake at 450F for 45 minutes, preferably covered for the first 30 minutes to retain steam. Cool completely over a rack before slicing.
ENJOY!
to print the recipe, click here

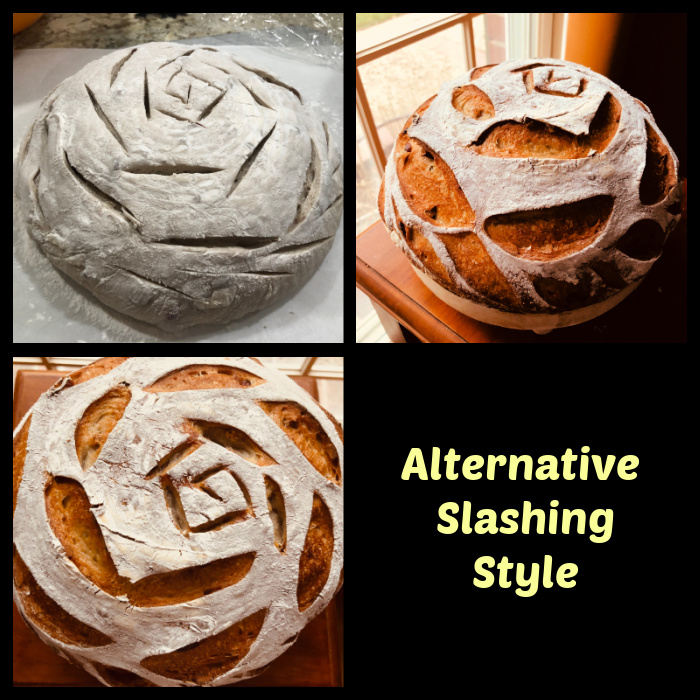
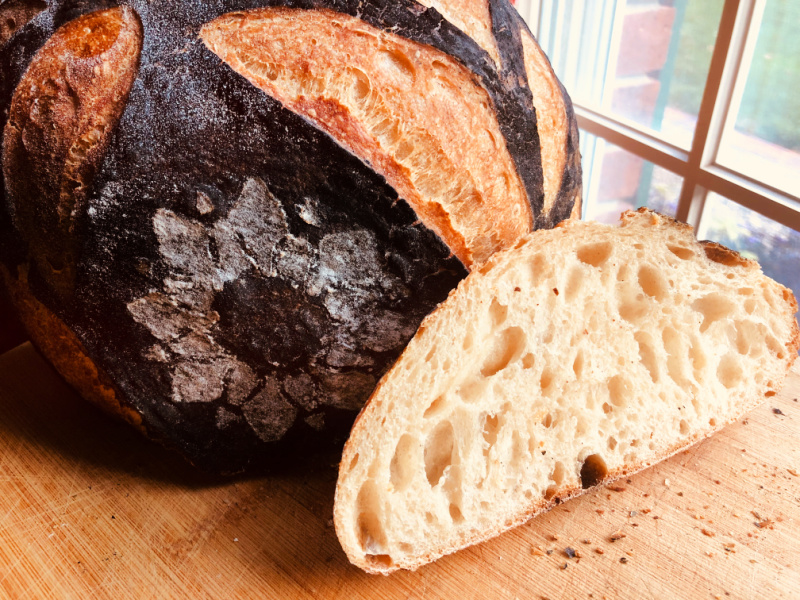
Comments: The technique to do the embossing is explained very well in this video from youtube. I was hoping for more staying power and contrast after baking, so on a loaf made a few days later I tried tapioca flour and rice flour, but they did not work. The tapioca behaved very oddly when rubbed in the paper, so I did not use it, and the rice flour never formed a pattern after overnight in the fridge. So, as far as my limited experience goes, it might be better to use regular white flour.
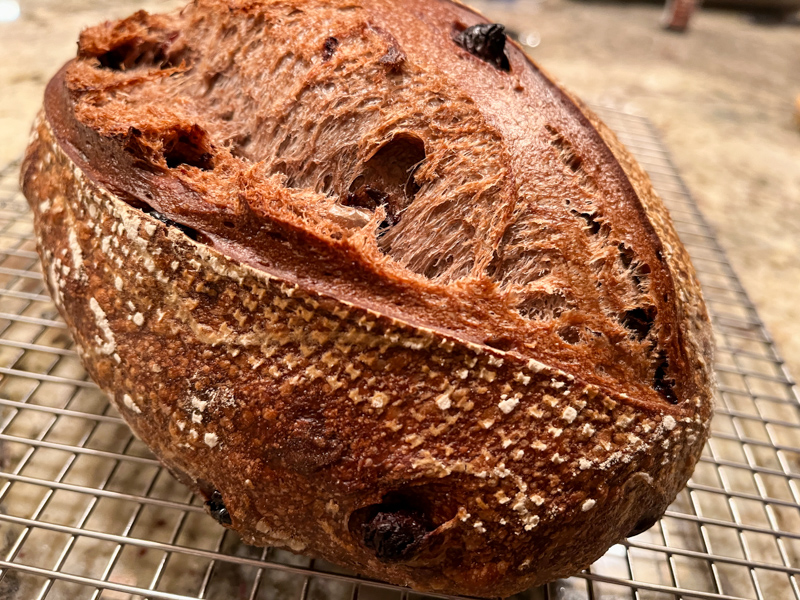
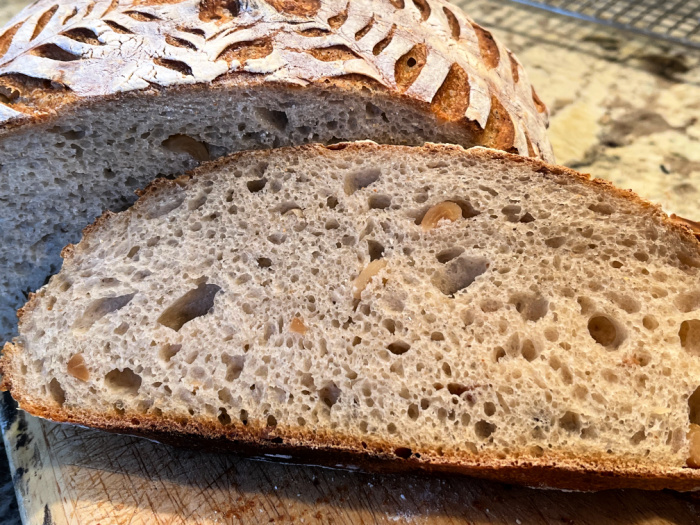
The bread had great oven-spring, and the smell was amazing as it baked. My modification of the method involved super-simplifying it. As I like to say, your kitchen, your rules. If you prefer to go along the path of autolyse, and adding water in different stages, go for it. I’ve been baking sourdough for 15 years pretty much non-stop, and I stick with the simplest way to do it. It works well for me. Would it be better if I did the autolyse and all the other convoluted tricks? Maybe, but honestly, I don’t really care. Some bakers go to the extent of measuring the temperature of the room, the water, the flour, adjust the number of revolutions per minute in the KitchenAid to get to the perfect increase in temperature by friction etc etc. I have zero interest in this type of precision. My default method works fine for all bread formulas I’ve tried so far. Quoting my dear friend Elaine (author of two bread cookbooks): “Keep It Simple.”
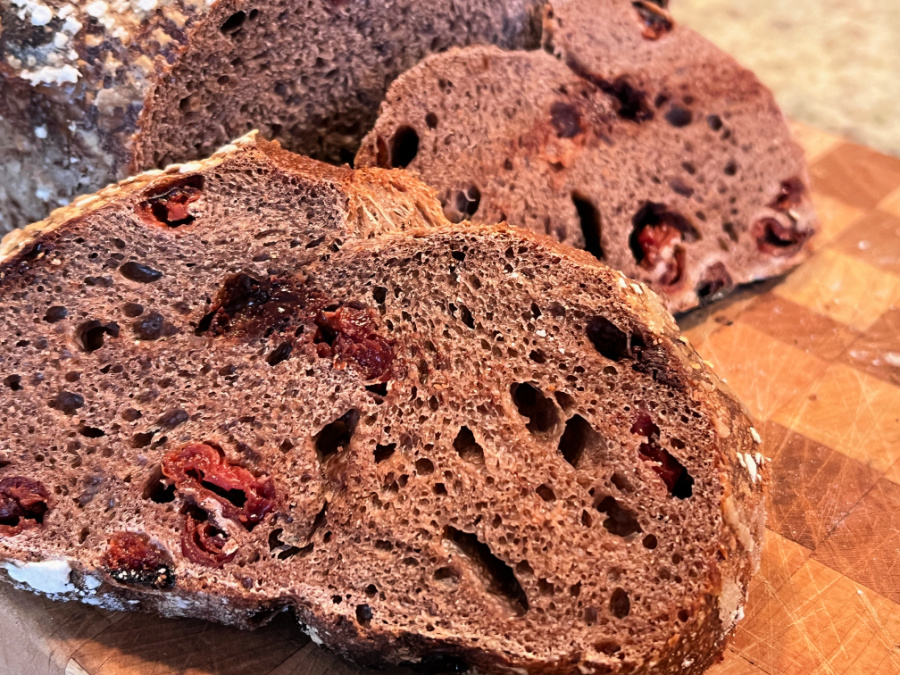
The flavor of this bread is hard to describe, but Maurizio really hit the jackpot with this one. It is not a sweet bread. Biting into the pieces of cherry around the crumb? Added bliss. Make it, and you might find yourself with a new favorite loaf of bread to keep around the house.
ONE YEAR AGO: Springerle Painting 101
TWO YEARS AGO: Mincemeat Pies, when the third time is a charm
THREE YEARS AGO: Shibari Bread]
FOUR YEARS AGO: Incredibly Simple Times Four – January 2018
FIVE YEARS AGO: Two Salads and a Blog Award!
SIX YEARS AGO: When Three is Better than Two
SEVEN YEARS AGO: Somebody Stop Me!
EIGHT YEARS AGO: Zucchini Pasta with Cilantro-Cashew Pesto
NINE YEARS AGO: Bran Muffins, Take Two
TEN YEARS AGO: Brown Butter Chocolate Chip Cookies
ELEVEN YEARS AGO: Mogo Mojo
ELEVEN YEARS AGO: Slow-Roasted Chicken Thighs: an Ice-Breaker