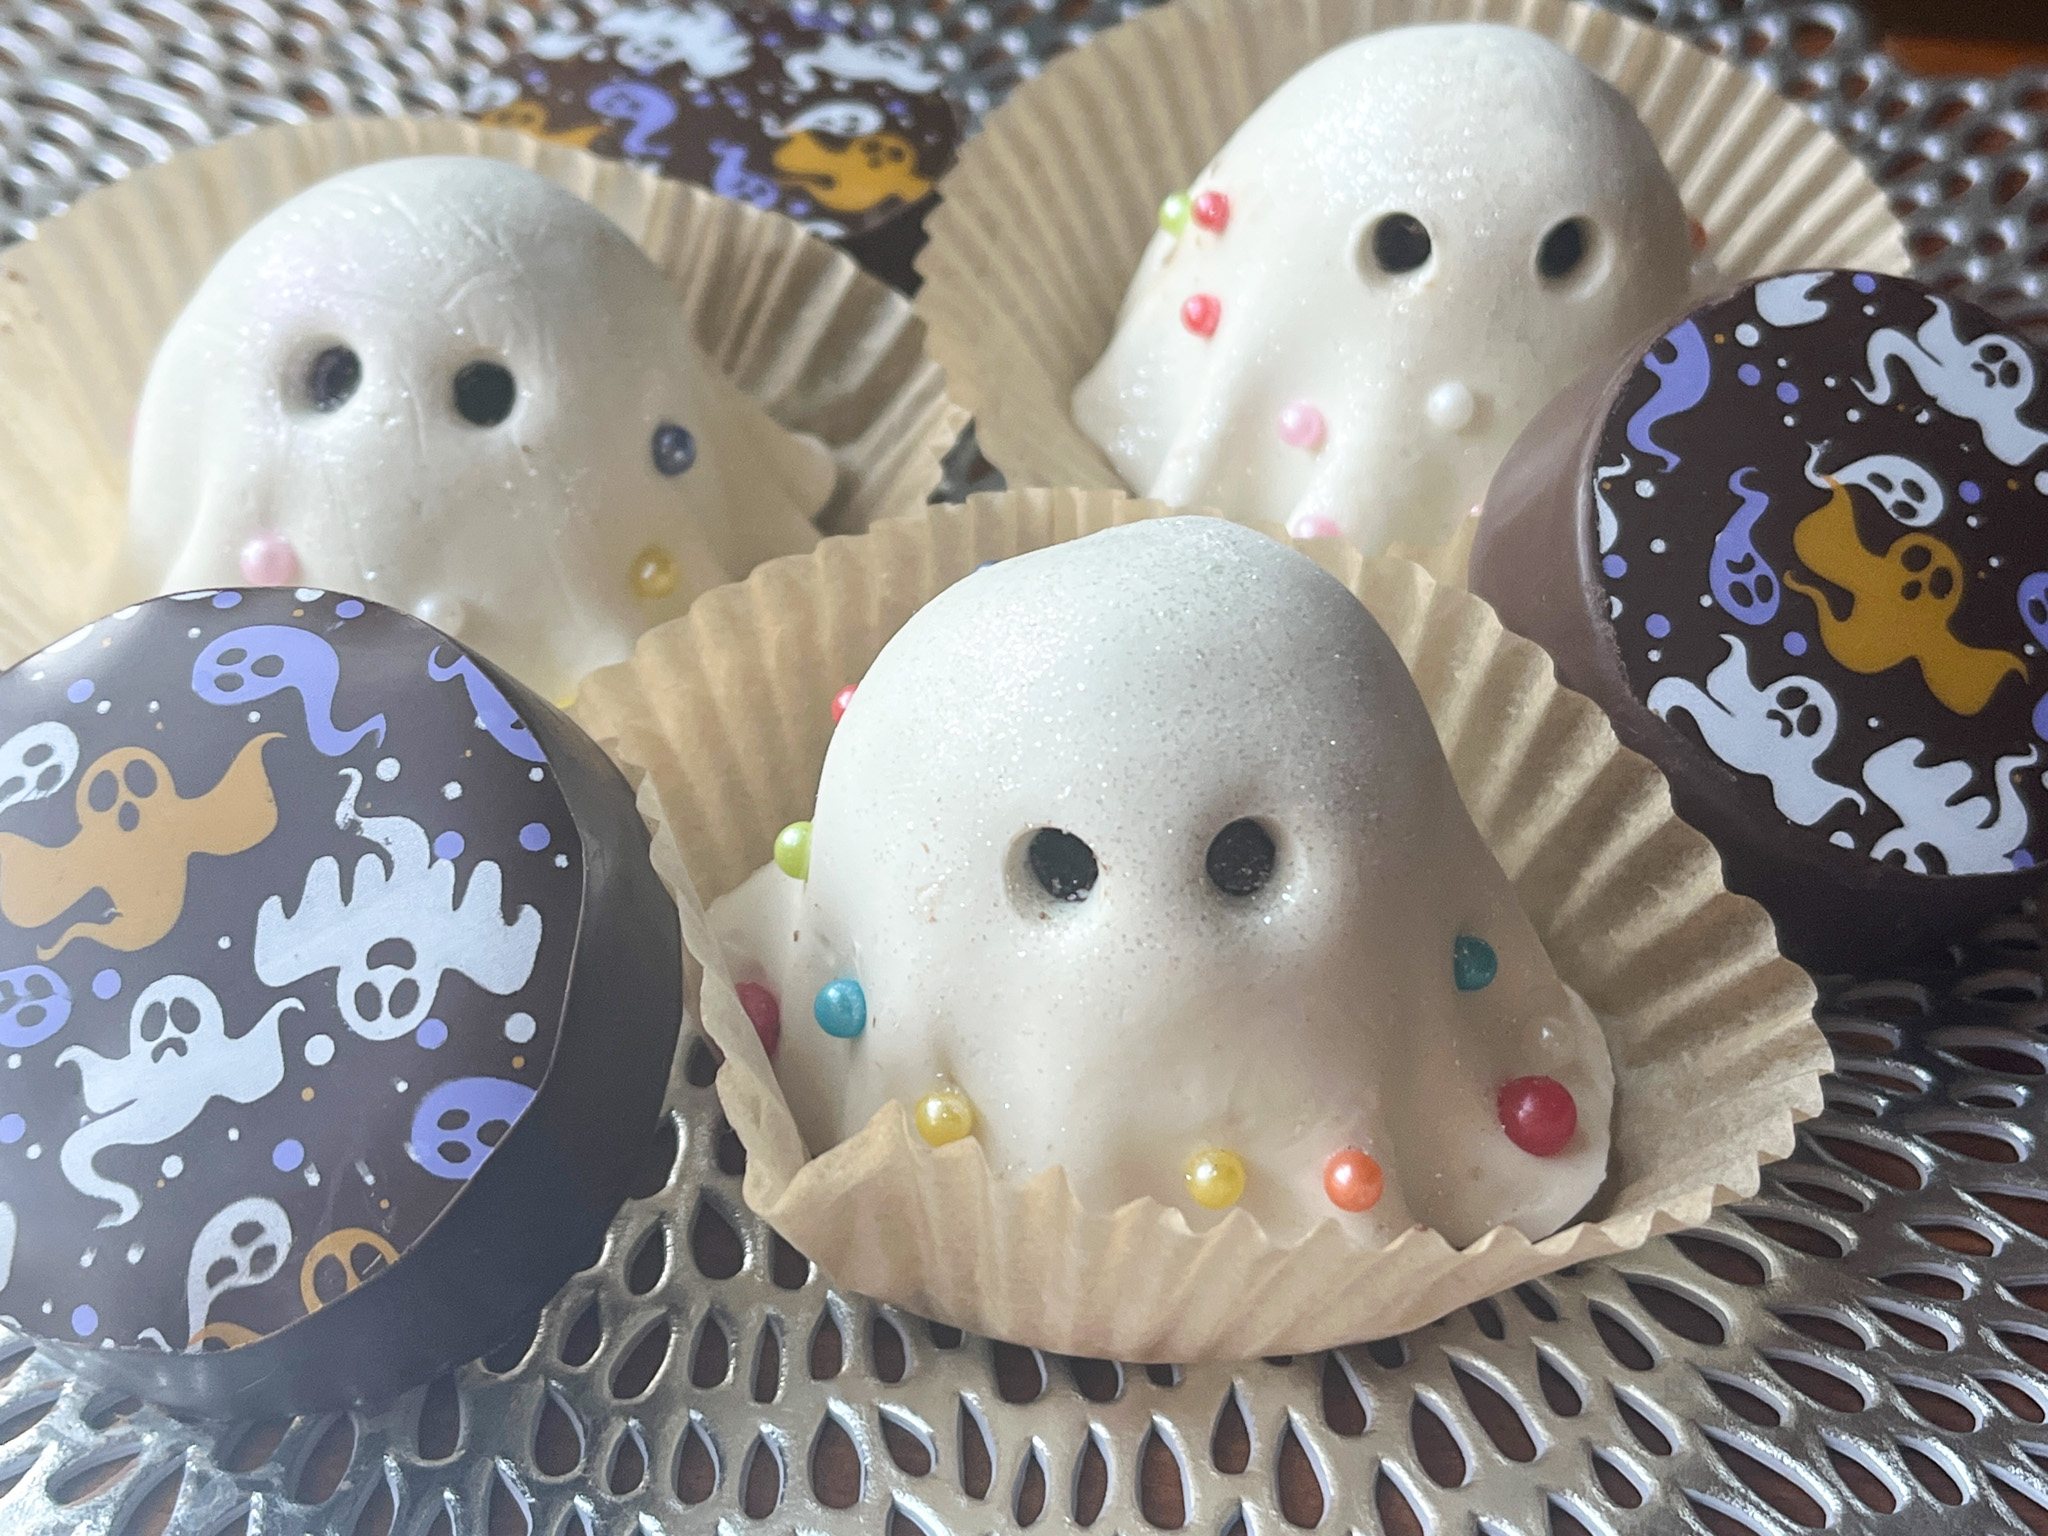
The idea for these cupcakes came from this recent post in a blog I love… She added the disclaimer of “NO FONDANT” in her title and I decided to do the same because the first thing that comes to mind when you see these babies is… wow, that is A LOT of fondant! No, friends. The ghost “clothing” is made of modeling chocolate! How cool is that?
The road to make these babies was full of trepidation. I opted for cupcakes after exchanges with Haniela, the Cookie Goddess who is also an amazing baker in all fronts. She had made cupcakes covered in fondant (check them out here) so my adventure was a cross between two ideas.
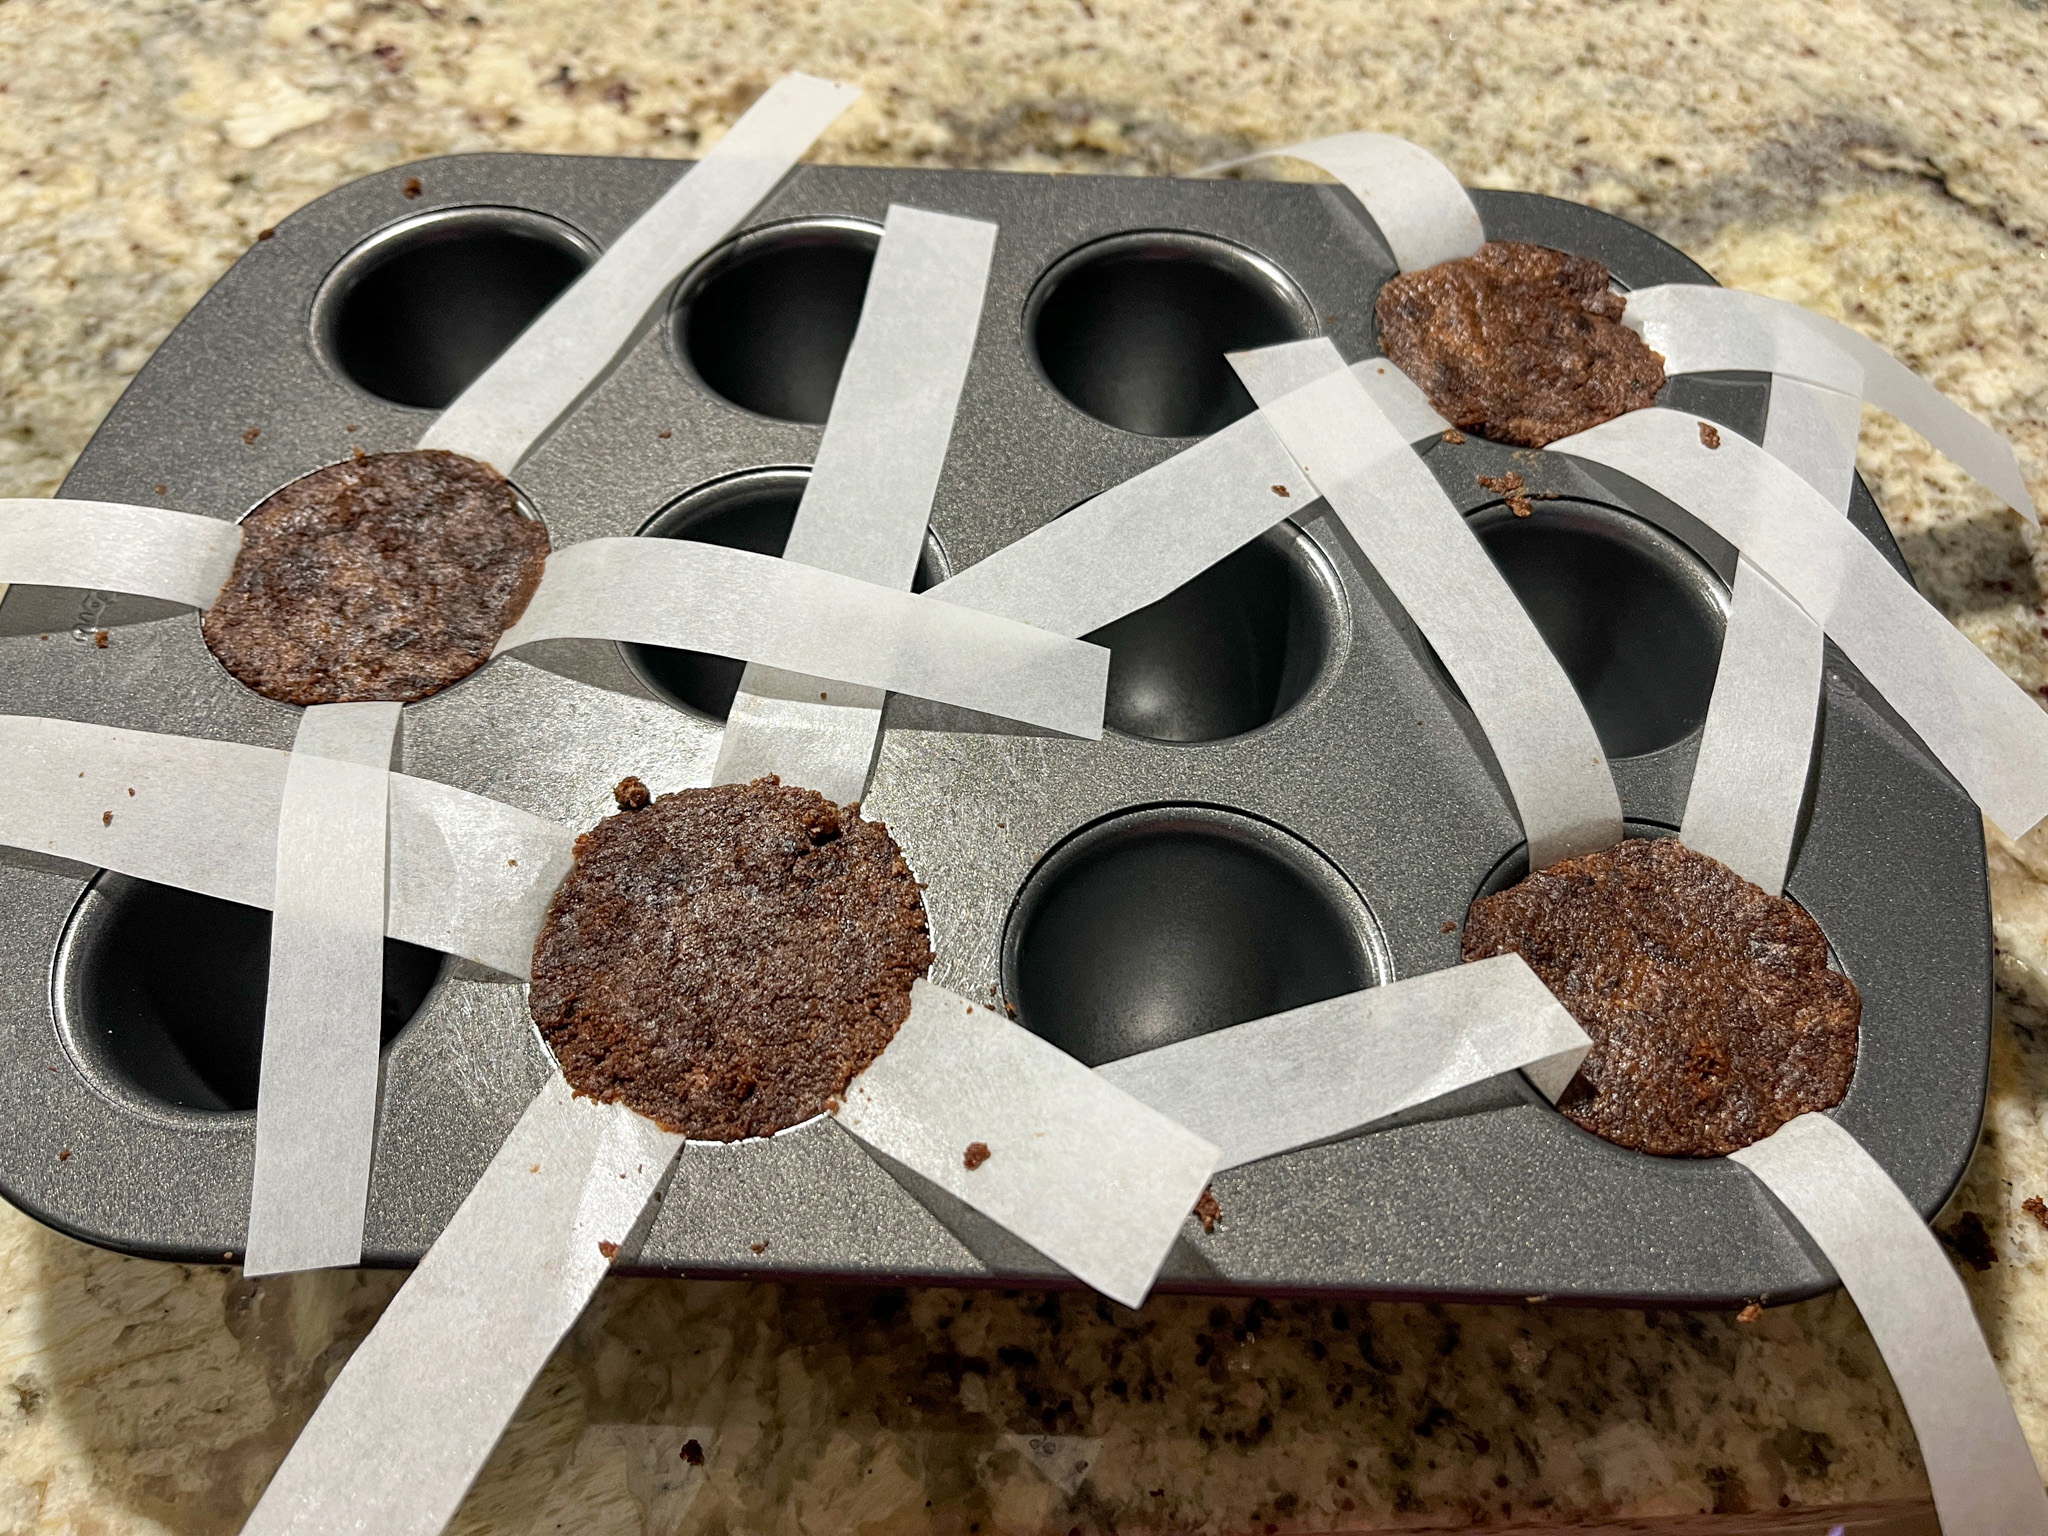
First things first. I made chocolate cupcakes using this adorable pan from Wilton, the same that Haniela used in her bake. The result was a complete disaster. I forgot to spray the cavities (can you believe it?) and the cakes did not release. I was left with a mess of cake crumbs. I was ready to bag the project for that day, but Hani gave me the brilliant idea of making cake pops in the pan. I gathered the crumbs, mixed with a simple American chocolate buttercream, and pressed into the cavities. Froze for 1 hour.
That worked like a charm. Brought the pan to room temperature, dipped the bottom in hot water for 5 minutes, and they all came out perfectly domed. After that, I gave them a light coating with chocolate buttercream and placed back in the freezer while I worked on the modeling chocolate.
.
MODELING CHOCOLATE USING WILTON CANDY MELTS
Melt 15 oz WHITE WILTON candy melts gently in the microwave
Heat 1/3 cup light corn syrup in the microwave for just 10 seconds until barely warm
Mix corn syrup with melted candy, stir. When it forms a dough, stop immediately.
Allow it to sit at room temperature, covered in plastic for 2 hours or overnight.
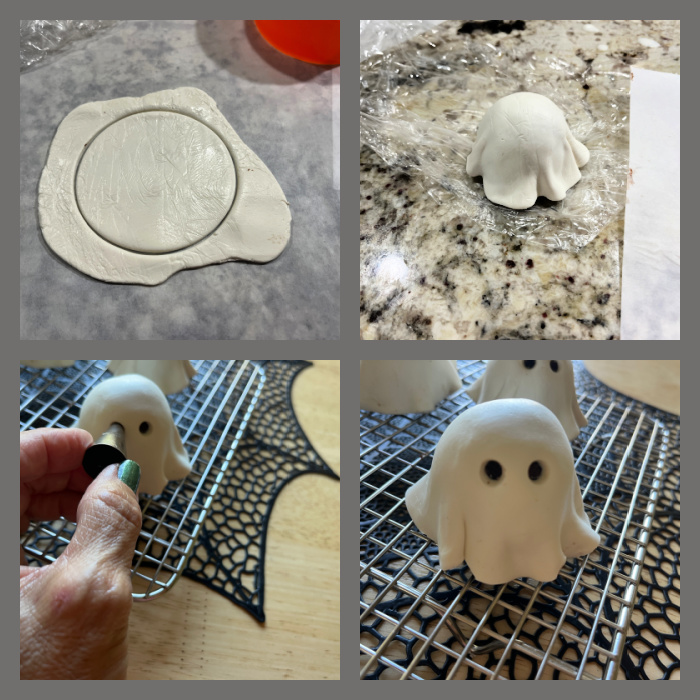
Roll out between two sheets of parchment paper, cut circles large enough to drape over the cakes.
.
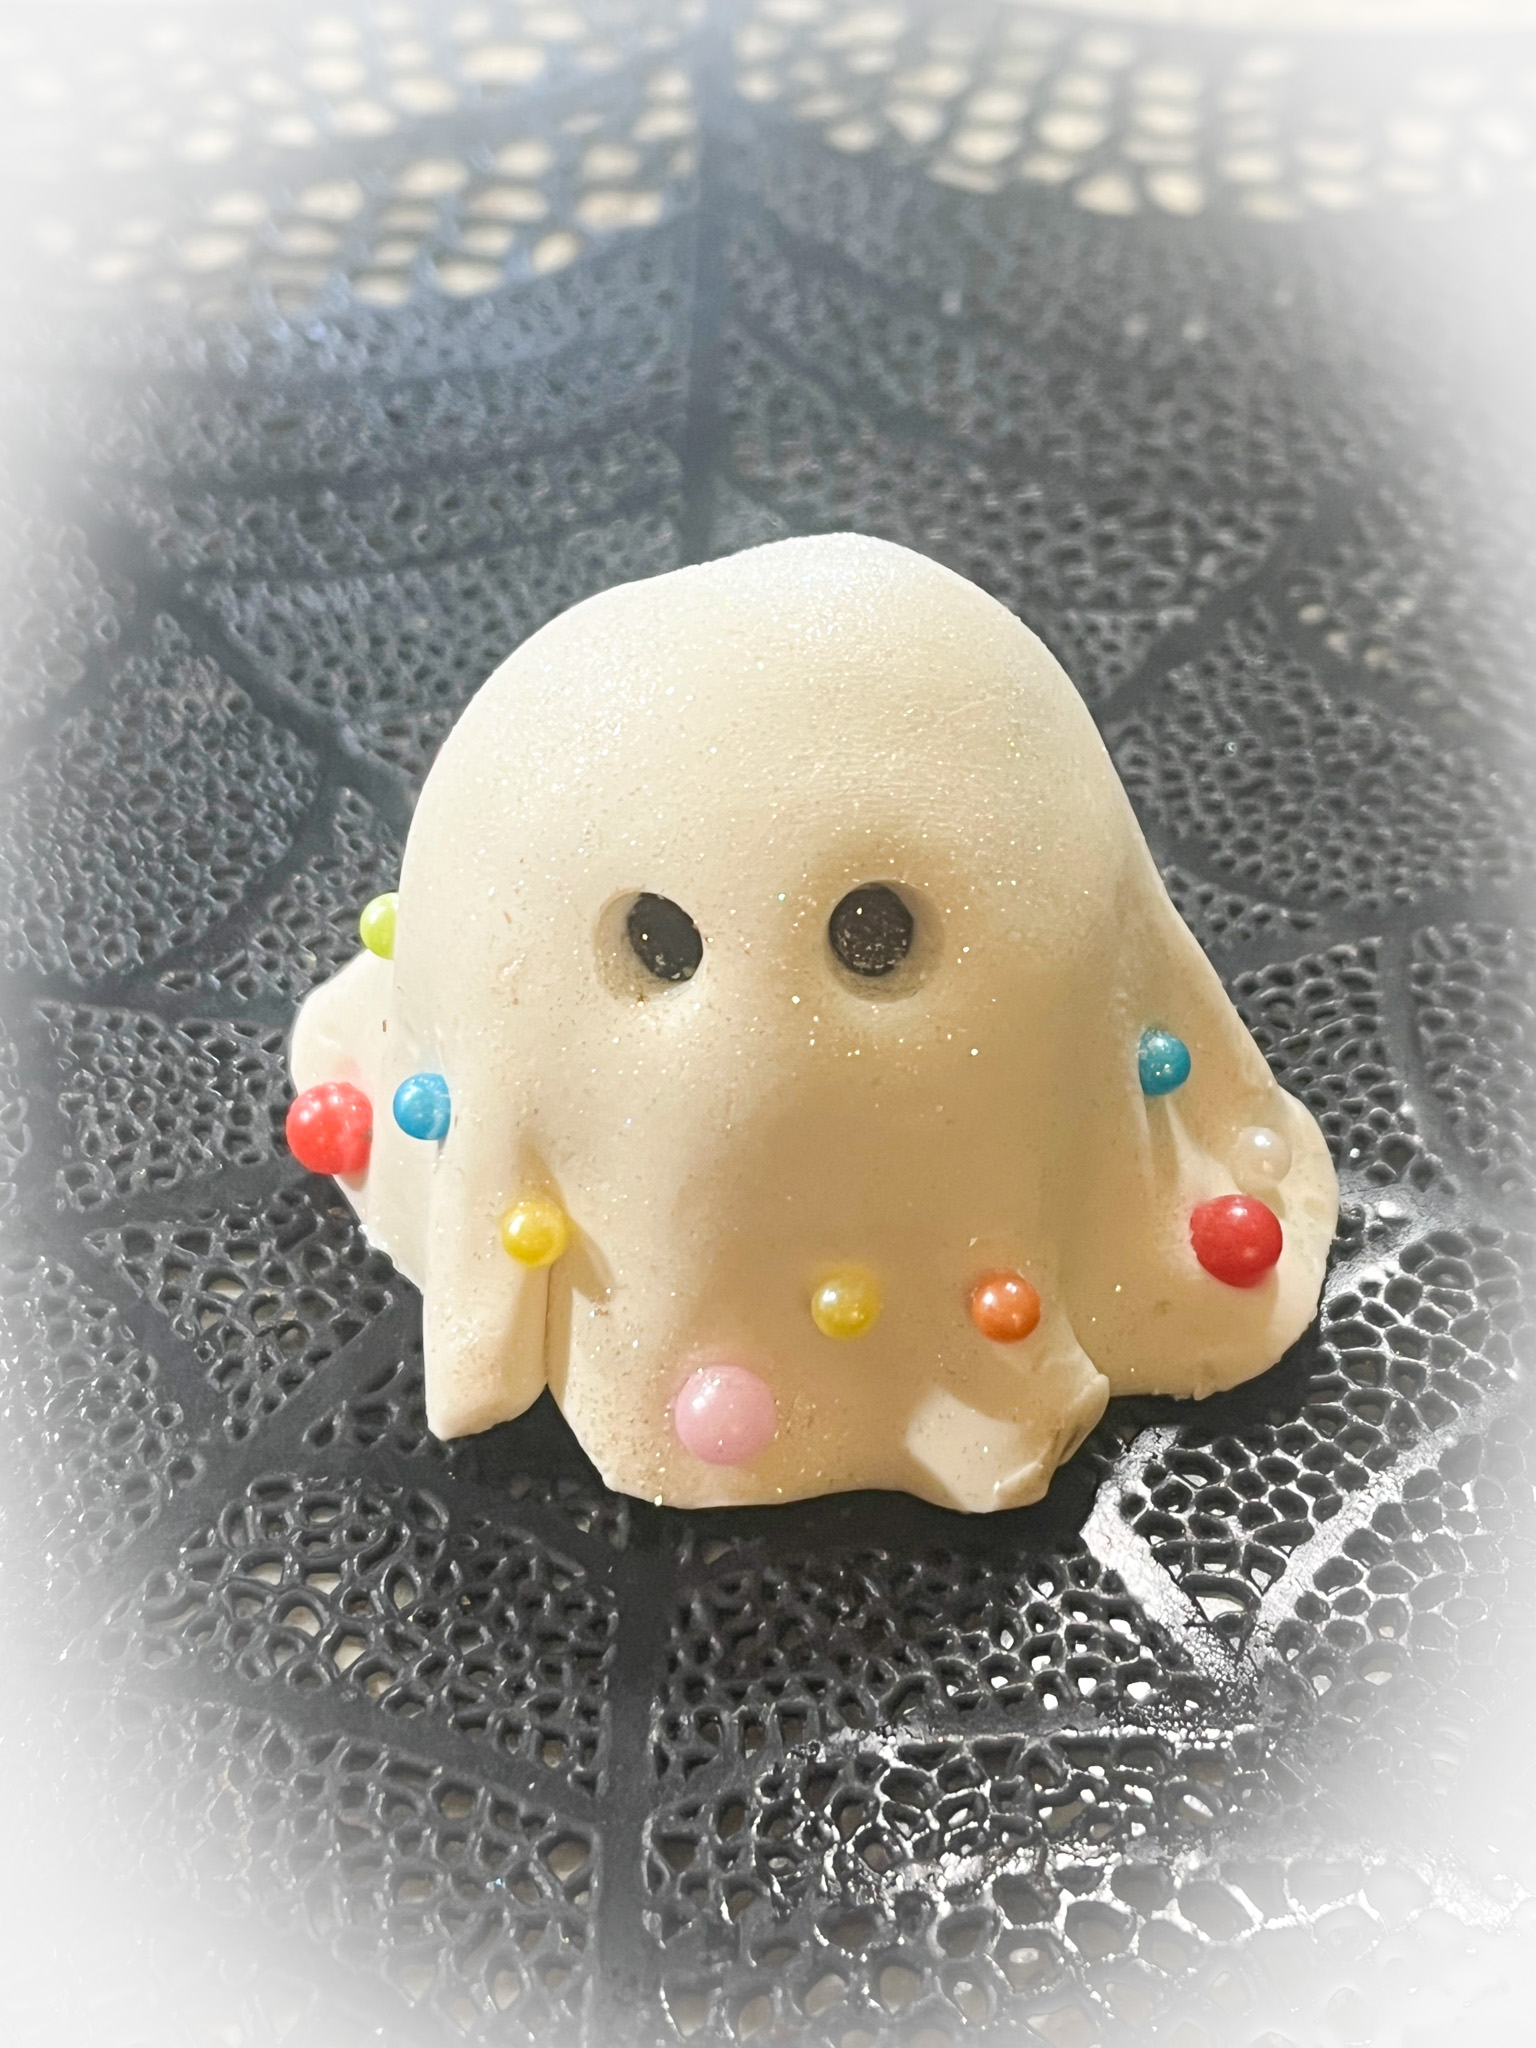
Cut circles for eyes using a small piping tip. Glue sprinkles, and if desired, spray with diamond dust or another type of glitter of your choice.
.
I am so in love with this project! Maybe one day I will be brave enough to do the large cake from Sprinklebakes blog, but for the time being I am happy with these. Huge thank you to Haniela for saving my day after the baking fiasco.
Fifteen years ago we rescued a very timid, very frail dog back in Los Angeles (read my initial post about it here)…. He grew up to be a fierce, strong, dominant dog, and now in his old age, is a bit weak and tentative in his moves, but still dominates The Kingdom of Tatarrax… Osky, this one is for you!
My very first picture with my forever family…
And after 15 years, so many memories!
We don’t know your Birthday, but October 16th is our day to celebrate YOU!
I don’t know if I am embarrassed or thrilled. Embarrassed because this is truly SO simple that it hardly qualifies as a “recipe”. But thrilled at the same time because it totally blew my expectations. So simple, so tasty. Even next day, and you know how much I go crazy for leftovers.
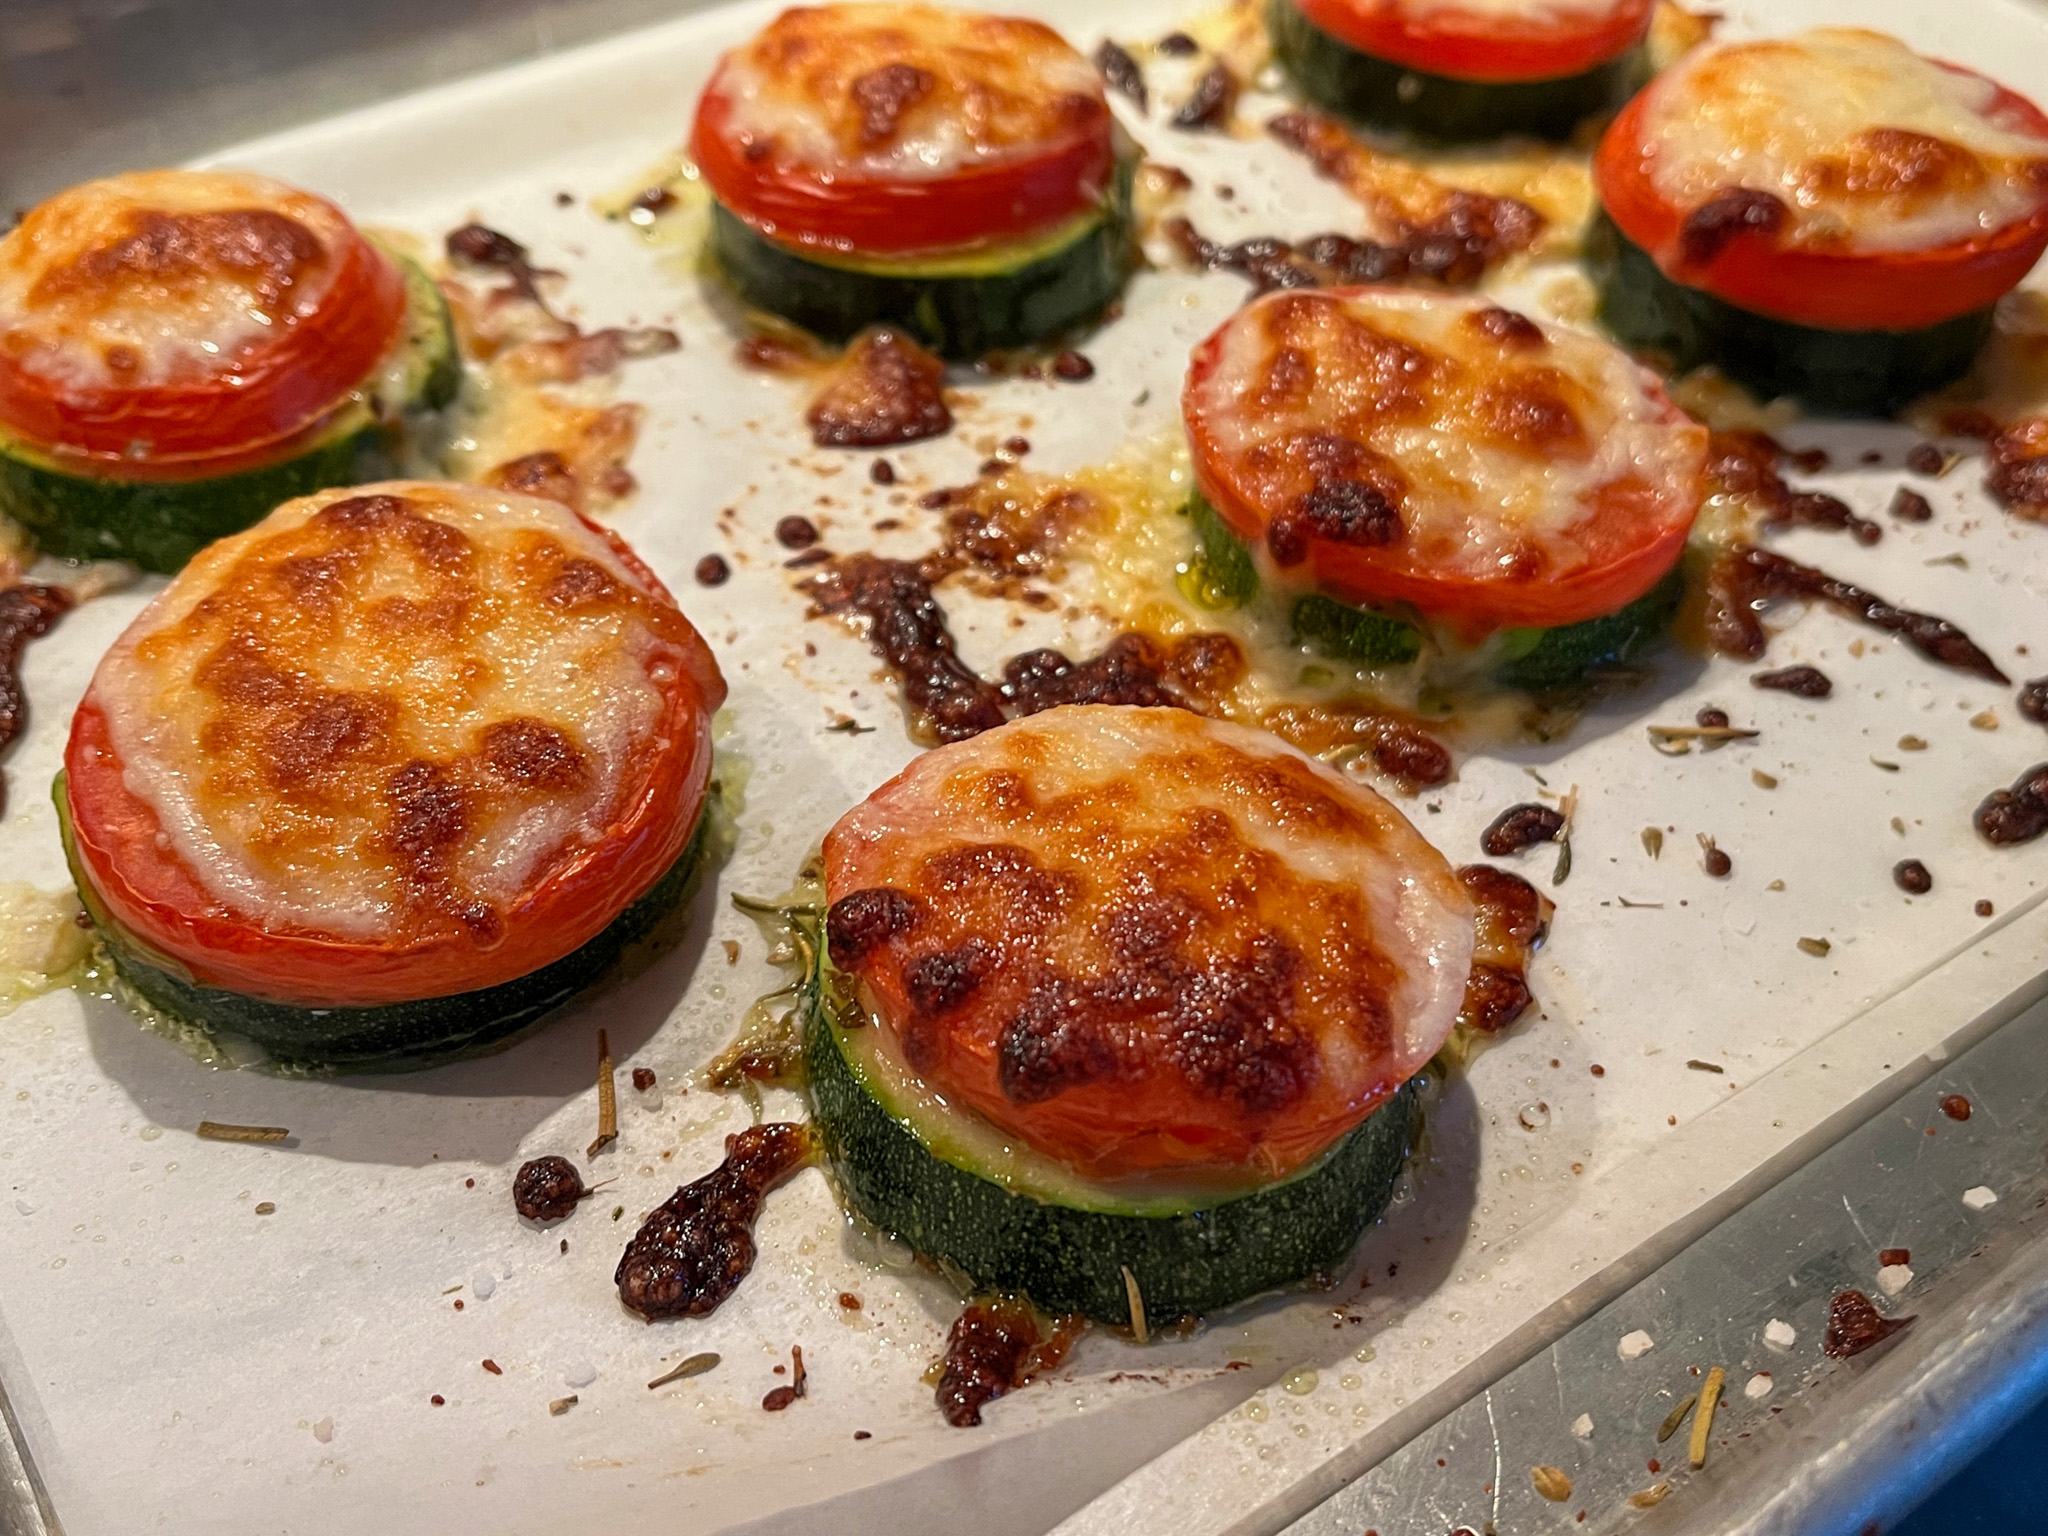
BAKED ZUCCHINI TOMATO STACKS (from The Bewitching Kitchen)
1 zucchini, sliced 1/4 inch thick olive oil salt and pepper Fresh tomatoes, sliced (about the same diameter as the zucchini) grated mozzarella cheese Herbes de Provence to taste
Line a baking sheet with parchment paper.
Lay one slice of zucchini, brush both sides with olive oil, season with a little salt and Herbes de Provence.
Place a slice of tomato on top, season with a little salt. Add shredded mozzarella on top of the tomato.
Bake at 400F for 15 to 20 minutes, until cheese is melted and golden.
Comments: This was such a delicious side dish, I just know I will be making it again and again. Leftovers were perfect warmed up in a hot oven for just a few minutes. Zucchini tends to get a bit mushy, but for some reason, with the tomato and the cheese on top, it all works well. Give this recipe a try, I believe you will love it too…
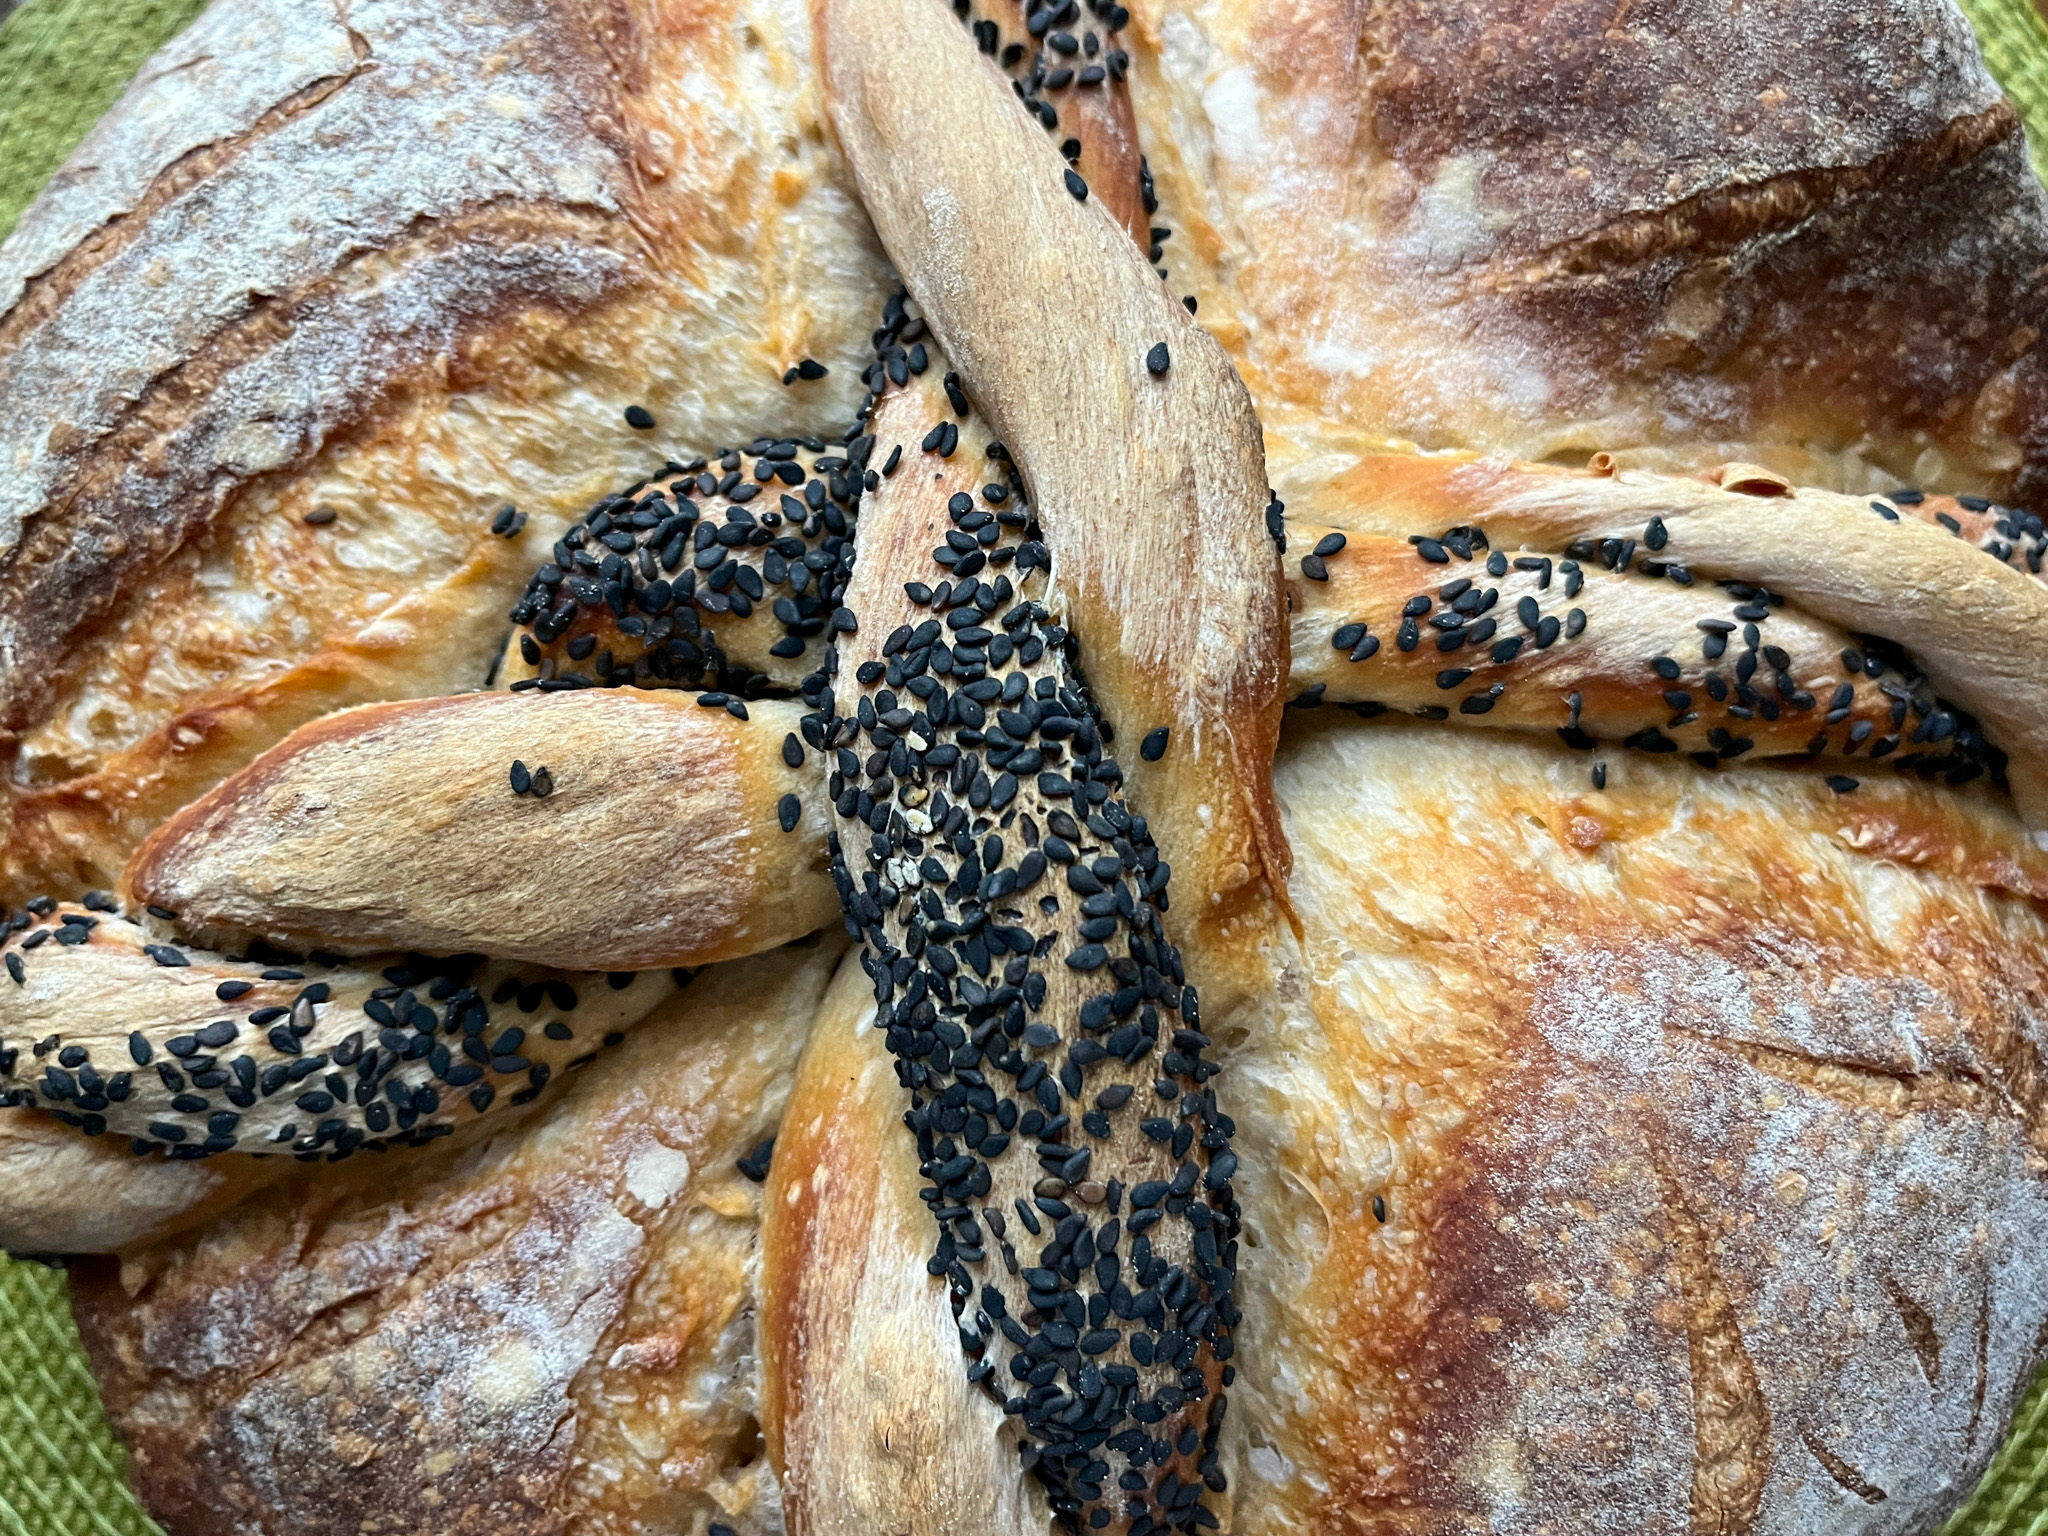
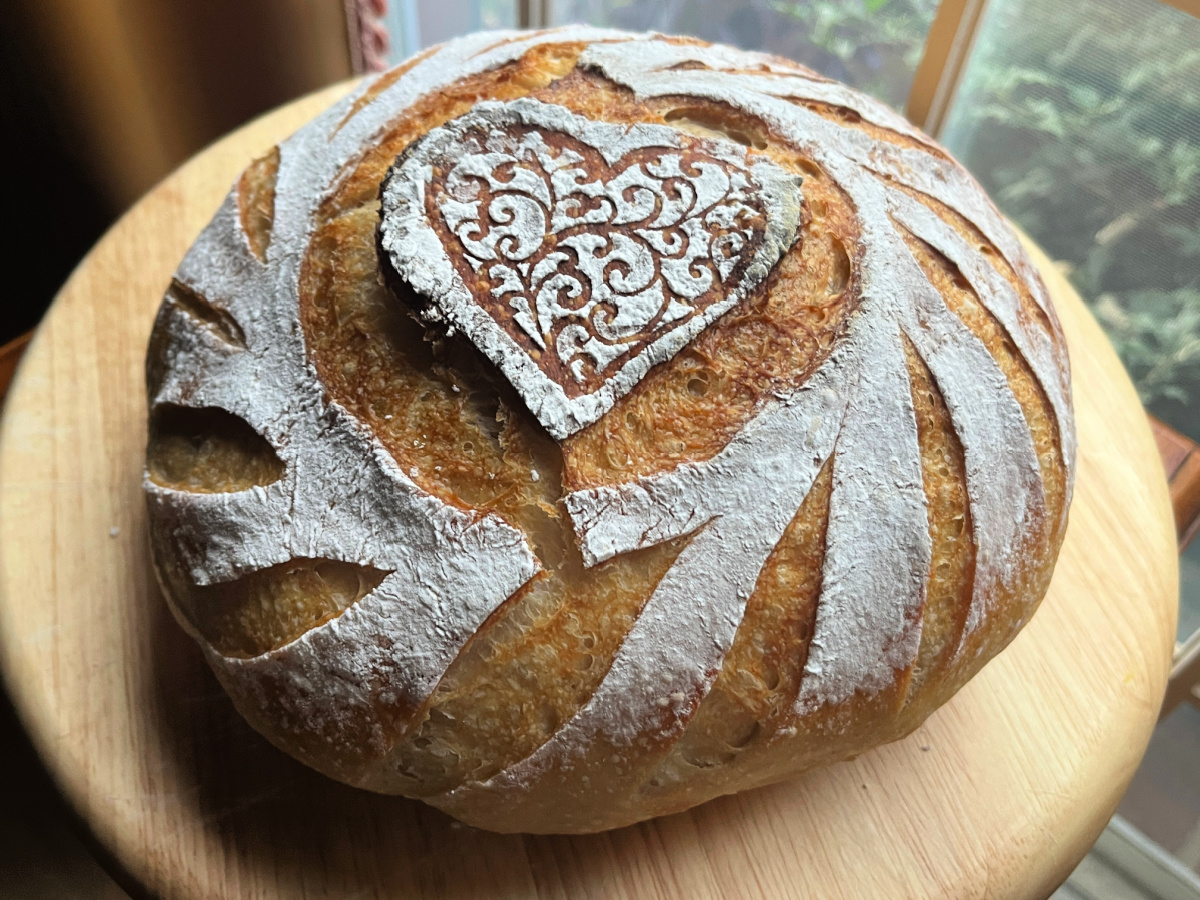
First things first, credit goes to Sophia, an amazing sourdough baker I found by accident looking at pictures on Instagram. If you like to gild the lily as far as baking bread is concerned, definitely look at her page on IG (click here). She is also super helpful and I am grateful for the feedback she gave me when I had some issues trying to reproduce her masterpieces. Without further ado, my first braided sourdough inspired by one of her many creations.
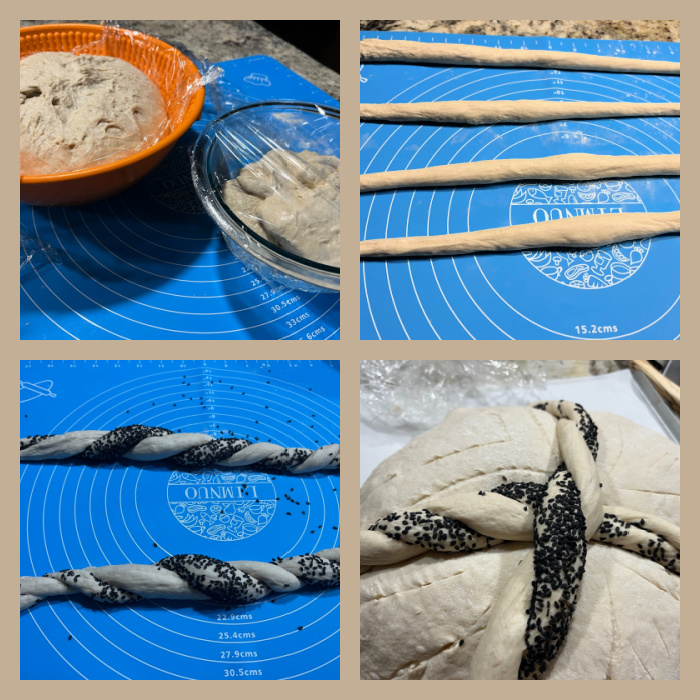
For this version, I used my default formula for sourdough, but increased the total flour to 700g, so that I separated it in 400g (main bread), and 300g (for four strands with 75g each). Looking back, I did not need so much dough for the braid, but I was worried and did not want to take risks. Do your math, scale any recipe you are fond of and go from there.
I always allow my bulk fermentation to go for about 5 hours at room temperature and then shape and retard in the fridge overnight. So that’s what I did: fermented the whole 700g at room temperature, divided into two portions, shaped one as a boule and kept the 300g in another container, waiting to be twisted next morning, still cold from the fridge.
Each twist will have two strands, one covered in black sesame seeds, one left plain. I could have done a better job with the amount of seeds to be more homogeneous over the dough, but it is hard to get it all right on the first time… It is also important to twist both ropes to the same extent, in my case one had more twists than the other.
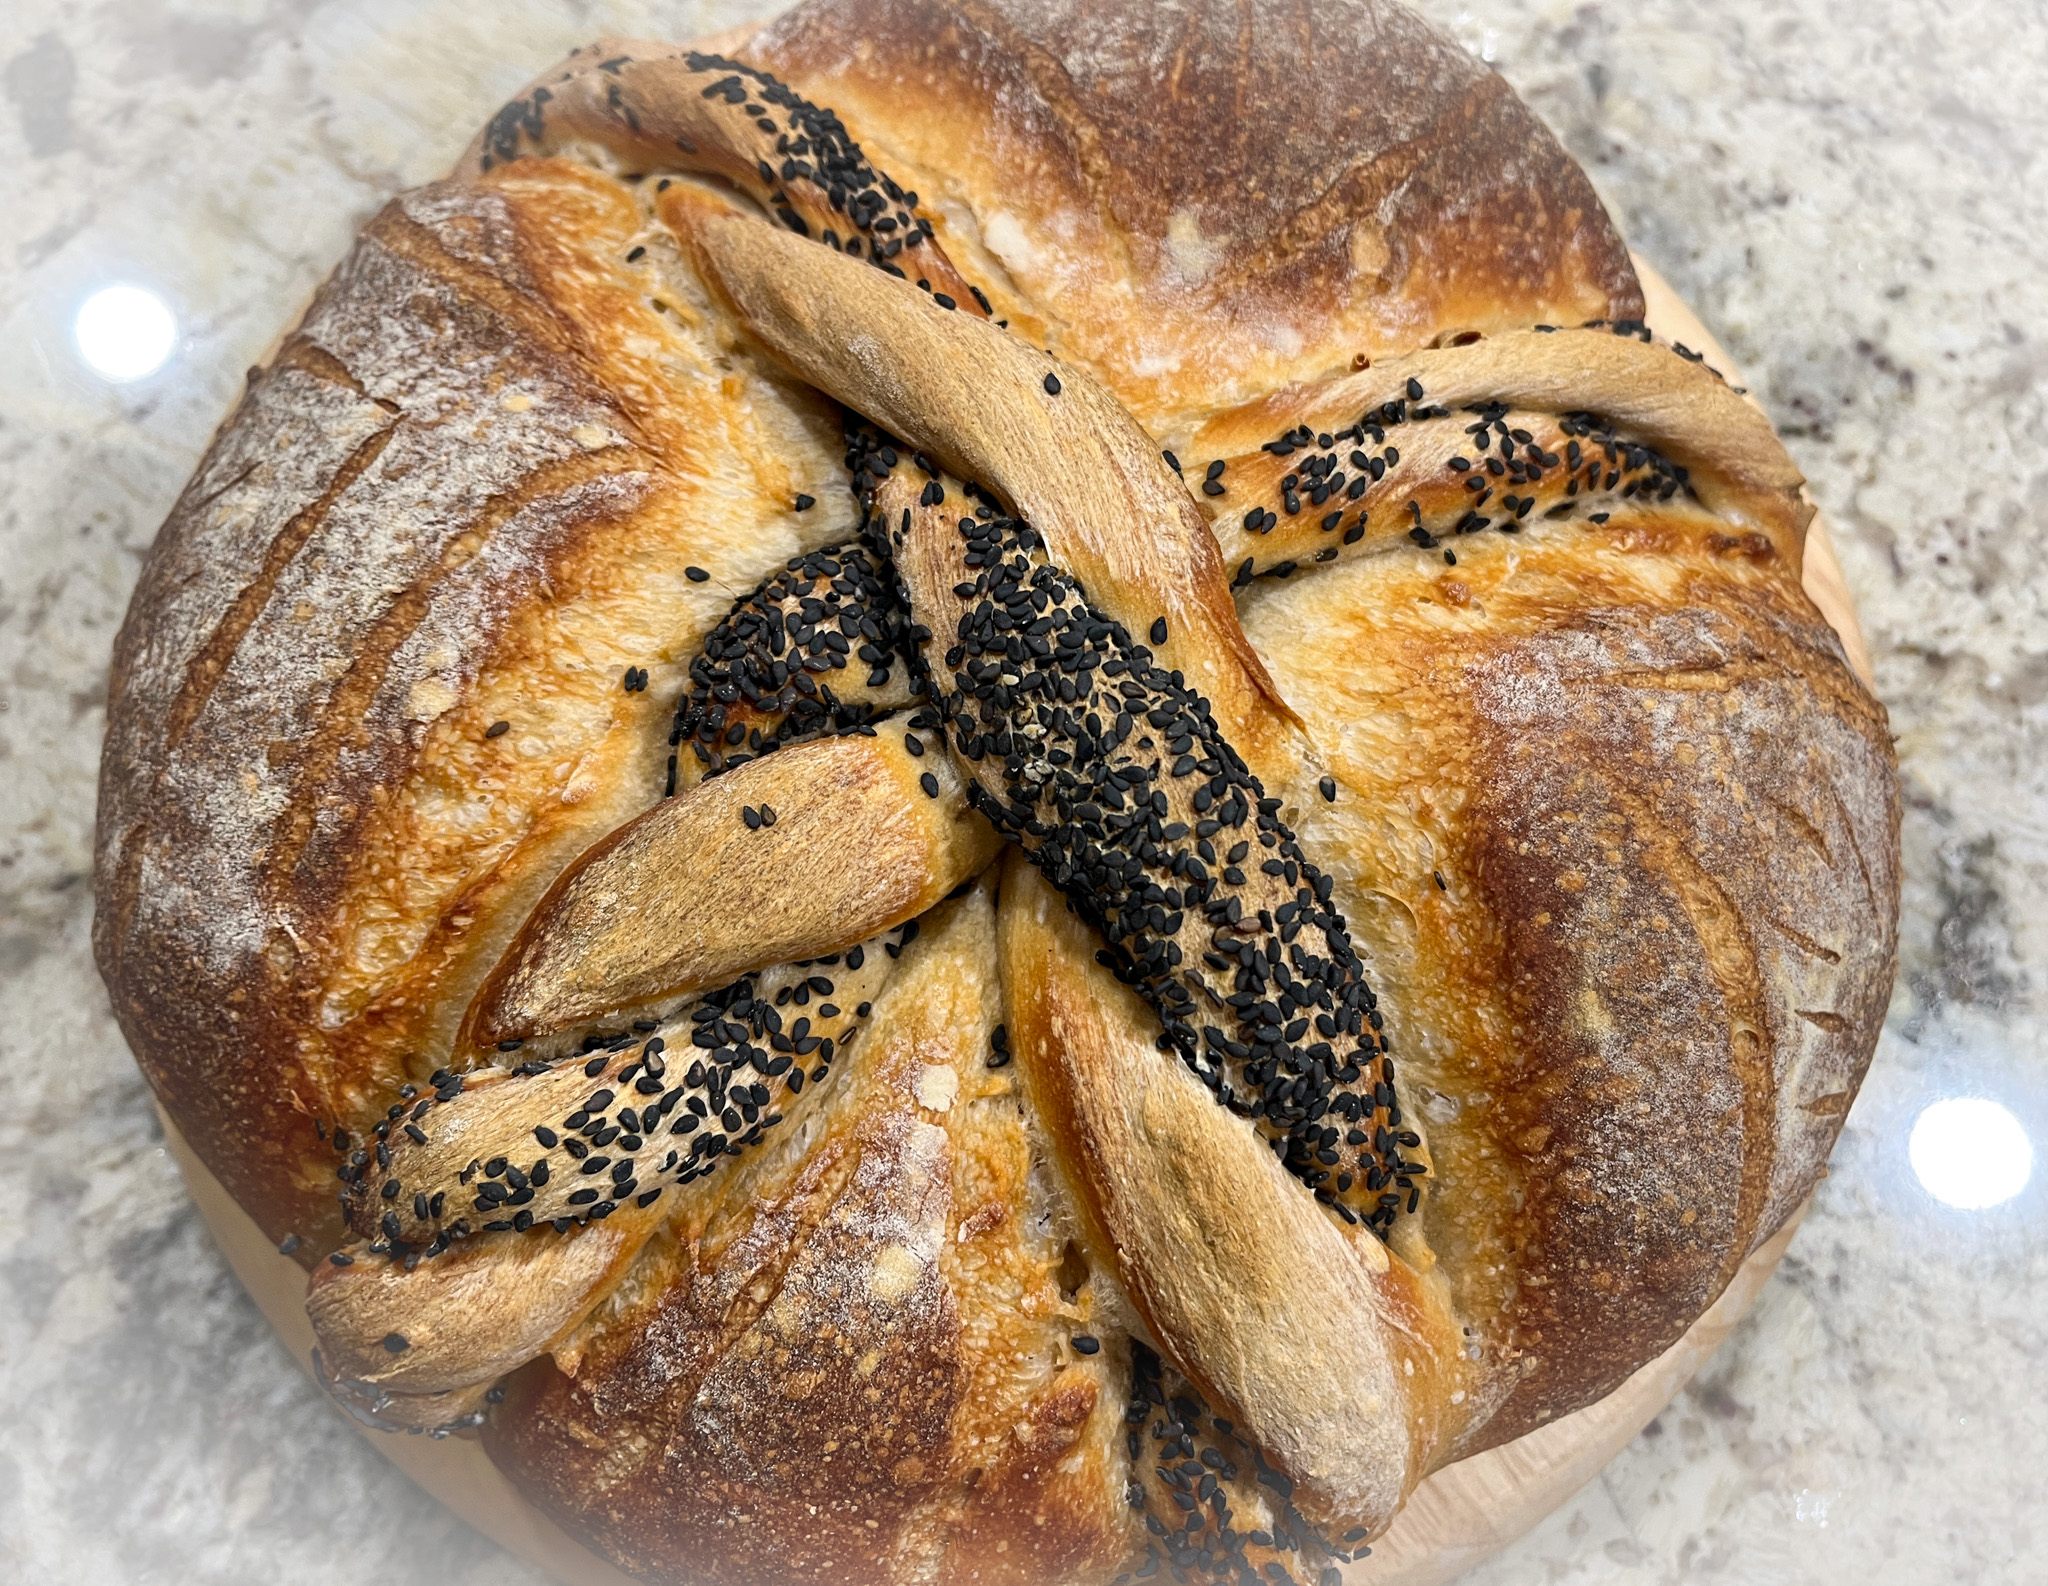
Of course, you can do a real braid with three strands, and I intend to go for it in the near future. No matter the little boo-boos, I love the way this bread turned out.
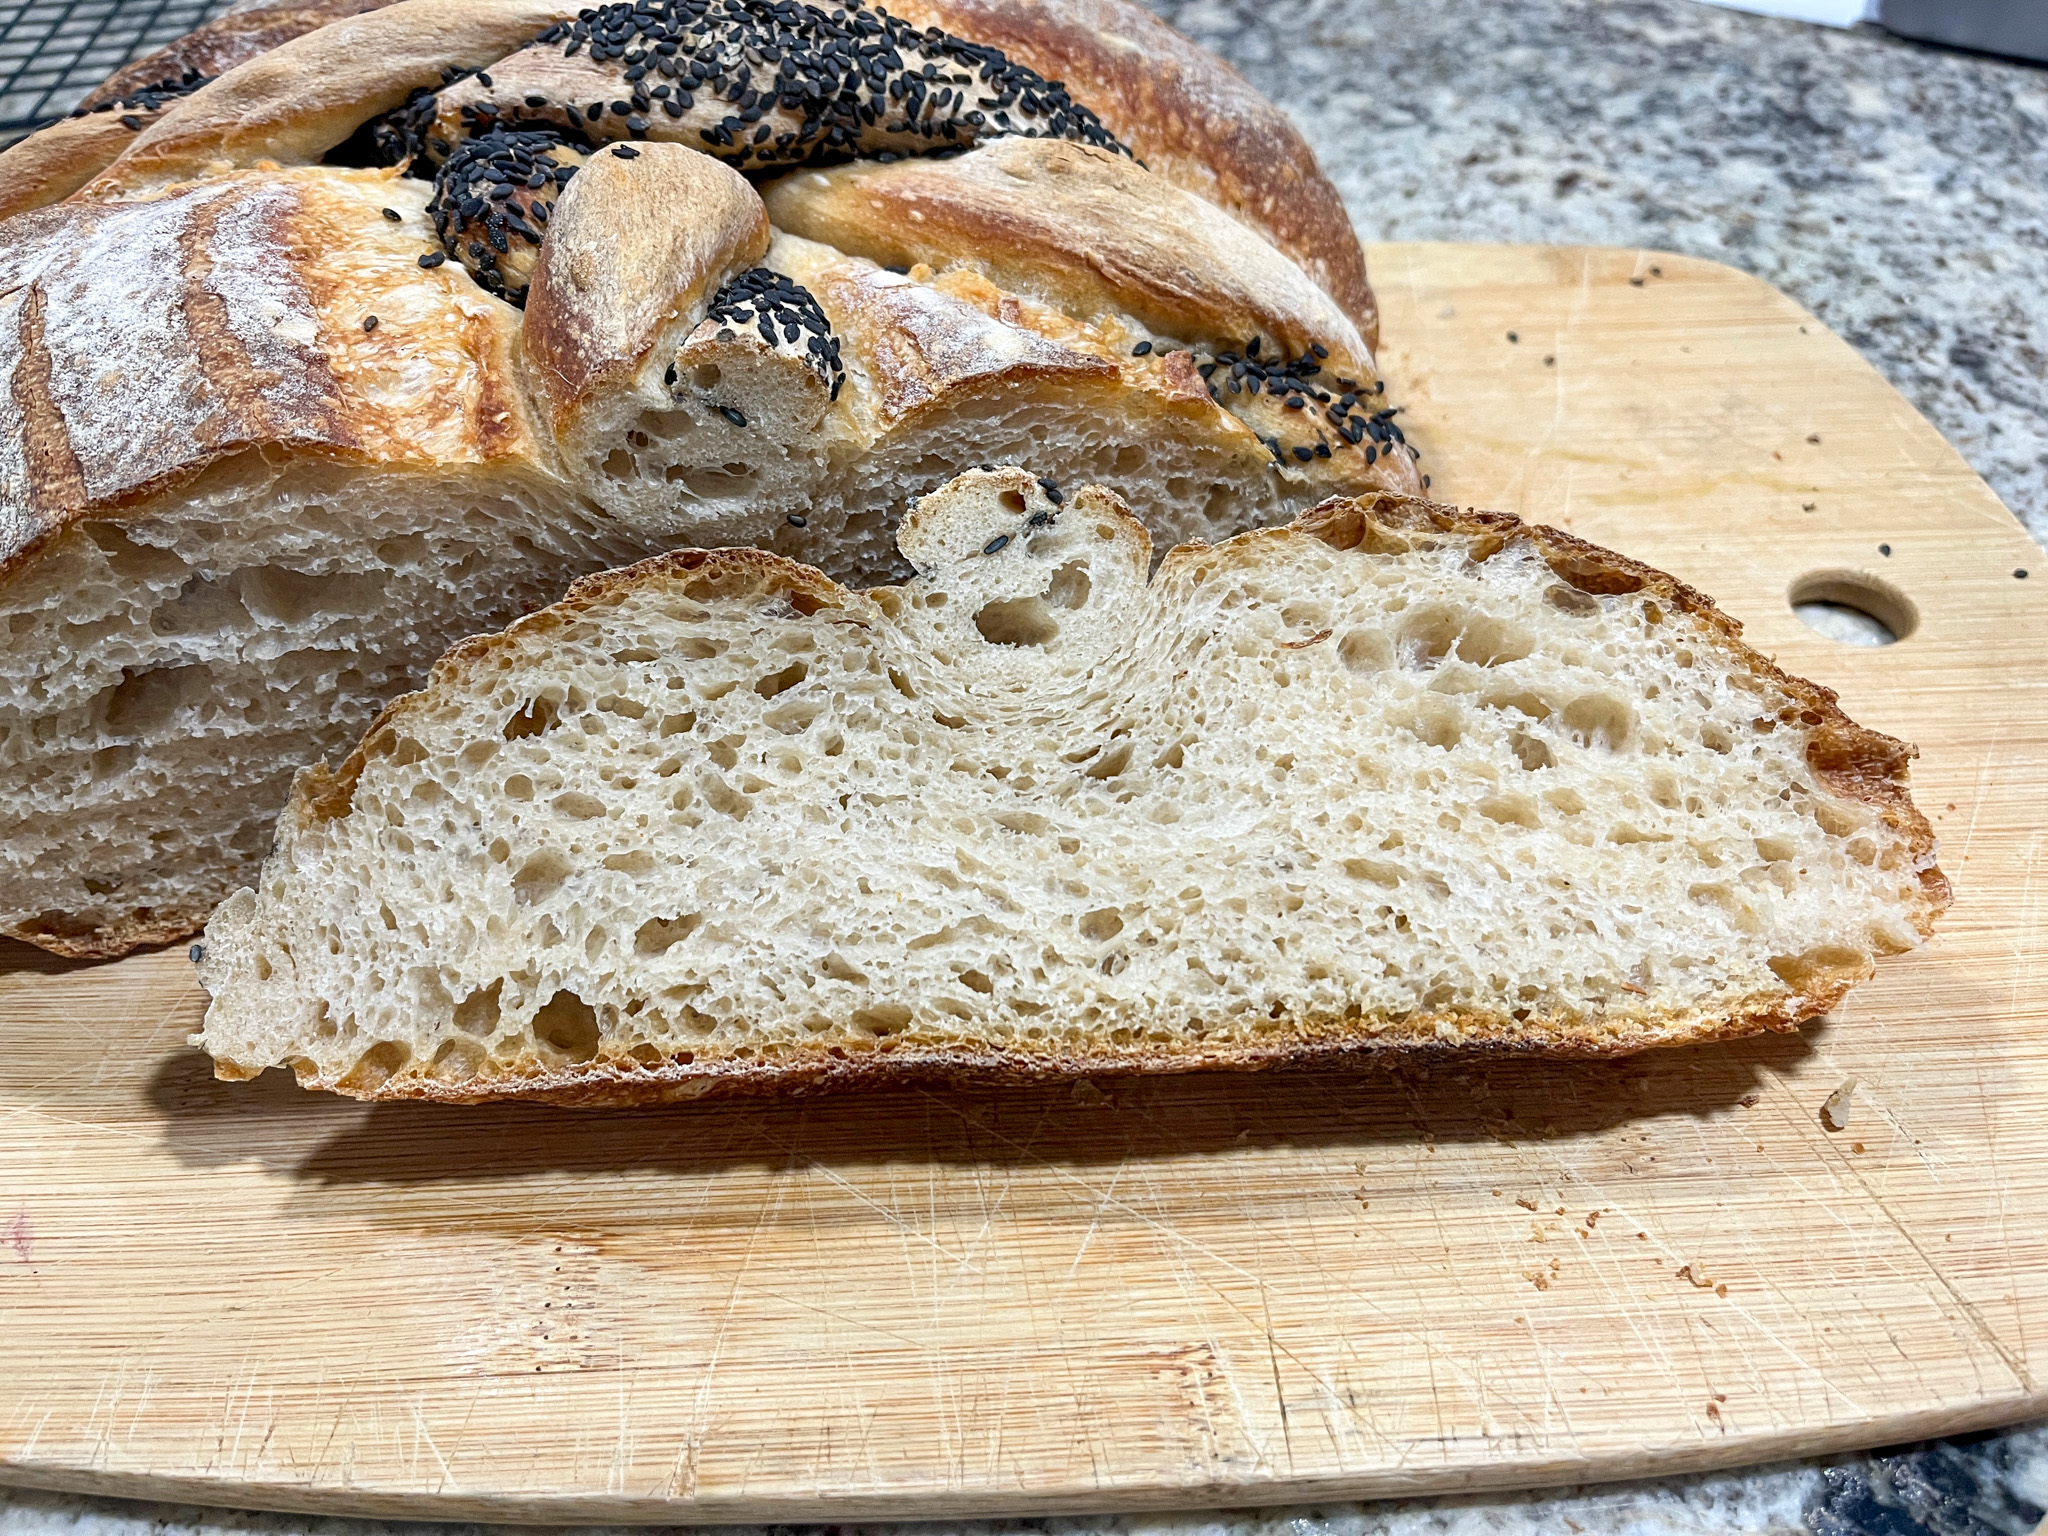
The crumb will be a little tighter than normal, because the rope will prevent full expansion, but that is not a serious problem…
.
Make sure to visit Sophia’s page, and be ready to get seriously inspired!
In My Kitchen posts are hosted by Sherry, from Sherry’s Pickings. Please visit her site to see what everybody else is sharing this month. I join four times each year, on the first day of January, April, July and October. If you are a food blogger, consider taking part of this fun event. It is a chance to share those little things you bought or received as gifts and that make your life in the kitchen easier.
.
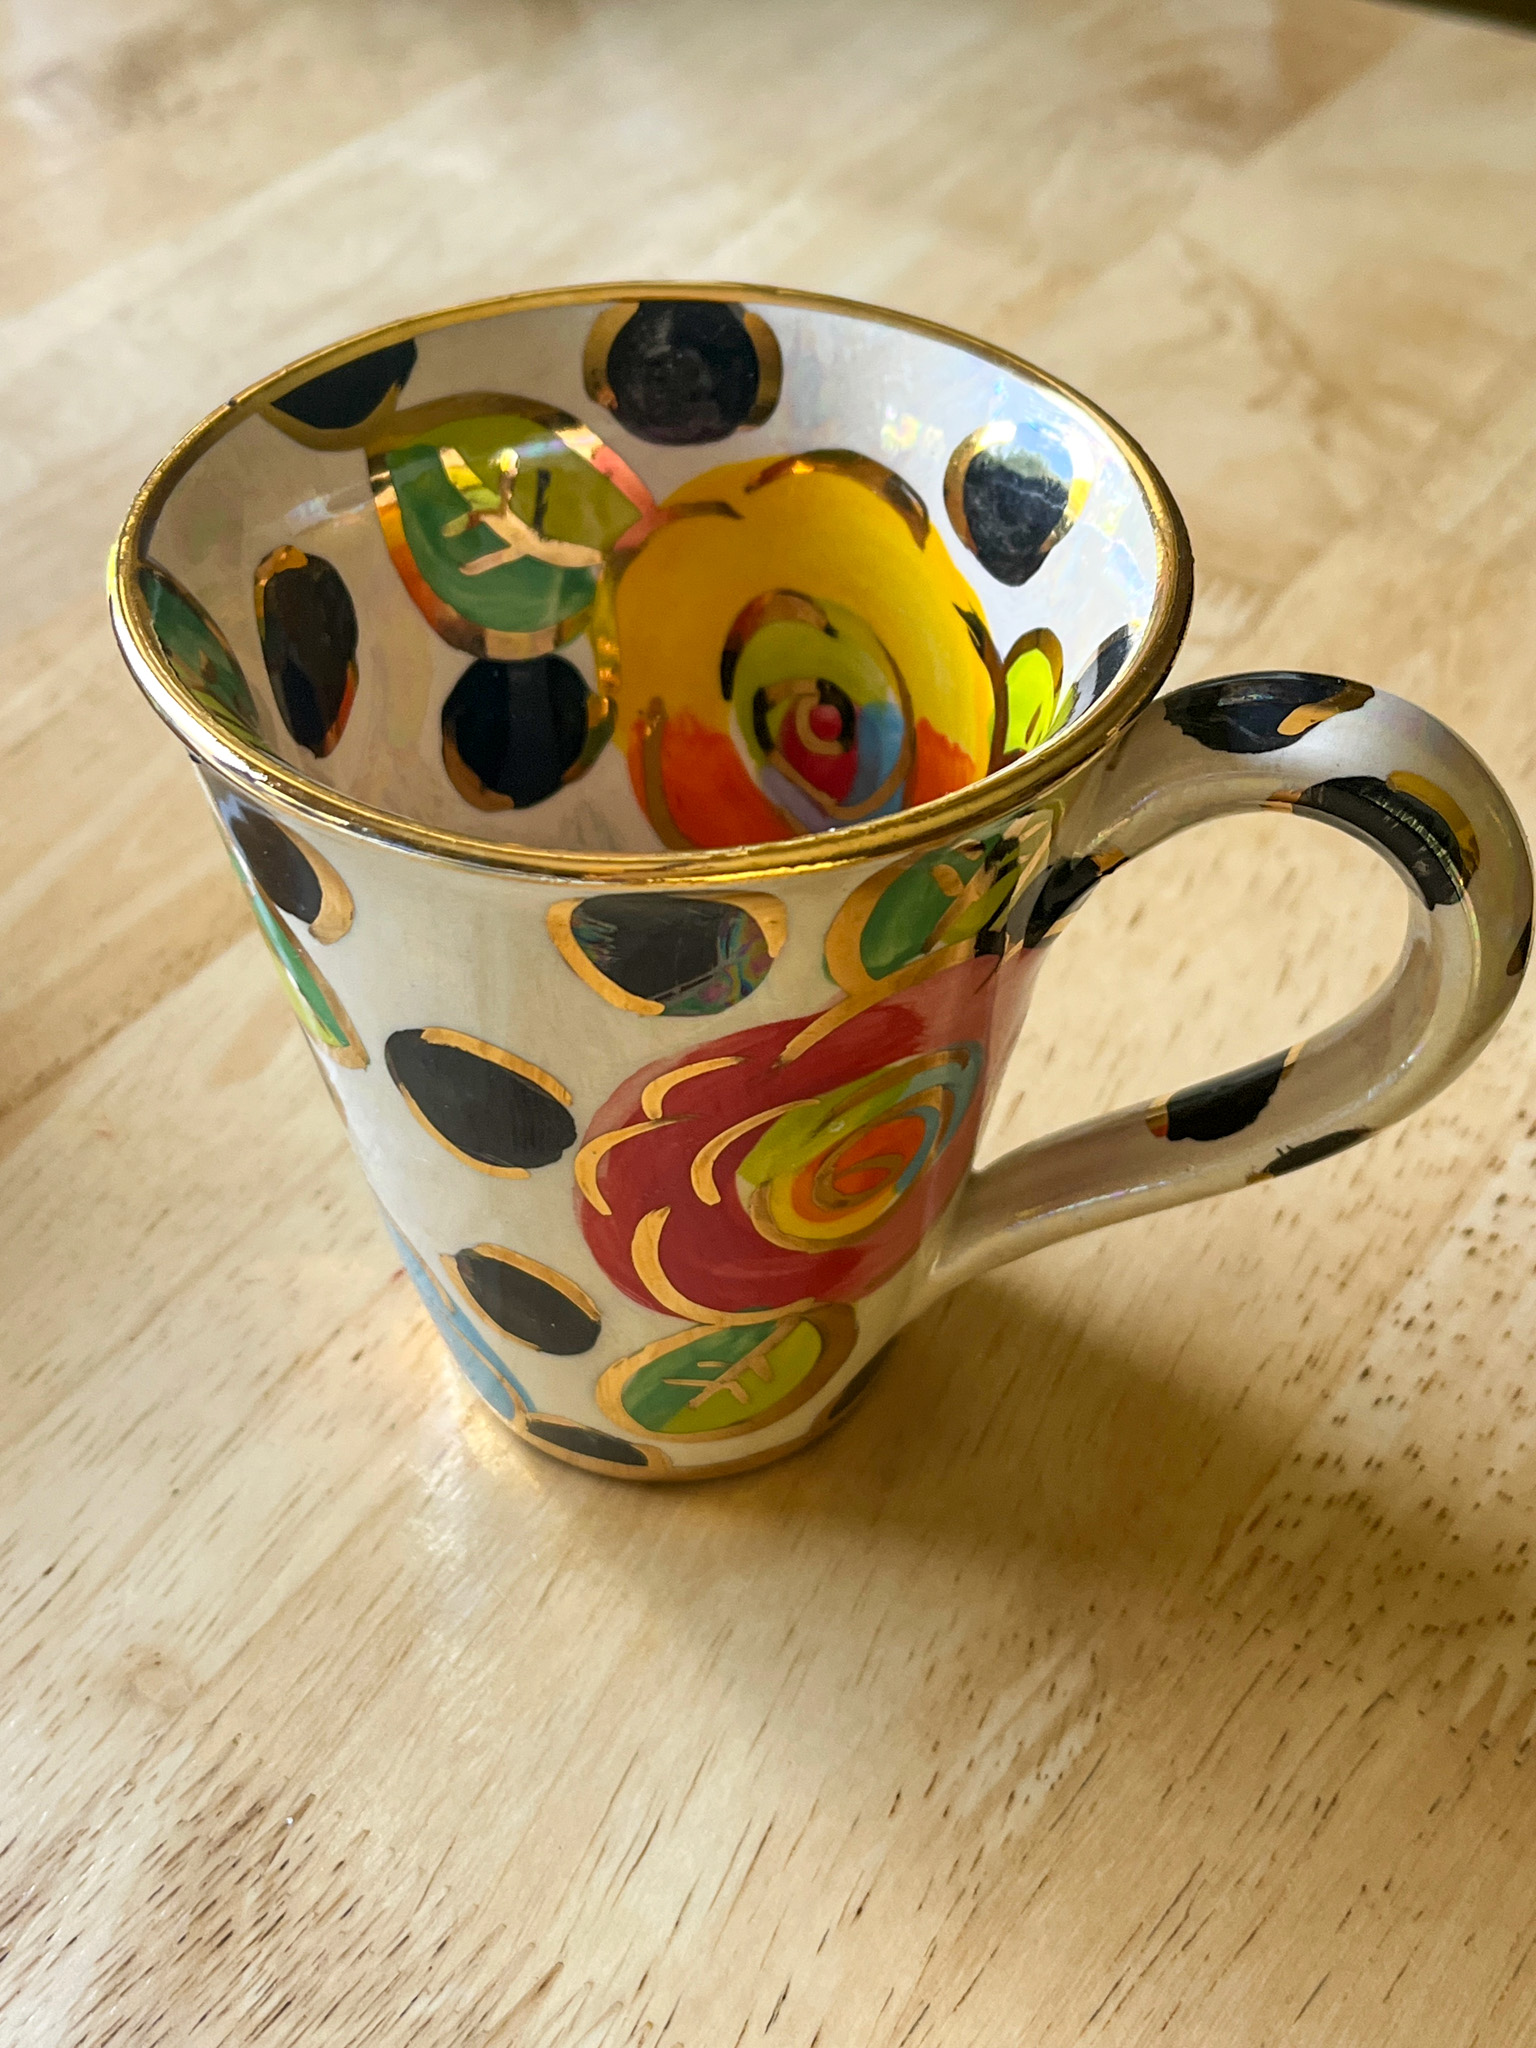
Starting with a gift from my beloved husband…
Phil surprised me with this beautiful cup, from our favorite artist, Mary Rose Young. He is always searching for her pieces, that can be quite expensive, but every once in a while he lucks out and finds a reasonable deal on eBay. I might have to make a cookie inspired by this beautiful design, like I did in the past (see my cookie post here).
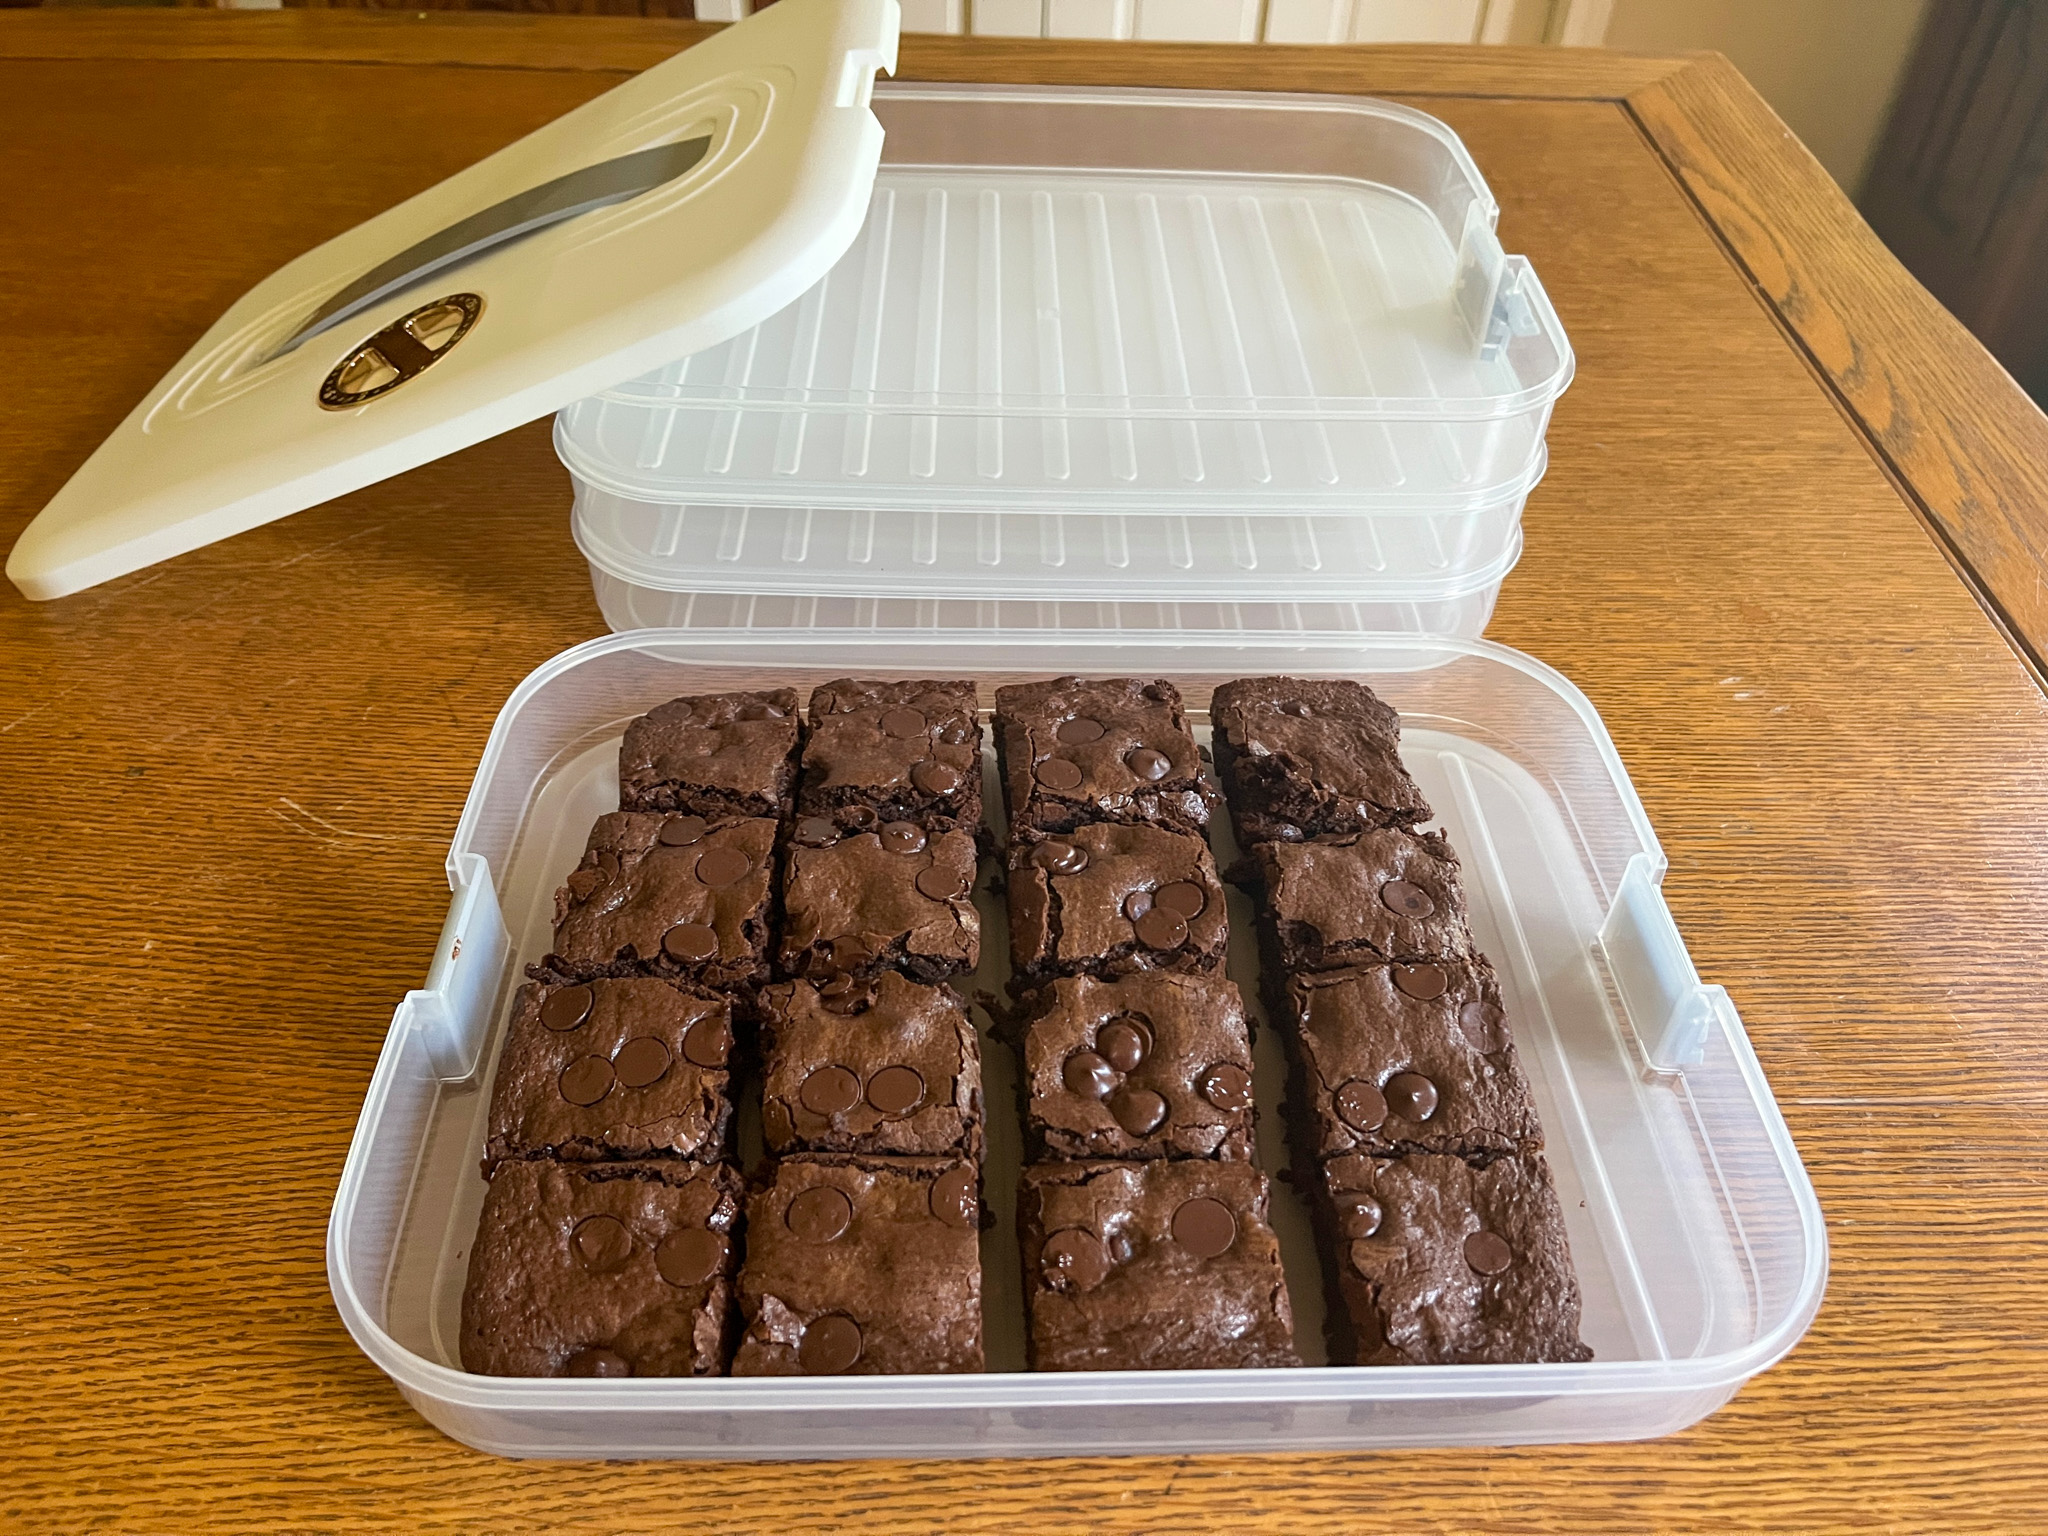
In our kitchen…
This is my favorite acquisition of the season! I used to have to find boxes to put my bakes to take to the homeless meals on Fridays, always a bit of a hassle. Now I simply use this multi-layer system. I can fit all the cookies, brownies, it is fantastic. You can find it here.
In our kitchen…
My second set of bread stencils! I shared my first adventure with this type of stencil in a recent post, you can get these stencils here. I just love using them…
.
In our kitchen…
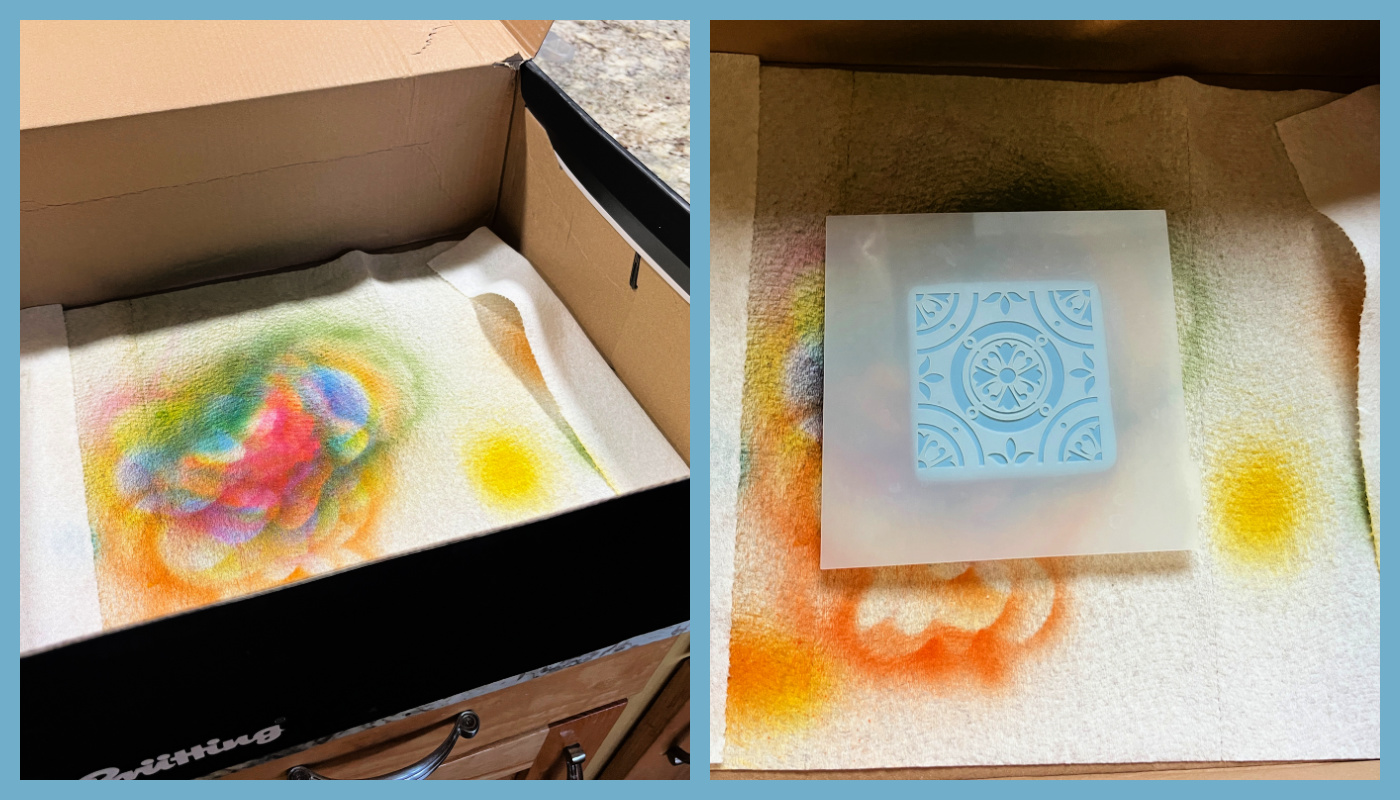
This is my improvised enclosure for air-brushing. It does not have high sides, which is great for maneuvering the gun, but it is big enough to enclose the spray. When the paper inside gets too full with paint, I toss it and put a new one. I cannot tell you how much I love this! You can find special air-spraying boxes and they are expensive and hard to clean. This is just perfect for me…
.
In our kitchen…
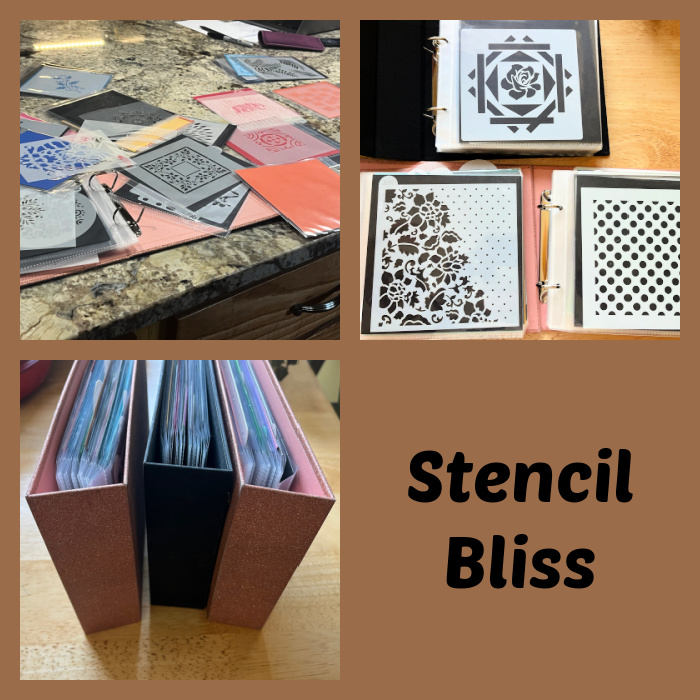
This was a huge task but I am so glad I finally did it! Organized all my cookie stencils in binders. There is a method to the madness, so they are organized according to patterns, styles, in a way that I can find them without too much hyperventilation.
.
In our kitchen…
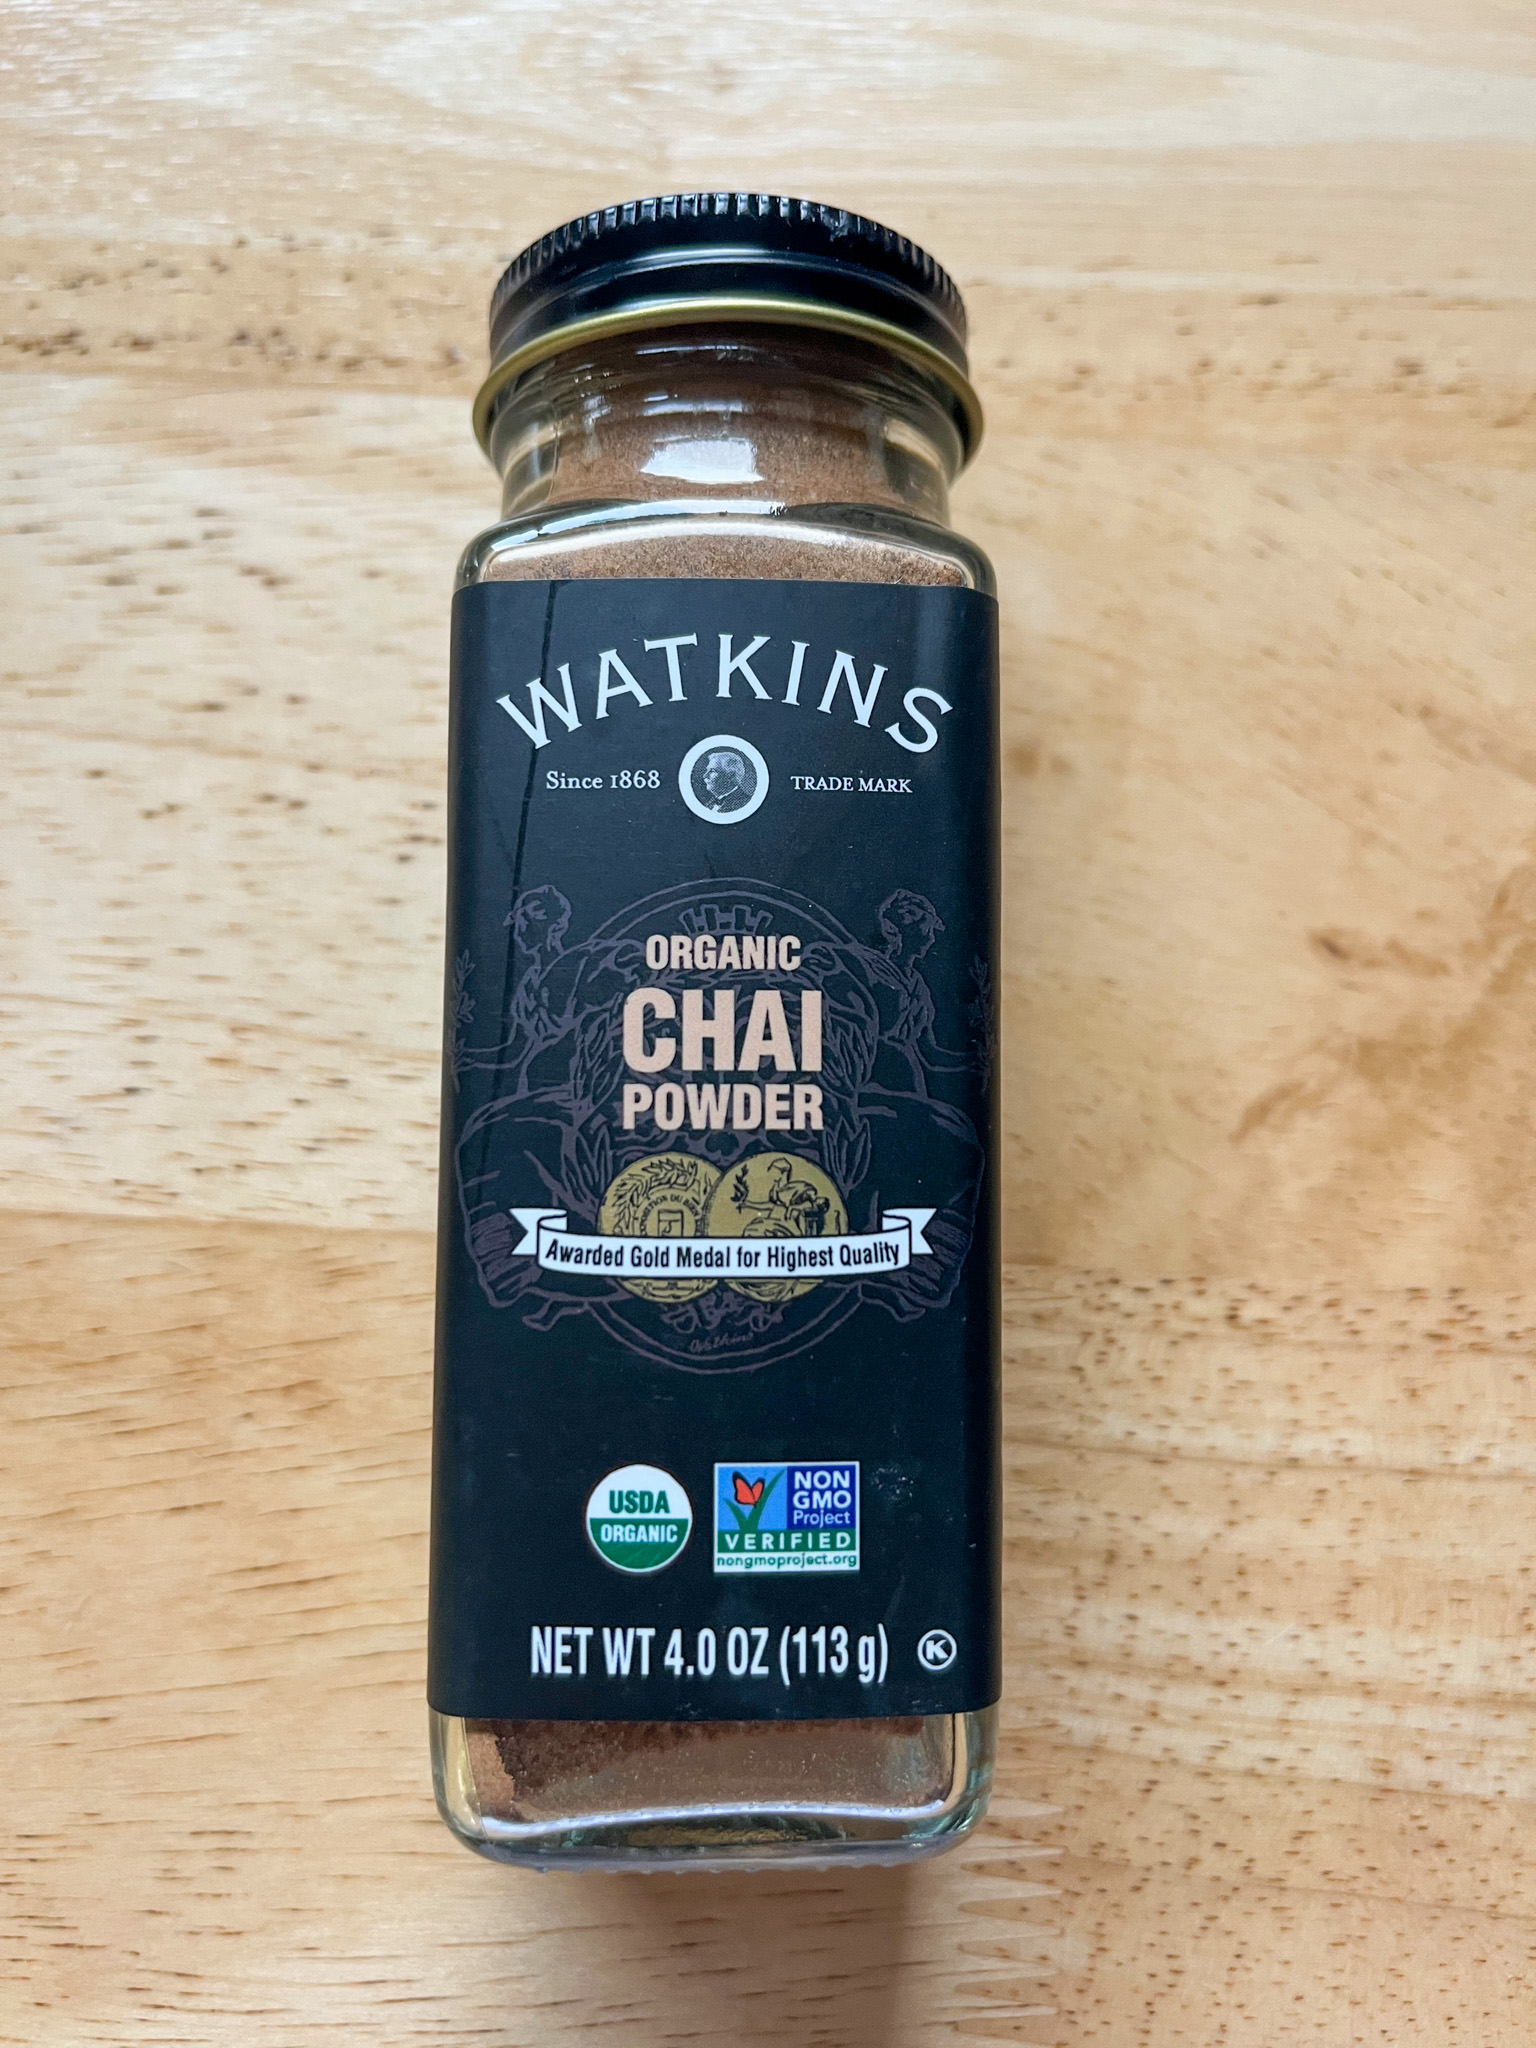
I love this powder, which is available here. I’ve been using it often in sugar cookies, usually with a little orange zest. Smells amazing as it bakes!
.
In our kitchen…
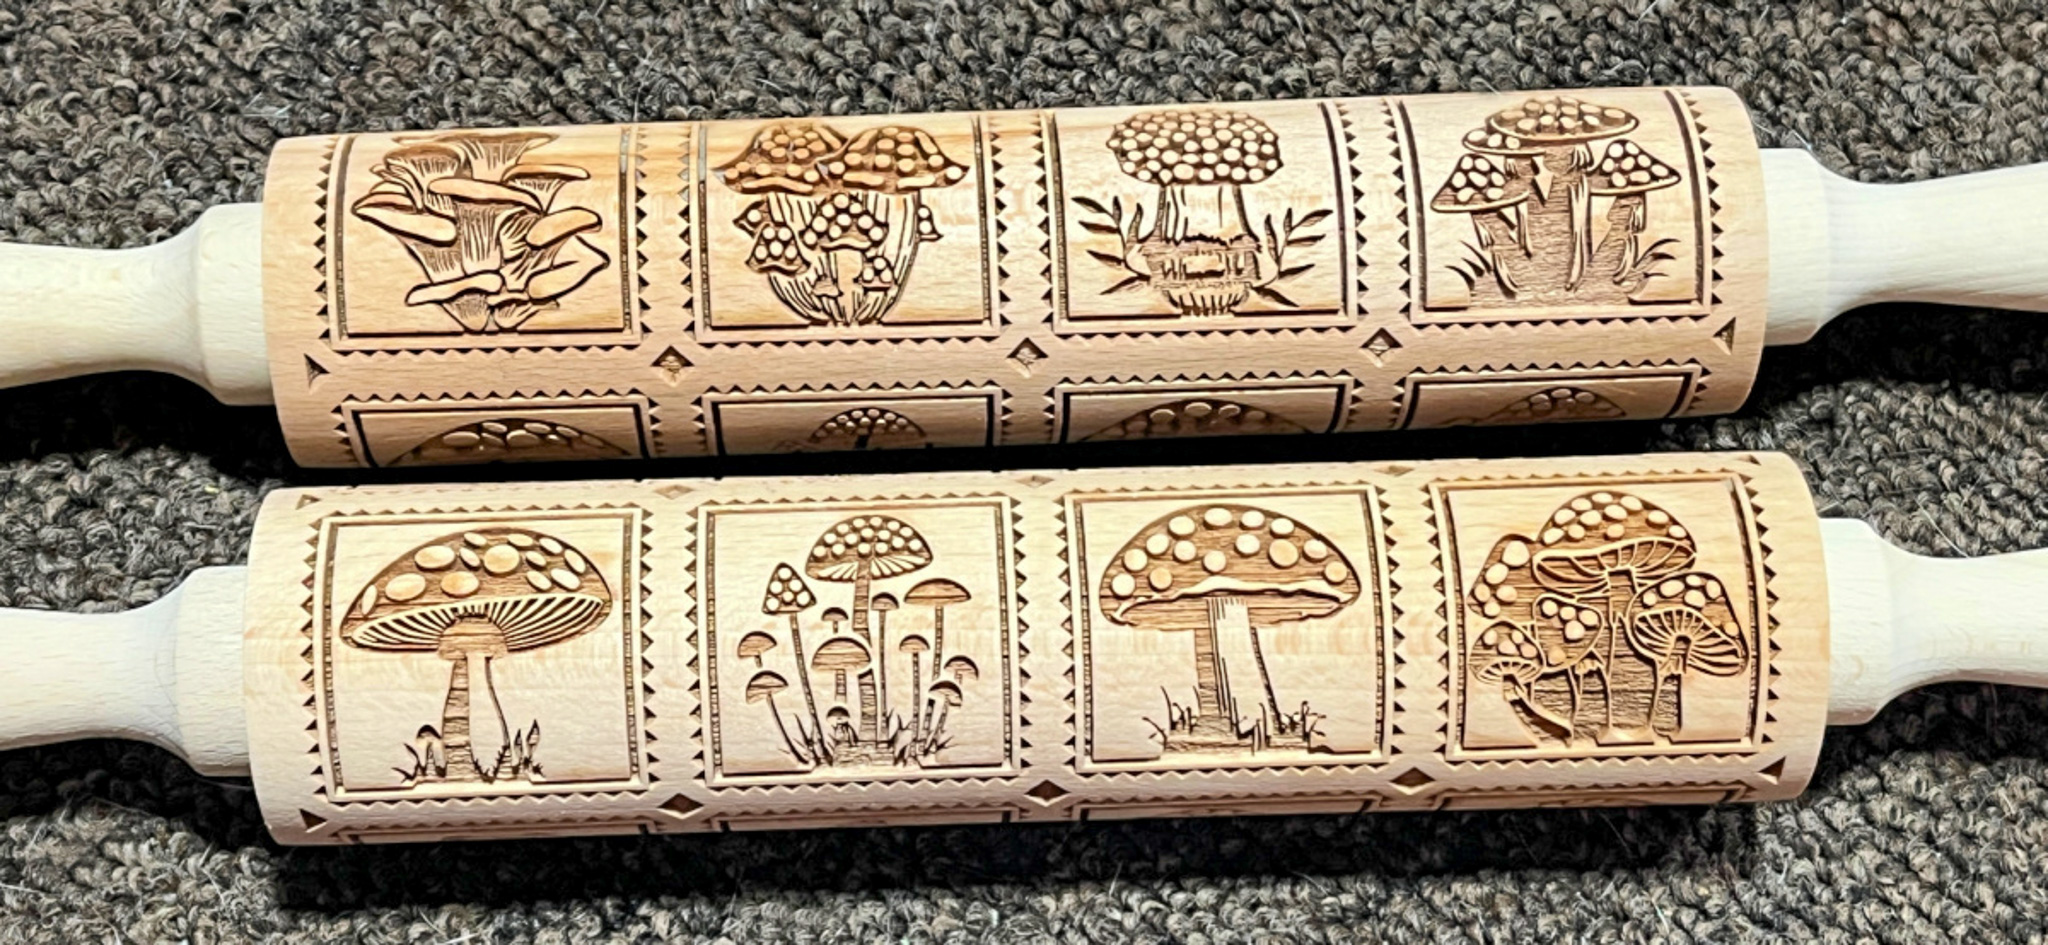
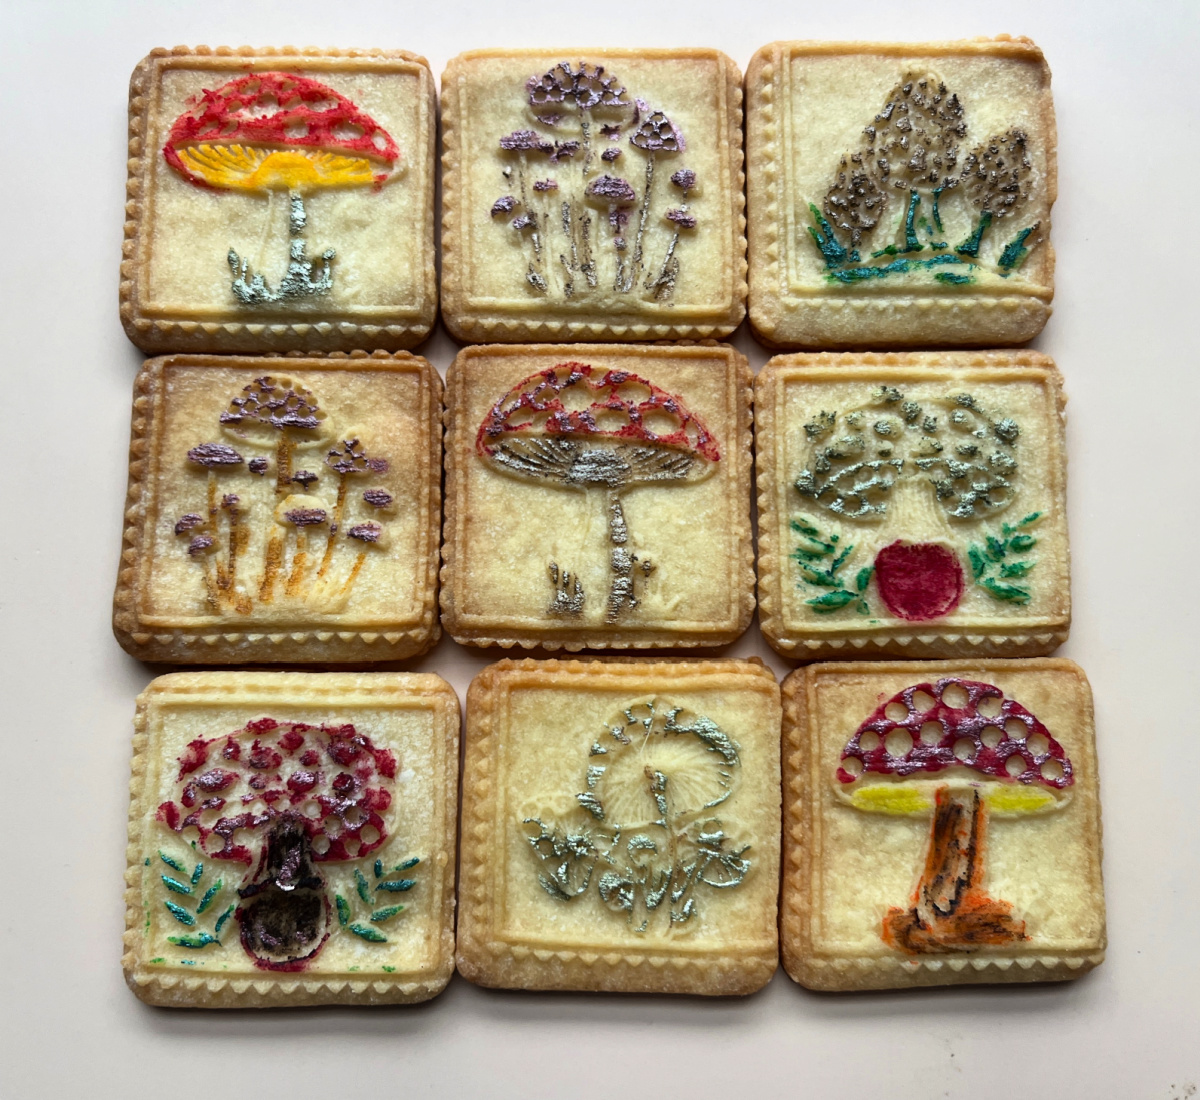
I’ve had these rolling pins for a while, cannot remember where exactly I got them, but they make the most adorable cookies… Speaking about rolling pins, my favorite source by far is Pastrymade, and they do need all the help we can give them. A fantastic Ukrainian company that makes the very highest quality products. Most of mine come from Pastrymade, so I highly recommend them! .
.
In our kitchen…
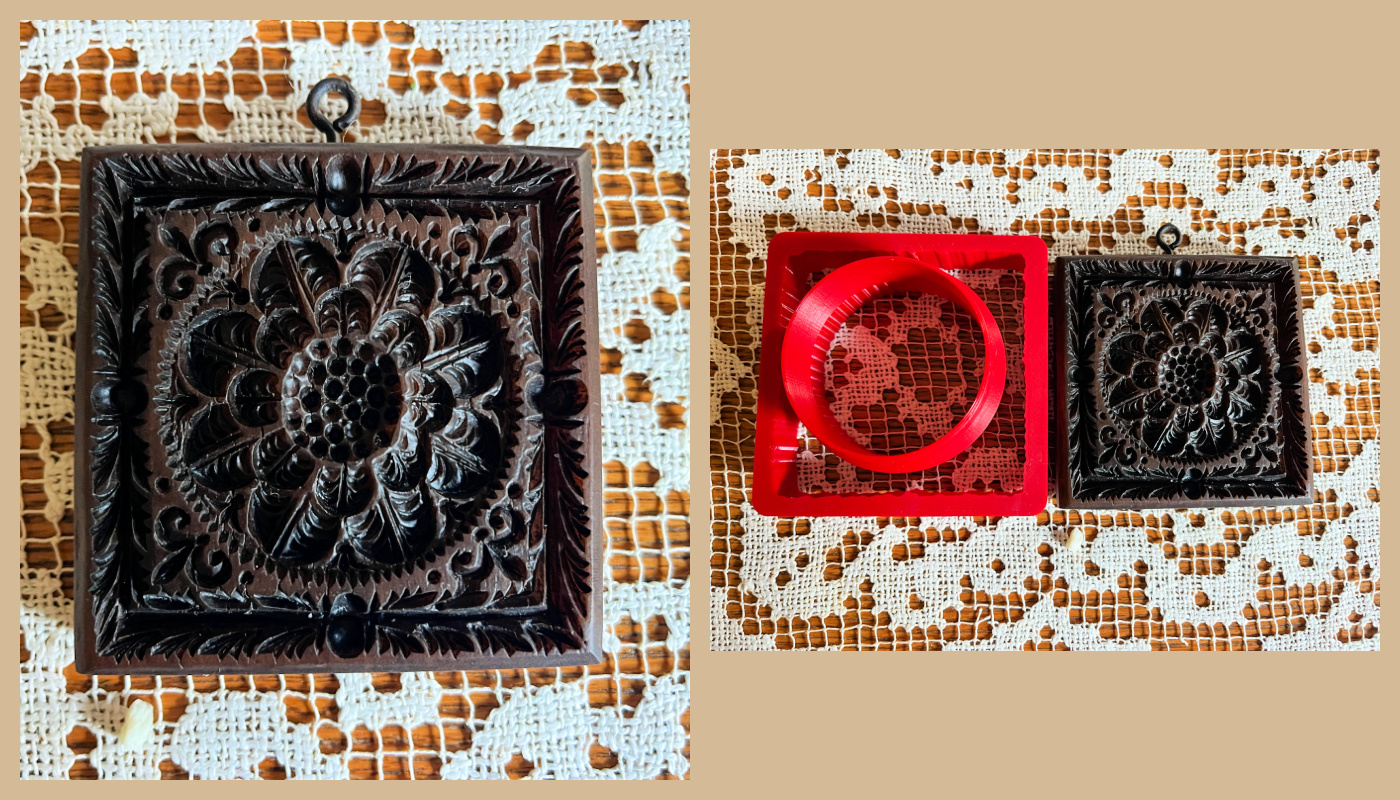
Every year I like to get a new Springerle mold for the season, and this was my choice for 2025. I intend to put it to use very soon… Ordering information here (don’t forget to add the specific cutters, made exactly for that shape).
.
In our kitchen…
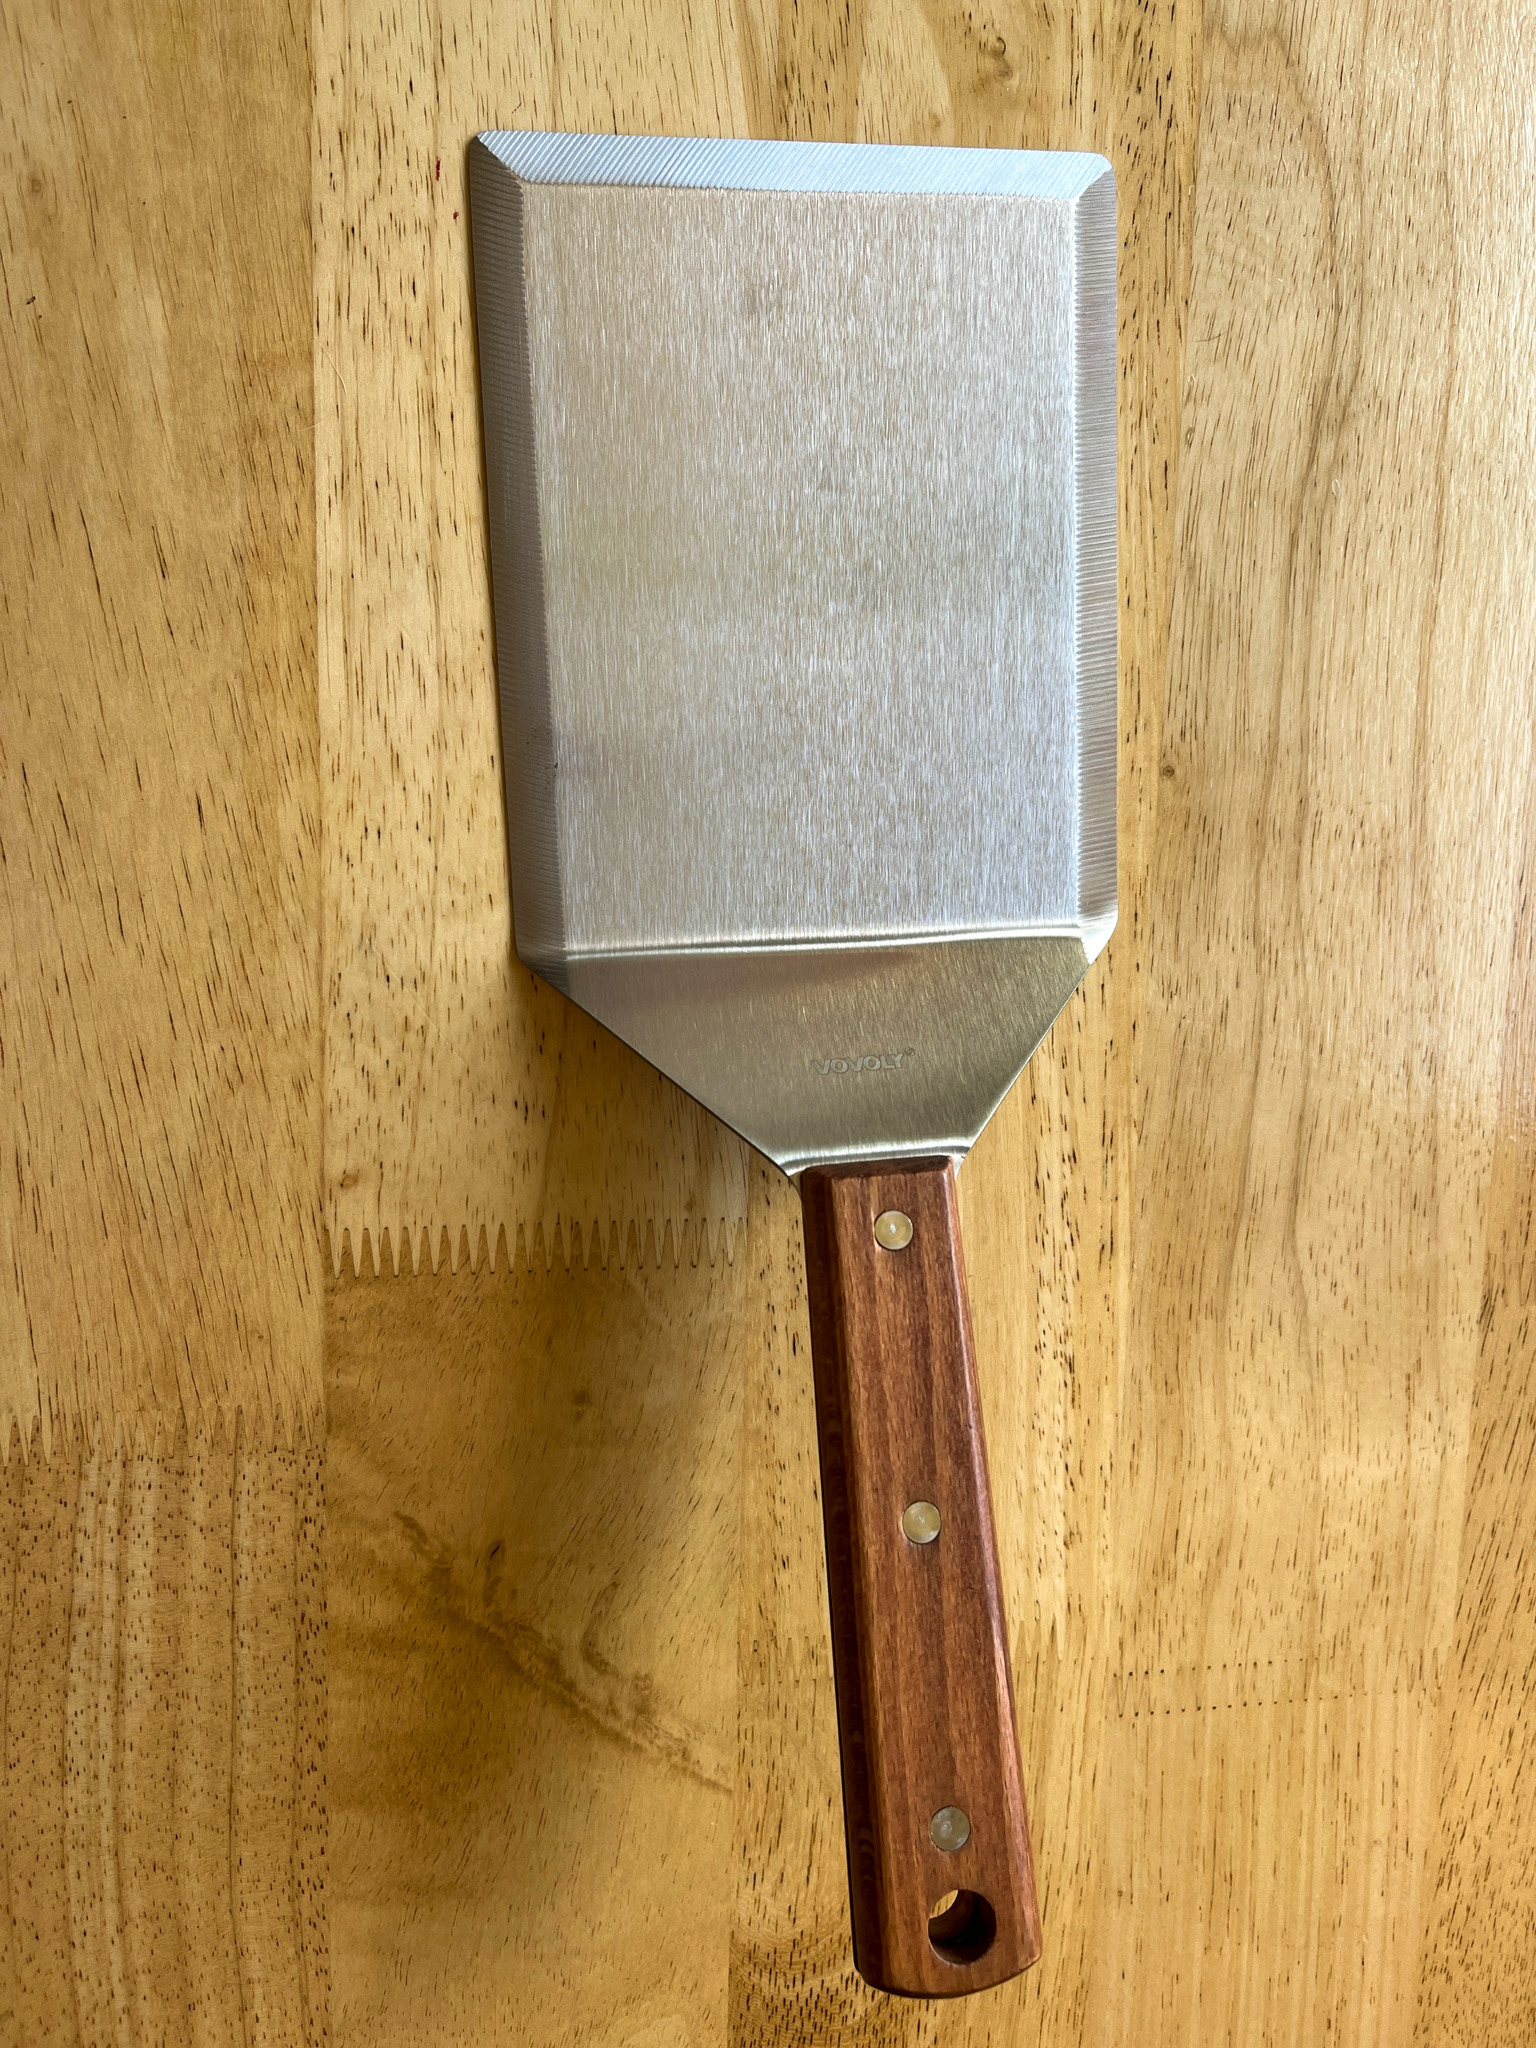
. We love this one! An extra-wide spatula, that works wonderfully for things like salmon on the grill. You can order it here.
.
In our kitchen…
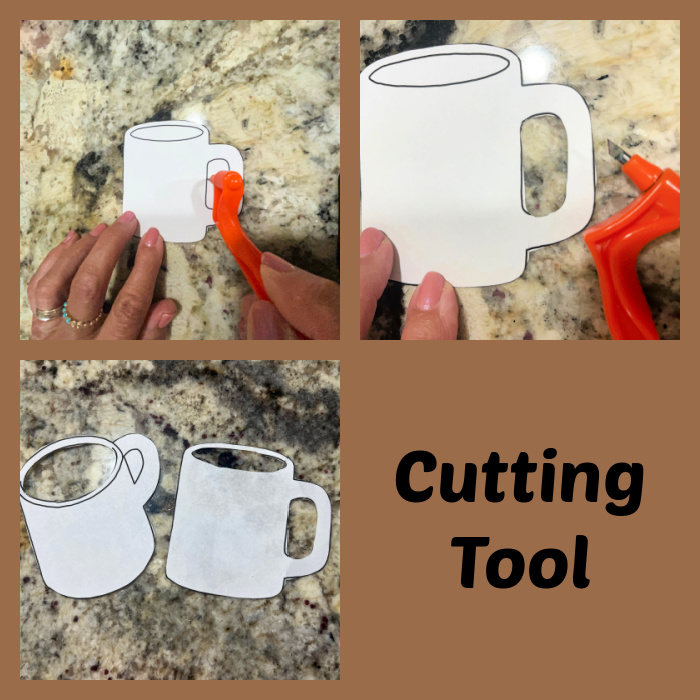
This is called a Gyro-Cut tool and I am quite happy with it. Sometimes getting the Cricut out just to cut a simple shape seems like too much effort. For a template that can be used and discarded, a simple piece of paper works, and the Gyro-Cut does a great job to make it happen. Available here. I just blogged about the cookies made with those templates, and you can see them in my cookie blog (click here).
.
In our kitchen…
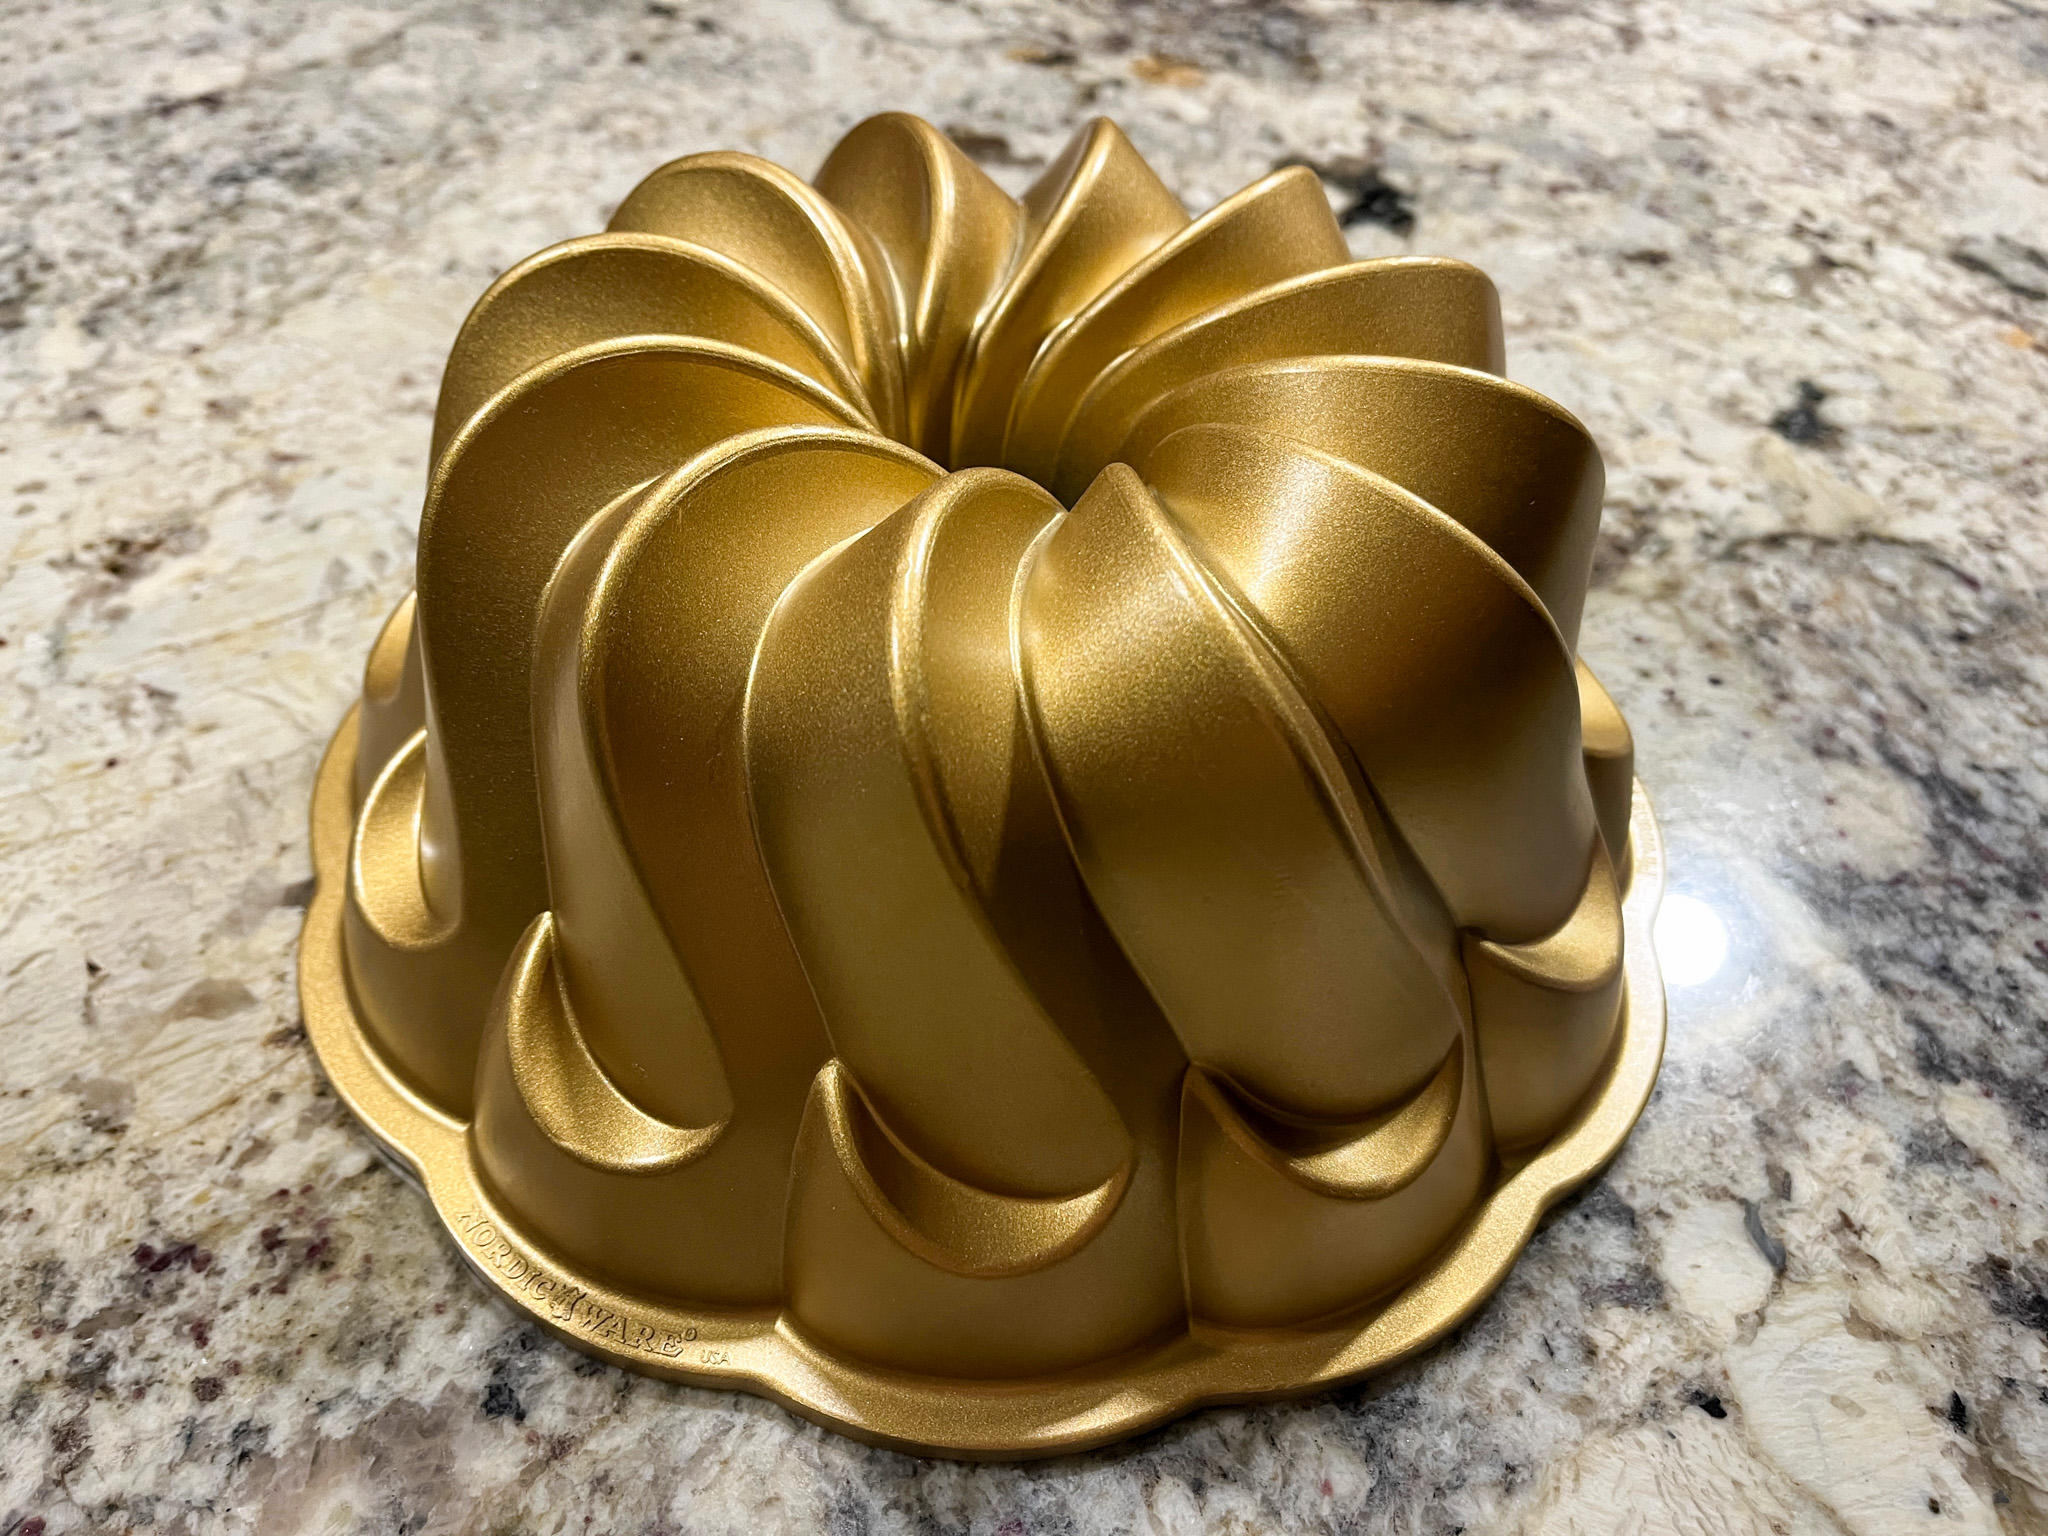
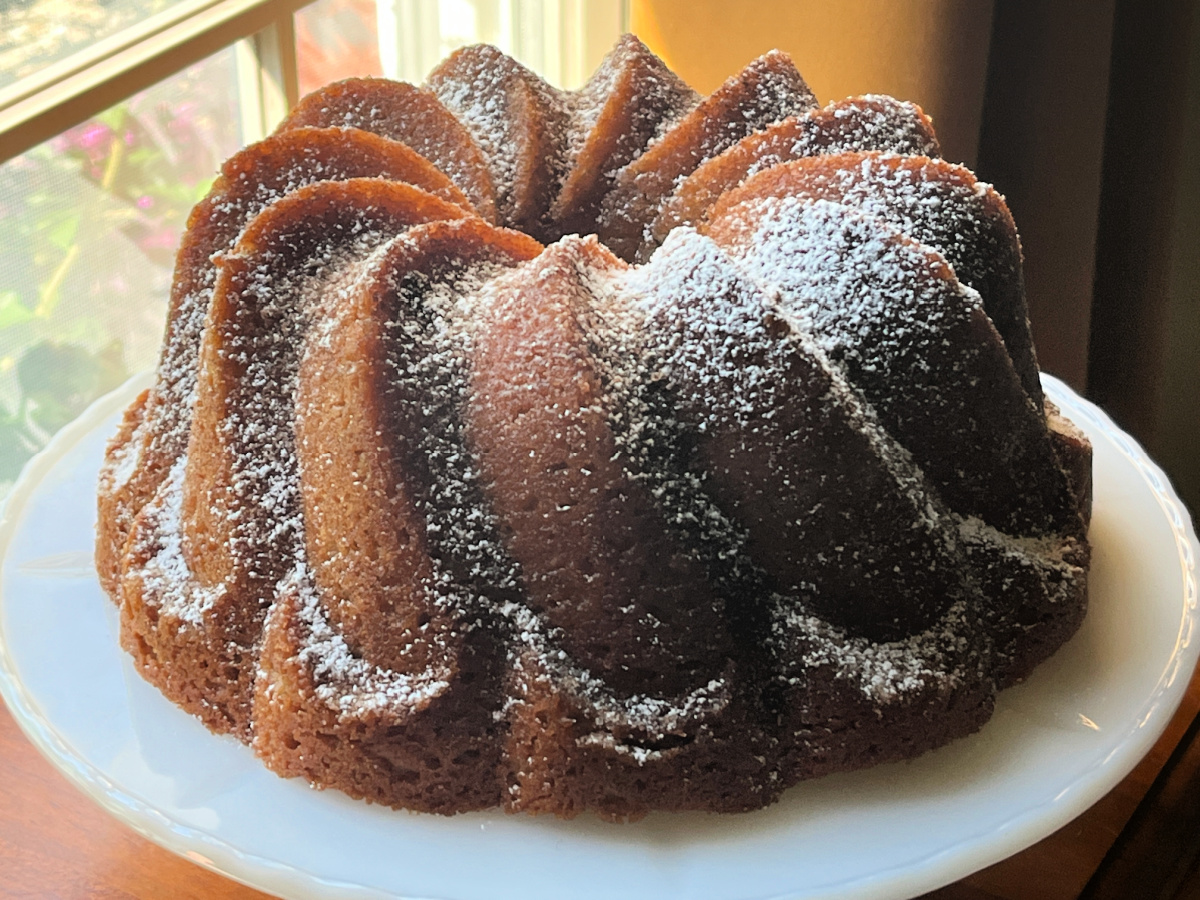
A Nordic Ware Pirouette Bundt pan… Available here. You simply cannot go wrong with Nordic Ware. The cakes un-mold like a dream. Here is my first adventure with this pan, a little Apple Cider Bundt Cake.
.
In our kitchen…
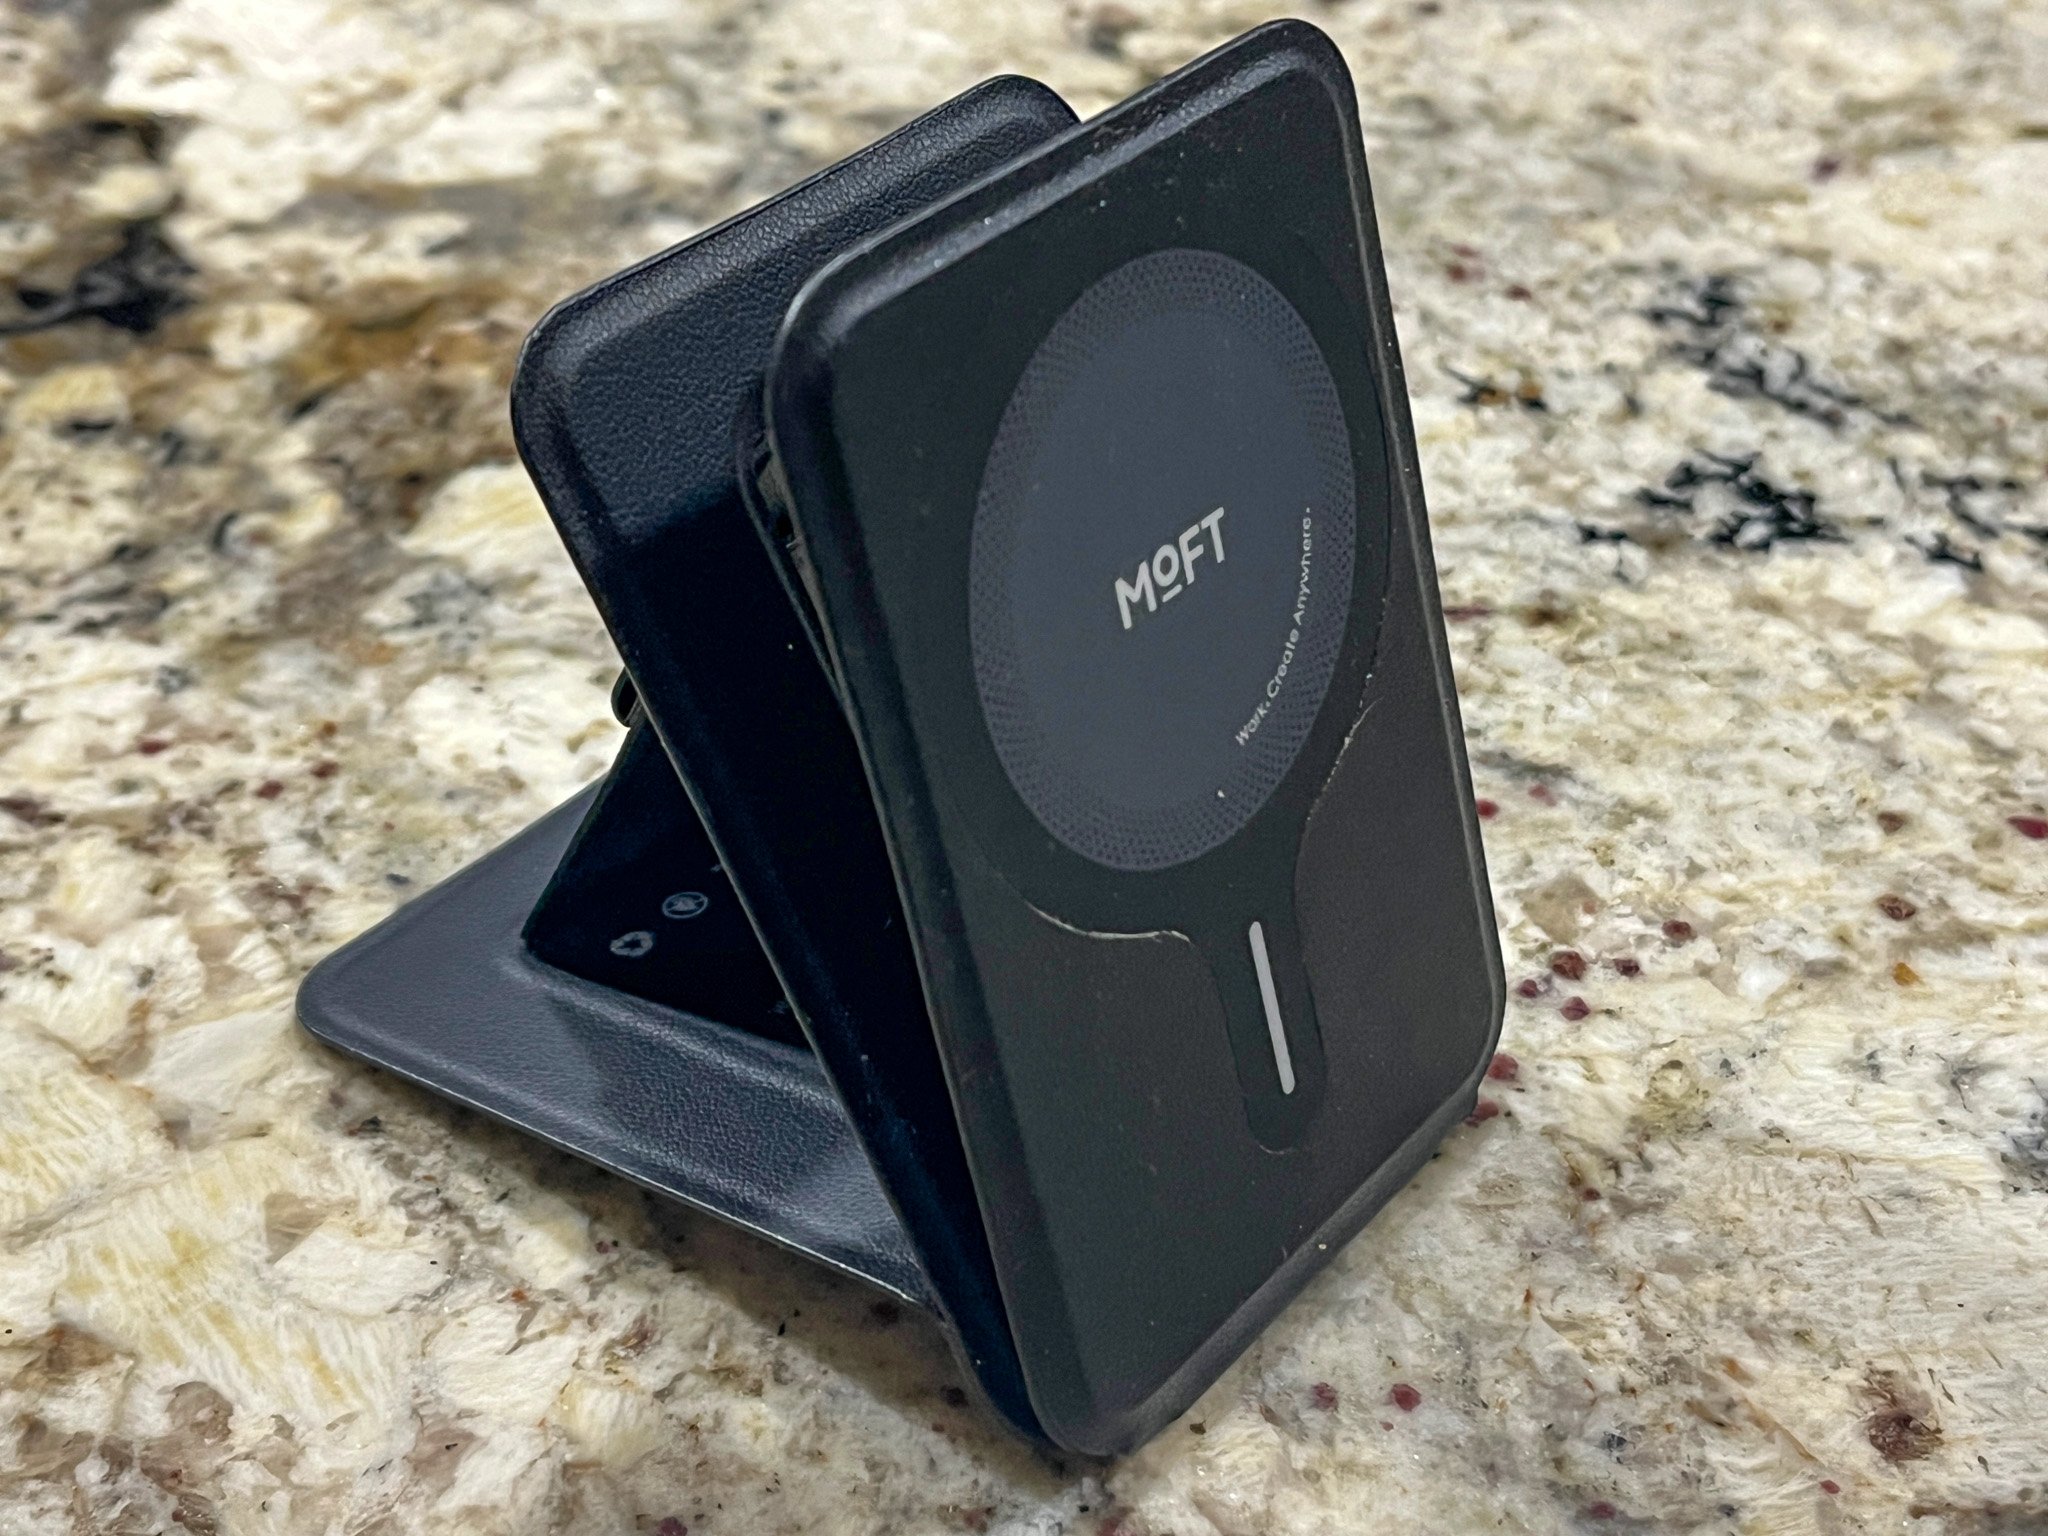
Another great little gadget to hold your phone to make photos or videos. I highly recommend it, simple to assemble and works like a charm! Available here.
.
And now it’s time to let our furry friends bark their piece, as they’ve been patiently waiting…
Mr. Osky wants to bark first…
OF COURSE I DO! I am the Oldest, Wisest, THE UNCHALLENGED ALPHA DOG, the one who rules all dogs of All Known Kingdoms in the Known Universe!
I patrol our domain with a slow but determined walk. And I bark the bark that pierces ears without mercy.
Star would like to point out that she patrols it all much much better, navigating edges of precipices without hesitation. Pack rats know no peace in the Kingdom of Tatarrax! Frogs, squirrels, birds, the eventual careless grasshopper, nothing is off-limits to this incredible huntress…
It is hard to believe so much power and might lies behind those sweet dark eyes…
.
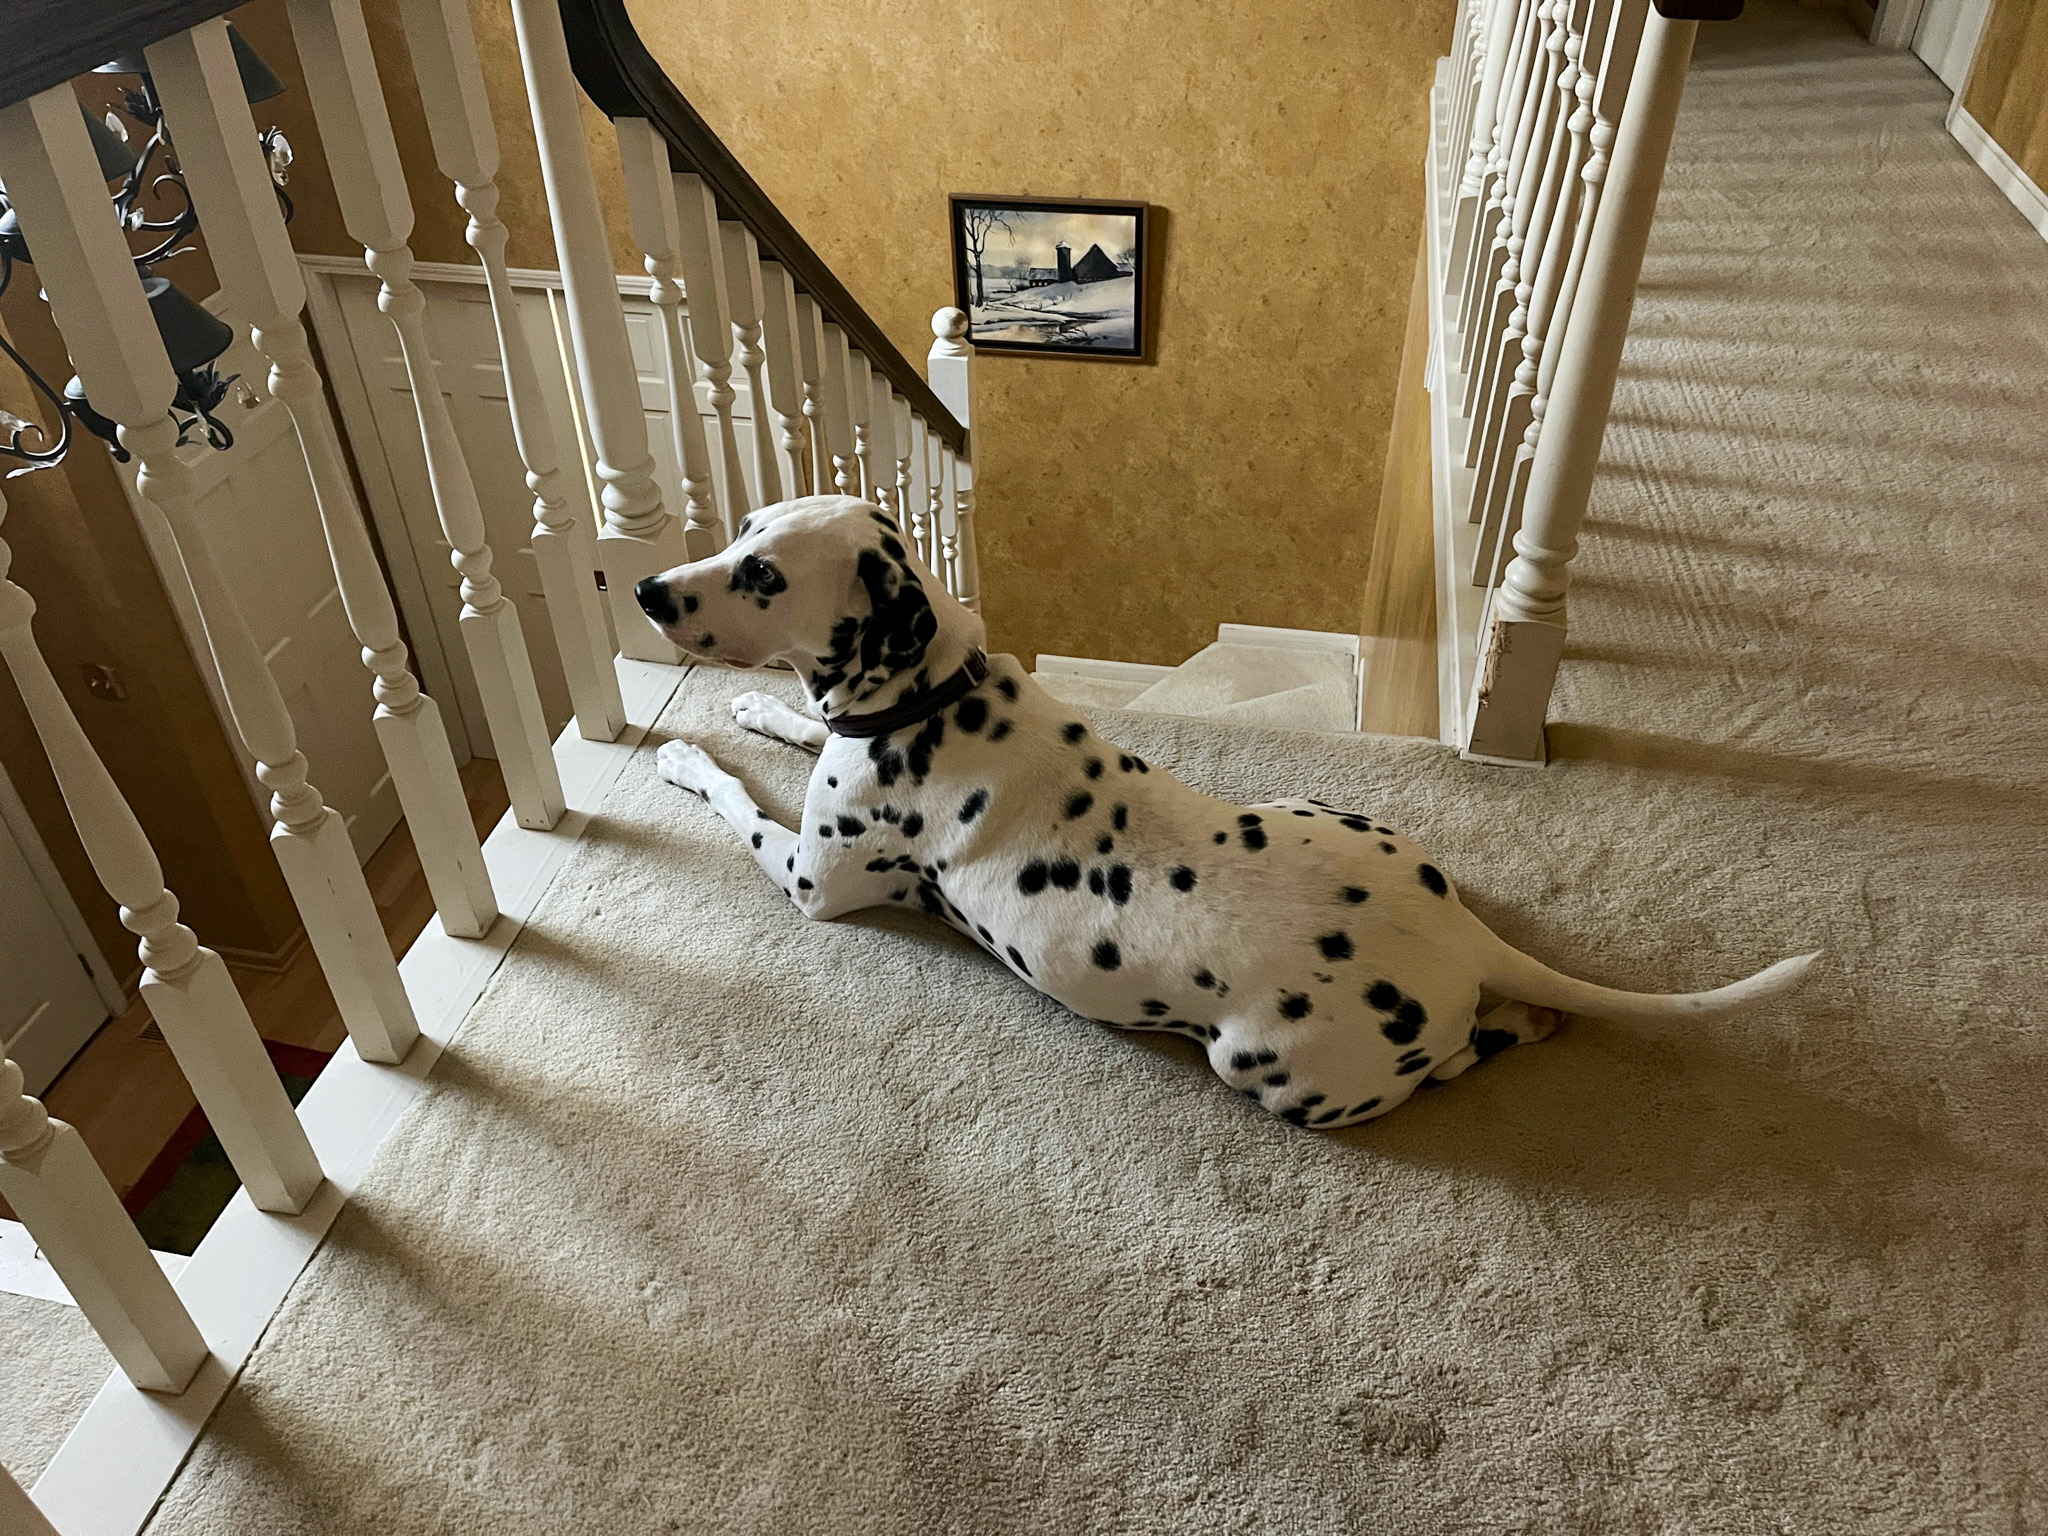
I am a great patroller myself, particularly of the Higher Territory of our Palace!
.
But to be honest, I prefer to play ball with Mom and Dad. I play until I am spent, and then I play some more…
Every evening after my humans are done with some silly dishwashing and kitchen tidying up, I make sure to ring the patio door bell over and over until they realize it is time to go out and play with the Prince!
.
I find it all profoundly silly. I prefer to just be my Badass Self… The ball can chase itself, for all I care.
Well, we all know he likes to play Bad Ass but he can also be pretty mellow and cute, even at his advanced age (he will be with us 15 years next month, so we believe he is close to 16 years old now).
Cute? Do you really think he is cute? Cuter than me? Cuter than my cute little sister?
Well, well, well… We don’t play favorites in the Kingdom, you are all adorable and well-behaved…..
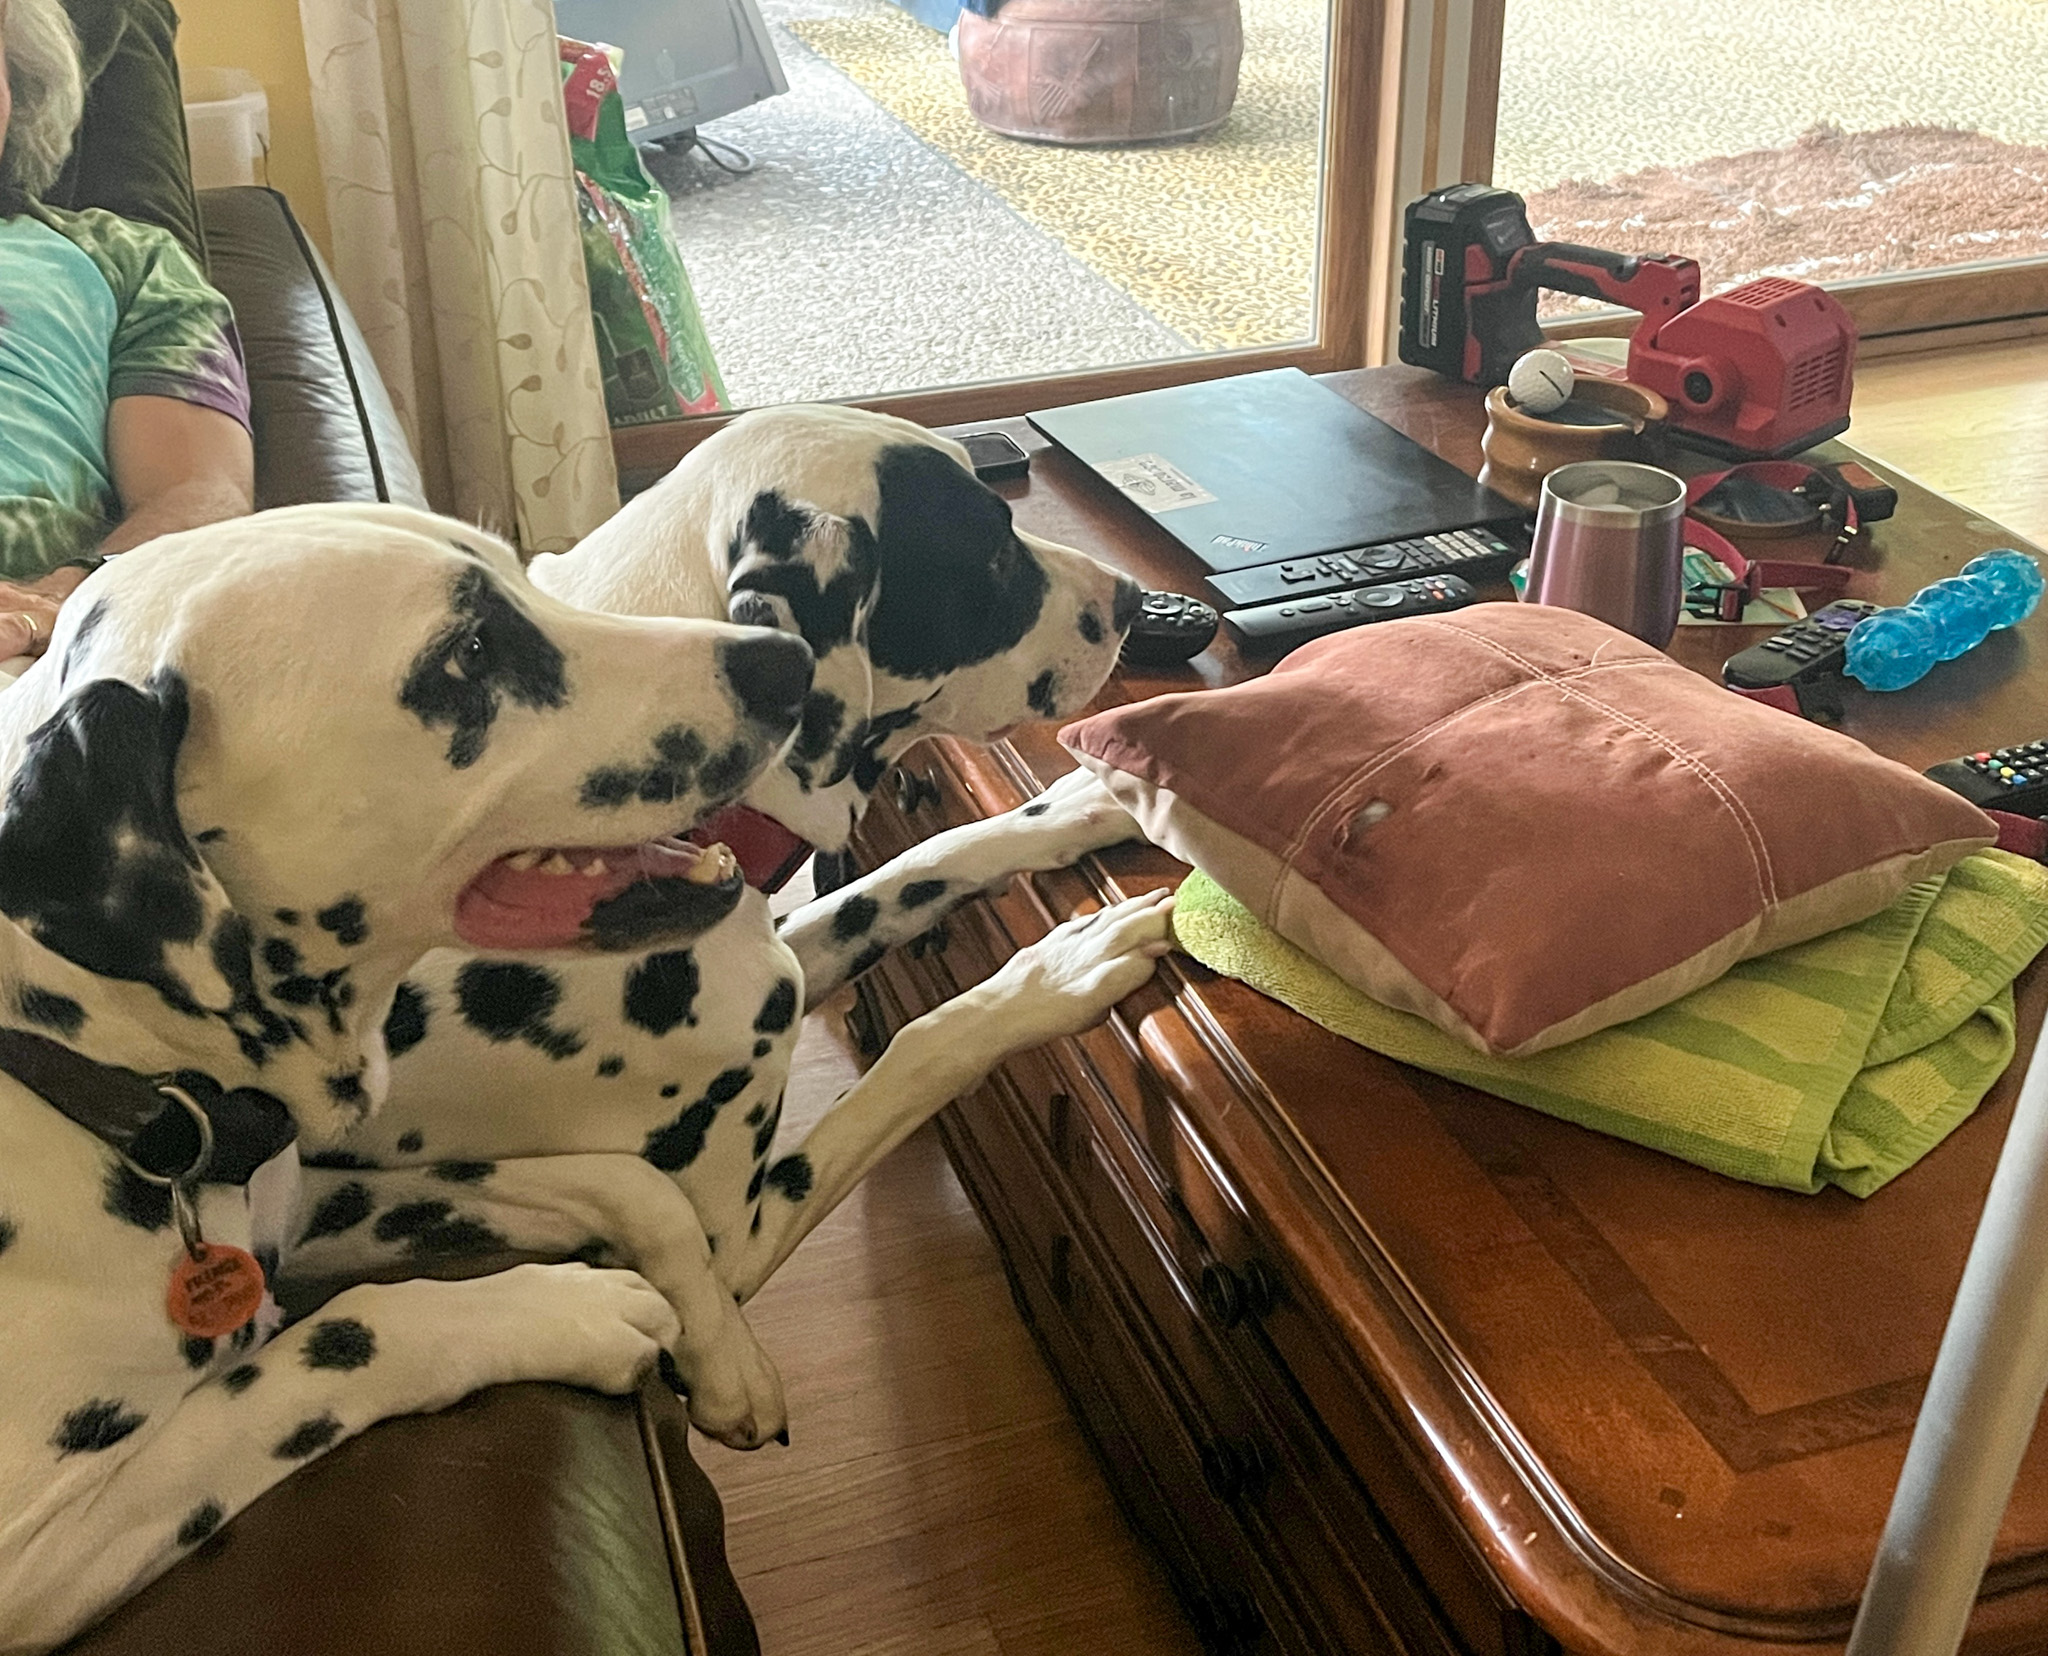
EXCEPT… when you steal food from the countertop!
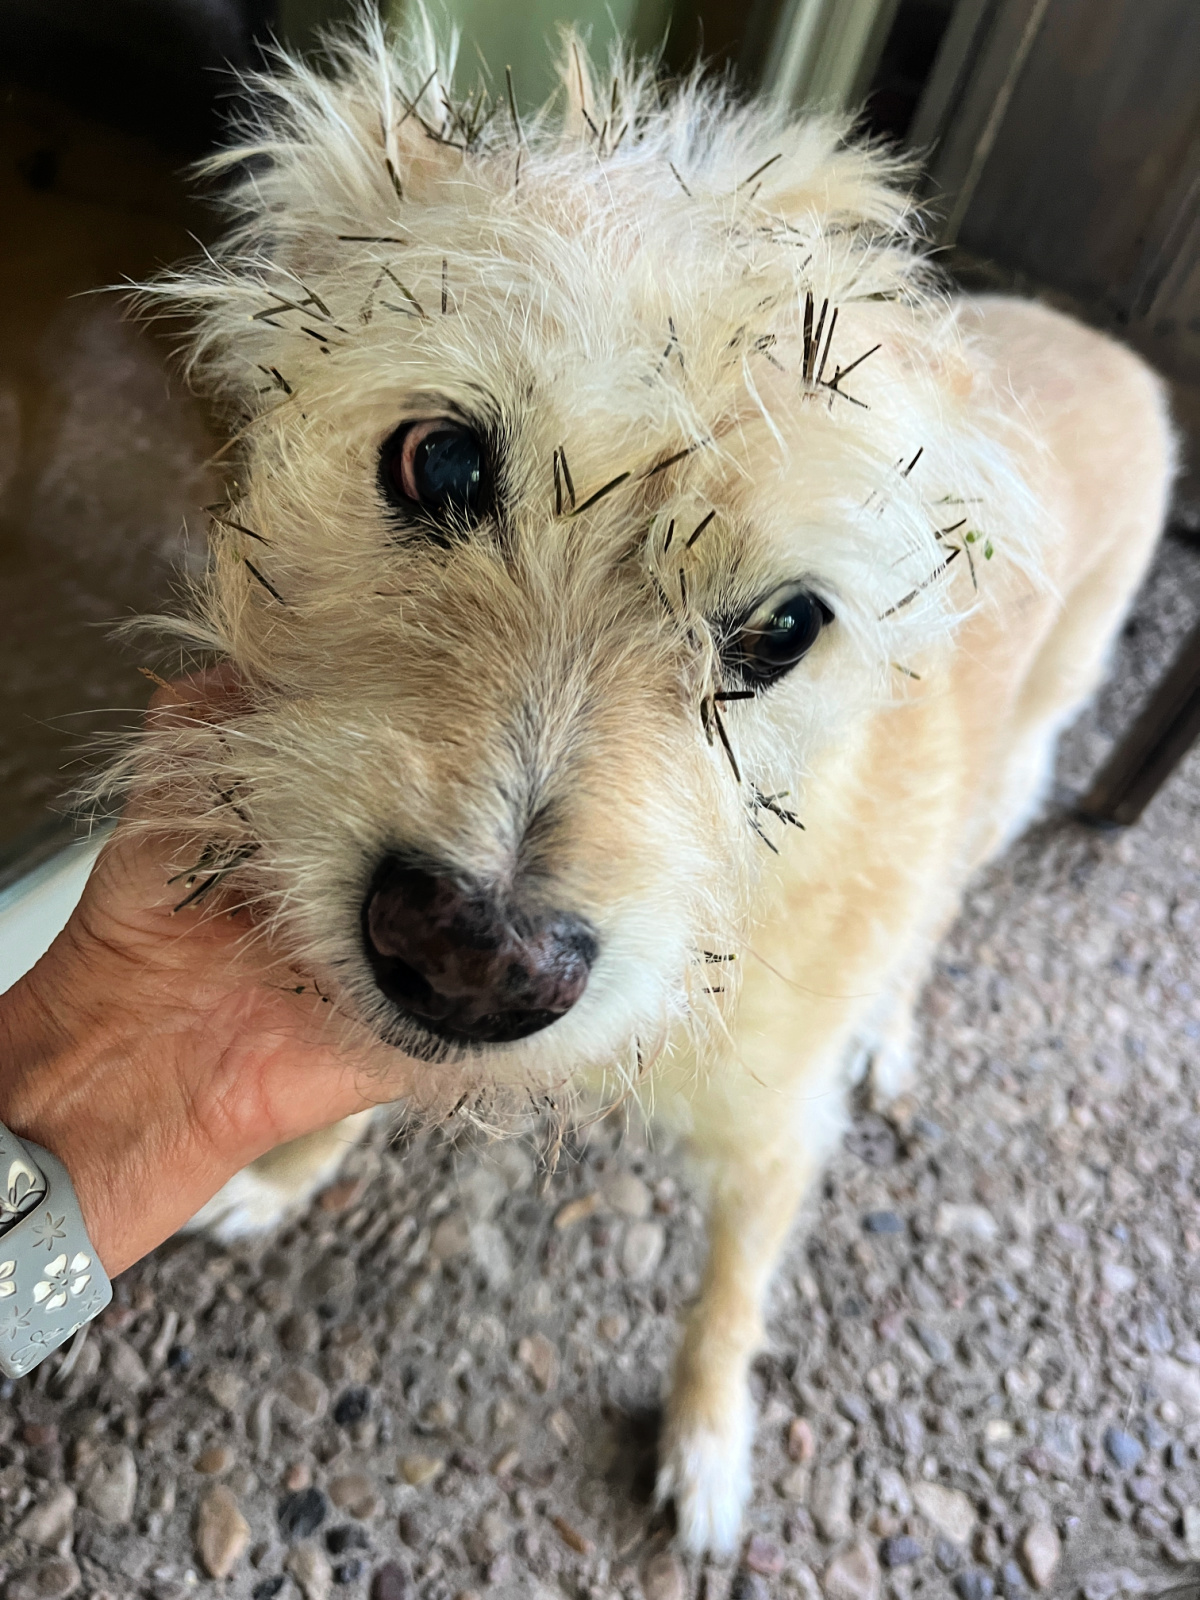
Or when you come back from the backyard covered in burrs, and we all know how much “fun” it will be to get them off your delicate fur…
But, all things considered, Summer has been pretty nice for the pups…
They watched a lot of TV…
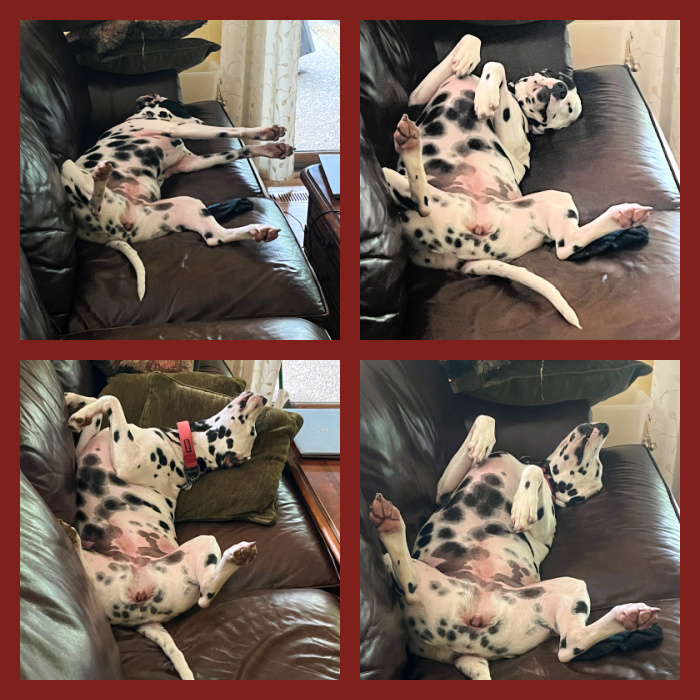
Ziggy Star Barker took extended naps in her favorite spot…
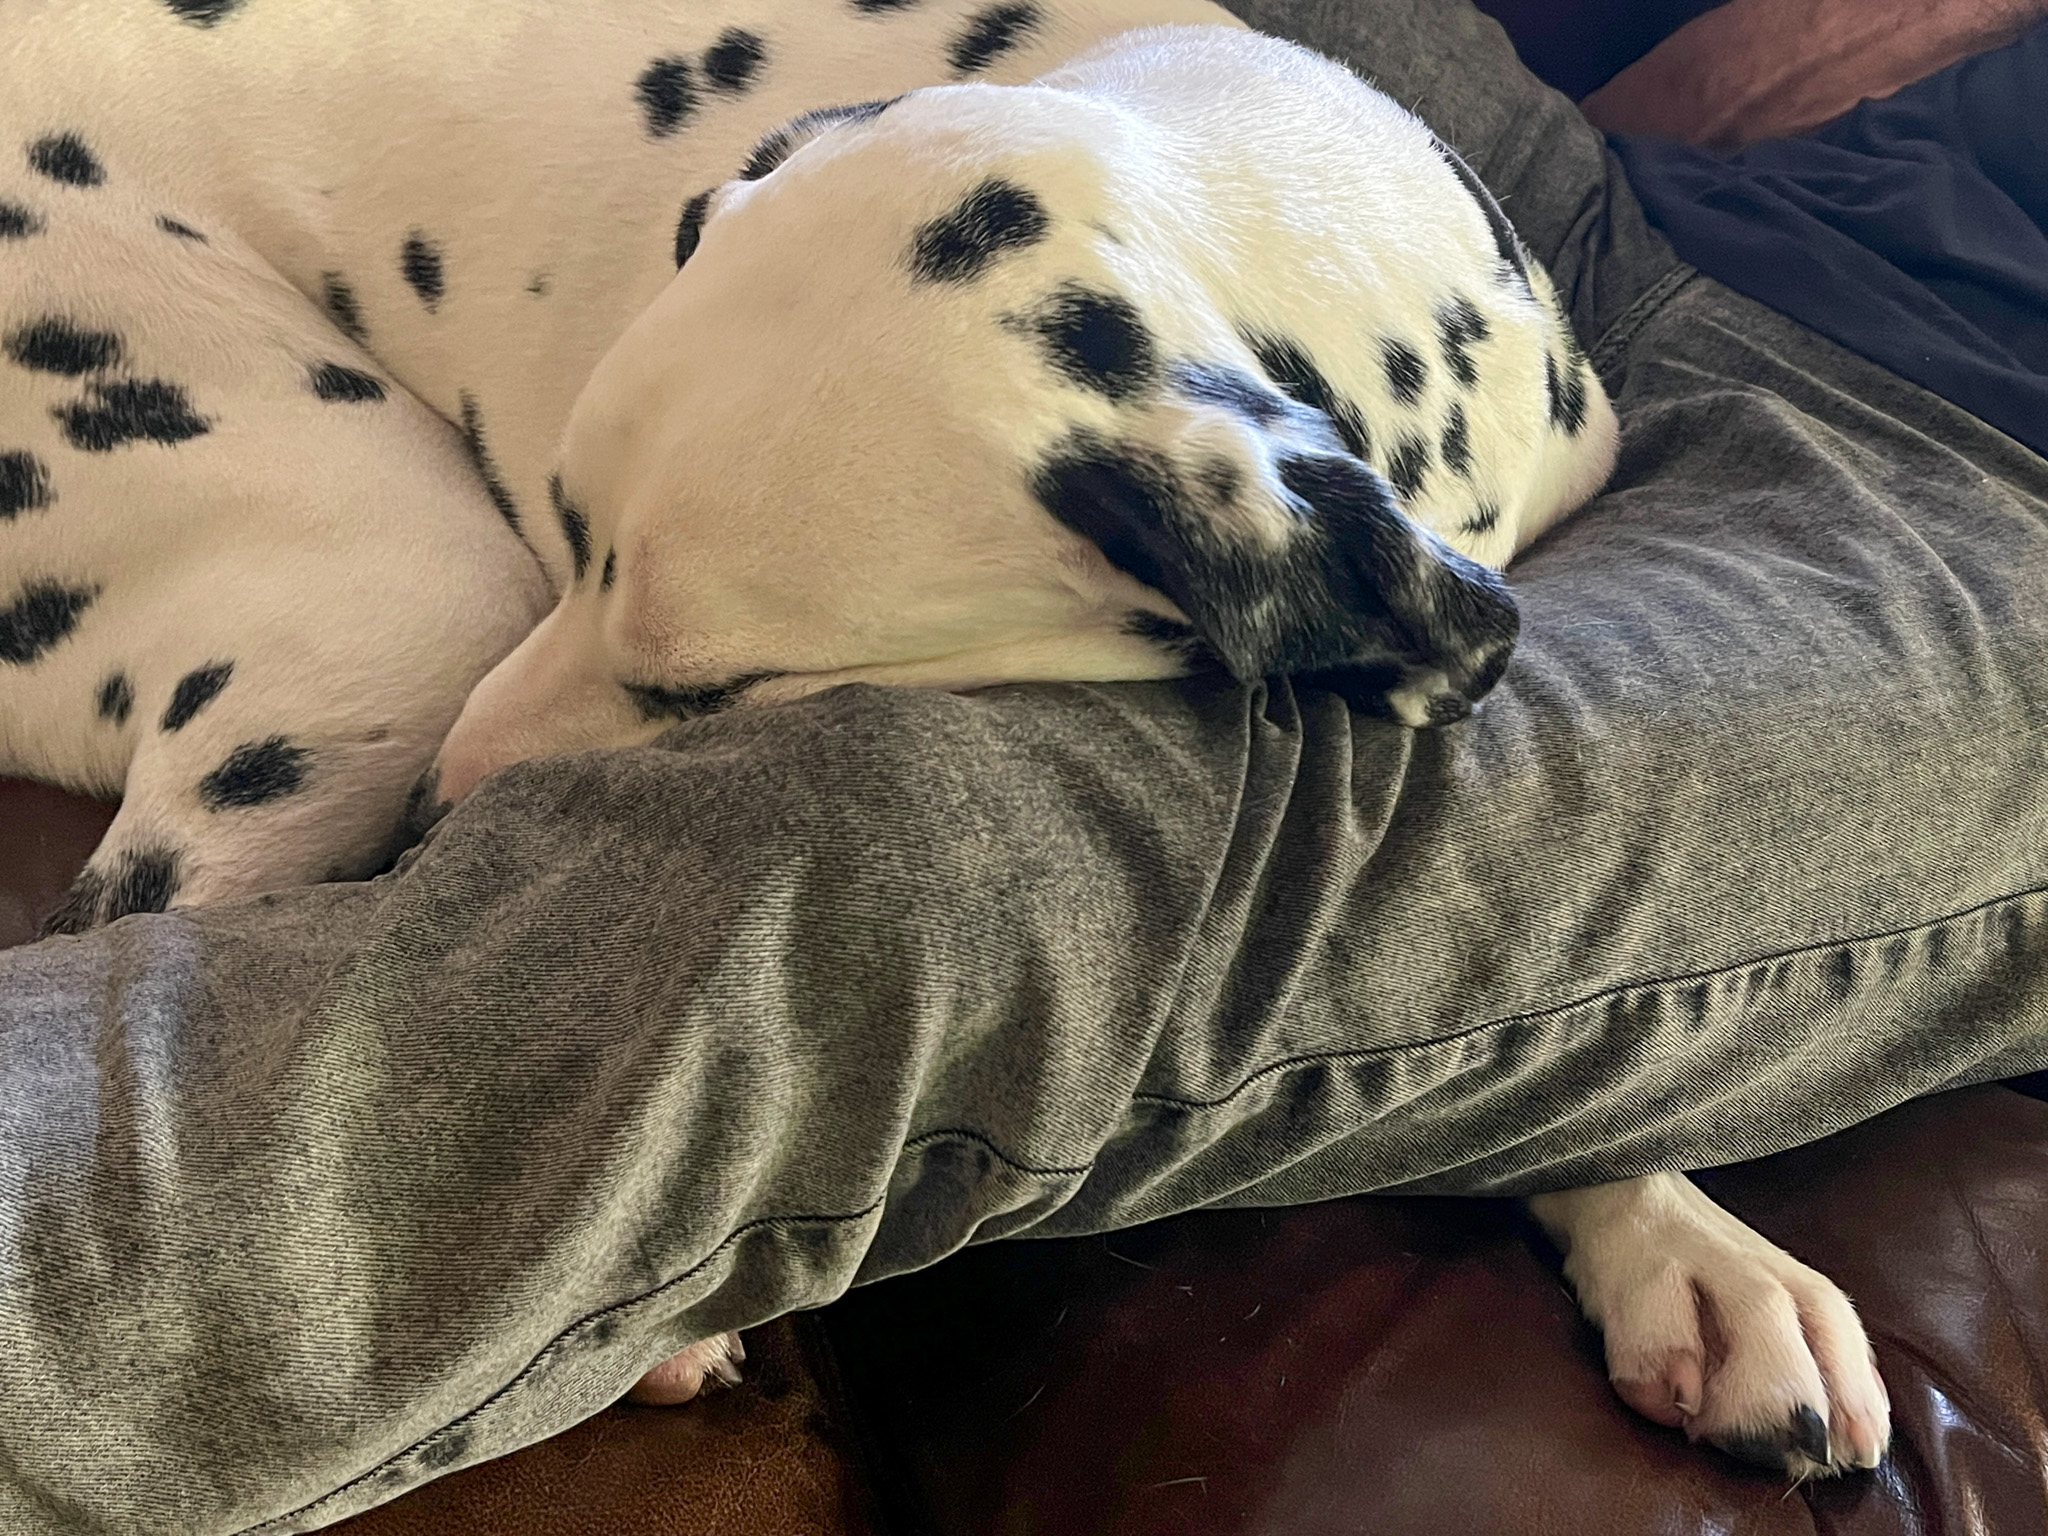
And Prince Freckles of Tatarrax did the exact same thing…
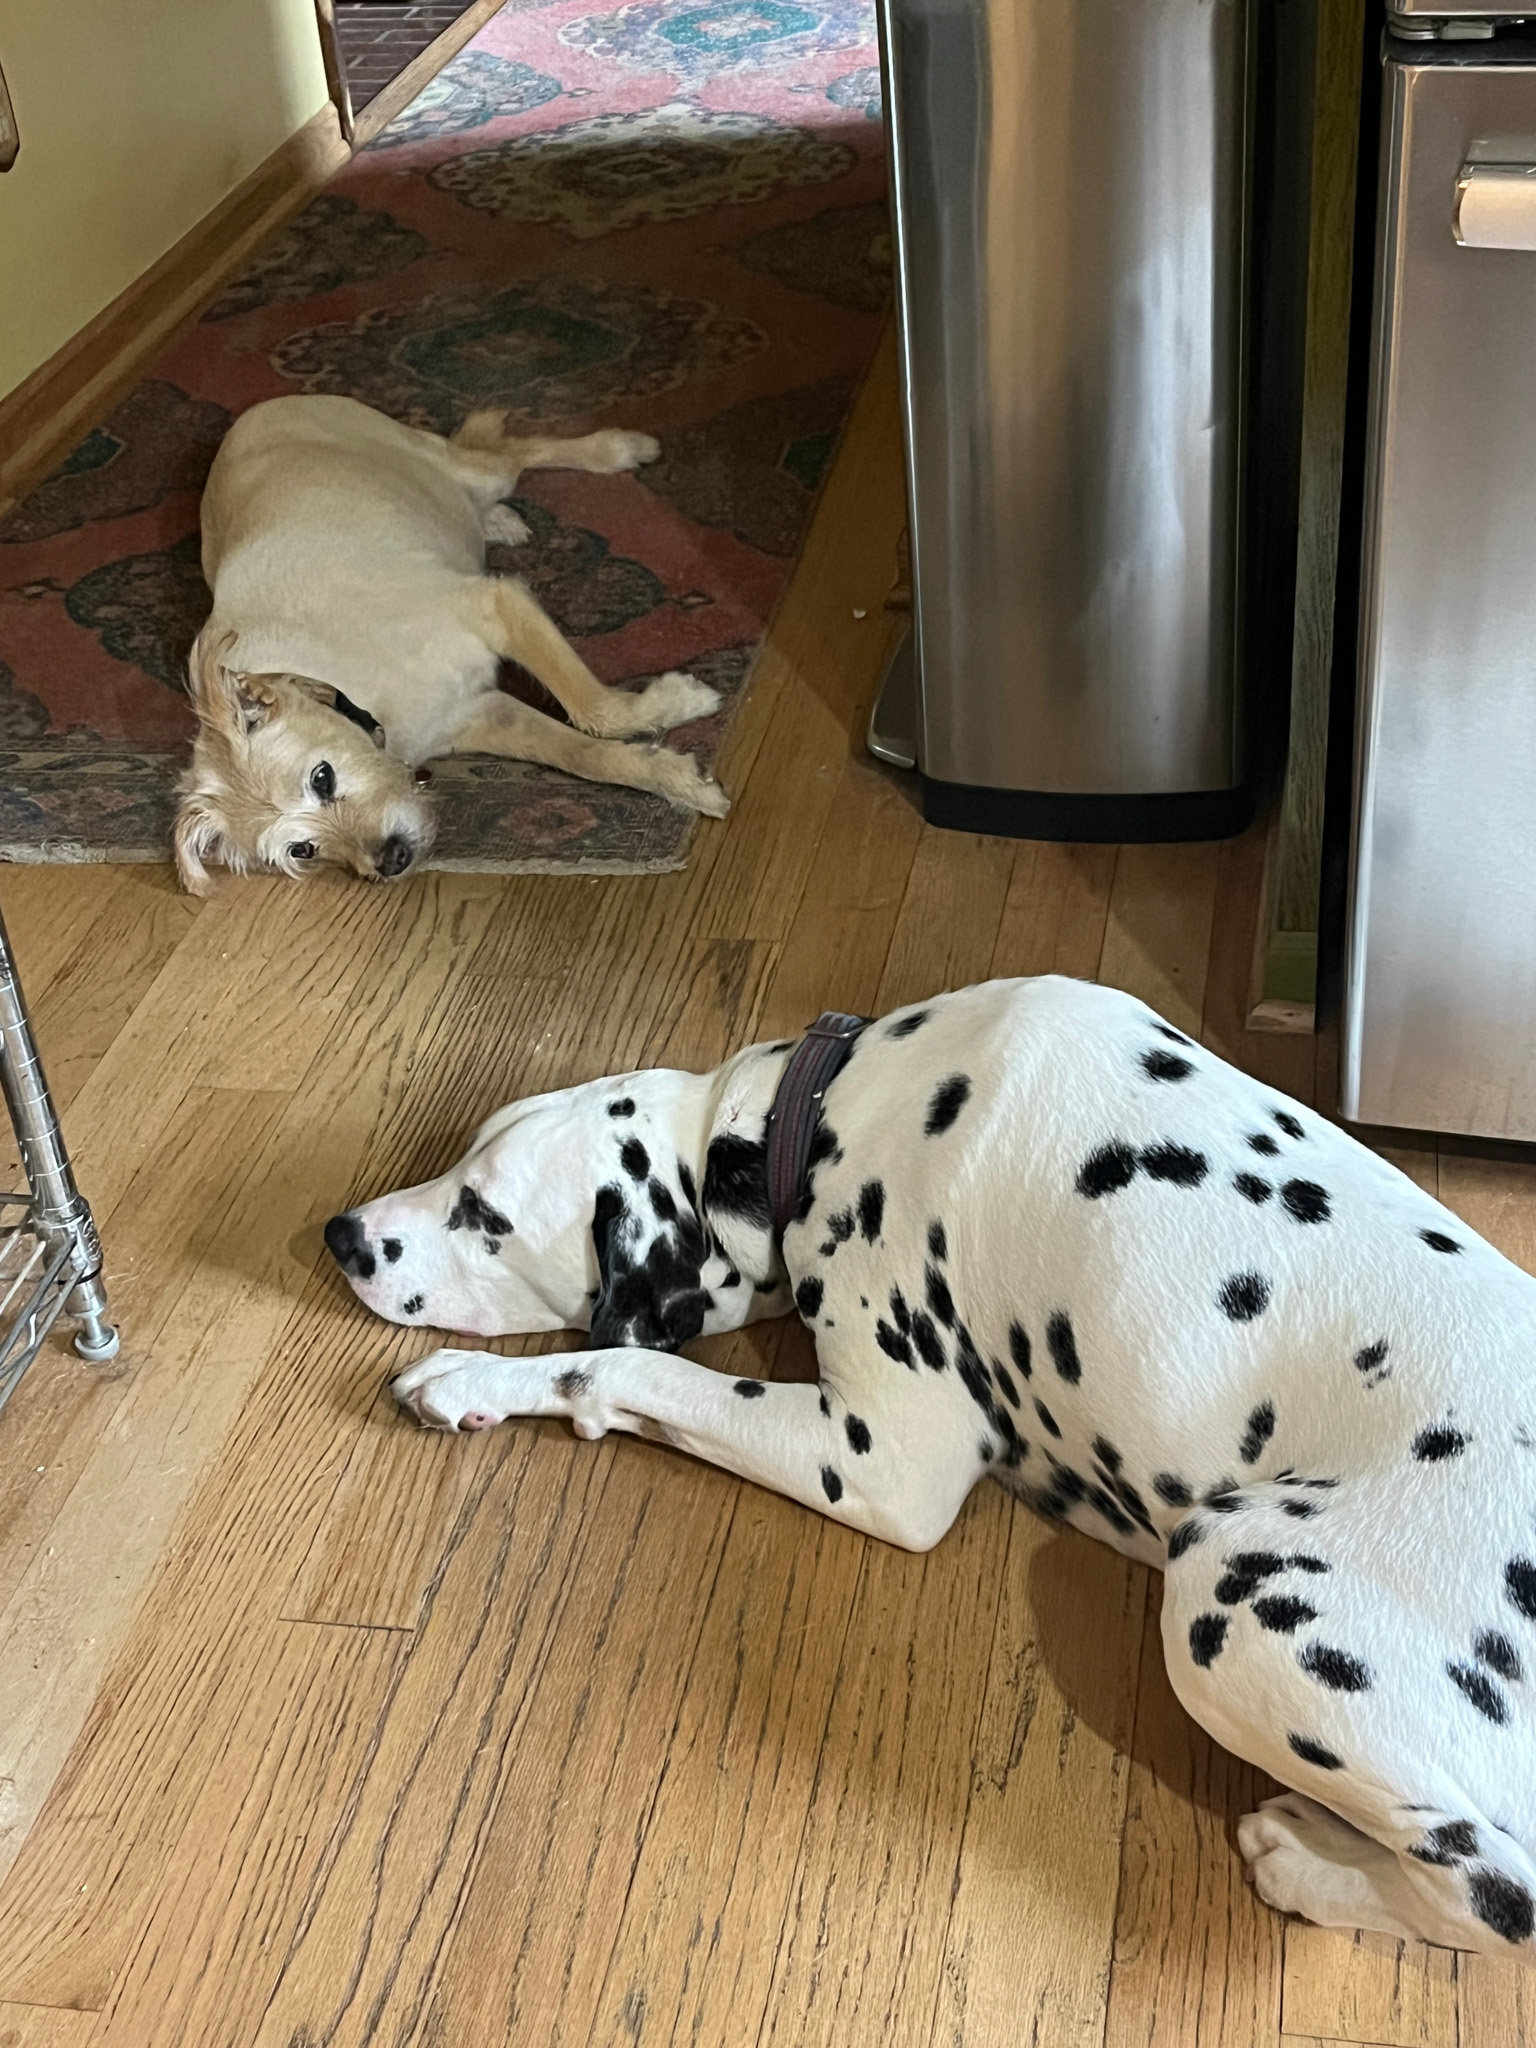
At times, when the stars were correctly aligned, The Alpha Dog allowed himself to relax next to a lesser Whippersnapper…
That’s all for now, folks! We will see you again when the New Year of 2026 starts… Until then, have a wonderful time!