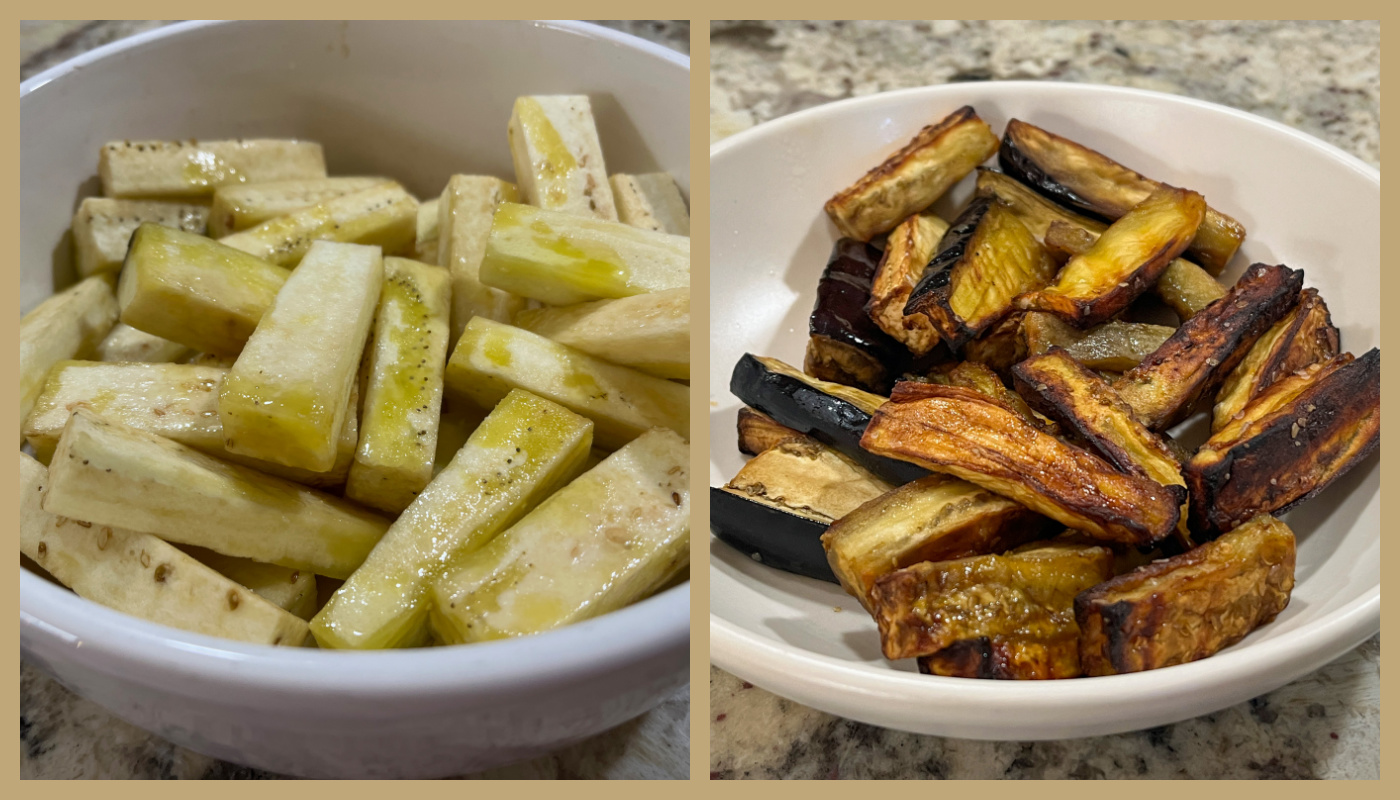
The first one is truly simple because you actually make the potatoes a day or two before, but the recipe itself qualified to be in this folder when I first published it in 2023. Check it out here. I always make one or two extra potatoes so that I have leftovers. Because, how could you resist these?

Simply grab the leftover roasted potatoes from the fridge, and cut in slices that should not be too thin, not overly thick, as they will warm up exclusively on the skillet. Add olive oil to the pan, once it is really hot, add the slices and brown them on both sides. Add a little more salt to serve. They will be super creamy inside and get that superb crust all over. Addictive, I tell you.
The second one was featured recently in the New York Times with a lot of praise by the readers. It seemed a bit odd, very few ingredients, kind of monochromatic. But we were both quite impressed by the flavor and texture. I share with you my version, which is slightly modified from the original one. A bit of olive oil and dill were brought to play.
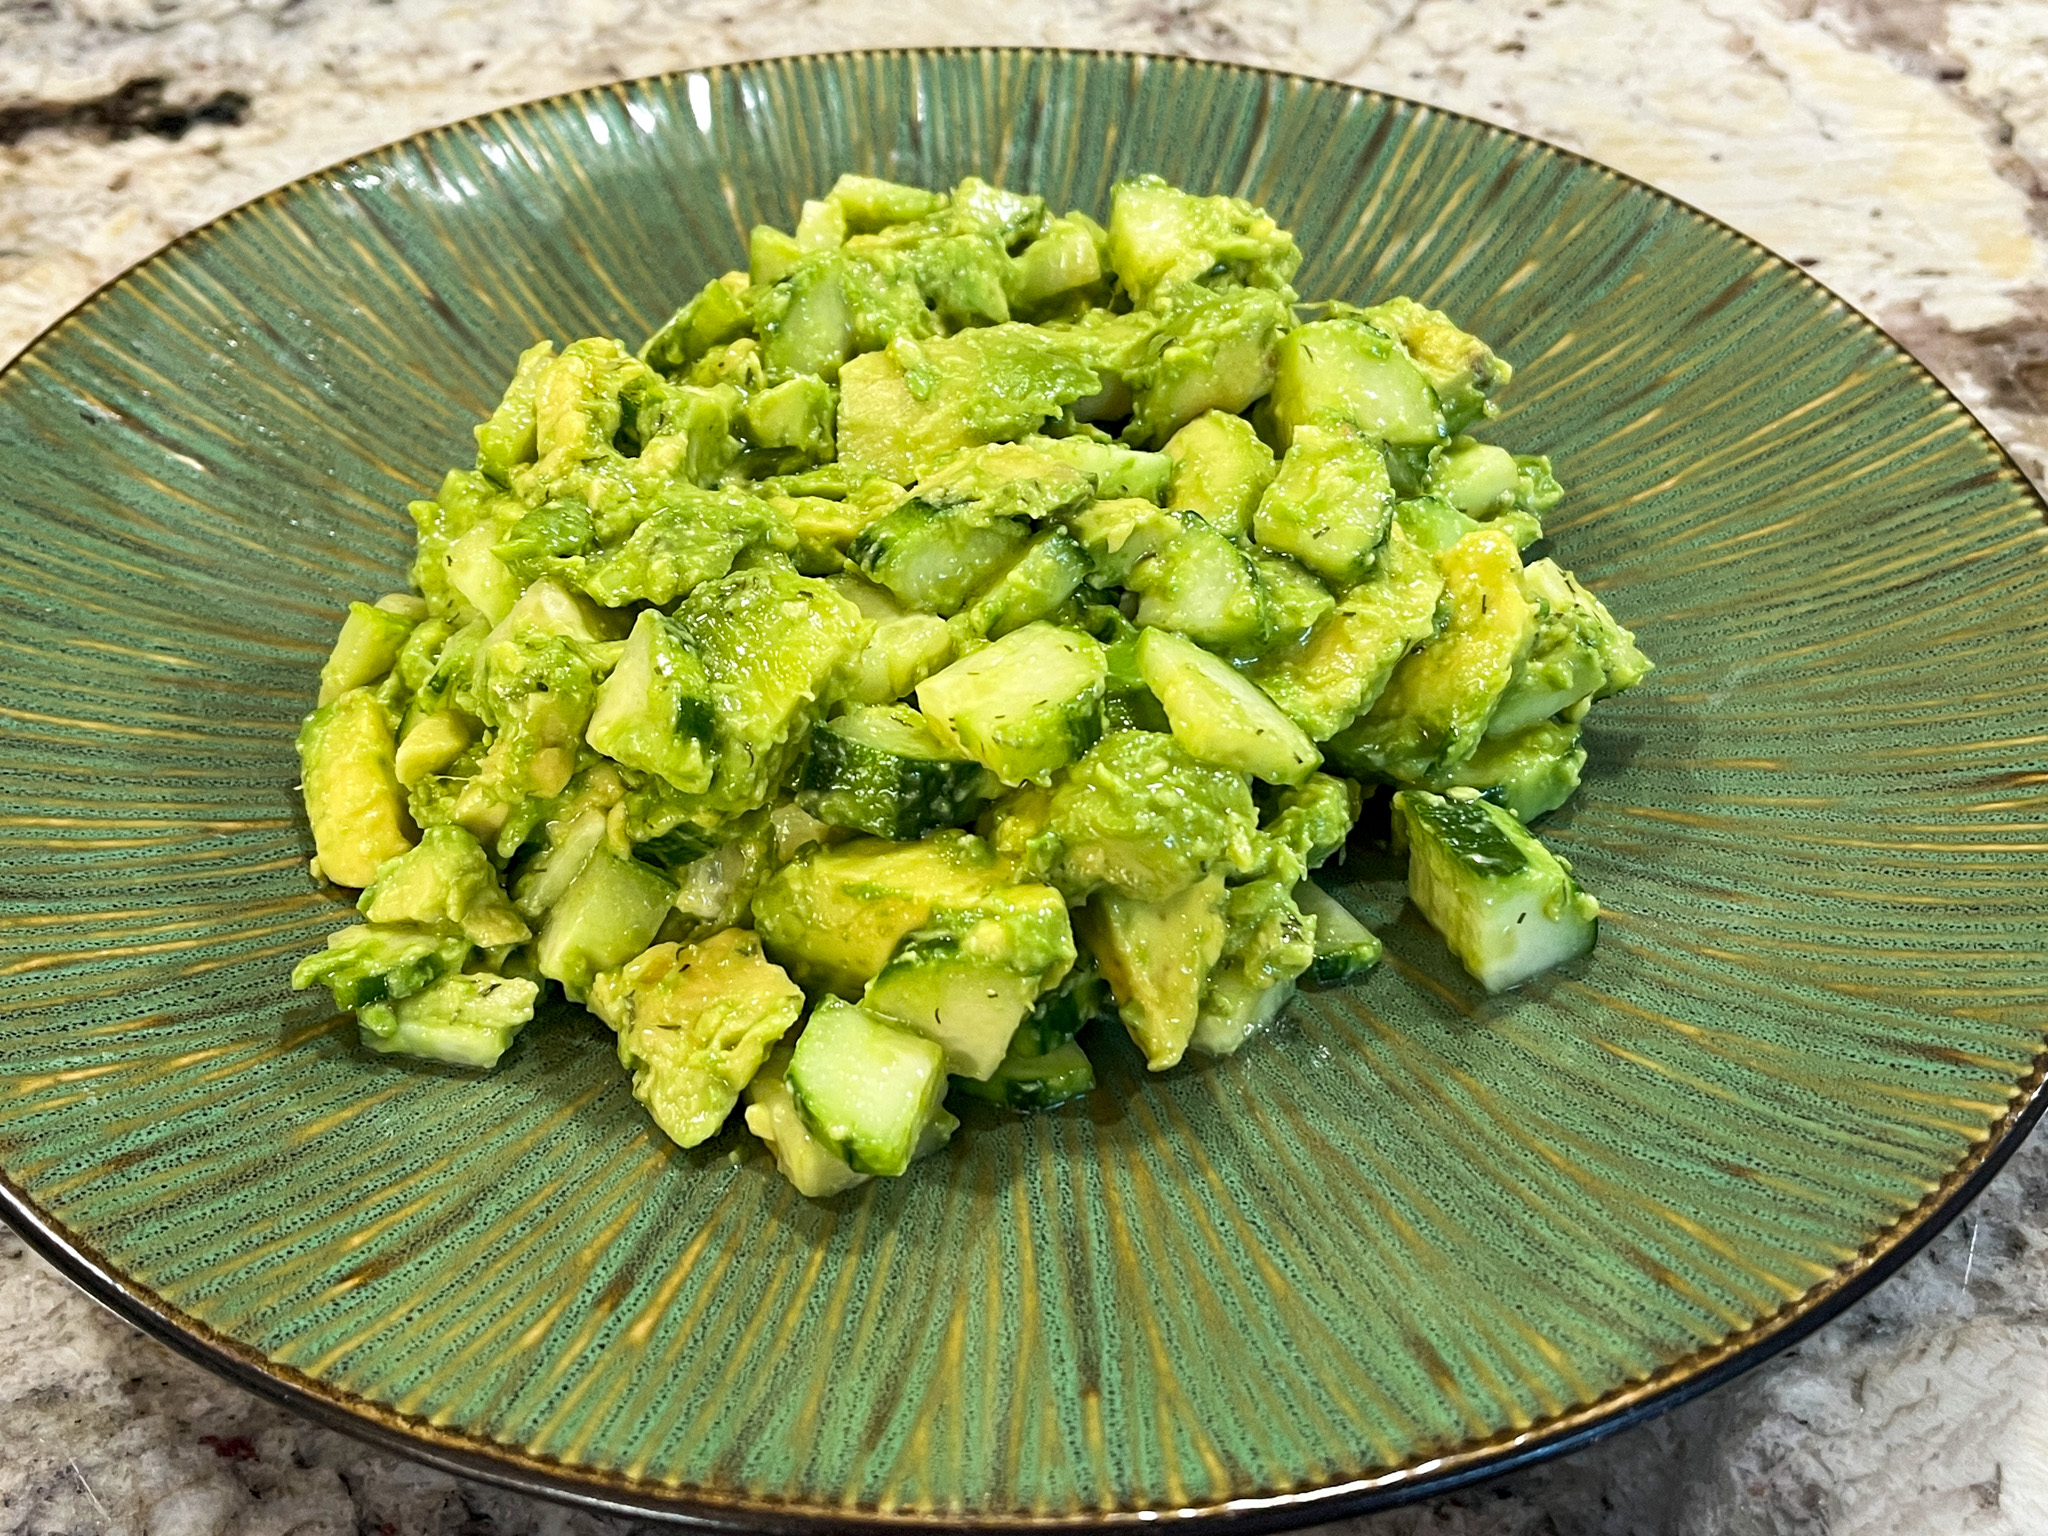
CUCUMBER-AVOCADO SALAD
(modified from The New York Times)
1 large English cucumber
Kosher salt
2 very ripe avocados
2 tablespoons fresh lime juice
drizzle of olive oil
fresh or dried dill to taste
red pepper flakes for serving, to taste
Peel the cucumbers in alternating strips and trim ends. Halve lengthwise and slice thin. Transfer to a colander and sprinkle 1 to 2 tsp kosher salt all over the slices. Set aside for 15 minutes.
Halve the avocados and remove the pits. Using a spoon, remove the flesh from the skins, then cut the flesh into ½-inch cubes. Transfer to a large bowl, add the lemon juice and season with salt. Stir to combine.
Shake the cucumbers in the colander to get rid of any excess moisture, rinse briefly then transfer to the bowl with the avocado. Drizze olive oil, and add dill. Mix well but gently, the avocado should start getting creamy and cover all the slices of cucumber. That is a good thing. Serve with a sprinkle of red pepper flakes, if so desired.
ENJOY!
to print the recipe, click here
ONE YEAR AGO: Fitness Post, 21day Fix
TWO YEARS AGO: Going Beyond Guacamole
THREE YEARS AGO: A Trio of Superstars
FOUR YEARS AGO: Turkey Meatloaf
FIVE YEARS AGO: Prue Leith’s Smoked Salmon and Beetroot Blinis
SIX YEARS AGO: Mandioca Frita 101
SEVEN YEARS AGO: White Chocolate Raspberry Dome Cake
EIGHT YEARS AGO: Blueberry Crumble Coffee Cake
NINE YEARS AGO: Pickled Red Onions
TEN YEARS AGO: Strawberry Chocolate Chip Cake
ELEVEN YEARS AGO: Mini-Chocolate Cheesecake Bites
TWELVE YEARS AGO: Whole-Wheat Spaghetti with Grated Tomato Sauce
THIRTEEN YEARS AGO: A Taste of Yellow to Honor Barbara
FOURTEN YEARS AGO: Gratin of Beefsteak Tomatoes
FIFTEEN YEARS AGO: Tour de France Final Stage: PARIS
SIXTEEN YEARS AGO: Snickerdoodles with a Twist