KAMUT AND BROCCOLI SALAD

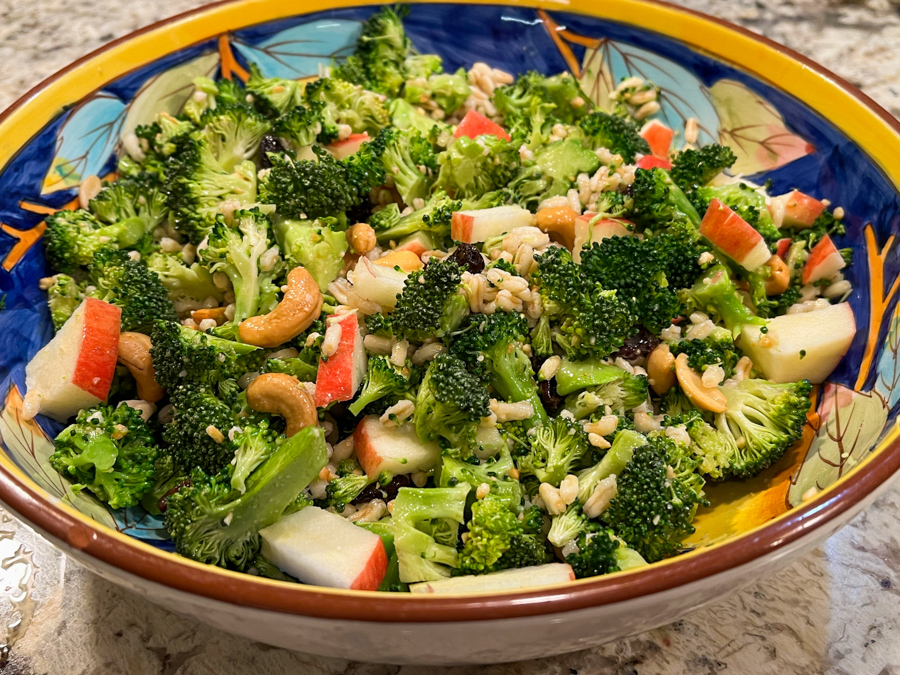
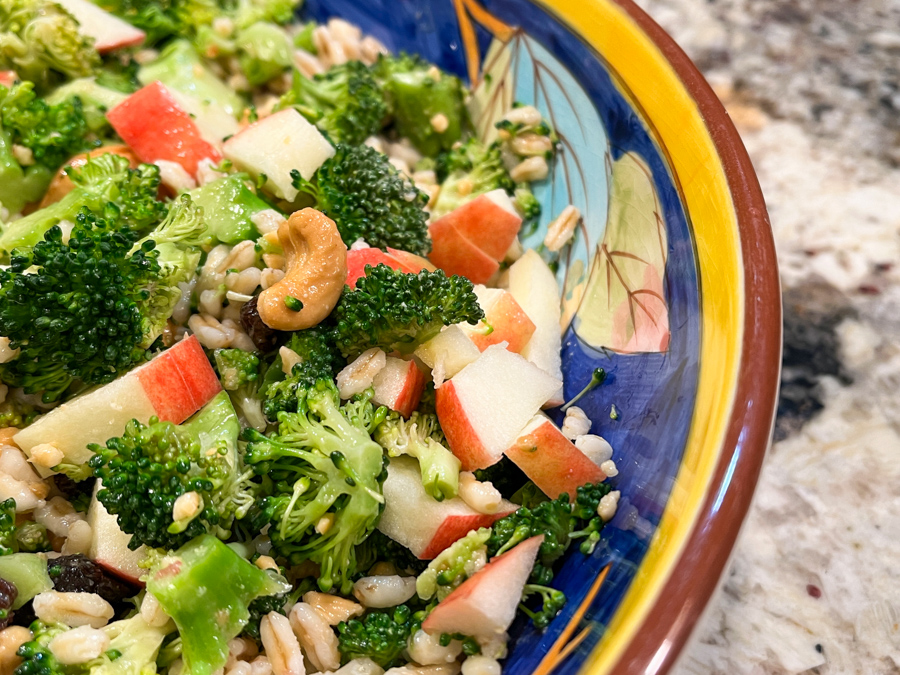
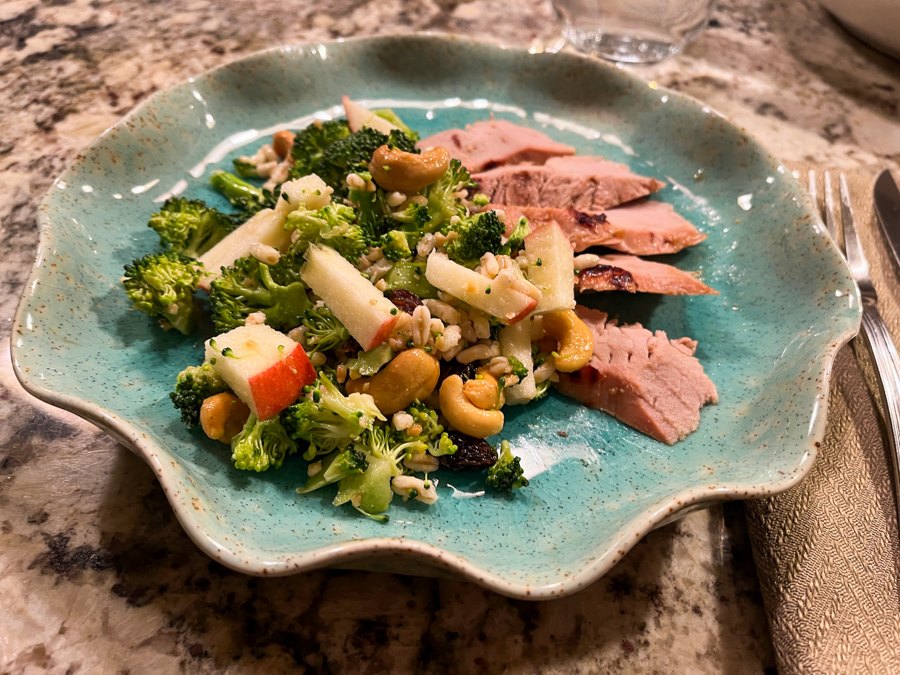
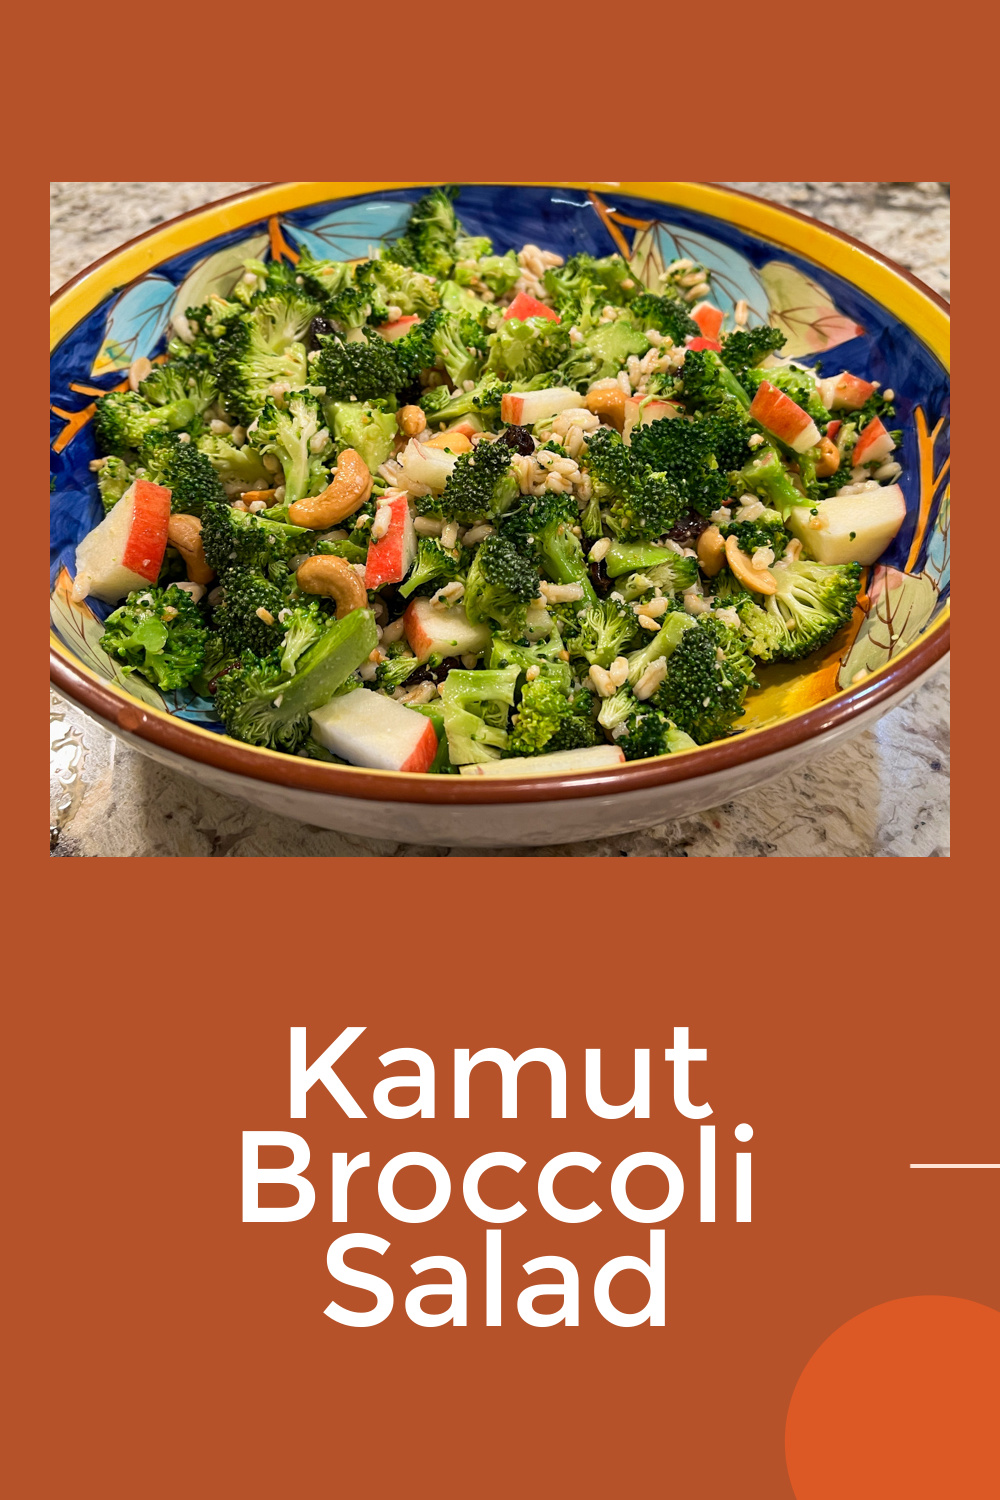
If I am going to have a salad, my preference is a salad with substance, and a variety of textures and colors. No need to go all the way into a Chicken Caesar or a Steak Salad, but the addition of grains is more than welcome. I used quick-cooking kamut, but any type will work, just pay attention to the timing. Also, any other will be fine: barley, cracked wheat, or the beautiful farro.

KAMUT & BROCCOLI SALAD
(adapted from many sources)

1 cup cooked kamut, or amount to taste
2 broccoli heads, or amount to taste
1/2 cup roasted, salted cashews
1/4 cup raisins
1/2 apple, cut in pieces (I used Pink Lady)
1/4 cup olive oil
juice and zest of 1 lemon
grated ginger to taste
salt and pepper to taste

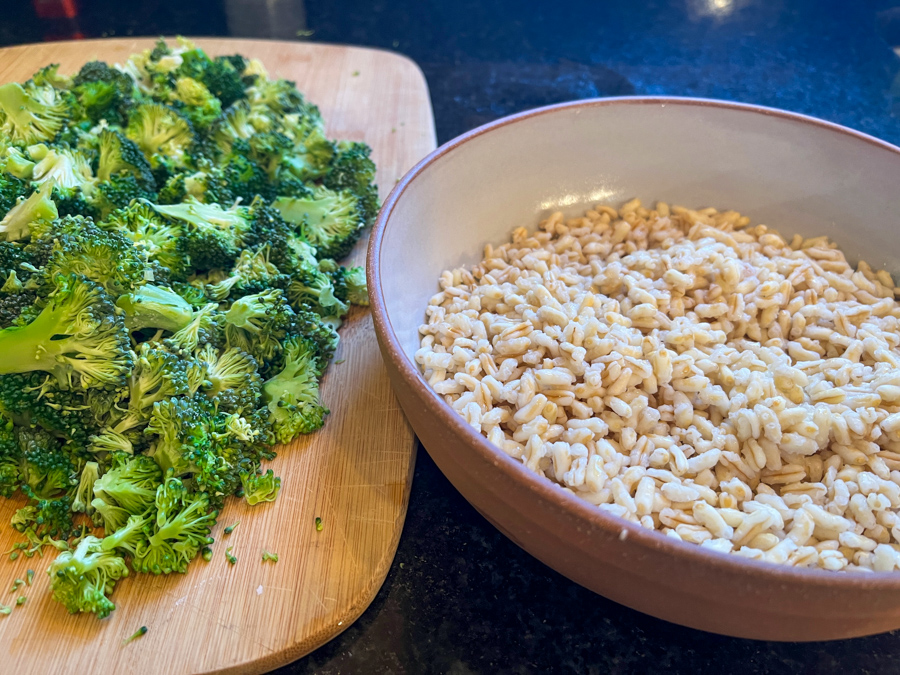
The kamut can be prepared a day in advance if you like. Make sure it is cold when you make the salad. If you make it in advance, drizzle just a touch of olive oil to prevent the grains from sticking together. Separate the broccoli into florets and steam them for 3 minutes. Immediately run very cold water to stop the cooking. Cut the steamed broccoli into pieces. Reserve.

Make the dressing by whisking the olive oil with lemon juice, add ginger, salt and pepper.

In a large serving bowl, add all the ingredients for the salad, pour the dressing and mix gently. Adjust seasoning with salt and pepper if needed. Allow the salad to sit for 30 minutes before serving, if possible.

ENJOY!

to print the recipe, click here

Comments: The main inspiration for this recipe came from a cookbook I own, but that version served the broccoli raw and passed by the food processor. The pieces of raw broccoli were very small and lost in the middle of the grain, all acquiring the same green color. The way I chose to make it, was barely steaming the broccoli. This simple step tames its raw sharpness. Next, I cut the pieces with a knife, in small chunks. In my opinion, this makes the final product much more appealing not only visually, but as far as texture goes.

The apples and raisins are a must, and the cashews give that extra crunchiness that will leave you smiling… peanuts, walnuts, or pecans, can be used instead.

The added bonus of this salad: it holds quite well in the fridge. I made such a big portion that in fact it lasted two days, and on the second day I decided to warm it in the microwave for a minute. Perfect! A light lunch that needed absolutely nothing else to go with it.

ONE YEAR AGO: Charcoal Peanut Sourdough

TWO YEARS AGO: Chocolate Cake with Coconut Buttercream

THREE YEARS AGO: Berry Rebellion Tarts 

FOUR YEARS AGO: Bergamot-Cherry Macarons

FIVE YEAR AGO: Roasted Veggies with Queso Cotija Dressing

SIX YEARS AGO: Creamy Broccoli and Mushroom Casserole

SEVEN YEARS AGO: Maple Walnut Biscotti

EIGHT YEARS AGO: Barley Risotto with Peas

NINE YEARS AGO: Oatmeal Fudge Bars

TEN YEARS AGO: Cauliflower Steaks

ELEVEN YEARS AGO: Soft Spot for Chevre

TWELVE YEARS AGO: Quick sun-dried Tomato Crostini

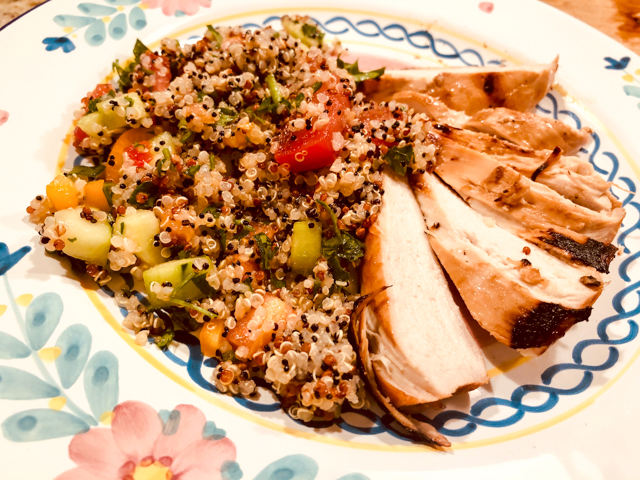
RED QUINOA “TABBOULEH”

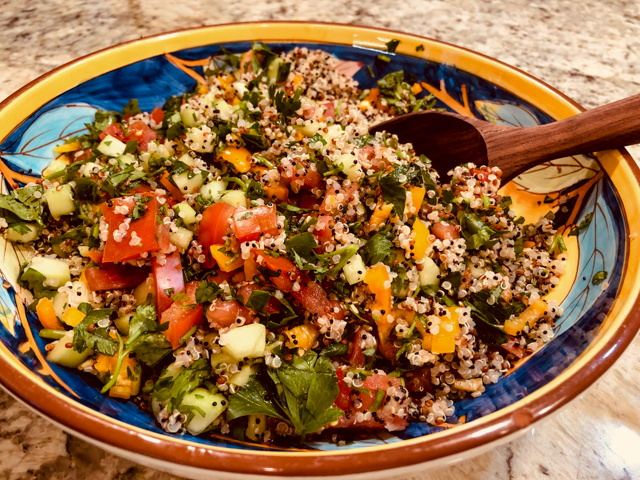
Another great recipe that the editors of the New York Times raved about. I ate leftovers for two days, with a slightly bigger smile on the last time. It gets better and better. I adore colorful food. And clothes. And earrings.

RED QUINOA “TABBOULEH”
(slightly modified from The New York Times)

1 cup red quinoa (or a mixture of colors)
3 cups wate
Salt to taste
½ cup fresh lemon juice½ teaspoon ground cumin
¼ cup extra virgin olive oil
1 cup finely chopped flat-leaf parsley
¼ cup finely chopped fresh mint
1 red bell pepper, chopped
1 cup finely diced cucumber
1 pound ripe tomatoes, cut in small dice

Rinse the quinoa thoroughly, and combine with the water and salt to taste in a large saucepan. Bring to a boil, cover and reduce the heat to low. Simmer 15 to 20 minutes until the quinoa displays a little white spiral. Drain through a strainer, tap to remove excess water, then return the quinoa to the pot. Place a dish towel over the top of the pot, and return the lid. Let sit for 15 minutes. This gives the quinoa a perfect texture.

Transfer the quinoa to a large bowl. Mix together the lemon juice, salt to taste and cumin, and toss half of it with the quinoa. Allow the quinoa to cool. Combine the remaining lemon juice and olive oil, and toss with the cooled quinoa. Add the remaining ingredients, and toss together. Taste and adjust seasoning.

ENJOY!

to print the recipe, click here

Comments: We enjoyed it with grilled chicken breasts, for a very simple but delicious dinner. It became my lunch for the following two days, on the second time I added a sunny-side egg on top. Heaven. I hope purists will forgive the tabbouleh label in the recipe, but I was not the one who started. The New York Times was the first sinner. I just went along with it, but added the quotation marks to protect my reputation as a food blogger. At any rate, tabbouleh or not, make this recipe. It is super refreshing and satisfying.

ONE YEAR AGO: Cucumber Salad with Yogurt-Harissa Dressing

TWO YEARS AGO: Sundried Tomato and Feta Cheese Torte 

THREE YEARS AGO: Hickory-Smoked Beef Tenderloin

FOUR YEAR AGO: Spaghetti Squash, Revisited

FIVE YEARS AGO: Stir-fried Chicken and Cabbage in Spicy Almond Sauce

SIX YEARS AGO: Fifteen Years!

SEVEN YEARS AGO: Light Brioche Burger Buns

EIGHT YEARS AGO: Sourdough Blues

NINE  YEARS AGO: Headed to Hawaii

TEN YEARS AGO: A yummy Brazilian cake: Bolo de Fuba’

ELEVEN YEARS AGO:  Hidden Treasure

TWELVE YEARS AGO: Avocado Three Ways

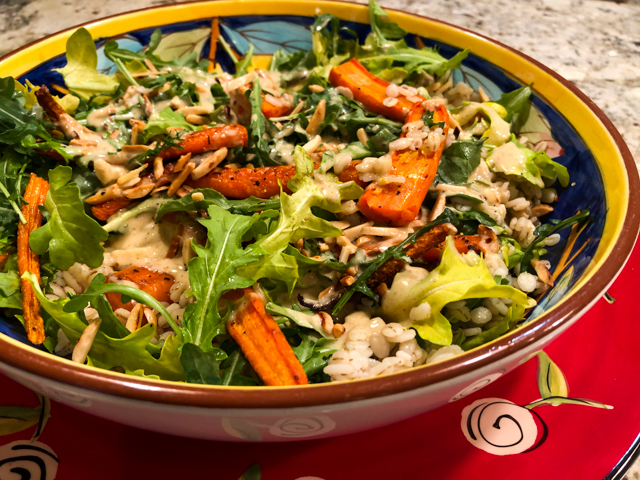
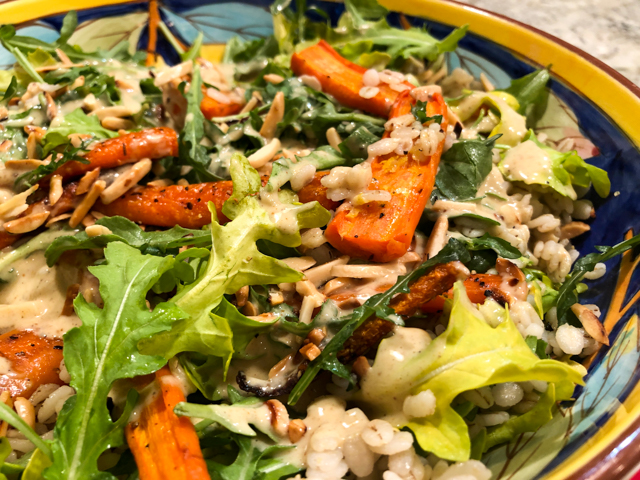
ROASTED CARROT AND BARLEY SALAD

Another recipe that was highly recommended by editors of the food section in The New York Times. We will be paying close attention to those reviews from now on, because so far everything we’ve tried has been a total winner. I made a few modifications to adapt to our taste, so I share my version with you. Barley is definitely under-appreciated.

ROASTED CARROT AND BARLEY SALAD
(adapted from The New York Times)

1 cup pearled barley
Kosher salt and black pepper
2 pounds carrots, washed, trimmed and cut into long pieces
2 tablespoons extra-virgin olive oil
2 teaspoons honey
zest of 1 lemon
2 cups arugula
A handful of cilantro
¼ cup toasted sliced almonds

for the spiced tahini:
¼ cup tahini
juice of 1/2 lemon
1 teaspoon Ras-el-hanout
water to adjust consistency

Heat oven to 425 degrees and place a rack on the lowest shelf. In a medium saucepan, combine barley with 4 cups water; season with 1/2 teaspoon salt. Bring to a boil over medium-high heat. Reduce heat to low and simmer until tender, about 20 to 25 minutes. Drain excess water if still some remains.

Meanwhile, place the carrots on a sheet pan, drizzle with the olive oil and toss to coat, spreading into an even layer. Season with salt and pepper. Place on the bottom oven rack and roast until tender and starting to turn golden, about 25 minutes.

While the carrots roast, make the dressing: In a medium bowl, whisk together the tahini, lemon juice, Ras-el-hanout, and 1/2 teaspoon salt. Add 3 to 4 tablespoons water, 1 tablespoon at a time, until it is smooth and has a pourable consistency.

When the carrots are ready, remove them from the oven, drizzle with honey and sprinkle with lemon zest. Season with a pinch of salt and toss to coat.

In a serving bowl, combine the carrots with the barley, arugula and parsley. Drizzle with the spiced tahini and sprinkle with almonds. Try not to over-eat…

ENJOY!

to print the recipe, click here

Comments: This was one of the best side dishes of the year of 2021 that showed up at our table. I do have a very special place in my heart for tahini, so maybe that explains my love for this recipe. You can cook the barley and roast the carrots in advance. In that case, just warm the carrots briefly in the microwave – I mean for 20 seconds tops – because it’s nice to have the contrast of warm carrots with the cold salad. If you are not too fond of arugula, spinach will work too, but there’s something about the slightly bitter nature of arugula that works well here.

ONE YEAR AGO: Ode to Halva

TWO YEARS AGO: Brazilian Pao de Queijo (re-blogged)

THREE YEARS AGO: Apricot Linzer Torte

FOUR YEAR AGO: A Trio of Air-Fried Goodies

FIVE YEARS AGO: Focaccia with Grapes, Roquefort and Truffled Honey

SIX YEARS AGO: Moroccan Carrot Dip Over Cucumber Slices 

SEVEN YEARS AGO: White Chocolate Macadamia Nut Cookies

EIGHT YEARS AGO: Cilantro-Jalapeno “Hummus”

NINE YEARS AGO:A Moving Odyssey

TEN YEARS AGO:
Hoegaarden Beer Bread

ELEVEN YEARS AGO:
 Ancho-Chile Marinade: Pleased to Meat you!


TWELVE YEARS AGO:
 Shrimp Moqueca

INCREDIBLY SIMPLE POBLANO TAHDIG

With this post I will upset a lot of people. First, by mixing a classic Middle Eastern recipe with a Mexican component. And second, by making it a much quicker version than the authentic. However, since I first made this version back in 2019, I never stopped. It is by far the most requested side dish by the resident food critic, and I adore it too. My only problem lies with that portion control thing. I tend to over-eat because it’s just too good. The basic method is the same, and to be honest I don’t even measure anything now, because it always works. This version rocked our little world.

POBLANO TAHDIG
(from The Bewitching Kitchen)

1 cup rice
3 cups lightly salted water
1 Poblano pepper, roasted with a touch of olive oil until soft
1/3 cup full-fat yogurt
1/4 tsp salt
1/4 tsp chipotle pepper (or other pepper of your choice)
drizzle of olive oil

Mix the yogurt with the poblano pepper, salt and chipotle pepper. Process with a mini-food processor until smooth. Reserve.

Cook the rice for 12 minutes in salted boiling water and immediately drain and rinse with cold water to stop cooking. Rice and yogurt mixture can sit separately for a couple of hours before continuing.

Mix the rice with the yogurt. Heat a 10-inch non-stick skillet and add olive oil, swirling around the whole surface. When the oil starts to get hot, add the rice-yogurt mixture and spread it all over the pan, smoothing the surface with a silicon spoon. Cover the rice with a paper towel moistened with water, then place a lid. Don’t worry if the lid is not totally tight.

Place on a low-burner for exactly 30 minutes. At the end of 30 minutes check to see if the bottom is golden, if not, increase the heat lightly and remove the lid. Leave it for a minute or two, should be enough to make a nice crust at the bottom. Carefully place a platter on top and invert the rice on it. Cut in wedges to serve.

ENJOY!

to print the recipe, click here

Comments: The above picture shows what was left once we finished our dinner. We could have inhaled it all, but I decided to consider my lunch next day. If you are a rice lover, please try this method. And now that we loved the poblano version so much, I have plenty of other variations to try. The only thing to keep in mind is under-cooking the rice in the beginning, and choosing a skillet that is right for the amount of rice you have. For 1 cup dry rice, the 10-inch skillet is perfect. Thirty minutes on low-heat. DONE.

ONE YEAR AGO: Roasted Green Beans and Tomatoes with Tahini Sauce

TWO YEARS AGO: Brazilian Pao de Queijo 

THREE YEARS AGO: The Chignon

FOUR YEARS AGO: Rack of Lamb Sous-Vide with Couscous Salad

FIVE YEARS AGO: Focaccia with Grapes, Roquefort and Truffled Honey

SIX YEARS AGO: Moroccan Carrot Dip over Cucumber Slices

SEVEN YEARS AGO: White Chocolate Macadamia Nut Cookies

EIGHT YEARS AGO: Cilantro-Jalapeno “Hummus”

NINE YEARS AGO:A Moving Odyssey

TEN YEARS AGO:Hoegaarden Beer Bread

ELEVEN YEARS AGO:
 
Ancho-Chile Marinade: Pleased to Meat you!

TWELVE YEARS AGO: Shrimp Moqueca

BULGUR PORK TOMATILLO PLATTER

Some call it bowls, but I will go with platter. It is one of my favorite ways to enjoy a meal, all components served together. Not too long ago “sheet dinners” were a thing. It seemed like every popular food blogger was showcasing them. I never joined that party, because I find it hard to perfectly time the cooking of different items on the same sheet pan. You have to do a lot of rearranging and/or adding ingredients in stages. It never appealed to me. But in this preparation, items are cooked each to their optimal stage, and then simply placed together for the finale.

BULGUR PORK TOMATILLO PLATTER
(from the Bewitching Kitchen, inspired by many sources)

for pork:
1 pork tenderloin, trimmed
2 tablespoons olive oil
2 tablespoons soy sauce
1 tablespoon honey
salt and pepper to taste

for veggies:
1 tablespoon olive oil
6 oz asparagus stalks, cut in pieces
1 yellow or orange bell pepper, sliced thinly
splash of water
salt and pepper to taste

to serve:
1 cup bulgur wheat
tomatillo salsa (store-bought)
blood orange segments (or regular orange)

Marinate the pork. Mix olive oil, soy sauce, honey, salt and pepper, emulsify with a whisk. Cover the pork with it and leave for several hours in the fridge. I like to butterfly the pork tenderloin, but you can leave it whole. Grill the pork to your liking, when butterflied I like to grill it for a total of 16-18 minutes. We do not like pork pink in the center, so do as you prefer.

Cook the bulgur in 2 cups slightly salted water, boil, reduce to simmer, cover and cook for 5 to 10 minutes, until water is absorbed and grain is cooked. Reserve.

Heat the final tablespoon of olive oil in a large non-stick skillet. Add asparagus, bell pepper, water, salt and pepper. Cover, and cook for 2 minutes, then remove the lid, increase the heat and cook until the bell pepper starts to get some golden color.

Assemble the dish. Place the cooked bulgur on a platter, top with the cooked veggies. Cut slices of the grilled pork and arrange on top. Add orange segments, and drizzle a nice amount of tomatillo salsa all over the dish. You can process the salsa in a small food processor to make it smooth, or use it straight from the bottle.

ENJOY!

to print the recipe, click here

Comments: This was one delicious meal! I know you can make your own tomatillo sauce from scratch, but we often use bottled and don’t mind it at all. It makes life easier and there is no compromise of flavor. You can use freekeh, quinoa, couscous, in place of the bulgur. Bulgur cooks so fast, it is a great option. The blood orange gives that burst of freshness, and goes perfectly well with the tomatillo salsa. This will be incorporated in our regular rotation, no doubt. I hope you’ll give it a try!

ONE YEAR AGO: Baking through the blogosphere

TWO YEARS AGO: Chickpea Burgers, Vegan and Delicious

THREE YEARS AGO: Macarons with Ganache Noisette

FOUR YEARS AGO: Quiche with Asparagus and Fennel

FIVE YEARS AGO: Fakebouleh

SIX YEARS AGO: Yellow Squash Soup

SEVEN YEARS AGO: Grilled Chicken with Tamarind and Coconut Glaze

EIGHT YEARS AGO: Chicken-Apricot Skewers

NINE YEARS AGO:  Asparagus Quiche

TEN YEARS AGO: Two-stage Pea and Prosciutto Risotto

ELEVEN YEARS AGO: Mellow Bakers: Corn Bread