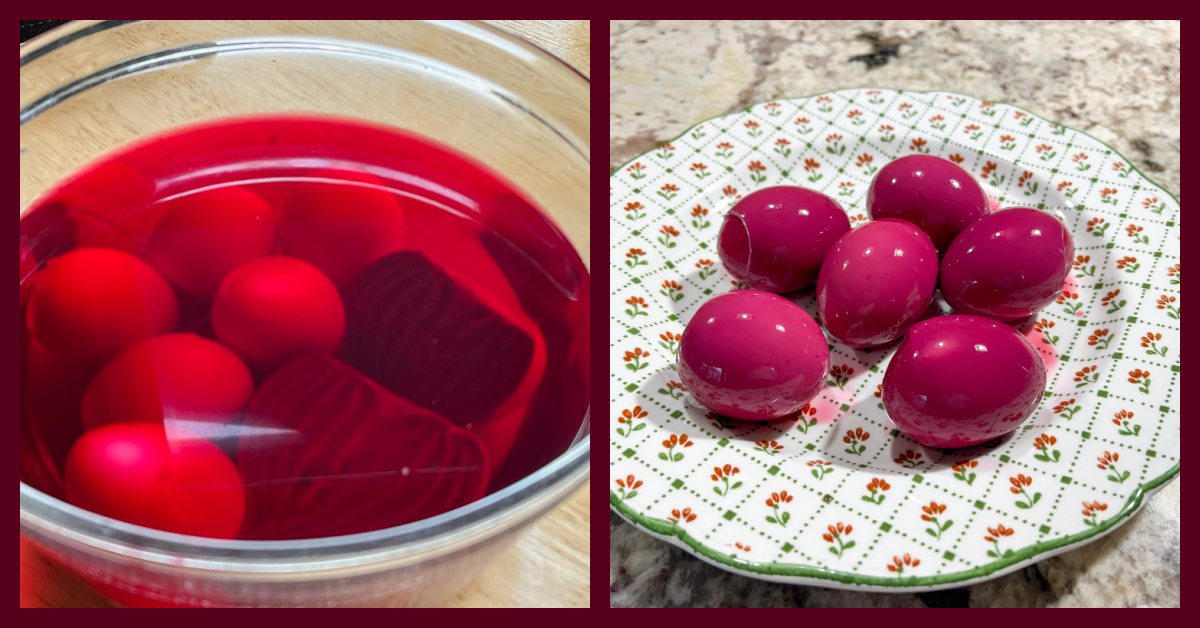
Totally smitten by this recipe, because… color! It was inspired by a version I saw on Molly Yeh’s show Girl Meets Farm, but I made a few modifications.
3 cups of water 1 medium beet, peeled and cut in half 1/4 cup balsamic vinegar 1 tablespoon light brown sugar 2 tsp whole black peppercorns 3/4 cup apple cider vinegar 1 tablespoon salt
6 hard-boiled eggs, peeled 1/4 cup yogurt 1 tablespoons Dijon mustard 1 avocado, mashed Tajin seasoning to taste salt to taste
Put the beet in a medium saucepan and add the water, balsamic vinegar, brown sugar, peppercorns, cider vinegar and salt. Bring to a boil until the sugar is dissolved. Add the peeled boiled eggs to the pan, cover and refrigerate for at least 4 hours, preferably overnight for the most intense color.
Cut the eggs in half, then scoop out the yolks and place them in a medium bowl. Put the egg white halves on a serving platter. To the yolks, mix all other ingredients, making a paste. Adjust with more yogurt if needed. Pipe the mixture into the holes of the egg whites, sprinkle additional Tajin all over.
Comments: Have you ever seen more beautiful color in a boiled egg? Now, the texture of the egg will be slightly different from that of a regular deviled egg due to the pickling step. It is going to be firmer and have a more assertive taste. Phil is not usually too fond of brined/pickled concoctions, but he loved these eggs, so if you are over-the-fence about it, don’t let it scare you. We don’t eat mayonnaise ever, but if you prefer the more authentic version, use it in place of yogurt. These were great as appetizer but also fantastic as my lunch next day. I will be re-visiting this recipe often… Such mesmerizing color!
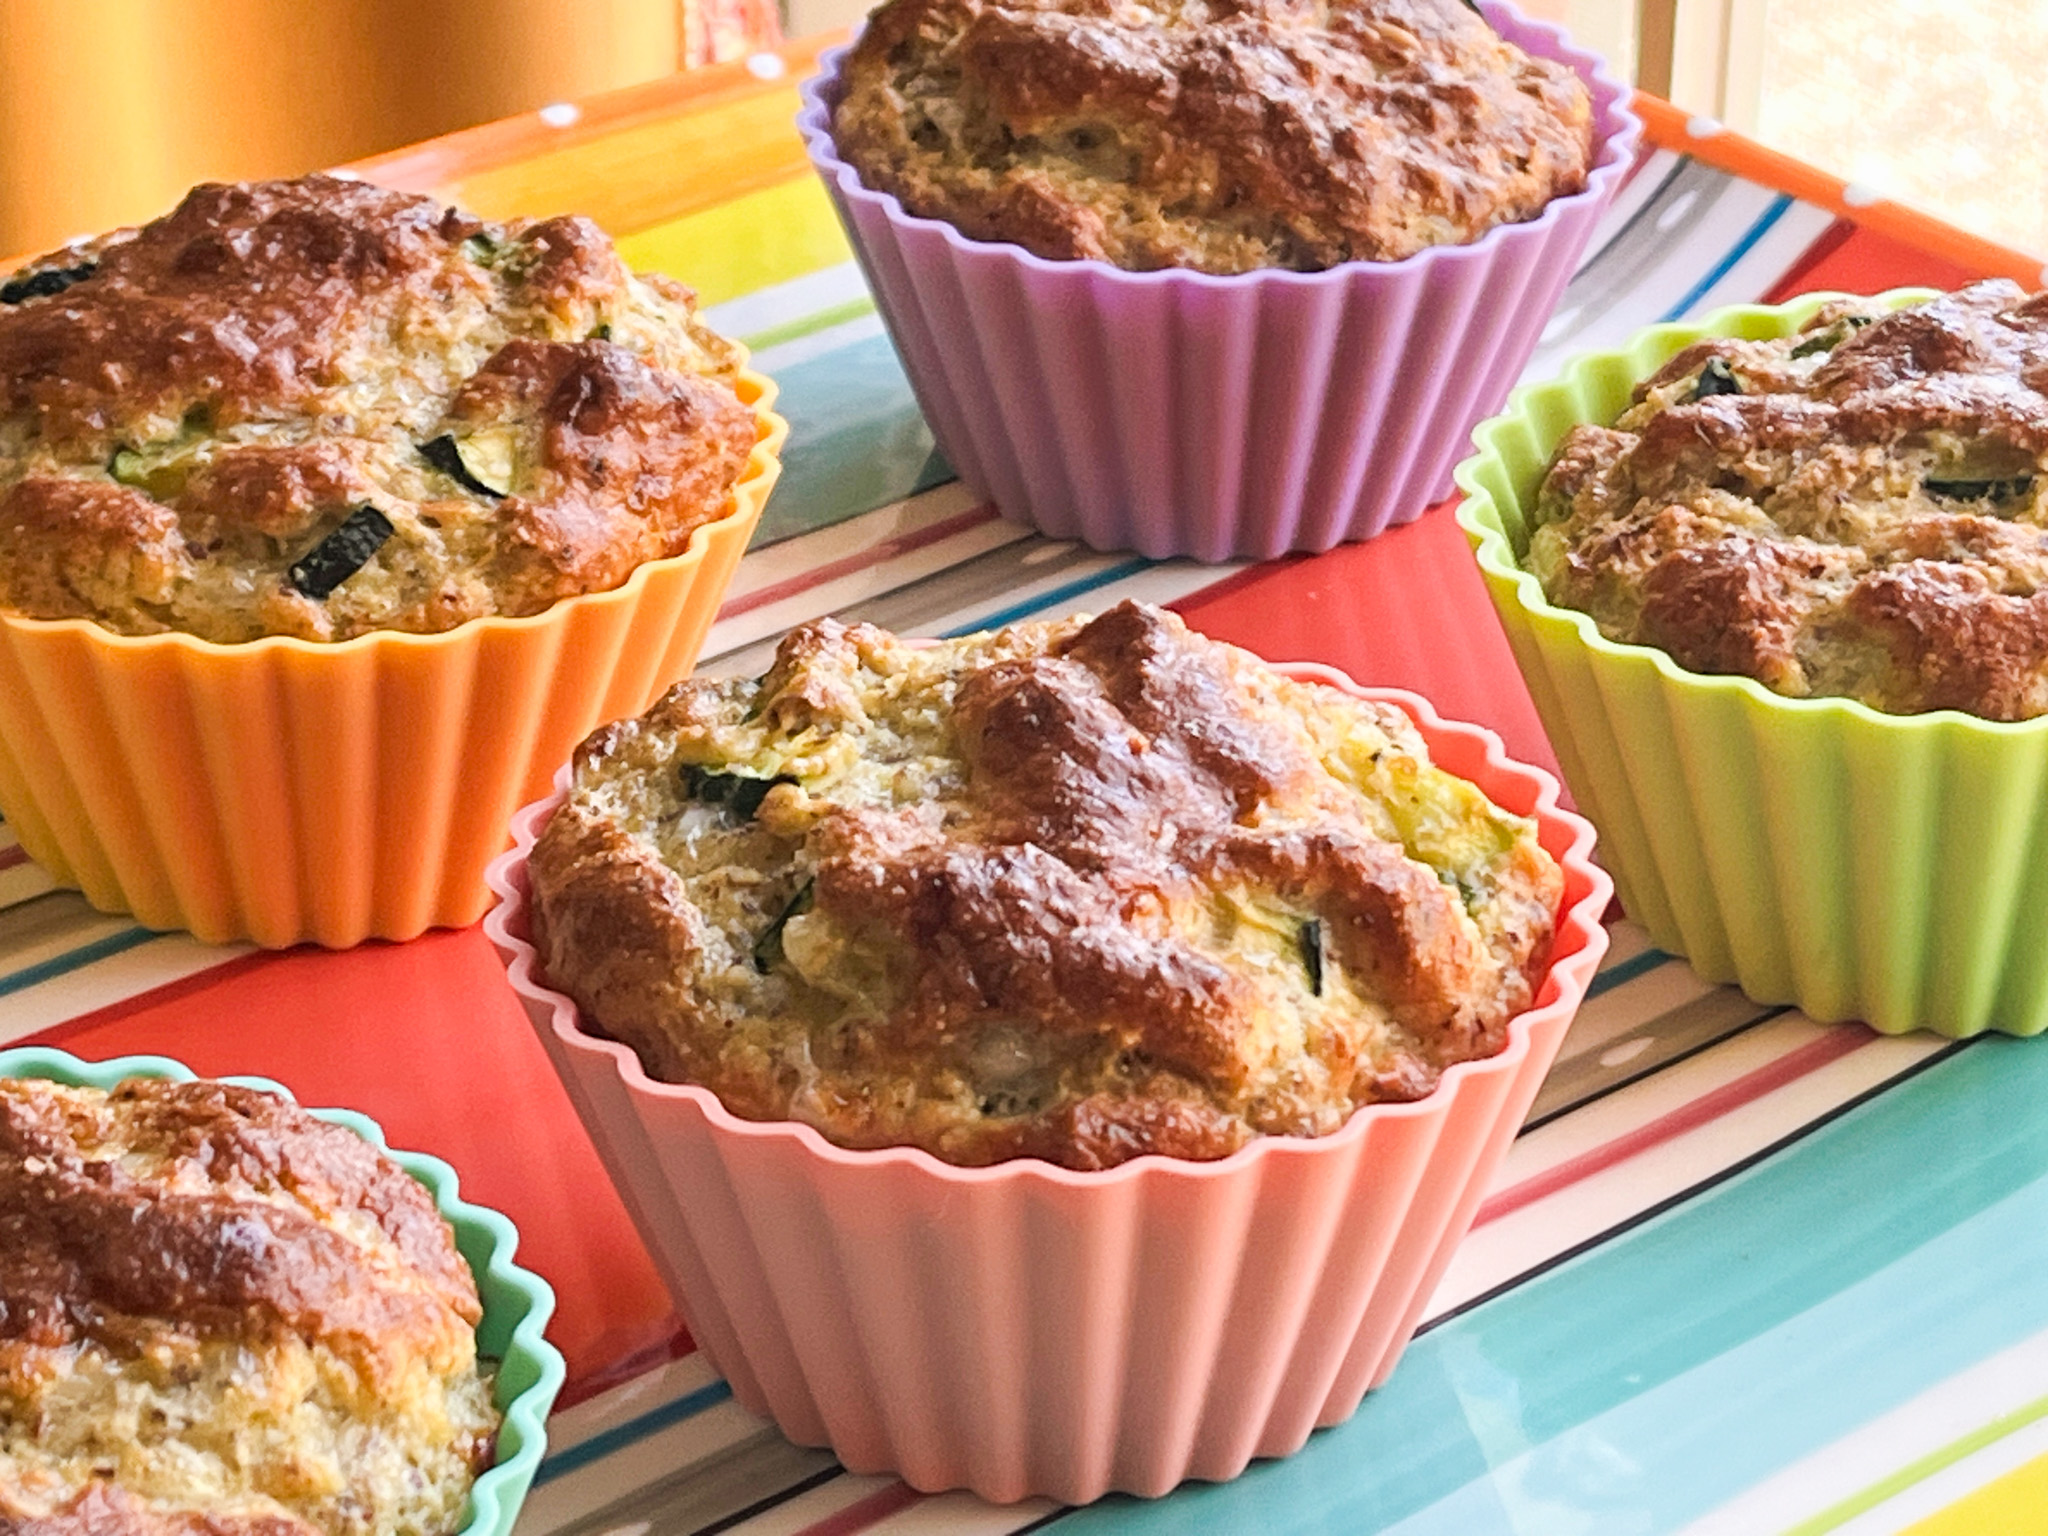
I’ve been following food bloggers for a very long time. Many stopped blogging, but a few of my favorites still hang on over many years. Kalyn is one blogger who passed the 15-year mark (a milestone I am going to hit in a few weeks…). For the most part she focuses on low-carb recipes and everything I cooked from her blog has been delicious. No lack of flavor, no odd textures. Back in 2022 she shared a recipe for zucchini muffins and I finally made them. They delivered all that she promised. No matter your take on amount of carbs, these are great. The almond flour makes them moist and quite tender. I made a few minor changes from her published version.
1 small zucchini 2 tsp olive oil 1 tsp Herbes de Provence salt and black pepper to taste 3/4 cup cottage cheese 1/2 cup coarsely grated Parmesan cheese 8 eggs, well beaten 2 cups almond flour 1/2 cup flaxseed meal 2 T baking powder
Heat oven to 375F.
Cut stem and blossom end off zucchini, then cut in fourths lengthwise. Then on each piece, trim off and discard part of the white center part of zucchini, so you have zucchini strips with skin and about 1/4 inch of white. Cut those pieces into thinner strips, then dice to make small cubes around 1/4 inch square. You will have about 1 + 1/2 cups diced zucchini. Heat olive oil in non-stick frying pan and cook zucchini seasoned with the Herbes de Provence, salt and pepper until it’s softening and just starting to brown, about 3 minutes.
Put cottage cheese in a fine strainer placed in the sink and rinse with cold water, then let it drain well. Beat the eggs until yolks and whites are well-combined.
In a bowl combine the cooked zucchini, cottage cheese, Parmesan cheese and beaten eggs. In a smaller bowl mix almond flour, flax seed meal and baking powder.
Mix the dry ingredients into the wet ingredients, adding only part at a time and stirring each time until the mixture is combined. Fill muffin cups, dividing the mixture evenly among 9 muffins cups. Bake about 27 minutes, or until muffins are firm and slightly browned.
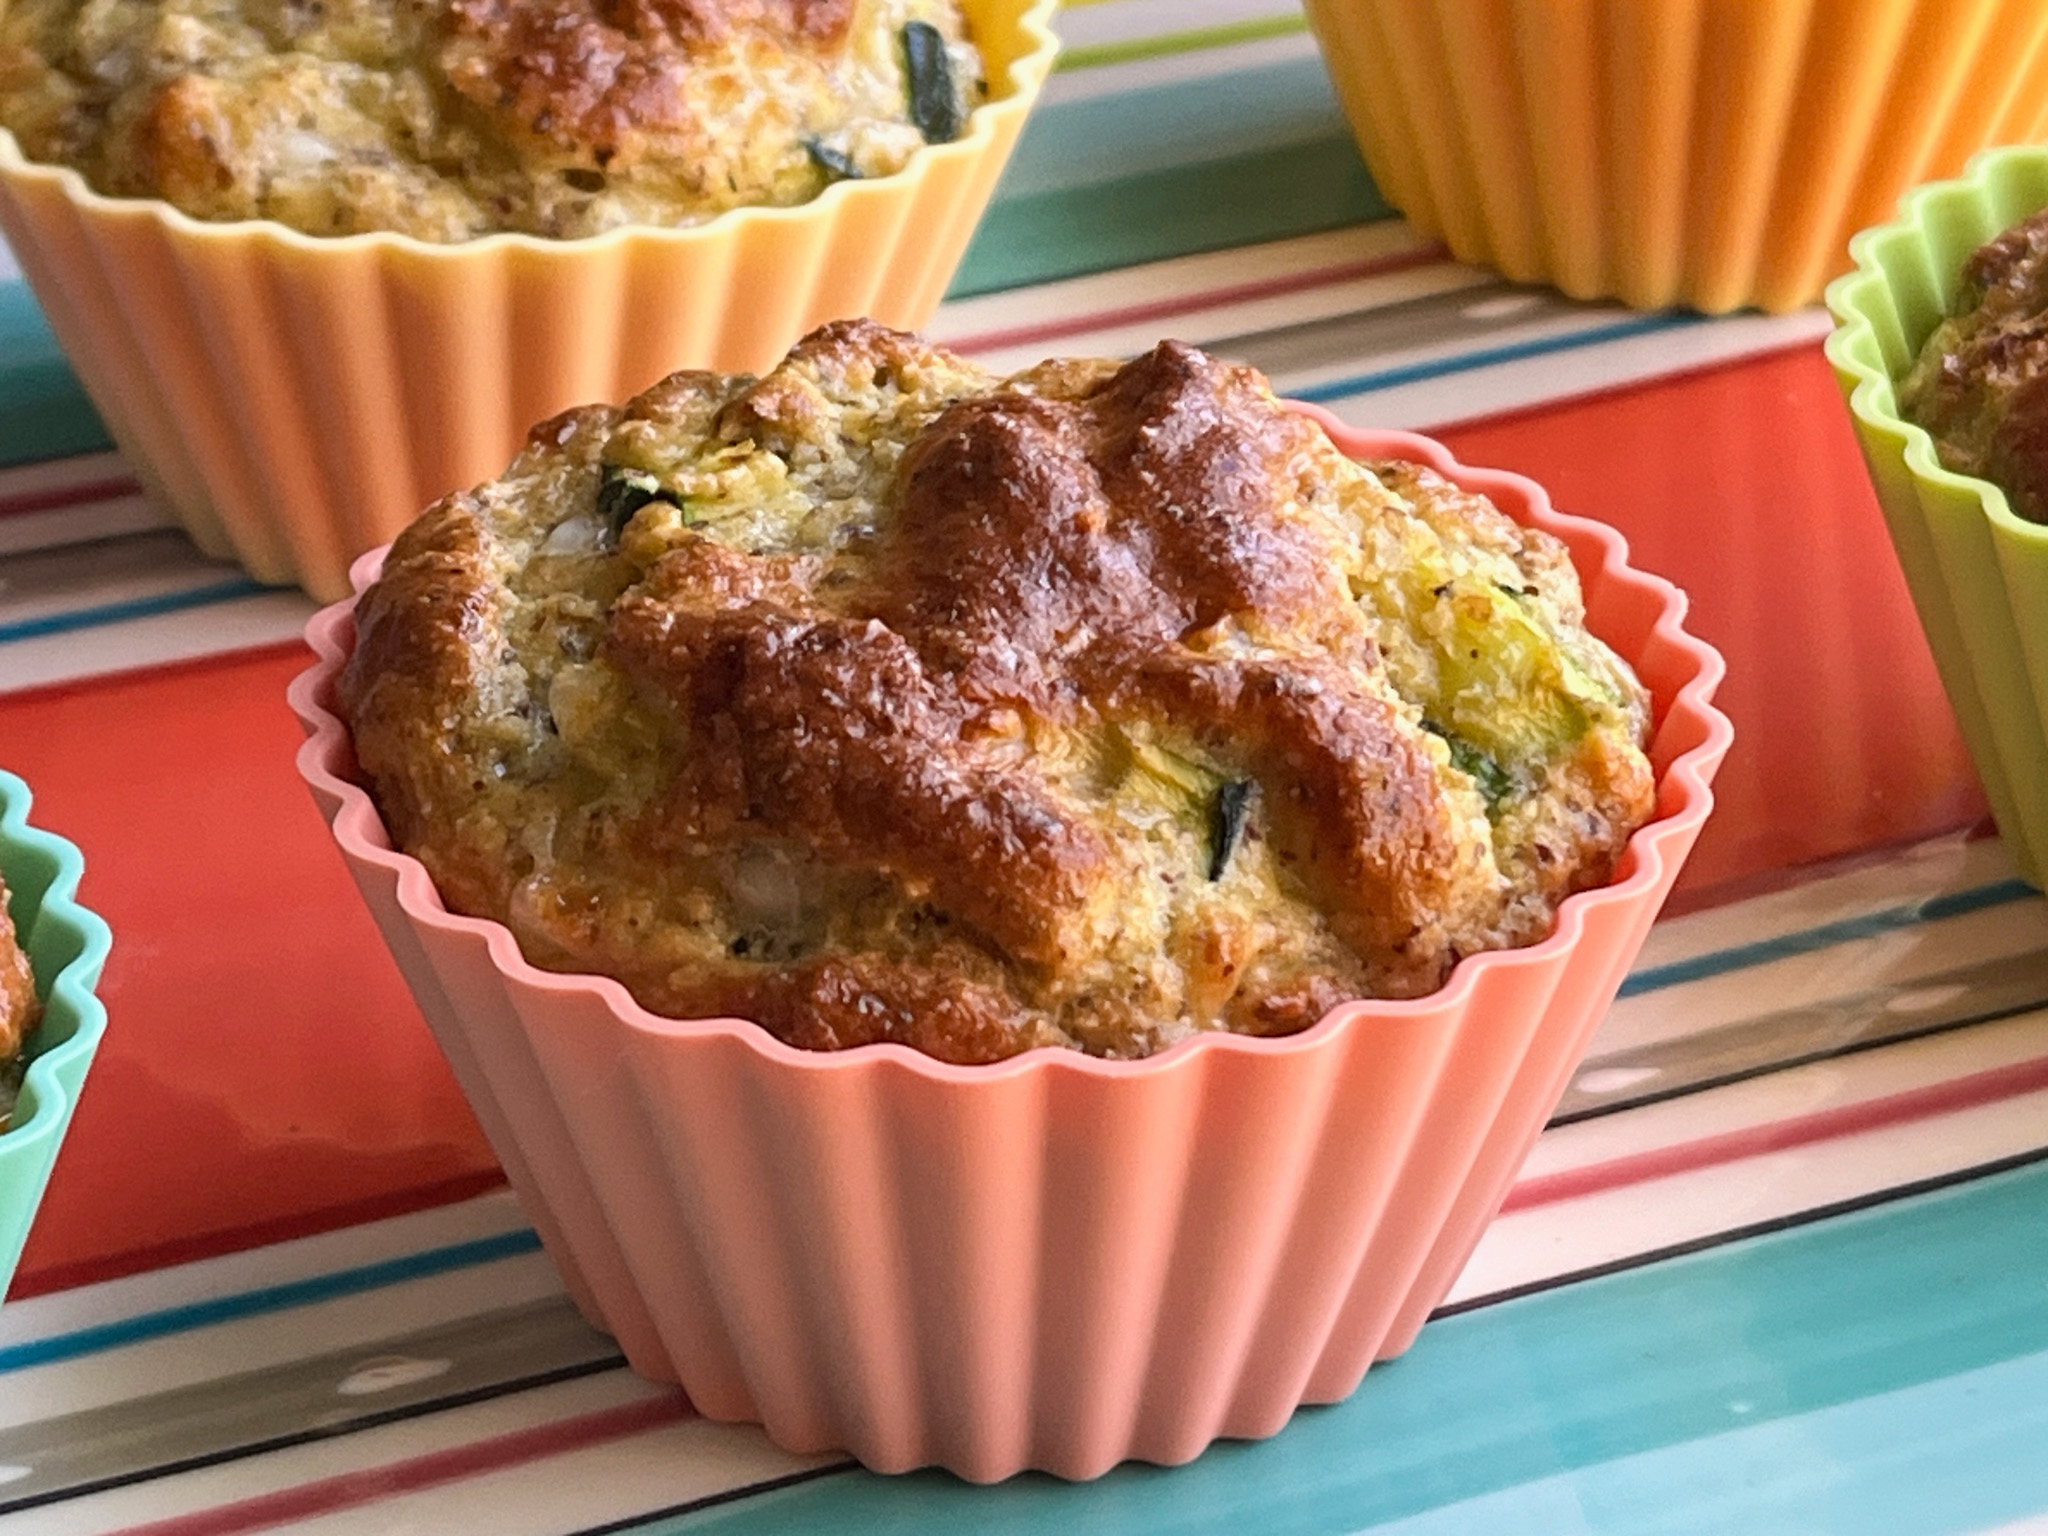
Comments: I omitted feta cheese because I did not have any. I made bigger muffins and instead of twelve I ended up with nine. These jumbo silicone liners are absolutely great! If you don’t have a jumbo muffin pan, they will still stand upright on a regular baking sheet. You can find a link to get them in Kalyn’s blog, I’ve had mine for a while. Love the colors also, as you might imagine…
They would be pretty nice with chunks of feta in the crumb, so consider adding that. The crumb is very delicate and they are perfect for a light lunch. The muffins freeze well, you can microwave them for 1 minute, and enjoy good as fresh.
Kalyn, thank you for yet another great low-carb recipe!
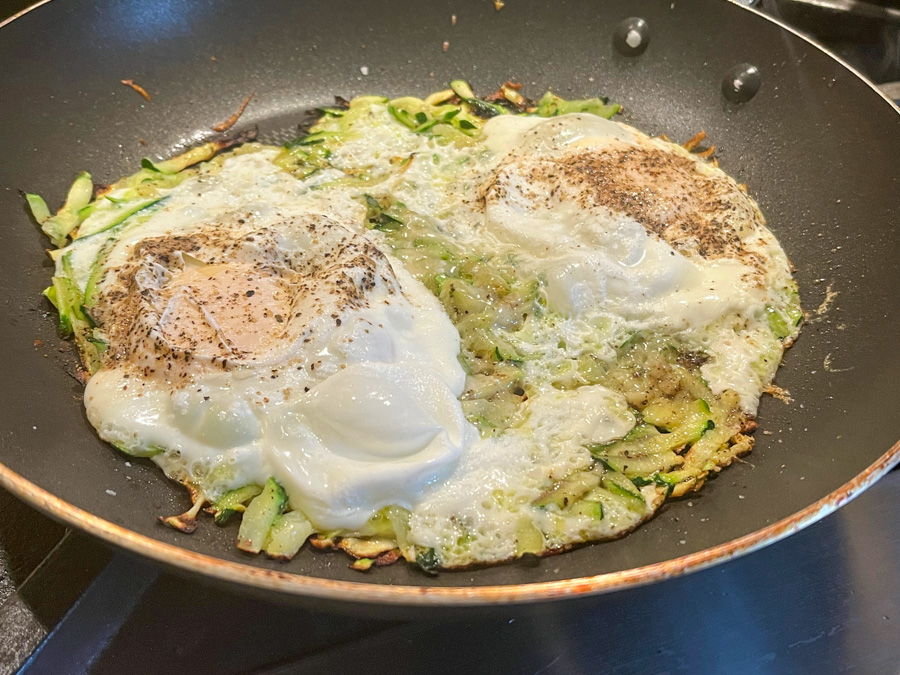
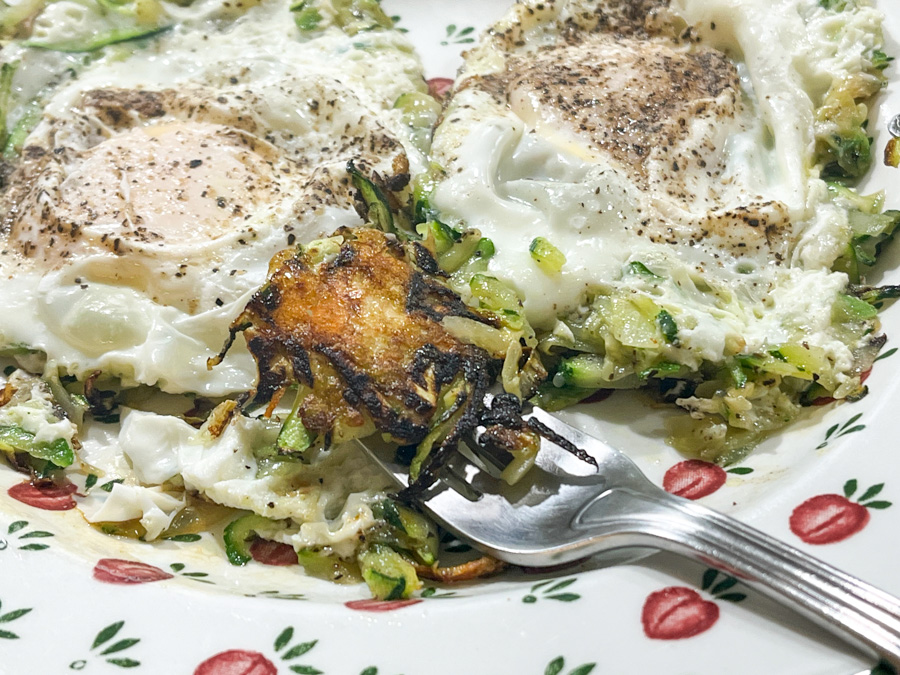
Please don’t judge this recipe by its looks, it would be unfair because it is delicious and so very simple! I eat a lot of eggs, my lunch is often a scrambled egg wrapped in a tortilla, or some type of omelette made by the husband, who is a pro at those. I am always searching for new ways to enjoy my favorite lunch item, and this is my newest obsession.
FETA EGGS WITH ZUCCHINI (slightly modified from Skinnytaste)
2 teaspoons olive oil 1/2 cup grated zucchini, squeezed dry Chili crisp hot sauce, any amount you like (I used this one) 2 large eggs 1 ounce feta cheese ground black pepper to taste salt to taste
In a small nonstick skillet, heat the oil and add the chili crisp sauce and zucchini, sautee on medium heat until the zucchini gets soft and starts to get some color. Add the feta cheese evenly over the zucchini and cook until it starts to melt a bit.
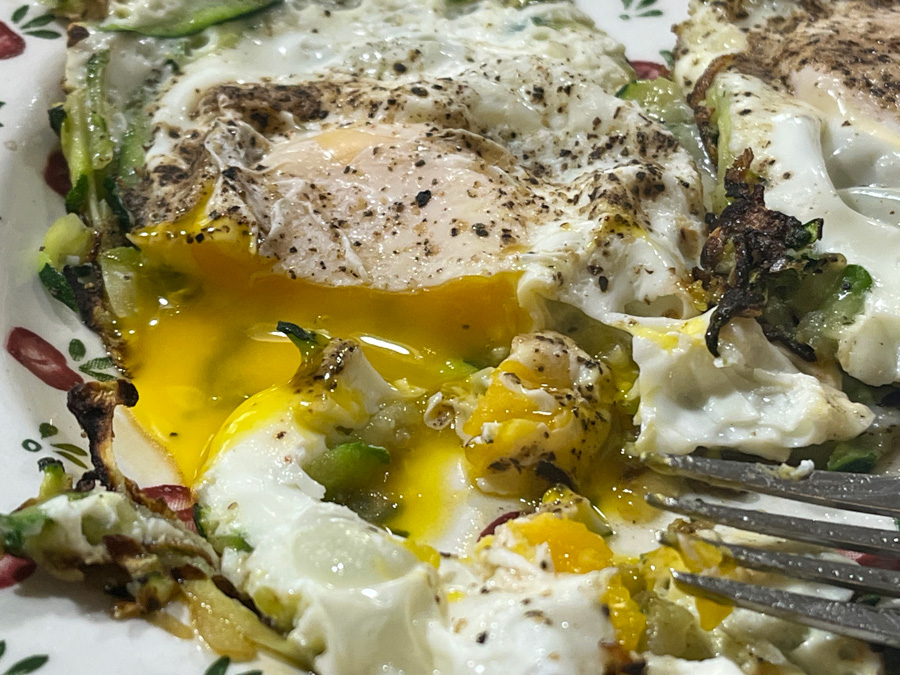
Carefully drop in the eggs, season with salt and pepper and cover. Cook on low until the yolks are runny and set, or cooked to your liking. Use a silicone spatula to transfer the eggs to your plate.
Comments: I have made it with other cheeses (Cotija and goat cheese), and they all work great. It is such a nice way to enjoy eggs, a slice of sourdough is the perfect way to deliver it to your mouth, but if you want to keep the carb index low, just enjoy the layer of zucchini to give it texture. It gets all crispy and cheesy underneath the egg, giving it that bit of texture that the fried egg by itself lacks. If you don’t have the chili crisp sauce, just use red pepper flakes.
If you love eggs, try this preparation. I imagine it could work well with finely grated carrots, or even some shredded cabbage in place of the zucchini. Worth playing with!
We’ve had quite a few days with warm temperatures and that undeniable vibe of spring. This is a perfect light meal for the upcoming season. Simple, refreshing, full of flavors and textures. Make the salsa a few hours ahead if you have a chance.
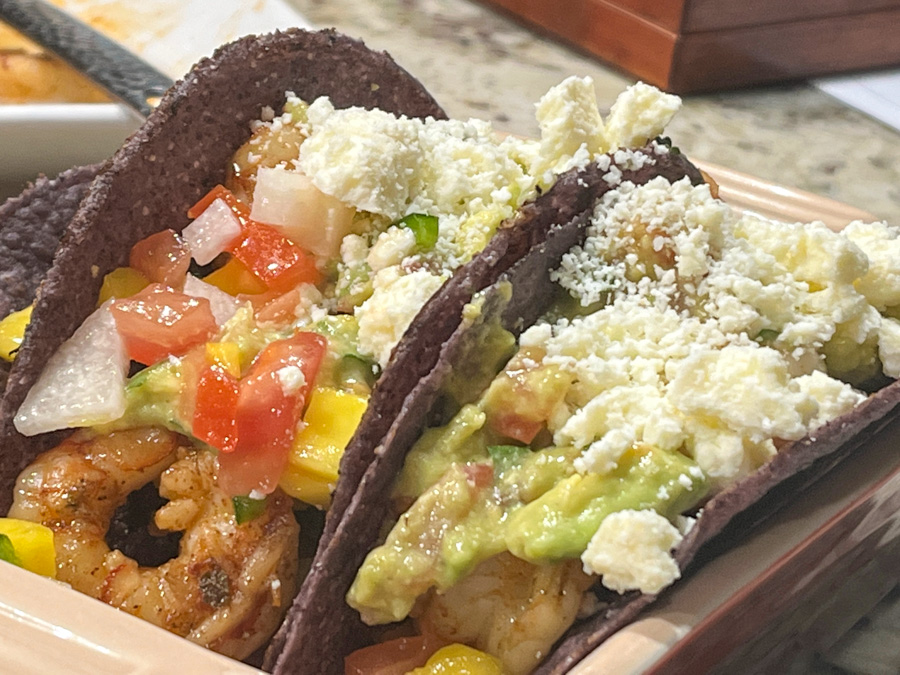
SHRIMP TACOS WITH JICAMA-MANGO SALSA (from the Bewitching Kitchen)
for the salsa: 1 mango, peeled and cut into cubes half a jicama, peeled and cut into small dice 2 Roma tomatoes, diced 1 large jalapeños, seeded, deveined and finely minced juice of half a lime drizzle of olive oil salt and pepper to taste
for the shrimp: 1 pound large shrimp, peeled and deveined 1 quart water 1/4 cup salt 1/4 cup sugar juice of half a lime 1 tablespoon grape seed oil 2 teaspoons chipotle chili powder 1 teaspoon oregano 1/4 teaspoon ground cumin salt and pepper to taste (go easy on salt, as the shrimp will be brined)
to serve: tortillas, taco shells, guacamole, Cotija cheese
For mango salsa, combine mango, jicama, tomatoes, and jalapeño in a bowl. Add the lime juice, olive oil, and season to taste with salt and pepper. Refrigerate for a couple of yours if you have the time.
Prepare a mild brining solution mixing 1 quart water with 1/4 cup kosher salt and 1/4 cup sugar, plus the juice of half a lemon. Submerge the shrimp in the solution for about 20 minutes. Remove shrimp from brine, rinse briefly and dry on paper towels.
In a small bowl, mix together chipotle, oregano, cumin, salt and pepper until evenly mixed. Sprinkle over shrimp, rubbing on both sides. Heat the oil on a large nonstick skillet, when really hot add the seasoned shrimp in a single layer. Cook until shrimp are opaque and sides are browned. Cut the cooked shrimp into pieces for serving, if you like, or leave them whole.
Arrange the shrimp inside tacos or over tortillas, spoon the salsa, and if desired, add guacamole and Cotija cheese.
Comments: This salsa is a winner. Make it, serve it with any kind of protein you like. I admit that prepping jicama is not my favorite pass time, but it was worth it. As always, most important thing is to not overcook the shrimp, but the brining step helps with the texture, and will allow a little more room for error in that step. I can hardly wait to bring this back to our table!
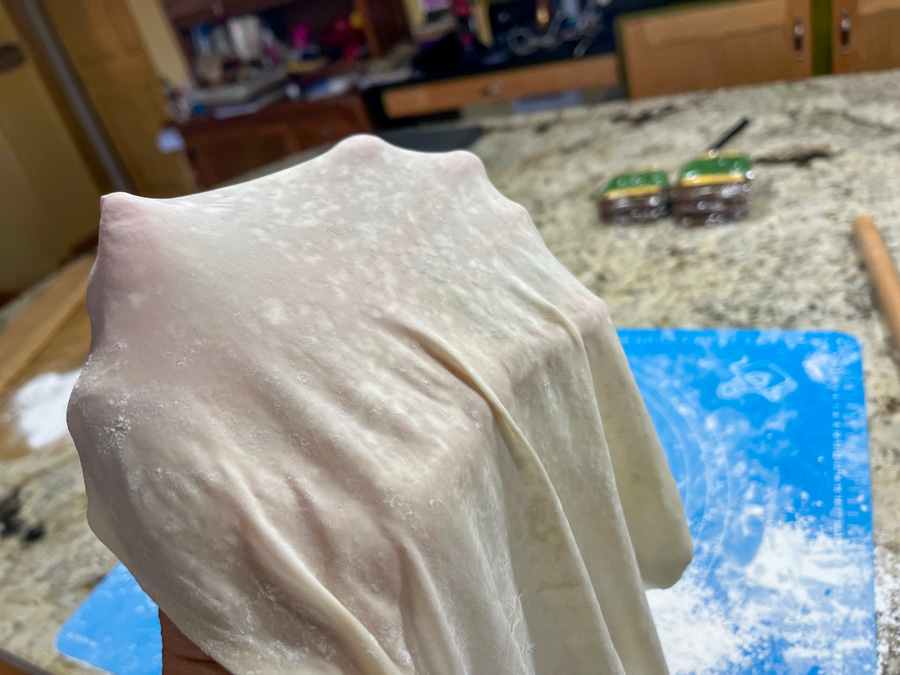
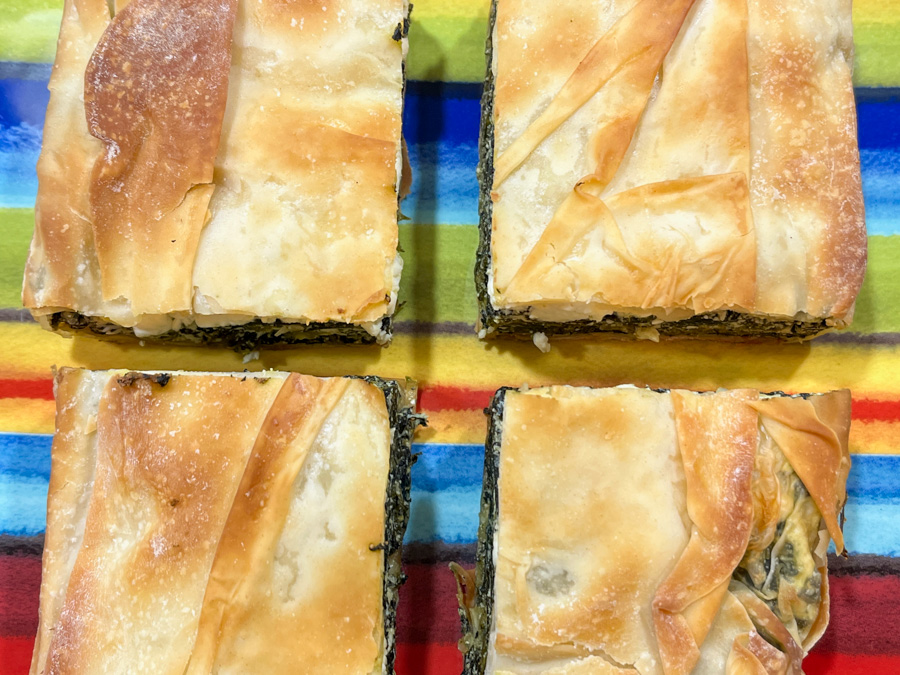
Have I totally lost my mind? No, not answering that. It turns out that I’ve always wanted to try making phyllo from scratch. When I was preparing for the Great American Baking Show, I had this annoying suspicion that it could be a technical challenge, but once you get accepted there is absolutely NO WAY to try to bake anything apart from the required, known bakes (signature and showstopper for every single episode). So I put it on the back burner ever since. But my friend Caro sent me the perfect rolling pin for the job, and it was the little nudge I needed. I tell you one thing, making phyllo is not for sissies. But I managed to have quite a bit of fun that weekend…
353 grams all purpose flour (3 cups) 1 teaspoon kosher salt 1 teaspoon baking powder 1 tablespoon olive oil 2 teaspoons white distilled vinegar 3/4 cup – 15 tablespoons warm water corn starch – to roll out and dust the dough
Make the dough by adding all ingredients and HALF the amount of water to a KitchenAid type mixer fitted with the dough hook.
Knead for a few minutes, then start adding the other half volume of the water, tablespoon by tablespoon until the dough starts to clean the sides of the bowl. Once a smooth dough forms, remove it from the machine, knead it by hand for a couple of minutes, form a smooth ball and place in a large oiled bowl for one hour.
Divide the dough into 20 equal pieces (mine were 28g each). Place each little ball over a parchment covered baking sheet. Leave for one hour at room temperature.
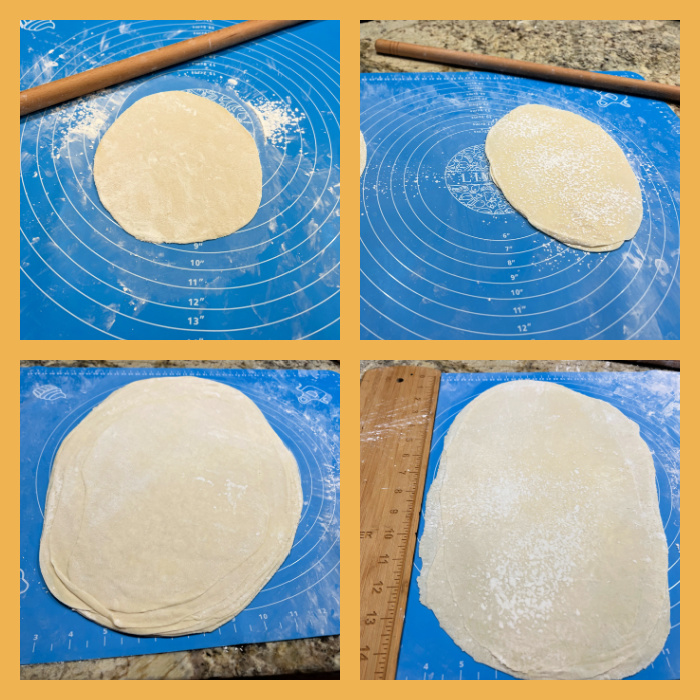
Start working the dough, first one little ball at a time, following her instructions on the video. My main change was to work with FOUR sheets at a time instead of TEN. I had too much trouble keeping them easier to separate, and decided ten was just too much for a first time. Four sheets at a time worked very nicely. That required 5 full cycles of rolling out to work on all 20 balls of dough. Another change I did was to separate each two sheets of phyllo fully rolled out with parchment paper, because I was afraid keeping them all together would result in severe sticking. I kept them in the fridge for a couple of hours before proceeding with the spanakopita and the crackers.
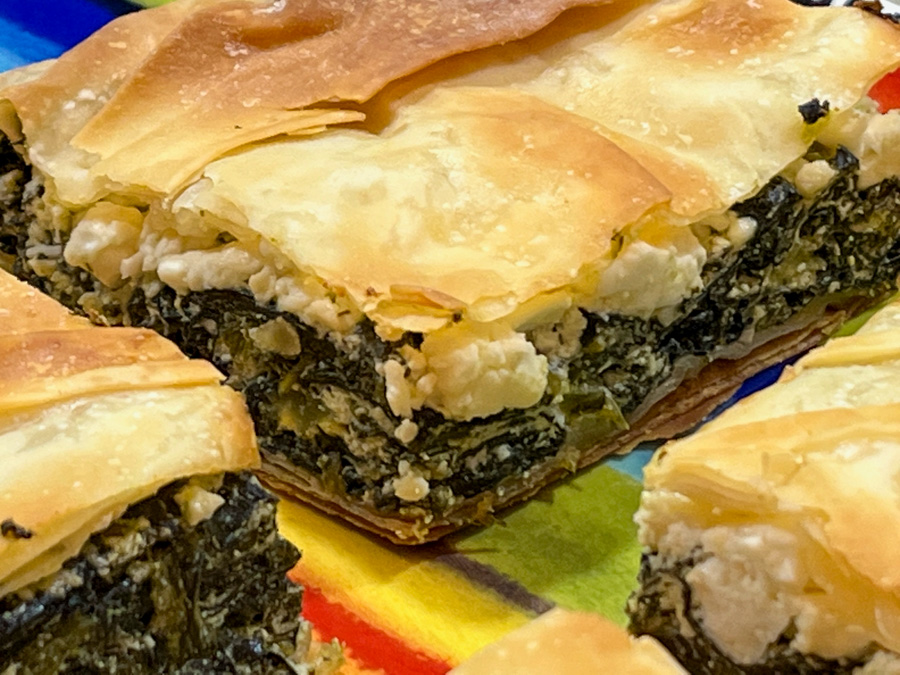
SPANAKOPITA (adapted from several sources)
8 sheets of phyllo dough (if using commercial you probably get by with 6) 500 g spinach (preferably not baby spinach) 1 tablespoon olive oil 2 ribs of celery, finely diced 1 shallot, finely diced salt and pepper to taste nutmeg to taste 200 g full-fat ricotta cheese 100 g feta cheese, crumbled in large pieces 1 egg, beaten olive oil spray
Boil water in a very large pan, add the spinach and press it down with a wooden spoon until the leaves wilt, 30 seconds or less. Drain into a large colander and place under running cold water to cool quickly. Drain well – squeeze out any excess water by pressing the spinach down with the wooden spoon, then squeezing with your hands. Using kitchen paper, pat the spinach dry into a compact shape, lay it on a board and roughly chop, then set aside.
Heat the olive oil in a large non-stick frying pan. Add the shallot, celery, and fry over a high-ish heat for 3-4 mins, stirring often, until softened and just starting to brown. Lower the heat, add the chopped spinach and stir for a few minutes to finish drying. Season with salt, pepper and nutmeg, and leave to cool.
Heat oven to 375F and put a baking sheet in to heat up. In a bowl, stir the ricotta into the beaten egg and season with pepper and a pinch of salt.
Lightly oil an 8 inch square baking pan. Lay one or two filo pastry sheets over the pan, spray with olive oil, and att two more, leaving a nice overhang on all sides. The pan should be completely covered, with a pastry overhang all round. Repeat the criss-cross layering with 2 more oiled filo sheets.
Stir the ricotta mixture into the spinach, then crumble in the feta. Lightly stir it in so you leave a few chunky pieces. Spoon this filling into the pan and level it. Bring the pastry sides up and over the filling, then brush a little oil over them. Add one or two more sheets sprayed with olive oil to top the spanakopita.
Bake for 30 to 35 mins until the pastry is crisp and golden. Leave to cool for 10-15 mins. Carefully remove from the pan, slice and serve.
Comments: The most “traditional” way to roll out phyllo is going for a very large and thin sheet, patiently rolling and stretching the dough over a lightly floured cloth. I watched videos, read articles, and decided to go for a ‘beginner’s friendly” method, in which you divide the dough in small pieces and roll them thin, but to a smaller final size. The other change is that the sheets are stacked as you roll. The video advised to stack 10 sheets but I could not make it work. I went for 4 sheets at a time, and rolled them to 9 x 13 inches. Don’t expect to get phyllo as thin as the one you can buy at the store, particularly not on your first time. But I was pretty happy with the overall outcome. Very rewarding!
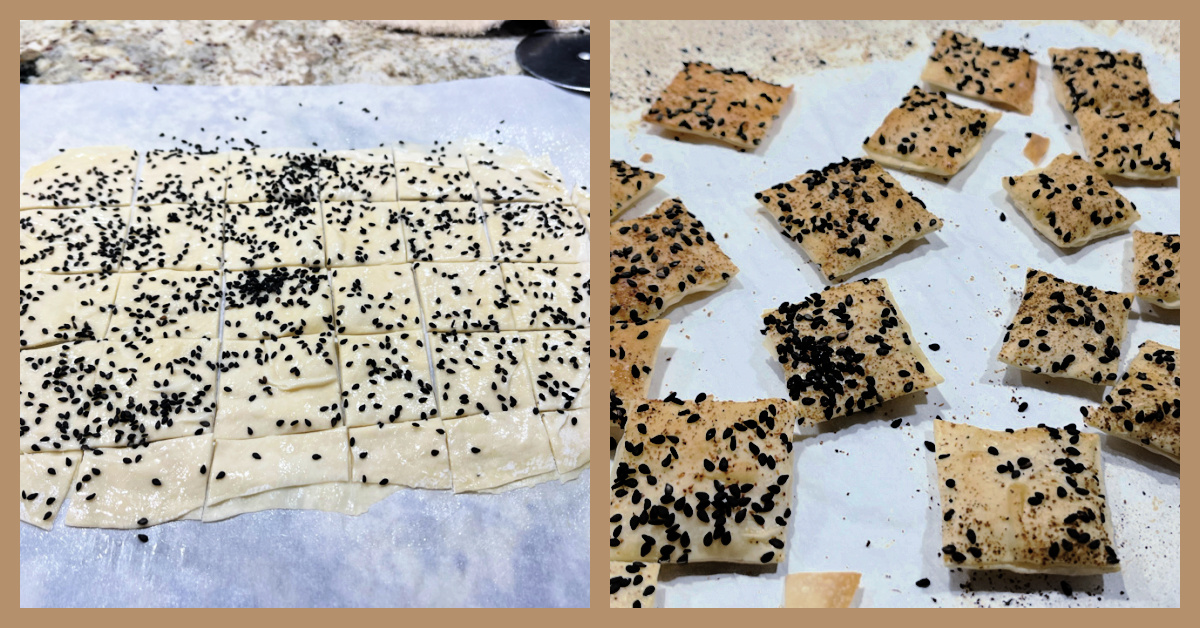
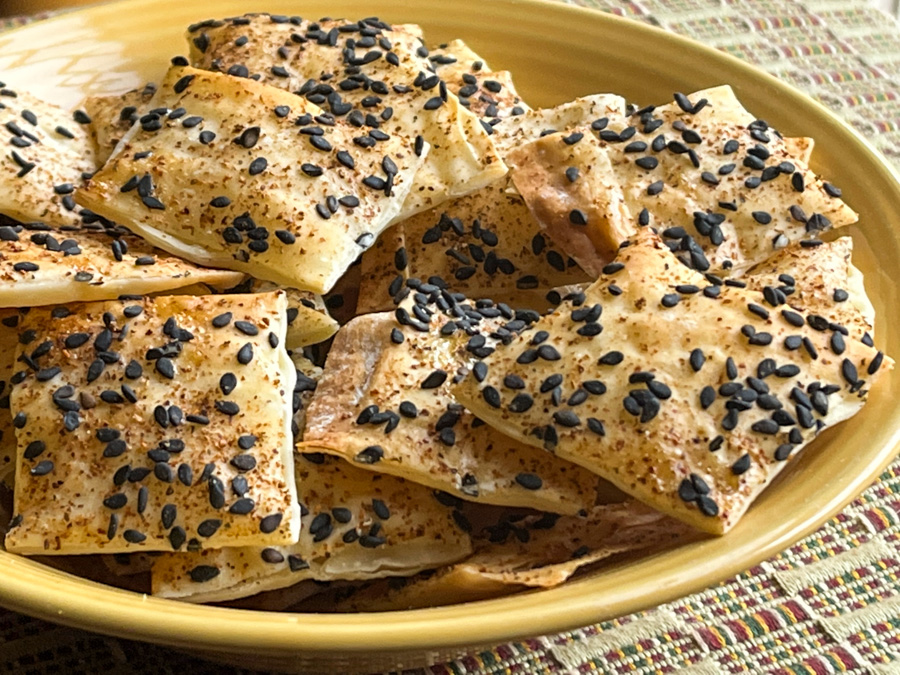
I also made crackers, using 4 of my precious sheets of home-made phyllo… Super simple. Stack the four sheets with a good spray of olive oil over each one. When you place the last sheet on top, brush some beaten egg white and add the toppings of your choice, so they will glue to the phyllo. I used black sesame seeds and Southwest spice from Penzey’s. Cut with a pizza roller and bake.
The crackers were absolutely delicious, and hubby thought I was a genius, crackers worth it of a Paul Hollywood handshake (allow me to dream, as I totally missed my chance, will you?)
I cannot lie to you, making phyllo from scratch is quite involved. I’ve found cornstarch in amazing places over the next couple of days. Things got wild, my friends… But how else can you have spanakopita made TOTALLY from scratch?
Caro, thanks so much for the thoughtful gift! I intend to make phyllo again, might even try the traditional approach and get a table cleared for the next adventure…