June 2006: crossing the finish line in my first (and only) marathon…
March, 2009: cutting a slice of my first (but not only) successful sourdough loaf, and marveling at the open, airy crumb…
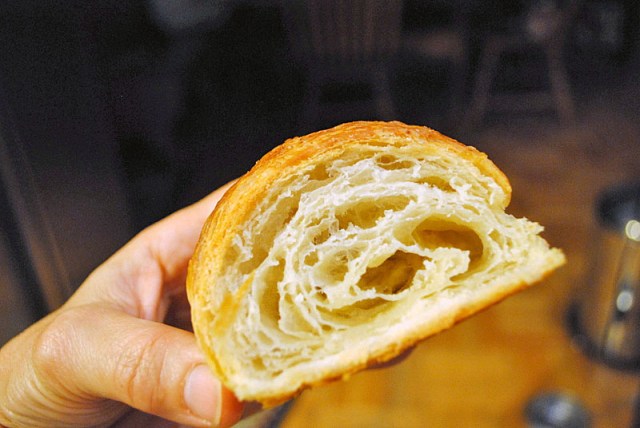
April 2012: making croissants that finally brought an important bit of Paris to our home!

I am not sure how many times I’ve tried to make croissants, perhaps five or six, but each and every occasion left me disappointed and frustrated. I didn’t throw in the towel, though, and you may remember that I included croissants as one of my cooking projects for this year. Since January, I assembled all the recipes, tips (thanks once more, Gary!), and blog posts on the subject, finally settling on the recipe from Peter Reinhart‘s Artisan Breads Every Day. I couldn’t be happier, aren’t they cute?

Without further ado, here’s the full recipe, with photos that walk you through the process.
CROISSANTS
(published with permission from Peter Reinhart,
recipe from his book Artisan Bread Every Day)
for the “detrempe”
4 + 2/3 cup all purpose flour (21 oz / 595 g)
1 + 3/4 tsp. salt (0.4 oz / 11 g)
1/4 cup sugar (2 oz / 56.5 g)
1 Tbs instant yeast (0.33 oz / 9 g)
3/4 cup + 2 Tbs milk (7 oz / 198 g)
1 cup cool water (8 oz / 227 g)
2 Tbs melted butter (1 oz / 28.5 g)
for the butter block:
1 + 1/2 cups cold butter (12 oz / 340 g)
2 Tbs flour (0.57 oz / 16 g)
Make the dough (detempre) by whisking the flour, salt, sugar and yeast in a mixing bowl. Pour in the milk and water, then add the butter. Mix with the paddle attachment on the lowest speed for about 1 minute, stop, and check that the dough is shaggy. It should not be too firm as you’d expect from a bread dough. Adjust with a little water or a little flour if too wet. Mix again for a couple of minutes, transfer to a board, form into a ball and refrigerate overnight (or up to 2 days) inside an oiled bowl.
Make the butter block on baking day. Cut the cold butter in 16 pieces, and place them in the bowl of an electric mixer together with the flour. Use the paddle attachment for 1 minute to incorporate the flour into the butter, without allowing it to melt. Transfer the butter/flour to a piece of parchment paper (spray the surface of the paper with a little oil), and form into a 6 x 6 in square, about 1/2 inch thick. Be as precise as you can with the measurement, and try to form it into a neat, straight-edged little package. Cover the square with a plastic wrap and refrigerate for 10 minutes (or longer, if convenient).
Transfer the dough from the fridge to a floured work surface, sprinkle more flour on top, and roll the dough to a rectangle 12.5 inches wide and 6.5 inches long. Square off the edges, try to keep it all straight. The dough should be about 1/2 inch thick. Place the butter block on the left side of the rolled out dough, check that only a border of 1/4 inch is left between the butter and the edge of the dough. If necessary, roll the dough out a little more. Lift the right side of the dough and cover the butter, stretch the dough to cover it all well, and pinch the edges to fully enclose the butter.
Lift each side of the package of dough/butter gently, toss more flour underneath, flour the top again, and gently tap the surface of the package with a rolling pin, to distribute the butter evenly into the four corners. Roll the dough to a rectangle 16 inches wide and 9 inches long. Again you should aim for a 1/2 inch thick dough. Square off the edges as nicely as possible, and fold the dough as a letter in an envelope: fold the right one-third to the left, and the left one-third of the dough to the right. Transfer the dough to a floured baking sheet, and place in the fridge for 20 minutes.
Place the dough again on a floured surface, with the open seam facing away from you and the closed side facing you. Gently roll the dough again to the same dimensions (16 x 9 inches). Fold again in thirds. Let it rest in the fridge for another 20 minutes, and repeat this exact rolling and folding procedure one more time. Let the dough rest 20 minutes more, and get ready for the final rolling and cutting of croissants.
If working the full dough at once, you will need to roll it as a rectangle 24 to 28 inches wide, and 9 inches long. If you prefer, cut the dough in half, and roll it to 12 to 14 inches wide, 9 inches long. Once the dough is fully rolled (about 1/4 inch thick), make marks starting at the left side of the bottom part of the dough, placing a small notch at 4-inch intervals. Repeat the same on the top part of the dough, but start at the 2 inch mark from the left. Use a pizza cutter to cut a line from the left bottom corner of the dough to first notch on the top part of the dough (at the 2 inch point). Go on connecting the marks to cut triangles. When all pieces are separated, cut a 1 inch notch into the bottom center of the triangle base of each piece (that helps the croissant get its curved shape). Spread the bottom as wide as the notch will allow to create wing-like flaps. Start with the flaps and begin rolling up the dough as you would roll a rug. Stretch the pointed end of the triangle as you roll, trying to elongate the dough. Make sure the end of the croissant stretches all the way under it, so that it remains rolled as it rises and bakes.
Place the croissants on a baking sheet lined with parchment paper, and let them rise at room temperature for 2 and a half to 3 hours. Brush the surface with egg wash if desired. Heat the oven to 450 F F (232 C), place the croissants inside, and reduce the temperature immediately to 375 F (190 C). Bake for 15 minutes, rotate the pans, and bake for an additional 15 to 20 minutes, until golden brown on all sides.
Allow the croissants to cool on a rack for 45 minutes to 1 hour.
ENJOY!
to print the recipe, click here
Now, allow me to show you a few photos of the process, which seems intimidating at first, but if you pay attention to a few details, it will be quite doable.
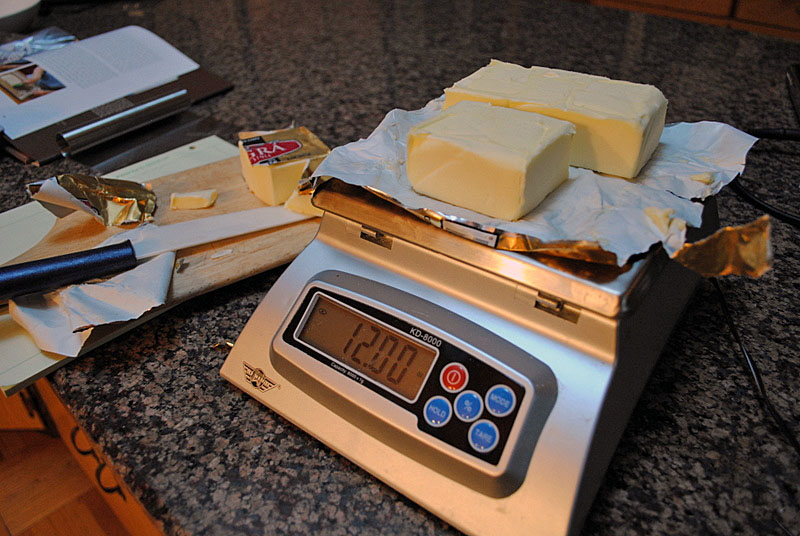
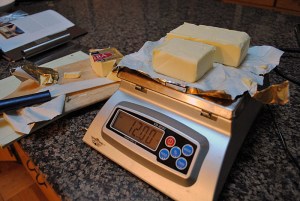 Use good quality butter, I recommend getting Plugra if you can find it, and measure the amount with a scale, no eye-balling here. We are talking croissants, let’s make them pretty! 😉
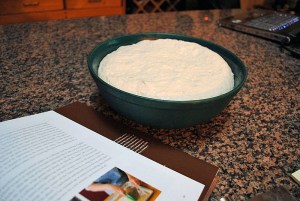
After its rest in the fridge overnight, the dough will have risen quite a bit, and will be all puffy and nice to work with. Working with it straight from the fridge will make it much easier to handle.

Be as precise as possible with the measurement, each step matters, a little liberty here, a little liberty there, and your croissants will suffer. Let’s make them pretty! 😉
 The dough is rolled out and the butter square is placed on one side, then all you have to do is fold the dough over it and pinch the edges, enclosing the butter completely inside the dough.
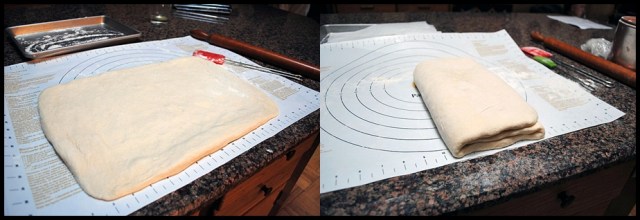 And the fun begins, rolling the dough to the right dimension (16 x 9 inch rectangle), then folding it in three, like a letter to be mailed to a dear long-distance friend… The package goes to rest in the fridge for 20 to 30 minutes, and the whole thing is repeated two more times (two additional series of rolling and folding in three). Please notice my rolling pin, a gift Phil gave me for my Birthday. It is an antique piece that handles any dough extremely well. Plus, I find it very beautiful!


If you have a loooooong surface to roll the final dough out, go ahead and do the whole thing in one step. I found it easier to cut the dough in half, roll it, mark the spots to cut the triangles, and form the croissants from that half. Place them on a baking sheet for the final rise, and move to the second portion of the dough. Easy as pie! One telling sign of the quality of your dough is how much can you stretch it without tearing it. In my previous attempts, I could barely stretch it at all, but this recipe made the most elastic and forgiving dough ever!
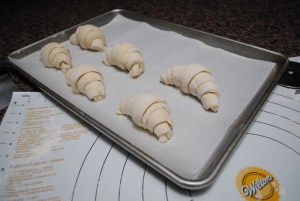
Once they rise for a couple of hours, they will be noticeably bigger and plumper.

Brush them with egg wash (I think it makes for beautiful croissants, with a nice shinny surface), and place in the oven, resisting the temptation to peek too often. A little peek every once in a while is ok, particularly if you are a food blogger overly excited by your first good looking batch of croissants and anxious to get just one more photo…

And then, once they are all baked, allow them to cool for 45 minutes minimum. One full hour is even better, so that the butter sets in and gives you the best texture as you bite through the croissant.

In the end, all your hard work will be rewarded, I promise!
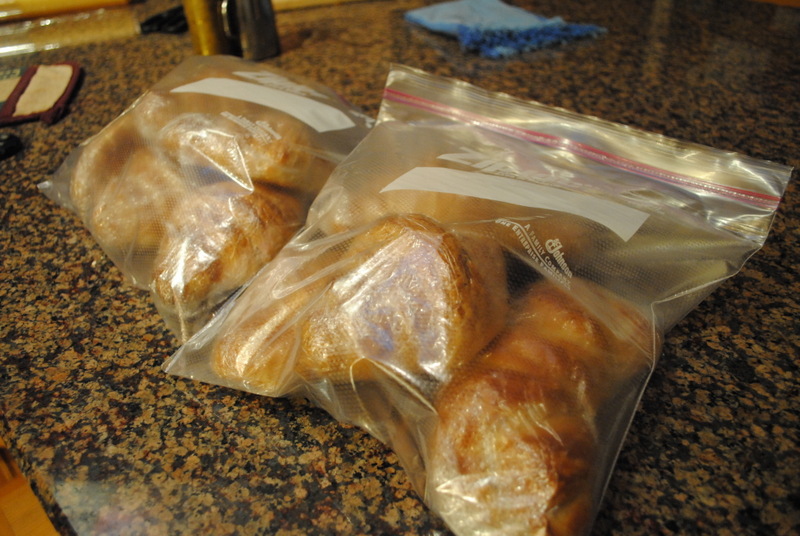
With all that in mind, is it feasible to have freshly baked croissants for breakfast? Honestly, I find that a bit tricky. Even if you retard the final proofing in the fridge, you will still have to let them come to room temperature to bake, and that will take about 1 hour, half an hour more to bake, and the gruesome wait of 45 minutes to attack them. Maybe it would be possible to bake a batch for an 11am brunch, but other than that, I think it’s much better to bake them, let them cool, and wrap each one individually to freeze. You can see here the results of my labor, ready to be enjoyed in the near future. Once you wake up with that unstoppable urge to have a warm-from-the-oven croissant, simply unwrap them, leave at room temperature 10 minutes, and place in a 300 F oven for 5 minutes. Voila’, mes amis: great croissants whenever you feel like it!

I am grateful to Peter Reinhart for writing a great tutorial for croissants in his book, and of course for allowing me to publish his recipe on my blog. Thank you!
I am submitting this post to Susan’s Yeastpotting event…
ONE YEAR AGO: Maple-Oatmeal Sourdough Bread
TWO YEARS AGO: Pork Trinity: Coffee, Mushrooms, and Curry