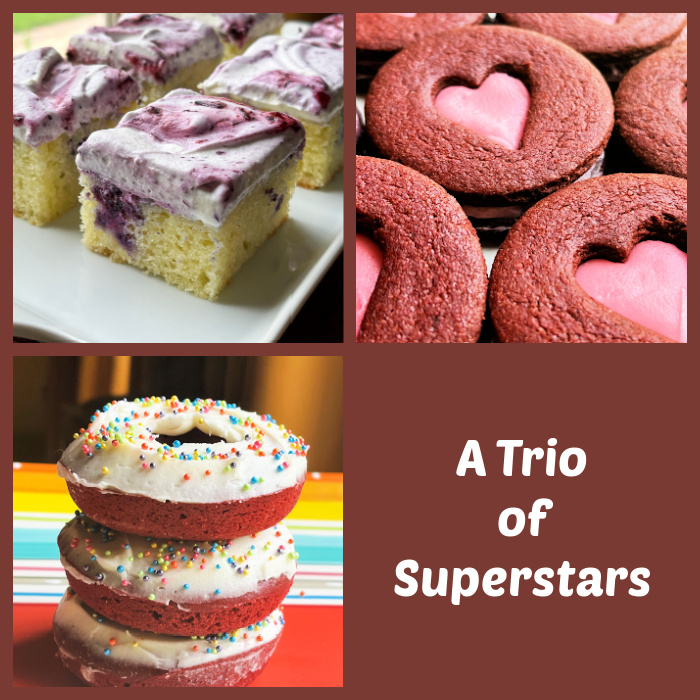
Today my blog pays homage to three amazing bakers who put great effort into each post they compose. Their blog articles end up as detailed tutorials that allow even a beginner baker to tackle what might seem very intimidating at first. I share three recipes, in the chronological order I baked them in the past couple of months.
SUPERSTAR BAKER #1
HELEN FLETCHER
BLUEBERRY LEMON POKE CAKE
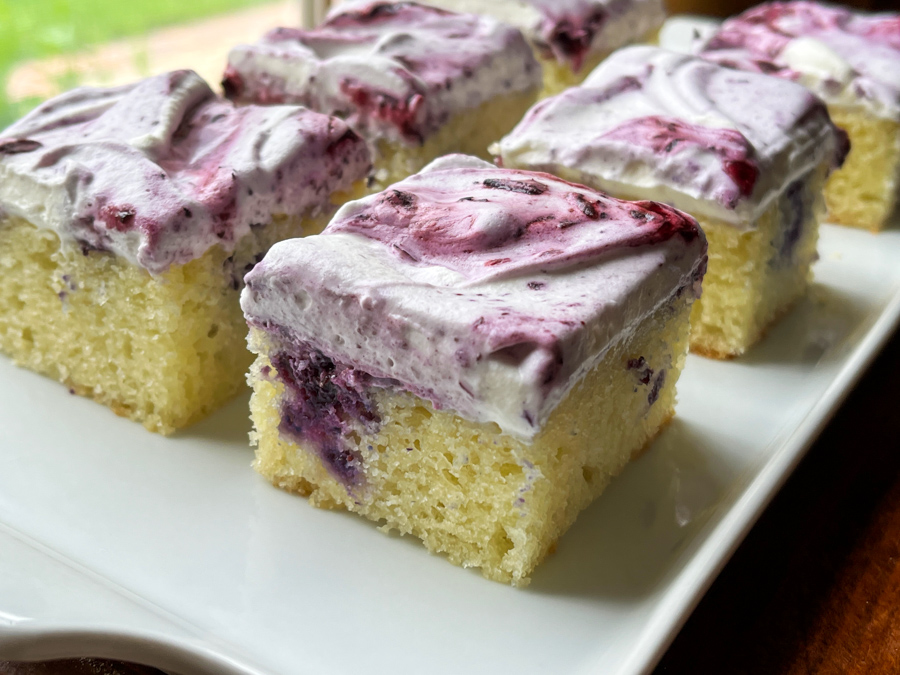
BLUEBERRY LEMON POKE CAKE
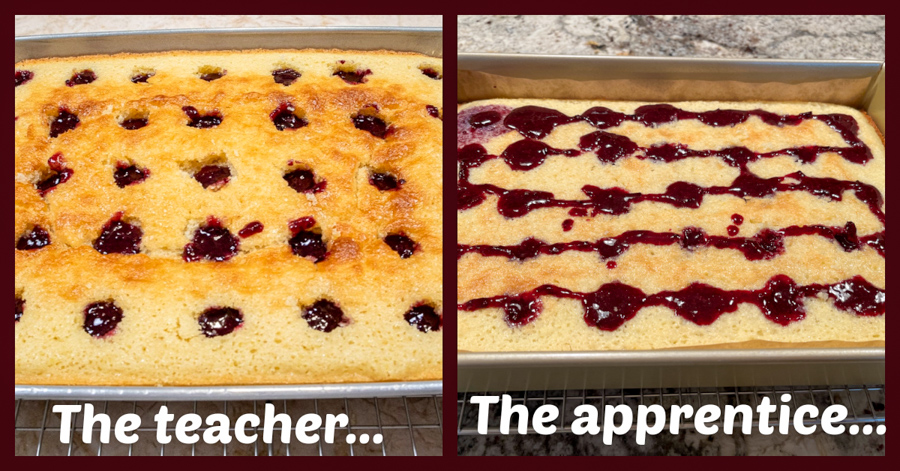
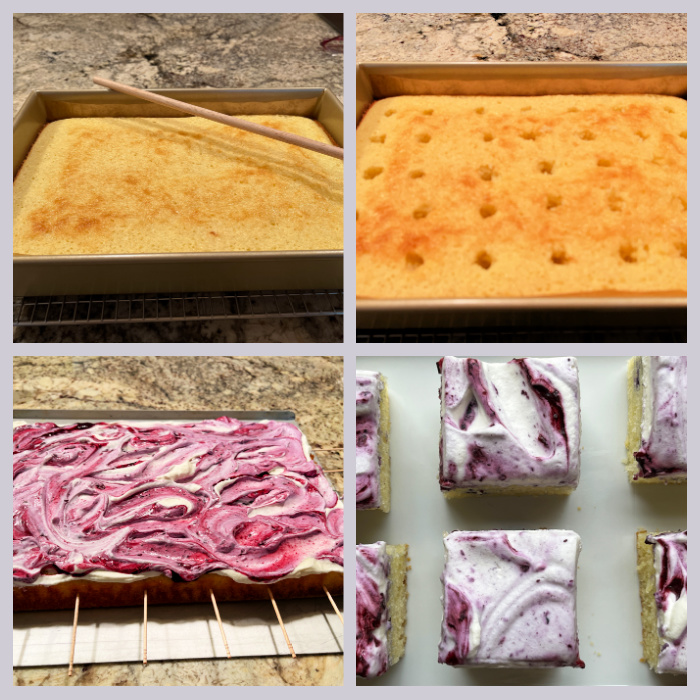
One of the tastiest cakes baked in our kitchen, and I am not exaggerating. Moist. Sweet to the perfect level. Luscious. Everything works in this cake. For the recipe and very detailed tutorial, visit Helen’s blog with a click here. You will make a blueberry jam to fill the cake, and I advise you to give enough time to allow it to set a bit, just to make it easier to work with…. Below, a little comparison between Helen’s neat work and yours truly… my jam was still bit too loose. No major harm done, though, I just thought it was funny to share.
Helen’s site and her cookbooks are a constant source of inspiration for me. Plus, she is tremendously helpful and whenever I get into trouble I drop her an email. She has rescued me more than once. A lot more than once (wink, wink).
Every once in a while, Helen offers online classes, and I’ve taken a couple of them. One of my favorites was last year, in which she taught how to make Chocolate Tartlets with a caramel filling. A thing of pure beauty and absolutely decadent! Make sure to subscribe to her blog, so you get notification of upcoming classes.


SUPERSTAR BAKER #2
CAROLINE
RED VELVET OREO STYLE SANDWICH COOKIES
RED VELVET OREO STYLE SANDWICH COOKIES
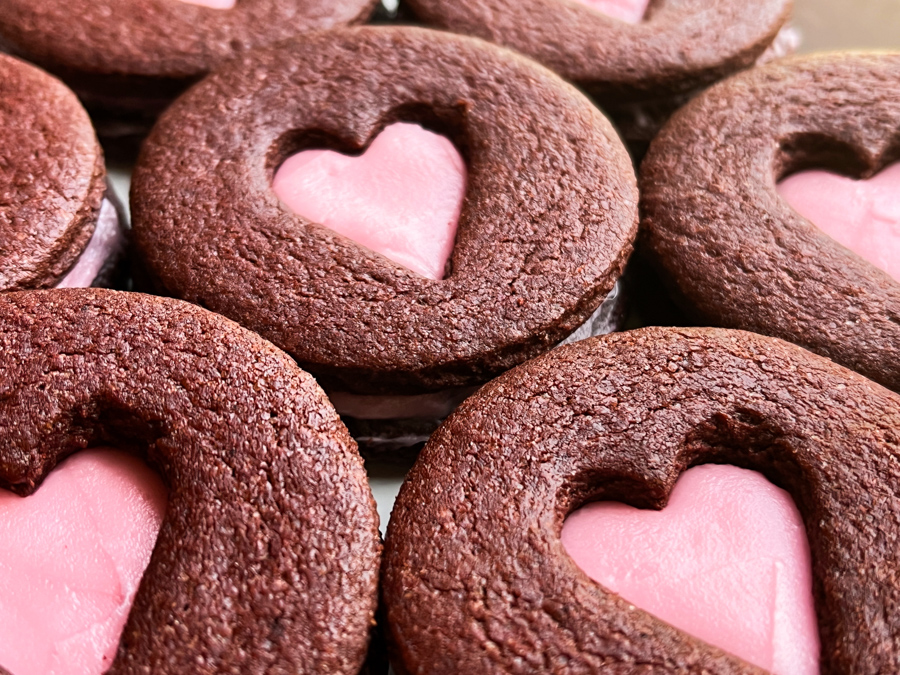
Absolutely delicious, you can make them without the cutouts if you’d like to simplify your life, but of course turning them into Linzer territory is not a bad move at all! For the full recipe click here. I made a very slightly modification adding strawberry extract to the filling and a touch of pink gel color. Other than that, I followed her recipe to a T.
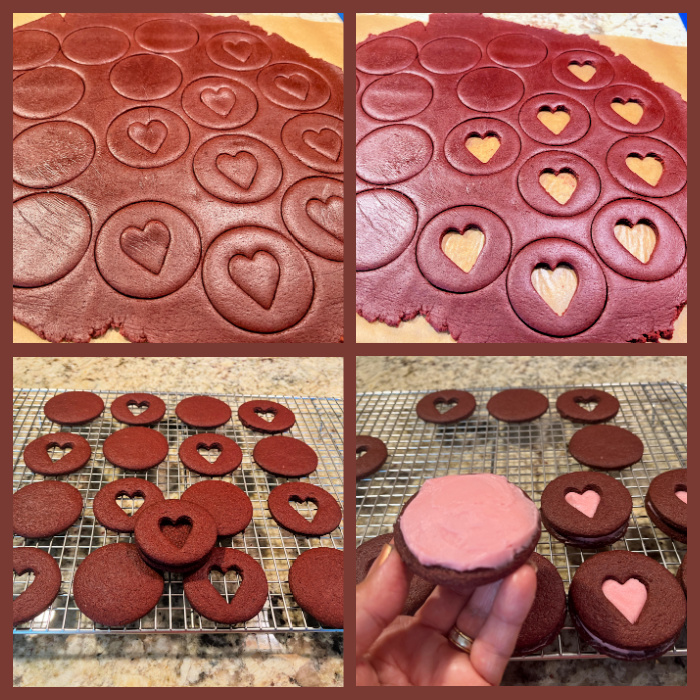
You can modify the filling, use jam, or Nutella, the cookies are very flavorful and will be perfect no matter your choice of filling. Caro has countless baking lessons in her site, I highly recommend you pay her a visit and subscribe to be notified of new posts. Caroline is one of the moderators of a Facebook group with almost 18 thousand members, for lovers The Great British Bake Off, and that’s how I got to know her. I don’t know how she manages to do all she does…
SUPERSTAR BAKER #3
TANYA OTT
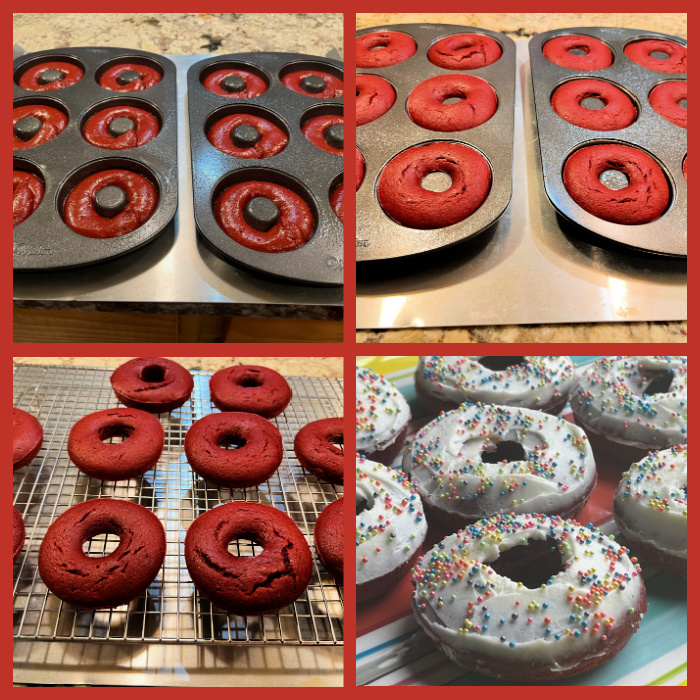
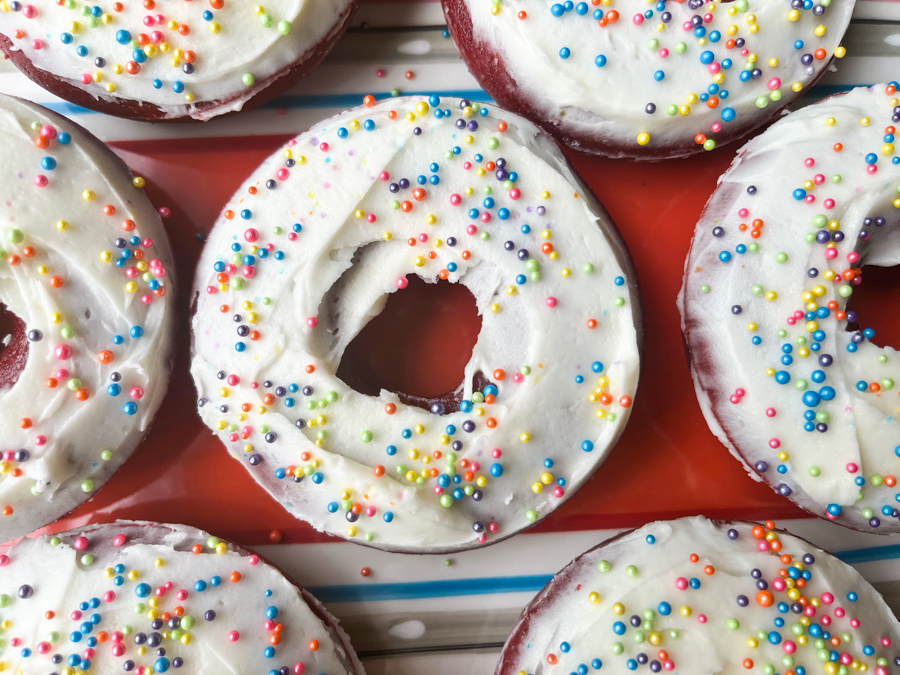
RED VELVET CAKE DONUTS
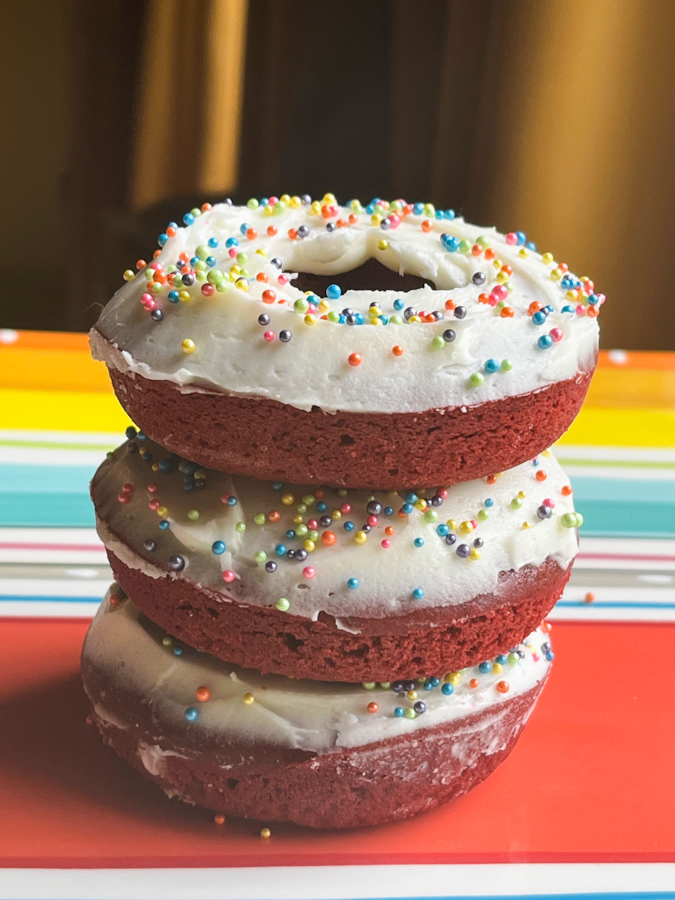
As you can see, I’ve been on a red velvet kick lately. These are spectacular and simple to make, especially if you follow the detailed instructions and the very helpful video available in Tanya’s blog. Essentially two bowls, no need for an electric mixer until you get into frosting territory.
Another example of a great baking instructor, Tanya’s articles are always carefully composed, and I am in awe of the amount of work she puts into the making of each of the videos often included in her posts. In case you don’t know, Tanya was one of the contestants in season 5 of The Great American Baking Show, and I shared the tent with her a few times. She even got a handshake from a certain guy with penetrating blue eyes…
That’s all for now, folks! I hope you visit my friends’ sites, and get as inspired
by their baking as I do…
ONE YEAR AGO: Turkey Meatloaf
TWO YEARS AGO: Prue Leith’s Smoked Salmon and Beetroot Blinis
THREE YEARS AGO: Mandioca Frita 101
FOUR YEARS AGO: White Chocolate Raspberry Dome Cake
FIVE YEARS AGO: Blueberry Crumble Coffee Cake
SIX YEARS AGO: Pickled Red Onions
SEVEN YEARS AGO: Strawberry Chocolate Chip Cake
EIGHT YEARS AGO: Mini-Chocolate Cheesecake Bites
NINE YEARS AGO: Whole-Wheat Spaghetti with Grated Tomato Sauce
TEN YEARS AGO: A Taste of Yellow to Honor Barbara
ELEVEN YEARS AGO: Gratin of Beefsteak Tomatoes
TWELVE YEARS AGO: Tour de France Final Stage: PARIS
THIRTEEN YEARS AGO: Snickerdoodles with a Twist