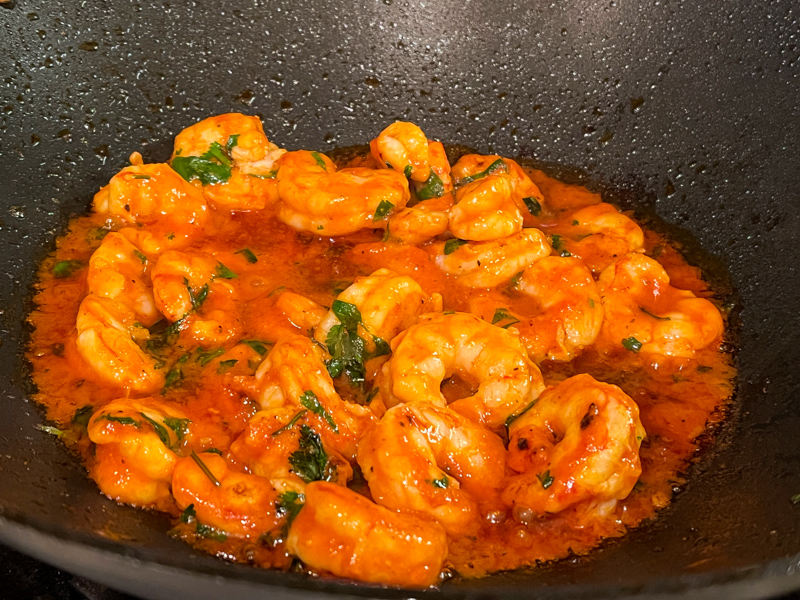
Tiger Cookies, Tiger Shrimp. Both very appropriate for this time of the year, don’t you agree? This is a super simple and quick recipe, with intense flavors. Contrary to most Chinese-inspired stir-fries, this one does not take any thickening agent like cornstarch, so don’t expect that kind of a sauce with some texture and body. We loved it this way, it felt lighter and without any compromise in flavor, quite the contrary. It seems that without any cloying sauce, the spices spoke louder.
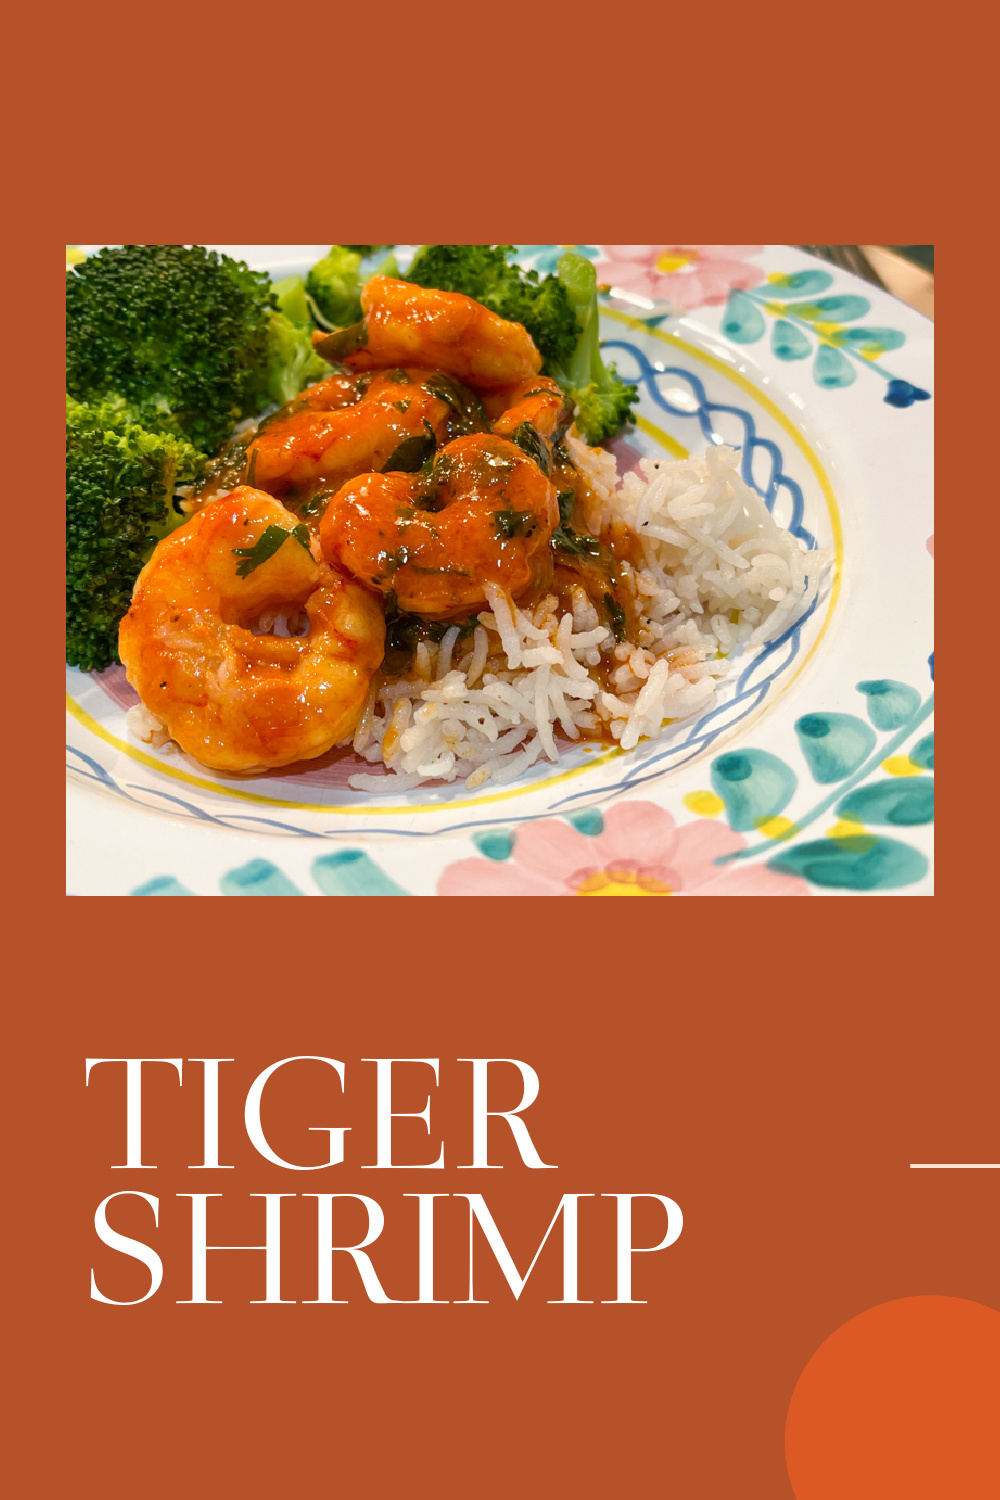
TIGER SHRIMP IN CHILI SAUCE
(adapted from The Woks of Life)
1 pound jumbo tiger shrimp (or another type of jumbo size shrimp, peeled and de-veined)
1 tablespoon tomato paste
2 tablespoons ketchup
2 tablespoons chili garlic sauce
1/2 teaspoon salt
1/4 teaspoon Szechuan peppercorns, smashed
1/2 teaspoon sesame oil
3 tablespoons vegetable oil
1 teaspoon ginger (minced)
1 shallot, minced
1 tablespoon Shaoxing wine (or dry Sherry)
1/3 cup water (you may not use it all)
cilantro leaves
Rinse the shrimp under running water and pat dry with a paper towel.
Make the sauce by mixing the tomato paste, ketchup, chili garlic sauce, salt, pepper and sesame oil in a medium bowl.
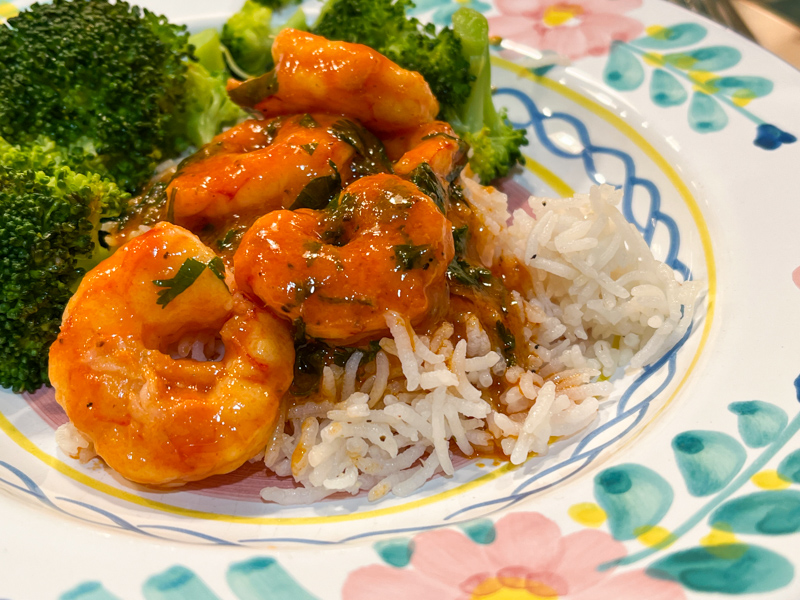
Heat the oil in your wok until smoking hot. Fry the shrimp on both sides for 30 seconds each side. Remove the shrimp from the wok and set aside on a plate. Lower the heat to medium-low, add the ginger and shallots. Sautee for a couple of minutes, add the sauce, Shaoxing wine, cook stirring for a minute. Add half the water, let everything simmer together for another minute, add the shrimp and cook gently in the sauce until just cooked through. If needed, add the rest of the water. Add the fresh cilantro and serve over white rice with a favorite side dish.
ENJOY!
to print the recipe, click here
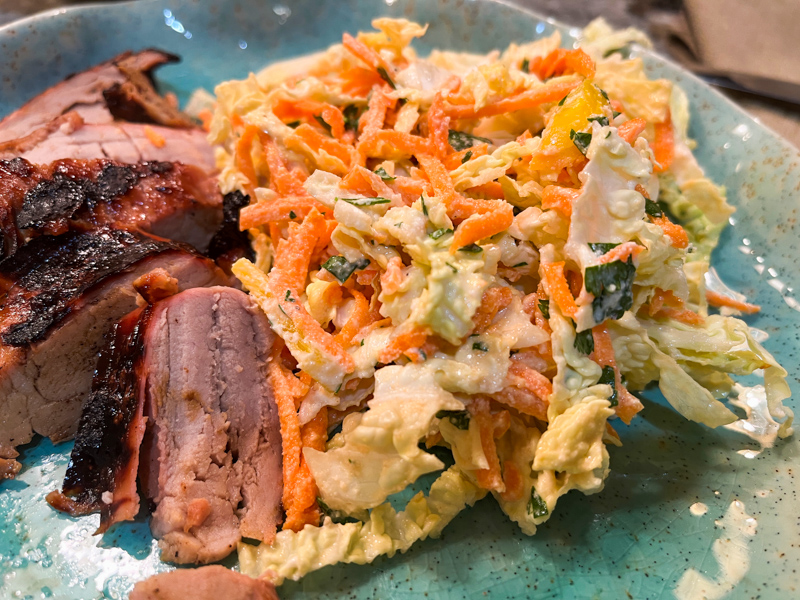
Comments: This was a super vibrant dish, and it is hard to find a simpler and faster way to have dinner at the table. Cooking the rice to go along took a lot longer… We enjoyed it with broccoli, prepared in one of my favorite ways (check it out here) because it is also super quick and very tasty. This one goes into our rotation, for sure! I hope you’ll give it a try…
ONE YEAR AGO: Tangzhong Hamburger Buns
TWO YEARS AGO: Potato Soup with Spicy Shrimp
THREE YEARS AGO: Rose-Harissa Chicken Thighs
FOUR YEARS AGO: Caramel-Chocolate Tartlets
FIVE YEARS AGO: Chicken Korma-ish
SIX YEARS AGO: Sunday Gravy with Braciola
SEVEN YEAR AGO: In My Kitchen, February 2015
EIGHT YEARS AGO: Avocado and Orange Salad with Charred Jalapeno Dressing
NINE YEARS AGO: Green Olive, Walnuts and Pomegranate Salad
TEN YEARS AGO: Romanian Flatbreads
ELEVEN YEARS AGO: Ziti with Artichokes and Meyer Lemon Sauce
TWELVE YEARS AGO: Blasted Broccoli, Stove-top version