As those who follow my blog might know, every Friday I donate a box of sweets for a homeless meal in our town. Some items are mandatory: decorated cookies, regular cookies and chocolate-covered Oreos come to mind. Then, I like to include some variety. Little tartlets, brownies, cupcakes. Or… donuts!

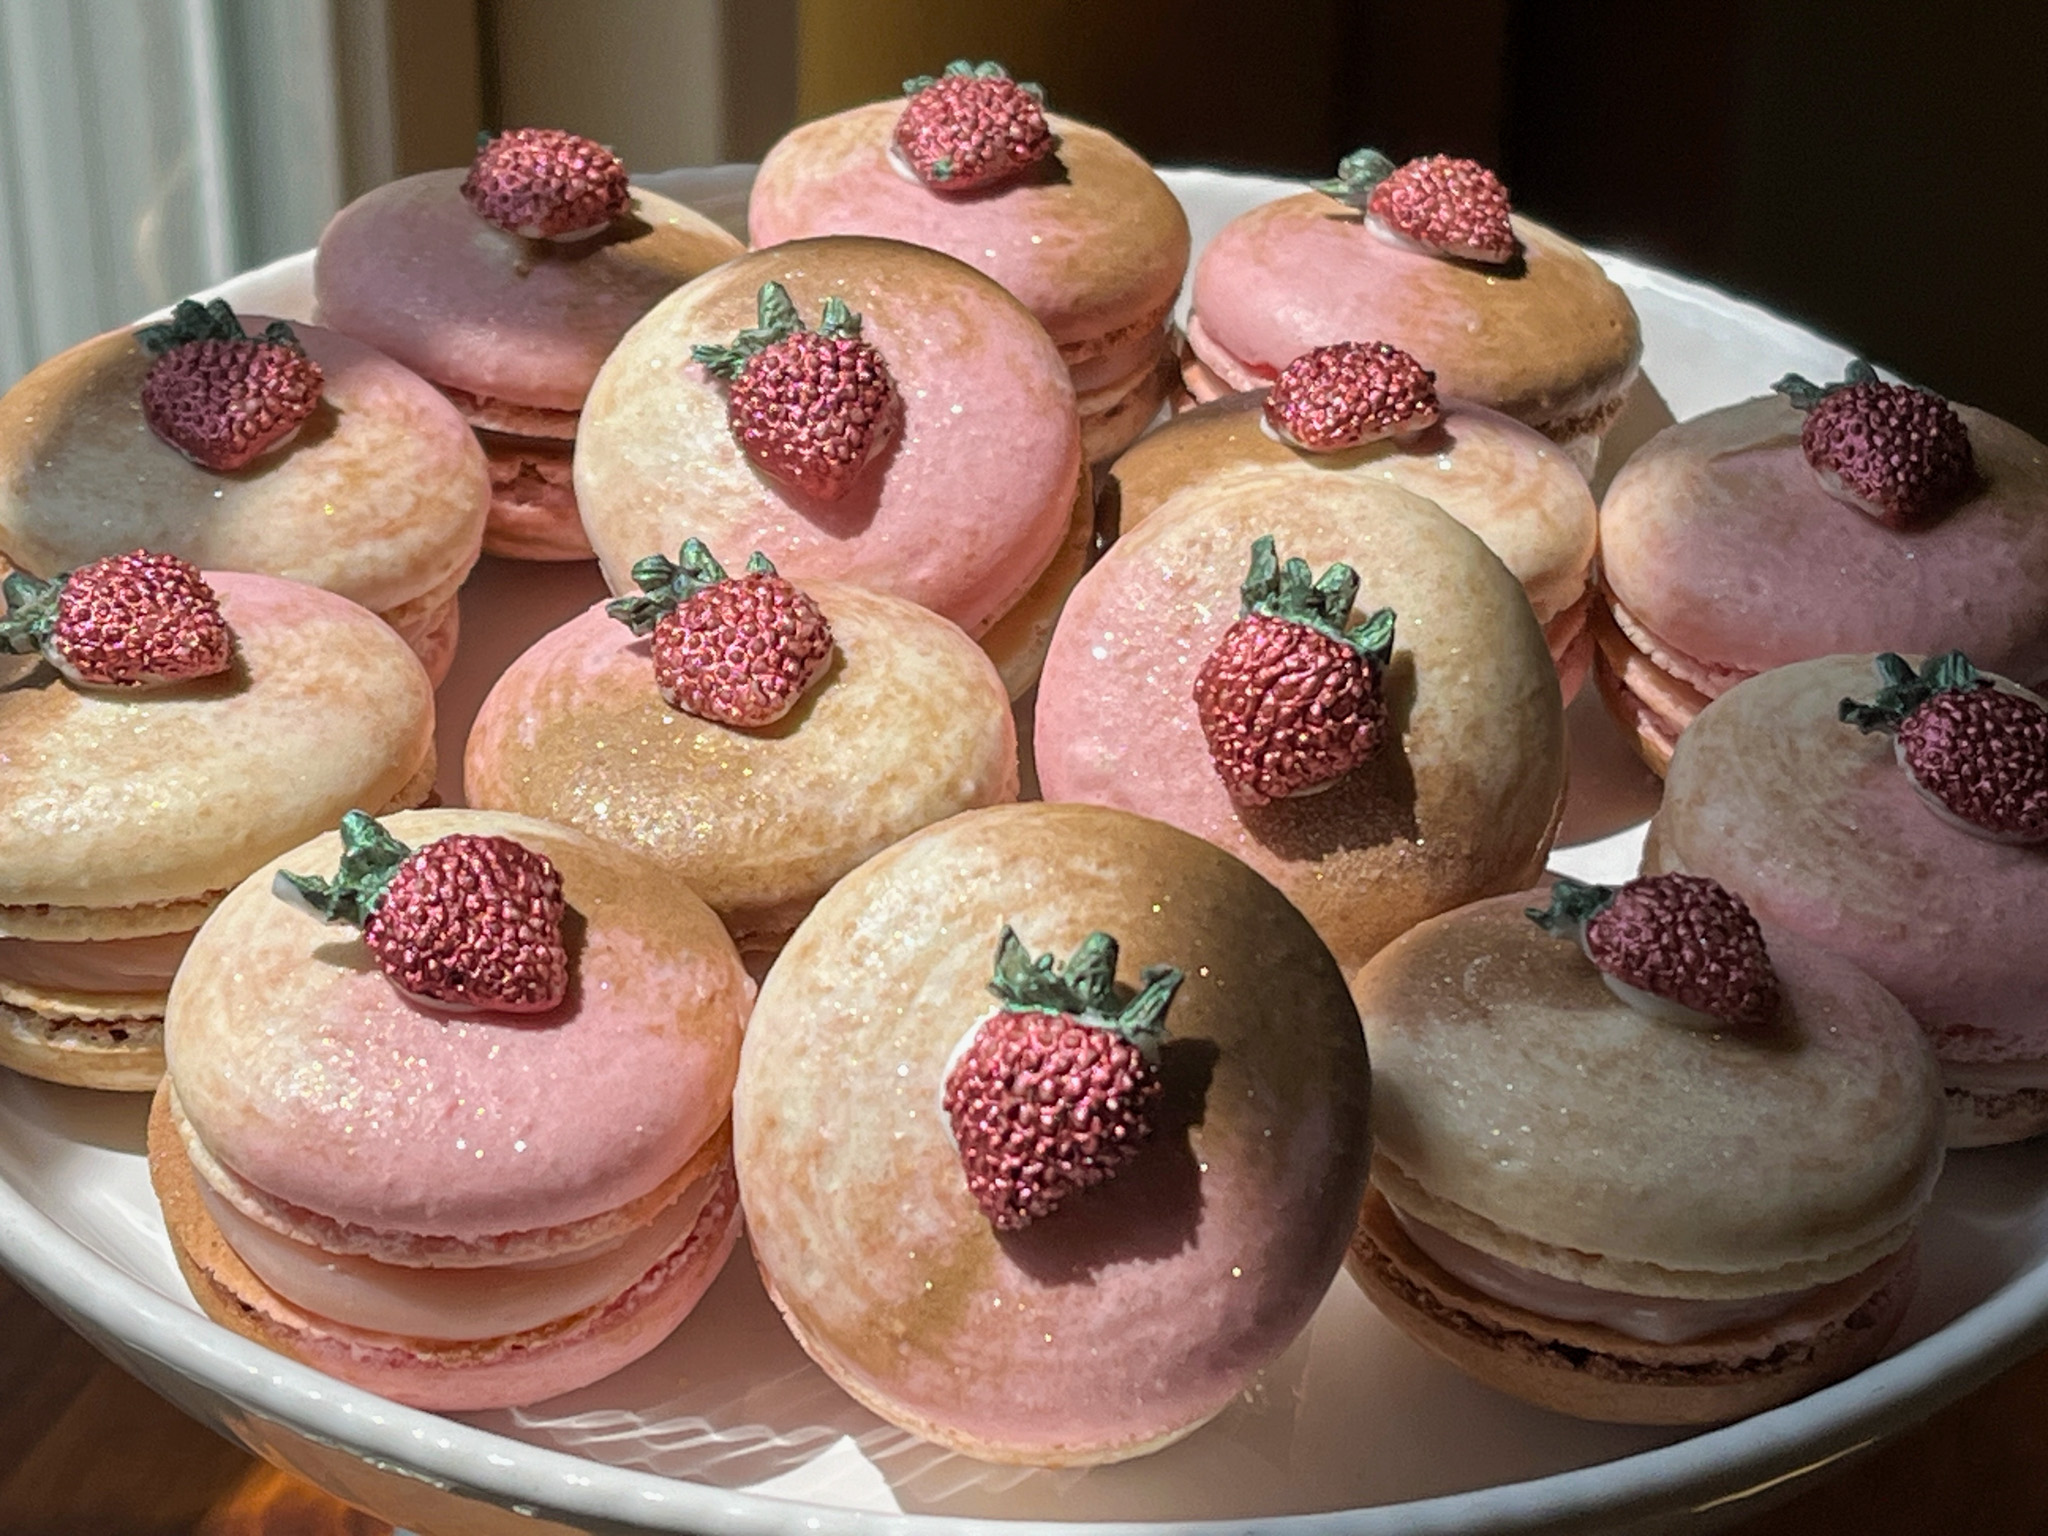
VANILLA DONUTS WITH STRAWBERRY GLAZE
(adapted from several sources)
1 + 3/4 cups all-purpose flour
1 cup granulated sugar
3/4 teaspoon kosher salt
1 teaspoon baking powder
1/2 teaspoon baking soda
1 large egg
1/2 cup buttermilk
1/4 cup grape seed oil
1/2 teaspoon vanilla extract
1/4 cup water
for the glaze:
1 + ¼ cups powdered sugar
2 tablespoon freeze-dried strawberries, crumbled
2 tablespoon whole milk
1/4 teaspoon vanilla extract
sprinkles to decorate (optional)
Heat the oven to 375 F. Spray a 12-cavity donut pan with cooking spray and set aside.
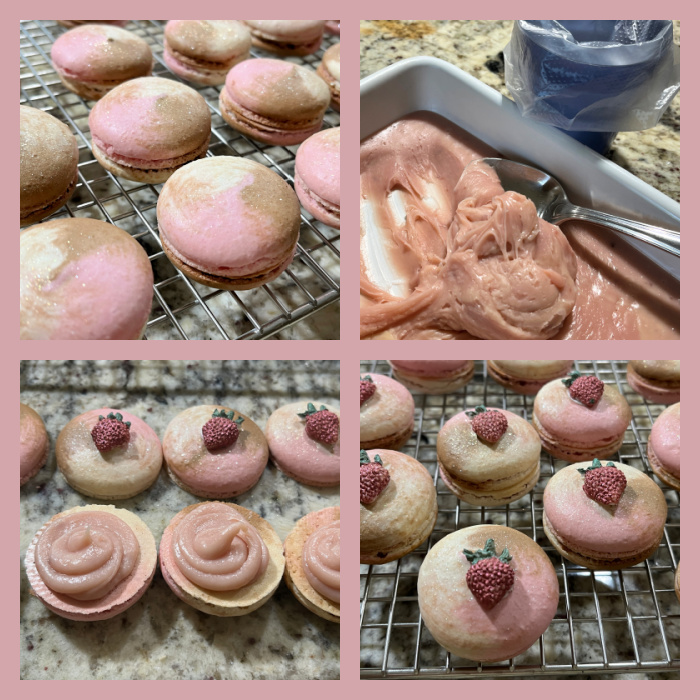
Whisk together the flour, sugar, salt, baking powder and baking soda in a large bowl. Whisk together the egg, buttermilk, oil, vanilla and water in a medium bowl. Whisk the wet mixture into the dry mixture and stir to combine. Fill a piping bag with the batter and pipe the batter into the donut pans, filling each cavity halfway, as the batter will expand quite a bit.
Bake until a toothpick inserted into a donut comes out clean, about 15 minutes. Cool in the pan for 5 minutes. Remove to a rack and cool completely.
Make the glaze: Whisk the sugar and dried strawberries in a shallow bowl. Slowly stir in milk and vanilla extract to make smooth, pourable glaze. Dip each donut in the glaze and place back on cooling rack. Add sprinkles before the glaze sets. Allow glaze to set for 30 minutes before serving.
ENJOY!
to print the recipe, click here

Comments: This is a very simple recipe and produces donuts that are soft and delicate. Make sure not to fill the pan more than halfway. The glaze is also quite straightforward. It relies on freeze-dried strawberries that these days are available in most grocery stores. I do have a harder time finding freeze-dried raspberries… Those could go perfectly here also.
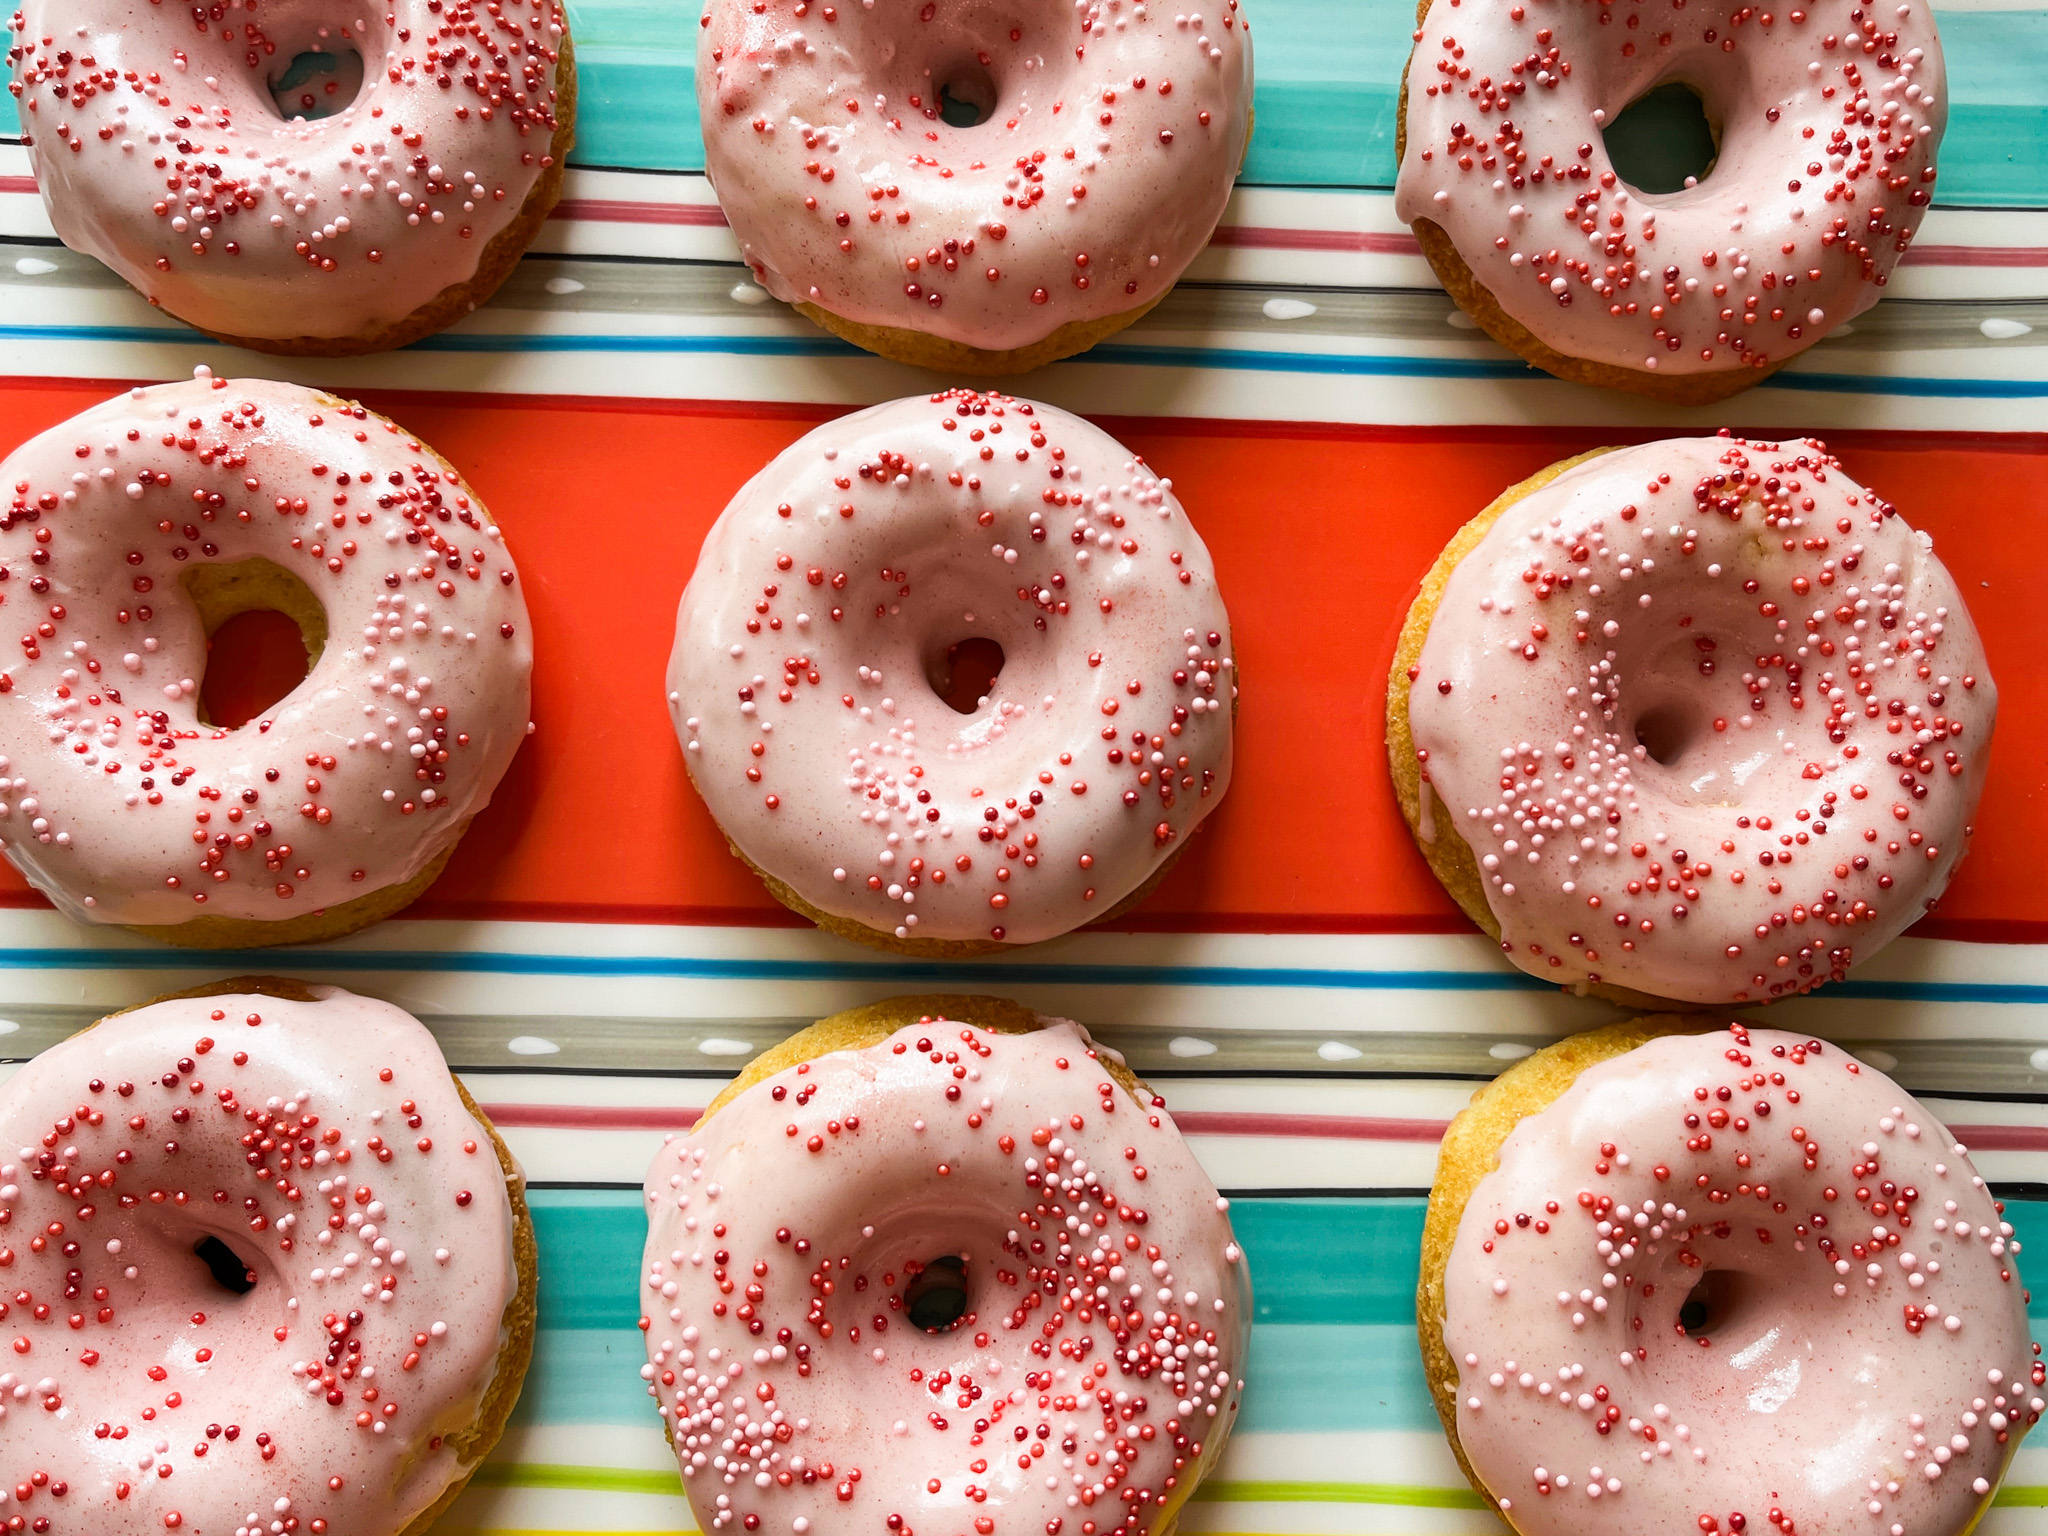
Plump, soft, sweet, with a little sharpness of the strawberry, these are a crowd-pleaser!

ONE YEAR AGO: Shrimp and Cucumber Stir-Fry
TWO YEARS AGO: One Bowl, One Whisk Confetti Cupcakes
THREE YEARS AGO: Incredibly Simple Times Four
FOUR YEARS AGO: Phyllo Parcels with Moroccan Turkey
FIVE YEARS AGO: Roasted Corn and Zucchini Salad
SIX YEAR AGO: Fraisier Cake, A Celebration of Spring
SEVEN YEARS AGO: Zucchini Frittata with Roasted Tomatoes and Goat Cheese
EIGHT YEARS AGO: Playing with Pectinase
NINE YEARS AGO: Poached White Asparagus with Lemon and Pistachios
TEN YEARS AGO: Dan Lepard’s Saffron Bloomer
ELEVEN YEARS AGO: Fesenjan & The New Persian Kitchen
TWELVE YEARS AGO: Quinoa Salad with Roasted Beets
THIRTEEN YEARS AGO: Pasta Puttanesca
FOURTEEN YEARS AGO: Miche Point-a-Calliere