Of all the nuts out there, the peanut is the ugly duckling. Simple, humble, affordable, available everywhere. It does not have that majestic feel of a macadamia, or the sexy aura of a hazelnut. Most sourdough breads include walnuts or pecans, leaving them once again neglected. Not in my kitchen, though. This bread gets a double load of peanuts. Peanut butter, and roasted peanuts joined together with flour, salt and a wild bunch of yeast and bacteria aka sourdough starter.
DOUBLE PEANUT SOURDOUGH LOAF
(from The Bewitching Kitchen)
370g water
70g active sourdough starter at 100% hydration
470g bread flour
20g spelt flour
10 g rye flour
30g peanut butter (smooth)
30g roasted peanuts, unsalted
10g salt
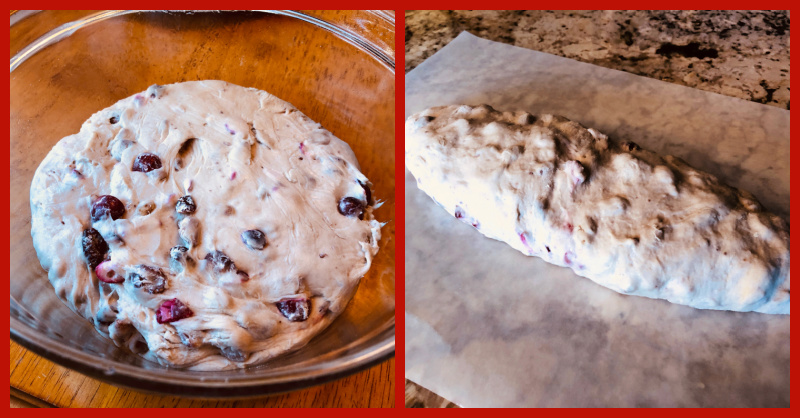
- Place the water in the bowl of a KitchenAid type mixer and dissolve the starter in it, mixing with a spatula briefly, then add the three types of flour, the peanut butter and the salt.
- Turn the mixer on with the hook attachment and knead the dough for 2 minutes at low-speed all the time. If the dough is too sticky, add 1/4 cup flour, you want the dough to start clearing the sides of the bowl, but still be sticky at the bottom.
- Add the peanuts and continue kneading in low-speed for 2 and a half minutes more.
- Remove the dough from the machine, and transfer to a container lightly coated with oil, cover lightly with plastic wrap and allow it to ferment for 4 hours, folding every 45 minutes or so.
- After four hours bulk fermentation, shape the dough as a ball, and place, seam side up, in a lightly floured banetton. Leave at room temperature one hour, and then place in the fridge overnight, from 8 to 12 hours.
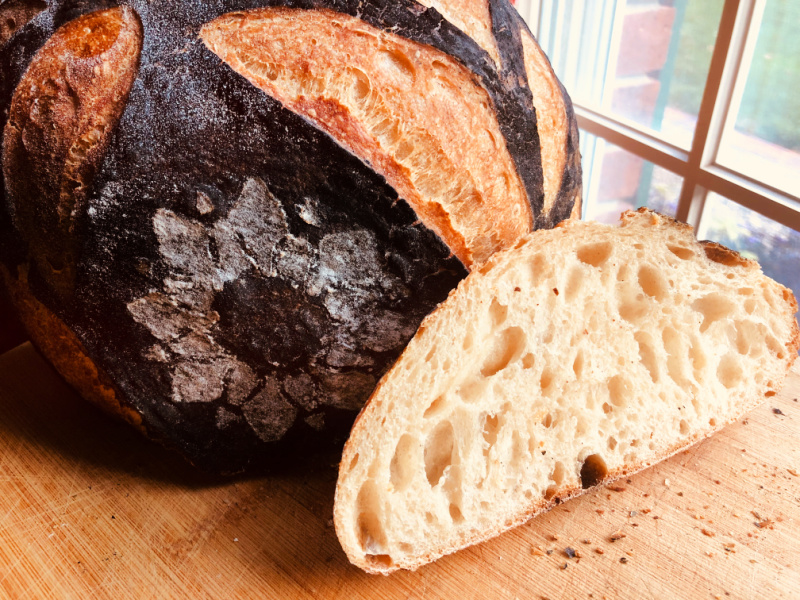
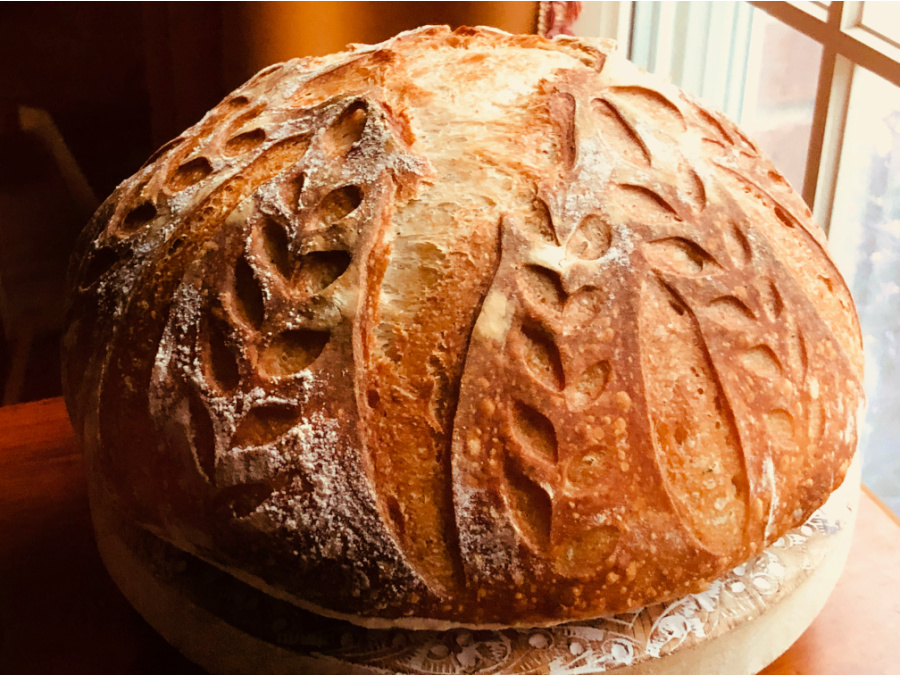
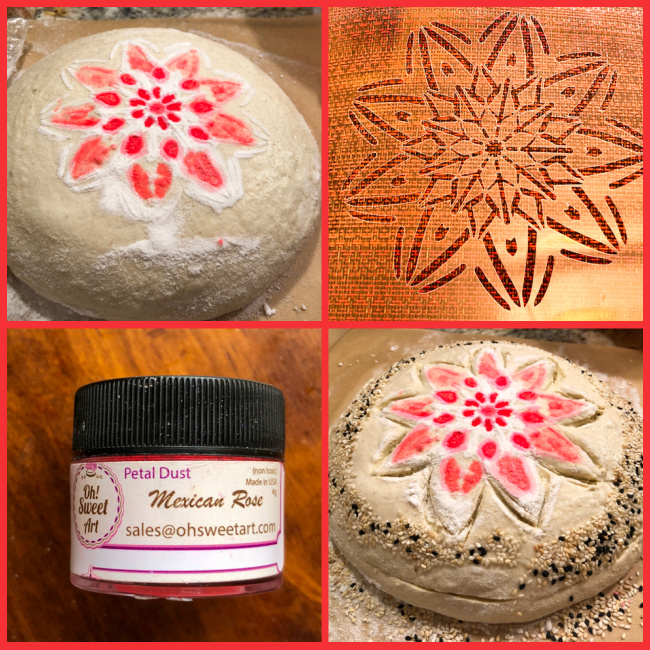
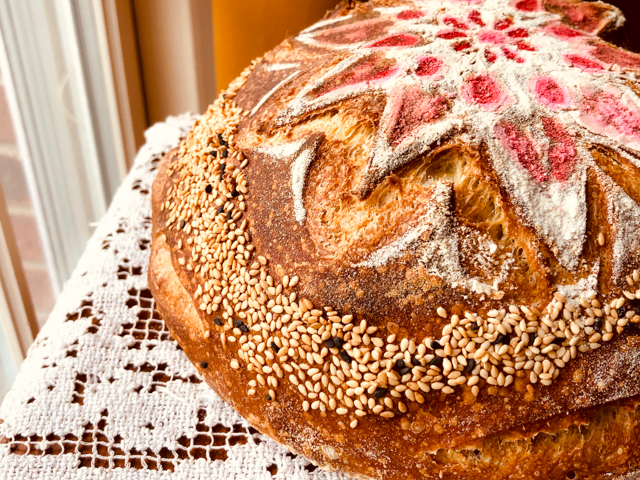
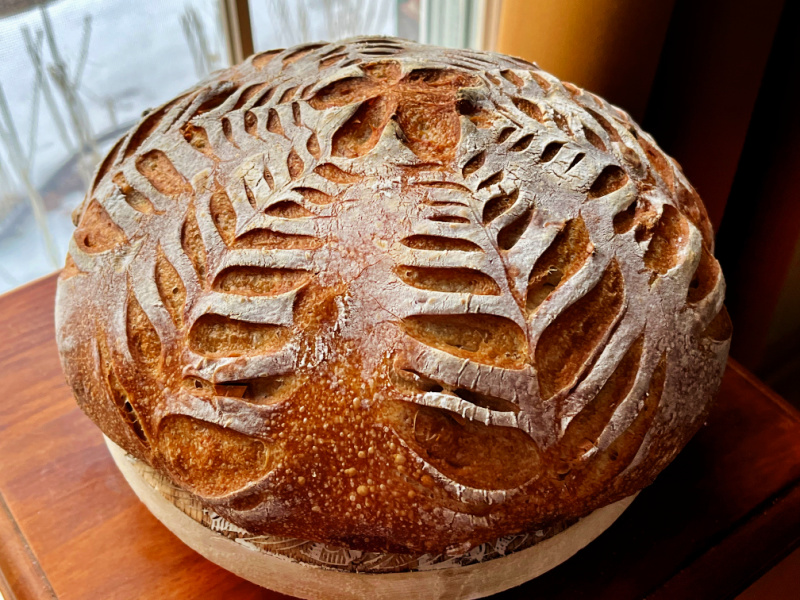
- Next morning, heat the oven to 450F. Invert the dough over parchment paper, rub gently white flour on the surface. Score with any pattern you like.
- Bake at 450F for 45 minutes, preferably covered for the first 30 minutes to retain steam. Cool completely over a rack before slicing.
ENJOY!
to print the recipe, click here
Comments: If you follow my blog, you know that my default method for sourdough involves the Kitchen Aid initial kneading and never heating the Dutch oven before dropping the bread inside, over parchment paper. Those two details make life a lot easier in terms of clean up of bowls, hands, and lack of burning marks in forearms and fingers…

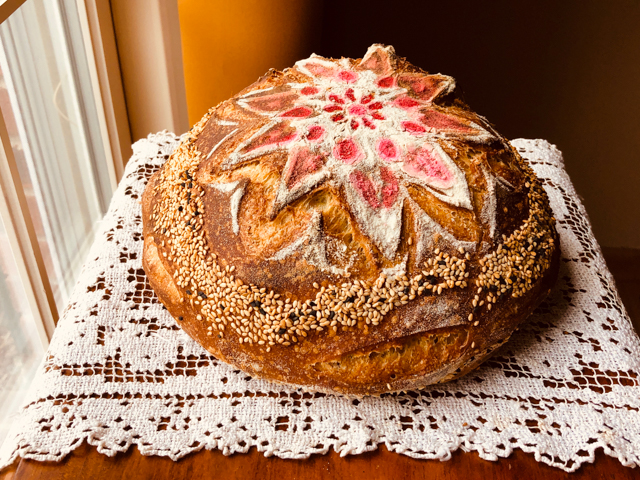
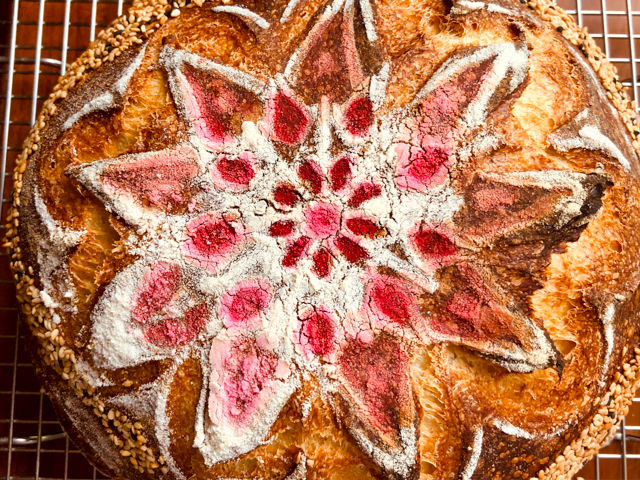
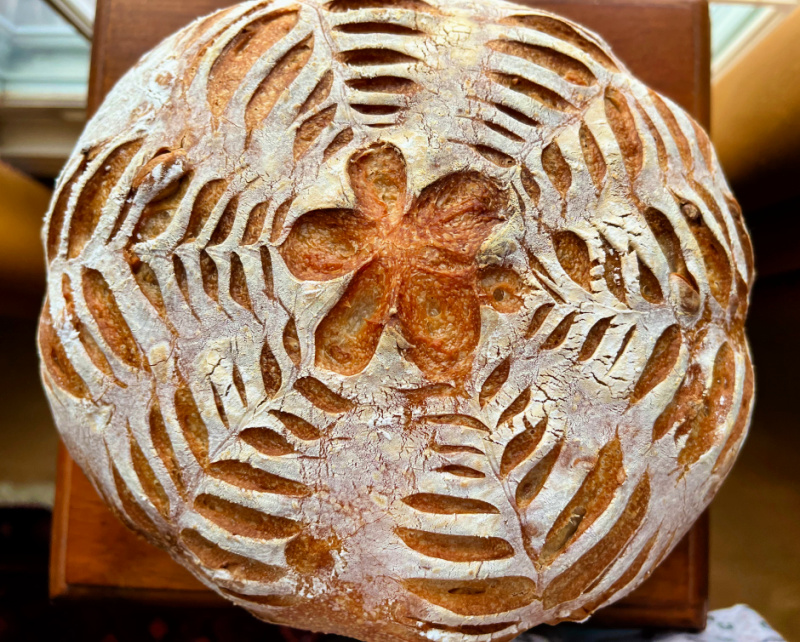
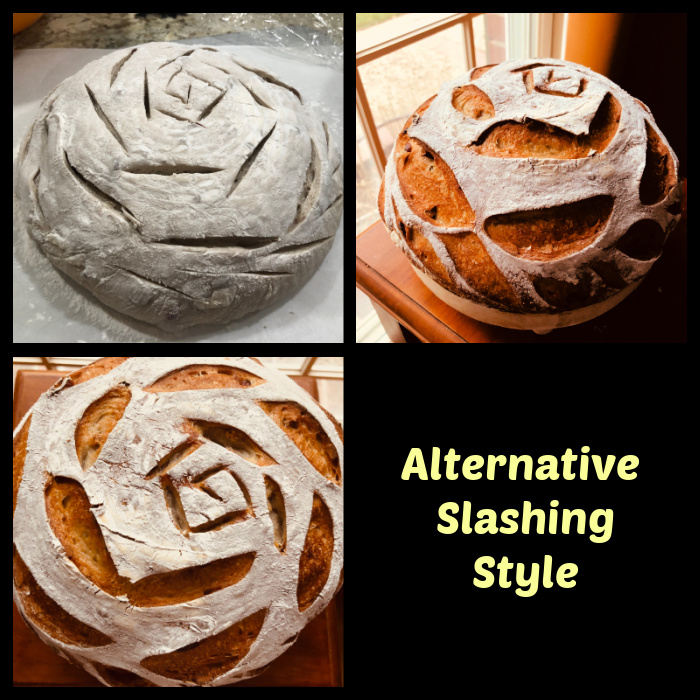
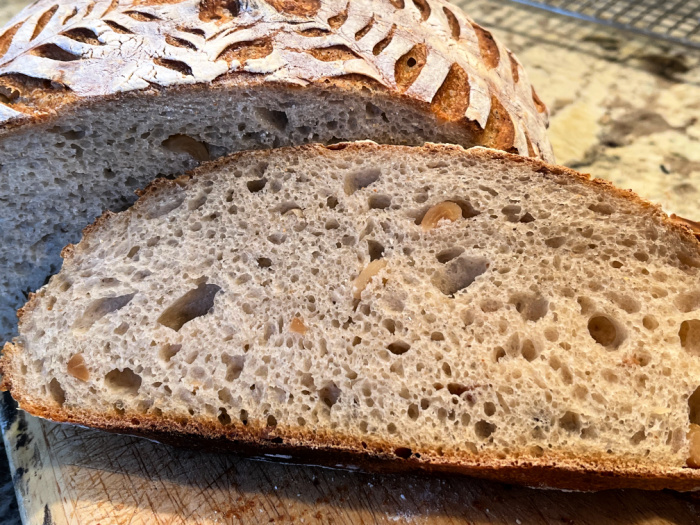
I add the peanuts after 2 minutes kneading with the KA, and run the machine for one additional couple of minutes or so. That is enough to incorporate the nuts in the dough, which will continue to happen during the subsequent foldings. You can slash the dough in patterns or just do a simple slash. Below I show you another type of pattern, a kind of geometric flower.
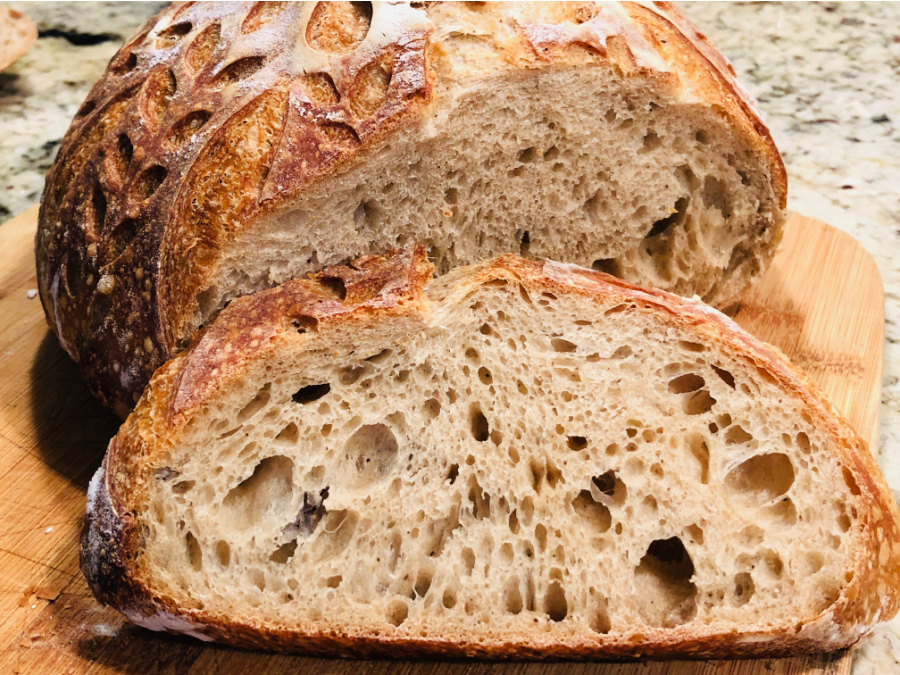
We loved the subtle peanut flavor of this bread, and biting into a little peanut here and there was also very nice. The peanuts will end up softer than other nuts normally used in breads.
ONE YEAR AGO: Fennel-Rubbed Shrimp in Light Coconut Sauce
TWO YEARS AGO: Puff Bread Balls, Two Salads and a Cookbook Review
THREE YEARS AGO: Pistachio-Caramel and Apple Mousse Cakes
FOUR YEARS AGO: La Couronne Bordelaise
FIVE YEARS AGO: A Special Birthday Dinner
SIX YEARS AGO: Duck Confit for a Special Occasion
SEVEN YEARS AGO: Tuscan Grilled Chicken and Sausage Skewers
EIGHT YEARS AGO: Celebrate Wednesday with Pork Tenderloin & Apples
NINE YEARS AGO: Salmon Wellington
TEN YEARS AGO: The Green Chip Alternative
ELEVEN YEARS AGO: Weekend Pita Project
TWELVE YEARS AGO: Let it snow, let it snow, eggs in snow