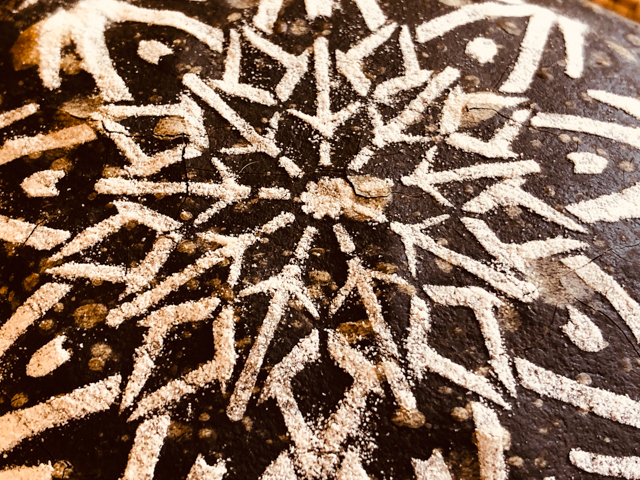
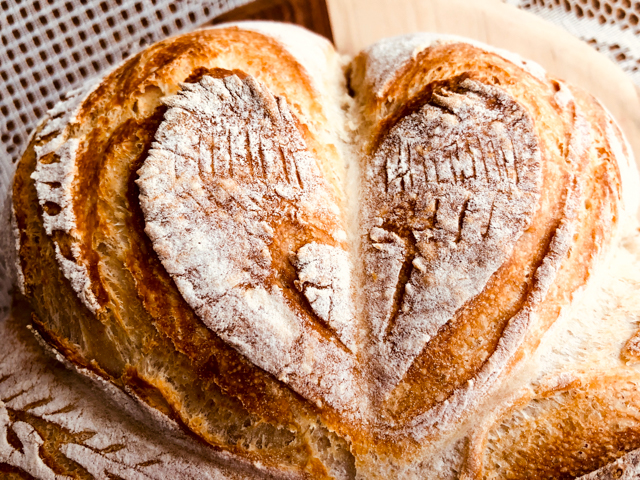
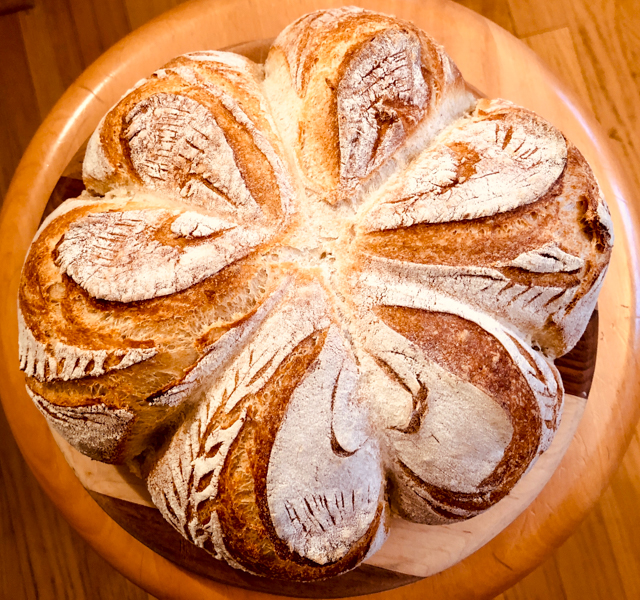
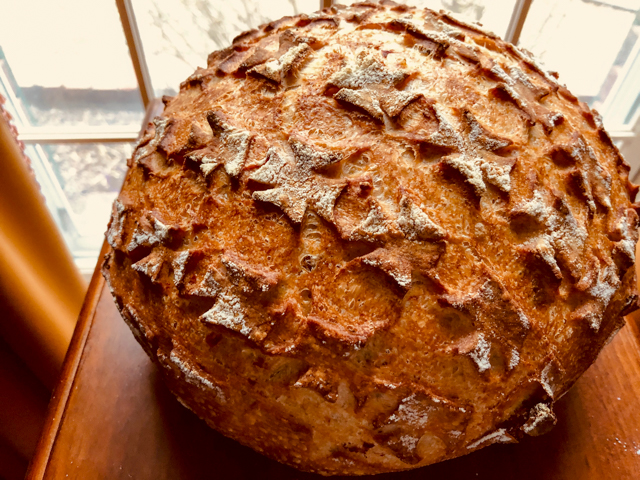
This is just another little departure on my basic formula for sourdough bread, also using my default method of KitchenAid first, folding next. I decided to try a totally different type of scoring, and must say I am pretty happy with the way it turned out.
SUNDRIED TOMATO SPELT SOURDOUGH
(from the Bewitching Kitchen)
480g bread flour
20g spelt flour
50g sundried tomatoes, chopped in pieces
10g salt
370g water
80g sourdough starter at 100% hydration
Make the levain mixture about 6 hours before you plan to mix the dough. It should be very bubbly and active.
When you are ready to make the final dough, place the water in the bowl of a KitchenAid type mixer and dissolve the starter in it, mixing with a spatula briefly, then add the two types of flour, and the salt. Turn the mixer on with the hook attachment and knead the dough for 2 minutes at low-speed all the time. Add the sundried tomatoes and knead for 2 more minutes. If the dough is too sticky, add 1/4 cup flour, you want the dough to start clearing the sides of the bowl, but still be sticky at the bottom.
Remove from the machine, and transfer to a container lightly coated with oil, cover lightly with plastic wrap and allow it to ferment for 4 hours, folding every 45 minutes or so. After four hours bulk fermentation, shape the dough as a ball, and place, seam side up, in a lightly floured banetton. Leave at room temperature one hour, and then place in the fridge overnight, from 8 to 12 hours.
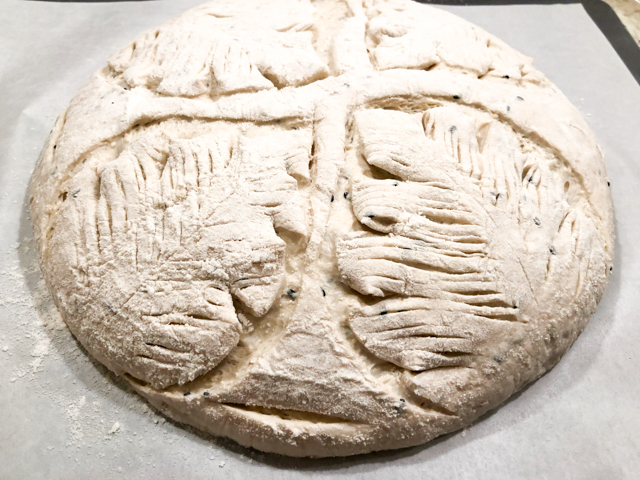
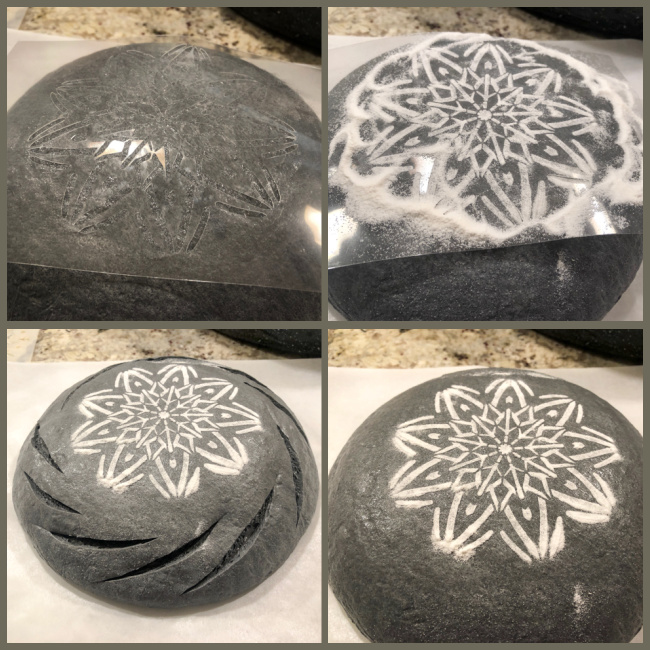
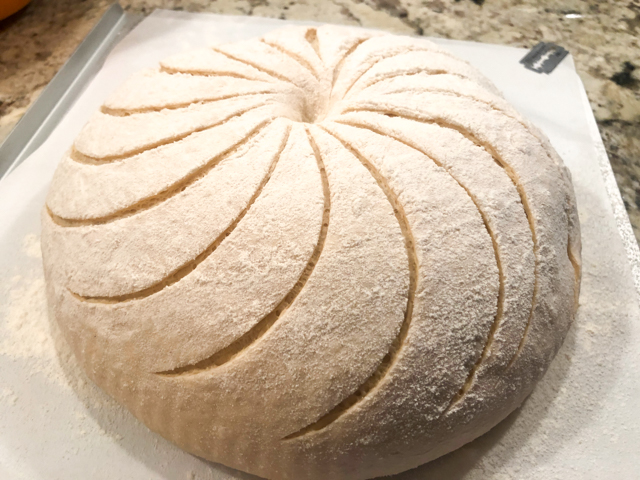
Next morning, heat the oven to 450F. Invert the dough over parchment paper, rub some flour all over the surface, and use a string to lightly score lines forming a grid on the surface. Next, use a brand new razor blade to score those lines, and scissors to form a star pattern at the corners (see picture below).
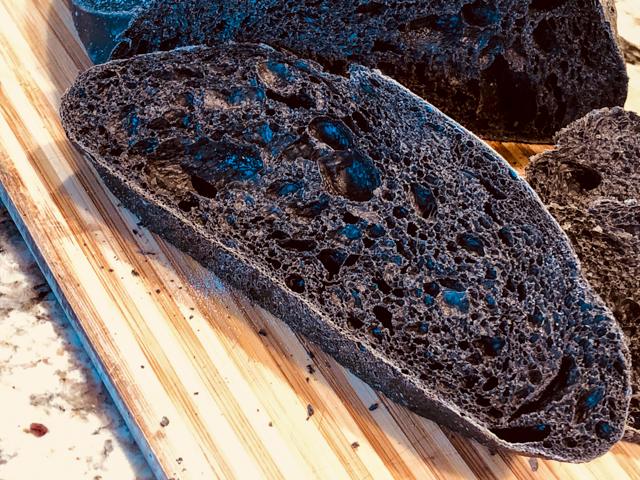
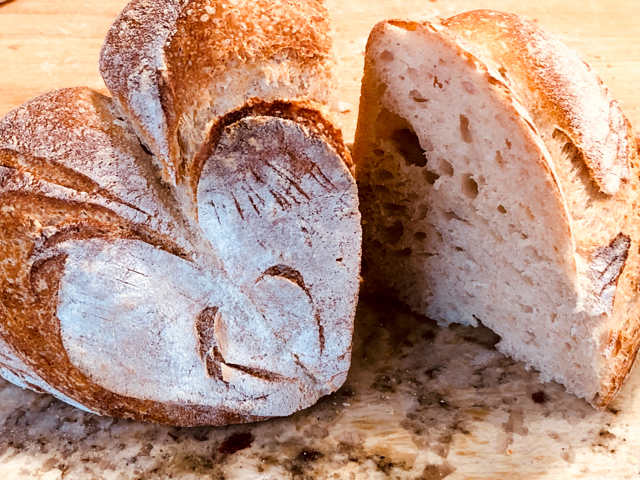
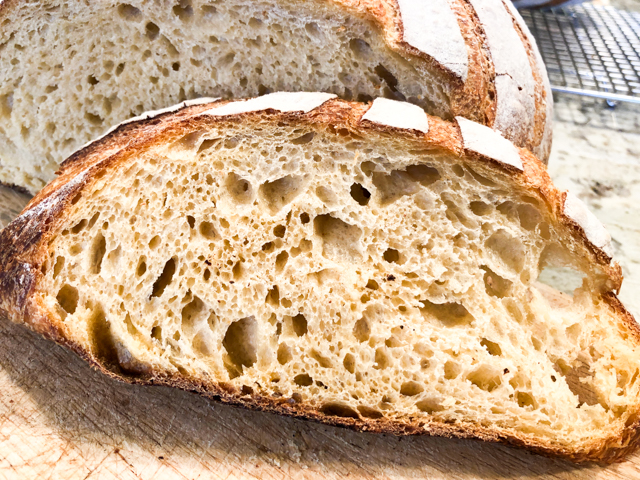
Bake at 450F for 45 minutes, preferably covered for the first 30 minutes to retain steam. Cool completely over a rack before slicing.
ENJOY!
to print the recipe, click here
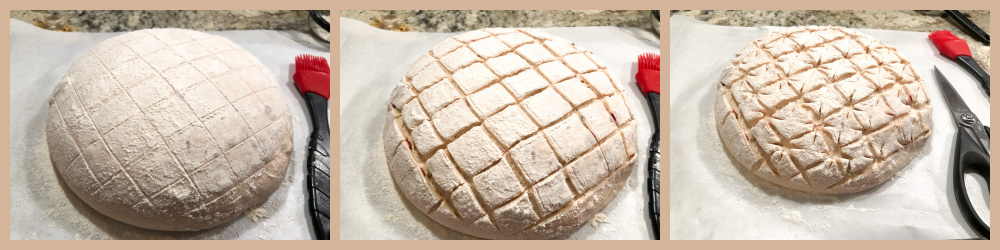
Comments: To score the bread you’ll need a string, so that you can very lightly mark the pattern. I don’t have enough confidence with a razor blade in my hand to go at it without these markings, but you might not need it. After scoring with the blade, make the details with the scissors. I now visualize a next bread in which the grid won’t be squared, but tilted in some way. Not sure exactly how I’m going to do it, but I will definitely play with it.

The sundried tomatoes I used were soft and moist, I got them from our grocery store in their salad bar, they were lightly marinated with herbs. I would avoid using super dry tomatoes, but if that’s the only kind you have, maybe softening a bit in warm water can be a good idea.
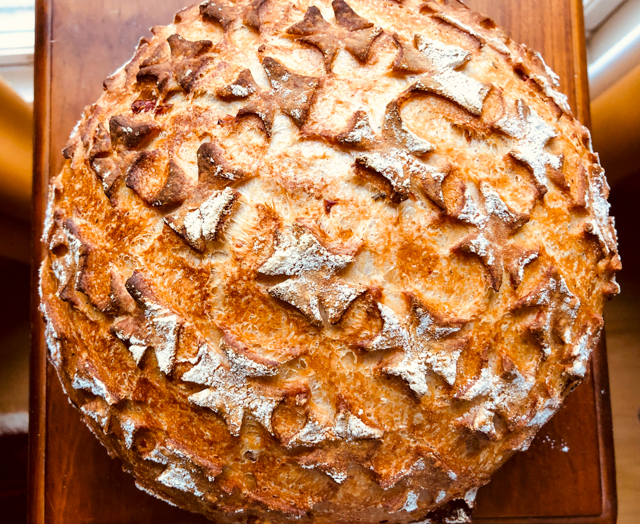
It is really a totally different look from what I’m used to. I like the way it allowed the bread to rise very uniformly, which is not always the case for some patterns. Contrary to cookies, which I have a venue to donate, I only bake bread for us, so it becomes a “once-a-month” kind of project. I have quite a few things to try, but they tend to materialize more slowly. Maybe I should start giving bread to neighbors? Departmental colleagues? Graduate students?


ONE YEAR AGO: A Duet of Chocolate Bonbons
TWO YEARS AGO: Chocolate Tartlets with Honey-Caramel Filling
THREE YEAR AGO: Zucchini Soup with Tahini
FOUR YEARS AGO: Black Sesame Macarons
FIVE YEARS AGO: Fine Tuning Thomas Keller
SIX YEARS AGO: Cauliflower Tortillas
SEVEN YEARS AGO: Majestic Sedona, Take Two
EIGHT YEARS AGO: Secret Ingredient Turkey Meatballs
NINE YEARS AGO: Swedish Meatballs and Egg Noodles
TEN YEARS AGO: Italian Easter Pie
ELEVEN YEARS AGO: Black Olive Bialy