A few bakes for the season
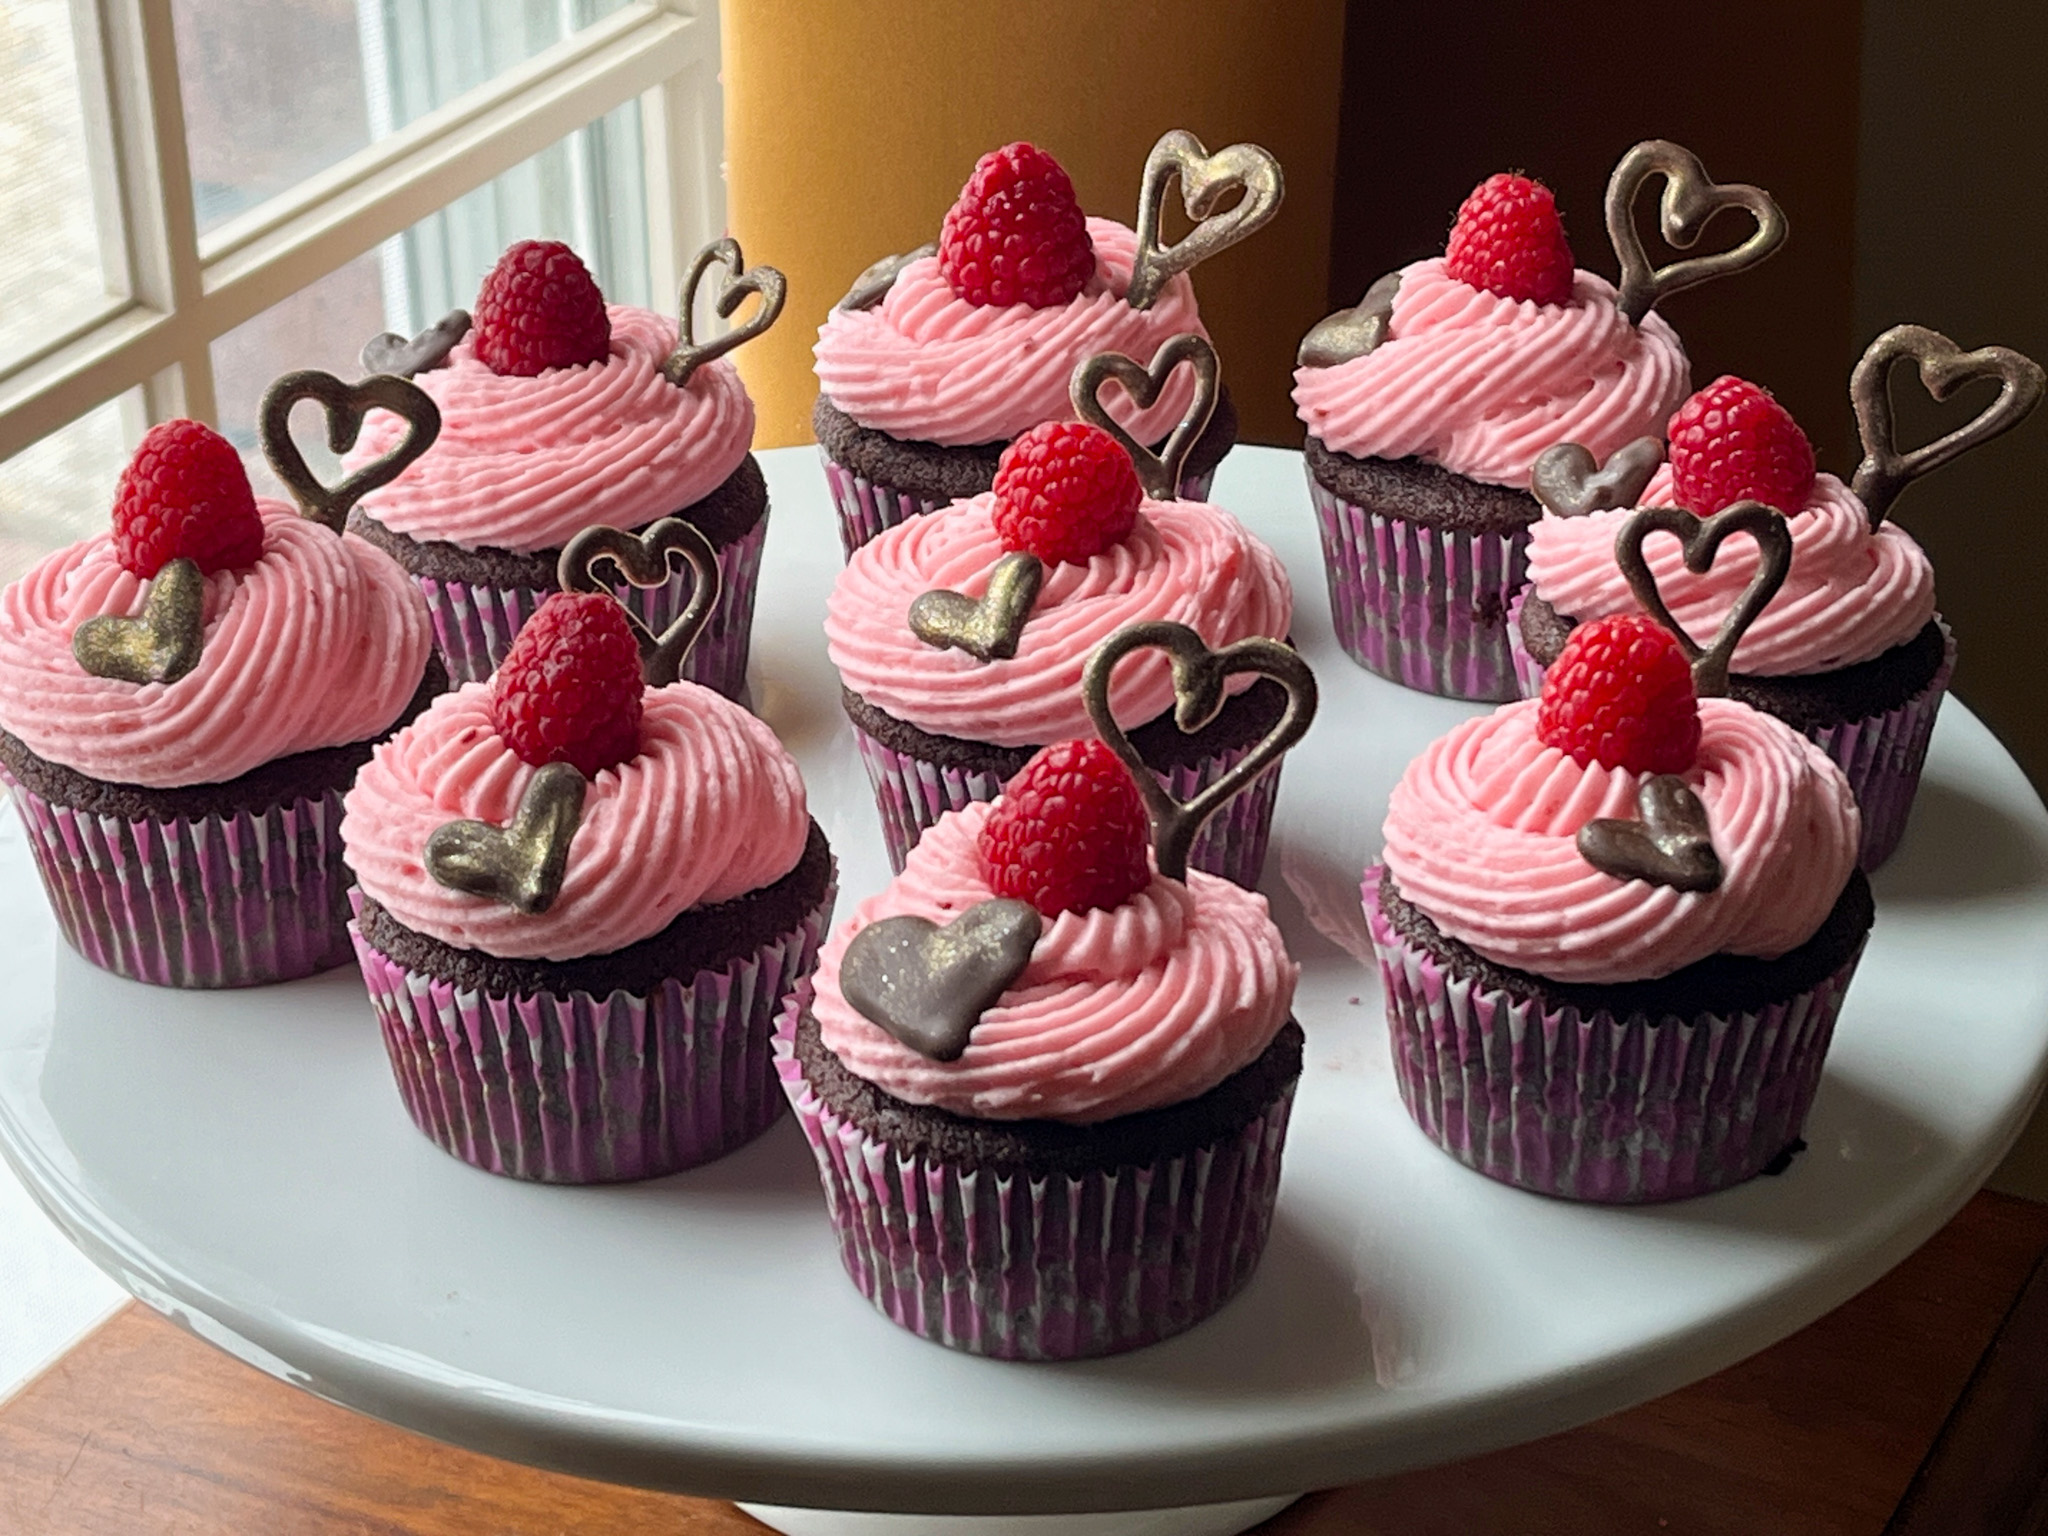
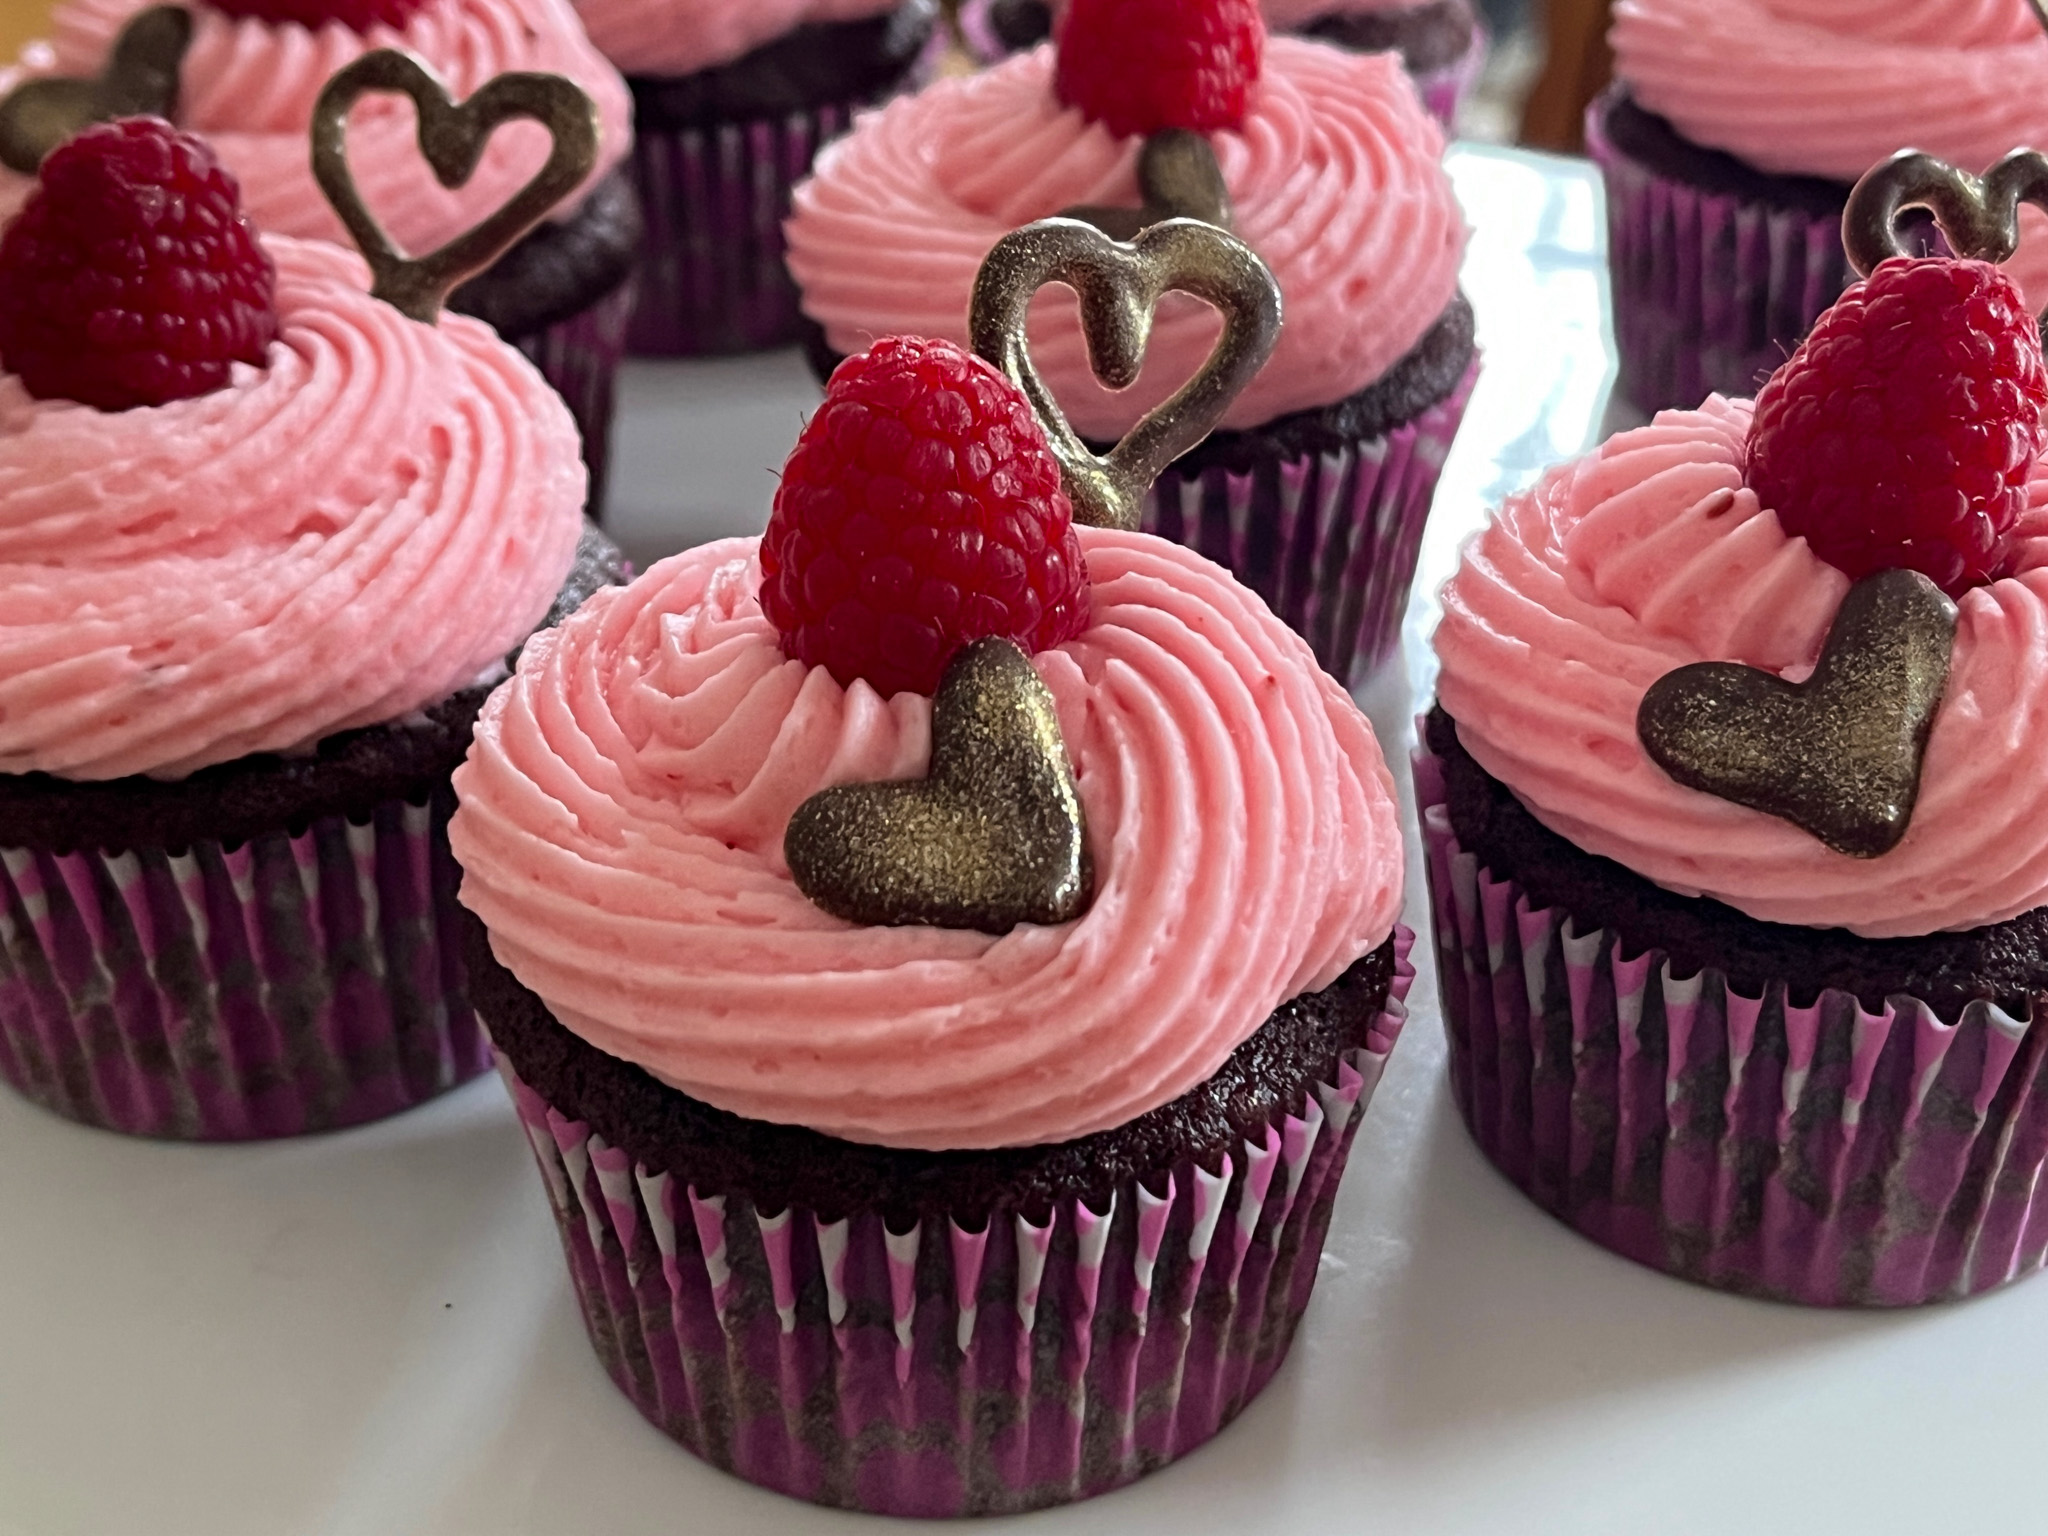
CHOCOLATE CUPCAKES with RASPBERRY BUTTERCREAM
(decoration inspired by @cookingclassy)
CHOCOLATE CUPCAKES WITH RASPBERRY BUTTERCREAM
(from The Bewitching Kitchen)
for the cupcakes (makes 10):
100g all-purpose flour
150g granulated sugar
20g cocoa powder (Dutch-processed)
45g unsalted butter
1/8 tsp salt
120ml milk at room temperature
1 large egg, room temperature
1 + 1/2 tsp baking powder
Heat oven to 350F.
Place flour, cocoa powder, salt, butter and sugar in the bowl of a KitchenAid type mixer fitted with the paddle attachment. Mix on medium-high speed until the mixture resembles coarse sand.
In a small bowl, whisk milk and egg. Pour half this mixture into the dry ingredients, and mix on medium speed. Scrape the bowl, continue mixing and pour the other half of the milk-egg. Mix on low speed until combined, then increase the speed to high for a few seconds.
Fill cupcake tins a little over half the volume, and bake until a toothpick comes out clean, about 15 minutes. Let the cupcakes cool completely before frosting.
RASPBERRY BUTTERCREAM
113g (1/2 cup) butter, softened
1/4 cup raspberry jam, seedless
pinch of salt
3 cups powdered sugar
super tiny amount of pink food gel color
Cut the butter into cubes and place in a mixing bowl of an electric mixer fitted with the paddle attachment. Mix butter until smooth, for about 4 minutes. Add jam, the pinch of salt and mix again until well mixed with butter, a couple of minutes. Add the pink gel color.
With the mixer on low speed, add powdered sugar one cup at a time, mixing until fully combined and free of lumps. Once it is all incorporated, turn the speed to high and mix for 2 minutes. That will give you a smooth buttercream that you can use immediately to frost the cooled cupcakes.
Decorate with a fresh raspberry and hearts made with tempered chocolate (or compound chocolate) melted and piped into parchment paper or acetate.
ENJOY!
to print the recipe, click here
.
Comments: Normally I donate all the sweets I bake, but because it was Valentine’s Day, I saved one cupcake to enjoy with the hubby after our meal. OMG! Words of the husband: “Good thing we only had one to share because if we had more I could not stop eating them”. Moist, delicious, and the buttercream frosting absolutely perfect, bringing a little sharp flavor to the party. Make them. Just make them if you want a wonderful treat.
MOVING ON…
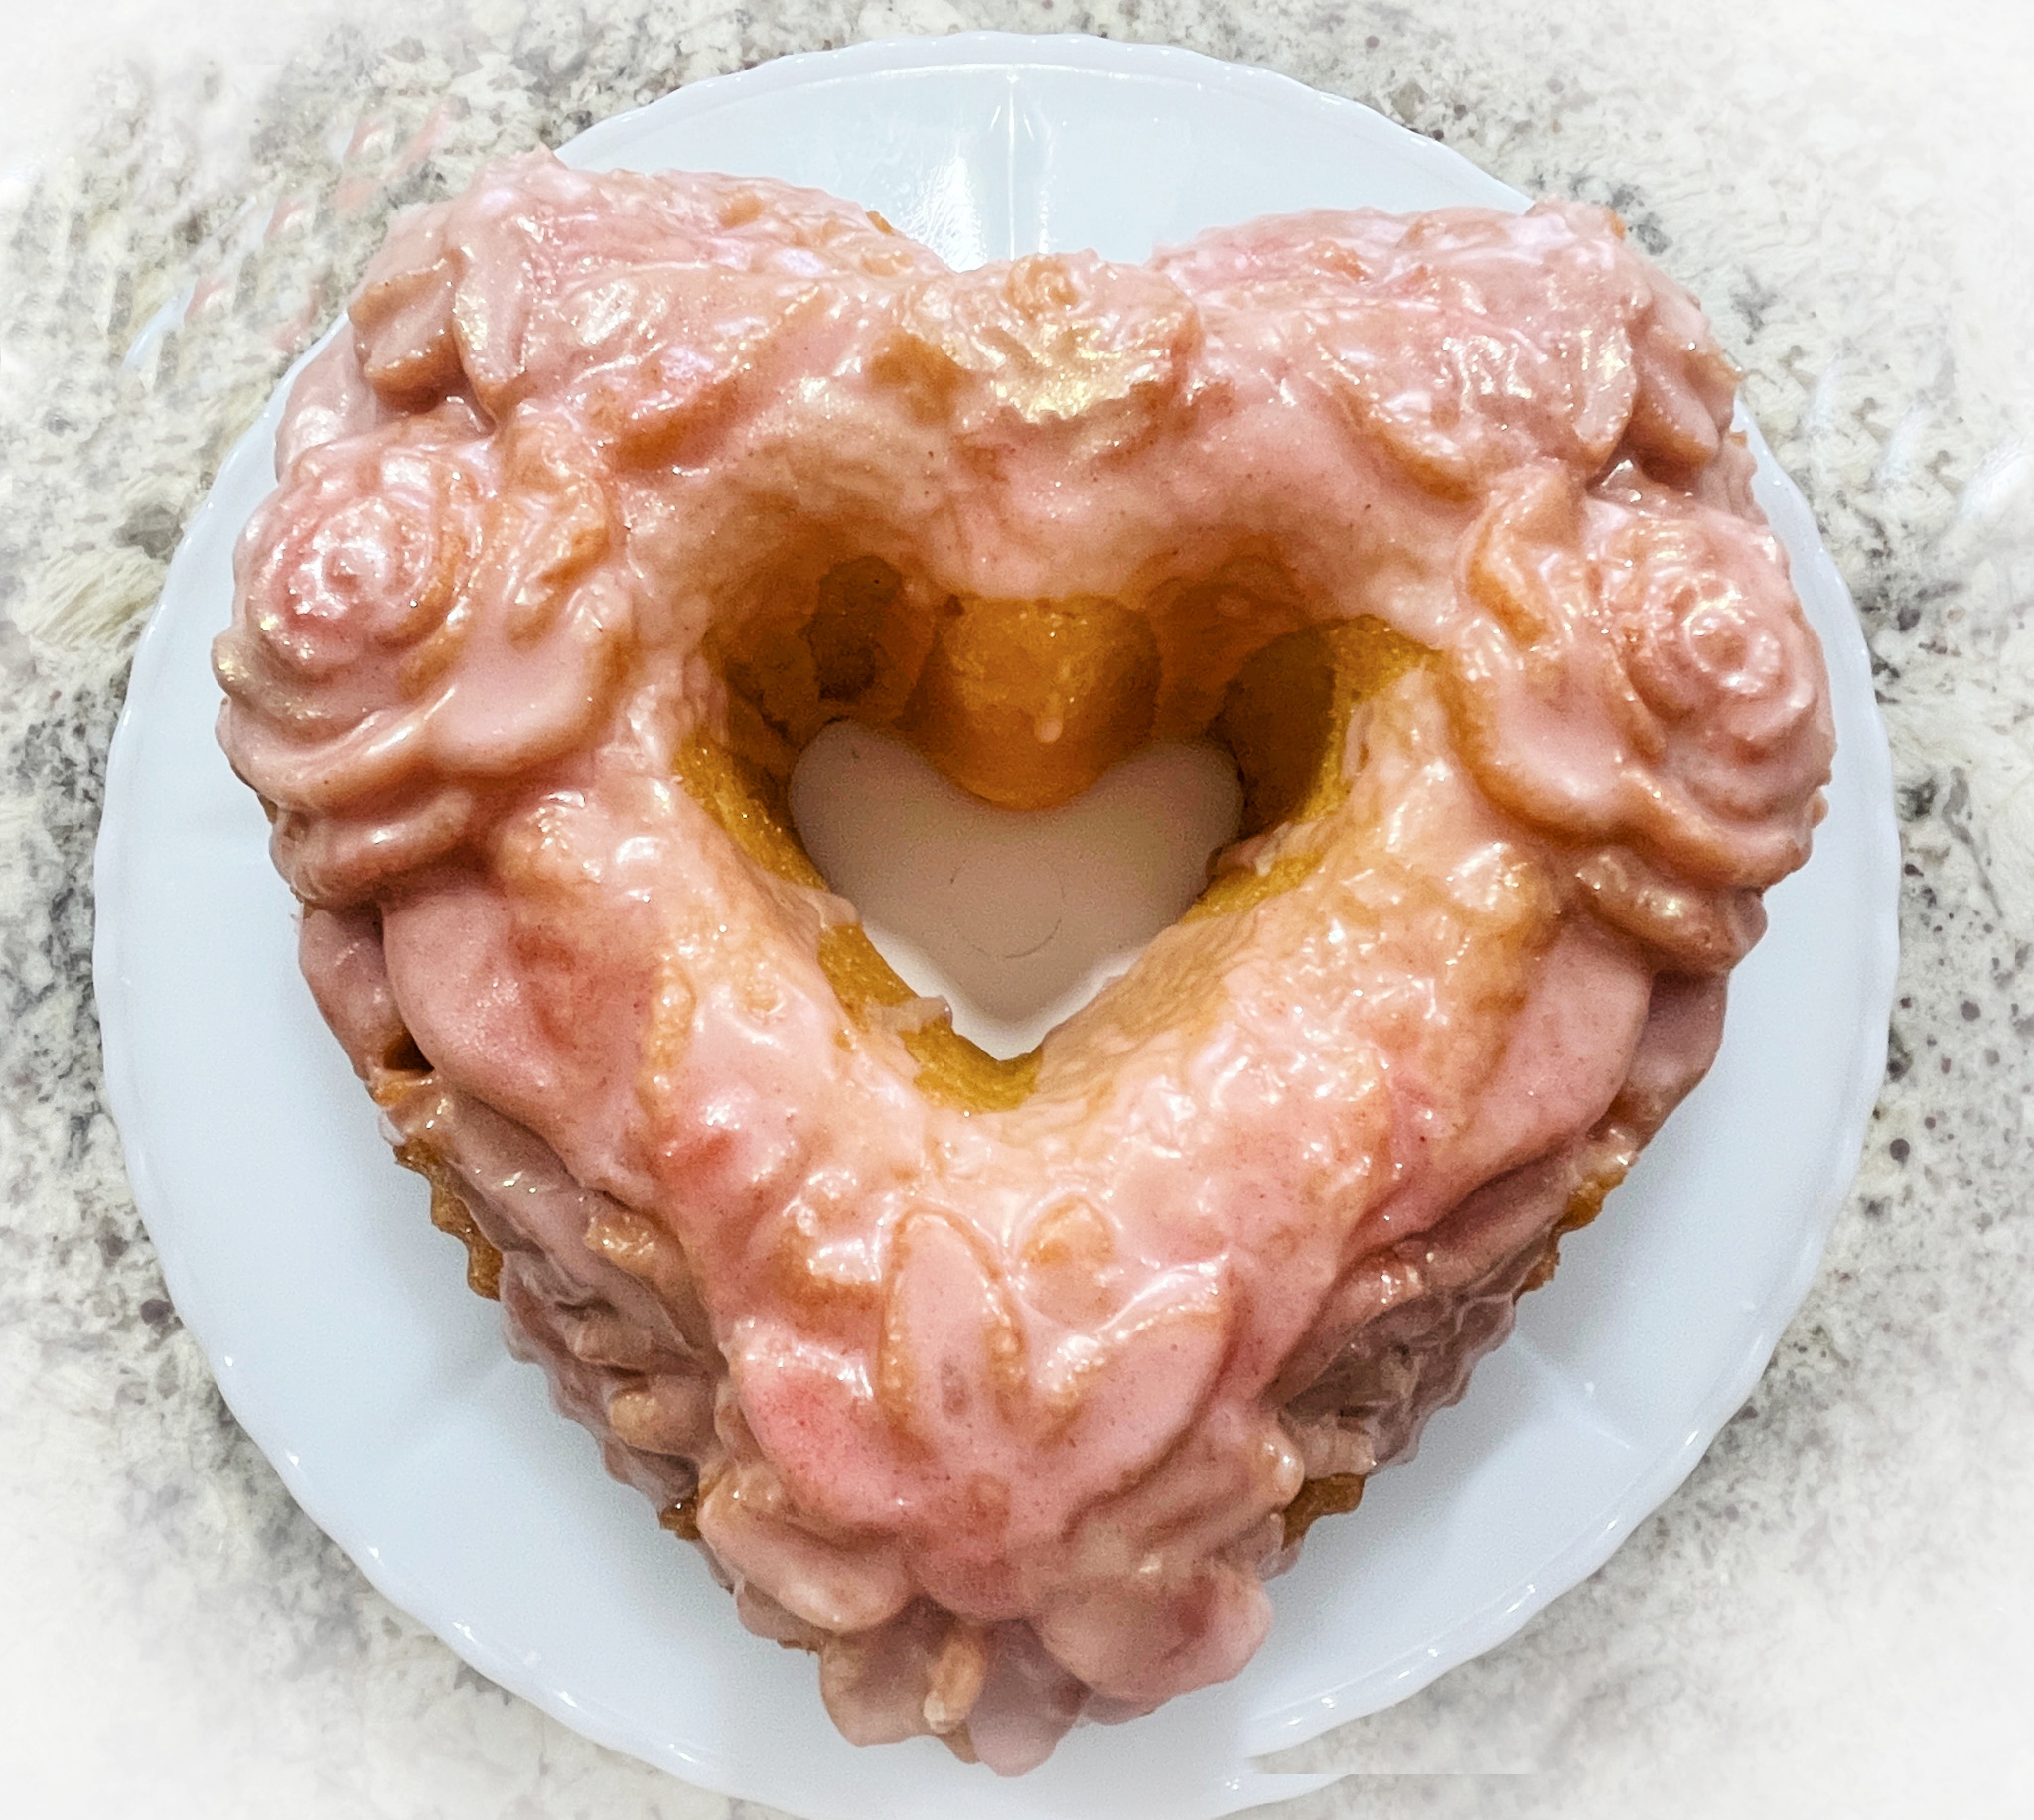
VANILLA CAKE WITH HIBISCUS GLAZE
(recipe published in the past, click here)
.
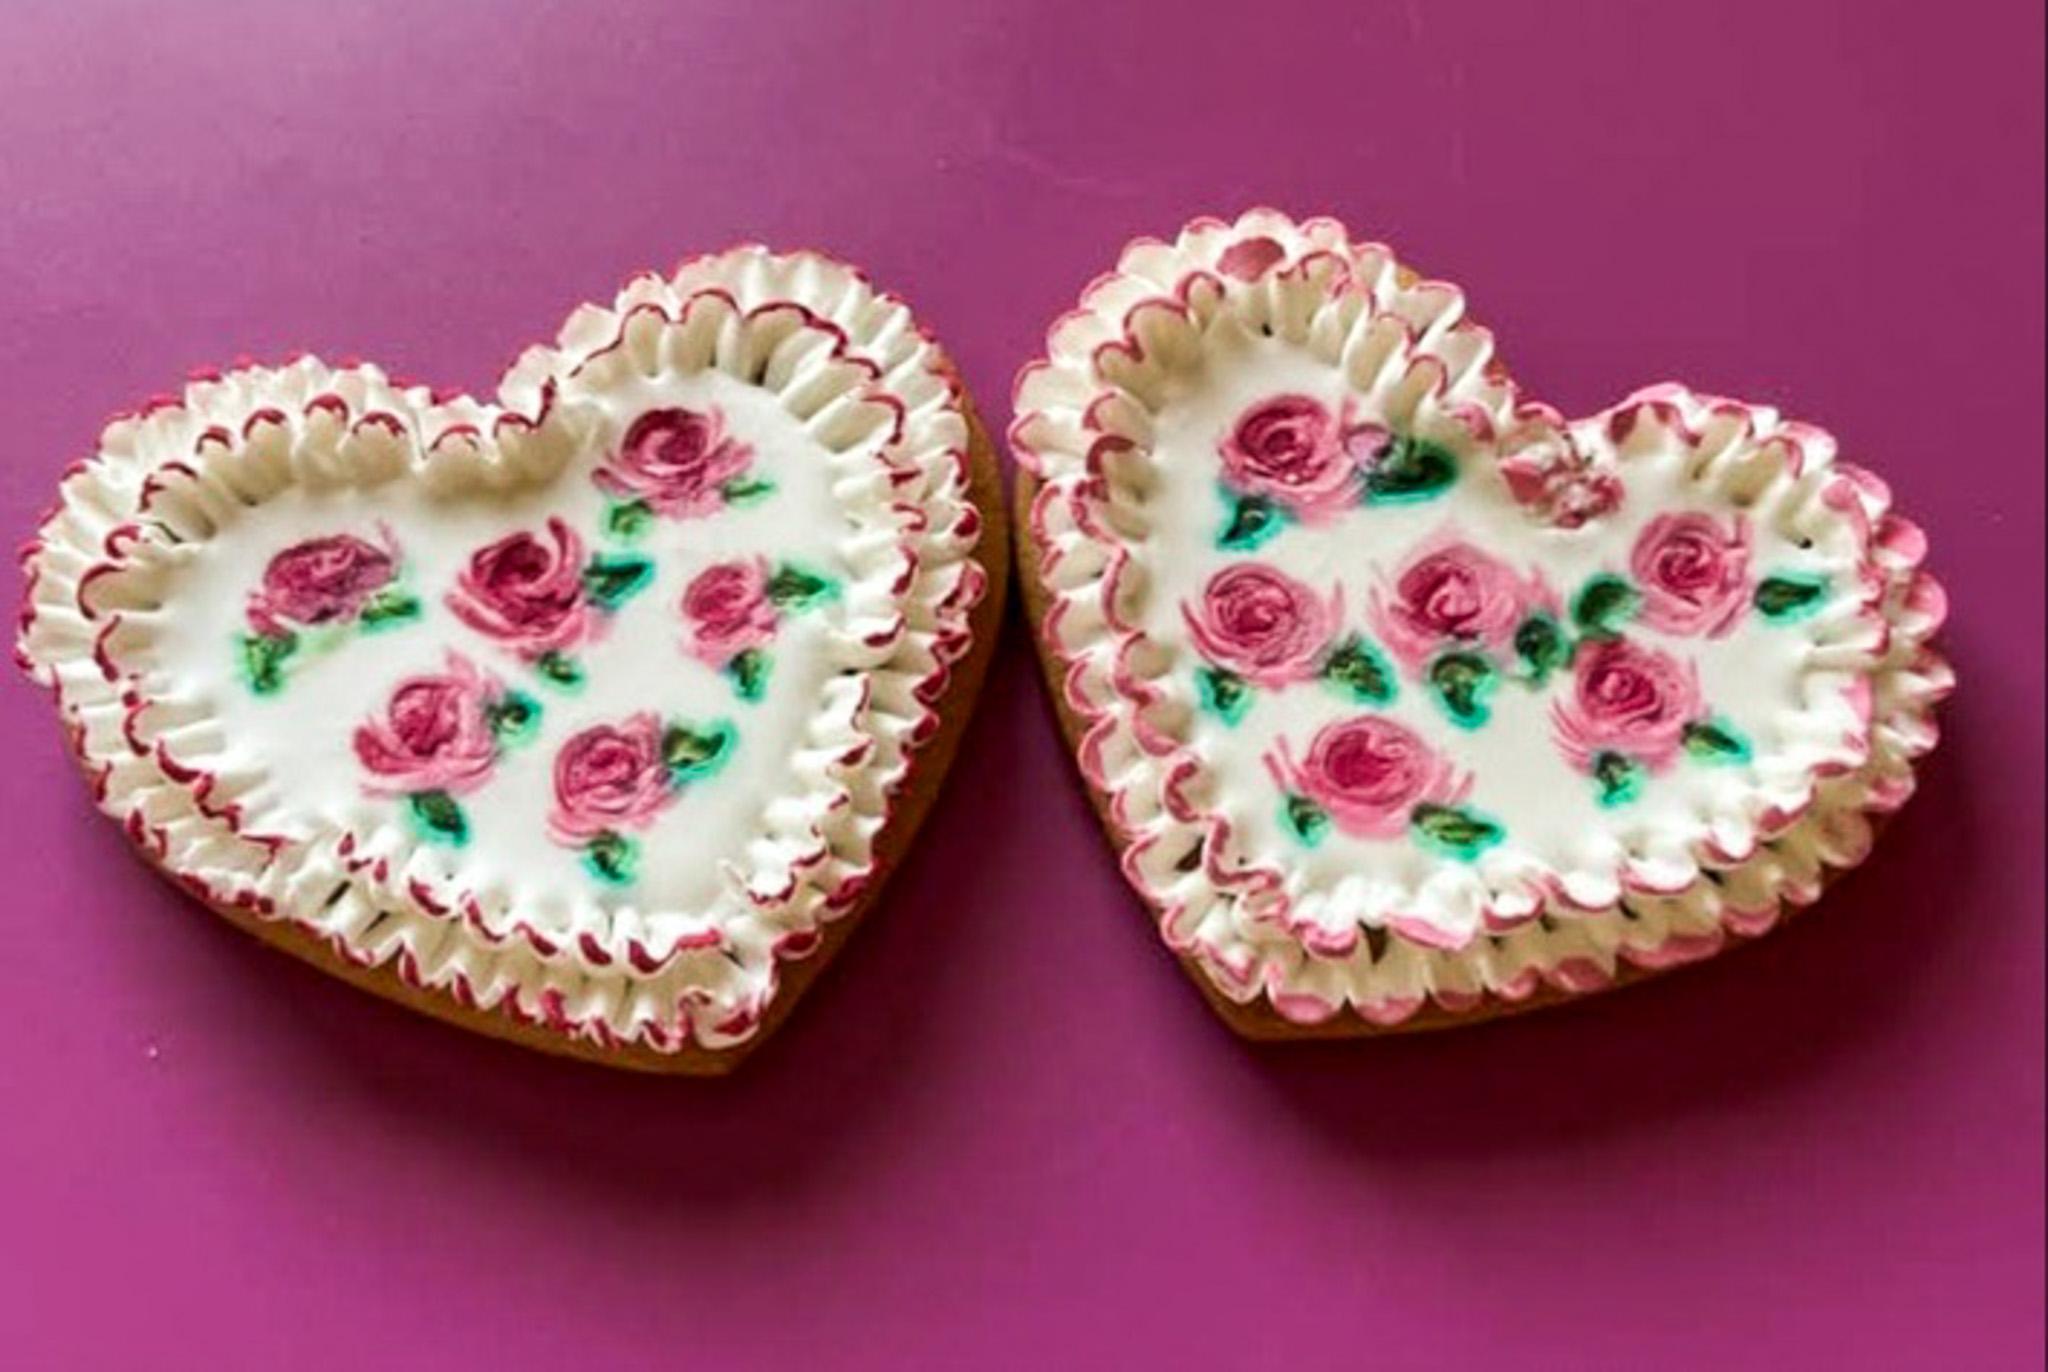
SUGAR COOKIES WITH RUFFLES AND ROSES
(after @sweetambs)
.
.
CHOCOLATE-CHIPOTLE COOKIES WITH CUTOUT HEARTS
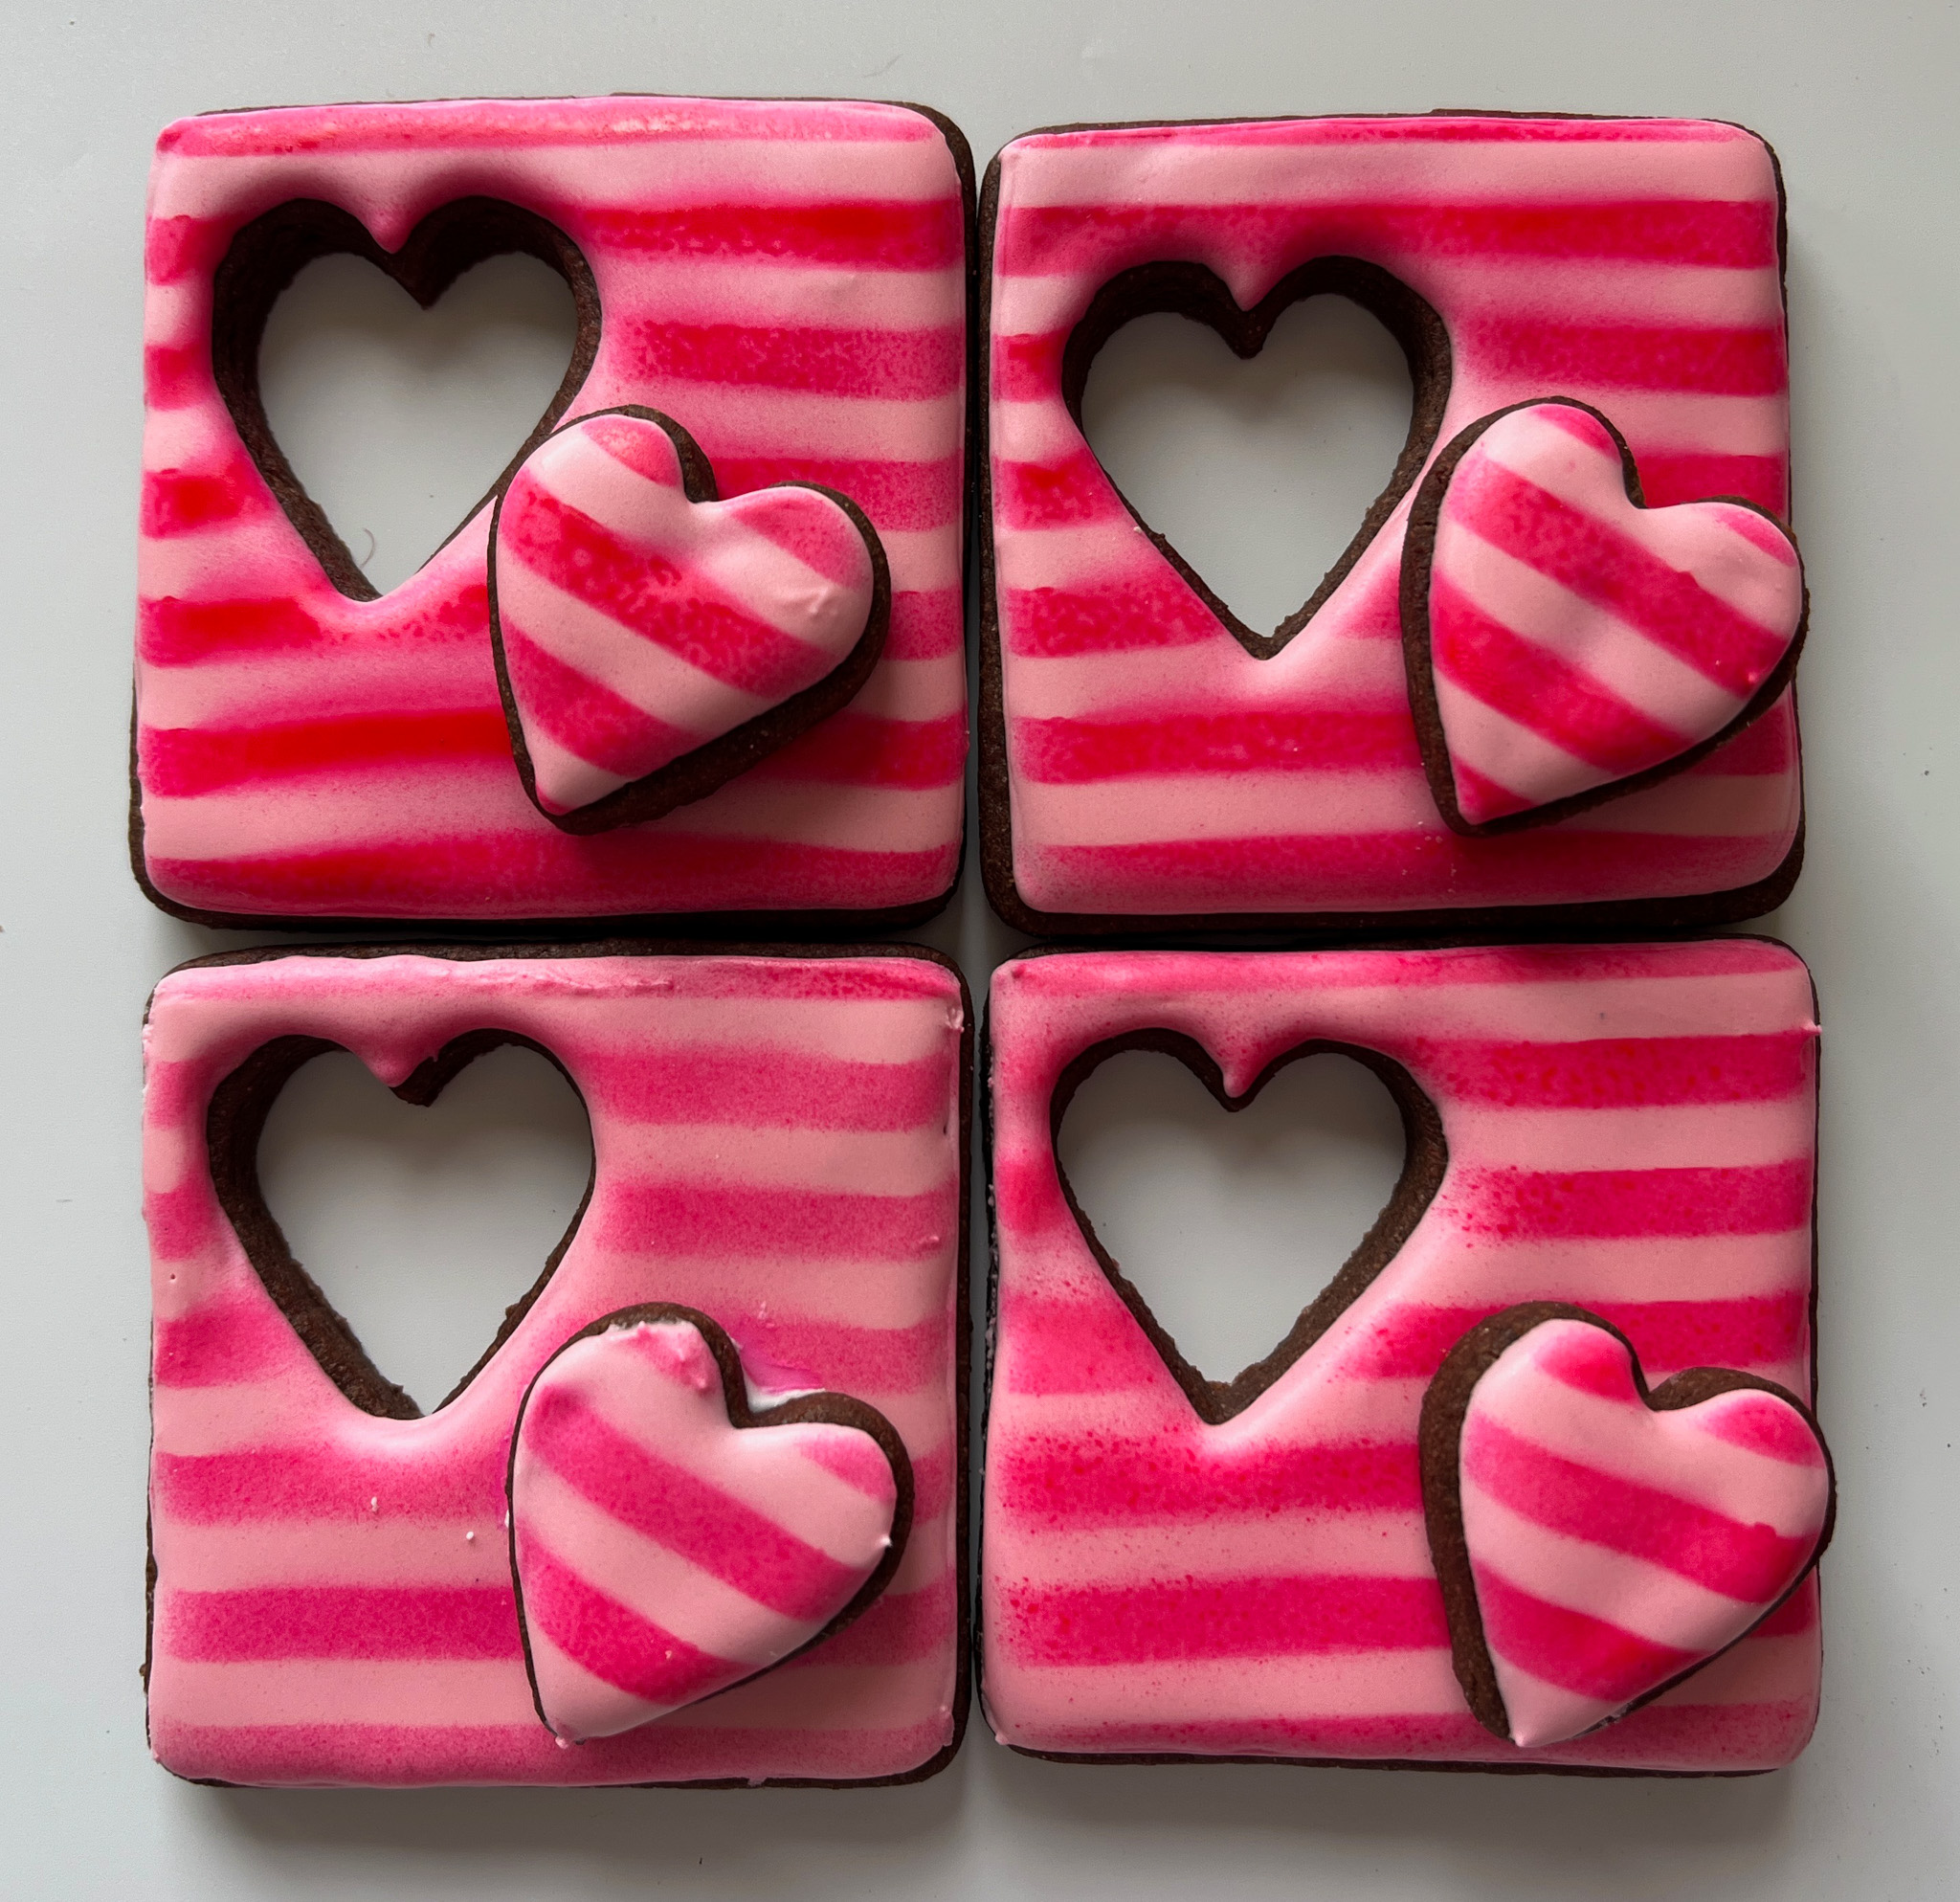
.
.
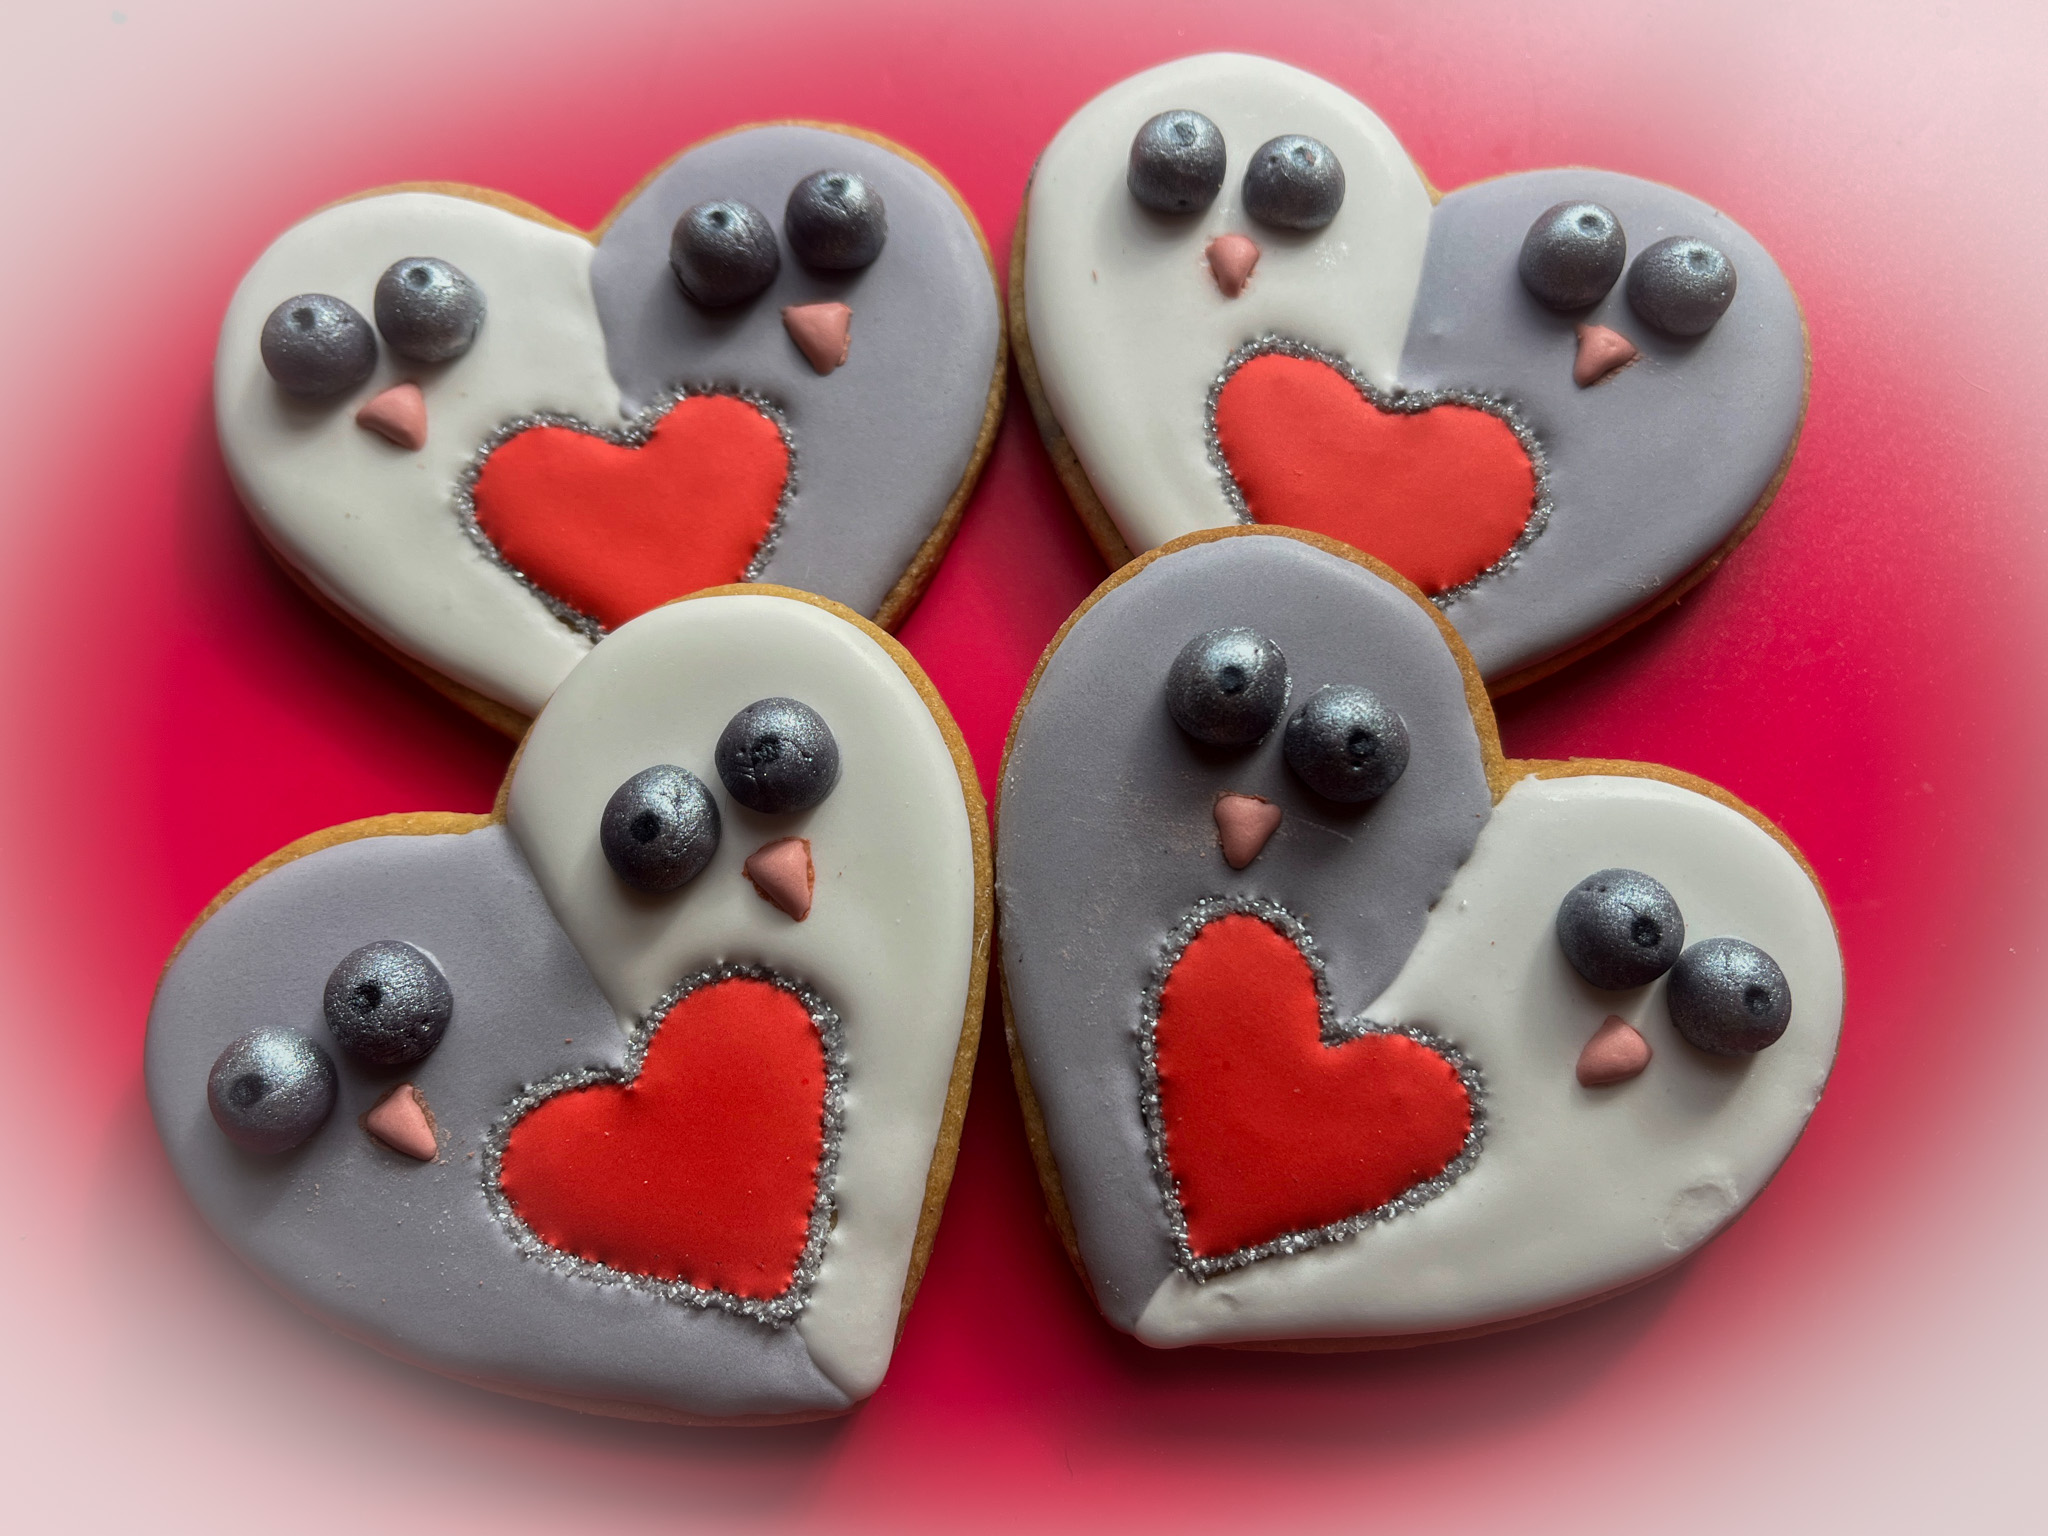
OWLS IN LOVE
(after Haniela)
.
.
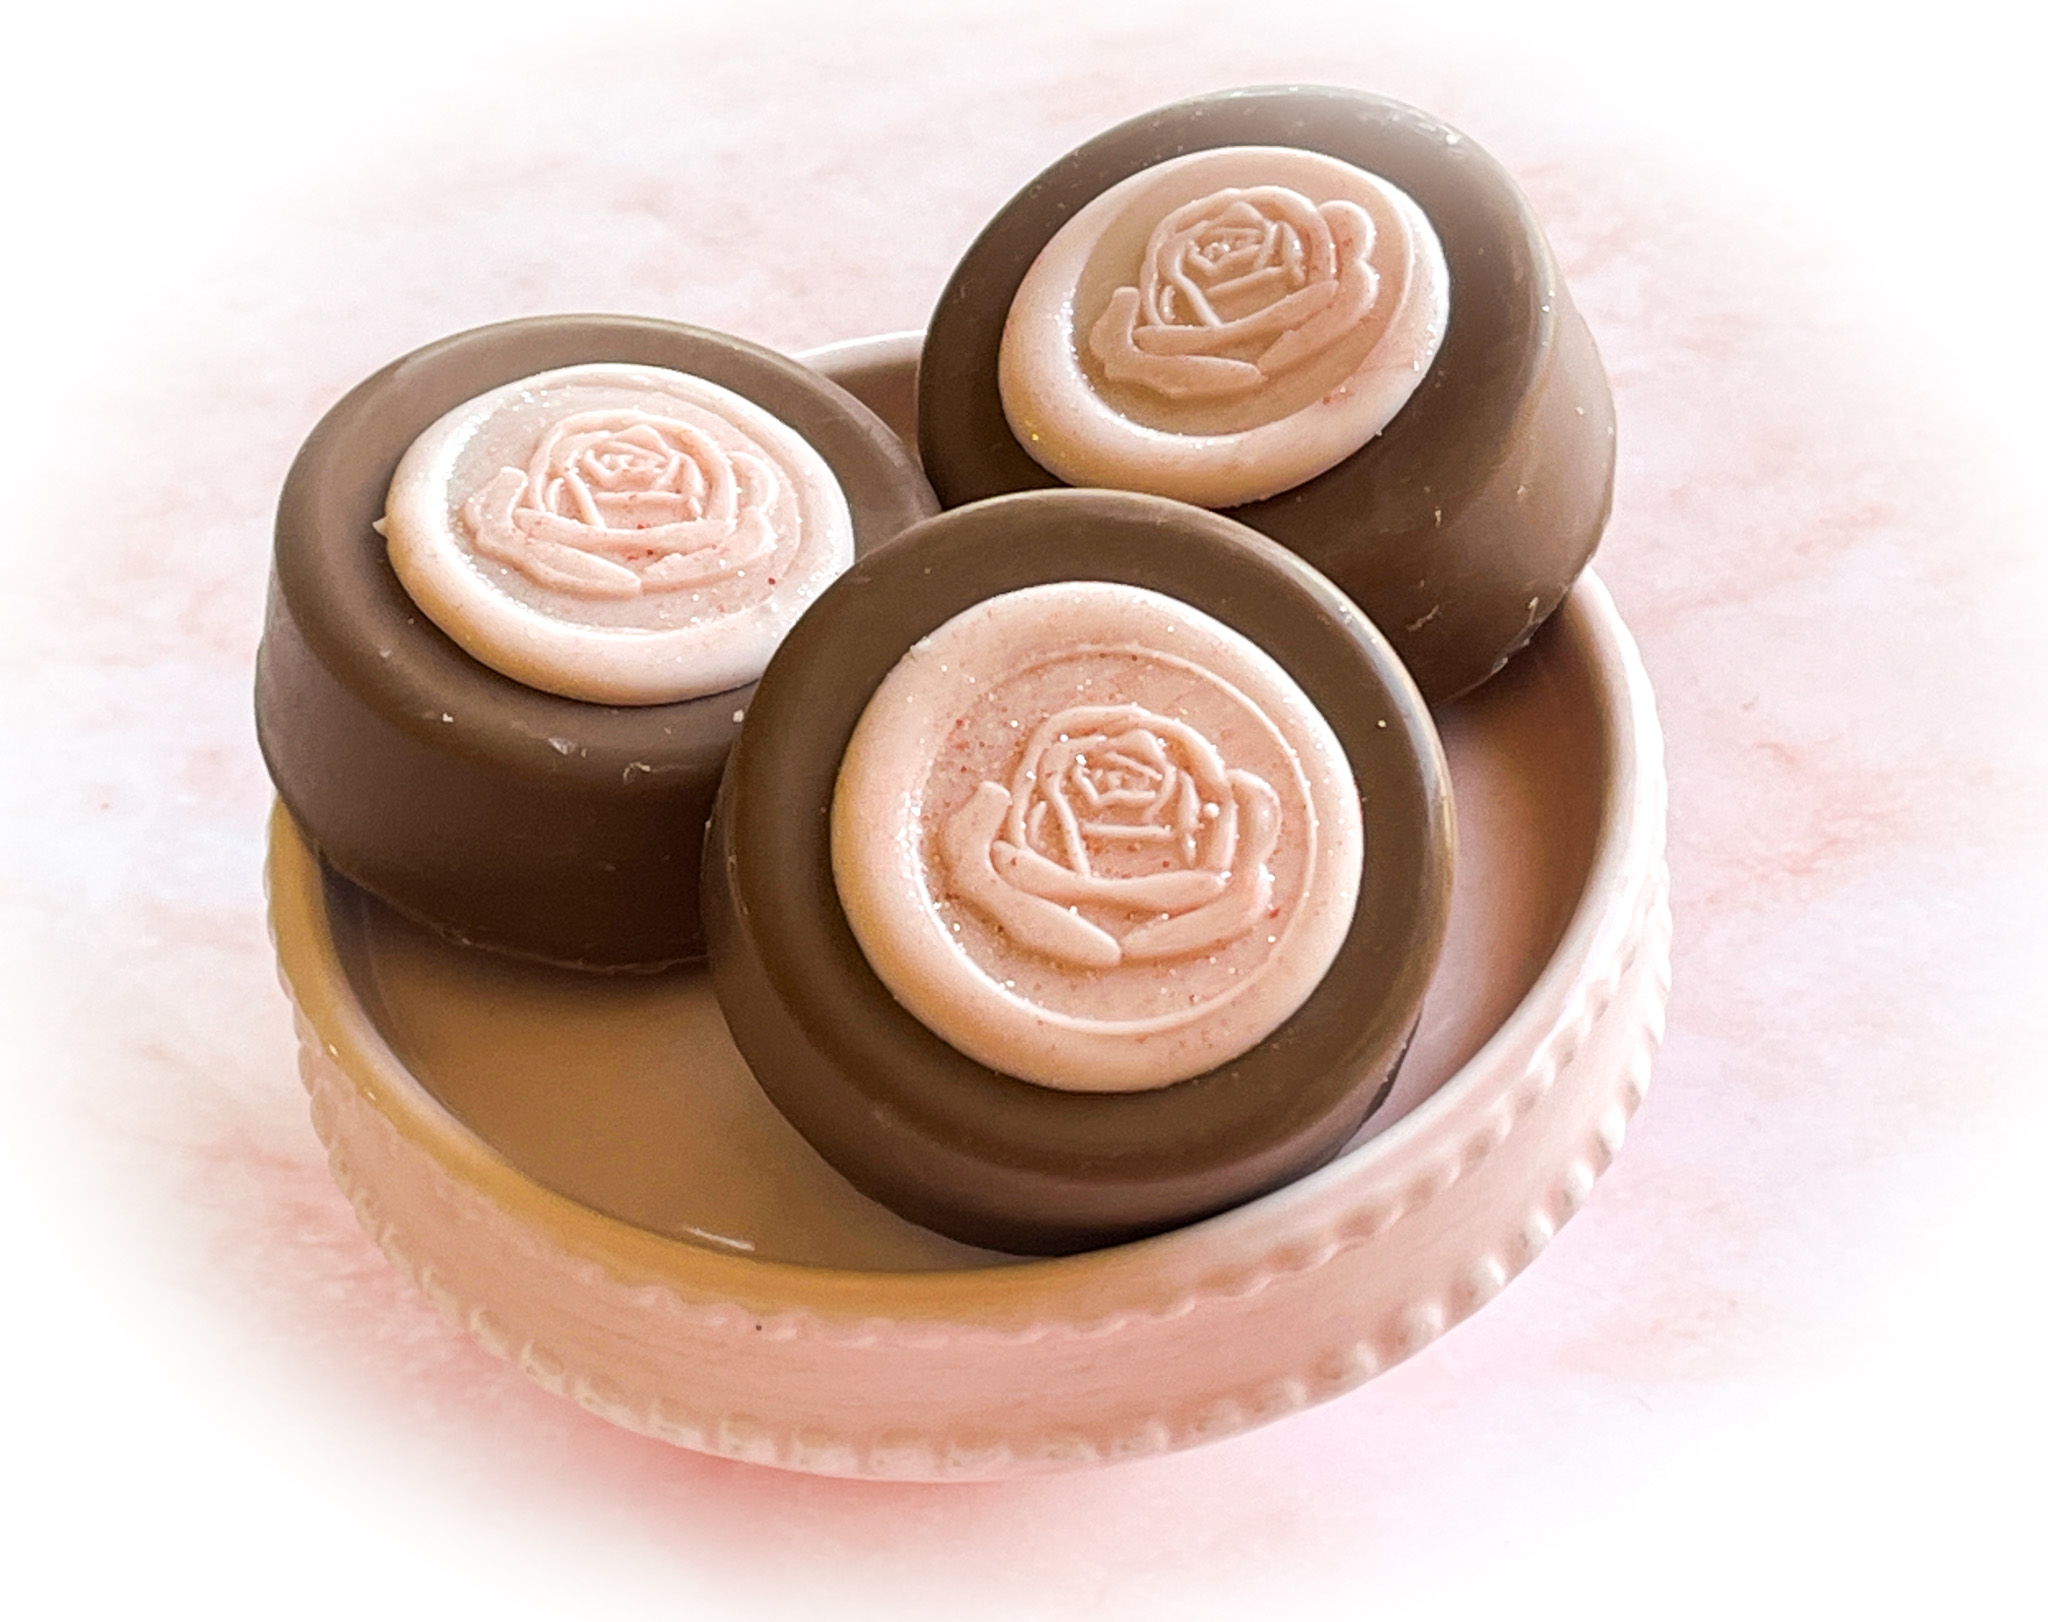
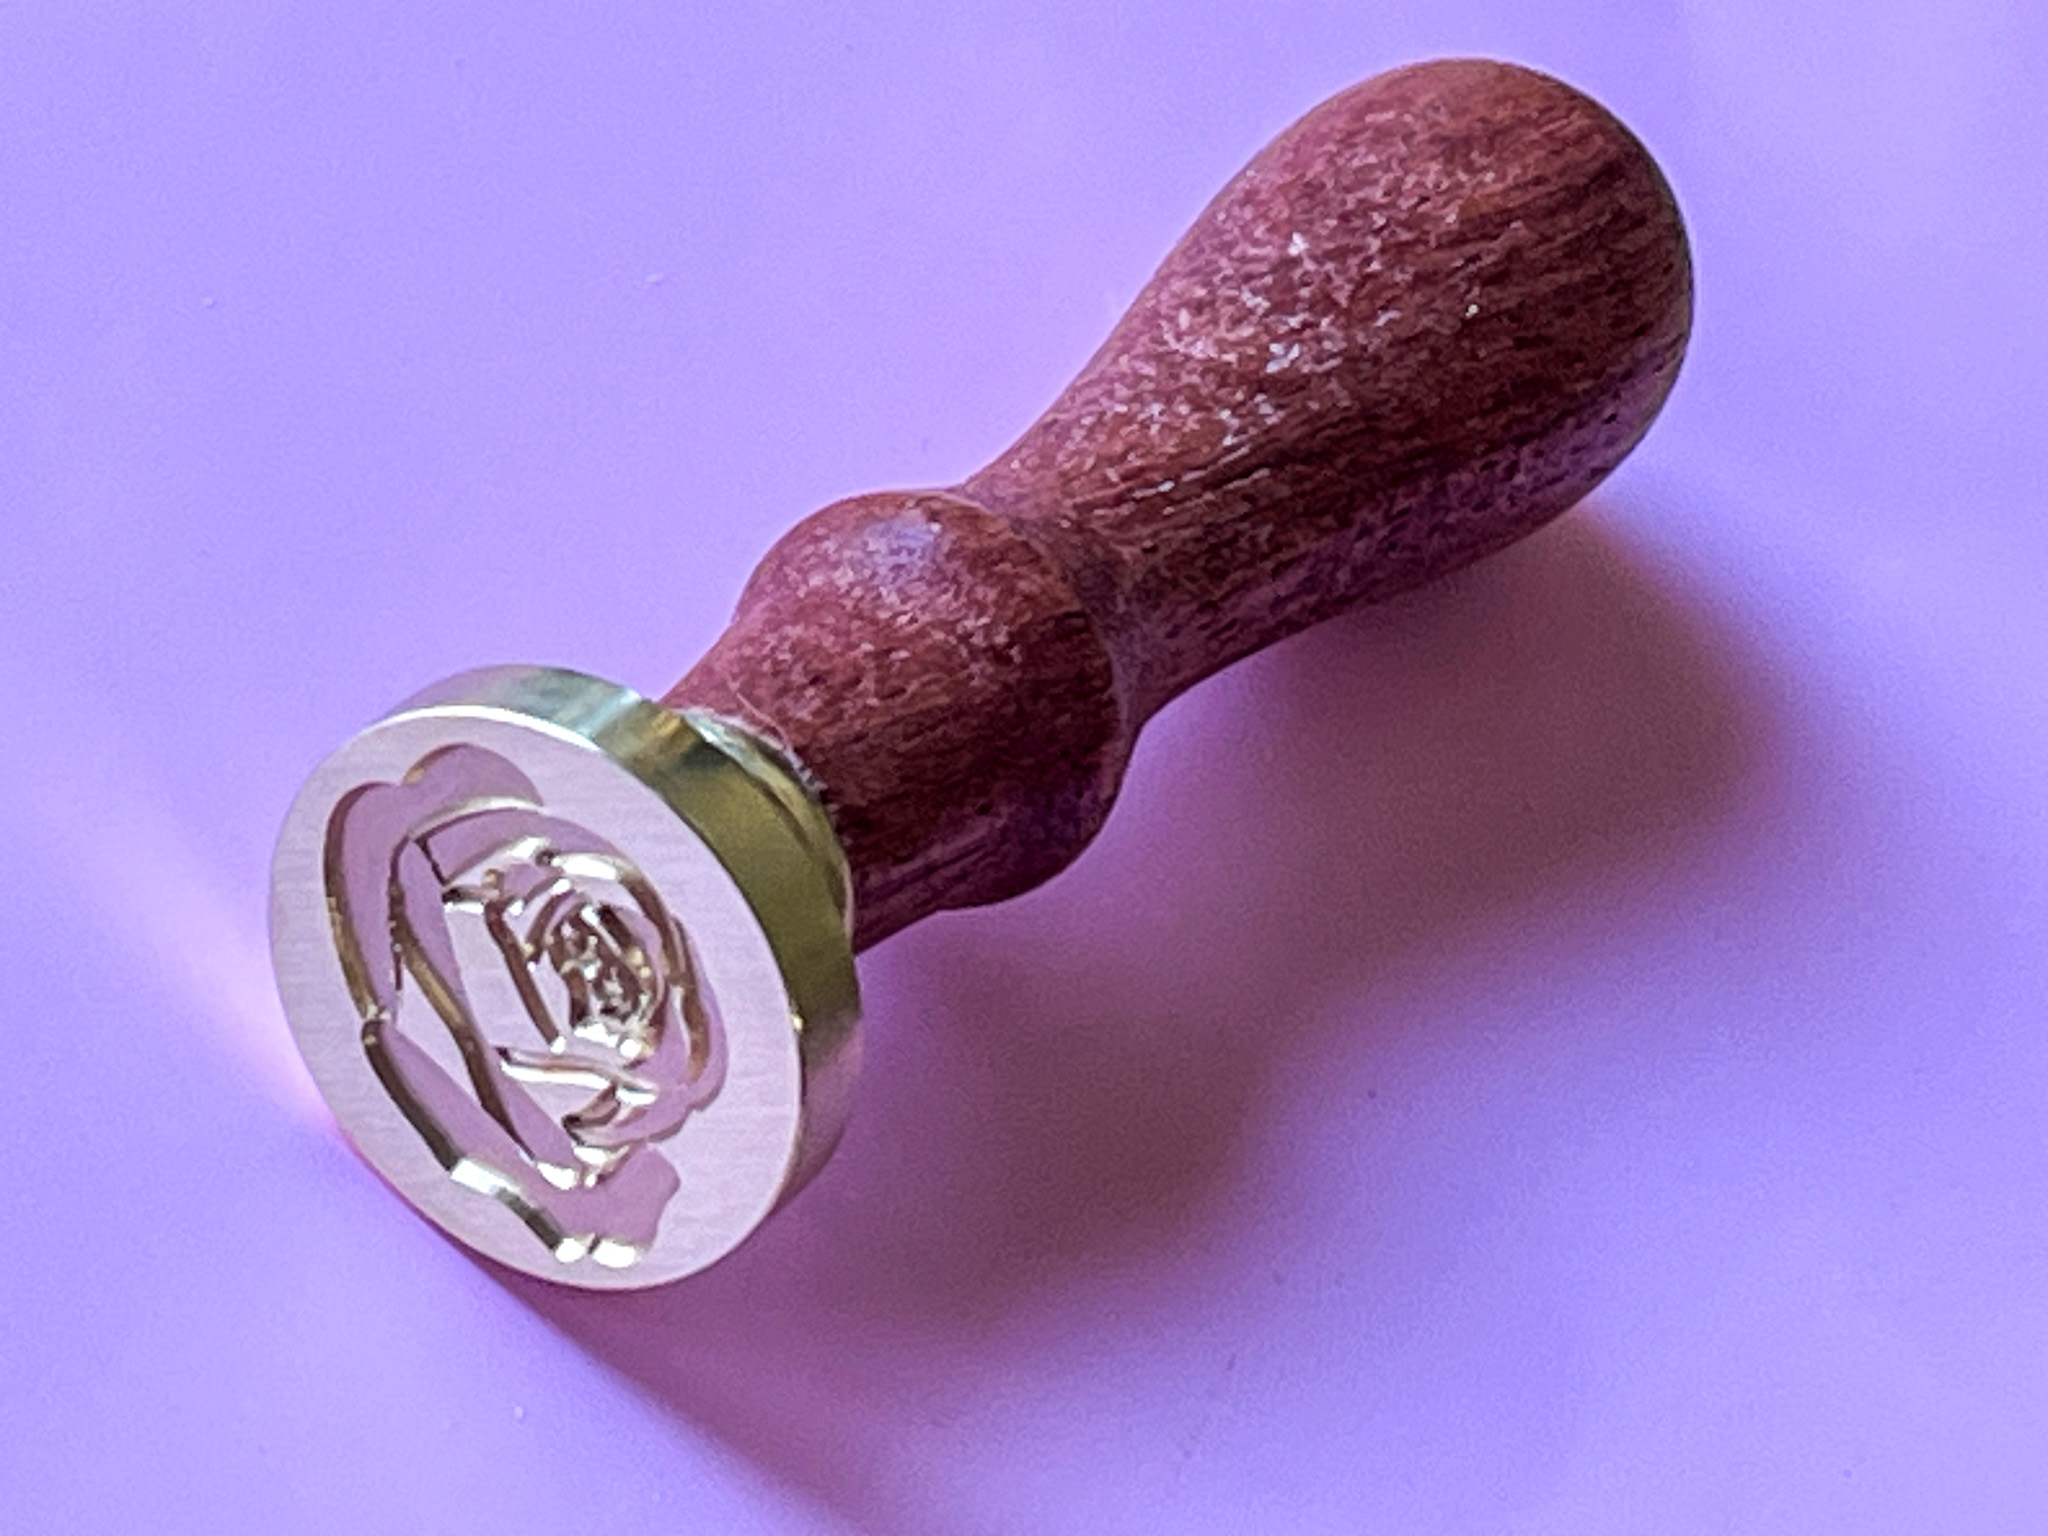
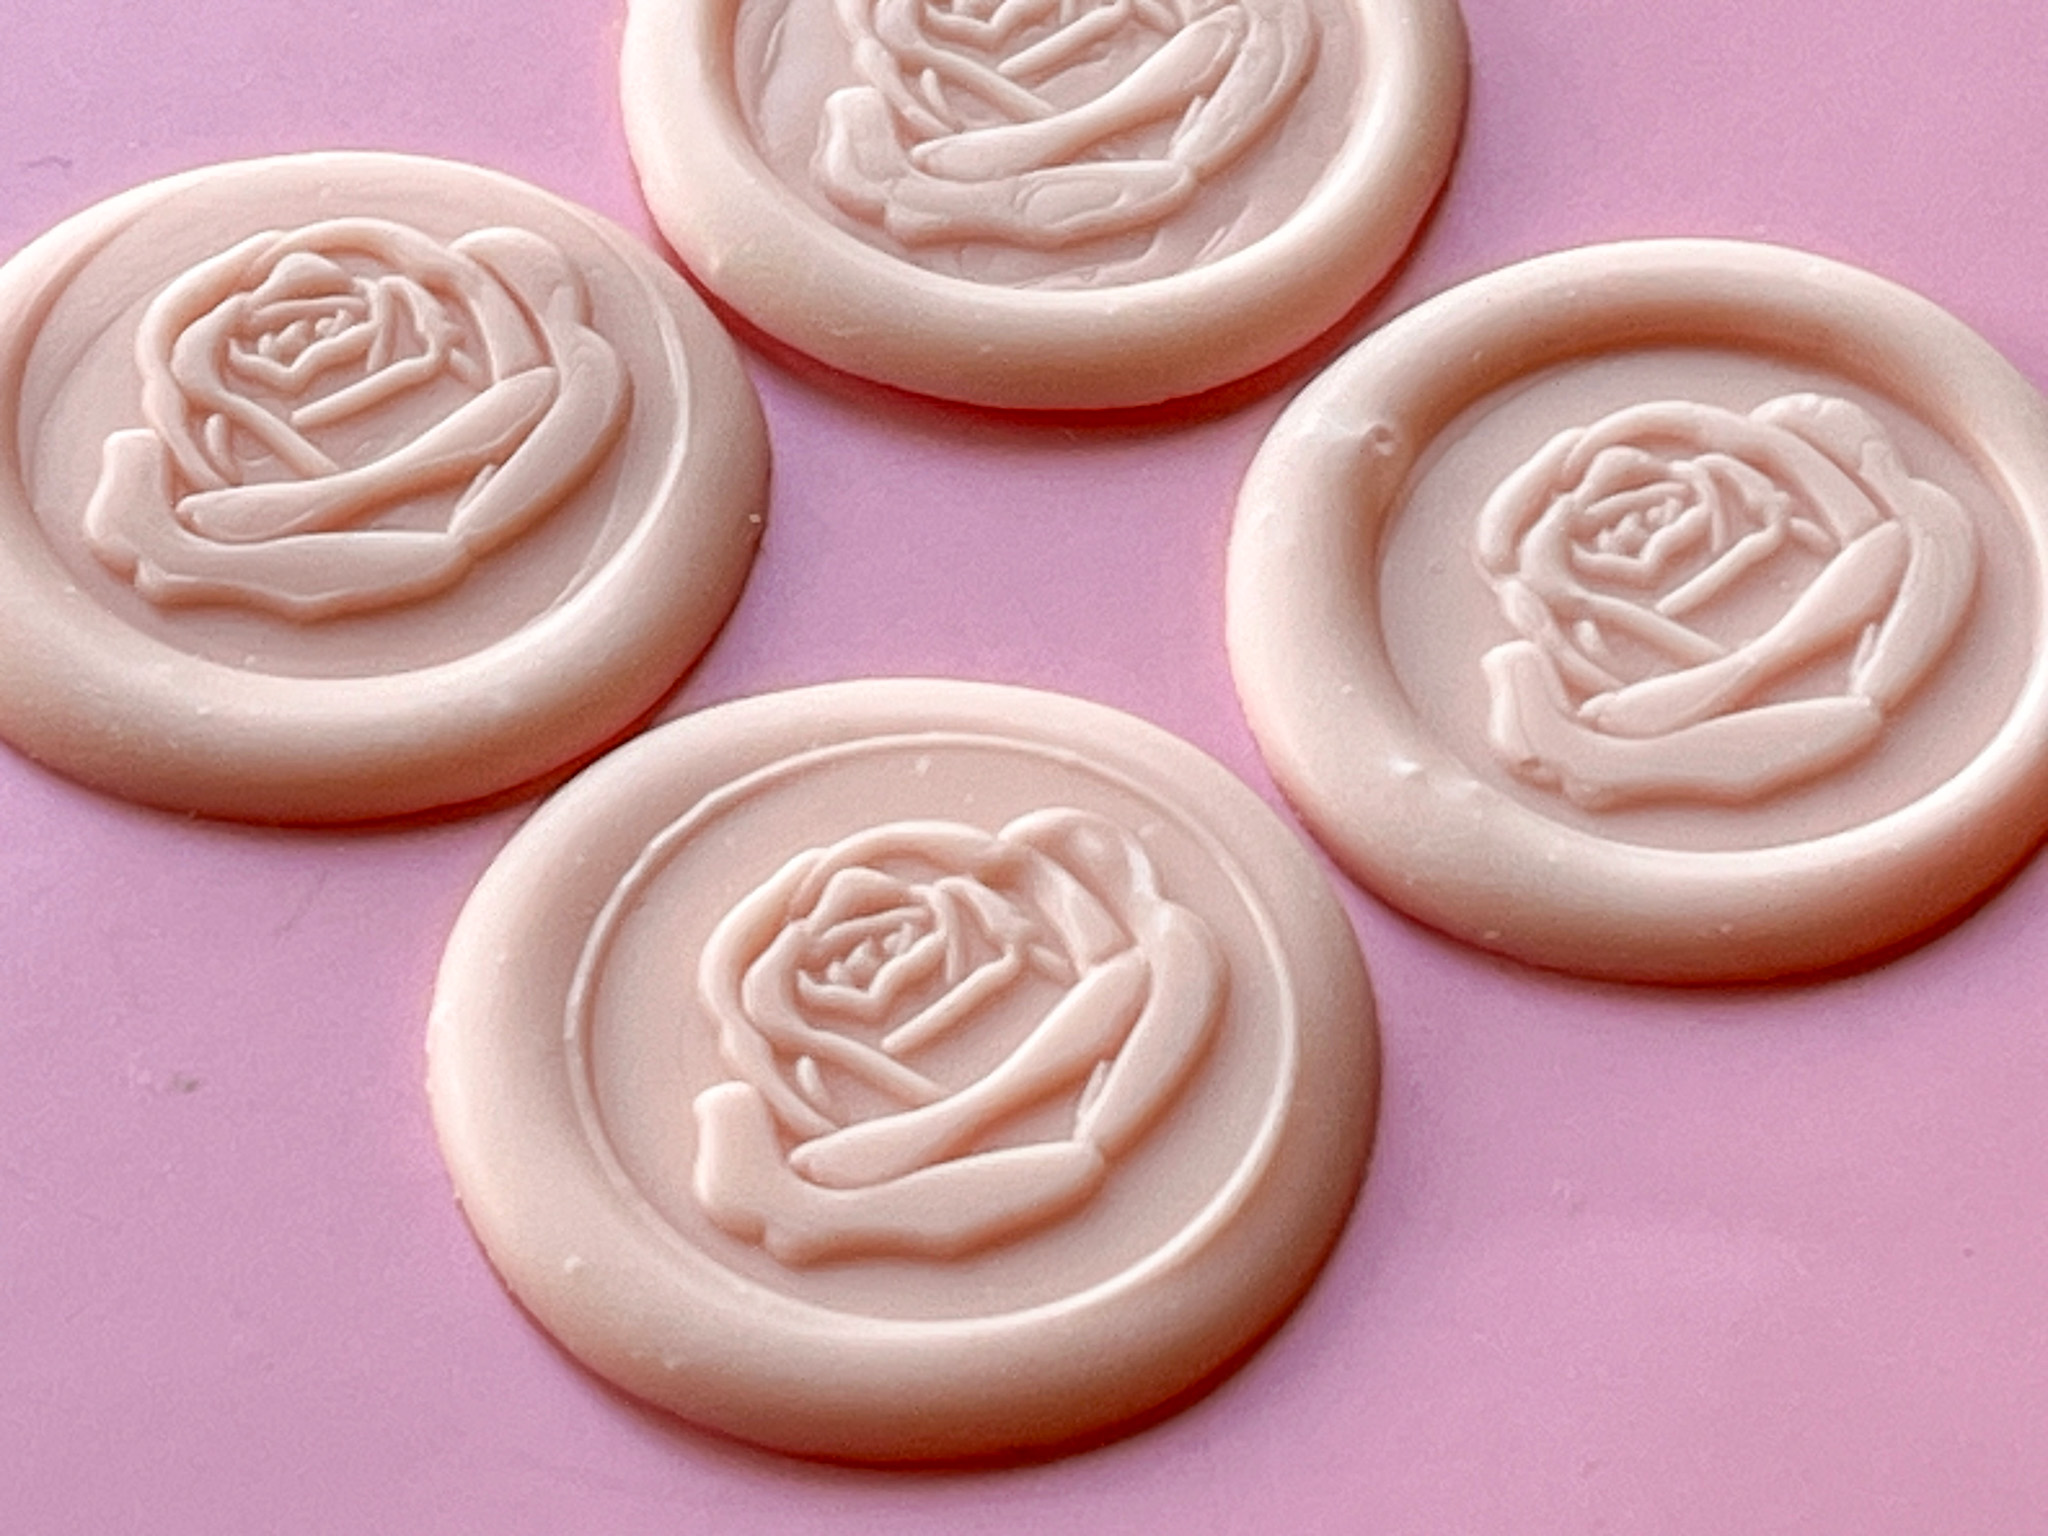
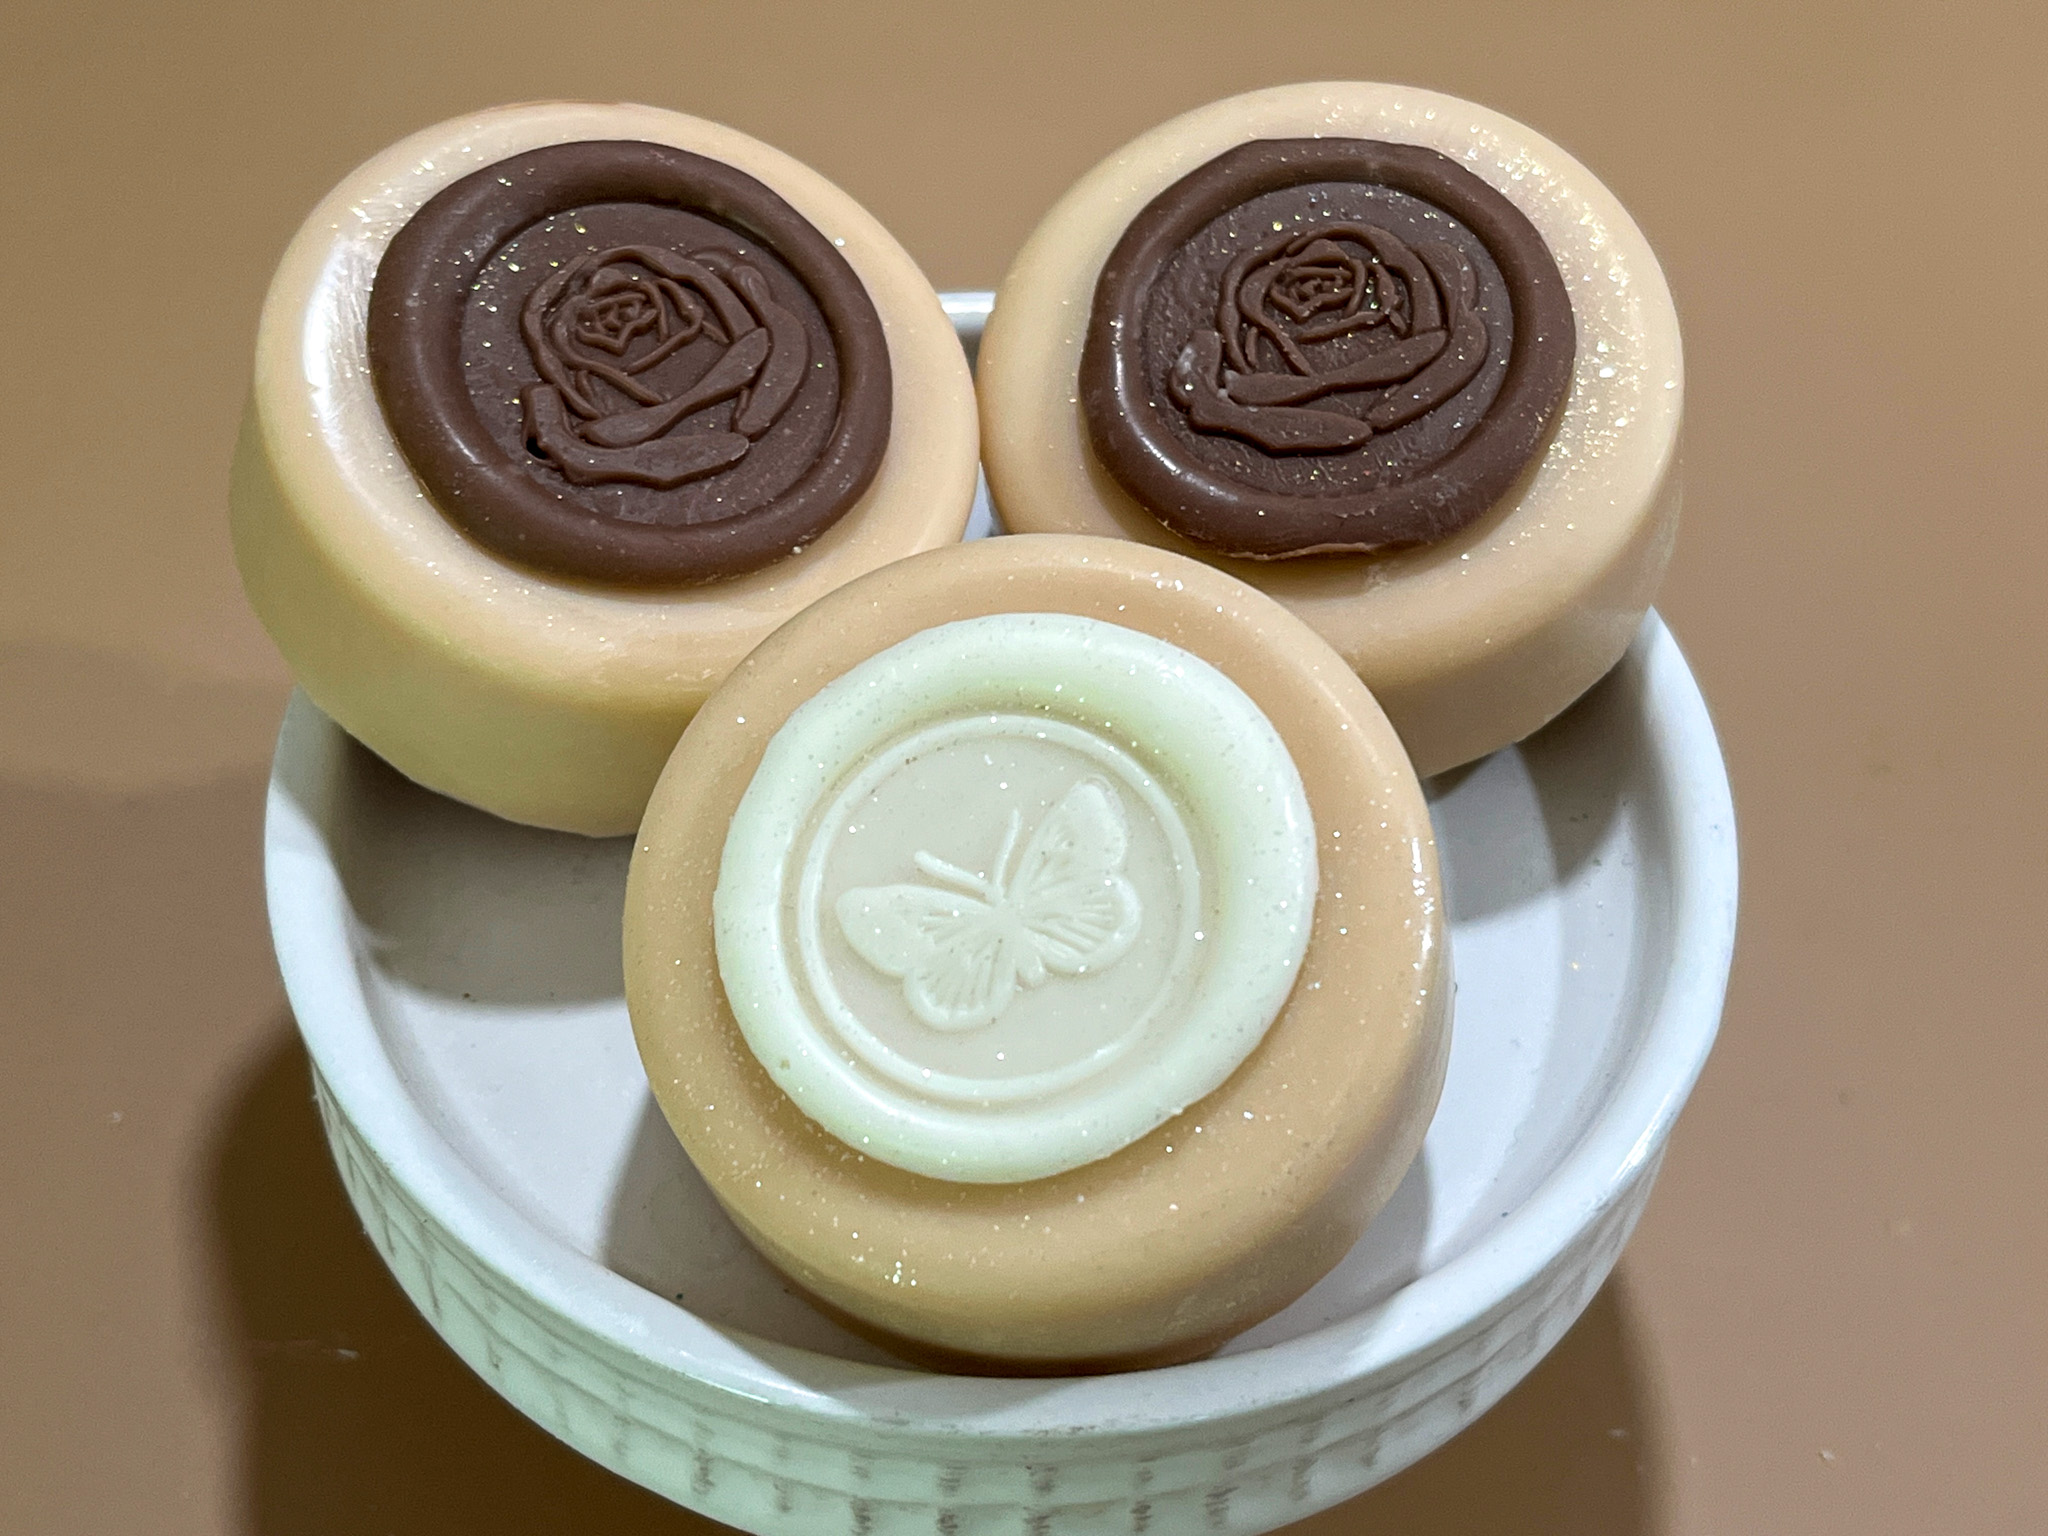
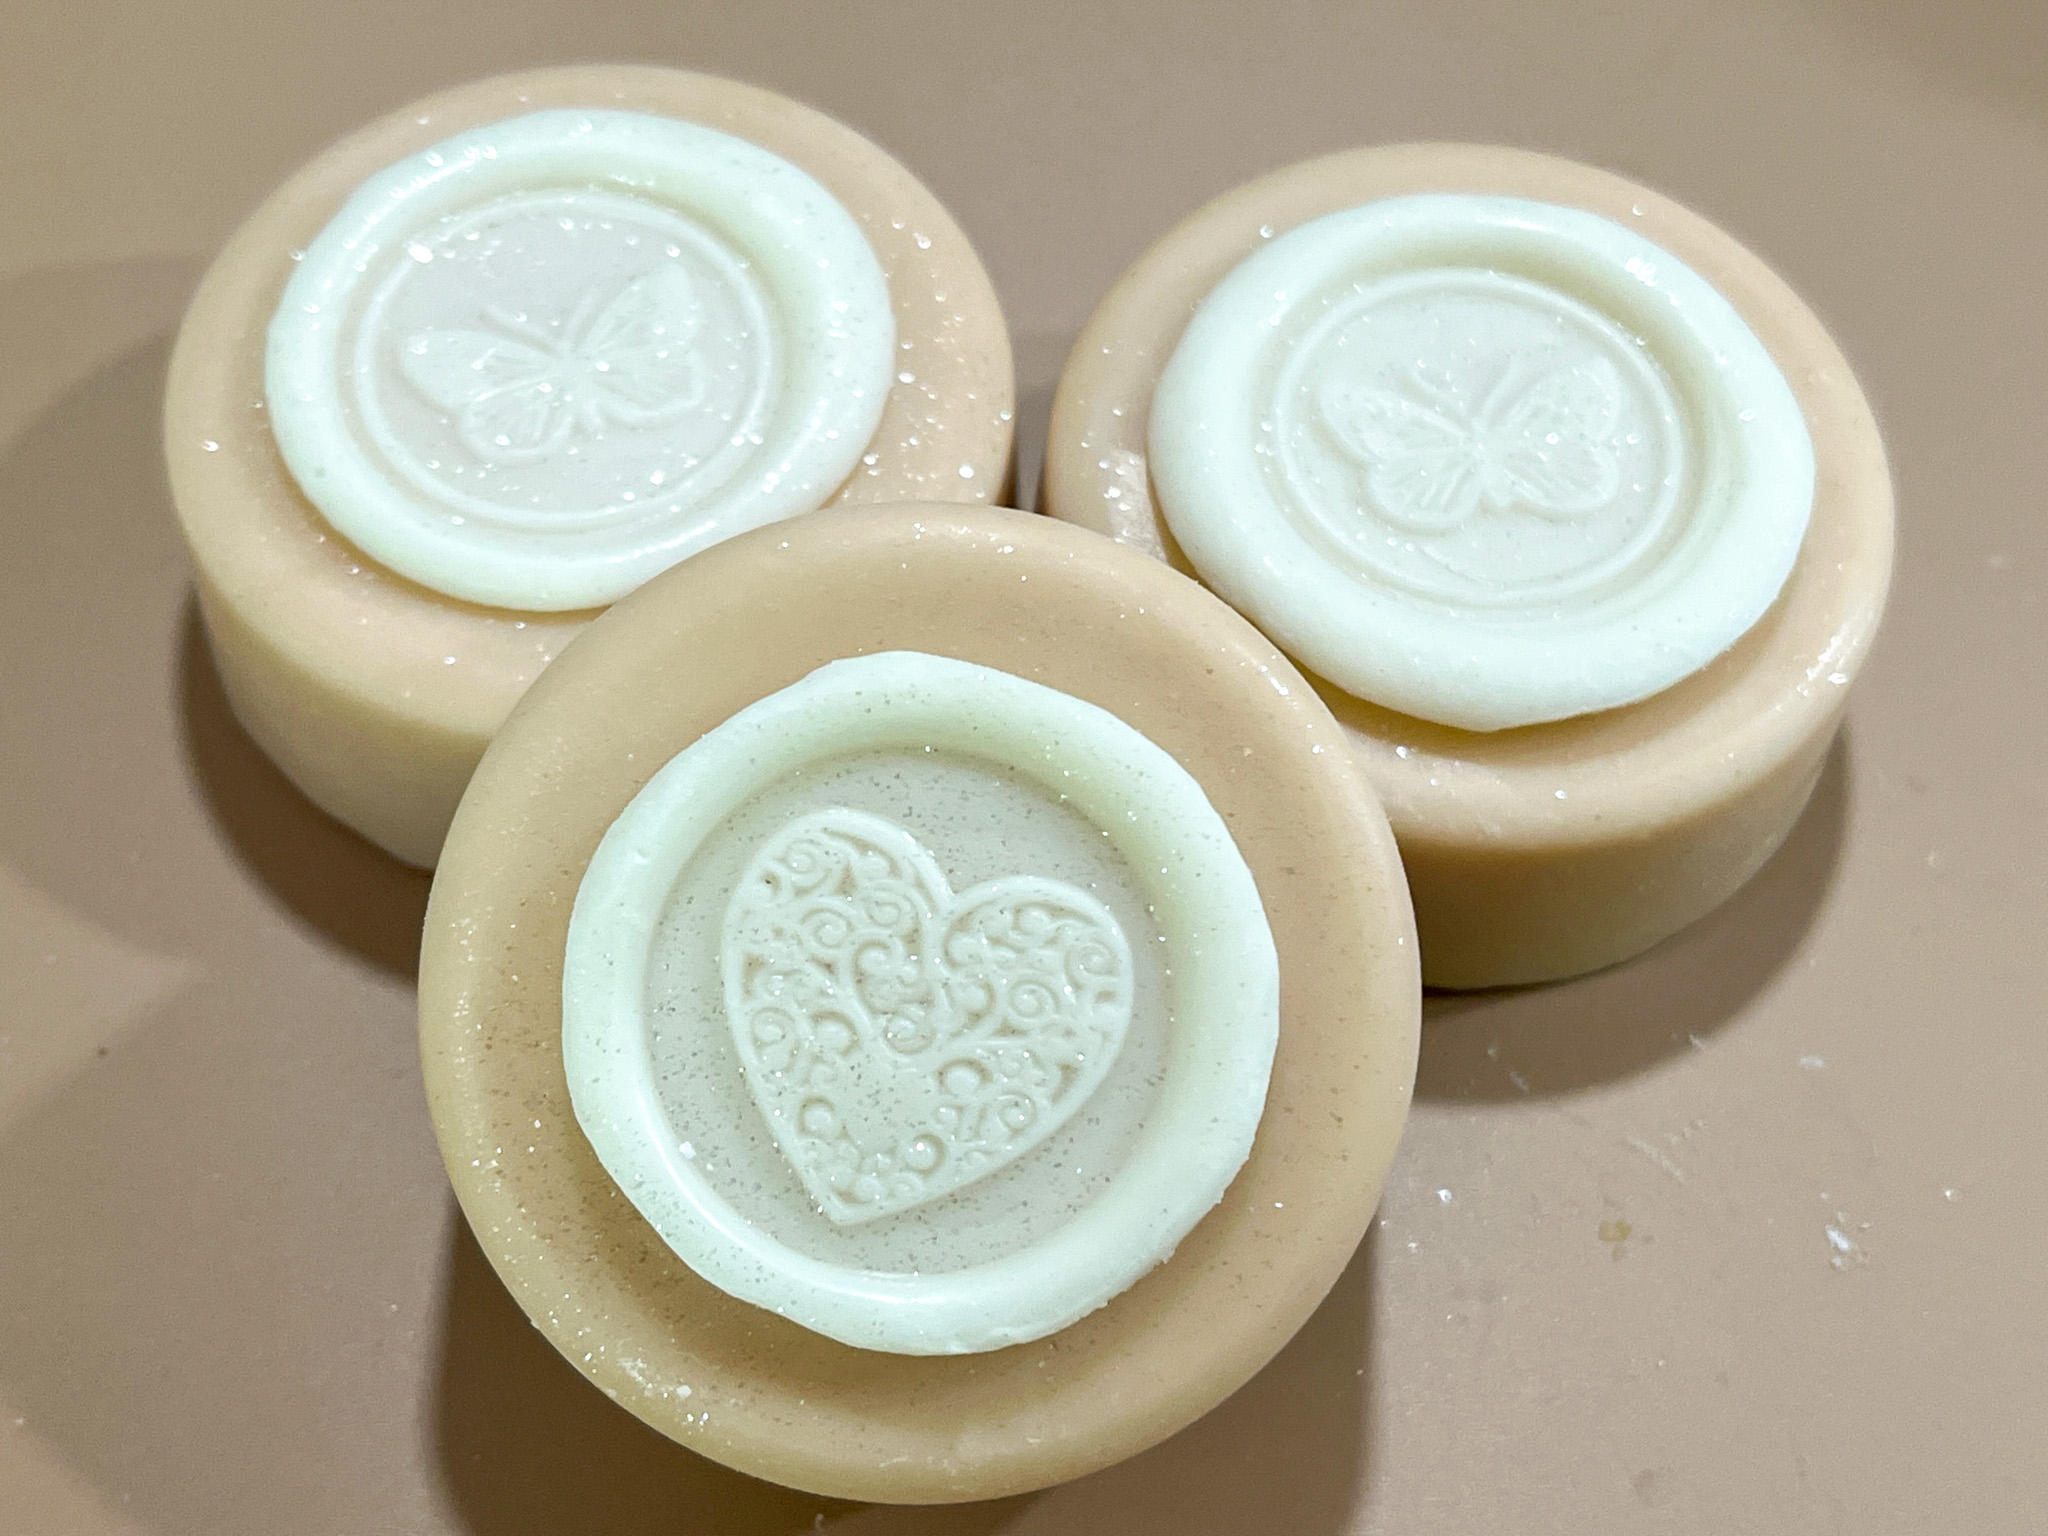
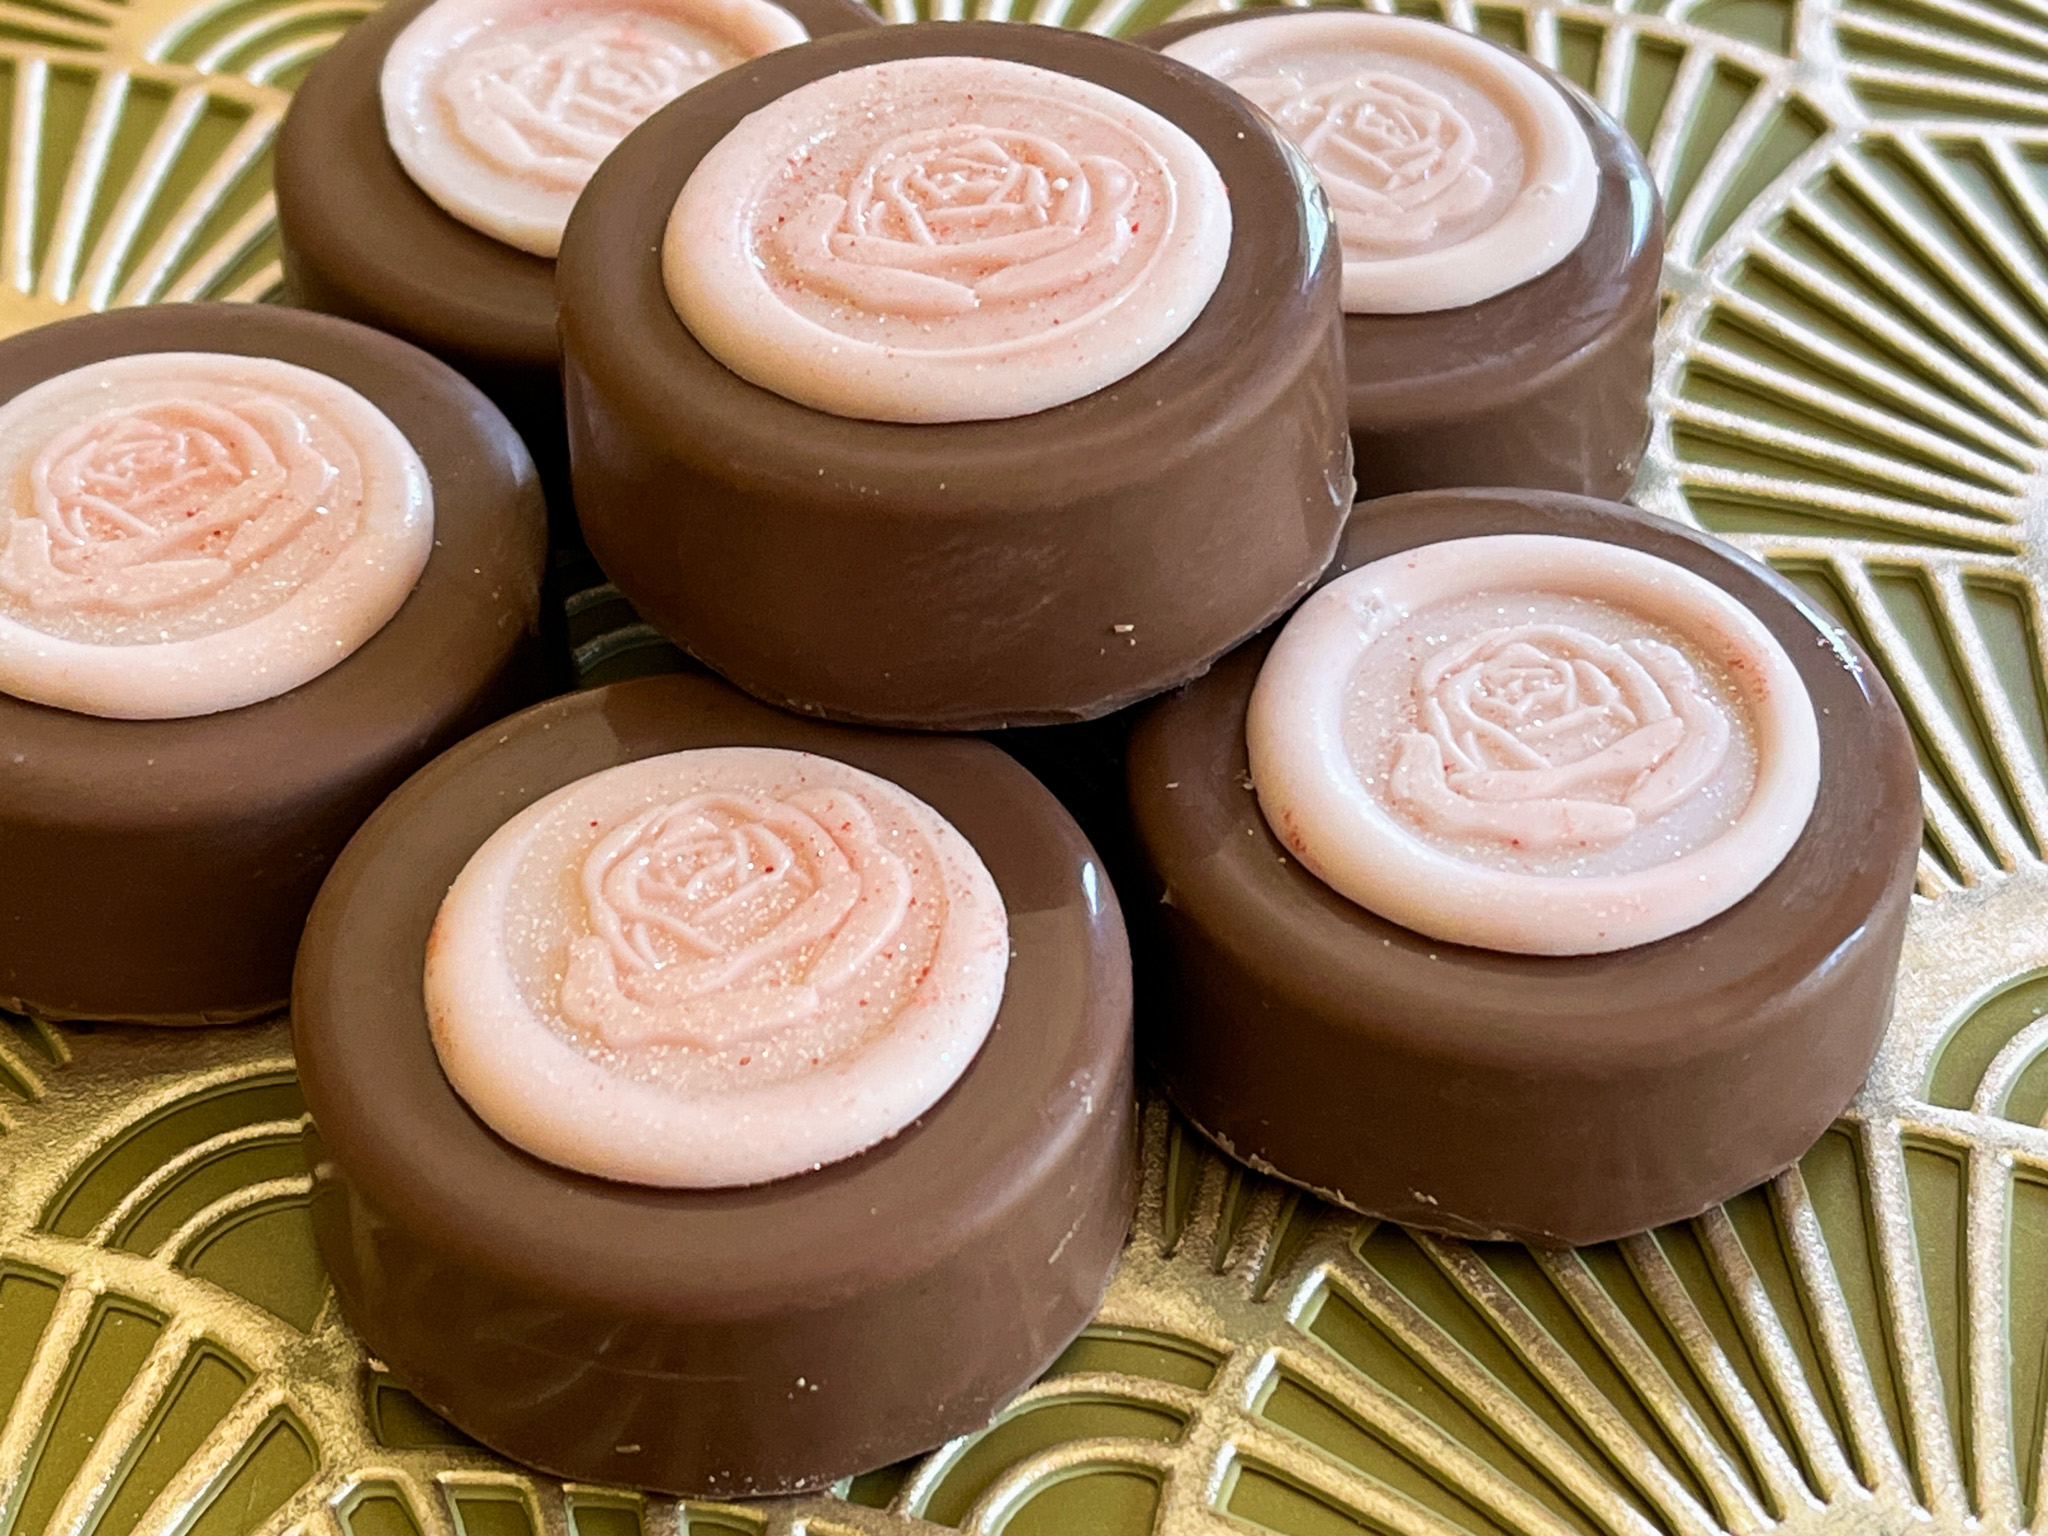
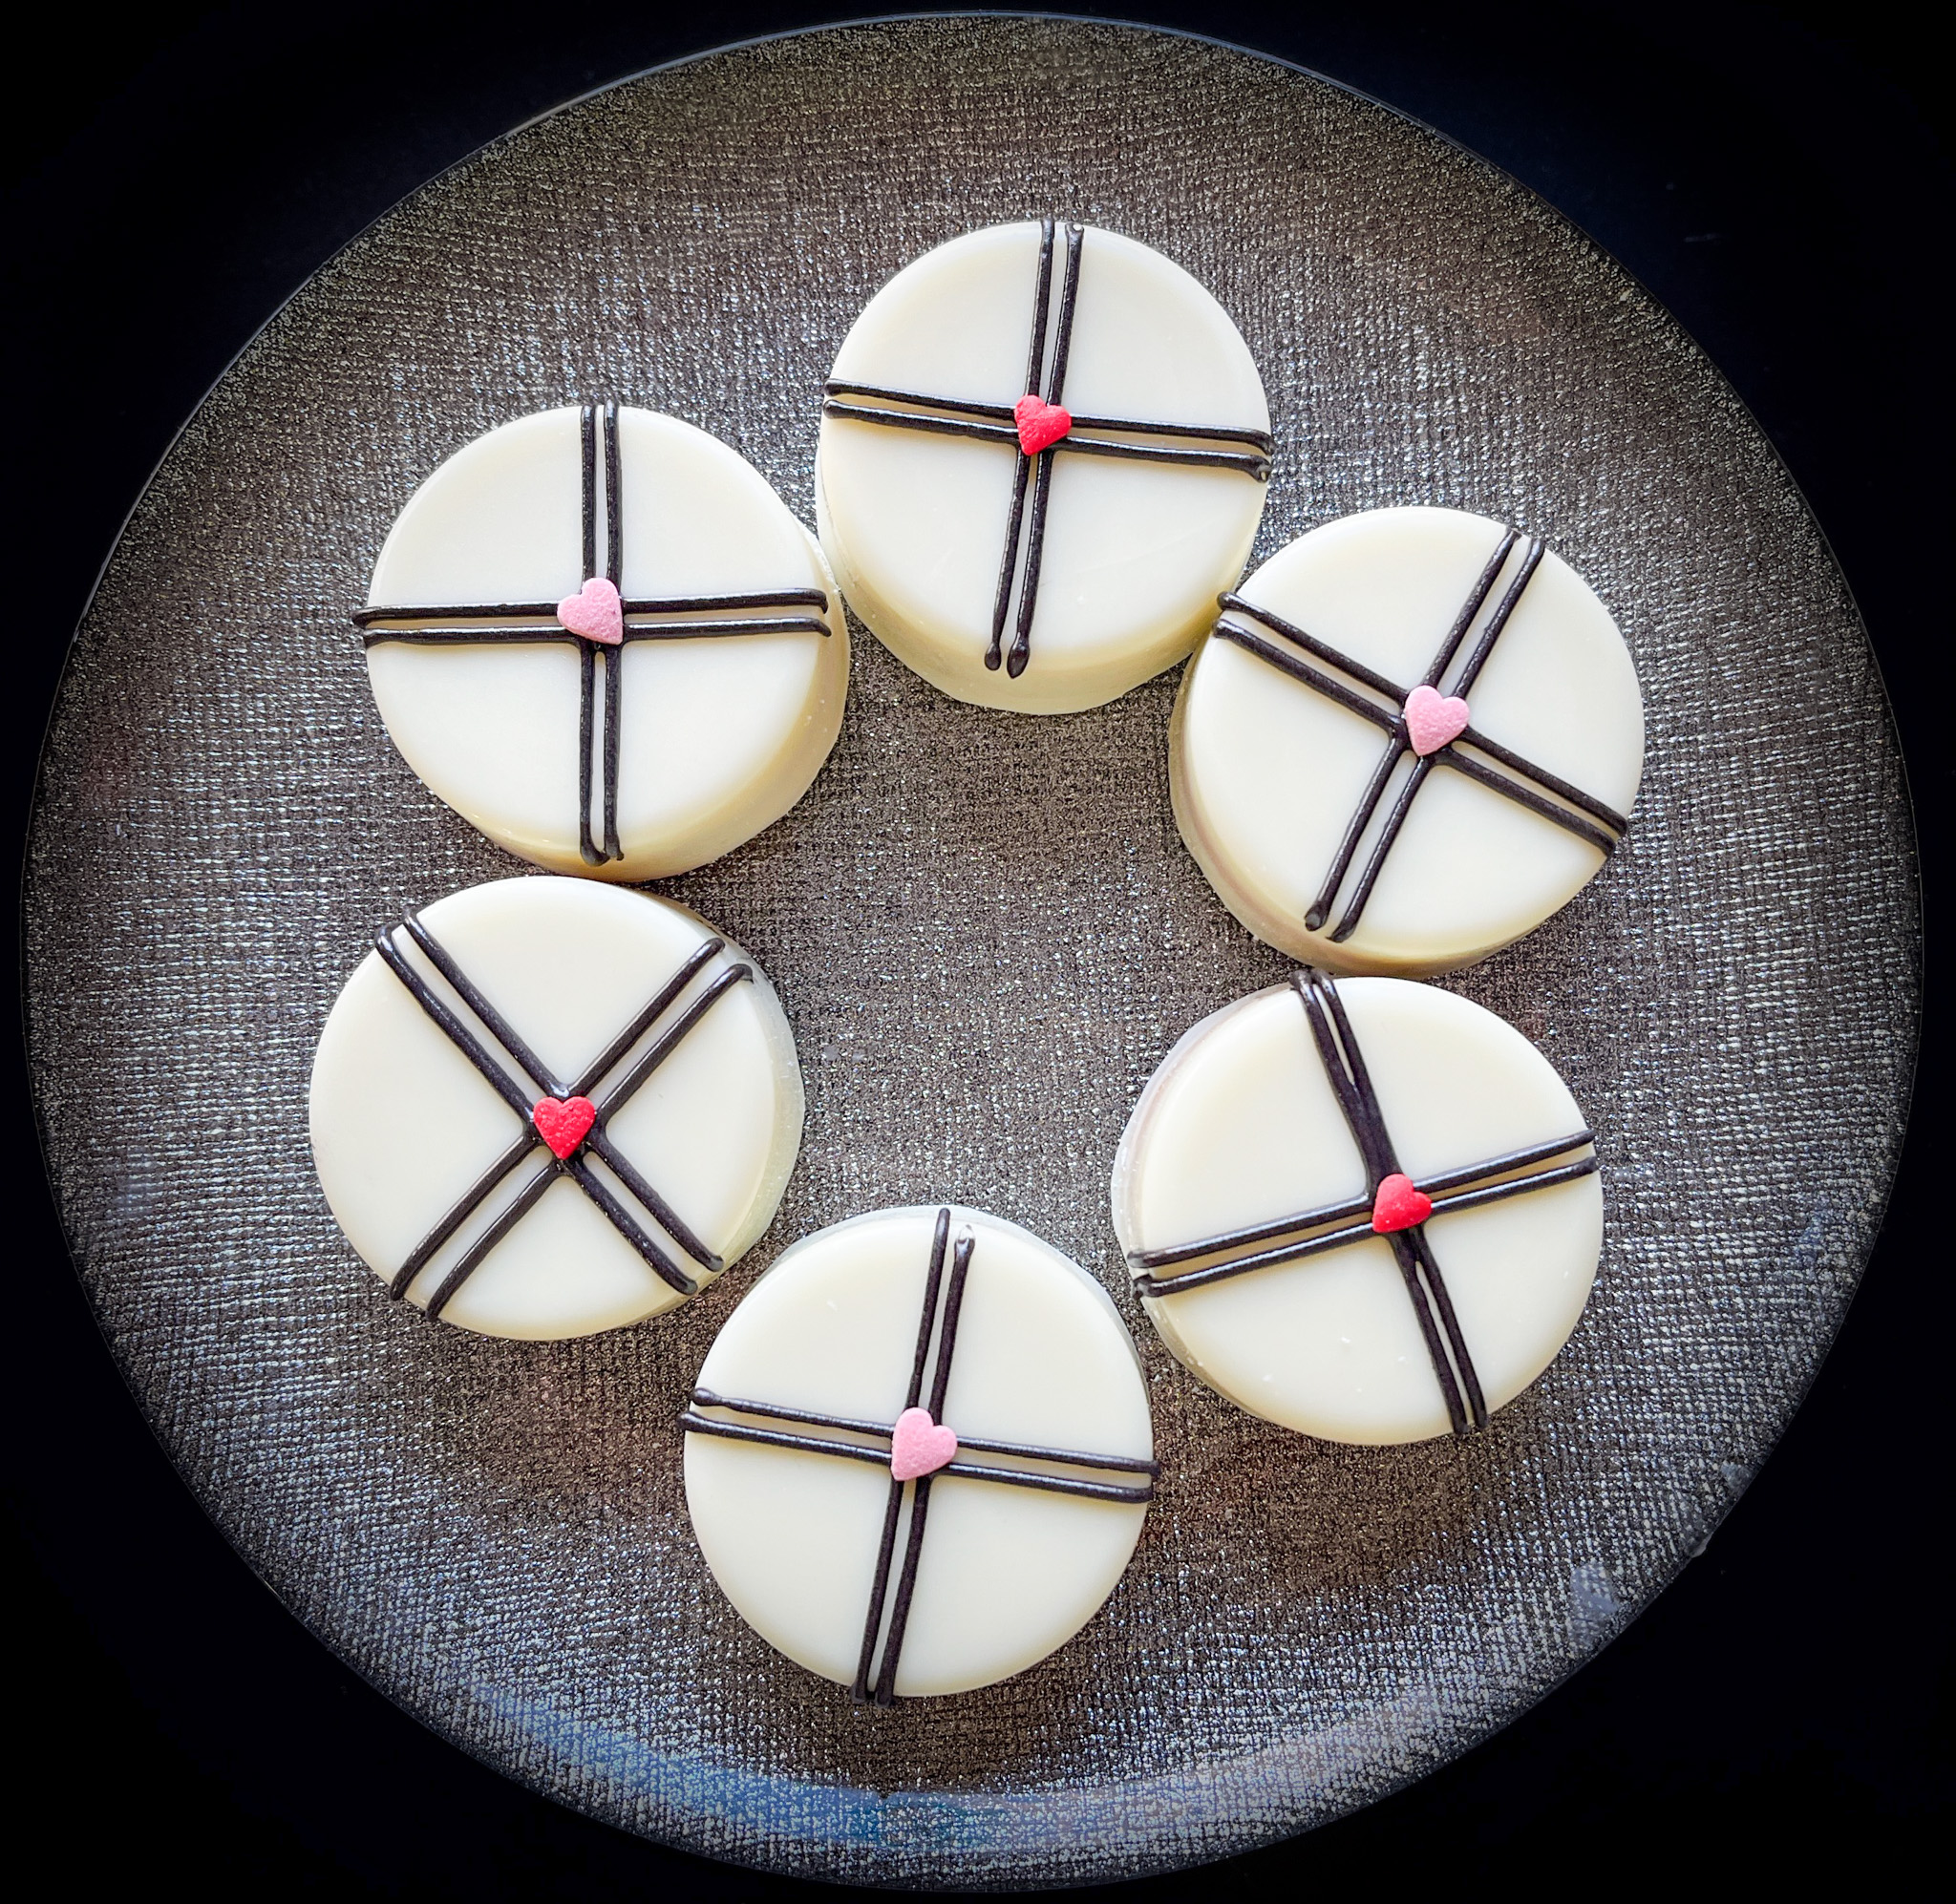
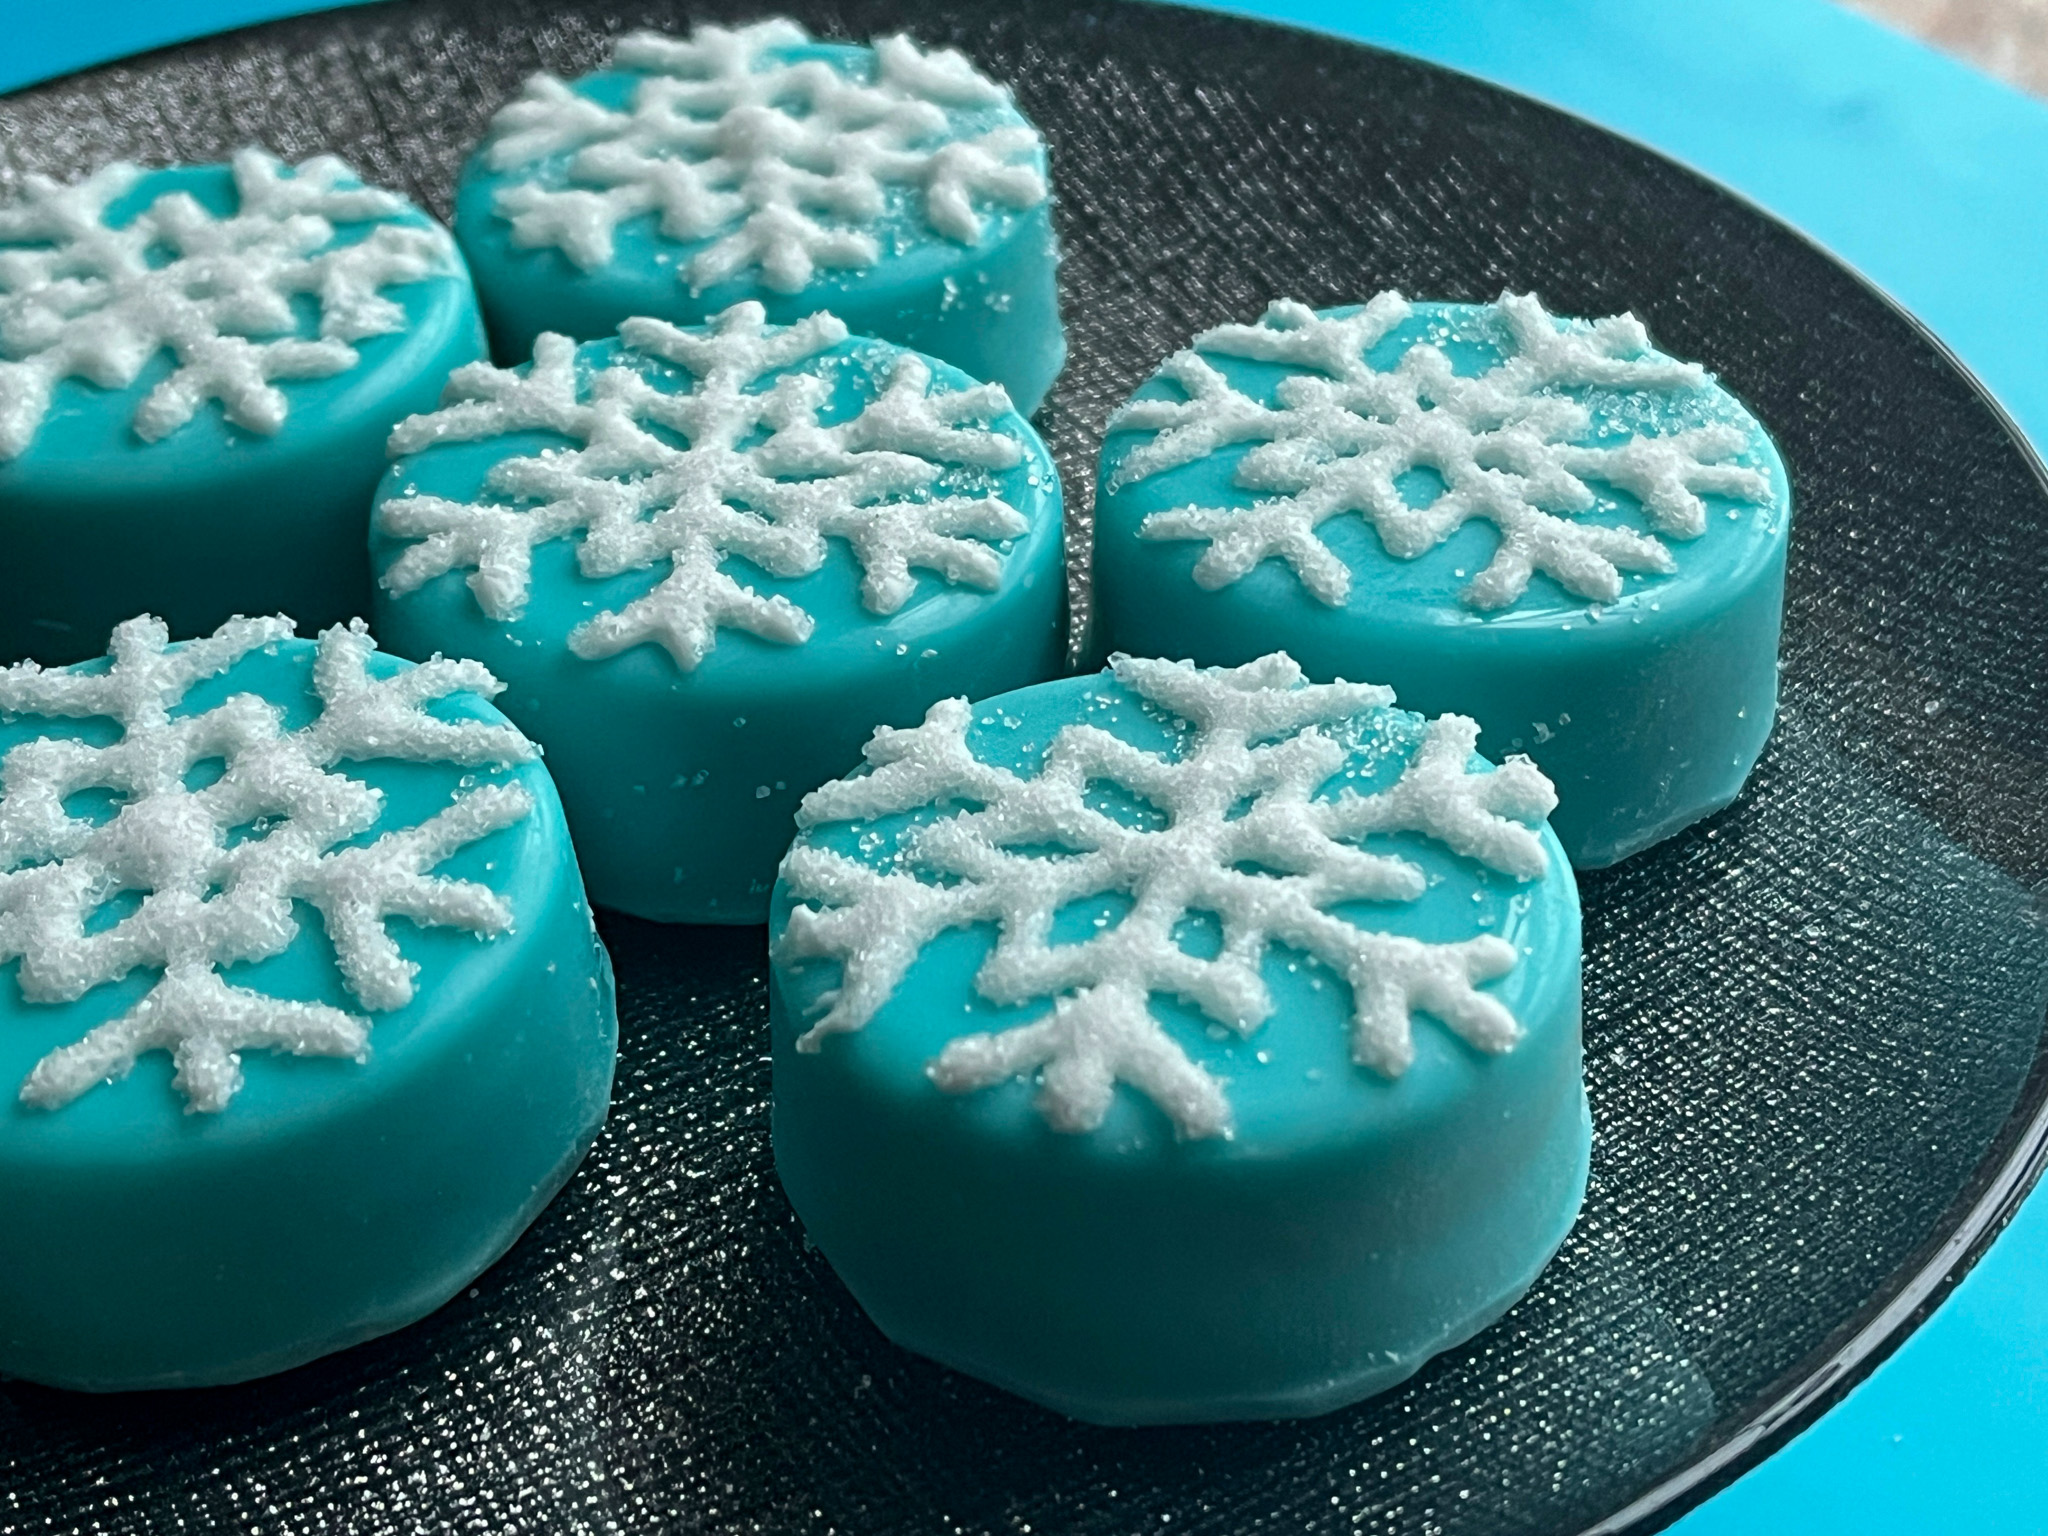
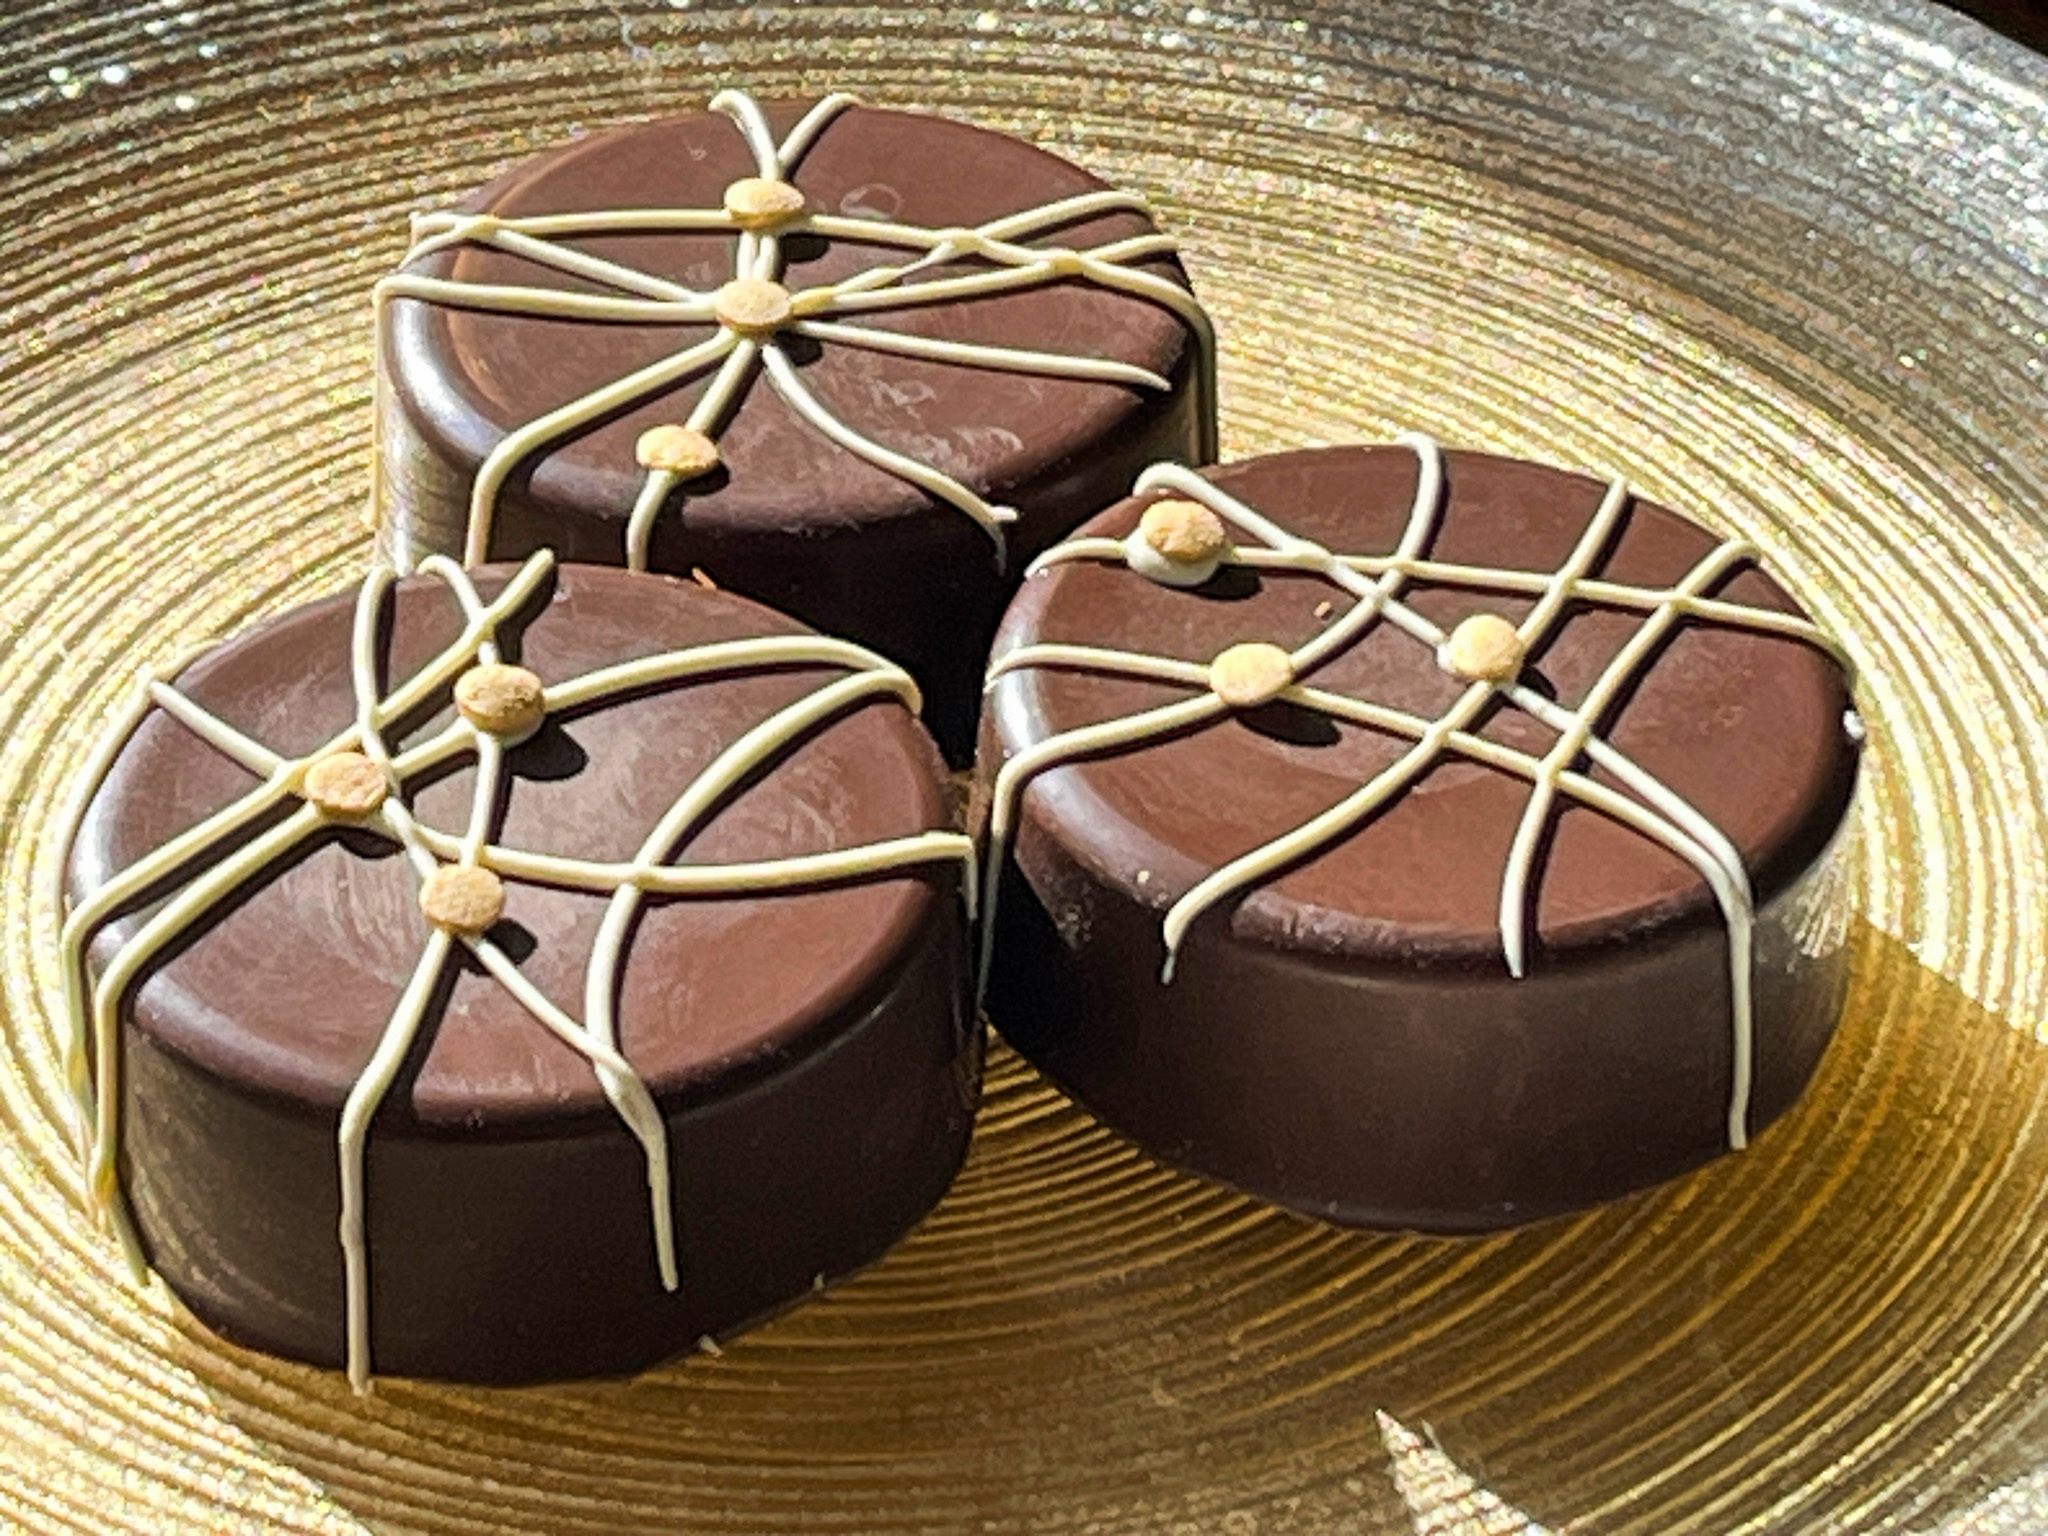
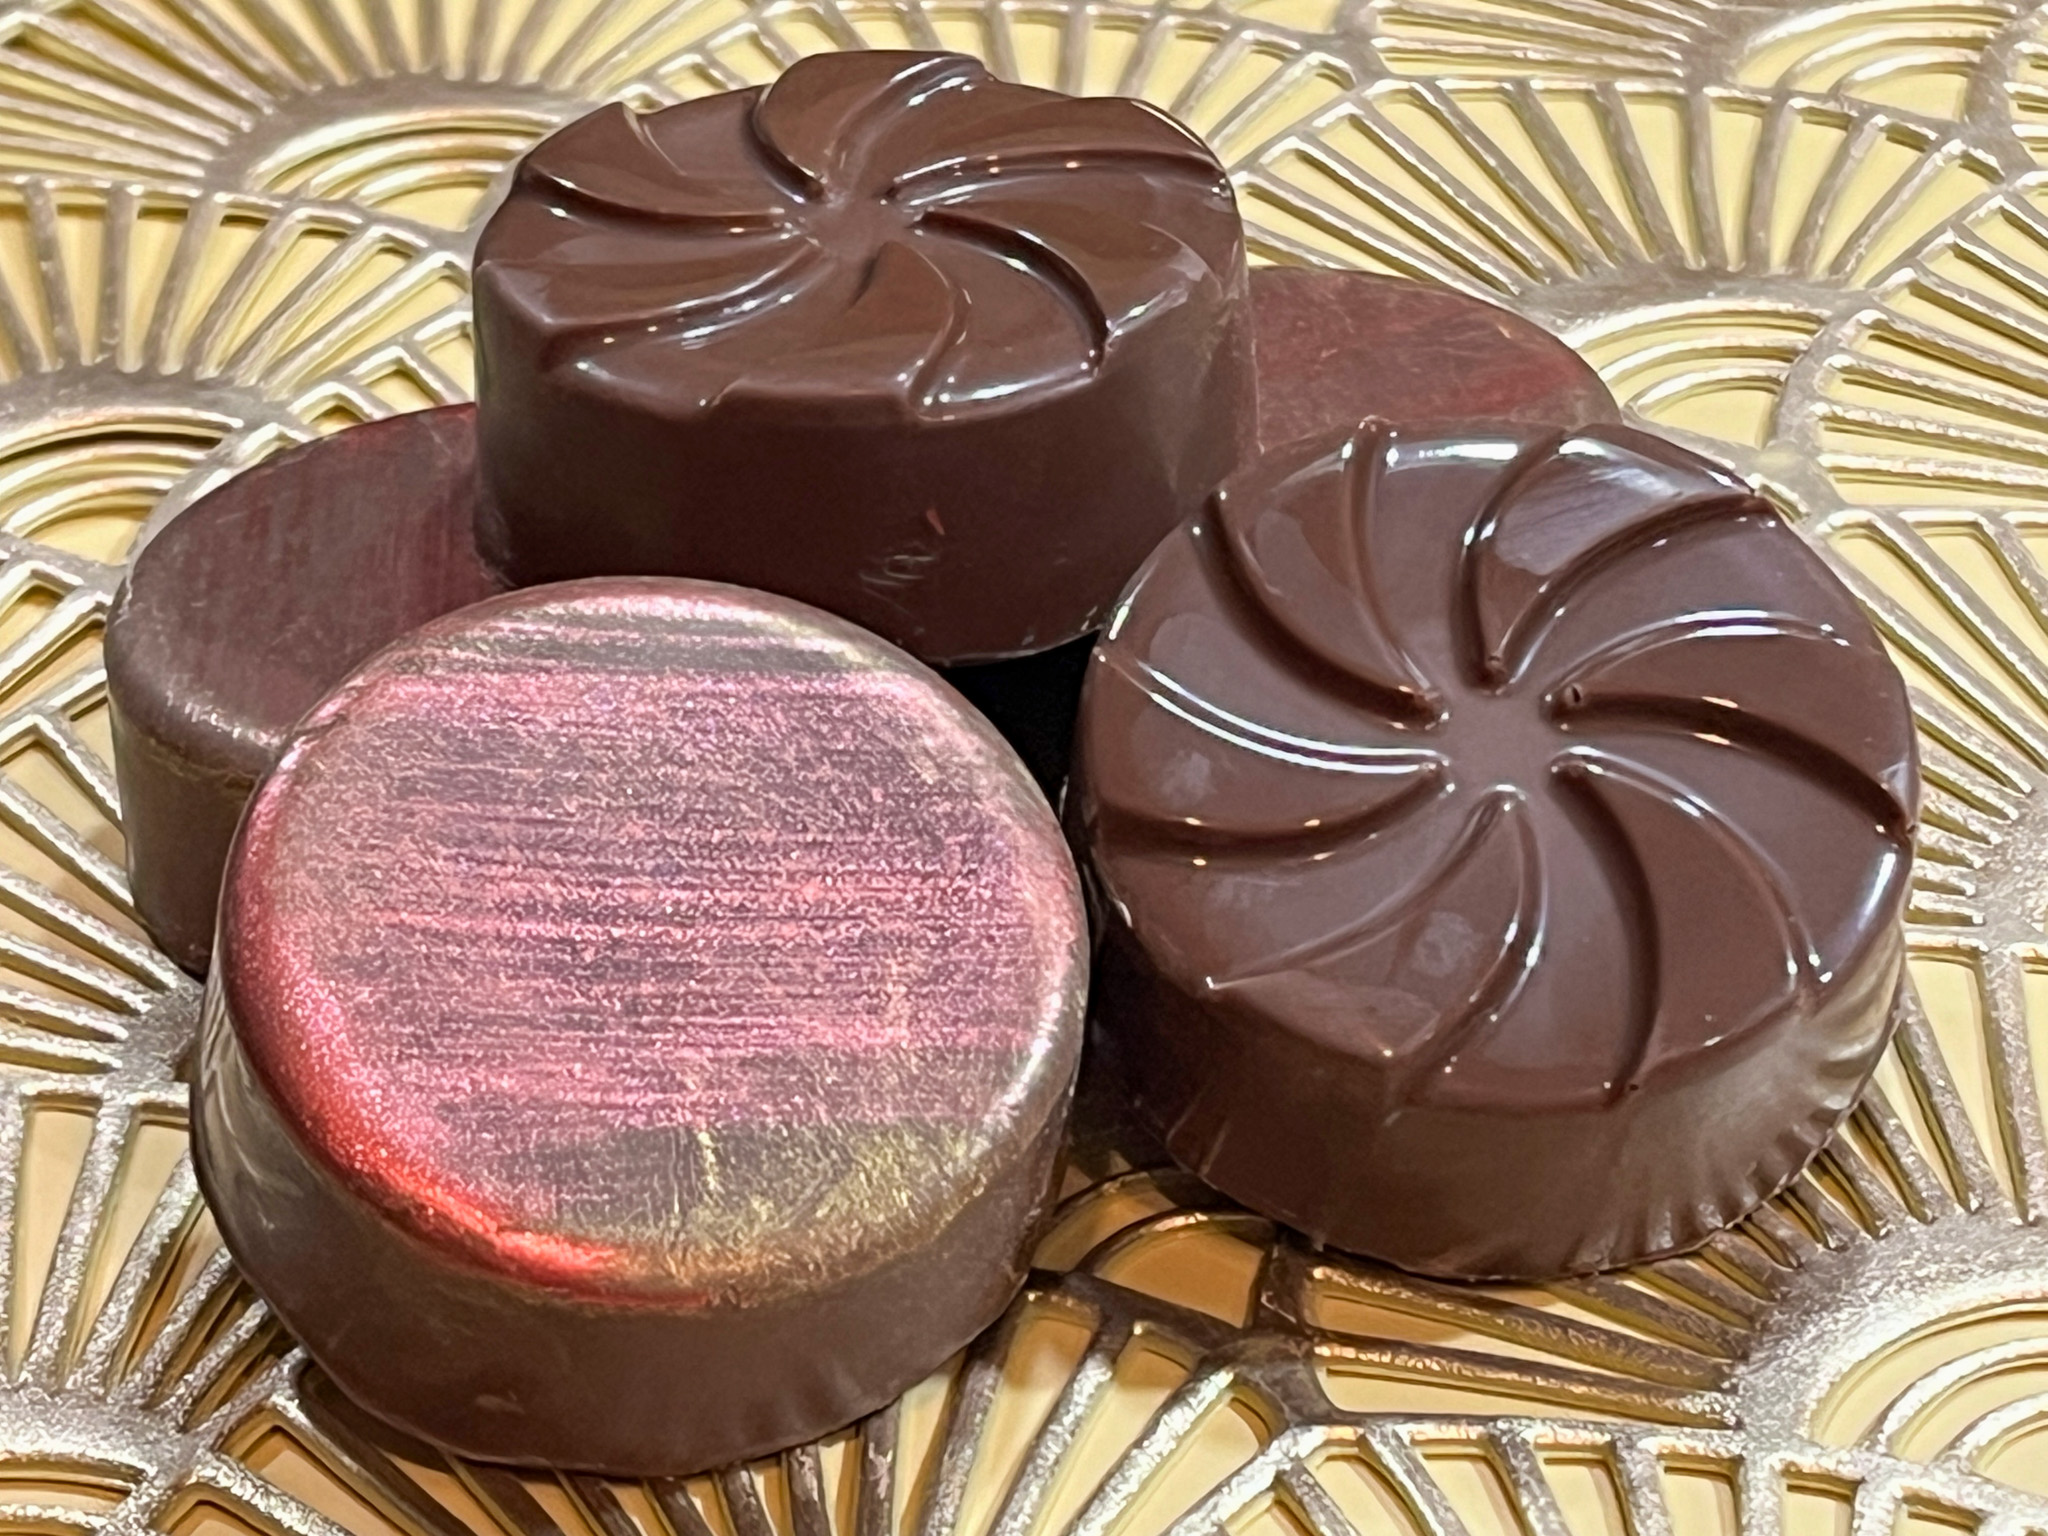
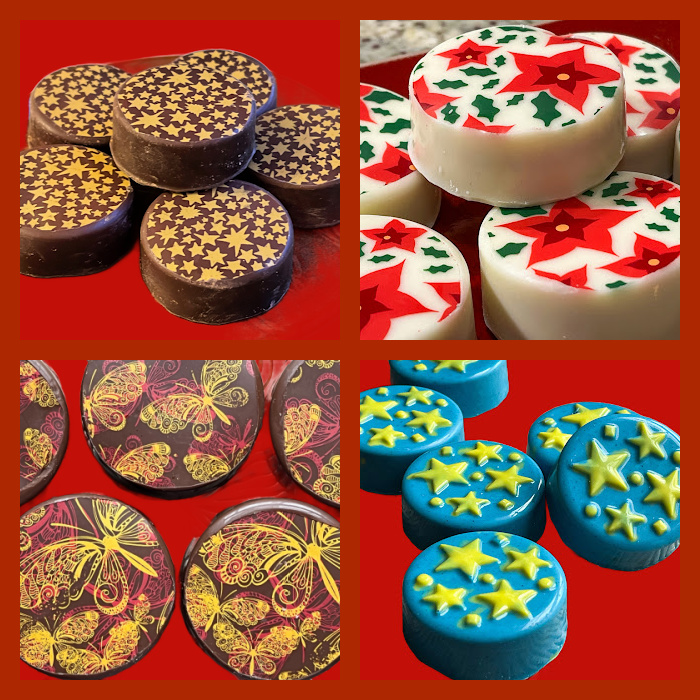
CHOCOLATE-COVERED OREOS

.
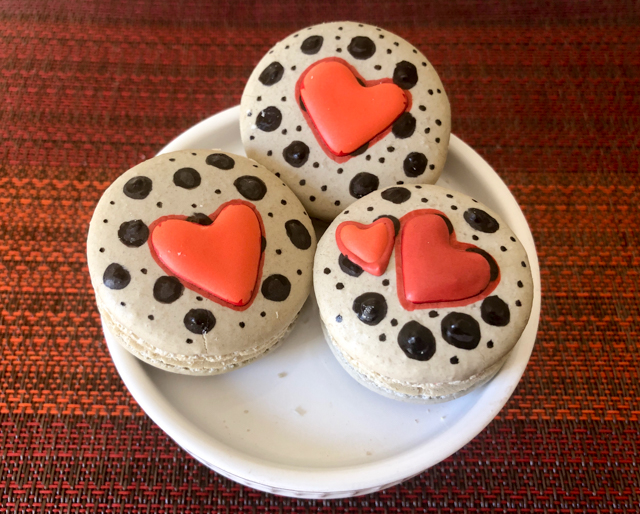
LADY-GREY MACARONS
(from the past, click here)
.
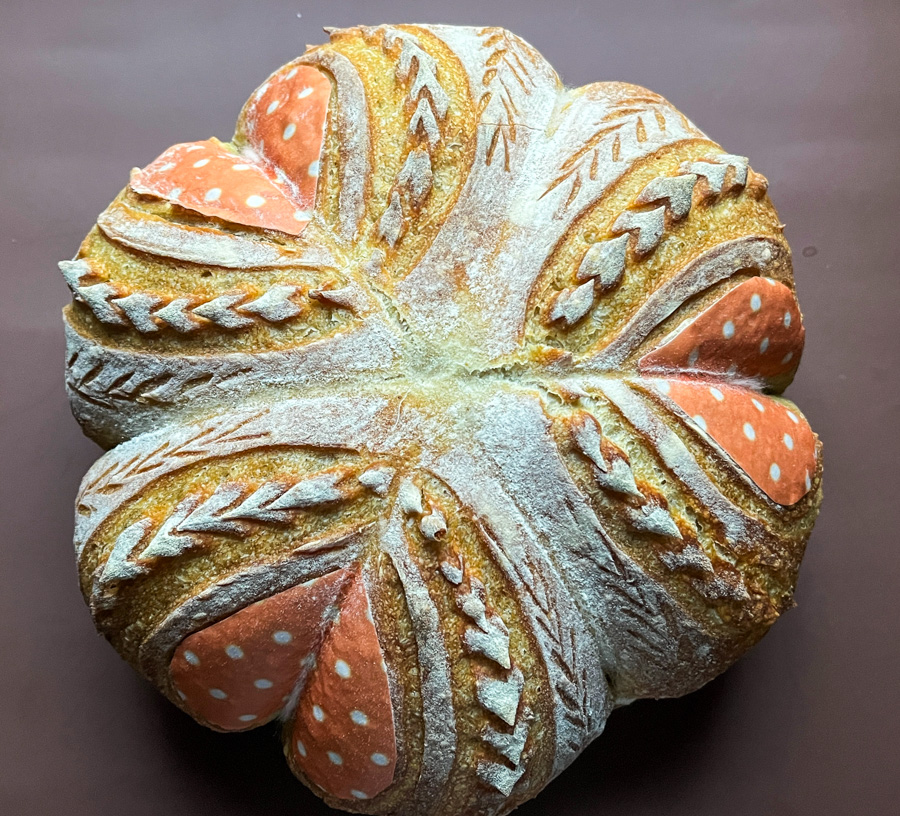
POLKA-DOT LOVE SOURDOUGH
(from the past, click here)
.
IF YOUR HEART IS NOT IN IT, EXCELLENCE IS NOT POSSIBLE
.
ONE YEAR AGO: Baking with the Heart
TWO YEARS AGO: Roasted Cauliflower with Chickpeas and Quinoa
THREE YEARS AGO: A Savory Phyllo Pie
FOUR YEARS AGO: Nut-Free Lady Grey Macarons
FIVE YEARS AGO: Mini-Heart Cakes for your Valentine
SIX YEARS AGO: Blue Moon Milk
SEVEN YEARS AGO: Slow-Cooked Chicken Meatballs
EIGHT YEARS AGO: Zesty Flourless Chocolate Cake
NINE YEARS AGO: Maple Pumpkin Pecan Snacking Cake
TEN YEARS AGO: Silky Gingered Zucchini Soup
ELEVEN YEARS AGO: Sweet Fifteen!
TWELVE YEARS AGO: Sesame and Flaxseed Sourdough
THIRTEEN YEARS AGO: Green Beans with Miso and Almonds
FOURTEEN YEARS AGO: Saturday Morning Scones
FIFTEEN YEARS AGO: White Bread