The path is not only short, but also pretty messy. You’ve been warned. For a very long time I’ve flirted with the idea of making a stuffed cookie in the shape of a ravioli, inspired by a gorgeous version from Helen Fletcher’s book Craving Cookies, the Quintessential American Cookie Book. She cuts hers by hand, after enclosing a square of chocolate between two sheets of dough. I decided I was going to impress her (cough, cough) with a different twist: using a ravioli press. What could possibly go wrong? I was so excited about my project that I had already a blog post shaping up in my mind. So, first things first, I took a nice picture of the weapons used in the crime.

I dreamed about my blog post going viral, even if in almost 15 years of blogging nothing has ever came close to it. In fact, viruses avoid me so much that even Covid stays safely away. Still a unicorn after all these pandemic years. Anyhow, I digress. Here is the full outcome of 420g flour, 340g butter, and a good amount of sugar to boot.
Six. Cookies. Six. Half a dozen.
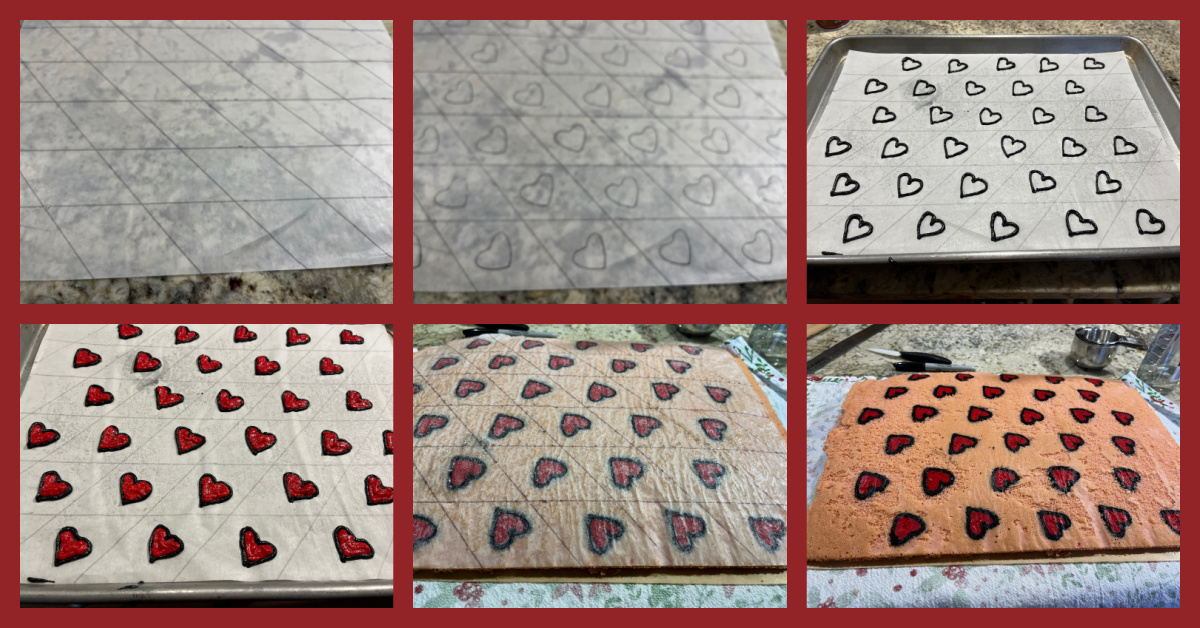
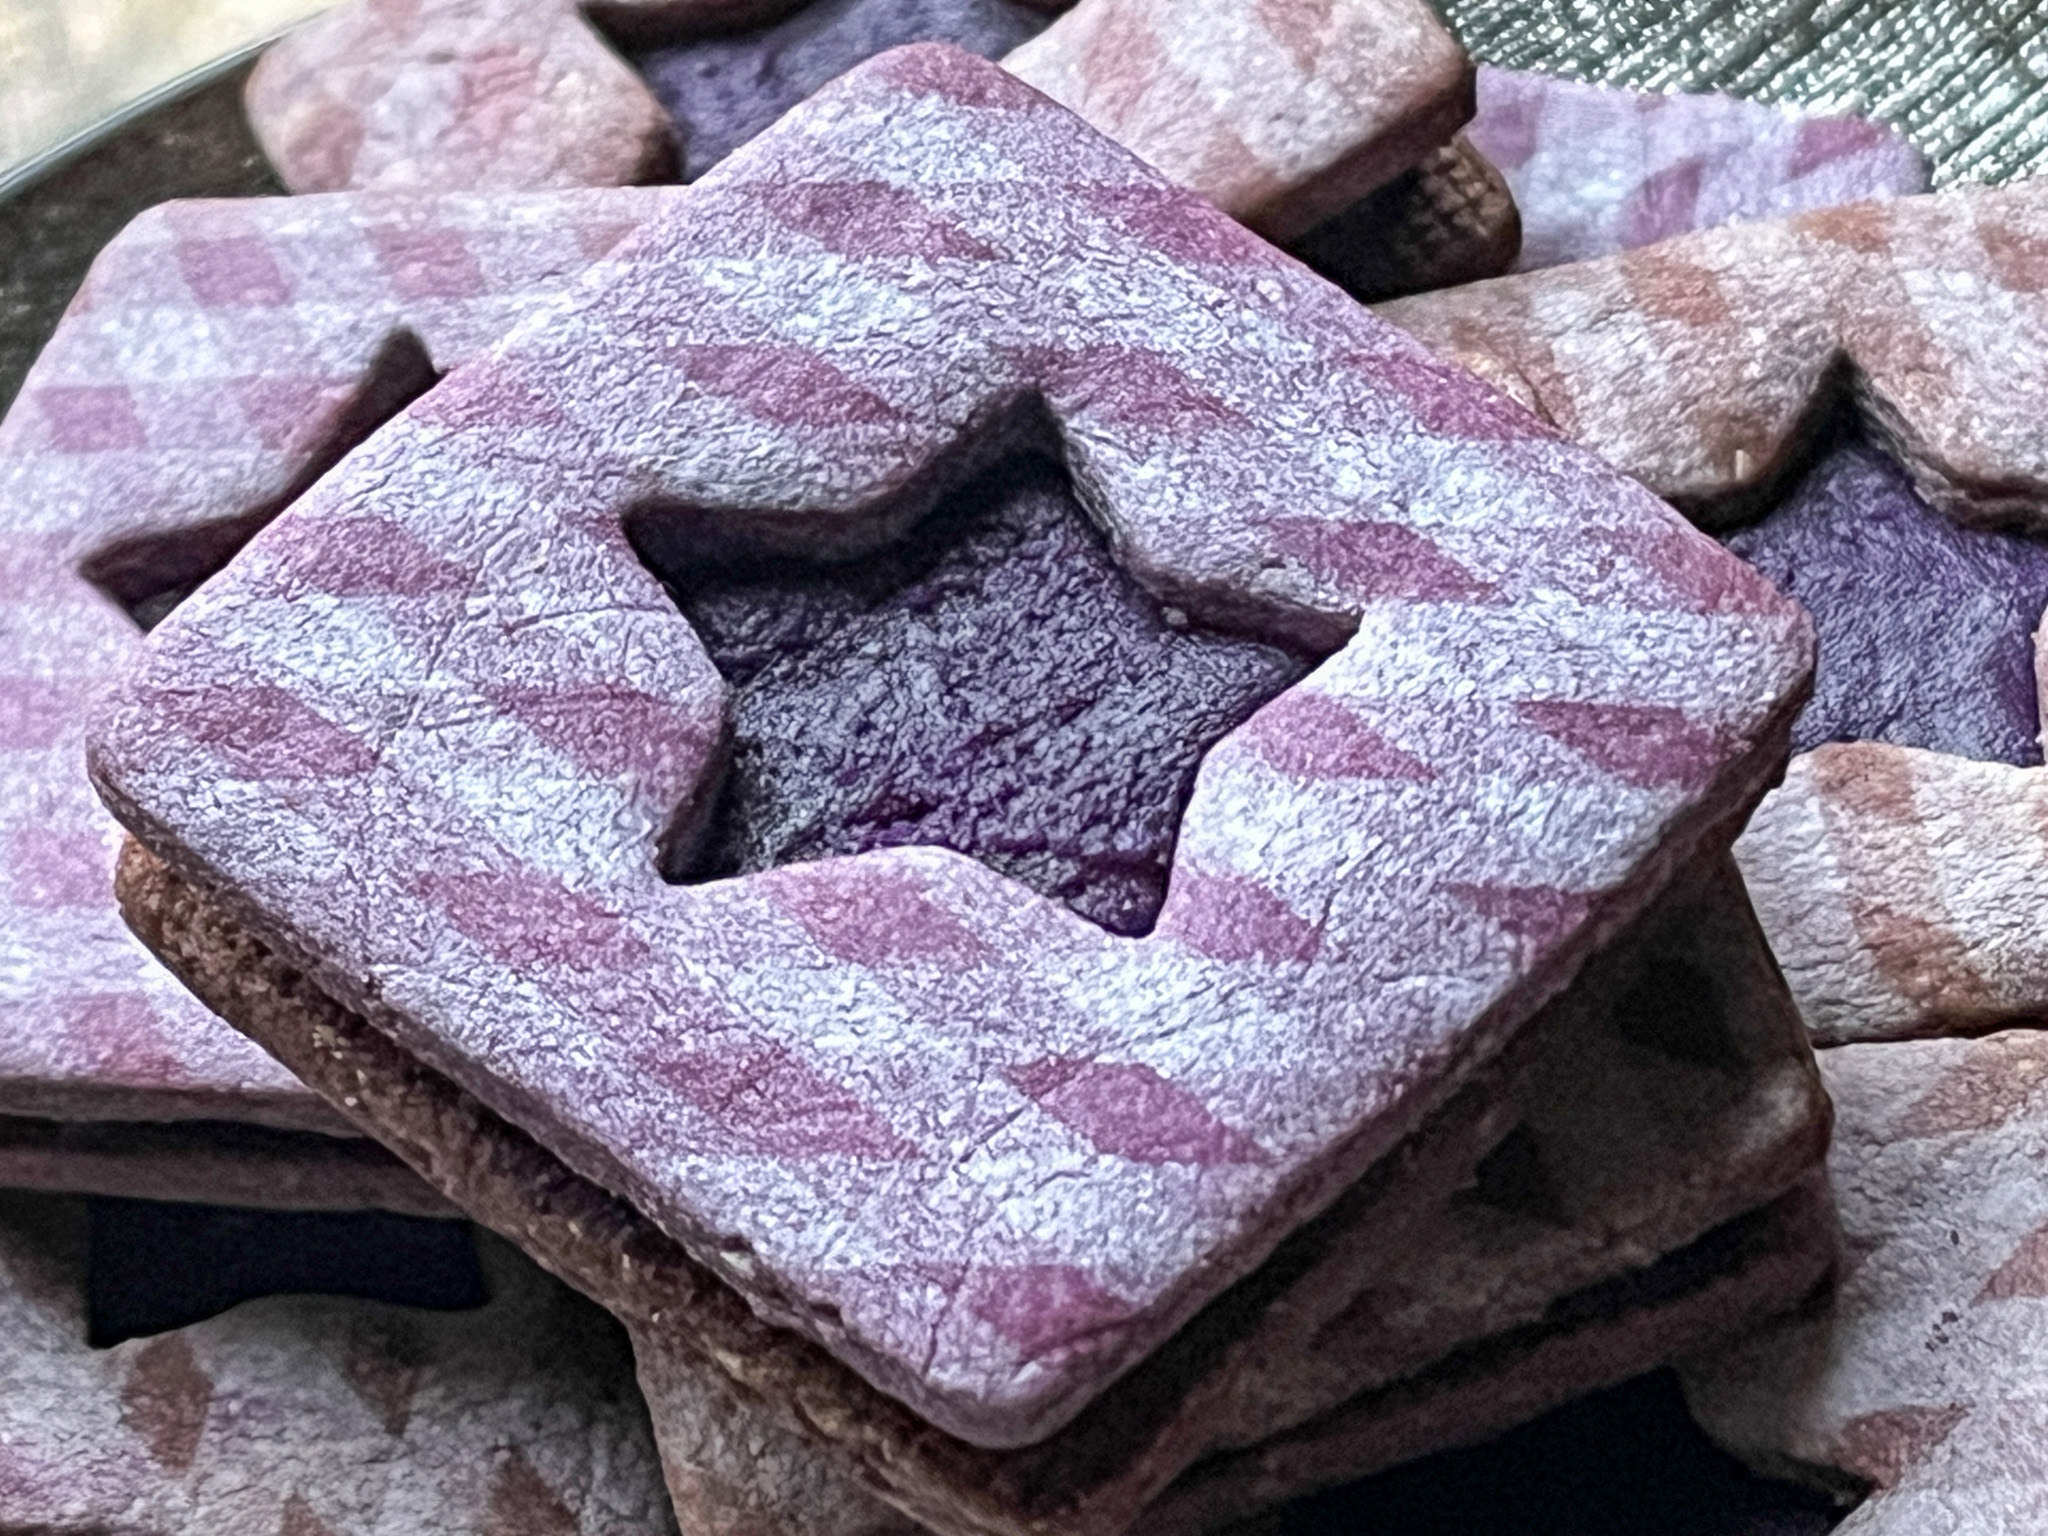
The composite picture below shows the steps right before chaos. In theory, you roll the cookie dough, lay on the mold, add your filling, close with another cookie sheet, smooth everything with the cute rolling pin provided. For the square ravioli, I used Peppermint Bark, cut in four small pieces. They fit so nicely in the allotted space! But that was the last reason I would have to smile for a while…

From that point, all hell broke loose and broke loose with bangs of profanity. The cookie dough glued to the mold in perverse ways, I used every trick imaginable, including freezing the whole thing for increasing periods of time. The bond between dough and mold was likely approaching triple-covalent level. I also tried gently probing with a tiny spatula. I don’t recommend doing that. Ever.
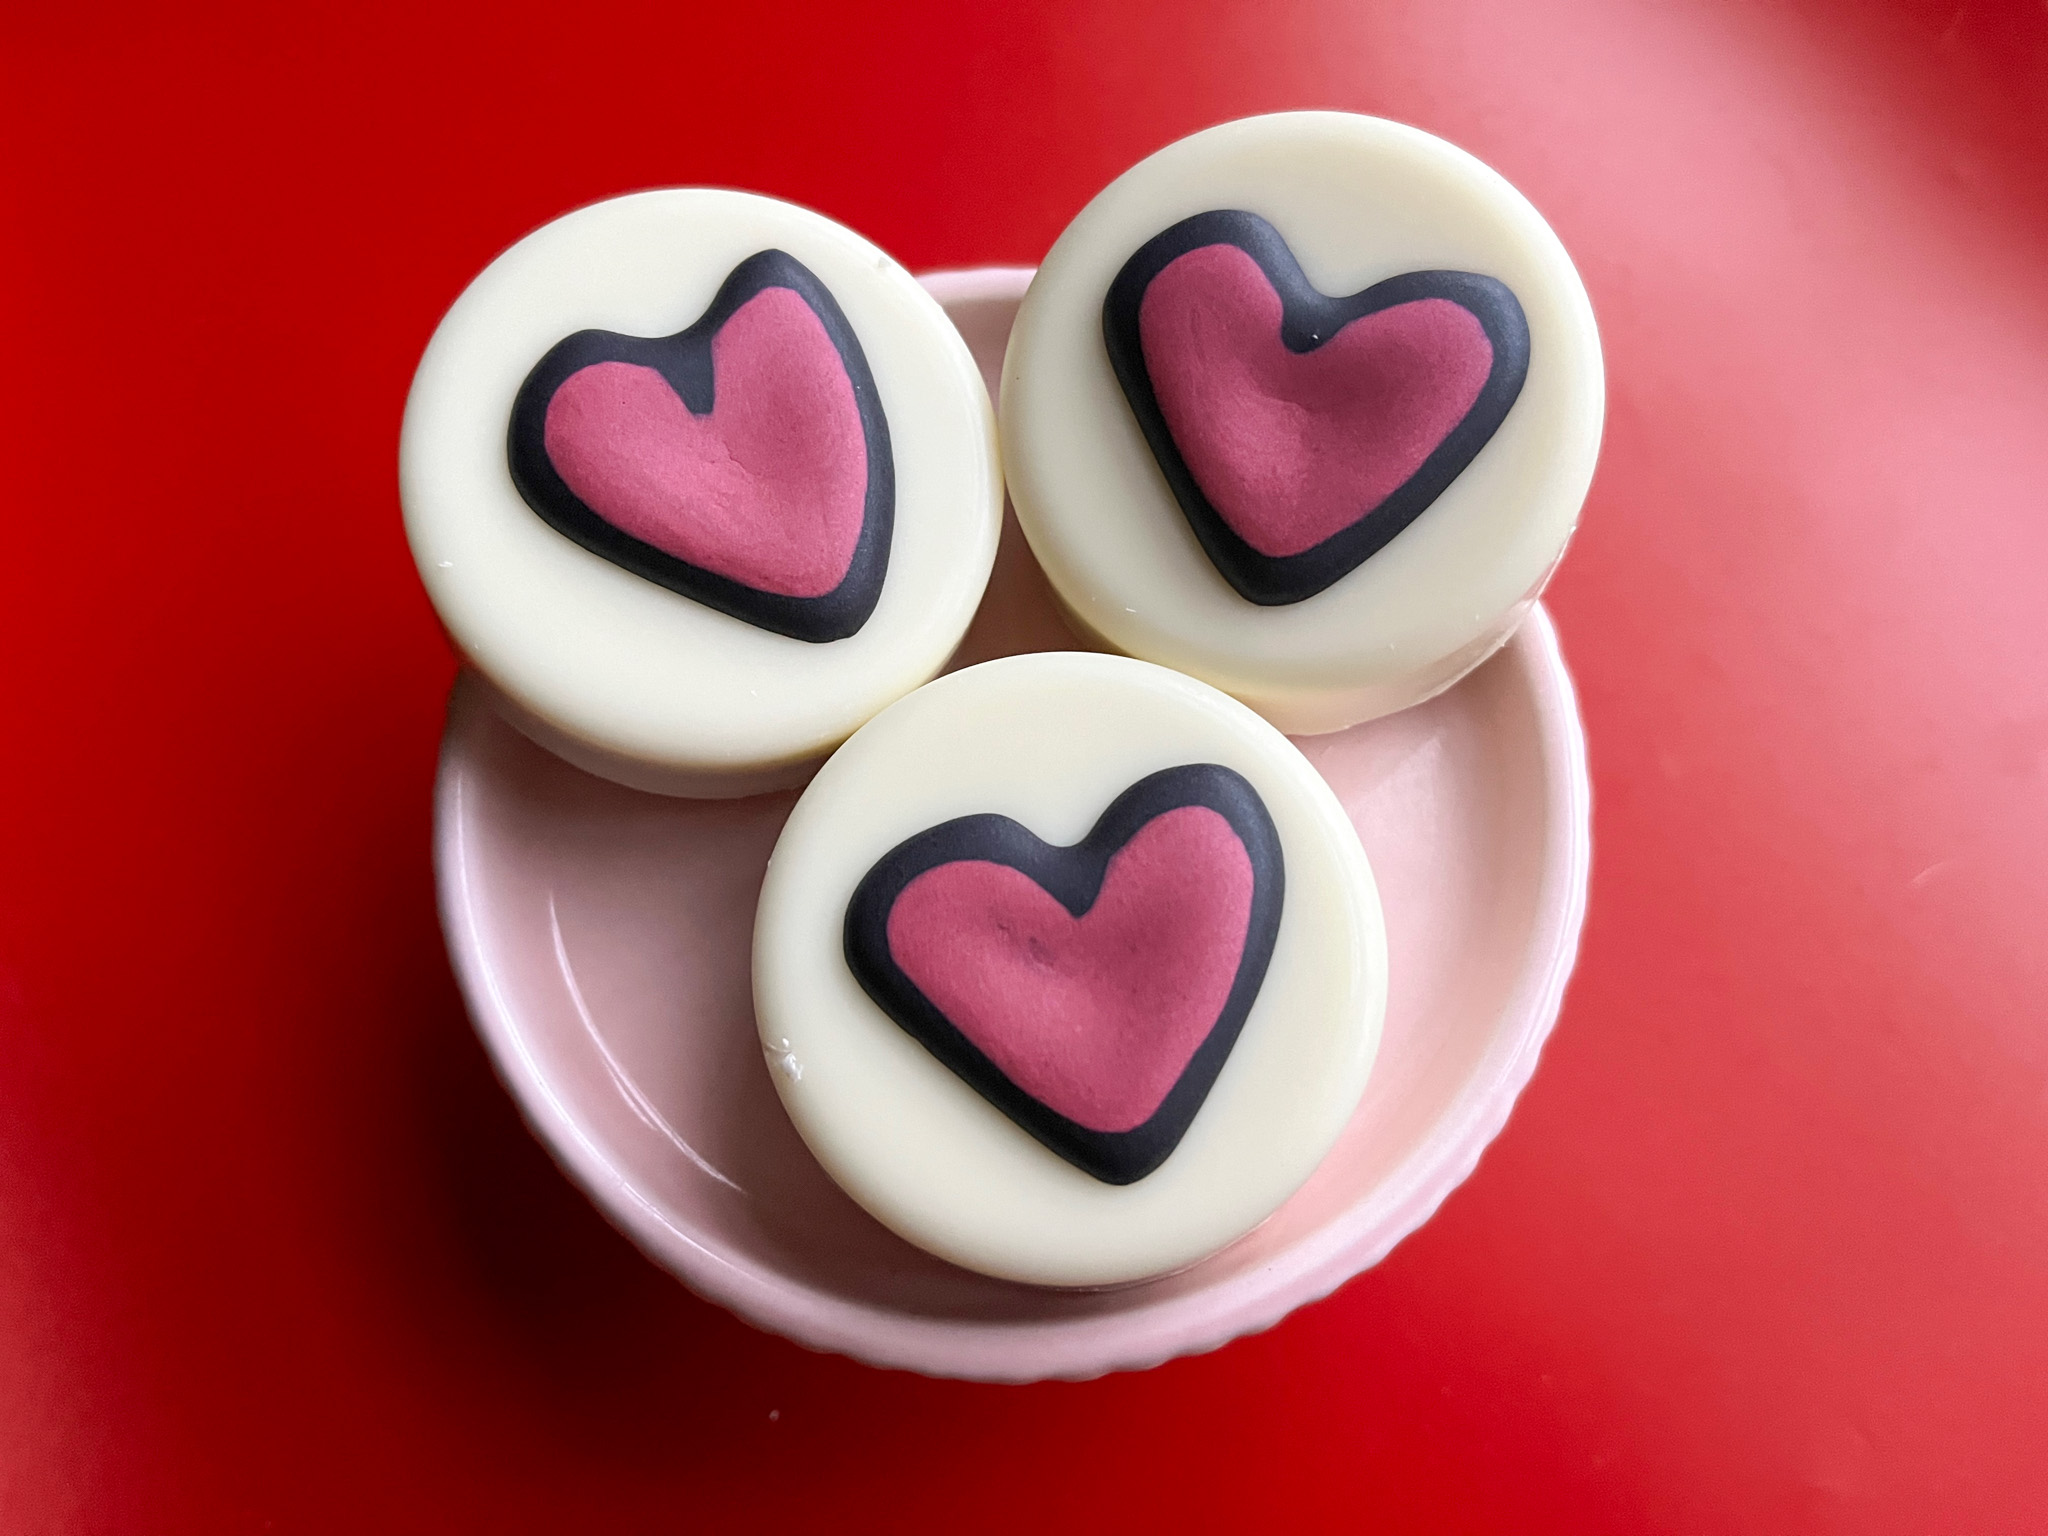
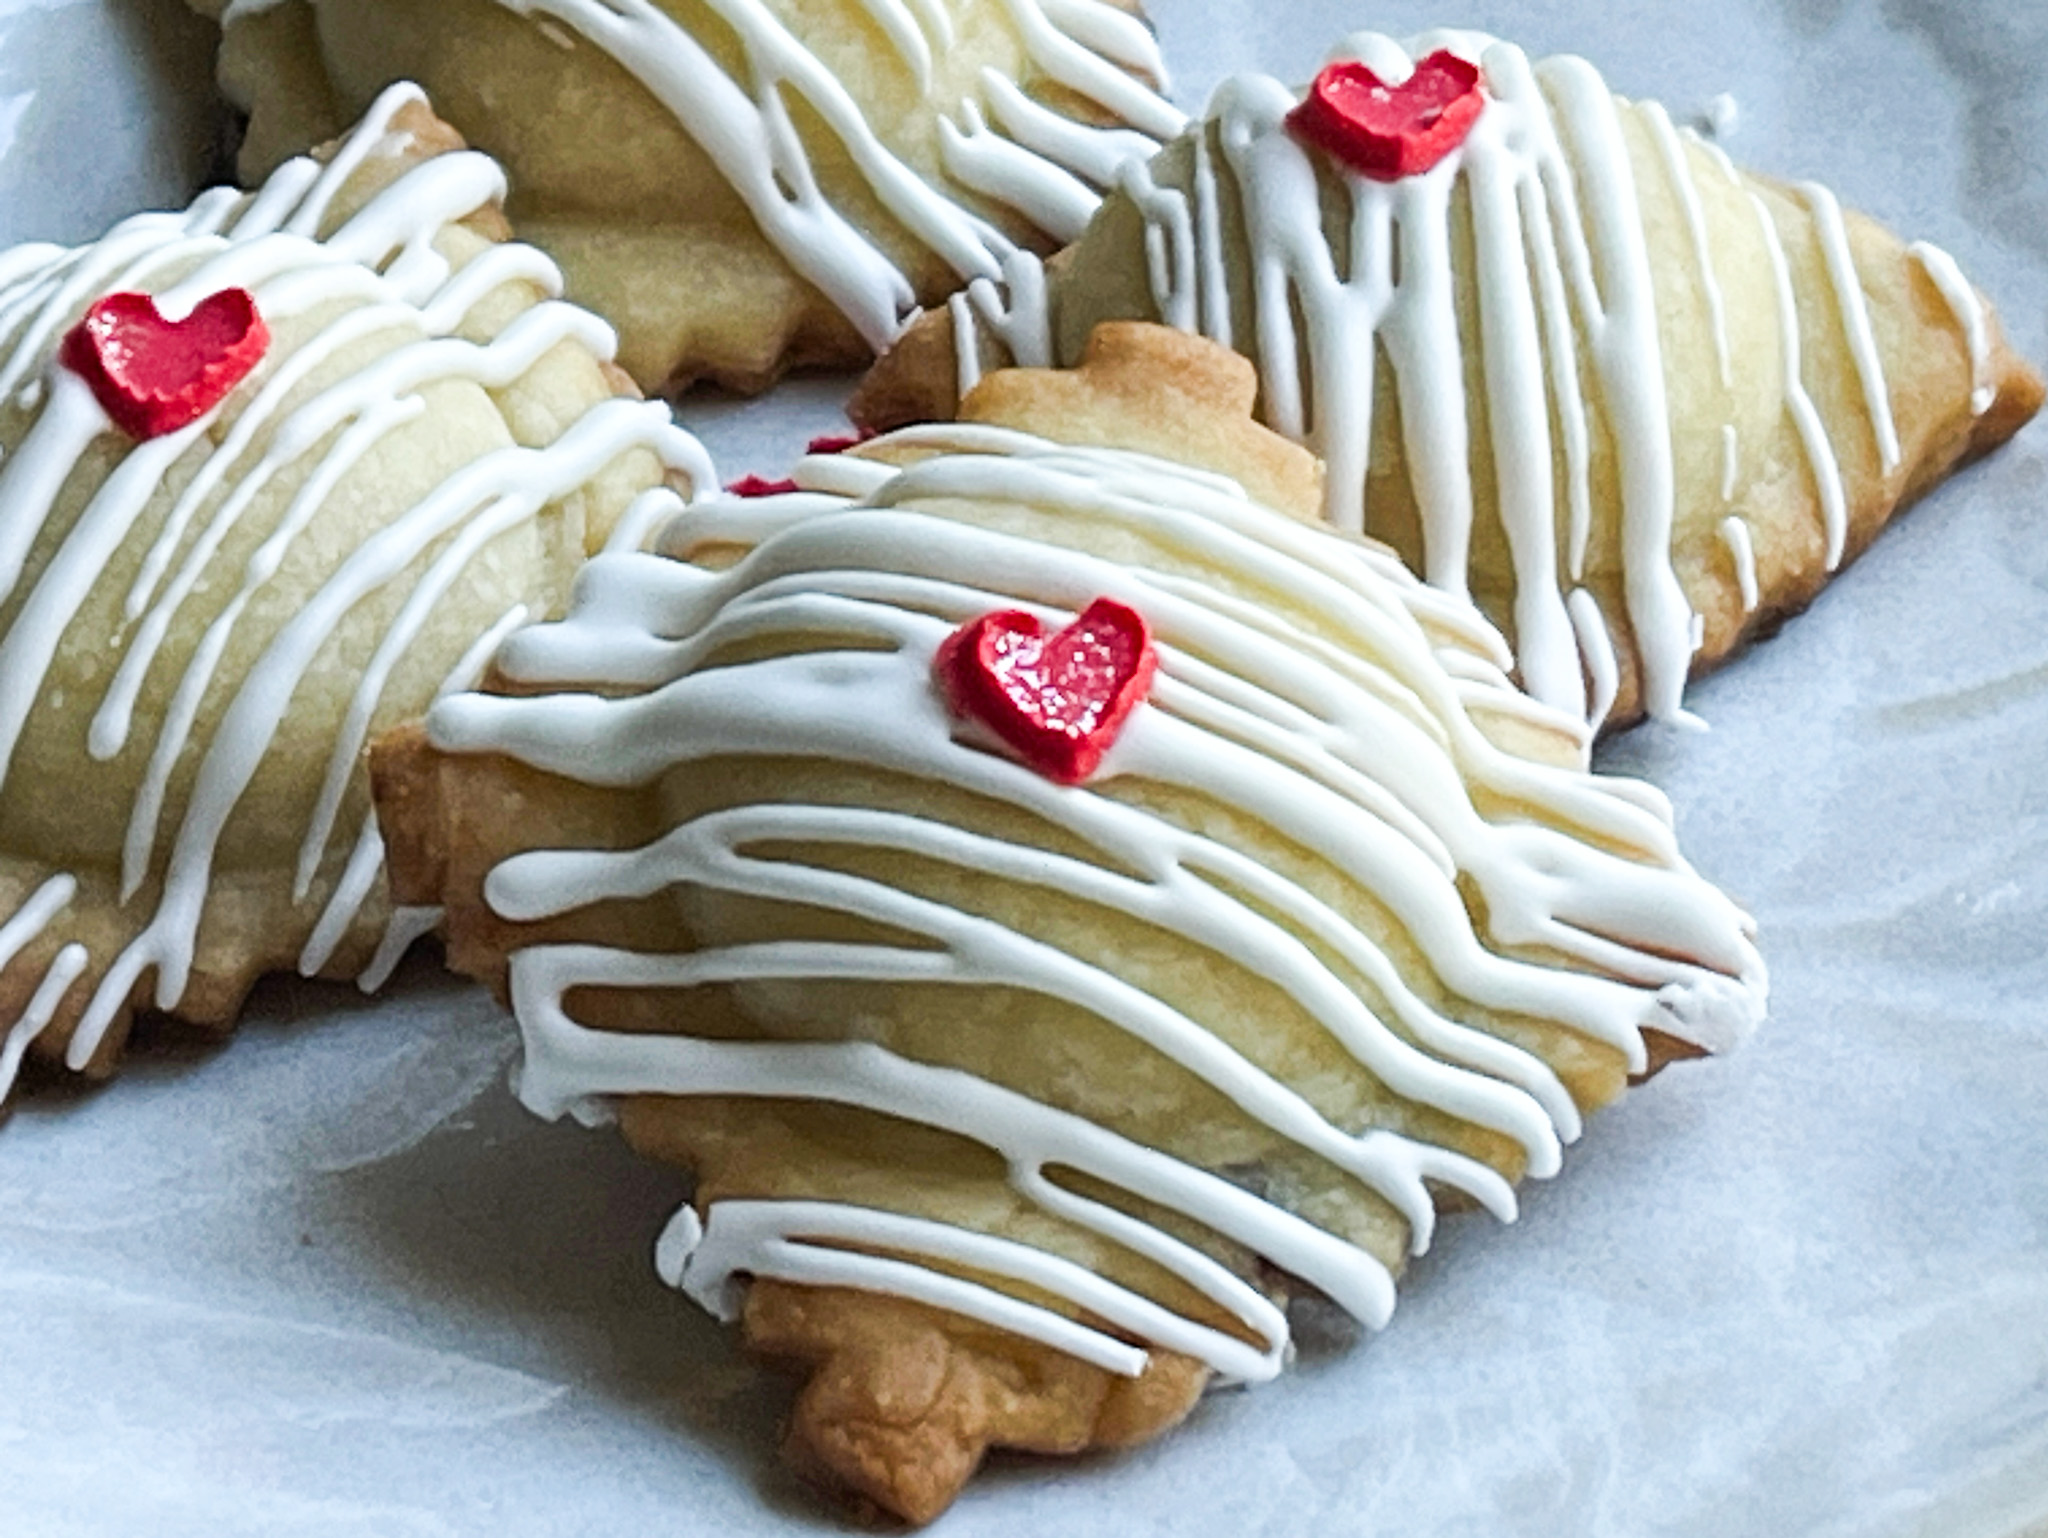
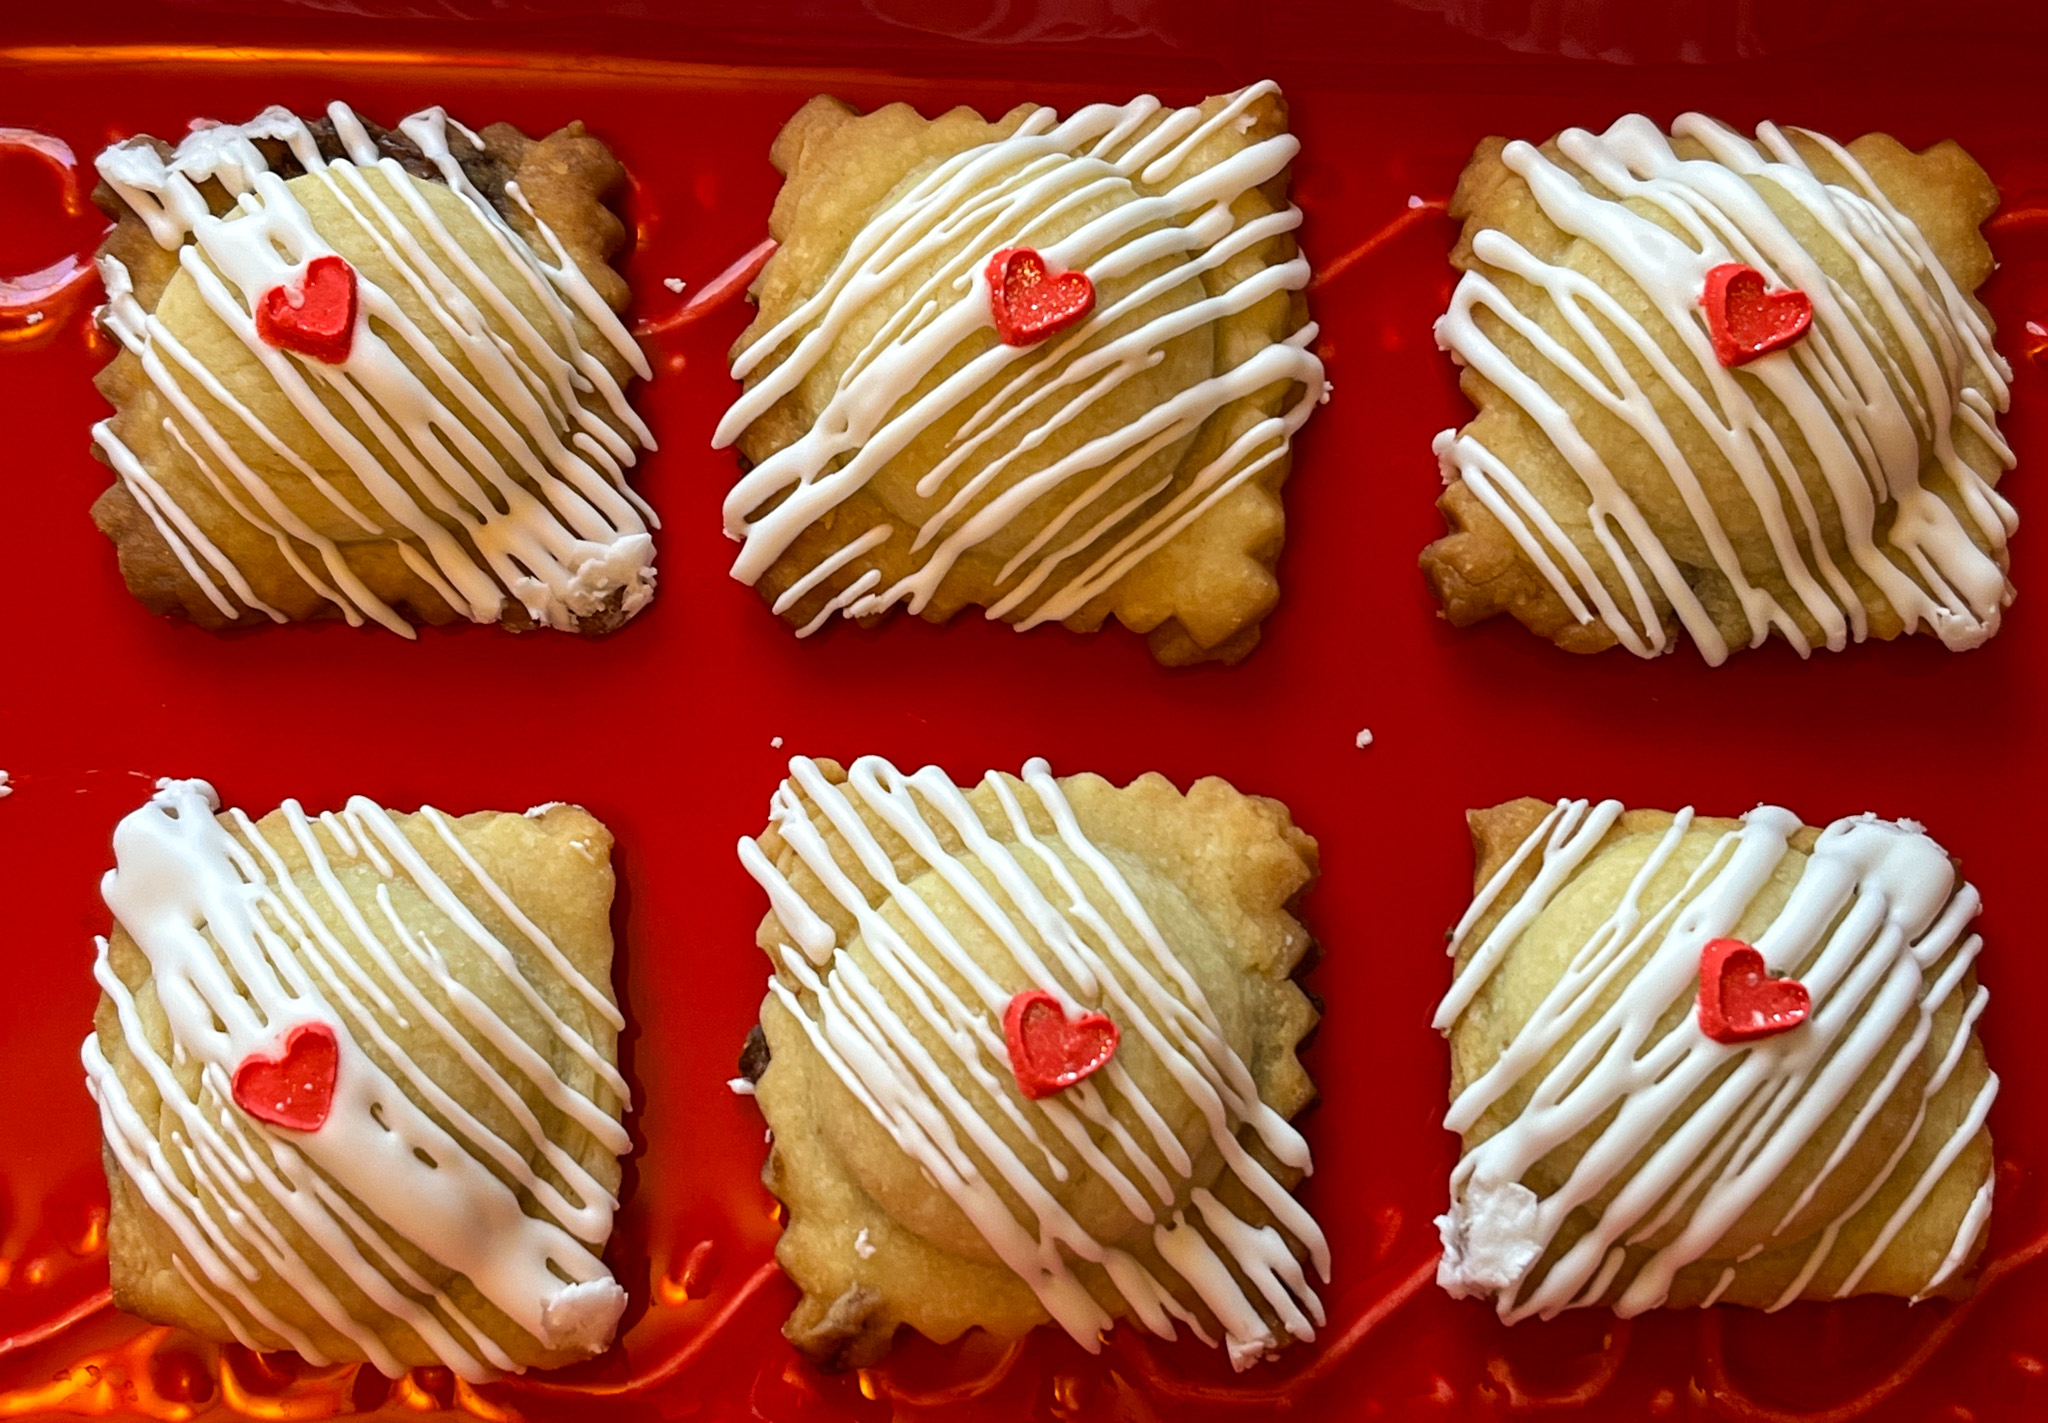
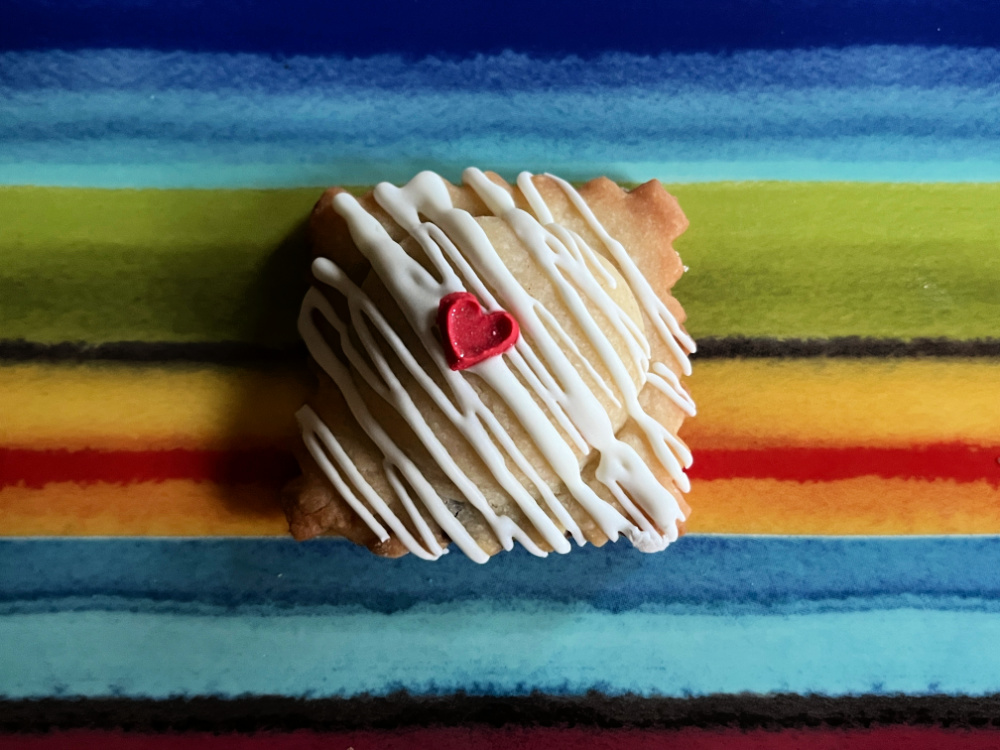
All I could do was try again with the second mold, the round one, using a heavier hand with the flour. I opted for Nutella for the filling, which was another bad decision, as it squirted everywhere as I tried to roll the ravioli shut. Messy, sticky, horrific. I managed to get six severely abused cookies from the adventure, and thanks to the miracle of Royal icing and sprinkles they were able to make a public appearance. It is a good thing you cannot see their bottoms (enough said).

Sooooo, what did I learn from this fiasco? I firmly believe that this could be a PERFECT Technical Challenge for a certain tent… Here’s how to do it: give a list of ingredients to the poor contestants. The instructions should be kept simple:
Make a cookie dough.
Use the ravioli press to make filled cookies.
As to the filling, they can use their tears and frustration. They shall have plenty to take care of all 10 cookies in the mold. So, there you go, organizers of Great British and Great American Baking Show. Free advice to guarantee great entertainment for your audience…
I shall be back, friends! I lost a battle but this war is NOT over! I shall make Helen proud!
ONE YEAR AGO: Peanut Butter and Jelly Babka and a Cookbook Review
TWO YEARS AGO: Painted Sourdough
THREE YEARS AGO: Over-the-Moon Blueberry Lemon Macarons
FOUR YEARS AGO: Springtime Macarons Bake-Along
FIVE YEARS AGO: Macarons for a Little Princess
SIX YEARS AGO: Gilding the Sourdough Loaf
SEVEN YEARS AGO: Lolita Joins the Bewitching Kitchen
EIGHT YEARS AGO: Cashew Cream Sauce
NINE YEARS AGO: Blood Orange Margaritas
TEN YEARS AGO: Smoked Salmon Appetizer
ELEVEN YEARS AGO: Clementine Cake
TWELVE YEARS AGO: Springtime Spinach Risotto
THIRTEEN YEARS AGO: The end of green bean cruelty
FOURTEEN YEARS AGO: Torta di Limone e Mandorle