TWO IDEAS FOR HALLOWEEN

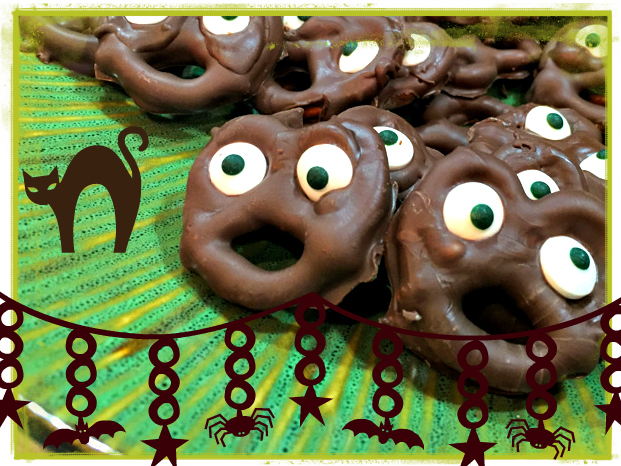
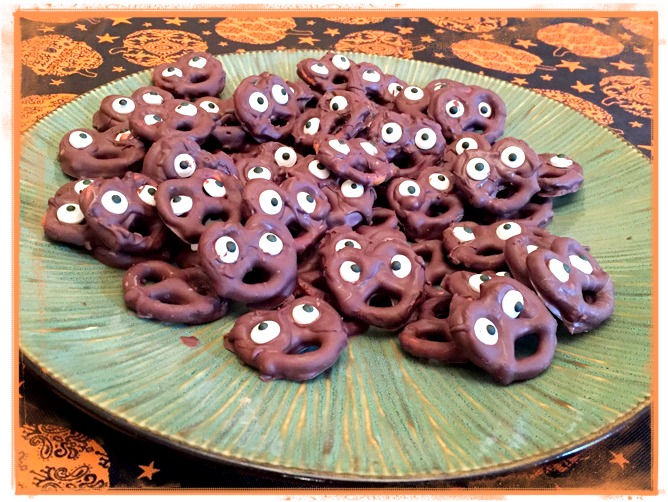
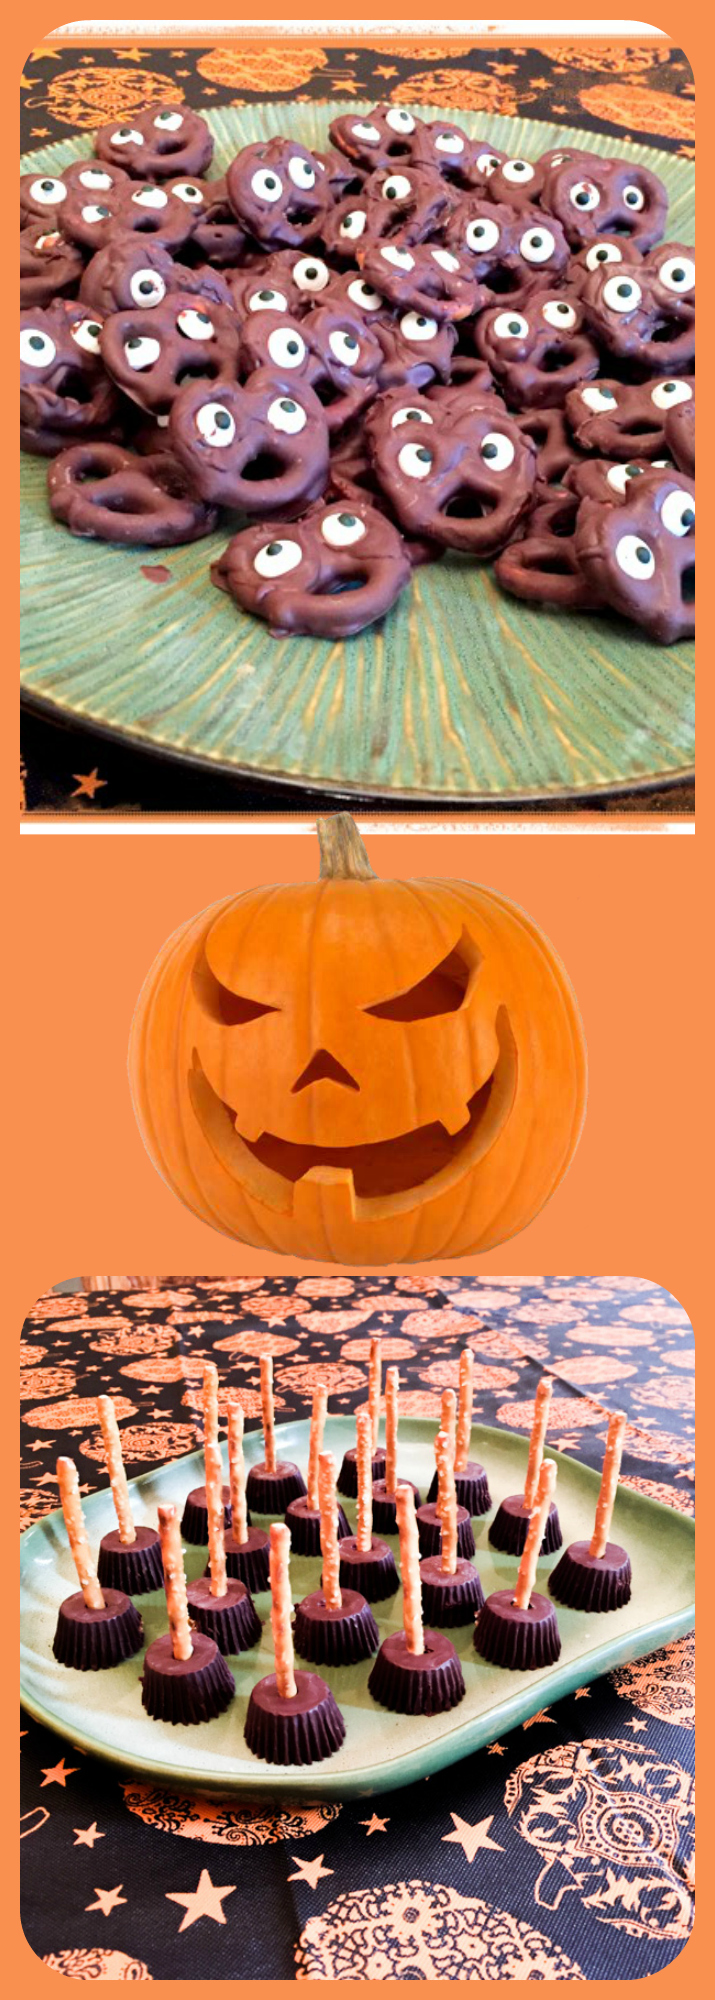
I made these treats for our Halloween party last year, and waited to blog now, so there’s plenty of time for you to make them in case you are hosting a party, or just feel like sharing something with friends on Halloween week. Very easy and fun. First, Screamingly Cute Chocolate-Covered Pretzels.

scary

They were fun to make, even if slightly messy. But that could very well be operator-error.  I am not that skilled when it comes to melted chocolate. You will need a bag of pretzels, melting chocolate (the best kind is this one, according to many sources), and eyeball candy. Sounds scary, right? Well, it’s for Halloween, it must be scary!

collage

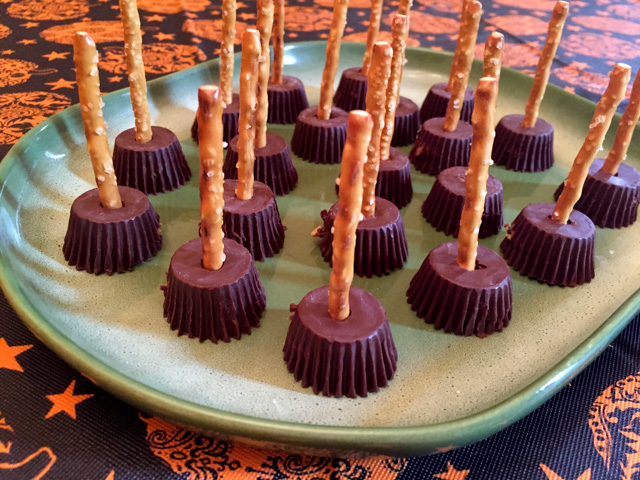
Second, even simpler to put together: Witch Brooms. Peanut Butter Cups with a strategically placed Pretzel stick. The flavors all work well together too. Hardest part of making them, is unwrapping the peanut butter cups. Be Zen. And enjoy the moment.

halloween-brooms2

If you make the Screaming Pretzels, handle the eye-ball candy with impeccably clean hands. Any chocolate that gets to the white candy will be hard to clean once you place them on the pretzel. Tweezers help. It will be easier to glue them while the chocolate is not fully set, but then it’s best not to try to re-adjust their position. Work slowly and you’ll get the hang of it. I am sure it will surprise you that I had never had the combo of pretzel with chocolate. It works! It is really a delicious combination, a little crunch, a little salt, a lot of chocolate.

halloween-pretzels22

A call from the past… one of our favorite Halloween costumes, back in 2002.  John and Olivia…
Hey, who said scientists cannot be a little silly? 

johnolivia1

halloween-treats-from-bewitching-kitchen

ONE YEAR AGO: Apple Cinnamon Oatmeal Cake

TWO YEARS AGO: Sourdough Rye Bread with Flaxseeds and Oats 

THREE YEARS AGO: Apricot-Raspberry Sorbet: A Farewell to Summer

FOUR YEARS AGO: Marcela’s Salpicon

FIVE YEARS AGO: Pork Kebabs

SIX YEARS AGO: Fondant au Chocolat

SEVEN YEARS AGOGot Spinach? Have a salad!

Add to FacebookAdd to DiggAdd to Del.icio.usAdd to StumbleuponAdd to RedditAdd to BlinklistAdd to TwitterAdd to TechnoratiAdd to Yahoo BuzzAdd to Newsvine

SIXTEEN SWEET YEARS!

Seasons may change, weather blows, but you still leave a mark on me!

Our song… 

Photograph king, watches you go
Fashions may change, heaven knows,
but you still leave a stain on me
Supplement queen,
your colours may fade
Seasons may change, weather blows, but you still leave a
mark on me

Wrong-negative fades-never the twain, reckless and tame

I like the beat of your drum
I like to look in your eyes
I like to look thru your things
I’d like to beat on your drum

I like the smell of your flesh
I like the dirt that you dish
I like the clothes that you wear
I’d like to beat on your drum

Disco brat-follow the pack
Watching you peel, heaven knows, prison can’t hold all
this greedy intention

Vanity’s child-picture you now
Music may change-hi-di-ho keen to follow your nose

Wrong-love out of tune
Sweet is the night,
bright light destroys me

I like the beat of your drum
I like to look in your eyes
I like to look thru your things
I’d like to beat on your drum

I like the smell of your flesh
I like the dirt that you dish
I like the clothes that you wear
I’d like to beat on your drum


banner


May we always be the perfect match!


perfect match

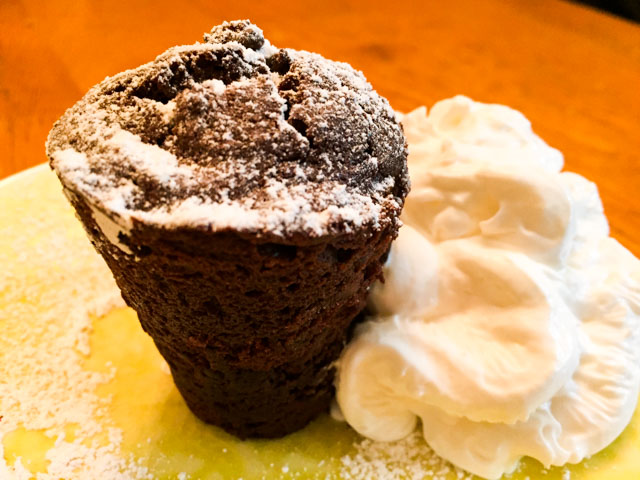
Thomas Keller Bouchons au Chocolat & Whipped Cream

For the recipe, click here.

(comments are shutdown for this post)

SECRET RECIPE CLUB: CHOCOLATE ZUCCHINI CAKE WITH CHOCOLATE FROSTING

Chocolate Zucchini Cake Pieces
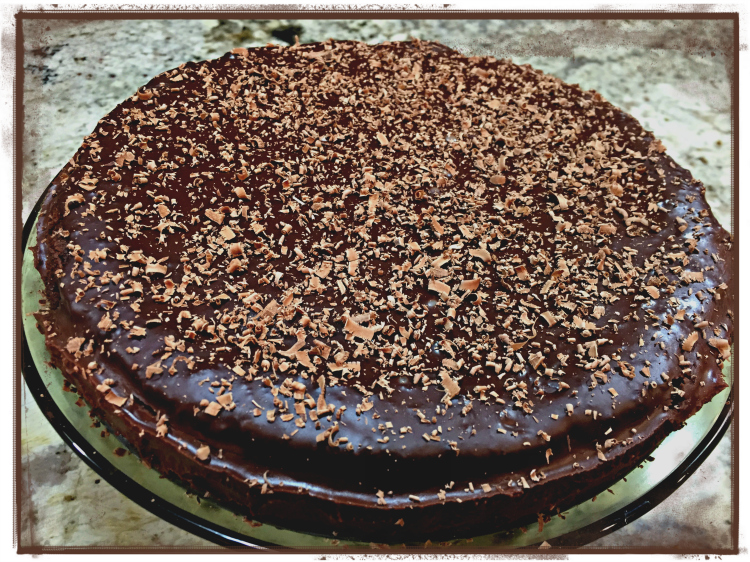
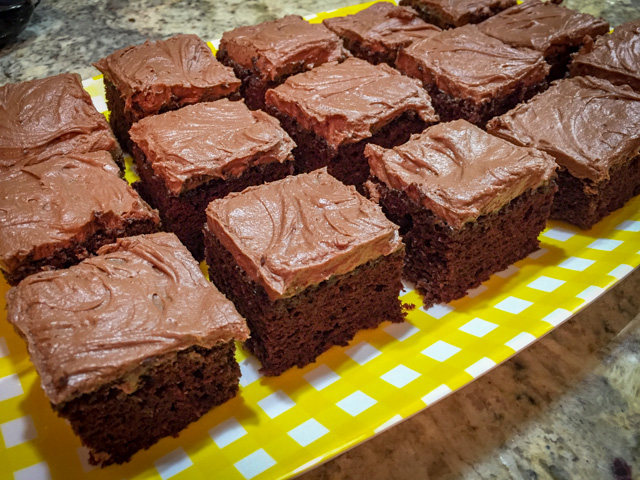
The last Monday of October is here in all its pre-Halloween glory, and chilly not-so-glorious mornings!  It is Reveal Day of The Secret Recipe Club, and here I am to disclose the blog I was assigned to cook from: The Colbert Clan, hosted by Kate. Now, I must confess that this month I almost decided to skip participating because we traveled so much.  I kept the blog going normally, but we barely stayed home. First a trip to Santa Monica, CA, back home for 24 hours, then we caught a plane to São Paulo, Brazil.  I knew that my only chance of sticking with the Secret Recipe Club would be to jump on the assignment right away.  So, I took a slightly different approach to it, and went straight with a search for a cake. Cake? Me, the anti-cake-baker? Yes, you got that right. I wanted to take a chocolate cake to the department and that’s what I searched for.  The choice was easy, painless, and very sweet: a Chocolate Zucchini Cake, adorned with a luscious buttercream frosting which yours truly made with only minor boo-boos. It was an almost painless baking experience, which is saying a lot. But let me tell yo a little bit about Kate. She is a young, stay-at-home Mom of three kids, and her blog reflects life-style of someone who needs to get good food at the table for a family of five.  I am sure it’s not easy, kids can be picky, and juggling everyone’s desires is like a full-time job!  Kudos for her…   I could not resist browsing a little bit through The Colbert Clan, and was tempted to make her Mini-snickers Cheesecakes, which are simply adorable with a drizzle of caramel on top. I am sure my colleagues at the department would be absolutely thrilled…  And, since we are on the subject of cuteness, how about these Macaroon Kisses? Definitely something to consider as a baking project…  But, chocolate cake was on my mind, and without further ado, let me share the recipe with you.

Chocolate Zucchini Cake

CHOCOLATE ZUCCHINI CAKE WITH CHOCOLATE FROSTING
(from The Colbert Clan)

for the cake:
1/2 cup oil
1 1/2 cups sugar
2 teaspoons vanilla
1 large egg
1/2 cup milk
2 cups shredded zucchini
2 cups flour
1/2 cup cocoa powder
1 1/2 teaspoons baking soda
1/2 teaspoon salt

for the frosting:
1 cup butter, softened
1/2 teaspoon vanilla
3-4 tablespoons milk
1/2 cup cocoa powder
3 1/2 cup powdered sugar

Heat oven to 350 and spray your 9×13 pan.

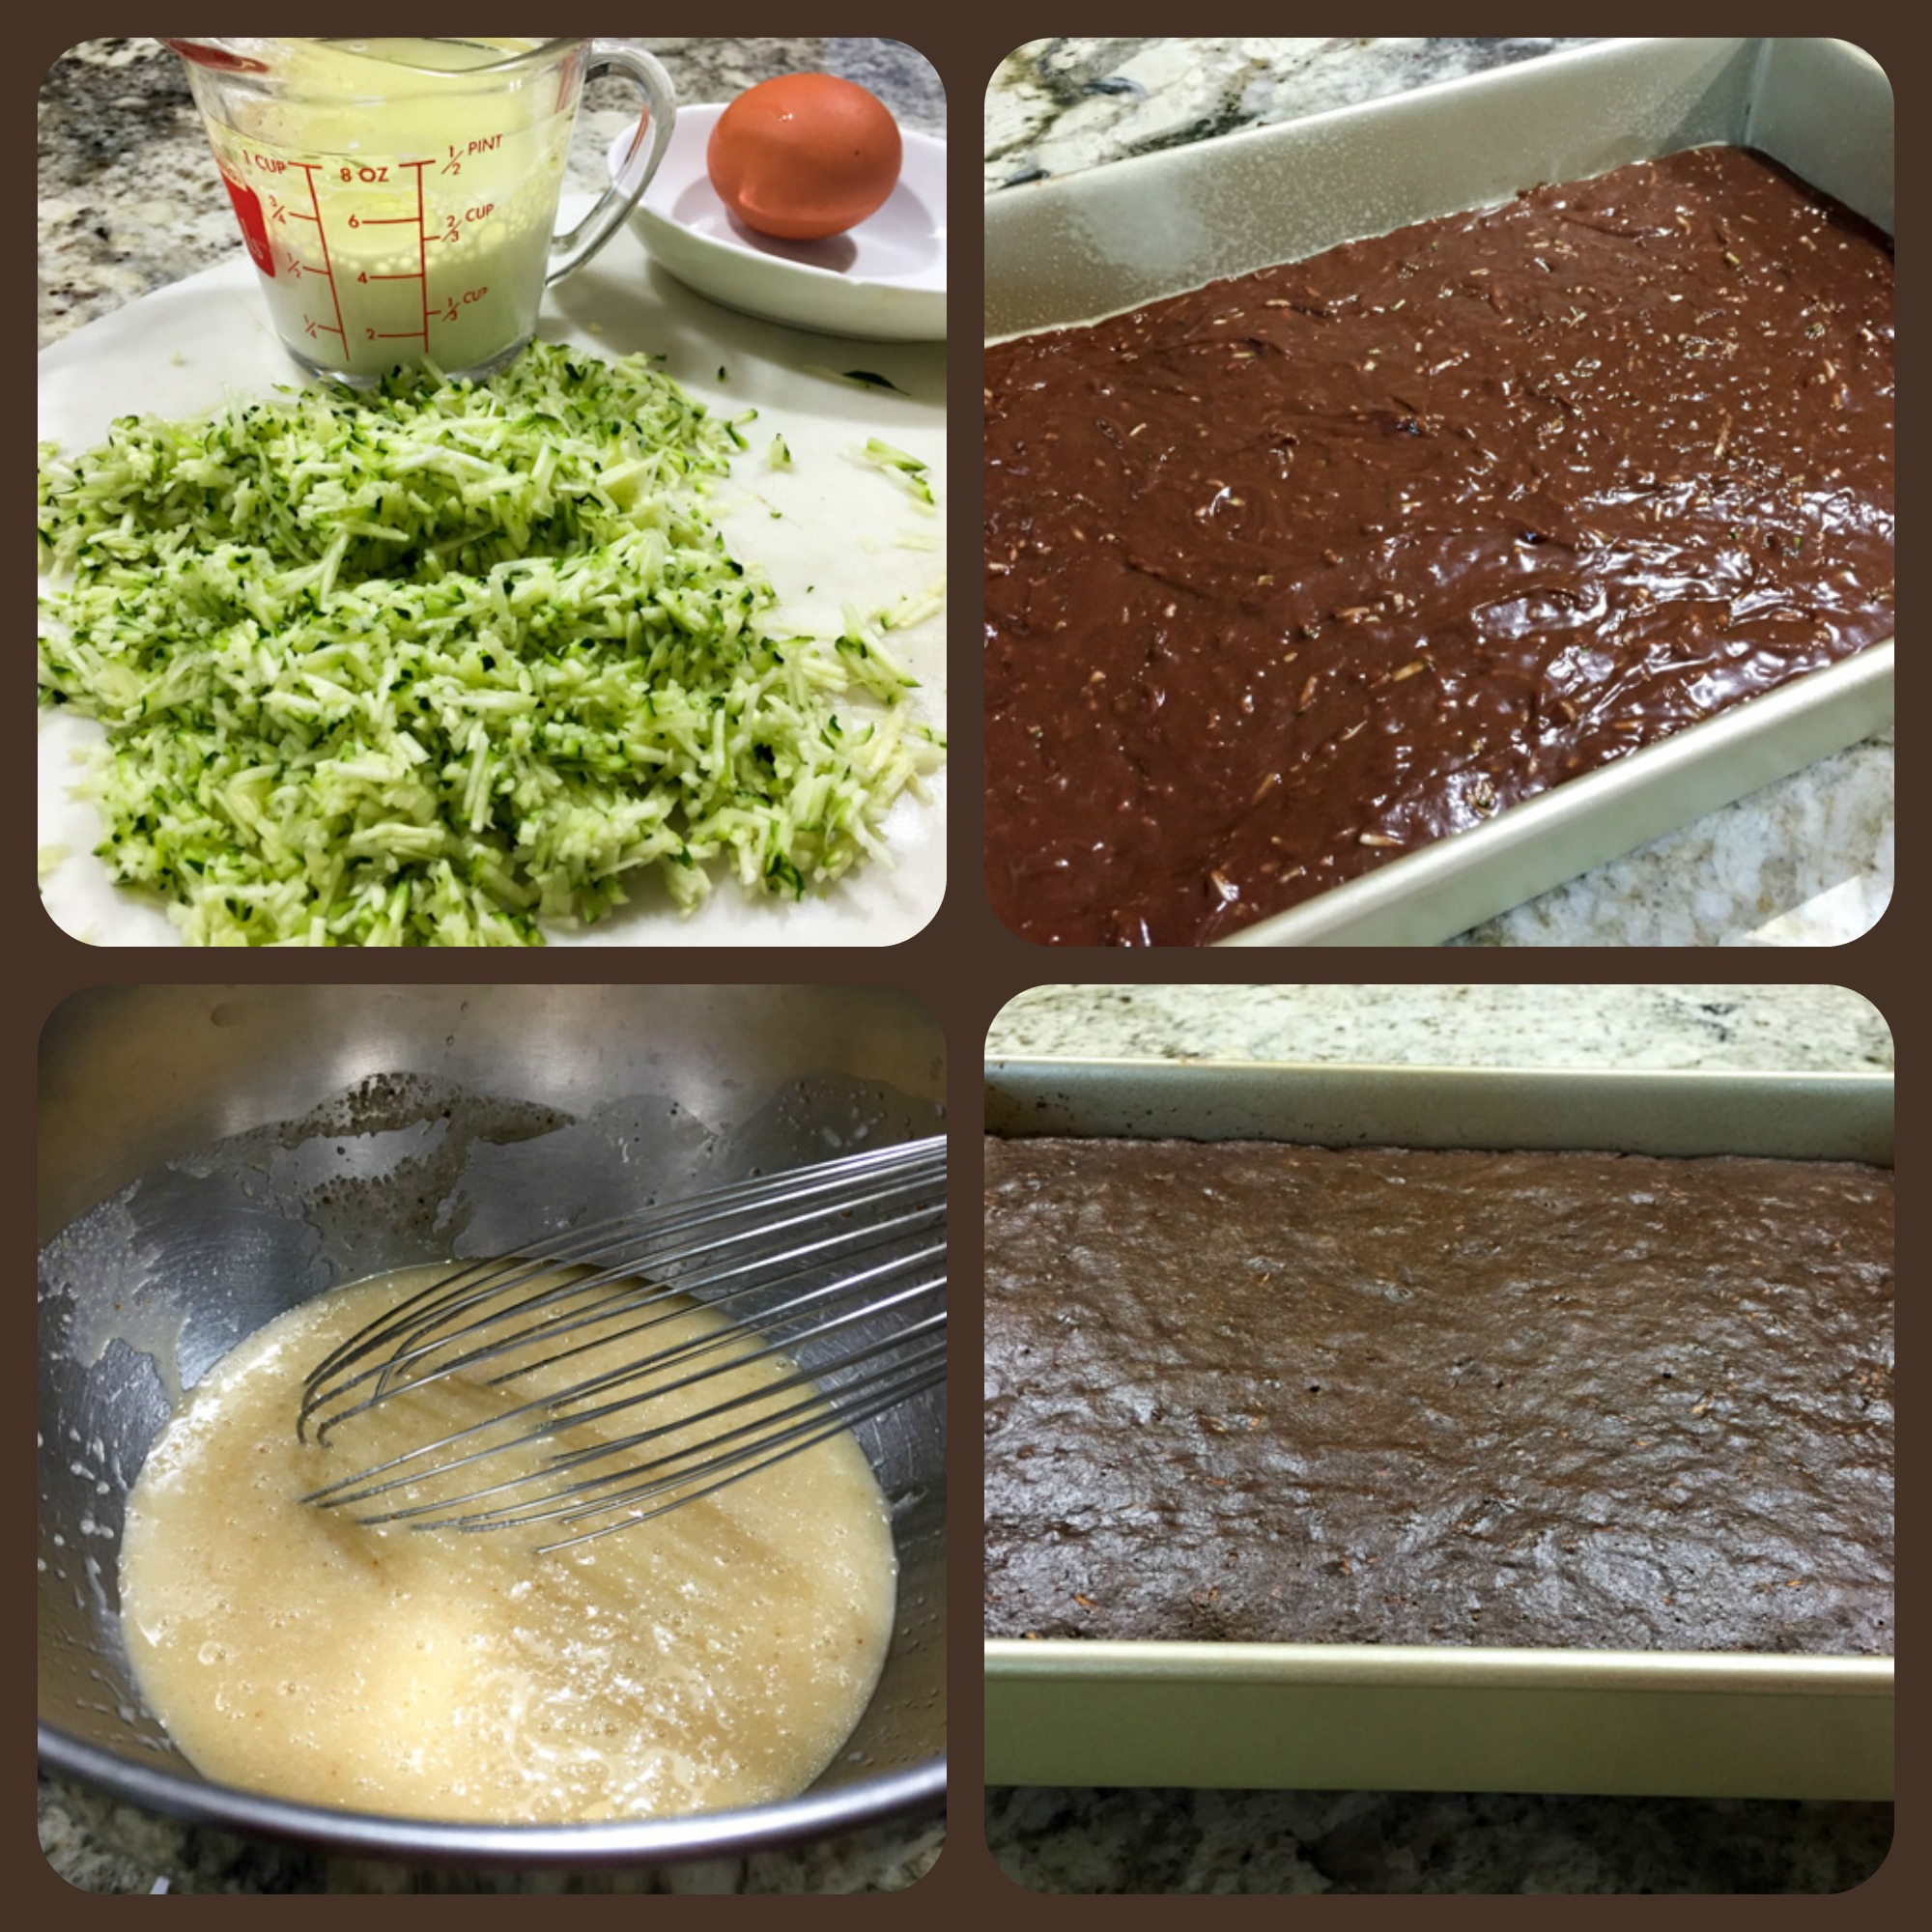
In one bowl mix together oil, sugar, vanilla, egg and milk until combines. Add grated zucchini.In a second bowl mix together flour, cocoa powder, baking soda and salt.

Pour dry ingredients into wet mixture and mix.

Pour into your 9×13 pan and bake for 28 to 30 minutes. Cool completely before frosting.

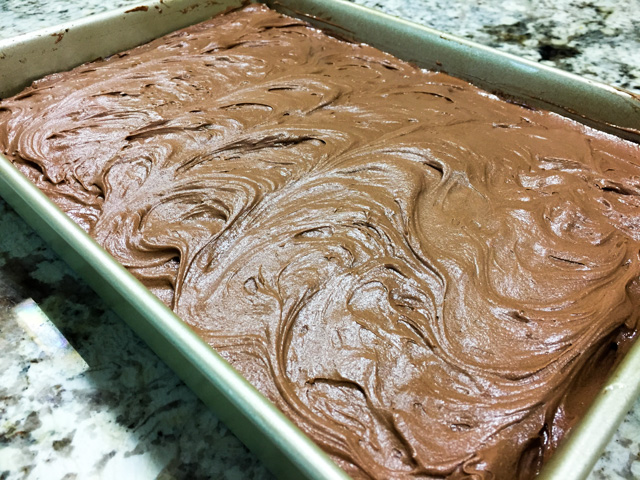
Make the frosting: Beat the butter until fluffy. Mix in vanilla and milk. Mix in cocoa and powdered sugar, whip until the mixture is smooth and creamy. I did not have to use all the powdered sugar mixture.

Cut in squares and serve.

ENJOY!

to print the recipe, click here

composite

Comments: I’ve always wanted to make a chocolate cake with zucchini in it, because it’s so intriguing! Of course, I am very fond of a particular type of carrot cake from my childhood, and zucchini is not too far from carrots as far as food is concerned. Plus, chocolate can make many things taste delicious and decadent, even the humble zucchini.  This cake is simple to prepare, the hardest part was shredding the squash.  Now, a piece of advice for novice bakers: if you are a neat freak like I am, and decide to rinse the sieve after making the cake batter, make sure it is 100% dry before you go sifting the cocoa powder for the frosting.  If there is water in it, you’ll have a big mess on your hands, especially if you are puzzled about the cocoa not going through and decide to “help” it with your fingers.  Enough said.

The cake was a big success with our colleagues, and of course Phil had to remind me of speeches he gave me in the past, like  “The Importance of Frosting on Any Cake,” and  “Why Cakes are Not Real Cakes If Not Smothered in Frosting.”  He is thrilled that I seem to be getting his point, after so many years of food blogging.  Our marriage only gets better and better.

Kate, I hope you had a great time cooking from your assigned blog!
I invite my readers to browse through the collection of goodies made by my fellow virtual friends from The Secret Recipe Club with a click on the blue frog at the end of the post.

ONE YEAR AGO: Pecan-Crusted Chicken with Honey-Mustard Dressing

TWO YEARS AGO: Bewitching Kitchen on Fire!

THREE YEARS AGO: Cashew Chicken Lettuce Wraps

FOUR YEARS AGO: Chiarello’s Chicken Cacciatore

FIVE YEARS AGO: Donna Hay’s Thai-Inspired Dinner

SIX YEARS AGO: Panettone

CHOCOLATE CHIP SHORTBREAD COOKIES

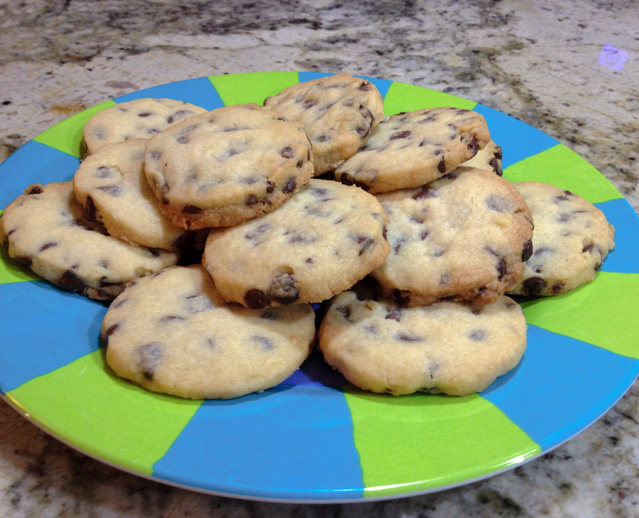
It’s hard to make a case for one more chocolate chip cookie recipe, but this one is worth talking about…   What makes this recipe special is its shortbread nature. No eggs in the dough. As Sue described in her original post, shortbread cookies were probably the first versions “invented” by bakers. Think flour, butter and sugar. Beautify it with your favorite additions. And that’s pretty much it. The texture is completely different from a regular cookie. I think I slightly over-baked this batch, as the edges turned just a tad too dark compared to hers.  It did not compromise the deliciousness of the final product, though.  Trust me.

Shortbread Cookies1

MILK CHOCOLATE CHIP SHORTBREAD COOKIES
(from The View from Great Island)

1 cup unsalted butter, at room temperature
1/2 cup sugar
1 tsp vanilla extract
2 + 1/4 cups all-purpose flour
1 cup milk chocolate chips

Heat the oven to 350F.

Cream the butter and the sugar together. Beat in the vanilla extract.
Add the flour, a little at a time, until the dough comes together. Fold in the chips just before it all comes into one mass. Turn the dough out onto a floured board and bring it all together with your hands. Form it into a plump disk and then roll it out, flouring your rolling-pin as necessary, to about 1/3 to 1/2 inch thick.

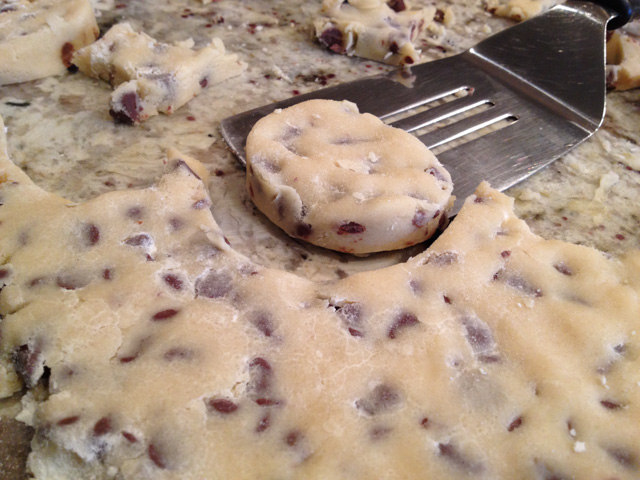
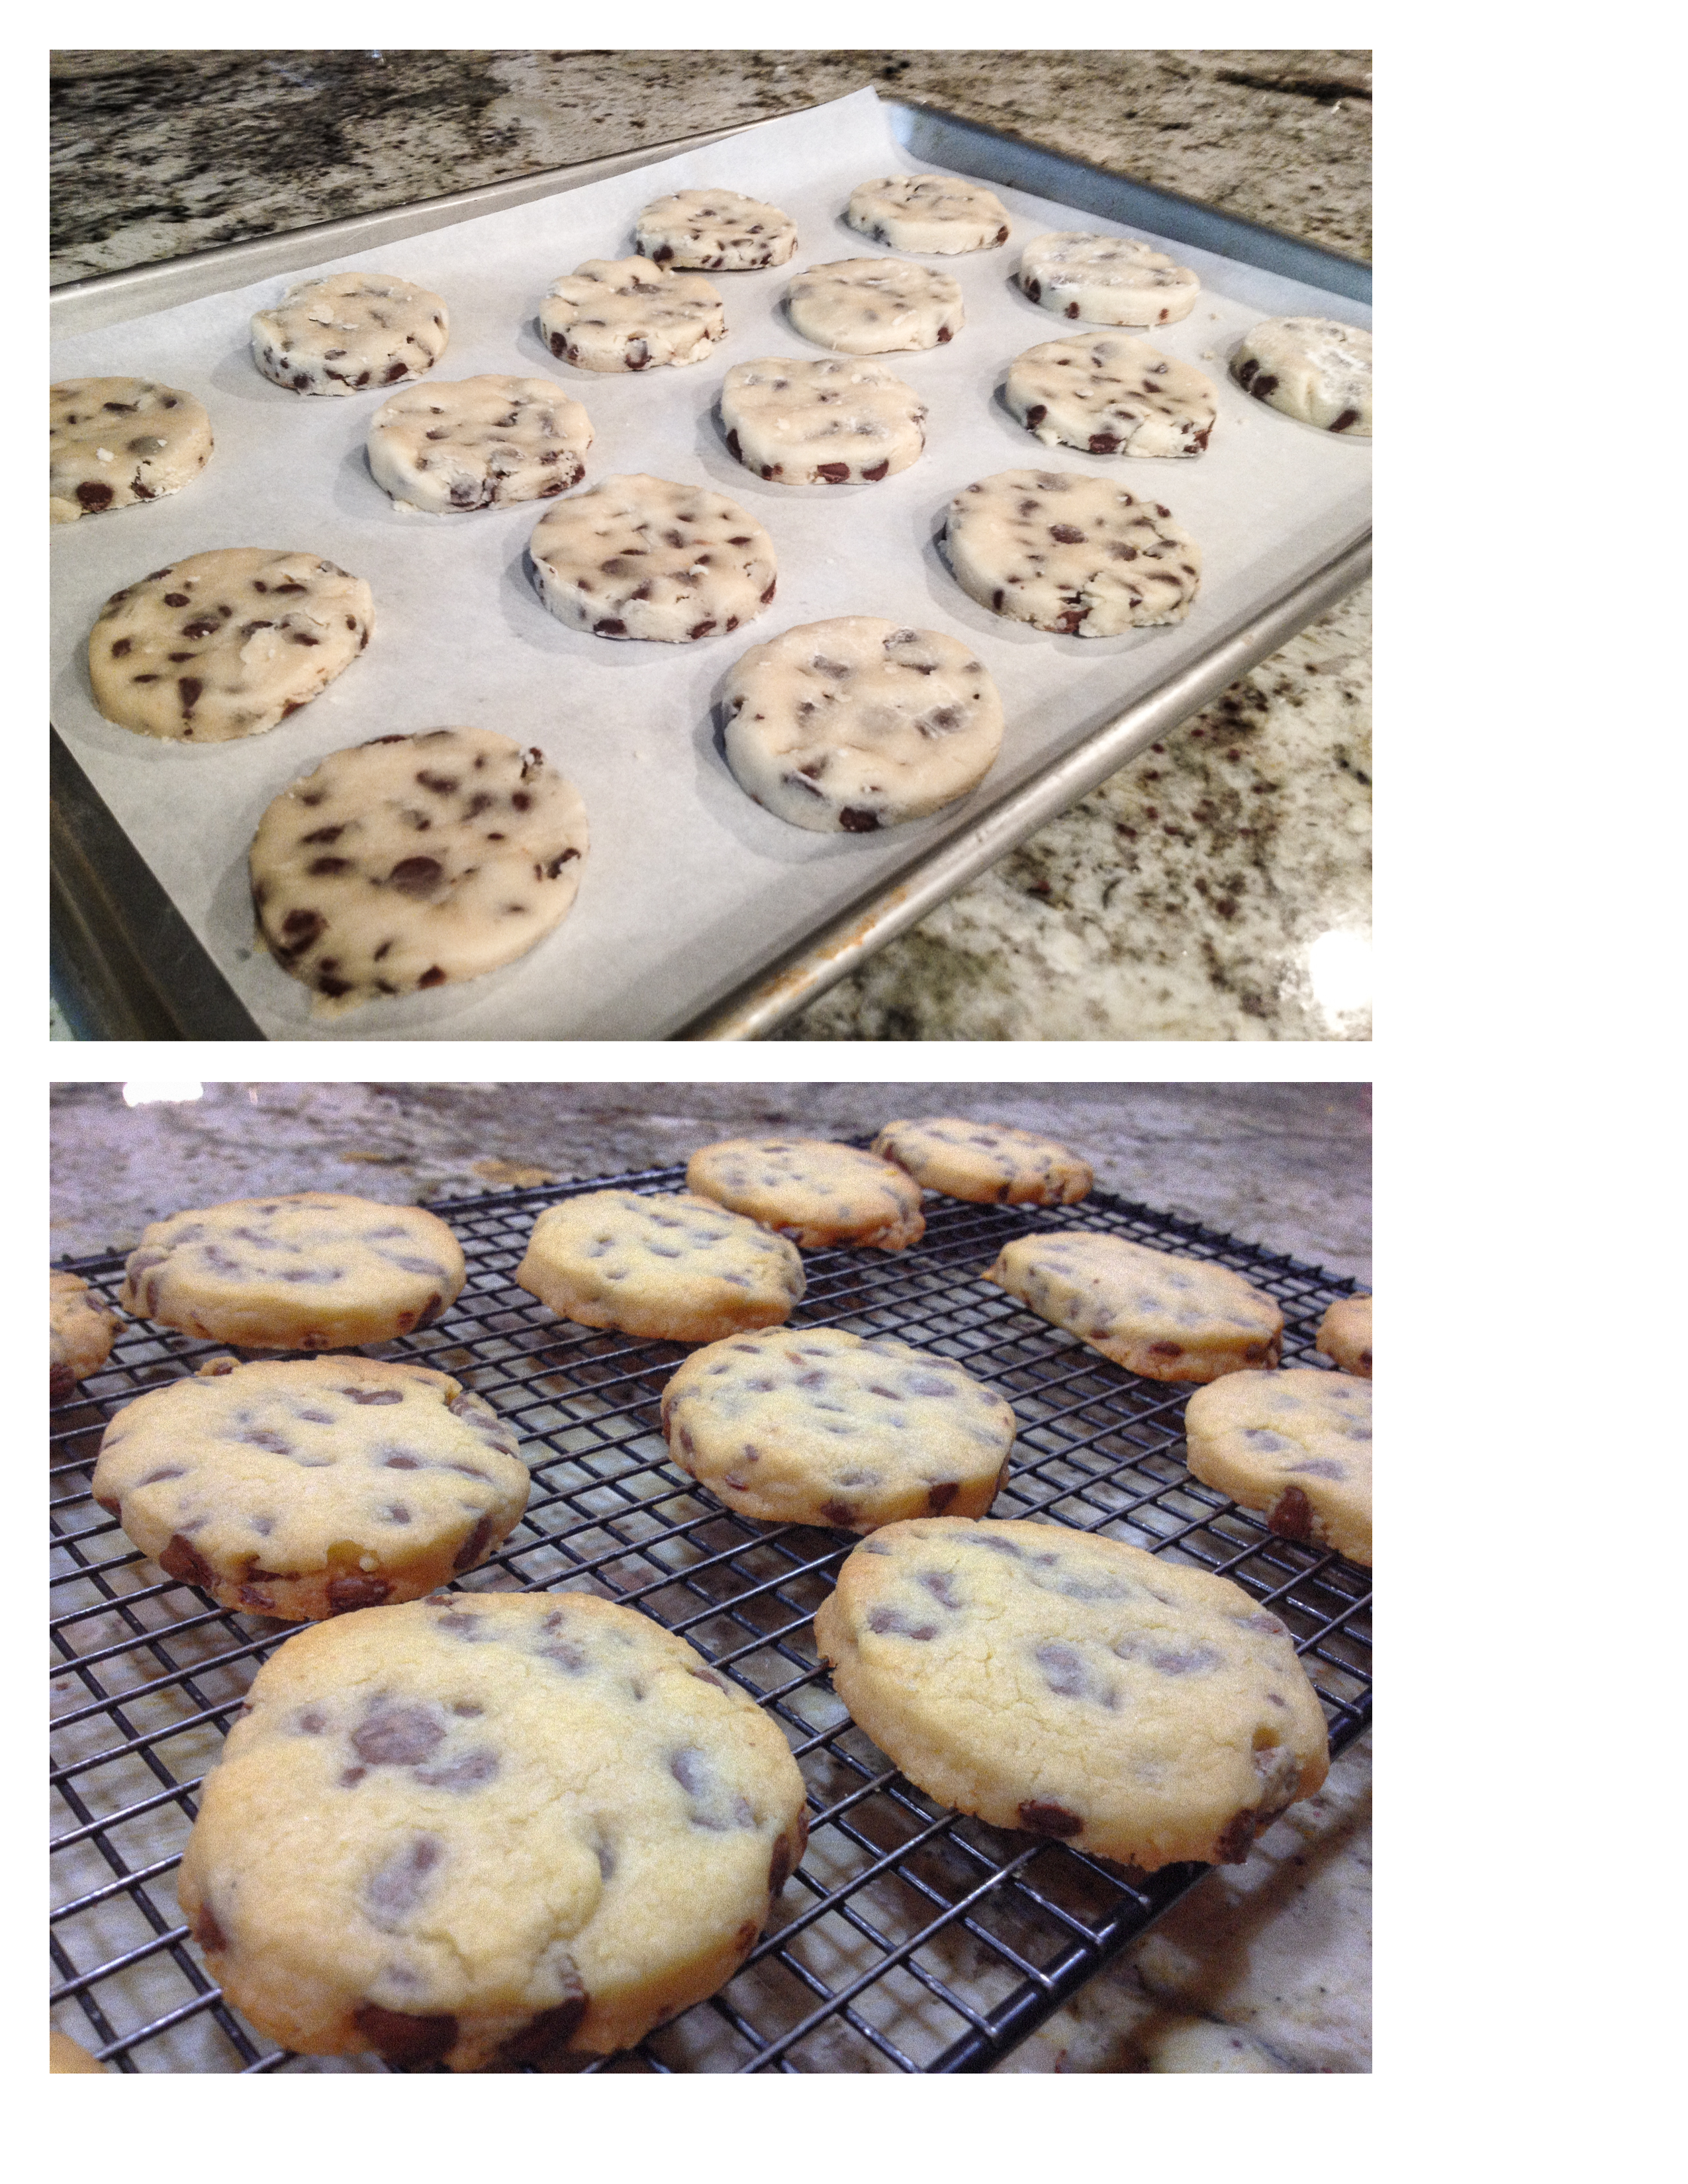
Cut cookies with a 3″ cookie cutter, pressing down firmly to cut through the chocolate chips. Reform the dough as needed to use it all up. Arrange the cookies on a cookie sheet and then cover with plastic wrap and refrigerate the whole tray for at least an hour.

Bake the cookies for about 20 minutes. You want them to be every so slightly golden just around the edges, and be slightly firm to the touch.  Let them cool for a few minutes on the tray and then transfer to a rack to finish cooling.

ENJOY!

to print the recipe, click here

cutting1

Such a nice dough to work with!  It rolls smoothly, each cookie hiding the perfect amount of chocolate chip goodness… I rolled mine straight on the countertop, nice and easy.compositeThese cookies don’t spread much, so cut them in the size you’d like to enjoy them.  You might be surprised to see milk chocolate instead of dark, but I think the extra sweetness is perfect in the shortbread environment. Of course, you can use this basic recipe to make many variations.  Think white chocolate and dried cranberries, toffee bits and dark chocolate would be awesome too.  Not to mention macadamia nuts, a little lemon zest…  Ok, I’ll stop here, but you don’t have to, put your imagination to work…

I’d never had a shortbread cookie before. With the first bite, I asked myself “do I like it?”… one more bite….  “Hummmmm, I think I do like it!“…..  After two cookies disappeared in lightning speed, I realized they won me over, big time! If you’ve only had “regular” cookies until now, open your baking horizons with a batch of these.

Sue, as usual it took me quite a while to blog on this recipe… I checked my files and noticed I baked these cookies back in January, can you believe it?  But better late than never to say thank you for the inspiration!

😉

ONE YEAR AGO: Chicken in Green Pipian Sauce, Sous-vide Style

TWO YEARS AGO: Classic Shrimp Gobernador Tacos

THREE YEARS AGO: A Walk Towards the Sunset

FOUR YEARS AGO: In My Kitchen

FIVE YEARS AGO:  Heavenly Home-made Fromage Blanc

SIX YEARS AGO:  A Perfect Sunday Dinner

STAR-SHAPED CHOCOLATE BRIOCHE BREAD

Every once in a while I fall in love with a recipe, and cannot wait to make it. Last week I logged into Facebook, and by pure chance there on the top of the Artisan Bread Bakers page I saw a gorgeous bread, worthy of the cover of a Breads Illustrated Swimsuit Issue – if there was such a thing. Except that, contrary to what seems to be the case for many supermodels, no Photoshop tweaking was involved. The bread was naturally stunning. I wasn’t sure I would be able to make it, as it involved a shaping technique I had never seen before. But, it all worked well. It’s bread after all, not cake.  😉

Star-Shaped Brioche1

STAR-SHAPED CHOCOLATE BRIOCHE BREAD
(from  Lindarose at Instructables)

for the dough:
500g all-purpose flour
2 eggs
60g sugar
180ml room temperature milk (3/4 cup)
80g room temperature butter
7g active dry yeast
8g salt
peel from one orange

for the chocolate cream:
35g cocoa powder
75g sugar
250g ricotta ( about 1 cup)
30g hazelnuts

Put the flour in the mixer and add the yeast, milk, sugar and eggs. Start mixing on low, as the ingredients start to incorporate, add the butter in small pieces, the salt, and the orange peel.  Keep mixing until very smooth (about 5 minutes on a Kitchen Aid type mixer). Remove the dough to a lightly floured surface and finish kneading it by hand, to make sure all butter is uniformly distributed. The dough should be slightly tacky, resist the urge to add more flour. Form a ball, and let it rise in a bowl in a warm spot until double in size, about 2 hours, depending on the temperature of your kitchen.

While you wait for your dough to rise, prepare the chocolate cream.

In a food processor, mix the sugar and hazelnuts together until you obtain a powder. It’s ok if there are still some big pieces in it. Transfer to a bowl, and sift the cocoa powder on top of it.   Add the ricotta and mix everything together with a hand mixer until your mixture becomes a cream.

Once your dough has risen, divide it in 4 equal pieces and make 4 separate balls. Make a disc with each of the 4 balls using a rolling-pin. The most important thing is that the discs are all the same size.

Place the first disc on a piece of parchment paper and spread some chocolate cream on it, making sure to leave about half an inch of free border all around. Lay the second disc on the first one and press the border with your fingers to join them together. Now spread some other chocolate cream on the second disc (always leaving a free border), add the third disc and close it with your fingers. Do the same on the third disc and close it with the last disc, but don’t spread the chocolate on it this time. The 4th disc is the top of the bread.

Using a knife, divide the dough in 4 with 4 cuts. It’s  crucial for the shaping that you don’t cut the center of the disc (see pictures). Now make other 4 cuts between the others, for a total of 8, always leaving the center free. Finally, make 8 cuts between the ones you already made, just like the others. You will have a total of 16 sections now.

Consider 2 sections that are next to each other: lift one with one hand and the other with the other hand and twist each of them towards the outside. This means that the piece you are holding with your right hand will be twisted to the right and the one you are holding with your left hand will be twisted to the left. Do this for all the sections. Your bread will look like a snowflake. Put it in the baking sheet with the help of the parchment paper (don’t remove it) and let it rest and rise for another hour. As the bread rises, turn your oven to 350 F.

Bake at 350°F (180°C) for 25 to 30 minutes. Let it cool on a rack.

ENJOY!

to print the recipe, click here

balls-checker

I woke up very early on Labor Day to bake this bread. Long before sunrise. Mixed the dough and went for a run with Phil, while the streets were still completely dark. Come to think of it, “with Phil” is not a correct statement. Let’s say we start together and within five minutes I am begging for mercy,  slow down my pace and see him move farther and farther ahead.  The sun started to rise midway through our run, in such a magical experience, the subtle change in light, slow and beautiful. By far my favorite kind of run. A day that started so perfectly had  to be a good baking day. And indeed it was.

hazelnutpowder

This dough is wonderful to work with.  As you can see in the instructions, the most important thing to keep in mind is dividing the dough in equal parts – use a scale, don’t just eye-ball it.  Once the dough is divided, it rolls out very nicely, use just a little bit of flour on top of the parchment paper so that you can release it easily. I rolled all four balls of dough, but if you prefer, roll one at a time, spread the chocolate cream, move to the next one. Before you cover the bread with the last disk of dough, wash your hands of any chocolate to keep the surface of the bread clean.

shaped

Slicing the dough in 16 sections and twisting the sections for the final shaping is not as hard as it may seem.  I have a lot of trouble with spacing things regularly, and was a bit nervous handling the knife, but even if my cutting was not perfectly uniform,  the bread turned out ok.  Maybe not worthy of the cover of Breads Illustrated, but not bad for a first time.

This star-shaped bread reminded me of the classic Chocolate Babka, which I’ve never made, but saw Peter Reinhart demonstrate in a lecture in Dallas many years ago. In fact, my friend Marilyn said this bread looked like “Babka’s wealthy cousin”.  I suppose that defines it quite well.

The filling can be anything you like. Some bakers from the Facebook group used pesto and cheese, others used cinnamon cream, or a mixture of different nuts with chocolate. Pretty much anything goes with the exact same dough and shaping.  Be creative and impress your friends and family, it is a show-stopper of a bread.

Sliced

I am submitting this post to Susan’s Yeastspotting event…

ONE YEAR AGO: Blueberry-Banana Bread 

TWO YEARS AGO: Into the Light Again

THREE YEARS AGO: Five Grain Sourdough Bread

FOUR YEARS AGO: The Nano-Kitchen

FIVE YEARS AGO: Kaiser Rolls