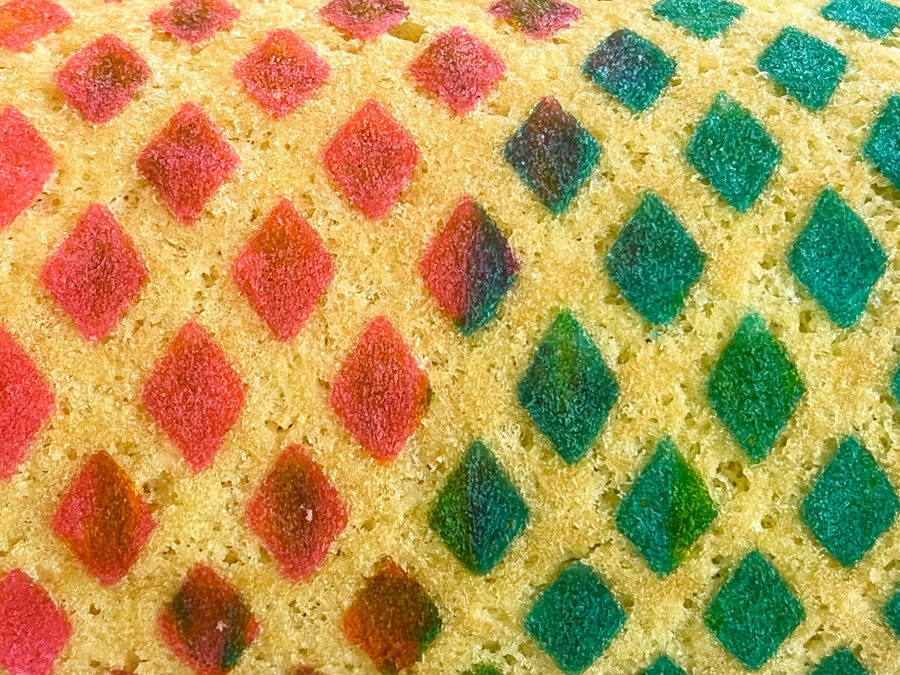
I have quite a few Silikomart cake molds for the most part acquired before the Great Pandemic of 2020, when I was baking cakes to include in my donation box. Once Covid hit, I went through a long time of donating exclusively stuff that could be individually wrapped, and cakes went into the back burner. Now I am set on trying to bring my molds to play, and plan to bake one cake every week. Should be a fun little adventure. Today it is time for Raggio to shine! ( Mold available here).

RAGGIO VANILLA AND CHOCOLATE CAKE
(adapted from several sources)
for the cake:
3 large eggs at room temperature
140 g white sugar (about 2/3 cup)
180 g butter, softened (about 3/4 cup)
1 tsp vanilla extract
225 g all-purpose flour (about 1 + 3/4 cup)
1 tsp baking powder
1/2 tsp salt
90 ml milk at room temperature (about 1/3 cup + 1 tablespoon)
60 g dark chocolate, finely chopped
for the ganache:
60 g dark chocolate
30 ml whipping cream
sprinkles of your choice
Heat oven to 350F.
Sift the flour, baking powder and salt together in a medium bowl. Reserve.
In the bowl of a KitchenAid type mixer, cream the butter together with the sugar for several minutes, until light and fluffy. Gradually add the eggs to and mix each time until incorporated, then the vanilla extract.
Turn off the mixer. Add the sifted mixture of flour, and the milk, dividing the flour in three portions, and the milk in two. Start and end with the flour, eye-balling the amount it totally fine. Once all is incorporated, fold the chopped chocolate gently.
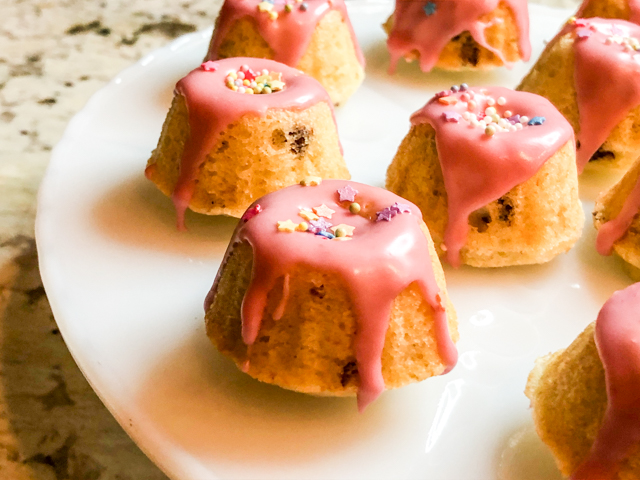
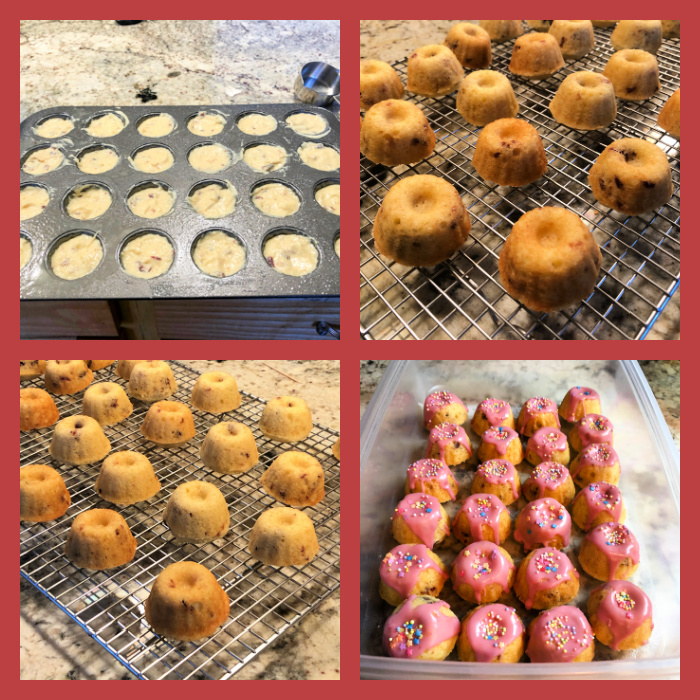
Spray your Silikomart or other Bundt pan (about 1.5 L volume). Pour the batter into the pan and level it gently with an offset spatula. Bake at 350F for 40-50 minutes or until a toothpick inserted in the center of the cake comes out clean.
Remove from the oven and wait until the cake is warm before removing it from the pan. I left it sit for about 30 minutes and it un-molded easily.
Make the ganache: Heat the cream until almost boiling and pour over the chocolate. Wait a few minutes, then whisk gently to combine. It should be smooth and shiny. Once it cools a bit, but it is still runny, pour over the cake. It is important that the consistency is right, so that it won’t simply run off the edges. Decorate with sprinkles before it is fully set, so they glue to the surface.
ENJOY!
to print the recipe, click here

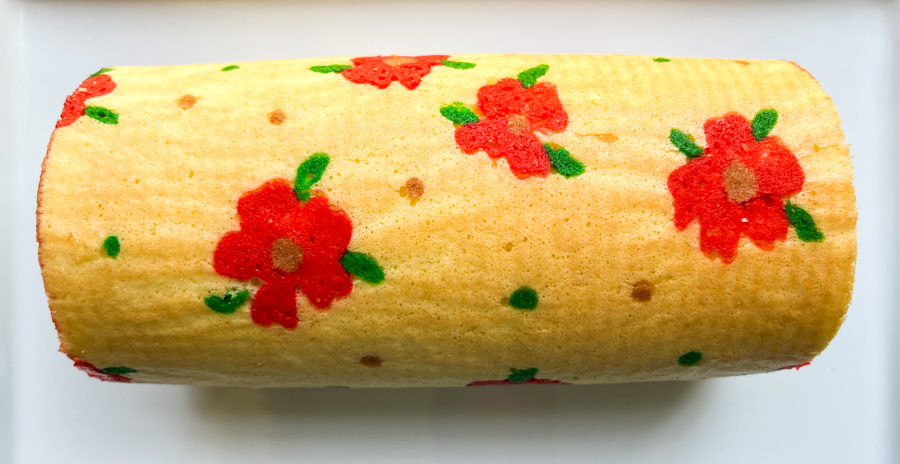
Comments: The cake has such a beautiful shape that it would stand nicely with just a shower of powdered sugar. But the ganache is a perfect way to make it even more luscious. I cannot give personal feedback on the taste, as I donated the cake whole, but I heard that people really loved it… It is a simple cake, but the bits of chocolate add a lot, and of course the ganache makes it very festive. I hope that if you are like me, and have some Silikomart pans hiding in the depths of your basement, you’ll bring them to play…. Stay tuned for more in the future!

ONE YEAR AGO: Cremino a la Nociolla
TWO YEARS AGO: Roasted Broccoli and Apple Salad with Tahini Dressing
THREE YEARS AGO: A Different Kind of Cookie Swap
FOUR YEARS AGO: Scary Good Recipes for your next Halloween
FIVE YEARS AGO: Pumpkin Sourdough
SIX YEARS AGO: First Monday Favorite
SEVEN YEARS AGO: Secret Recipe Club: Paalak Paneer, a Farewell Post
EIGHT YEARS AGO: In My Kitchen, November 2015
NINE YEARS AGO: Helen Fletcher’s Oatmeal Cookies
TEN YEARS AGO: Thai-Style Pesto with Brown Rice Pasta
ELEVEN YEARS AGO: Shrimp with Spicy Orange Sauce
TWELVE YEARS AGO: A Simple Appetizer (Baked Ricotta)
THIRTEEN YEARS AGO: Sour Cream Sandwich Bread
FOURTEEN YEARS AGO: Pasta with Zucchini Strands and Shrimp