I first saw this cool recipe over at Karen’s Kitchen Stories, and I knew I had to bake a loaf for us. After making it I’ve noticed that many bloggers and bakers are talking about it, so apparently it is one of those baking adventures that went viral. I hate the term “viral” but will reluctantly put it to use. It conveys the right picture, I guess. Without further ado, my take on this tasty bread.

For the recipe, visit Karen’s blog with a click here.
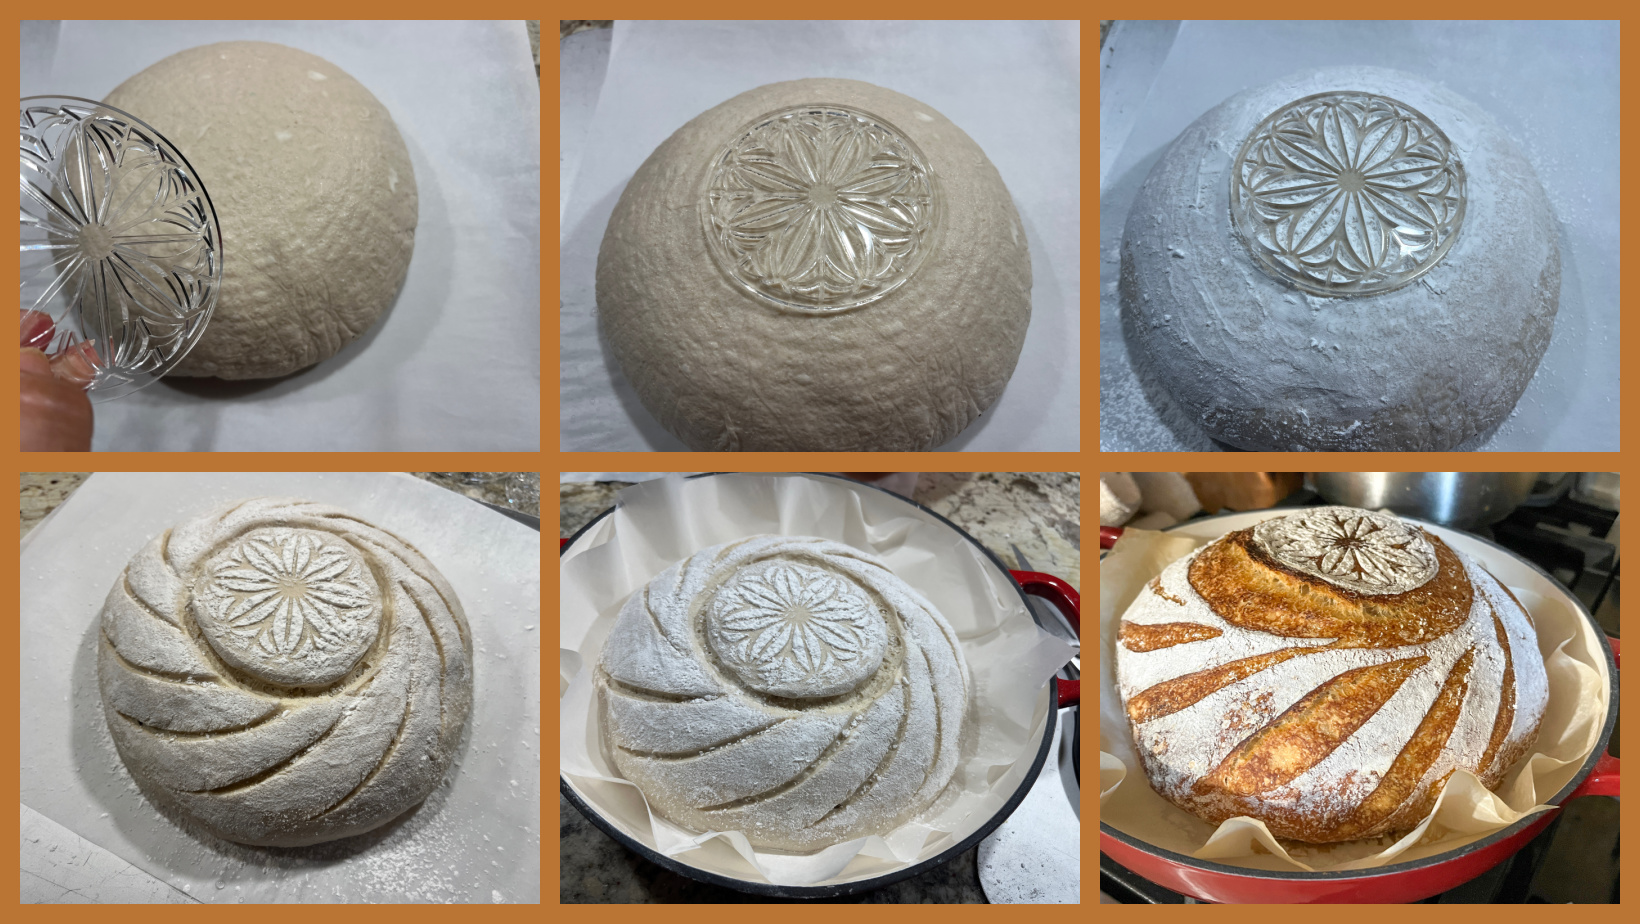
It is a straightforward sourdough formula, the trick is to incorporate frozen grated butter in the second half of the bulk fermentation. The dough is rich, and the addition of so much fat slows down the fermentation a bit, so it won’t rise during fermentation as much as a ‘normal’ sourdough will.
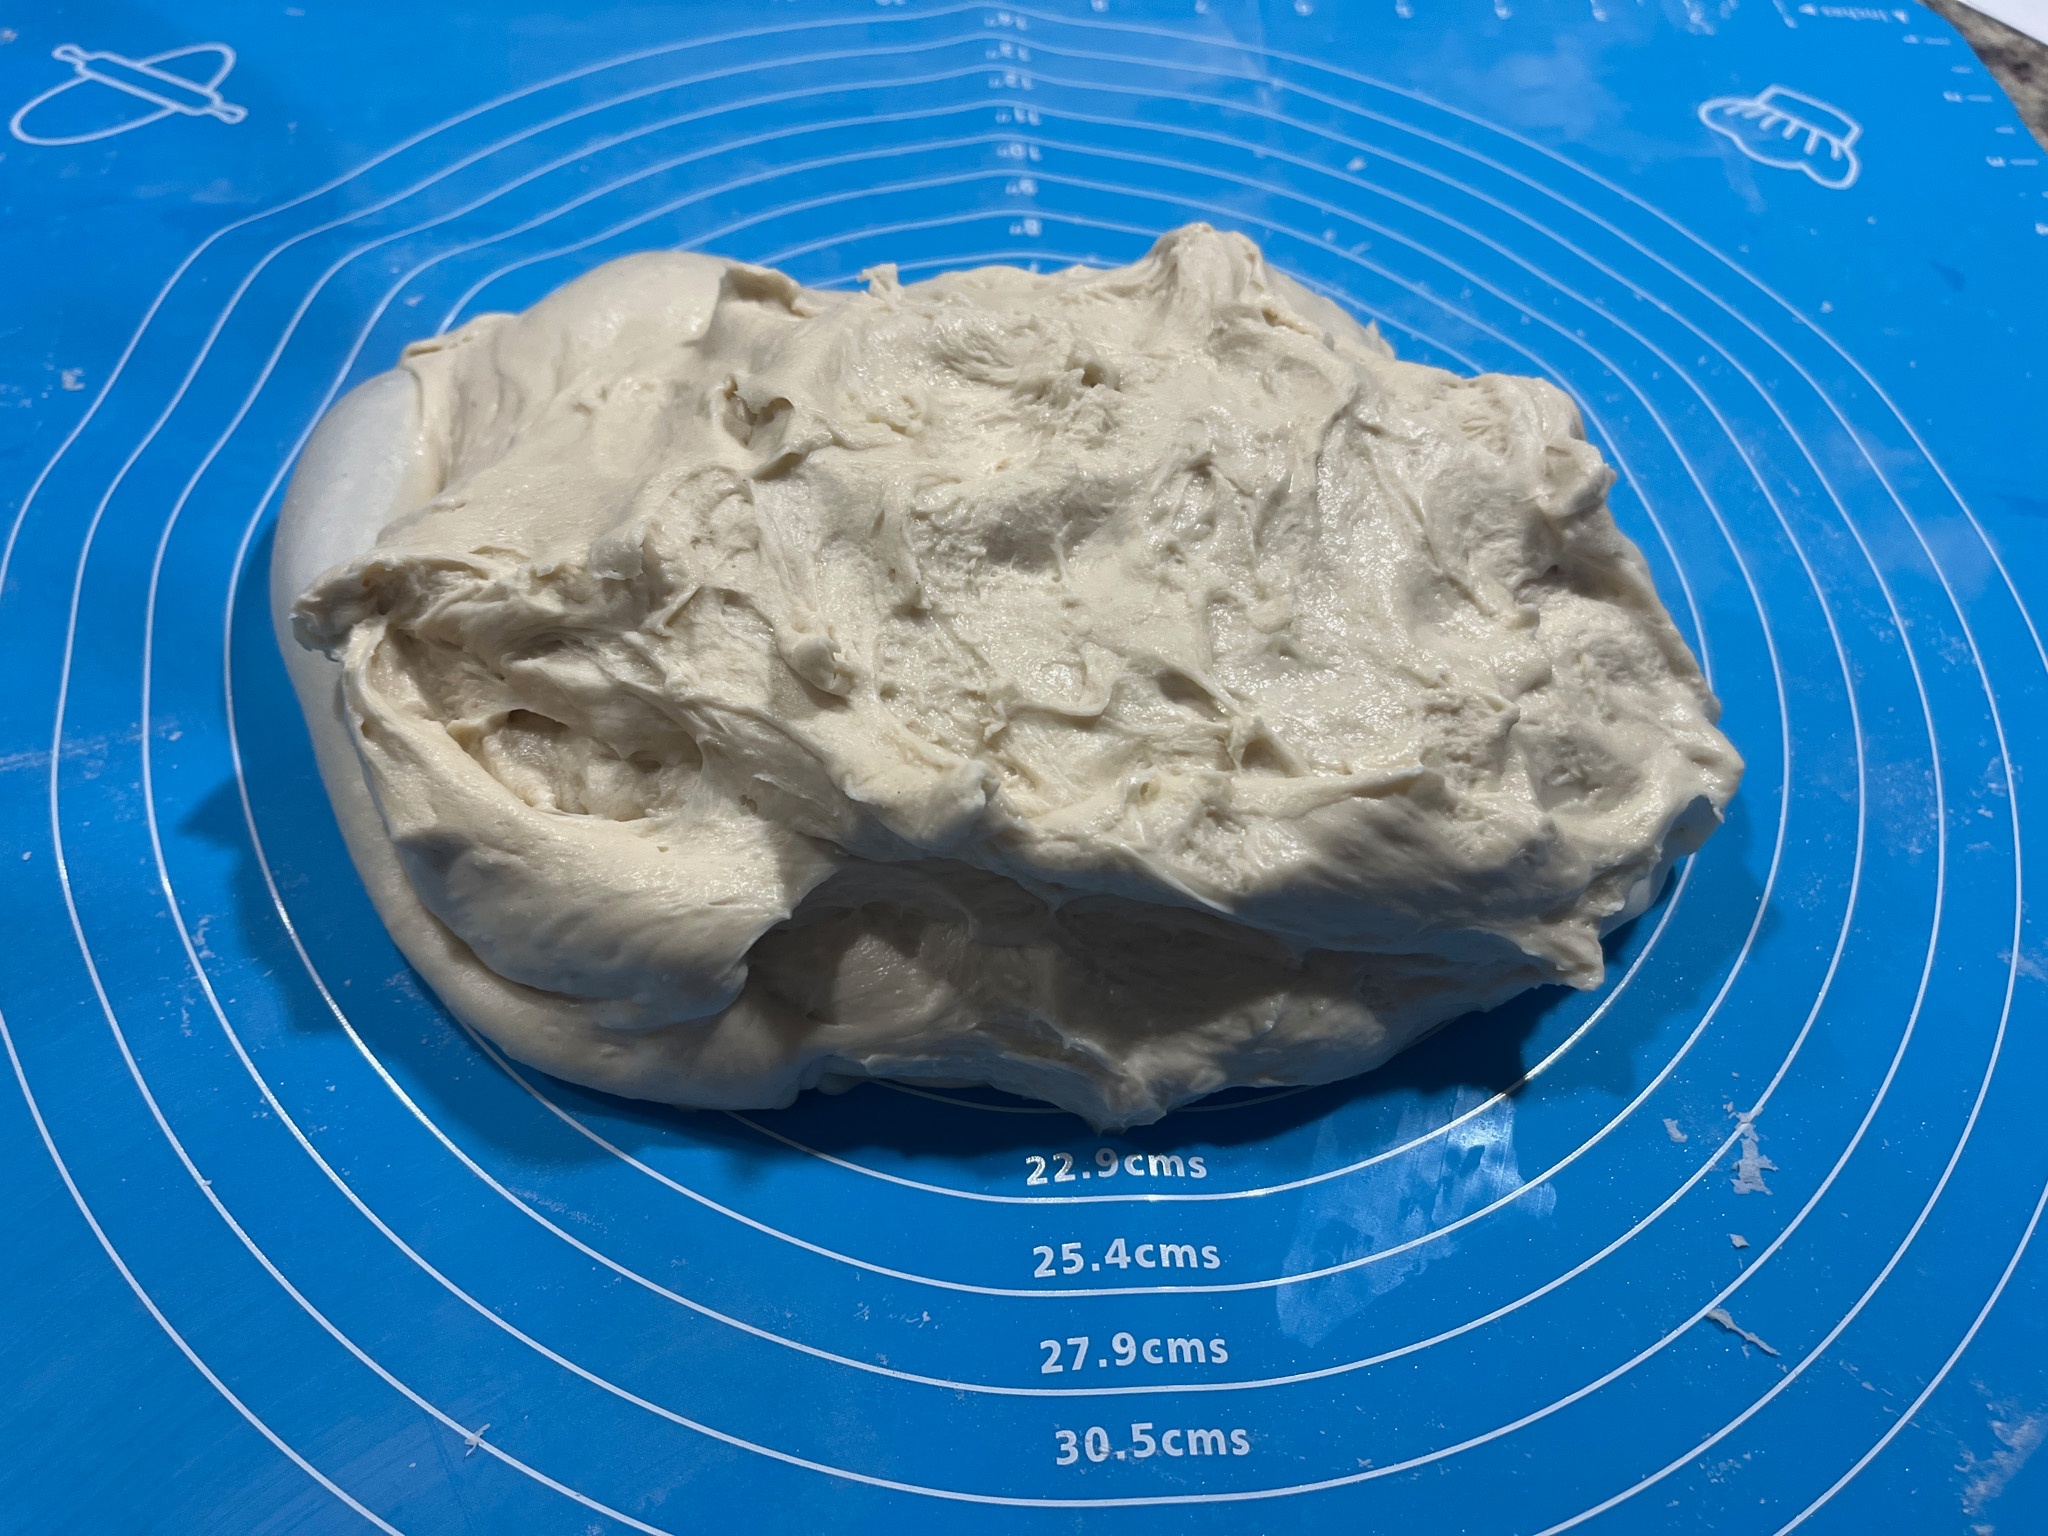
This is the dough all soft and bubbly before you add the butter….
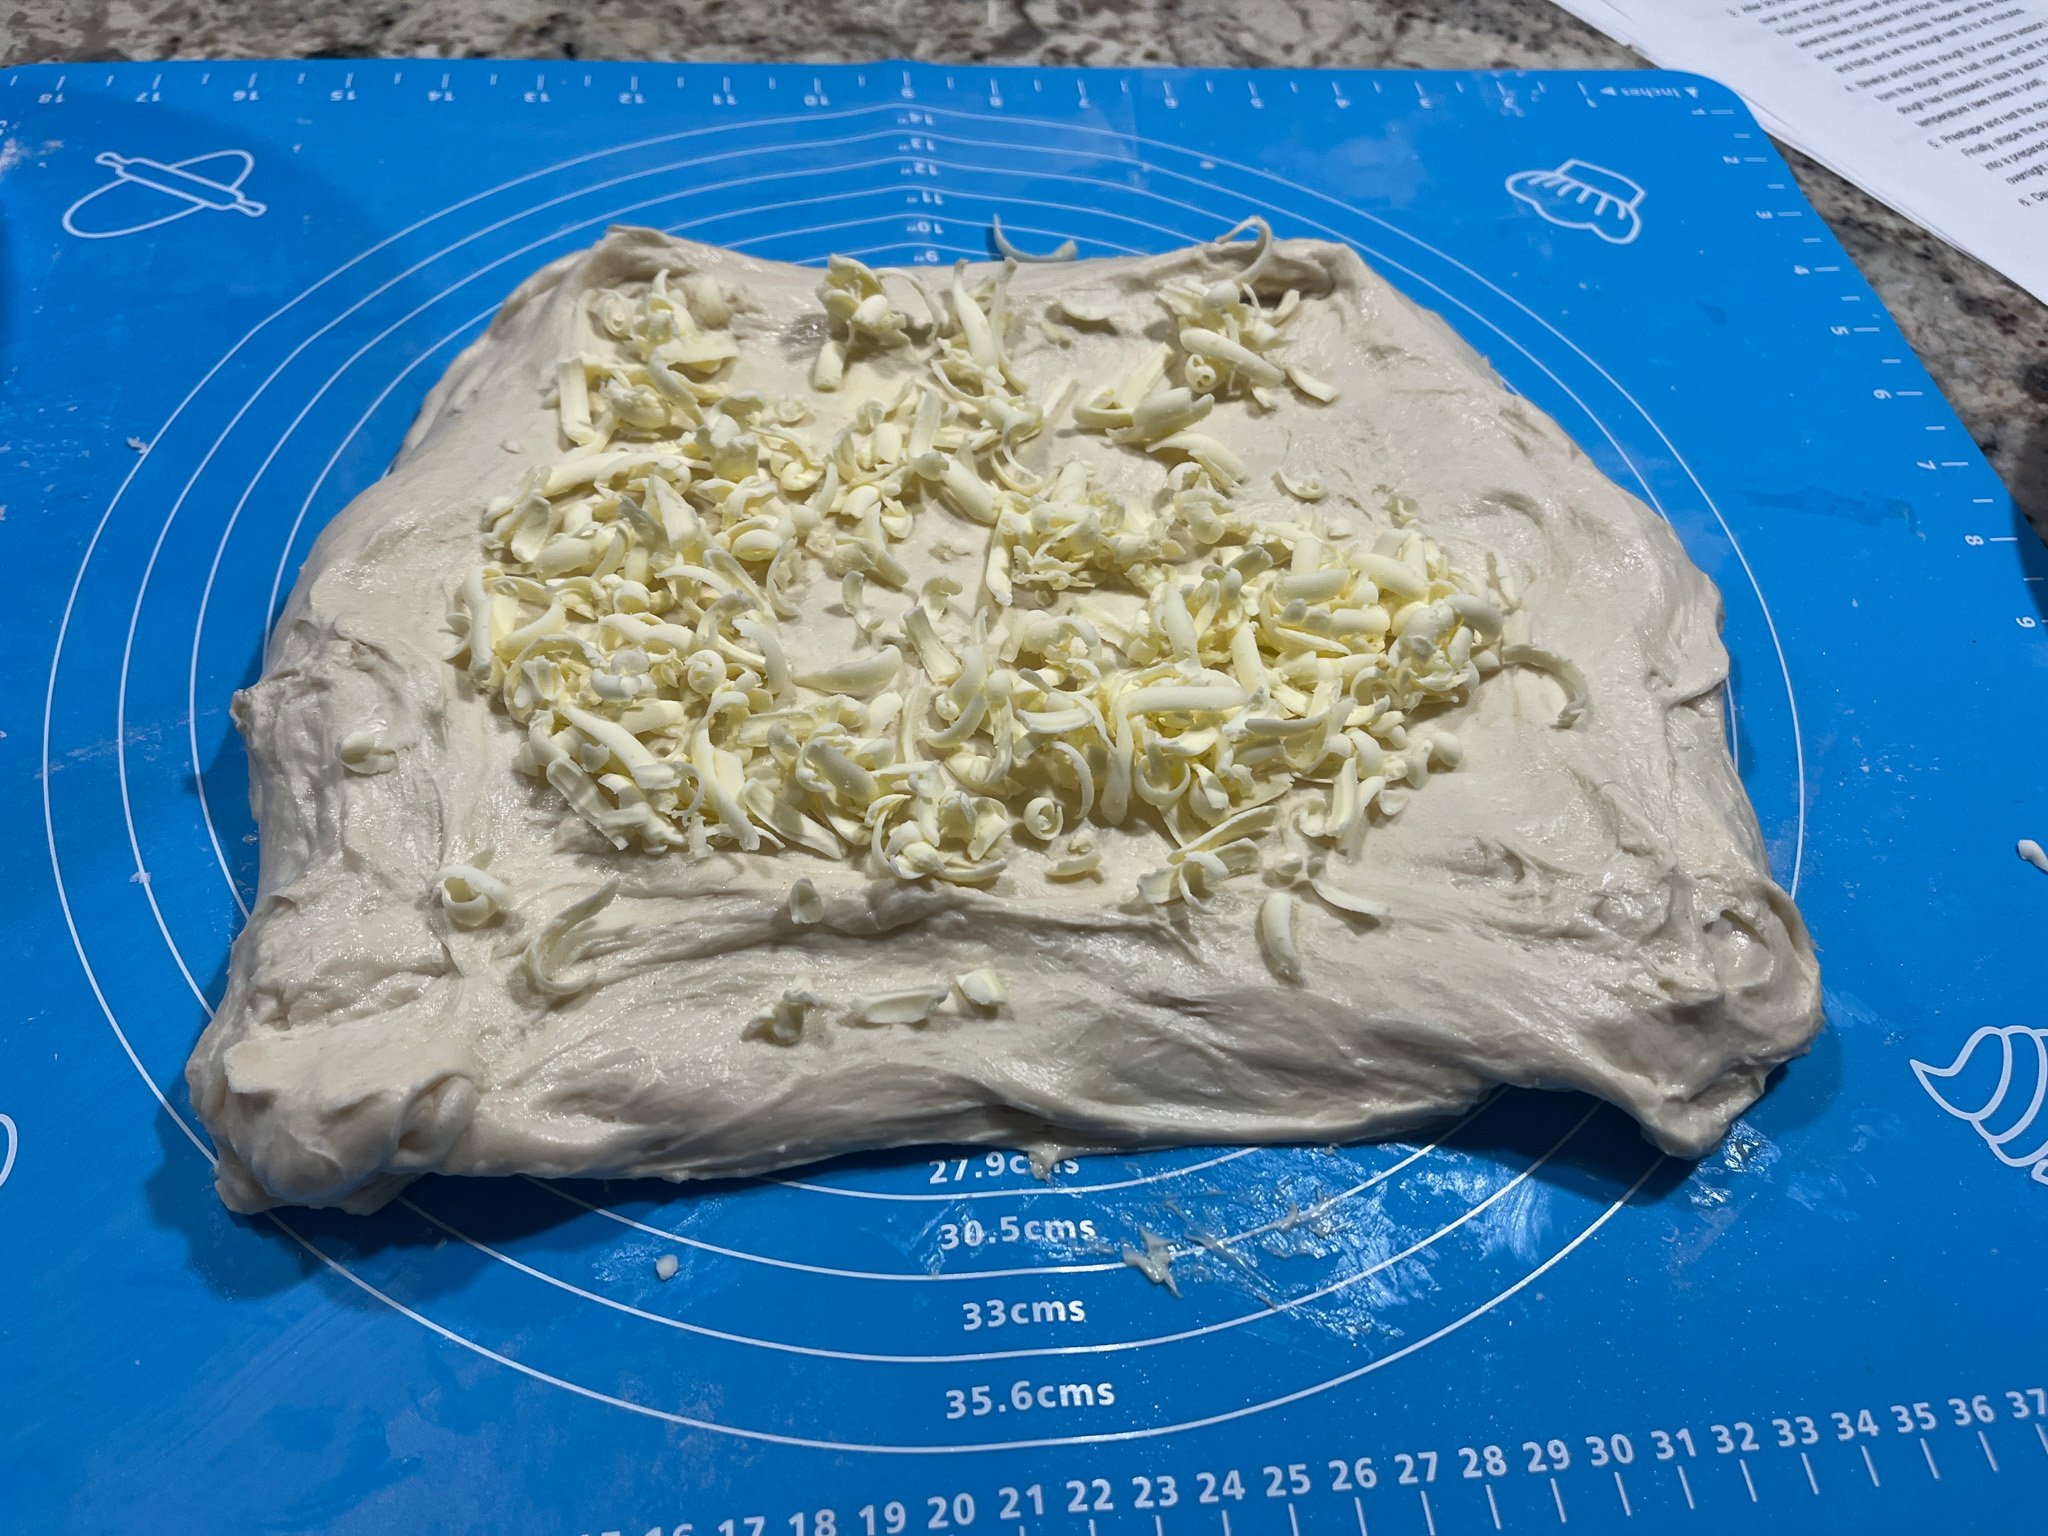
The frozen butter is added (in two steps), and the dough folded over to enclose it….
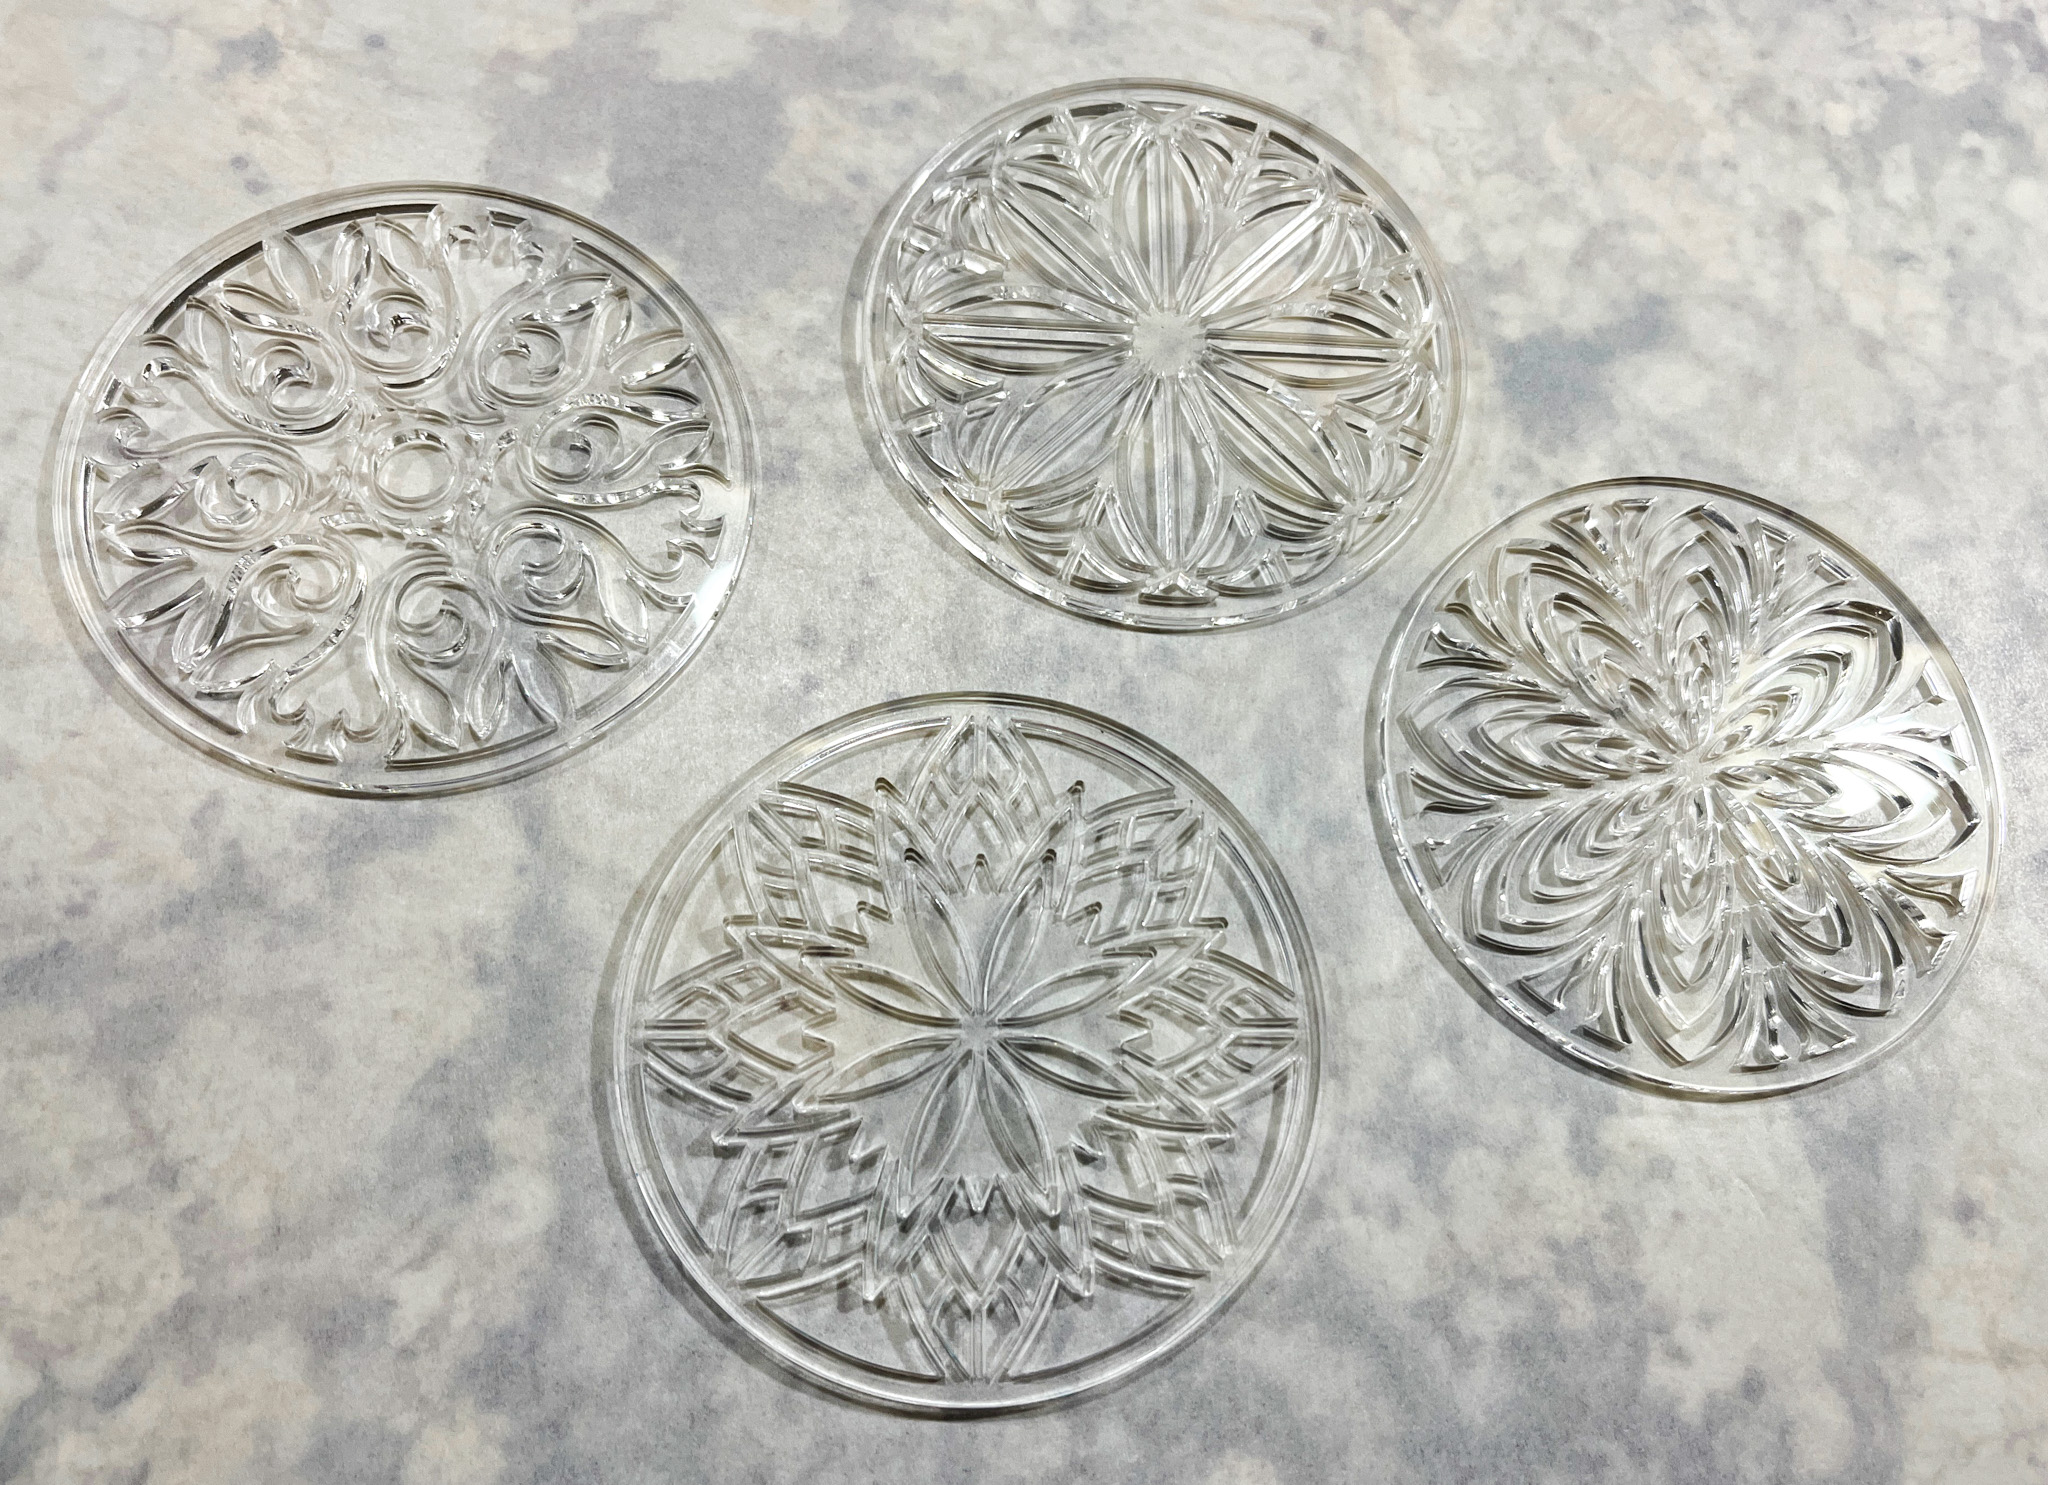
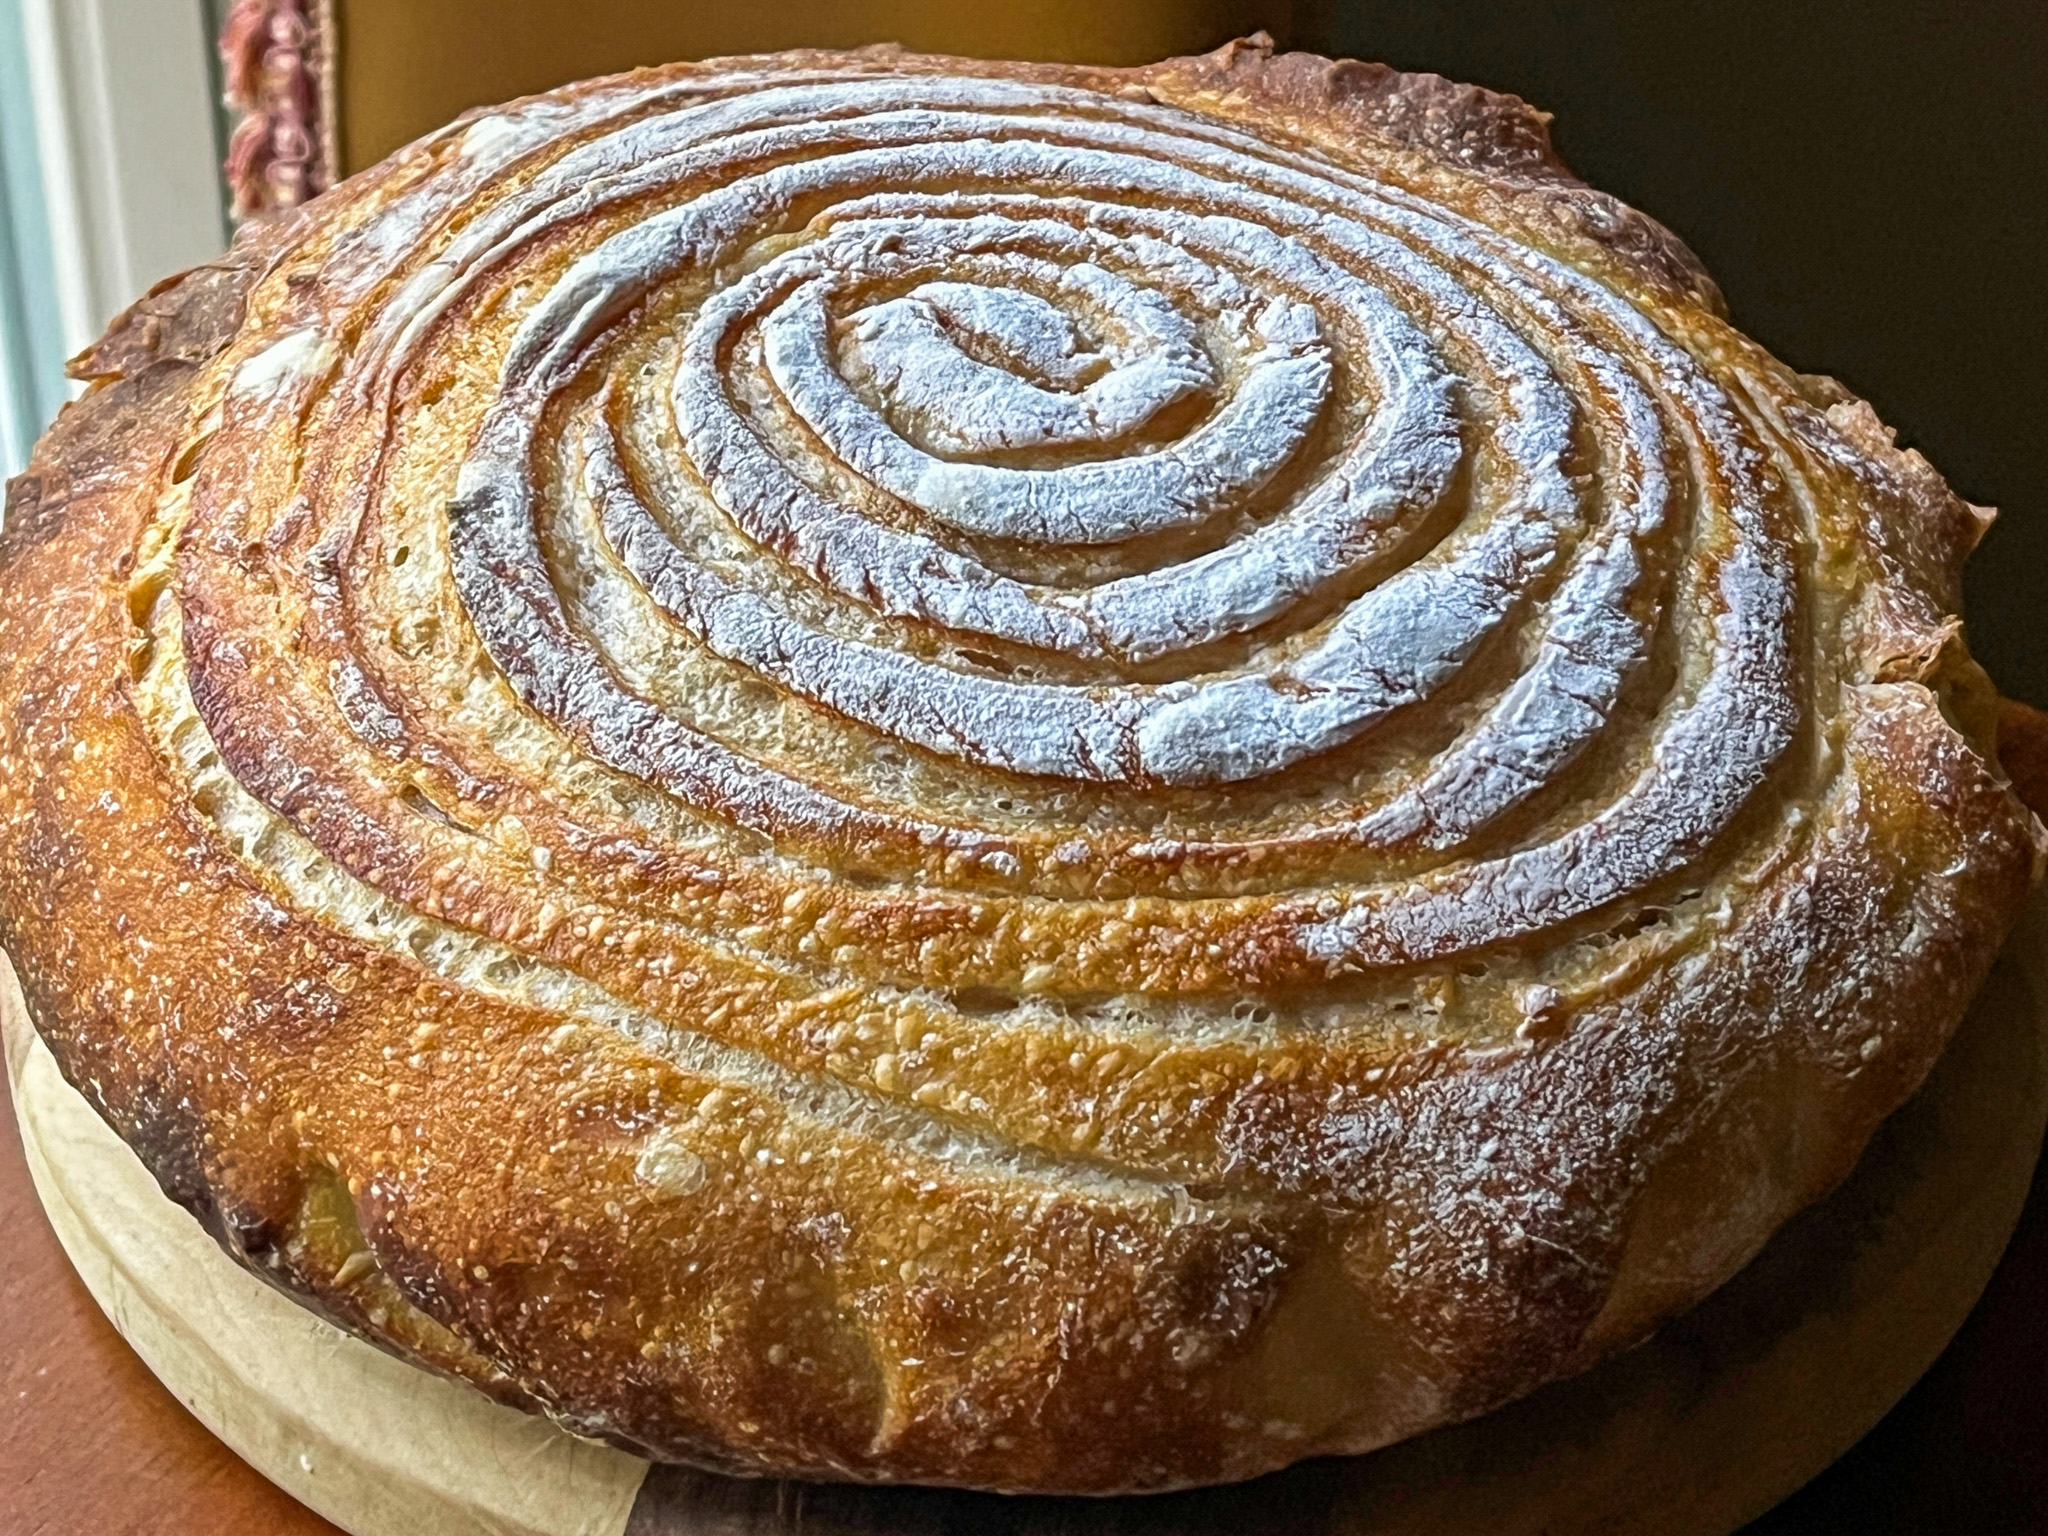
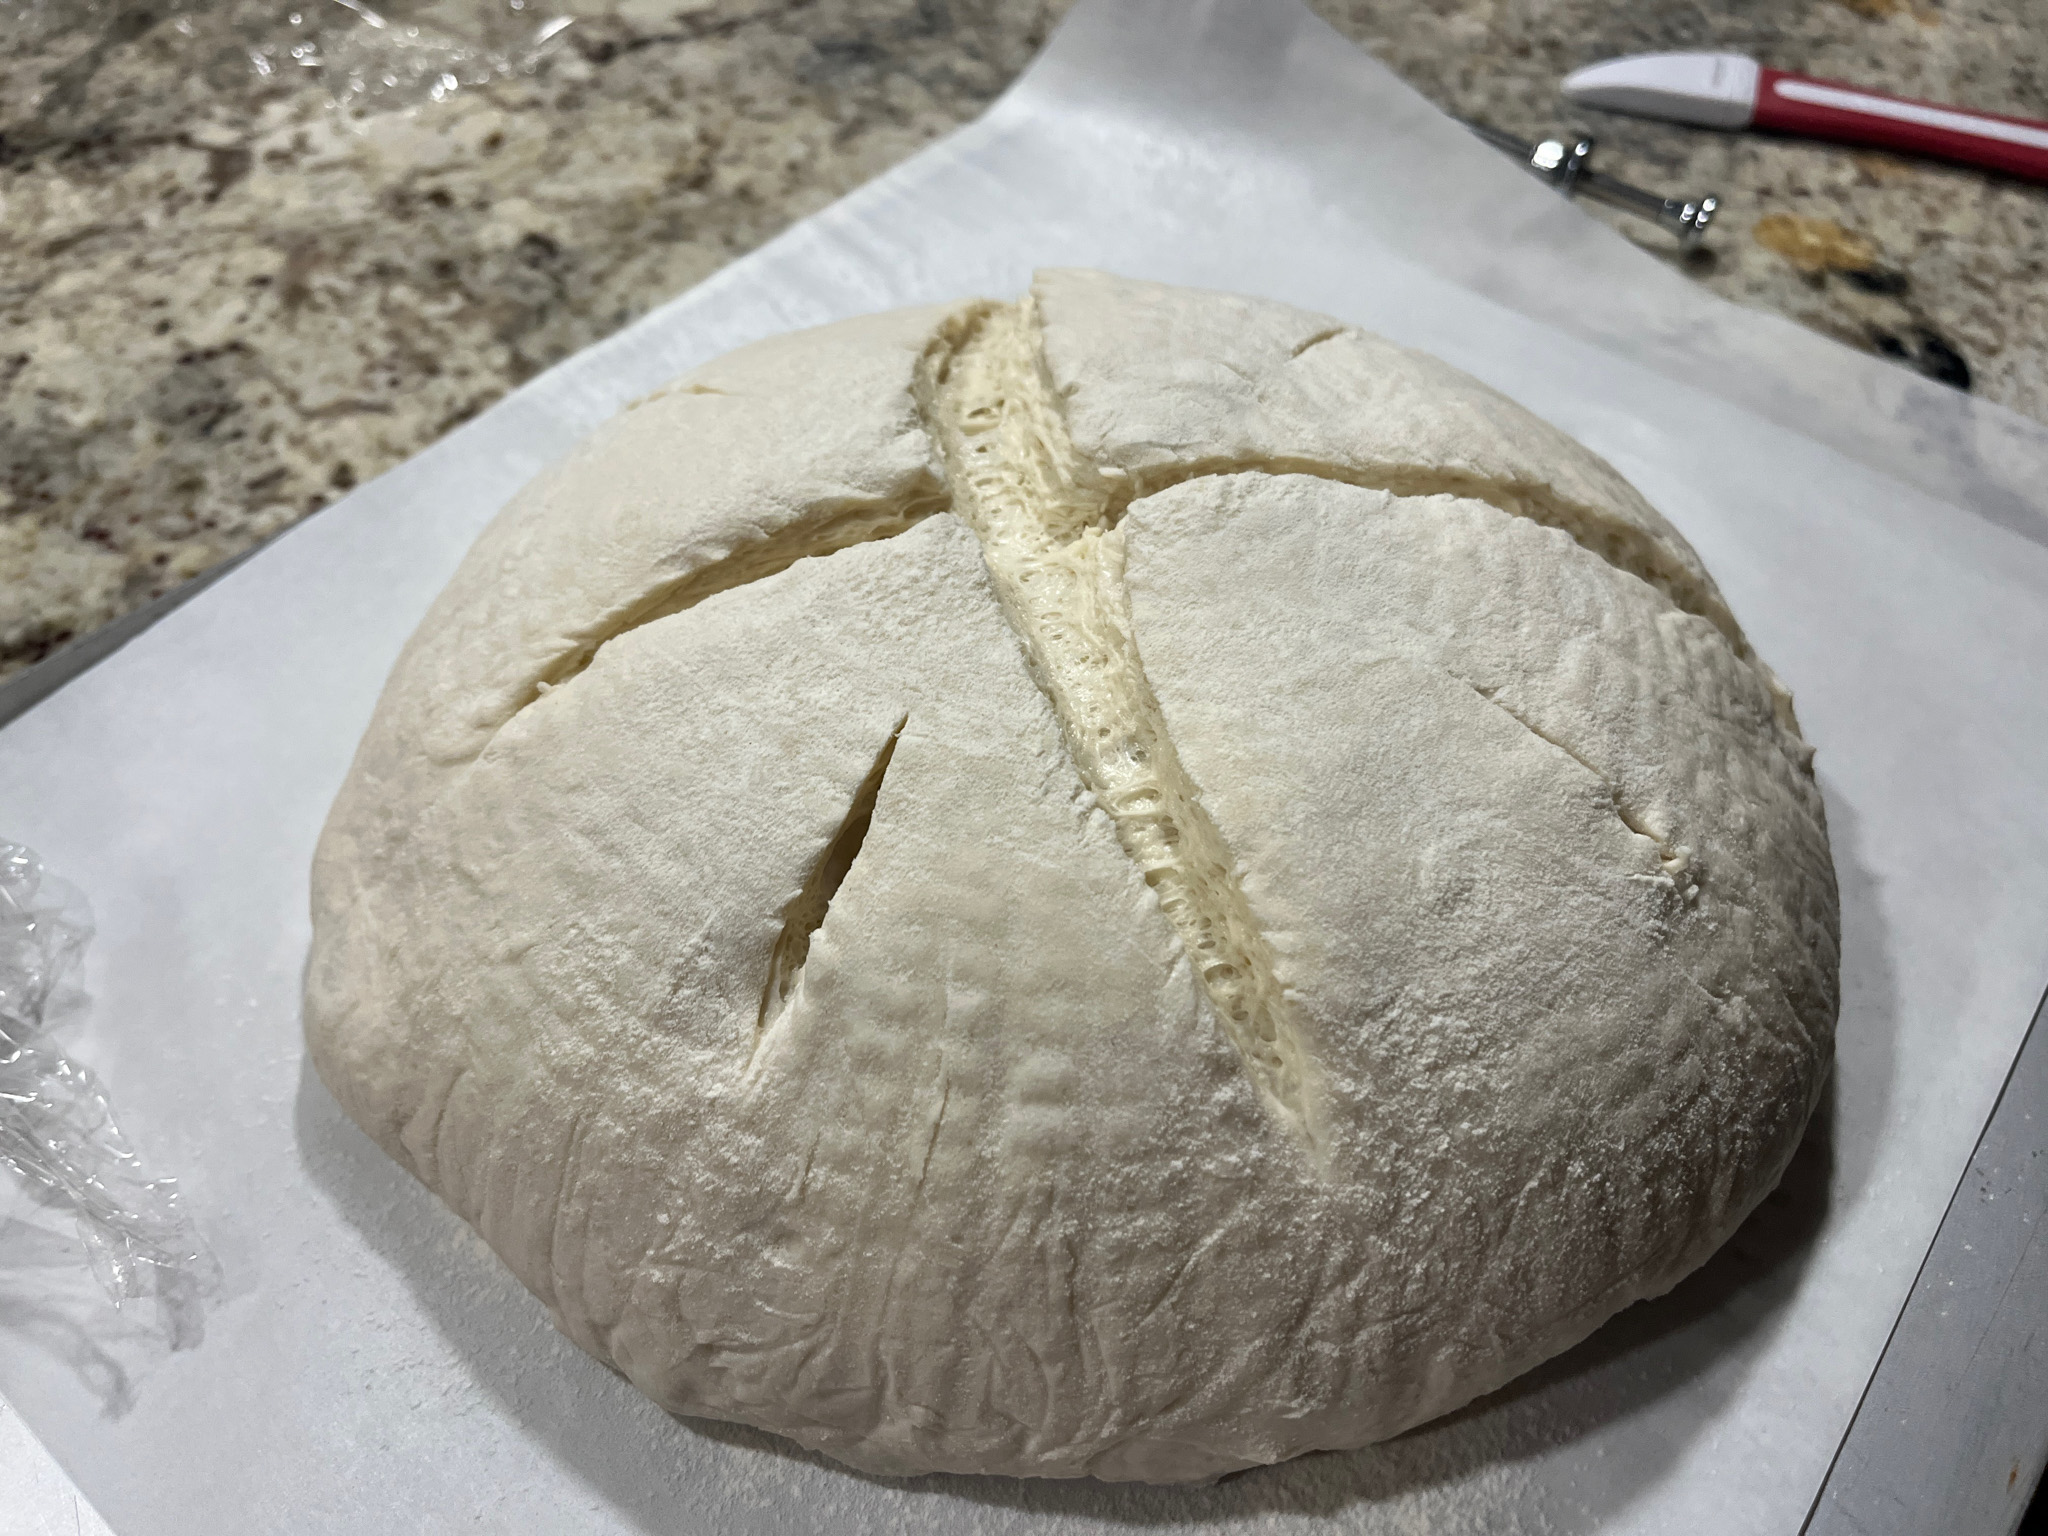
After shaping and retarding it in the fridge overnight, you are ready to slash and bake…
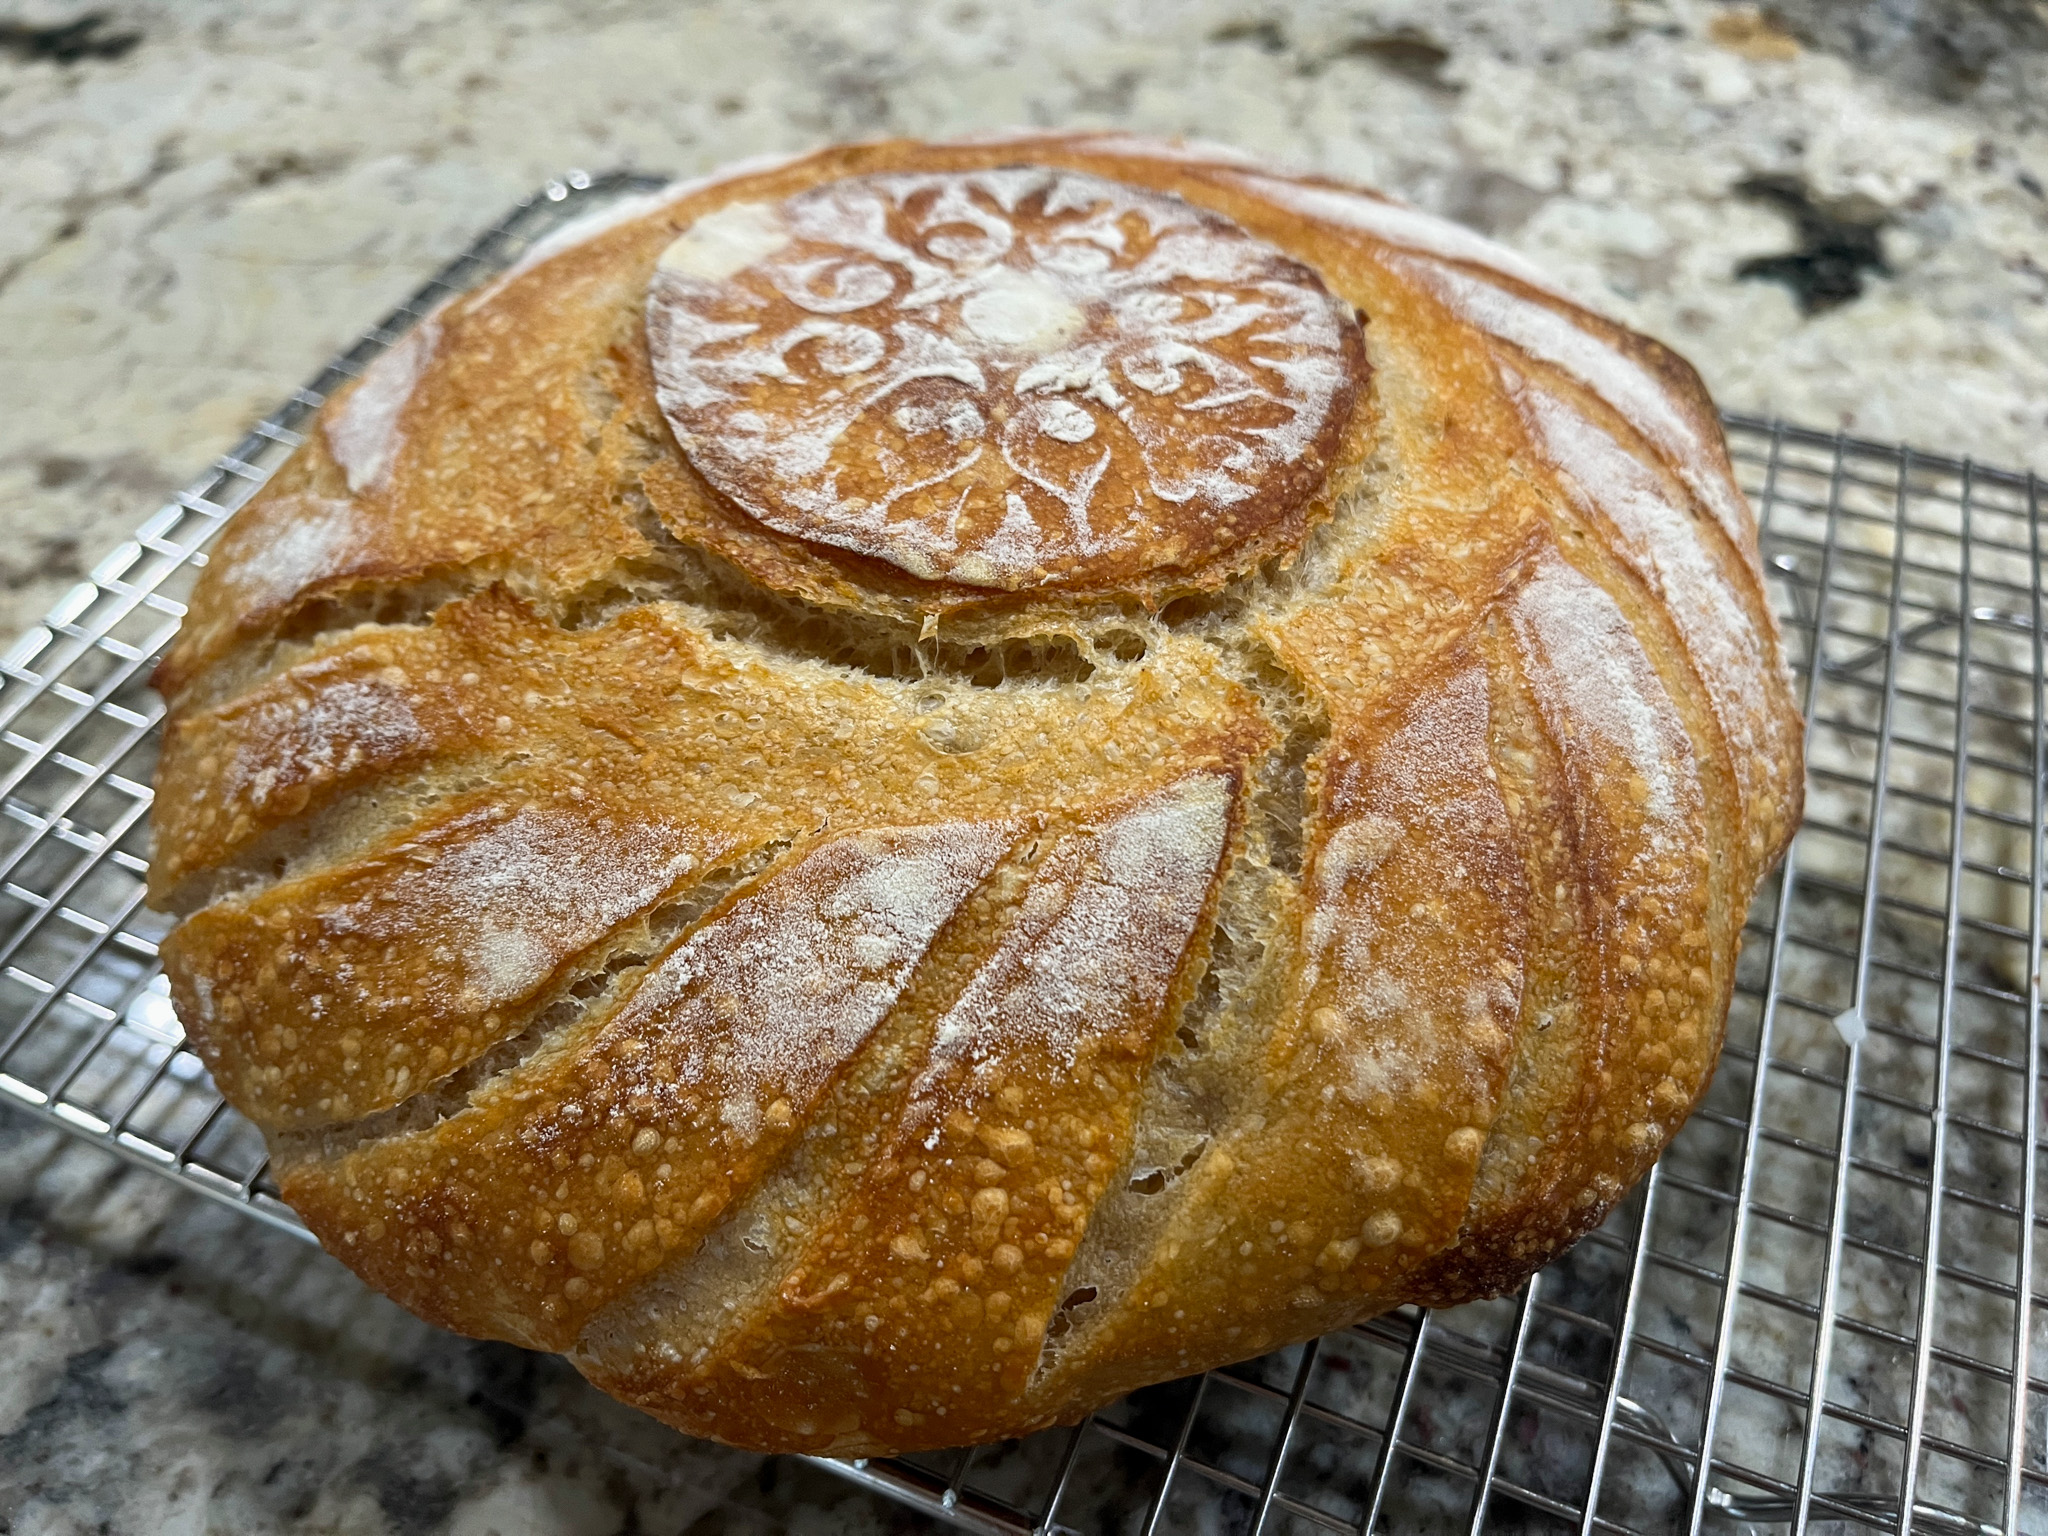
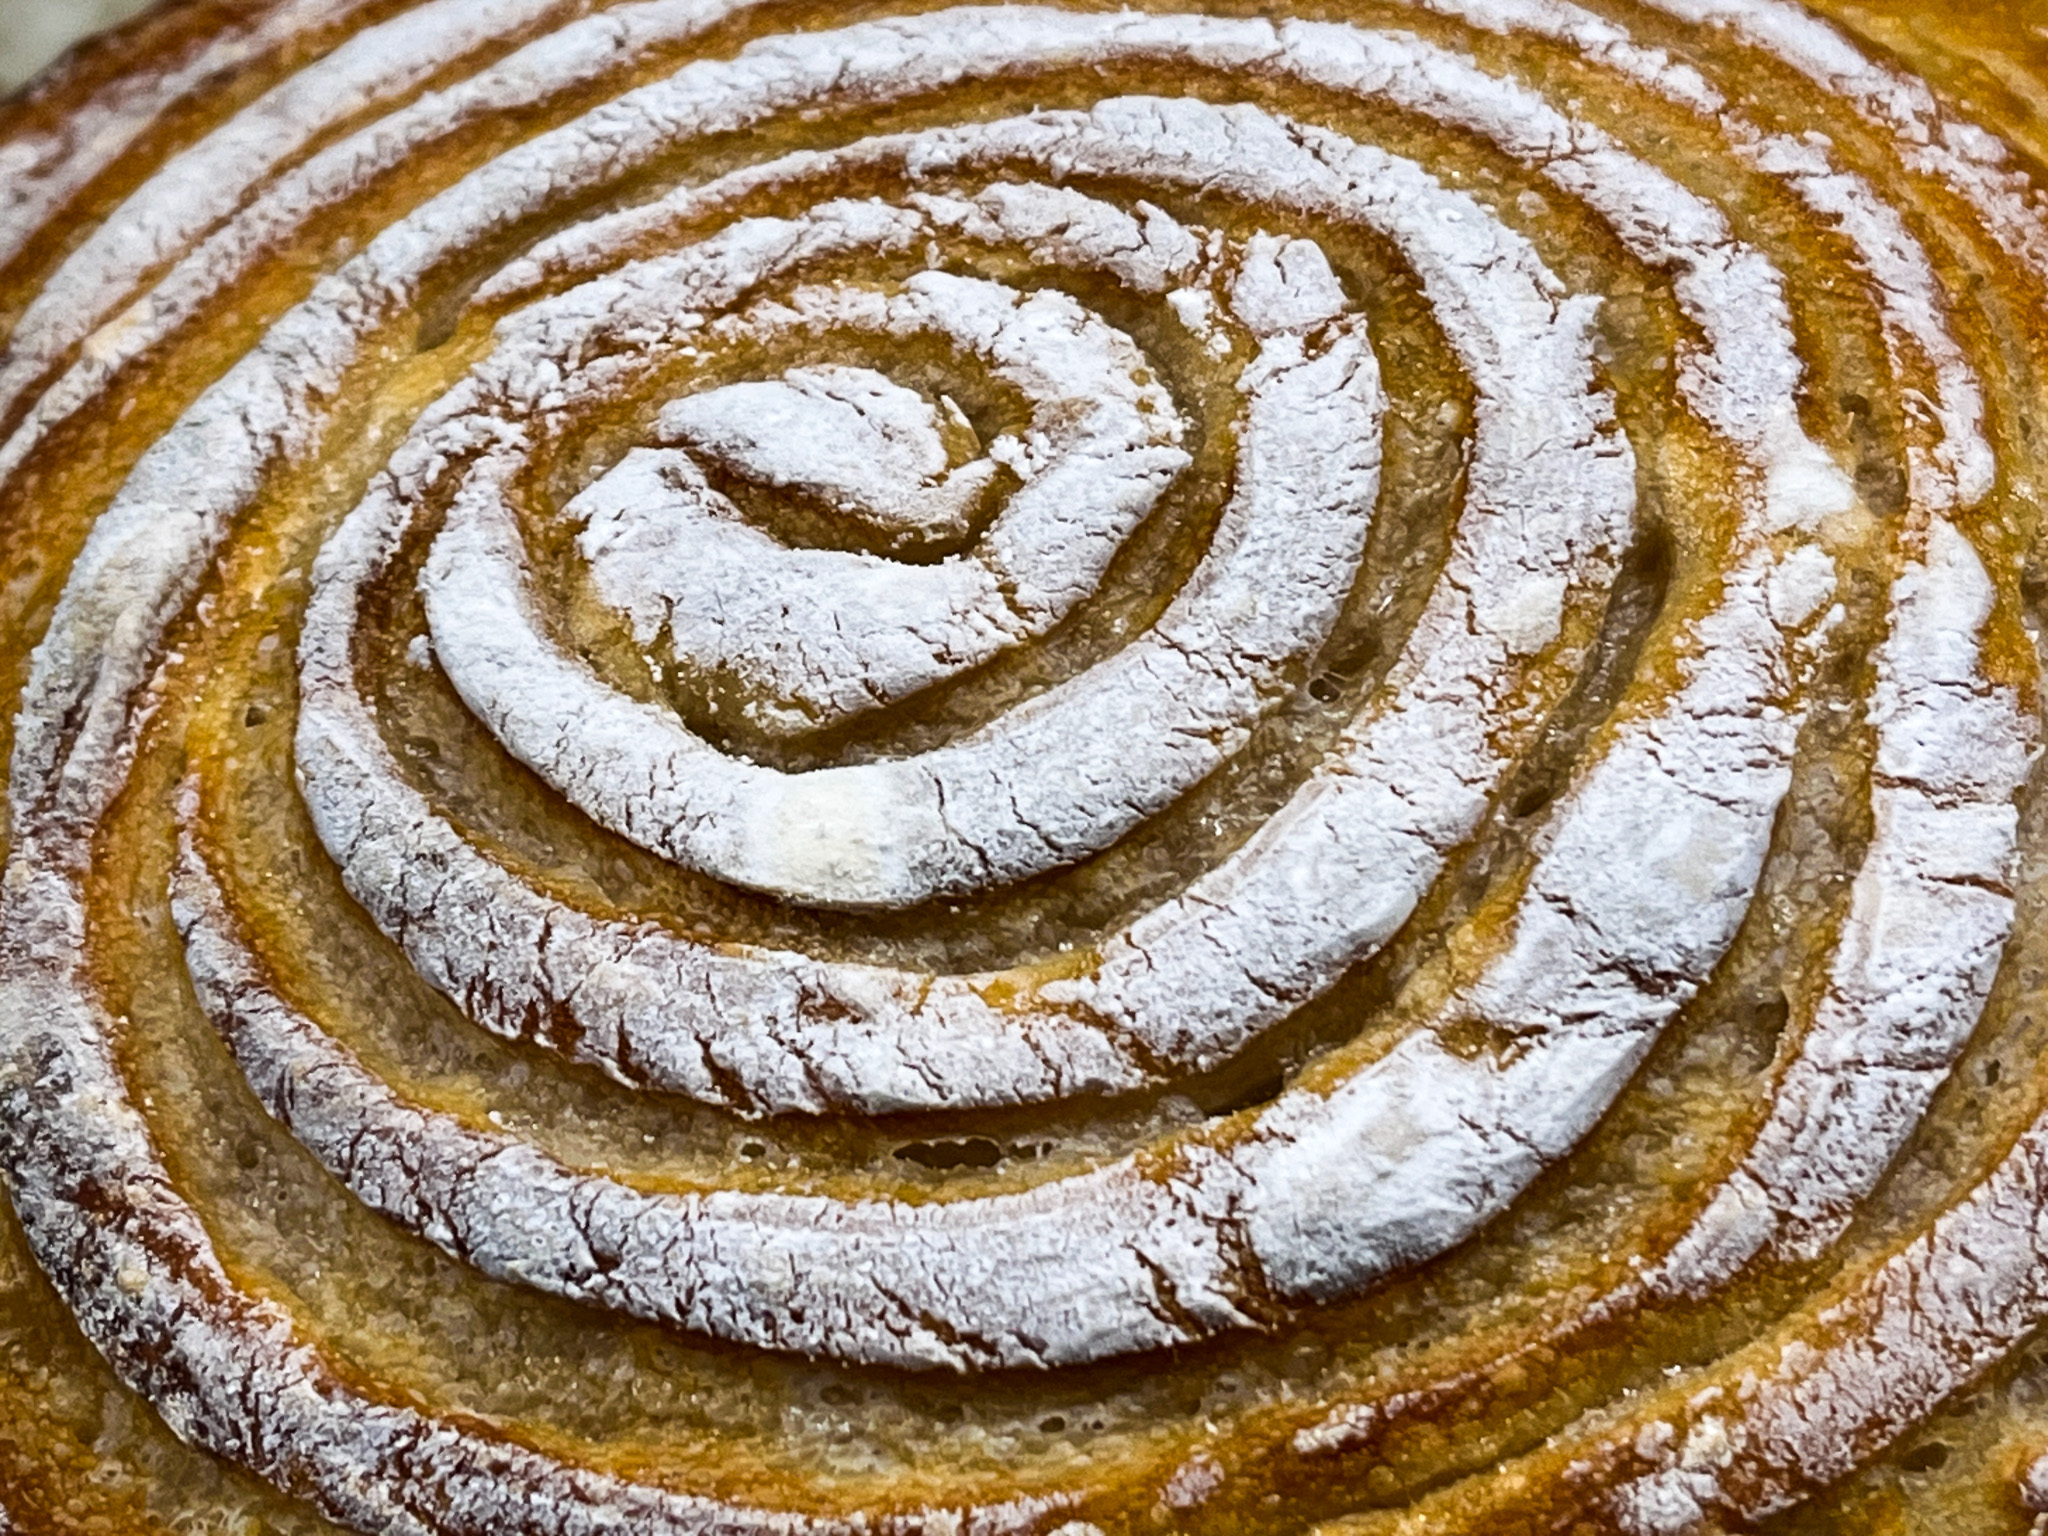
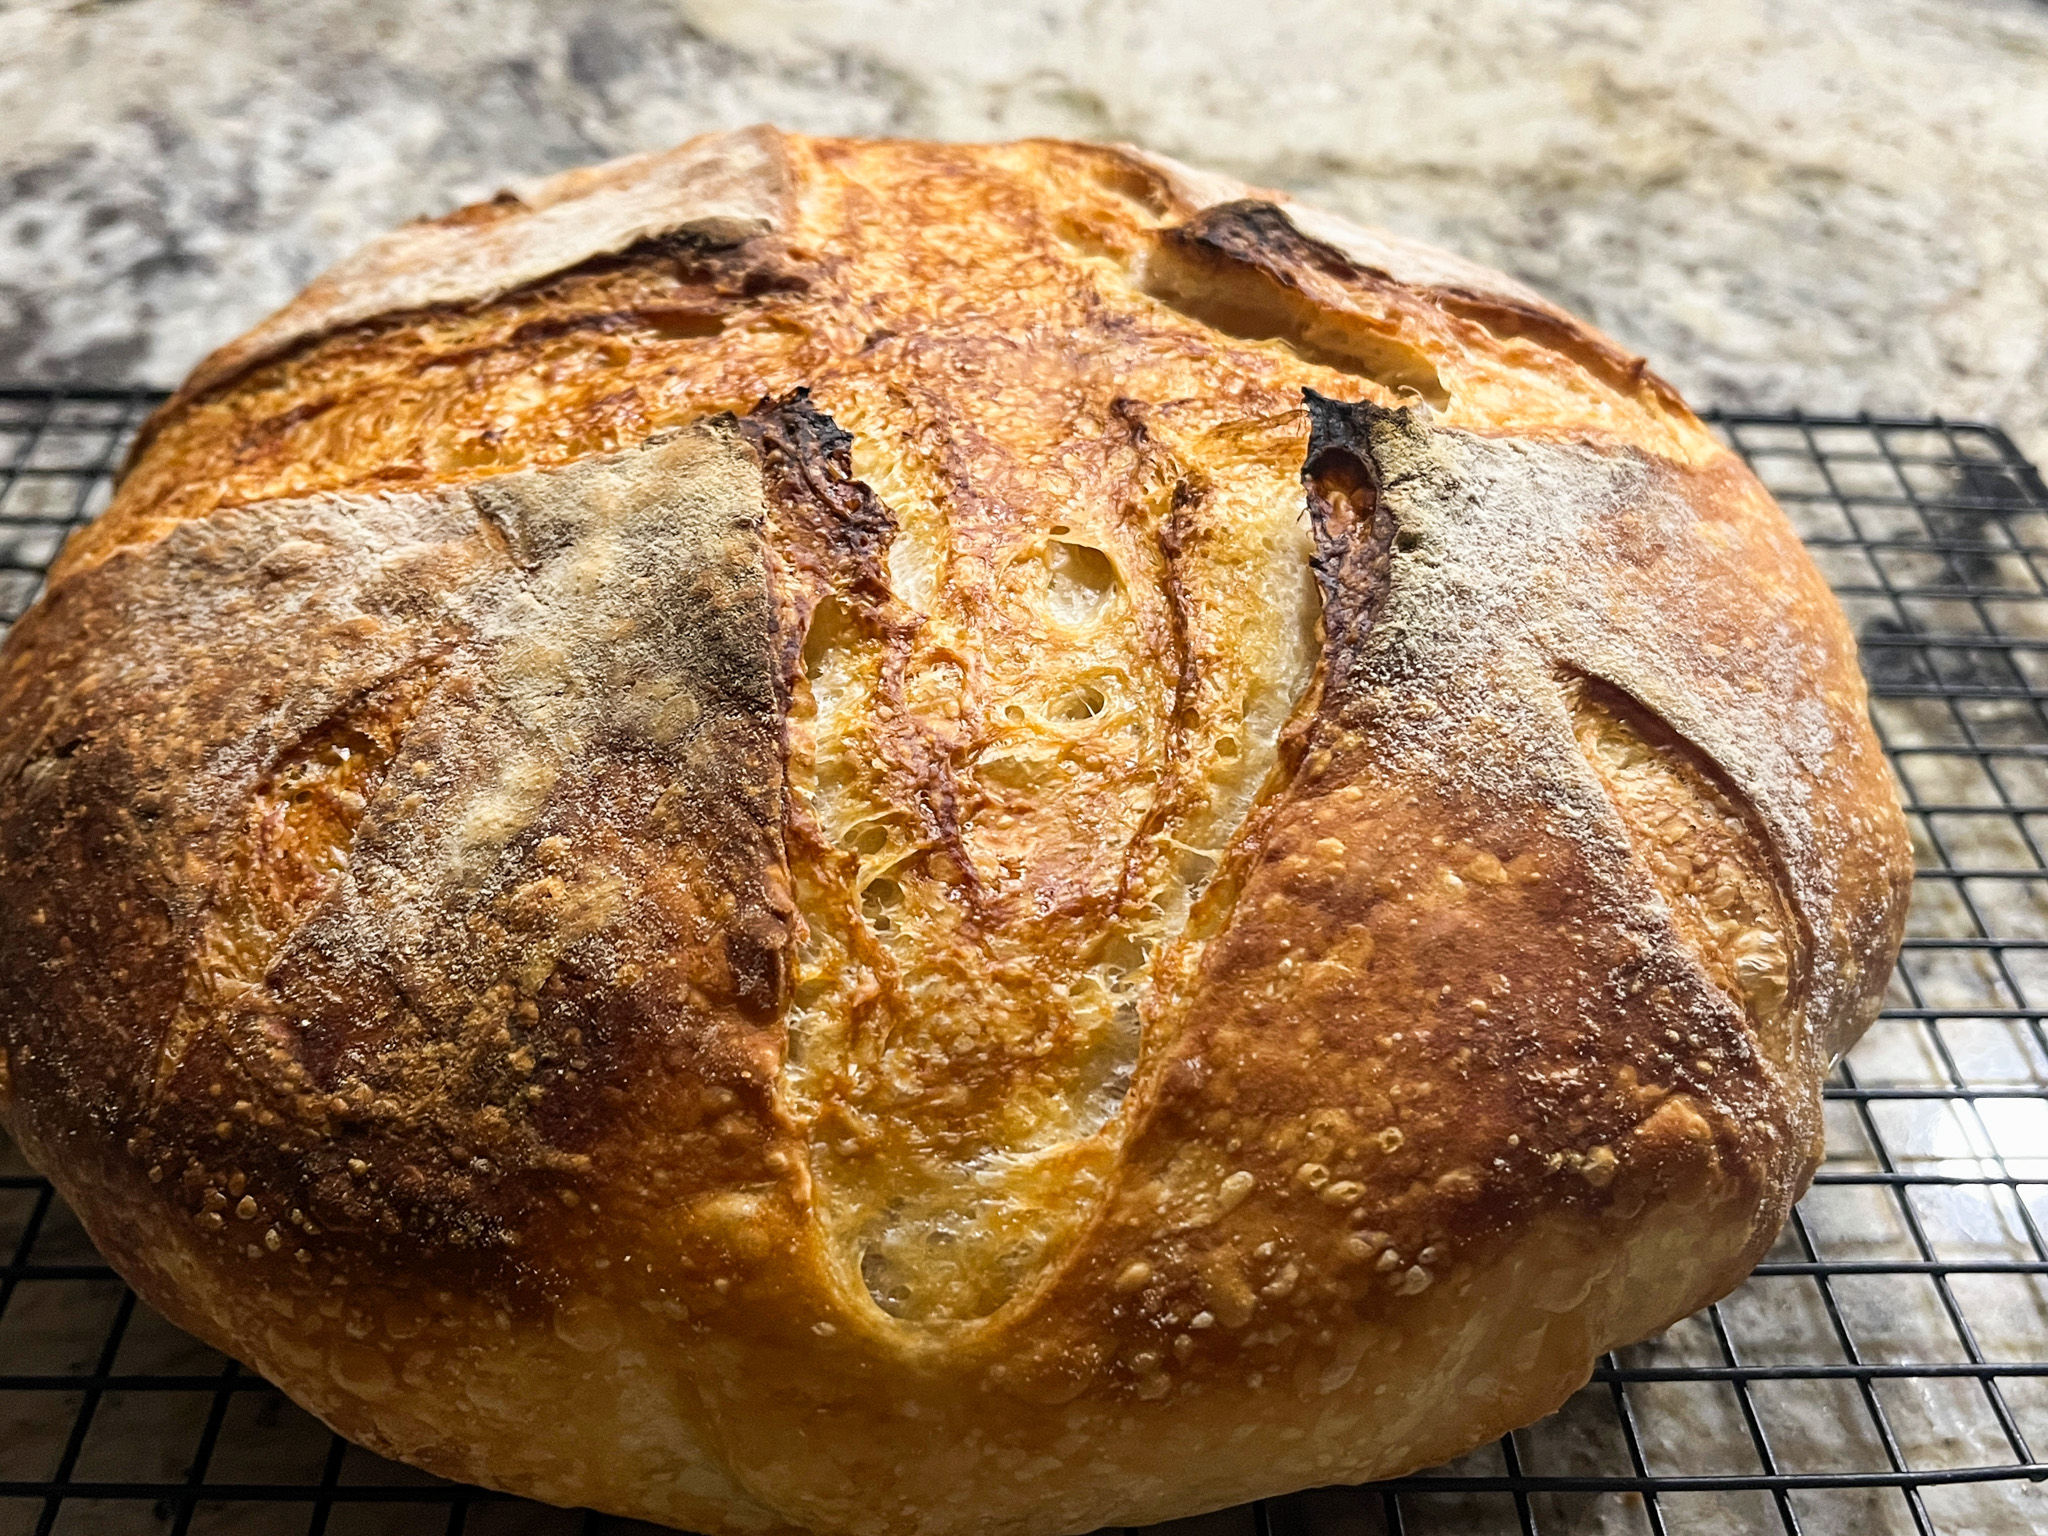
The bread smells amazing as it bakes and the addition of butter somehow made it develop a very nice golden crust…
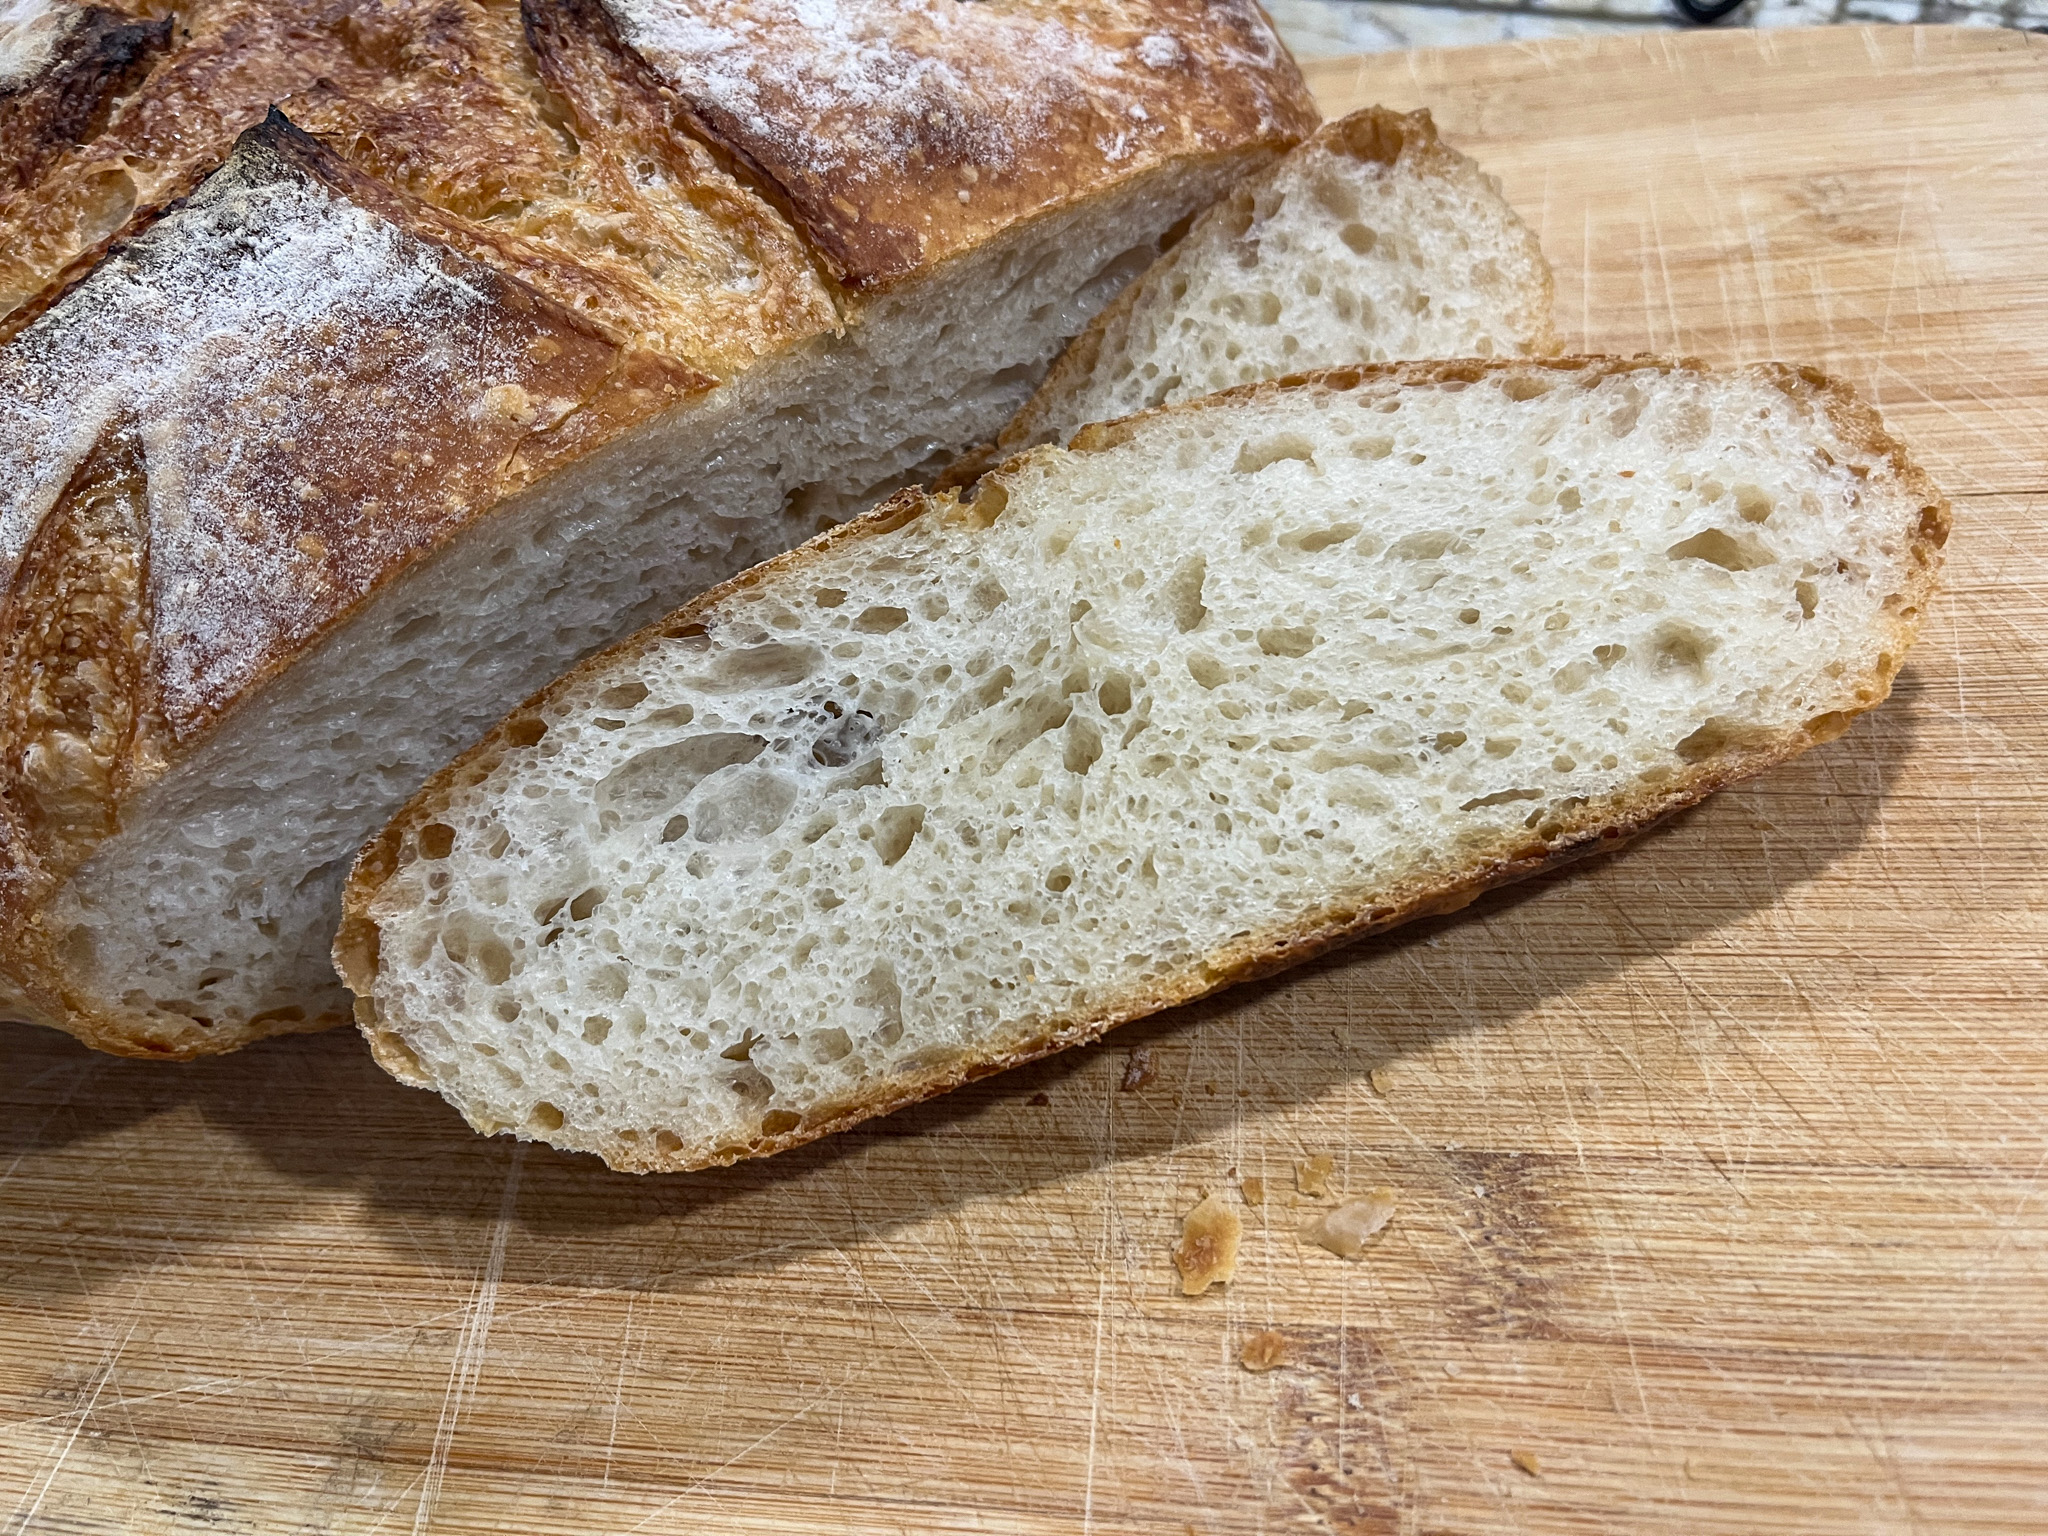
It has wonderful taste and texture, and it is not “greasy” at all. Toasts beautifully also… I don’t normally make stuff for us that has a lot of butter, so this was a special indulgence. If you like to bake sourdough bread, definitely consider this recipe for a change.
.
A huge thank you to Karen for the inspiration!
ONE YEAR AGO: Gochujang Grilled Chicken Thighs
TWO YEARS AGO: Feta Eggs with Zucchini
THREE YEARS AGO: Poilane-Style Bread, a simplified version
FOUR YEAR AGO: Broccoli Salad with Pomegranate Seeds and Tahini Dressing
FIVE YEARS AGO: Turkey-Spinach Meatballs with Cardamon-Tomato Sauce
SIX YEARS AGO: British Baps, a Technical Challenge
SEVEN YEARS AGO: Japanese-Style Cupcakes with Cherry Blossom Icing
EIGHT YEARS AGO: Quick Weeknight Soups
NINE YEARS AGO: Sourdough Loaf with Cranberries and Walnuts
TEN YEARS AGO: Sichuan Pork Stir-Fry in Garlic Sauce
ELEVEN YEARS AGO: Our Green Trip to Colorado
TWELVE YEARS AGO: Ditalini Pasta Salad
THIRTEEN YEARS AGO: Celebrate Wednesday with a Thai Seafood Curry
FOURTEEN YEARS AGO: Post-workout Breakfast
FIFTEEN YEARS AGO: Semolina Barbecue Buns
SIXTEEN YEARS AGO: Lavash Crackers