IT IS NOT THE RECIPE

No recipe today, quite the opposite. My passion for baking has made me join many groups on Facebook related to cookie decorating, macarons, patisserie in general. One of the most common requests in those groups is “I want to start baking macarons… please give me a foolproof recipe”… or… I want to make decorated sugar cookies, but I want a cookie recipe that won’t spread, and the BEST Royal icing that will be easy to work with. Similar requests for bread baking, or pie crust, or laminated dough… Basically they believe that “the best recipe” is the answer to all issues. Guess what? It is not. Just to give one basic example, you can make macarons using three very different methods for the meringue (French, Swiss, Italian), and they will ALL work, if you add to it the one key ingredient no one lists in any recipe: PRACTICE. 

About a year ago, I fell for something I saw advertised. A cookie recipe that was so good that you could only get it by paying for it through the author’s etsy shop. I was so intrigued, that I confess I did pay. I paid almost $20 to get ONE recipe for cookie dough, which is probably the price I pay for most cookbooks I own. It turns out that magical recipe was almost exactly the one I’ve been using for a long time, with minor differences. It taught me a big lesson. It is NOT the recipe. It is your experience, the “feel” you develop for something once you do it over and over and over. 

Royal icing is tricky. Consistencies need to absolutely perfect depending on what you want to do with it. I’ve been decorating cookies on a regular basis for at least 3 years and I can tell you that every single recipe out there will work once you get used to it, once you PRACTICE. No recipe will replace practice. Some recipes tend to attract a lot of attention, because all of a sudden a group of seasoned bakers start praising it and then those who are just beginning their baking journey will try it. If that fails, they assume THEY are the failure. Trust me, most recipes can work if you allow yourself to get acquainted with the different steps, and commit to practicing it. Yes, I do sound like a broken record today… 


Do I have recipes I consider excellent and tend to go back to all the time? Yes. My Grown-up Spicy Chocolate Cookie dough is one. My default French macaron recipe is another. But even those, it took me MANY attempts at making and optimizing it, until I felt comfortable with them. I now add different flavorings to the chocolate dough, omit the chipotle, take it into different directions with orange or cardamon, but the overall procedure is the same and I am confident about tweaking it because I have made it more than 100 times. If my dough behaves different one day, I can tell, and I can do the adjustments because I got the “feel” for it. No recipe gave it to me, it was just practice. Over, and over.


Sugar cookies are another example. Some recipes omit baking powder and add cornstarch. I am quite fond of that basic approach. After trying many different versions, for my particular goals, a little bit of baking powder is a good thing, but not as much as most recipes call for. Yes, baking powder makes the cookies rise UP, which is not a bad thing. But it also gives them a rounded edge I don’t care for if I am decorating with Royal icing. I rather have a more flat surface all the way to the edge. Omitting baking powder completely is perfect in that sense, but the texture of the cookie suffers. So I use 1/4 tsp of baking powder for a nice compromise (a favorite recipe of mine is this one, but I vary the flavors all the time). It works for me, but it took me months of tweaking, observing the results and testing again. And again. Another whole universe is stamped cookies in which keeping the design is a must . Different molds behave better with some recipes than others. No single recipe will be a winner. But once you commit to finding what works for you, it will all fall in place.


Bottomline is, every time someone begs for the perfect recipe and expects success, I tend to roll my eyes to the ceiling a bit. You want the perfect recipe? Be ready to work for it. You have to make it happen in your kitchen, with your oven, your ingredients and for your personal taste. No one, absolutely no one can do it for you. Baking is one of the most rewarding activities, if you enjoy the path. Including the failures, the mistakes, the less than stellar results. Don’t expect the perfect recipe to be handed to you, instead make it materialize. Work with it, and above all, make your path fun! 

ONE YEAR AGO: Pfeffernusse

TWO YEARS AGO: Clay Pot Pork and Tomatillo Braise

THREE YEARS AGO: Vegan Chocolate-Dipped Cinnamon Cookies

FOUR YEARS AGO: Lemony Barley with Shrimp and Spinach

FIVE YEARS AGO:Black Rice with Roasted Cauliflower

SIX YEARS AGO:
La Couronne Bordelaise

SEVEN YEARS AGO: A Special Birthday Dinner

EIGHT YEARS AGO: Duck Confit for a Special Occasion

NINE YEARS AGO: Tuscan Grilled Chicken and Sausage Skewers

TEN YEARS AGO: Celebrate Wednesday with Pork Tenderloin & Apples

ELEVEN YEARS AGO: Salmon Wellington

TWELVE YEARS AGO: The Green Chip Alternative

THIRTEEN YEARS AGO: Weekend Pita Project

FOURTEEN YEARS AGO: Let it snow, let it snow, eggs in snow

LA BUCHE DE NOEL

Not my first time making it, but in the past I was not fully happy with the results. I show you two ways to decorate it, but will share only the most recent recipe, cake portion courtesy of Helen Fletcher, my beloved virtual mentor!

BUCHE DE NOEL
(adapted from Helen Fletcher’s Pastrieslikeapro)

for the chocolate spongecake:
¾ cup sifted cake flour (75 grams)
¼ cup sifted cocoa (25 grams)
¼ teaspoon baking powder
6 eggs separated
⅔ cup sugar, divided (140 grams)
1 teaspoon vanilla

for the filling:
1 cup unsalted butter softened (226g)
3 cups confectioners’ sugar (380g) or more if needed
1 teaspoon pure vanilla extract
1/4 cup 60-80ml heavy cream (60mL) or more if needed
1/3 cup black cherry jam or other jam of your choice

for the ganache coating:
170g semi-sweet chocolate, finely chopped
3/4 cup (180ml) heavy cream

Heat the oven to 350. Spray the bottom of ½ sheet pan (11×17 inches) with cooking spray. Line with parchment paper and spray the paper. Do not spray sides of pan. Set aside.

Whisk together the flour, cocoa and baking powder, mixing well. Set aside. Combine the egg yolks, ⅓ cup sugar and vanilla in a mixing bowl fitted with the whisk attachment. Beat until very thick and very pale yellow.

In a clean mixing bowl with a clean whisk, beat the egg whites until soft peaks form. Slowly add the remaining ⅓ cup sugar and beat until fairly stiff. Place the egg yolks over the egg whites and sift half the flour/cocoa mixture over the beaten eggs. Fold together. Fold in the remaining flour/cocoa. Gently pour into the prepared pan and spread out evenly. Bake 10 to 12 minutes. The top will spring back when lightly touched. Immediately cover directly with foil and place on a rack to cool completely. When ready to assemble, it will roll out easily.

Make the filling: In a stand mixer fitted with the paddle attachment, mix together the butter and confectioners’ sugar. Begin on low speed until crumbly, and then increase to high and beat for 3 minutes.
Add vanilla extract and beat again for another minute. Add heavy cream 2 tablespoons at a time while mixing on high until the mixture is light and fluffy. Transfer the frosting to a piping bag.

Make the ganache: Place chopped chocolate in a medium bowl. Heat the cream in a small saucepan until it begins to simmer. Pour over chocolate, then let it sit for 2-3 minutes to gently soften the chocolate. Slowly stir until completely combined and chocolate has melted. Refrigerate, uncovered, for about 1 hour to thicken.

ASSEMBLE THE CAKE: Lay a large piece of aluminum foil and dust it with powdered sugar. Remove the foil on top of the cake and go around the edges of the pan with a spatula. Pick the spongecake up by the parchment and turn it out onto the powdered sugar lined foil. Remove the parchment paper. Spread the jam over the surface of the cake, then the buttercream, starting by piping large stripes of the cream over the surface (see my composite photo after the recipe). Using the foil as an assist, roll up the spongecake jelly roll style. The last roll should put the spongecake on the board. Cut the ends of the cake at a diagonal and use one or both cut pieces to make branches sitting next to the main log. 

Cover the log with ganache, making a design on top with the tines of fork. Decorate with fondant pieces or meringue mushrooms, sugared cranberries, chocolate leaves, whatever you desire. Refrigerate for a few hours before serving, and allow to come to room temperature before cutting your first slice.

ENJOY!

to print the recipe, click here

Comments: I advise you to go to Helen’s site to get all the details of making her cake. She uses a different method to deal with the sponge cake, and it does work like a dream. The cake is covered with aluminum foil as soon as it gets baked, and is allowed to cool like that. As a result, it steams during cooling and becomes very flexible. No harm to the texture of the cake in the finished product.

I have made a Buche de Noel in the past using a different recipe for the cake, but I am much happier with Helen’s version, that calls for a classic sponge cake. You can also find in her blog post a detailed recipe for the meringue mushrooms, which I did not use this time. They are fun to make, for sure.

I love making fondant pieces, so that is what I went with… I cannot show you a picture of the cut cake because I donated it whole, but I got very nice feedback about it, and that of course made me super happy!

I wish you a wonderful 2024!

ONE YEAR AGO: Incredibly Simple Apple Carpaccio

TWO YEARS AGO: Chocolate-Cherry Miroir Cake, A Vegan Showstopper

THREE YEARS AGO: Bee Happy Honey Macarons

FOUR YEARS AGO: Episode 7 of Great American Baking Show, Canapes, Opera Cake and Running out of Gas

FIVE YEARS AGO: Raspberry Ganache Macarons

SIX YEARS AGO: Pain au Chocolat

SEVEN YEARS AGO: Two Unusual Takes on Roasted Veggies

EIGHT YEARS AGO: Kadoo Boranee: Butternut Squash Perfection

NINE YEARS AGO: Creamy Broccoli Soup with Toasted Almonds

TEN YEARS AGO:
 Fennel and Cheddar Cheese Crackers

ELEVEN YEARS AGO: A Festive Pomegranate Dessert

TWELVE YEARS AGO: My First Award!

THIRTEEN YEARS AGO: A Message from WordPress

FOURTEEN YEARS AGO: Turkish Chicken Kebabs


BAKING THROUGH THE BLOGOSPHERE

And now for something completely different. I will share a few recipes straight from blogs I follow. You can click on the link to the original blog posts to get the recipes that perk your interest…

PERUVIAN ALFAJORES
(from Carlos’ blog)

Delicious cookies, filled with dulce de leche, which reminds me so much of my childhood!  My Mom used to pressure cook cans of condensed milk, open them to reveal the luscious caramel inside, and I would enjoy it by spoonfuls. I was such a picky eater, I suppose having that around would make sure I got enough calories to survive.  Carlos offers THE authentic version for these famous cookies. They are delicate, elegant, and incredibly tasty.

HELEN’S BROWNIES
(from Bakers Anonymous)

These are just amazing brownies. A huge hit of chocolate, perfect texture, got rave reviews from the resident brownie critic, who has been very VERY hard to please in the brownie department. His favorite version takes toasted pecans in the mix (follow Helen’s recipe and add 3/4 cup toasted pecans in the final mixing).

CHOCOLATE-SWIRLED BANANA BREAD
(from Jamlab)

This takes your regular banana bread and dresses it up for party… I find that people are usually divided into two groups when it comes to banana bread. Those purists who want a plain, banana-only taste in their loaf, and those who don’t mind bells and whistles. Obviously, this version is dedicated for those in the latter group. Don’t be stingy with the chocolate chips on top. They add a lot, and look super cute.

ALMOND TEA CAKES
(from Saving Room for Dessert)

A lot of fun to make, these are egg-free little cakes in bite-size format, deliciously addictive. You can add any kind of jam to their centers. I used boysenberry jam. Other than that, I followed the recipe from Tricia’s blog to a T. They turn out quite elegant also, I visualize them in a tea party next to Peruvian Alfajores. What a nice couple!

LOVE BARS
(from Helen’s Pastries like a Pro)

These are quite unusual, and the looks do not do justice to their taste. Helen described them so well in her blog, that I could not wait to bake a batch. The base bakes at the same time as the topping, simplifying the preparation quite a bit.  If you are into gingerbread type dessert, you will go nuts for this one. Trust me.

DOUBLE CITRUS POPPY-SEED BREAKFAST CAKE
(from Joanne’s Eats Well with Others)


This was an OMG type of cake. I slightly modified her recipe by using a mixture of Meyer Lemon and Blood Oranges, juice and zest. The slices on top were Meyer Lemons, but the drizzle was a mixture of lemons and blood oranges, so in the end the red color spoke louder. It is a very moist and tender cake, intensely fragrant. A crowd-pleaser.

CHOCOLATE DONUTS
(from Dana’s Wake and Bake Mama)

Baked donuts made as festive as possible through the power of sprinkles. Dana’s recipe is quick to assemble, one-bowl-type-thing. Less things to wash, no need to get the KitchenAid out to play. Granted, maybe I used a bit of a heavy hand with the sprinkles, but they make me happy.


TRADITIONAL SCOTTISH SHORTBREAD
(from Tanya’s Global Bakes)

Last December I went on a compulsive shortbread cookie adventure, and tried several recipes, including one super convoluted from America’s Test Kitchen, in which every single utensil of my kitchen was involved. Tanya’s version won my heart, apart from going a bit over the top with the decoration, I stayed true to her recipe. Two thumbs all the way up for it.

That’s the end of my walk through the blogosphere… all these bakes ended up as part of the Common Table meals, something that has kept me busy and “sane” through these odd times we are going through. Baking is a huge therapy for me, and I know I’m not alone, many of my baking friends feel the same way.

ONE YEAR AGO: Chickpea Burgers, Vegan and Delicious

TWO YEARS AGO: Macarons with Ganache Noisette

THREE YEARS AGO: Quiche with Asparagus and Fennel

FOUR YEARS AGO: Fakebouleh

FIVE YEARS AGO: Yellow Squash Soup

SIX YEARS AGO: Grilled Chicken with Tamarind and Coconut Glaze

SEVEN YEARS AGO: Chicken-Apricot Skewers

EIGHT YEARS AGO:  Asparagus Quiche

NINE YEARS AGO: Two-stage Pea and Prosciutto Risotto

TEN YEARS AGO: Mellow Bakers: Corn Bread


SECRET RECIPE CLUB: WHITE CHOCOLATE DIPPED COOKIES

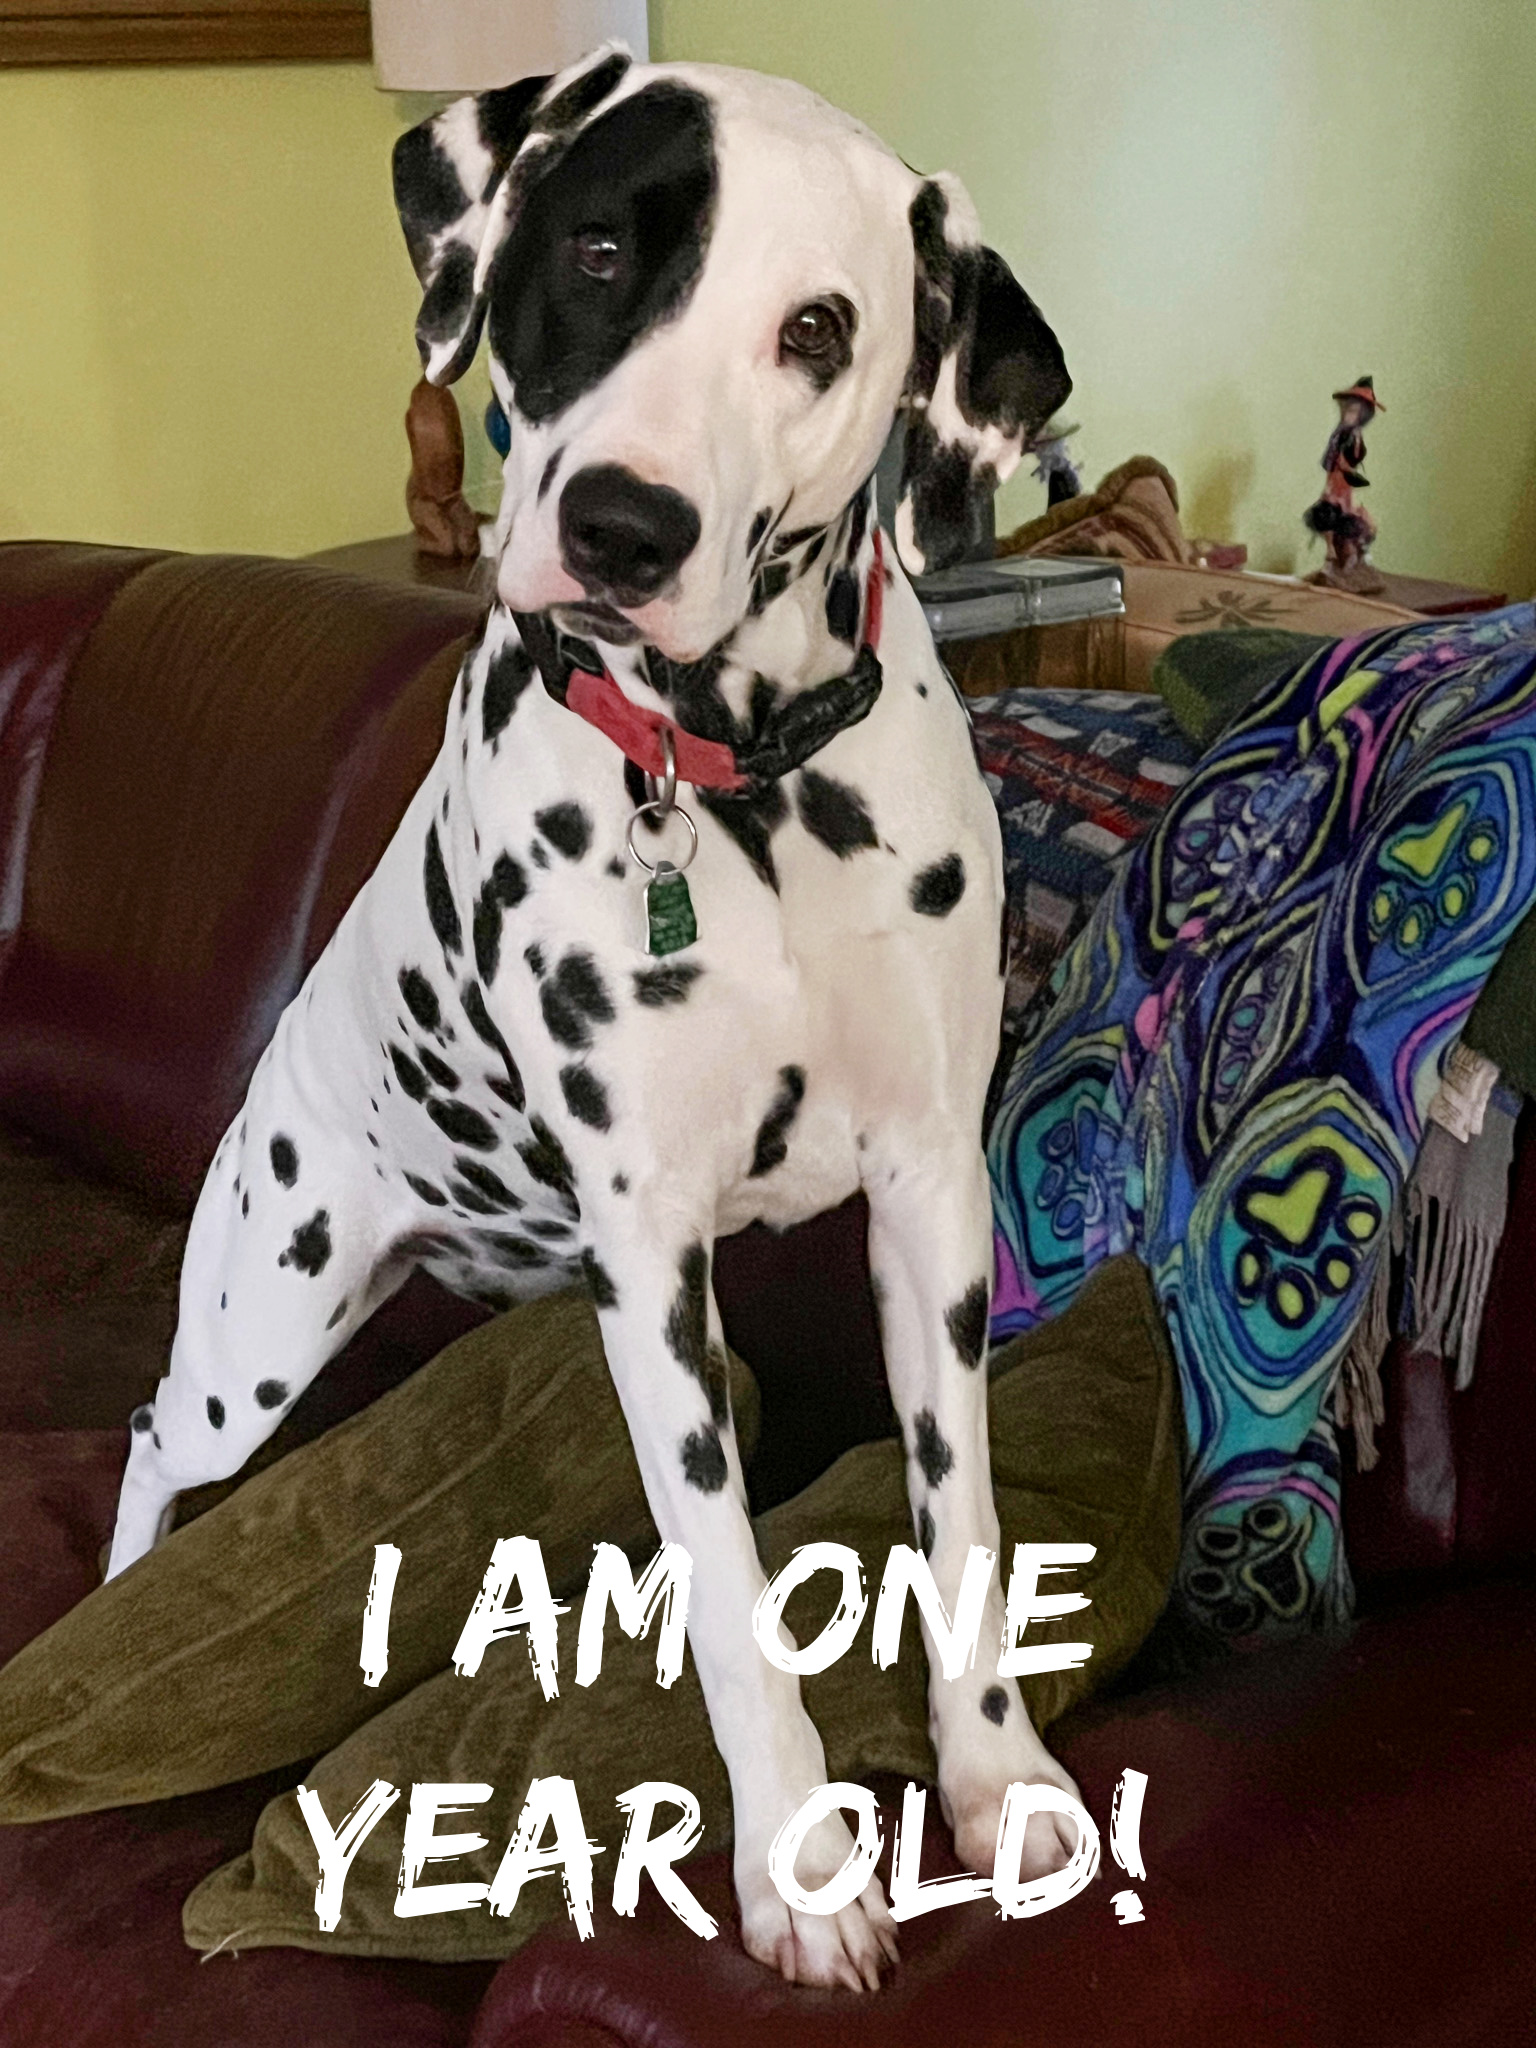
My third assignment for the Secret Recipe Club!  When I clicked on my assigned blog – Kudos Kitchen by Renee – I melted on the spot:  the front page was a post composed by her three dogs  (Ivy, Nutmeg and Nell), and they had a lot to bark about!  😉

Renee is an artist (check her store at Etsy), and that alone leaves me in complete awe, because I cannot draw a tree to save my own life! In fact, back in middle school two things terrified me to the point of losing sleep: physical education and art classes.  I was absolutely horrible at both, and wanted to disappear from the planet when it was time to face them. Back to blogging.  I fell in love with Renee’s 4th of July cookies, and adapted them for a Christmas time motif, switching the colors to green and red.  And, since I’ve always wanted to make shortbread cookies, this was a perfect excuse to bake a batch.  Without further ado, and with apologies to Renee, here is my very first attempt at playing Jackson Pollock. You can understand why I was not very popular with the art teachers…   (sigh)

WHITE CHOCOLATE DIPPED COOKIES
(adapted from Kudos Kitchen by Renee)

for cookies
1 cup unsalted butter
1/2 cup light brown sugar
2 cups flour
3/4 cup ground hazelnuts
zest of 1 lemon
2 teaspoons vanilla
pinch of salt

for dipping cookies
1 + 1/2 packages white chocolate morsels
3 tablespoons Crisco, divided
1 tablespoon milk
red and green food coloring

In a large kitchen Aid type bowl, beat together the butter with the brown sugar until creamy. Add the flour, ground hazelnuts, vanilla, lemon zest, and salt. Beat until smooth.  Remove the dough from the bowl, form it into a log and wrap with plastic.  Refrigerate for 1 hour.

Heat the oven to 325 F.  Line a cookie sheet with parchment paper. When the dough is firm enough to handle, remove 1 inch balls and shape as a cookie, flattening the surface. Alternatively, you can slice pieces straight from the log, 1/4 inch thick.   Smooth the surface and edges, and place on prepared cookie sheet.   Bake for 15 minutes on until set and very lightly browned on the bottom.  Remove from pan and place the cookies to cool on a rack. Before icing, place them in the freezer for 30 minutes.

Dipping the cookies: melt 1 cup of the chocolate chips and the 2 + 1/2 tablespoons of Crisco in your microwave.  Check on it often and stir it occasionally until the chocolate is smooth and completely melted.

Using a fork and working with one cookie at a time, dip each cookie, turning it over to coat both sides nicely with chocolate.  Place your dipped cookies on a baking sheet that has been lined with parchment paper.  Follow this step until all of the chocolate is used up.  This amount of chocolate will be enough to coat about 12 cookies.

With the remaining 1/2 cup of morsels, melt them in your microwave again, using 1/2 Tbs Crisco and  1 tablespoon of milk to keep the consistency thinner and better for drizzling.

In two separate small bowls, divide the chocolate and color them with the red and green food coloring. Drizzle the cookies with both colors of icing, using the tines of a fork dipped in water, or if you have the right skills, a little improvised piping bag made with parchment paper.

Place the cookies in the fridge until time to serve them.

ENJOY!

to print the recipe, click here

A few things I learned from this baking adventure…

1.  Run away from the small tubes of food coloring gel, because even if you squeeze the full tube of green gel in  1/4 cup of melted chocolate, the resulting icing will have a pale lime color. Go for the real McCoy, the type that you need to use a toothpick to grab the tiny amount that gets the job done.

2. White chocolate is not for sissies.   When Renee says to make sure the chocolate is fully melted and smooth, she knows what she’s talking about.  Lumps get together and seem to multiply at a fast rate.  Then, right before your eyes, the whole thing turns into a solid mess.

3. White chocolate is not for sissies. Melted chocolate, when smooth and fluid,  has a remarkable tendency  to splatter.  Certain types of dog fur catch droplets of icing with high efficiency, and don’t wash easily.

4. Have I mentioned that white chocolate is not for sissies?  Buy more than you think you’ll need. Have a cup of chamomile tea before icing your cookies.   You may need three shots of tequila after.

But it will all be worth it, these cookies were amazing!  You can play with the colors to match your favorite football team, or go real artistic and draw something over the white chocolate canvas, like red hearts for Valentine’s Day!  😉

Renee, it was great to get to know your blog, hope you had as much fun as I did with your assignment this month!

ONE YEAR AGO: Sourdough Focaccia, with a Twist

TWO YEARS AGO: Merry Christmas!

Add to FacebookAdd to DiggAdd to Del.icio.usAdd to StumbleuponAdd to RedditAdd to BlinklistAdd to TwitterAdd to TechnoratiAdd to Yahoo BuzzAdd to Newsvine


SPICY KALAMATA SOURDOUGH

I cannot think of a better way to re-open the Bewitching Kitchen than a loaf of sourdough bread!  My sourdough starter was refreshed the day before we left L.A., and a small amount came with us in the car.  One more refreshment once we arrived, and I was back in business. Instead of using a recipe from a book, I adapted a basic formula, adding three ingredients that remind me of our times in L.A.

1. Kalamata olives, because we went through countless bottles of the very affordable and delicious  Trader Joe’s pitted Kalamatas.  We brought a bottle with us, it will be a sad day when it’s finished now that we don’t have a Trader Joe’s 3 miles from home.

2. Red pepper flakes, because quite a few of our friends in L.A. were heavy into hot and spicy food (and drinks!).  The more we hang out with them, the more we got into pepper ourselves.

3. Fresh rosemary,   because it grew wild around our neighborhood.  In fact, on our second week in L.A., I was staring at a huge plant near our house, when the owner of the home came out and said hello.  I asked, in disbelief – “Is this rosemary”?  – she smiled, and told me to get some whenever I wanted, as evidently the plant was threatening to overtake her property!  😉

So, here is my take on a sourdough to bring a little of L.A. into our kitchen.


SPICY KALAMATA SOURDOUGH
(from the Bewitching Kitchen)

200g (ml) water at room temperature
142g  sourdough starter (at 100% hydration)
1/4 tsp instant yeast
280g bread flour
85g dark rye flour
9 g salt
3/4 cup kalamata olives (cut in half)
1 tsp red pepper flakes
2 Tbs fresh rosemary leaves, chopped

Dissolve the starter and the instant yeast in the water in a large bowl.  Add the flour, mix to incorporate (or use a Kitchen Aid type mixer for a couple of minutes on low speed), then cover with a plastic wrap and allow it to sit for 20 minutes undisturbed.

Sprinkle the salt on top, and mix by gentle kneading or with the mixer for a few more minutes.  Once the salt is incorporated, add the olives, red pepper, and rosemary, and knead by hand or with the mixer (again in low speed).

Let the dough rise for 3 hours, with quick kneading cycles at 40 min, 1h 20 min, and 2 hours (timing is pretty flexible, no need to pay too close attention to it).  Shape the dough into a round, place in a banetton or other appropriate container with the seam up.  Let it rise for 3 hours, until almost doubled in size, and with an airy feeling as you gently press the surface of the dough.

Bake in a 450F oven,  covered for the first 30 minutes, then uncover and lower the temperature to 425F for the remaining time.  If you have a favorite method to create steam, use it in the initial baking. I prefer to use a roasting pan previously filled with water, emptied of the water and quickly inverted on top of the loaf as my steam source.

Let the bread completely cool on a rack before slicing.

ENJOY!

to print the recipe, click here

Comments:  Wild yeast purists, forgive me, because I cheated.  Yes, I admit, I added commercial yeast to this bread.  It turns out that I baked it the day after arriving home, and my schedule for that day was a bit iffy.  I wanted to make sure the bread would be ready to bake before too late.  Also, I was hoping for a crumb  a little more tight, to use the bread for sandwiches, so I proofed a little less and reduced the number of kneading cycles.


The bread has intense olive flavor, and a nice hint of heat every now and then.   The rosemary flavor was not as strong as I had hoped for,  so next time I’ll increase that amount.   A delicious bread, fantastic as an open face sandwich with a slice of ham, cheese, tomato slices, and a run under the broiler.

I am submitting this post to Susan’s Yeastspotting event…

and you can also see it on Tastespotting

Add to FacebookAdd to DiggAdd to Del.icio.usAdd to StumbleuponAdd to RedditAdd to BlinklistAdd to TwitterAdd to TechnoratiAdd to Yahoo BuzzAdd to Newsvine