I cannot pick a favorite. Ok, one is not technically a brownie, but a blondie. Tomatoes, tomahtoes… They are all delicious, luscious, satisfying, rich, borderline decadent.
BISCOFF BLONDIES
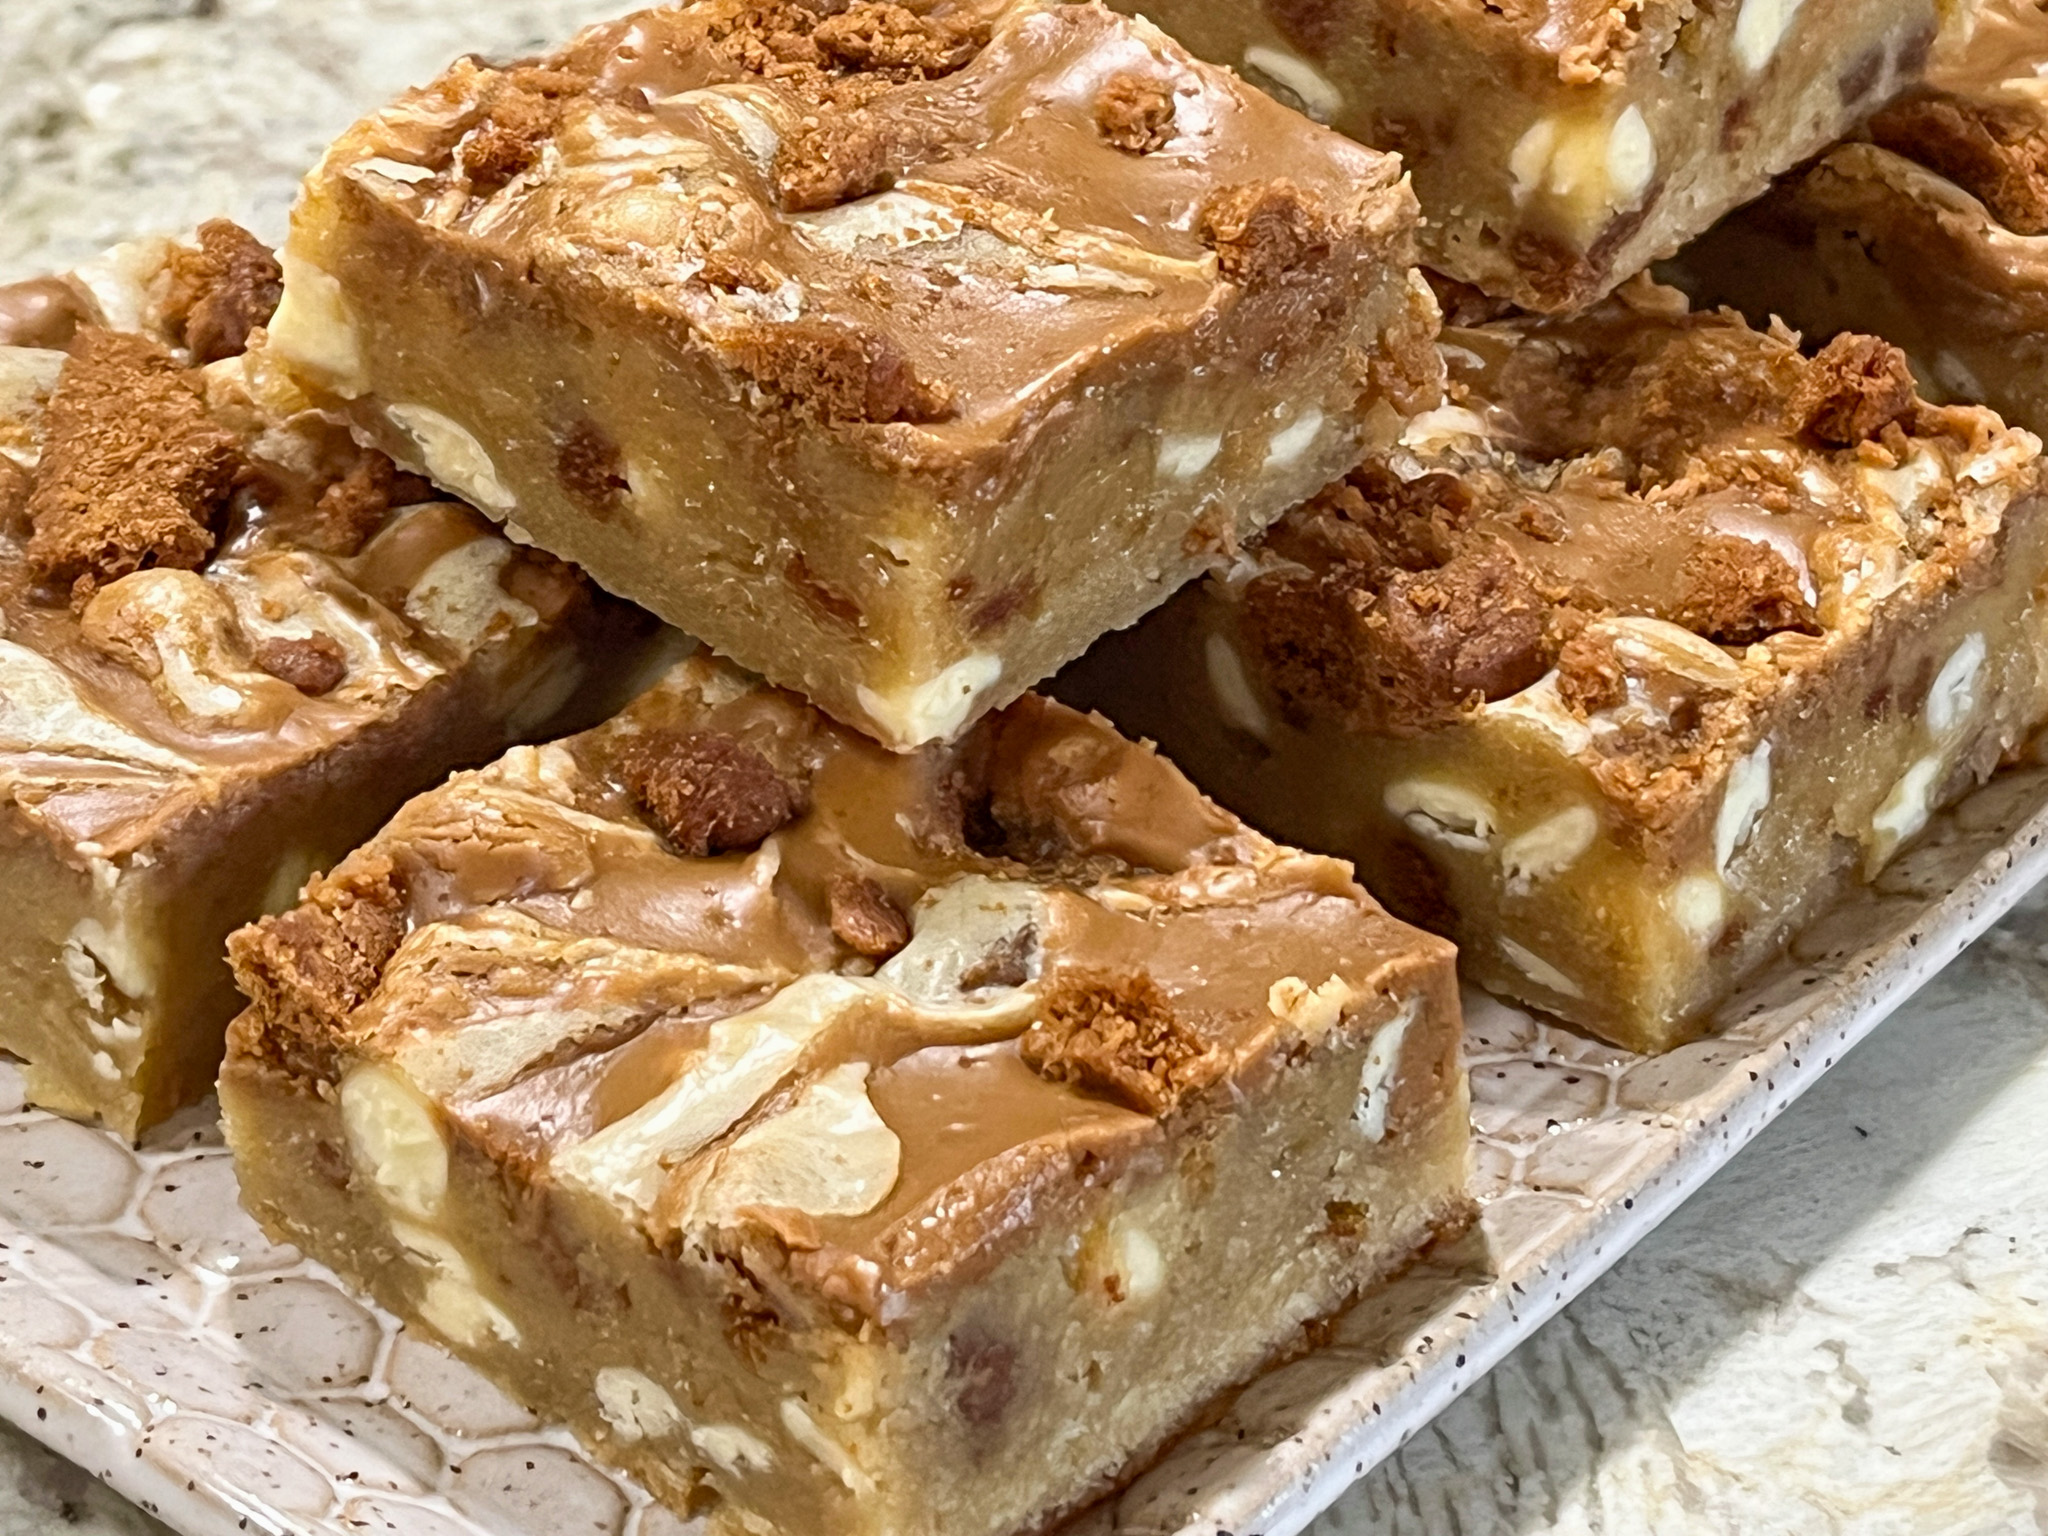
If you are a lover of Biscoff cookies, these will bring a huge smile to your face. The recipe comes from thebiteofthebakes.com but for some reason it is unavailable, so I will cut and paste it from the file I had previously saved. I linked to the main site, but for some reason it won’t work in Safari, only in Chrome.
BISCOFF BLONDIES
(from biteofthebakes)
170g butter
170g white chocolate
110g brown sugar
110g granulated sugar
2 large eggs
1 egg yolk
30ml heavy cream
250g all-purpose flour
25g cornstarch
200g chocolate chips
150g chopped Biscoff cookies
200g Biscoff spread
Heat your oven to 350F. Line a 9×11″ rectangular baking dish with baking paper.
In a microwaveable bowl, melt together unsalted butter and white chocolate. Melt in short bursts stirring well each time until smooth. In a large bowl or stand mixer add your melted chocolate, butter and sugar and mix until combined.
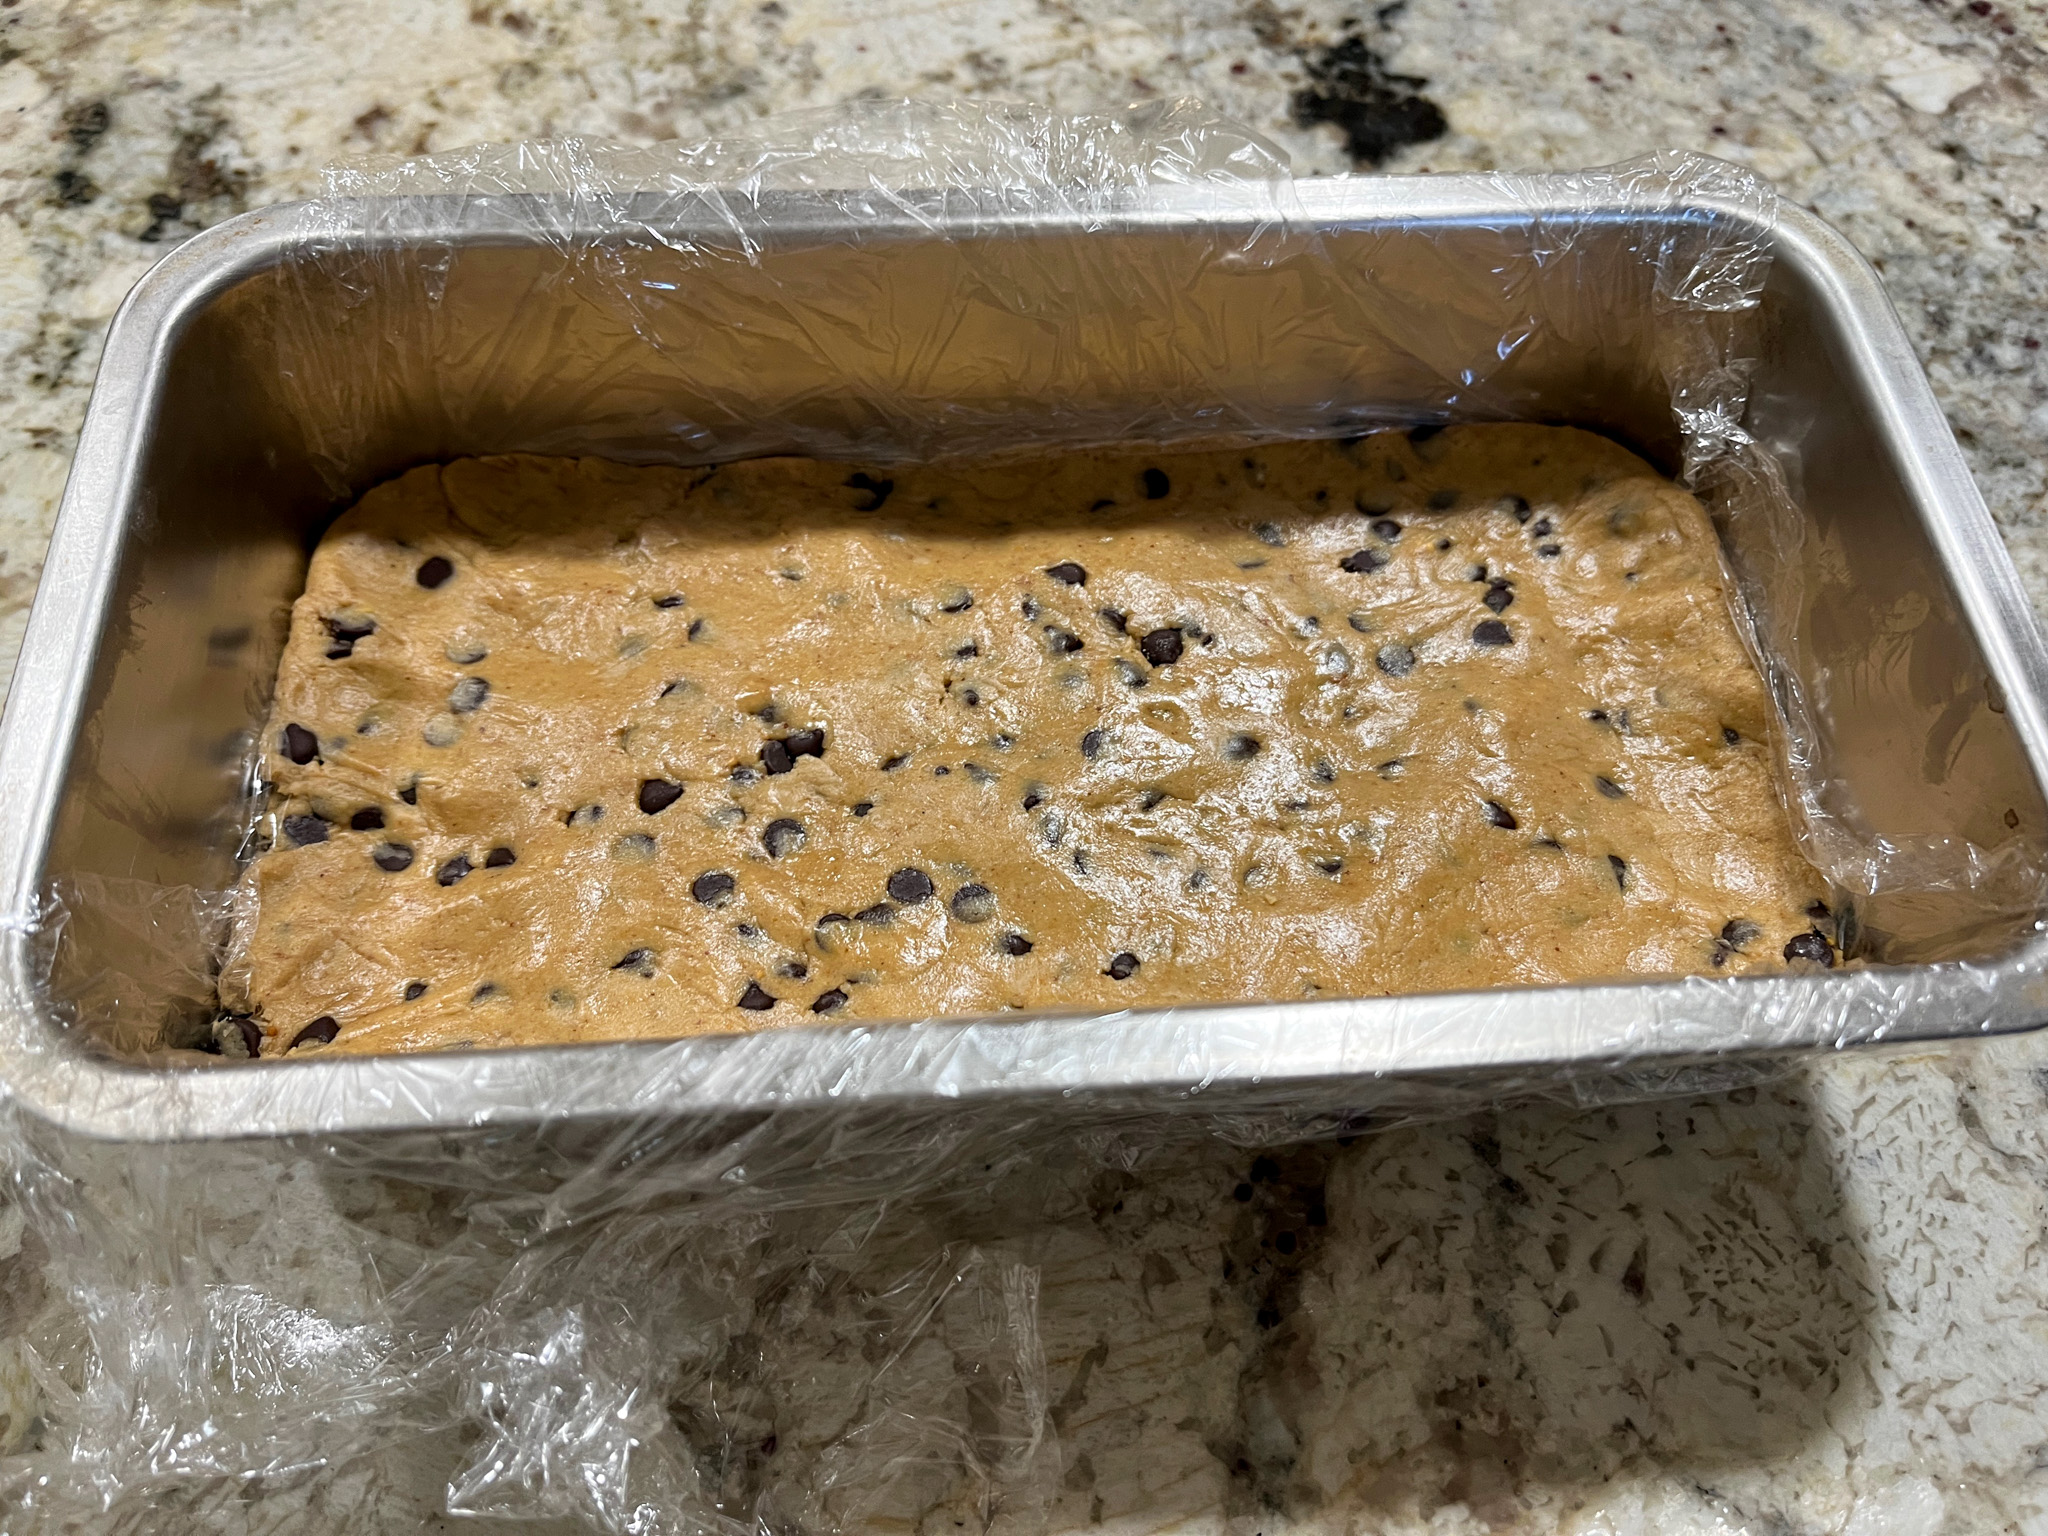
Add the eggs, egg yolk and double cream and stir until combined, then add the flour, cornstarch, fold gently. Add the chocolate chips and Biscoff pieces. Pour the mixture into your lined baking tin and swirl on some melted biscoff spread and top with more biscoff biscuits.
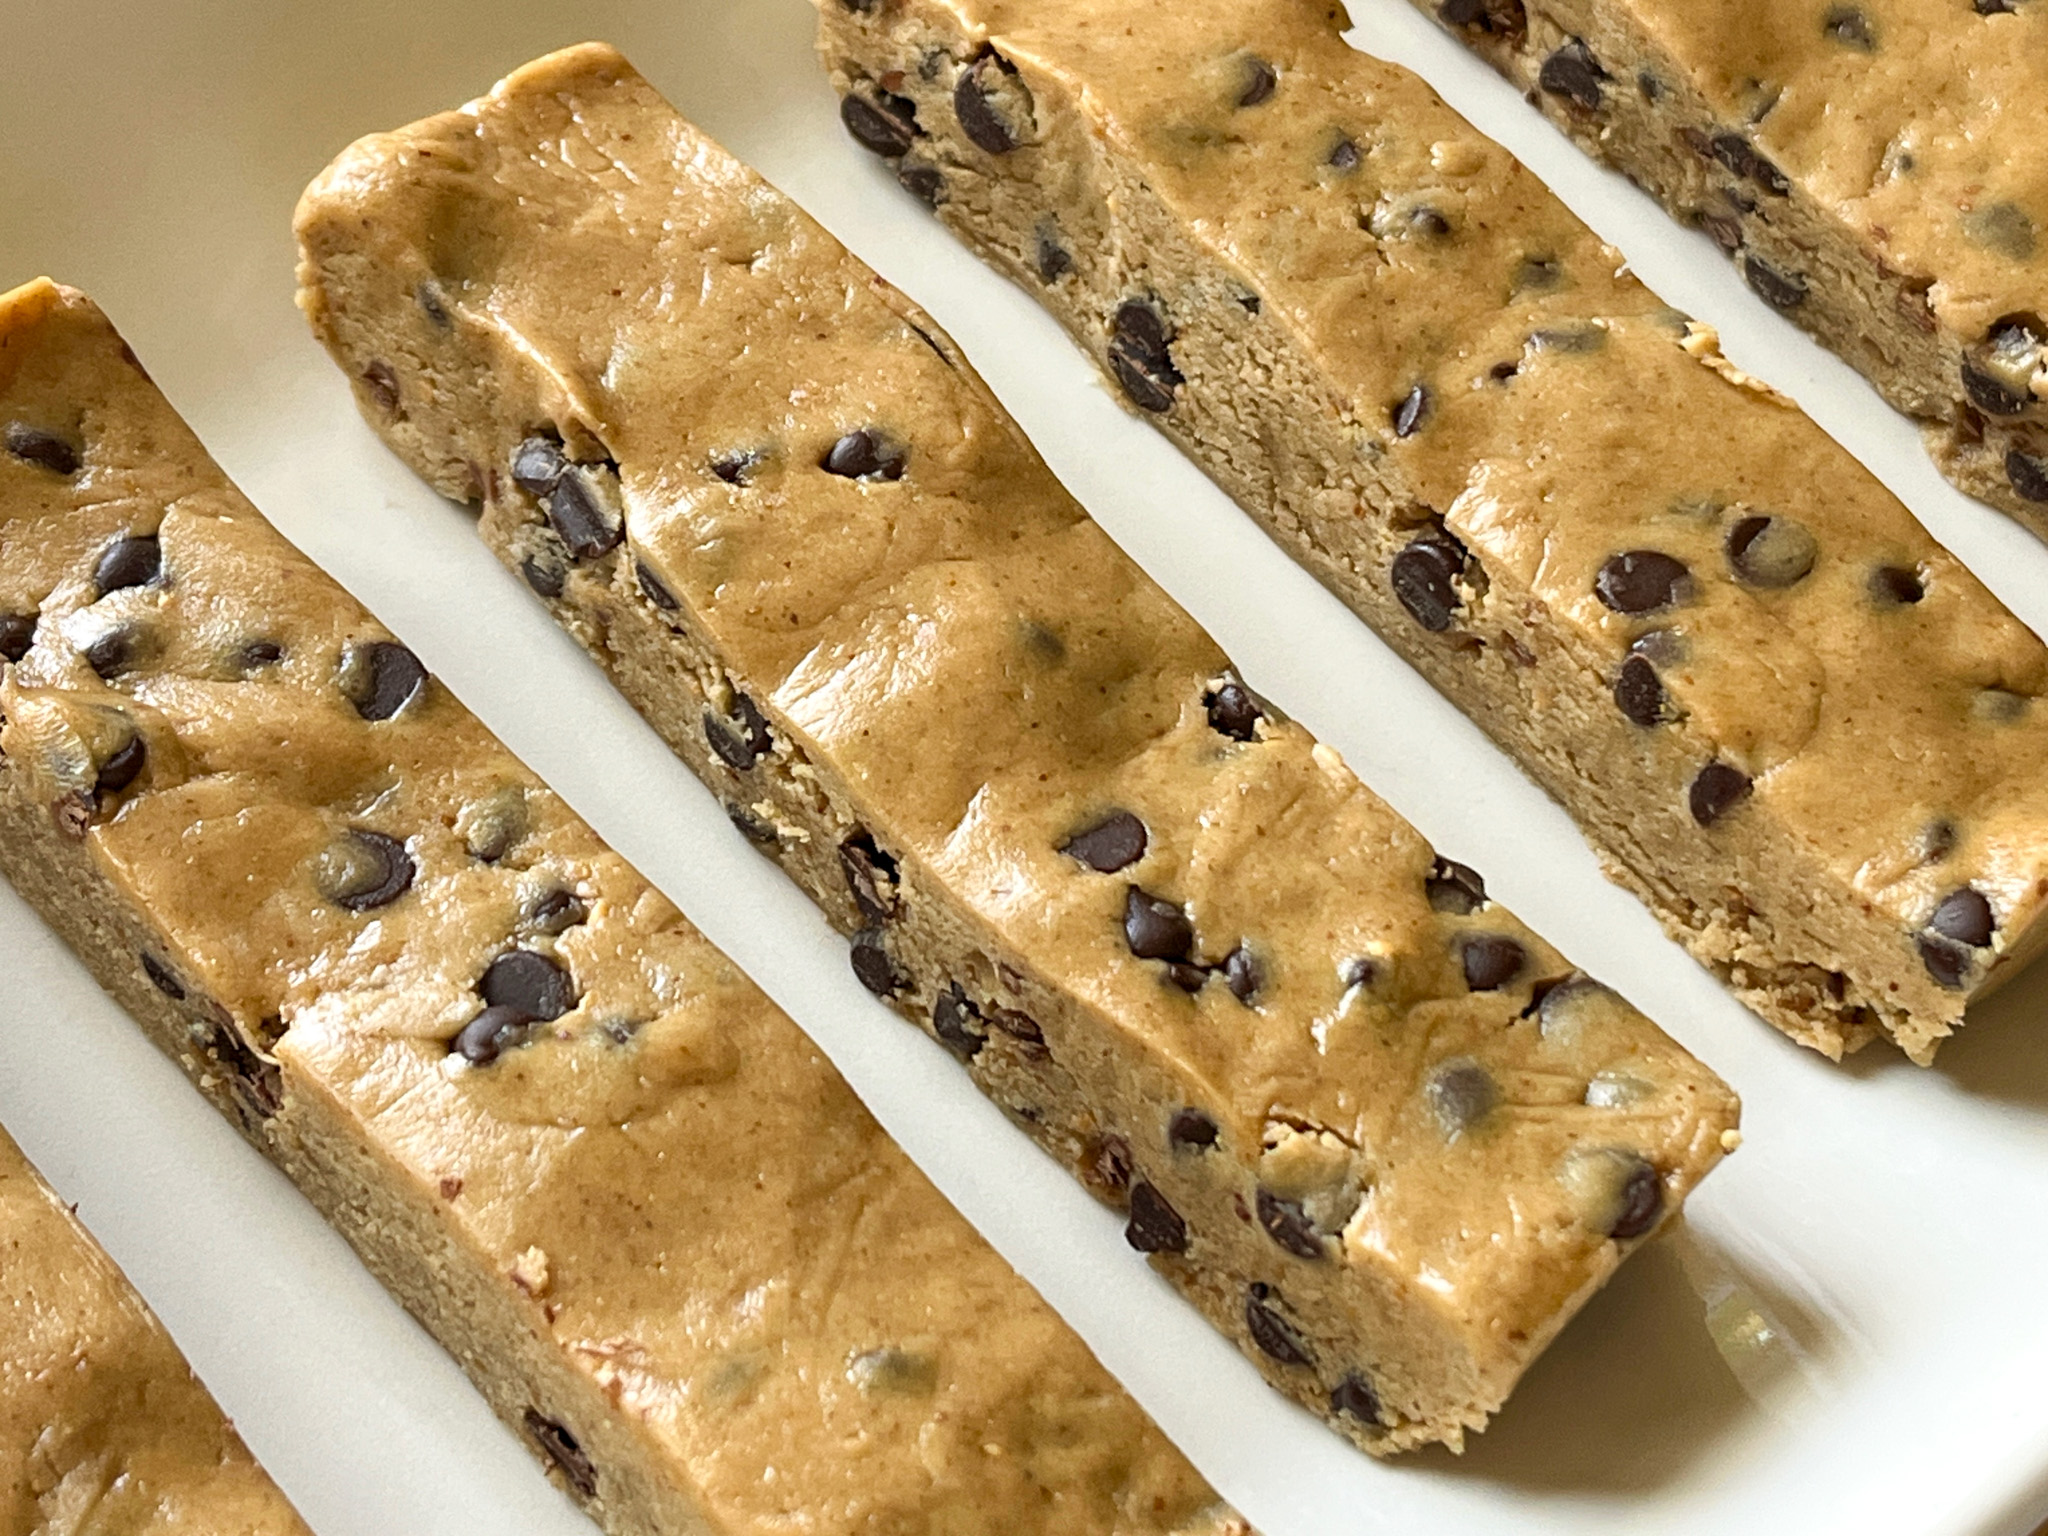
Bake for 25-30 minutes. Once baked, let the blondies cool completely in the pan, then place the blondie (still in the tin) in the fridge for a few hours or overnight before slicing.
ENJOY!
to print the recipe, click here

.
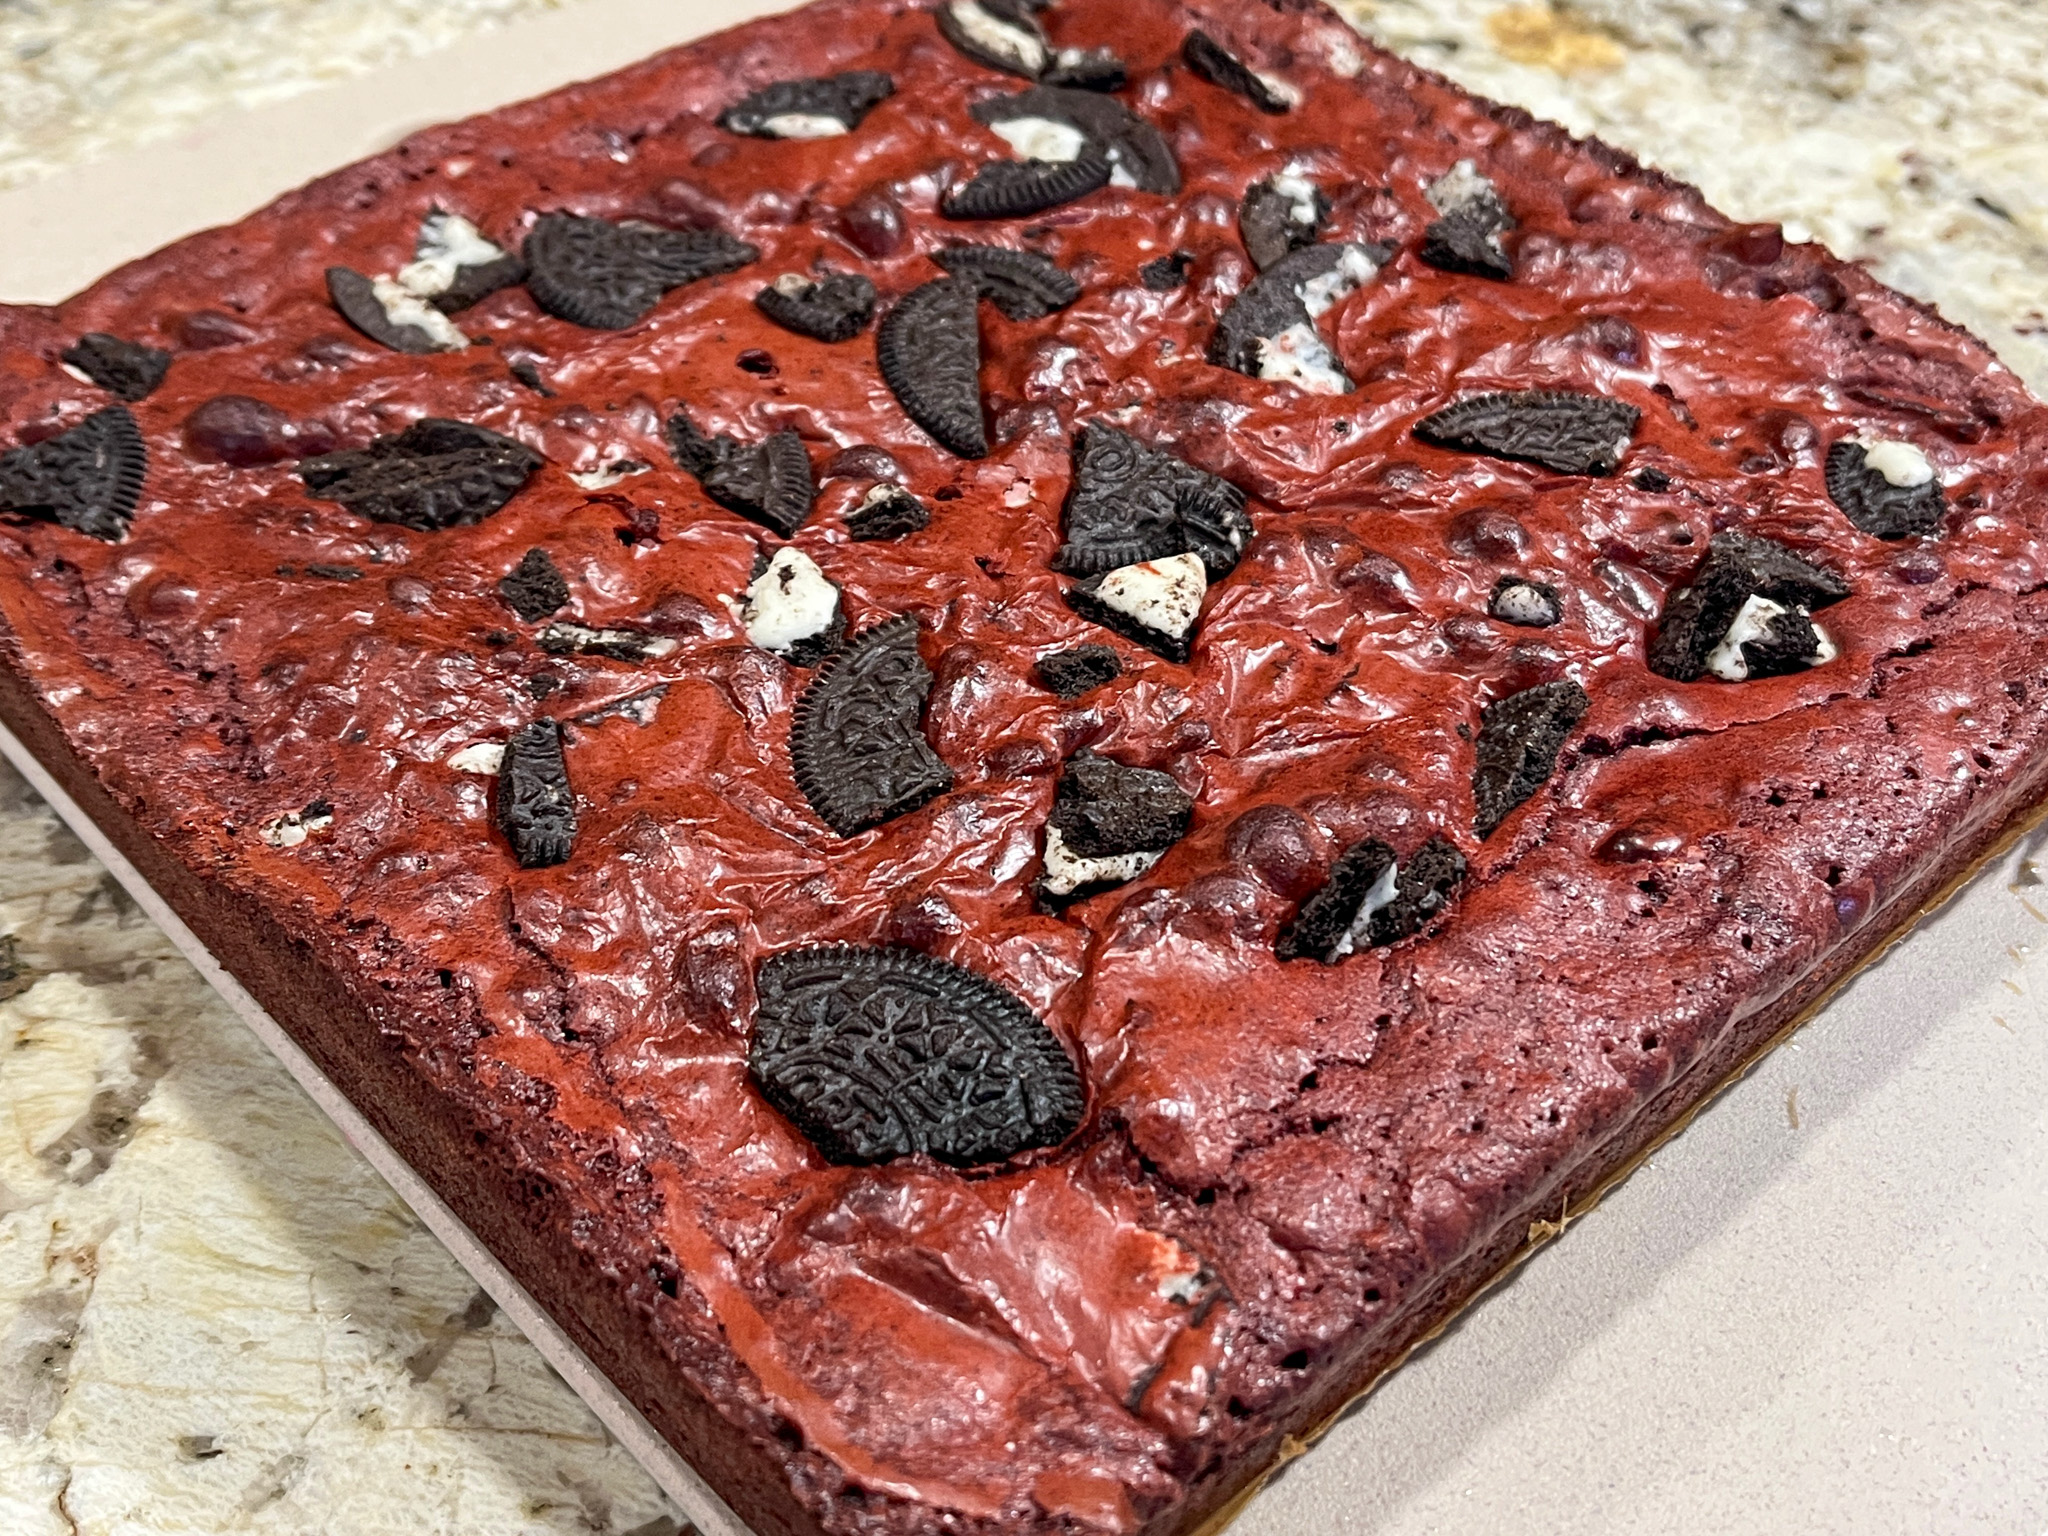
RED VELVET OREO BROWNIES

RED VELVET OREO BROWNIES
(from cakemehometonight)
½ cup unsalted butter
½ cup light brown sugar
¾ cup granulated sugar
2 large eggs room temperature
1 large egg yolk room temperature
¼ cup vegetable oil
2 tsp vanilla extract
2 tsp red gel food coloring
½ tsp white vinegar
1 cup all-purpose flour
¼ cup unsweetened cocoa powder
½ tsp salt
1 ½ cups roughly chopped Oreo cookies
8 Oreo cookies
Heat the oven to 350℉. Prepare a 9×9 baking pan with nonstick cooking spray and cover with parchment paper.
In a microwave-safe bowl, combine the unsalted butter and brown sugar. Microwave for 90 seconds until the butter is melted, and then whisk until the mixture is well combined and smooth. Set aside.
In a large mixing bowl, combine the granulated sugar, eggs, and egg yolk. Use an electric hand mixer to whip the eggs and sugar for 2 to 3 minutes until light and pale. While mixing on low speed, slowly drizzle in the brown sugar mixture to temper the egg mixture. Add in the vegetable oil, vanilla extract, red gel food coloring, and white vinegar and mix until well combined.
Add in the all-purpose flour, cocoa powder, and salt, and mix on low speed until combined and smooth. Scrape the sides and bottom of the bowl. Fold in the roughly chopped Oreo cookies.
Pour the red velvet brownie batter into the prepared baking pan and spread evenly with an offset spatula. Add additional broken Oreo cookies to the top of the brownie batter. Bake the brownies for 24-26 minutes until set. An inserted toothpick in the center of the brownies should come out with moist crumbs. Remove the pan from the oven and cool the brownies to room temperature. Cut the brownies into 16 squares.
ENJOY!
to print the recipe, click here
.
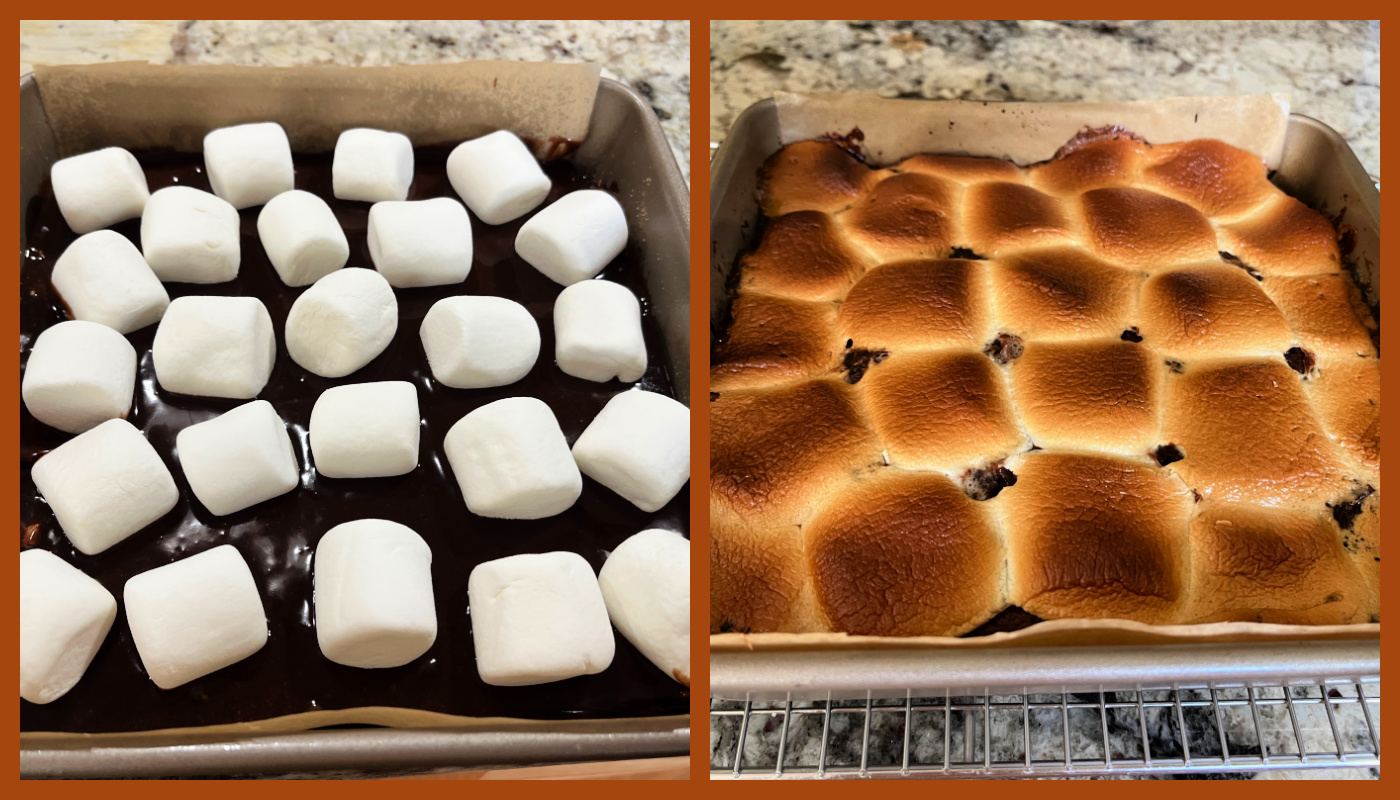
S’MORES BROWNIES

S’MORES BROWNIES
(from Eric Kim, by New York Times)
½ cup/113 grams unsalted butter, at room temperature, divided
135 grams honey graham crackers (about 9 whole crackers)
1 tablespoon granulated sugar
113 grams semisweet chocolate, broken into pieces
½ cup (100 grams) packed dark brown sugar
½ teaspoon salt
2 large eggs
1 tablespoon vanilla extract
½ cup (60 grams) all-purpose flour
170 grams marshmallows
Heat oven to 400 degrees.
Grease a 9-inch square metal baking pan with ½ tablespoon of the butter. Line the pan with parchment paper leaving an overhang to make it easier to remove the brownies after baking. Use another 1/2 tablespoon of butter to grease the paper.
Line the bottom of the pan with a single layer of graham crackers, breaking them as needed to fit, then crush the rest of the crackers over and sprinkle with the granulated sugar.
Melt the remaining 7 tablespoons butter and chocolate gently in the microwave at 50% power. Stir in the brown sugar and salt, then let the mixture cool slightly until the bowl is no longer hot to the touch. Whisk in the eggs and vanilla, then continue whisking until smooth and shiny, about 1 minute. Whisk in the flour until no white streaks remain. Pour the batter over the graham crackers lining the pan.
Top the brownie batter with the marshmallows in a single layer and bake until the top is toasted and a toothpick or cake tester inserted into the center of the brownie comes out smudged with a little chocolate, 15 to 20 minutes. Cool completely, then refrigerate in the pan until ready to serve.
To serve, lift the brownie out of the pan and slice into squares or bars. Enjoy chilled, or at room temperature.
ENJOY!
to print the recipe, click here
I hope you try one or two or all of these recipes, because they are absolutely wonderful,
I guarantee it!
ONE YEAR AGO: A Typical Dinner at The Bewitching Kitchen
TWO YEARS AGO: Rolled Buttercream
THREE YEARS AGO: Miso-Ginger Turkey Meatballs with Cabbage “Noodles”
FOUR YEARS AGO: Smoked Shrimp Tacos with Roasted Jalapeño Salsa
FIVE YEARS AGO: Corn Fritters
SIX YEARS AGO: Minnie Macarons
SEVEN YEARS AGO: Air-Fried Mexican Meatloaf
EIGHT YEARS AGO: Mimi’s Sticky Chicken, a Call from my Past
NINE YEARS AGO: Perfect Soy-Grilled Steak
TEN YEARS AGO: The Devil’s Bread
ELEVEN YEARS AGO: Heart of Palm Salad Skewers
TWELVE YEARS AGO: Potluck Frittata and Lavoisier
THIRTEEN YEARS AGO: Home-made Corn Tortillas
FOURTEEN YEARS AGO: Whole-Wheat Spaghetti with Peanut Sauce
FIFTEEN YEARS AGO: Brigadeiros: A Brazilian Party!
SIXTEEN YEARS AGO: Lemony Asparagus