The air-fryer does it, friends! If you don’t have one you can still adapt to a regular oven, but I tell you, the texture and how easy it all happens is hard to beat. Ever since we invested in a model with a bigger basket, I’ve been using it all the time.
PROSCIUTTO-WRAPPED CHICKEN BREASTS
(from The Bewitching Kitchen)
3 chicken breasts, boneless and skinless
juice of a lemon
salt and pepper to taste
slices of prosciutto
spray of olive oil
Squirt a very small amount of lemon juice over the chicken breasts, season lightly with salt and pepper, rubbing the mixture all over.
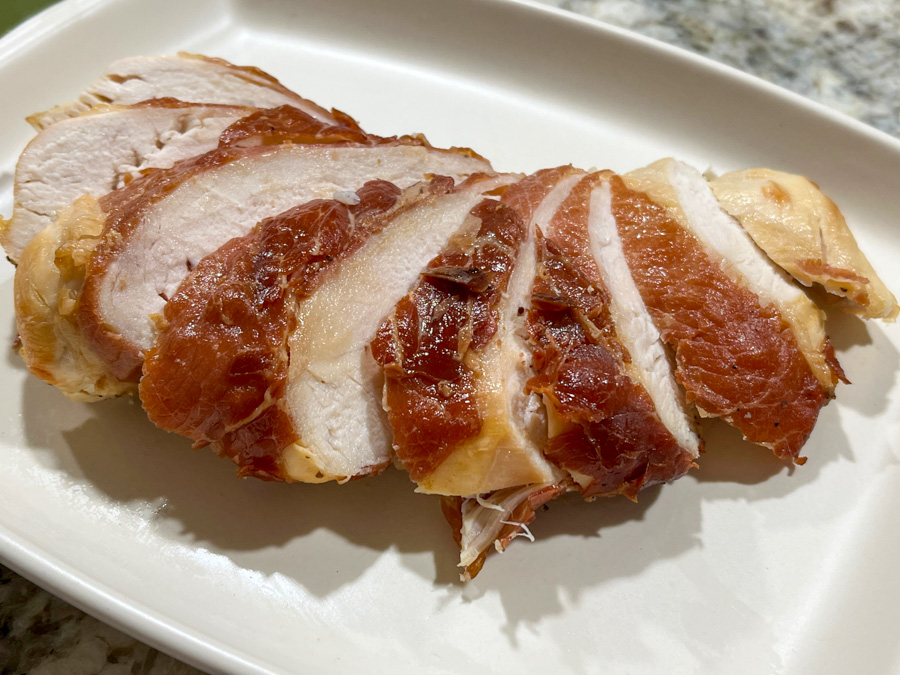
Lay 2 slices of prosciutto overlapping slightly over a board, place one chicken breast over it and wrap the prosciutto around. Carefully place the meat in the air-fryer basket, with the seam side down. Repeat with all other pieces. Spray them with a little olive oil and air-fry at 400F (or as high as your machine goes) for 15 to 20 minutes, flipping the meat midway through. You can check the temperature with a probe thermometer if you prefer a little more precision, going for 160F.
Allow it to sit at room temperature for a few minutes before slicing.
ENJOY!
to print the recipe, click here

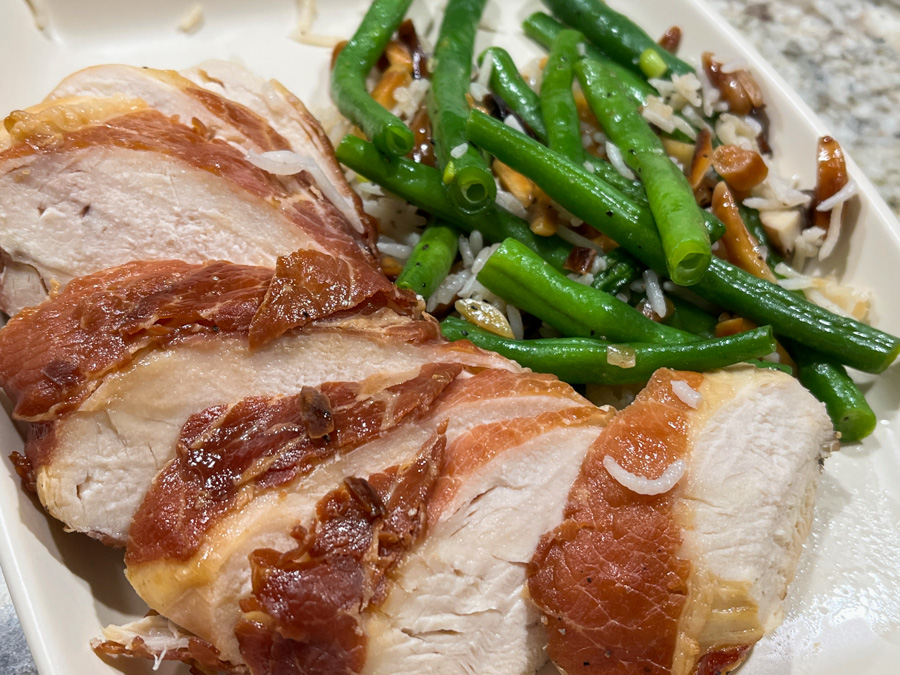
Comments: I made this twice already and will be repeating it soon, because we really liked it a lot. Prosciutto tends to be expensive, that is the only drawback and you do need two slices per breast. We enjoyed it with green beans with almonds and plain rice, it was a quick and very delicious dinner.
ONE YEAR AGO: Cauliflower with Sun-dried Tomatoes and Olives
TWO YEARS AGO: Curry Sourdough with Sesame Seeds
THREE YEARS AGO: Chocolate-Crusted Passion Fruit Tart
FOUR YEARS AGO: Lemony Shredded Brussels Sprouts with Almonds
FIVE YEAR AGO: Savory Oatmeal with Bacon and Cheddar
SIX YEARS AGO: Air-Fried Carrots, Two Ways (most popular post on my blog!)
SEVEN YEARS AGO: Five Minutes in L.I.T (a tour of our laboratory!)
EIGHT YEARS AGO: Chicken Thighs with Artichokes and Capers
NINE YEARS AGO: Pea Pancakes with Herbed Yogurt
TEN YEARS AGO: Mushroom Stroganoff
ELEVEN YEARS AGO: Tomato Sourdough
TWELVE YEARS AGO: Gamberetti con rucola e pomodori
THIRTEEN YEARS AGO: Flirting with Orzo