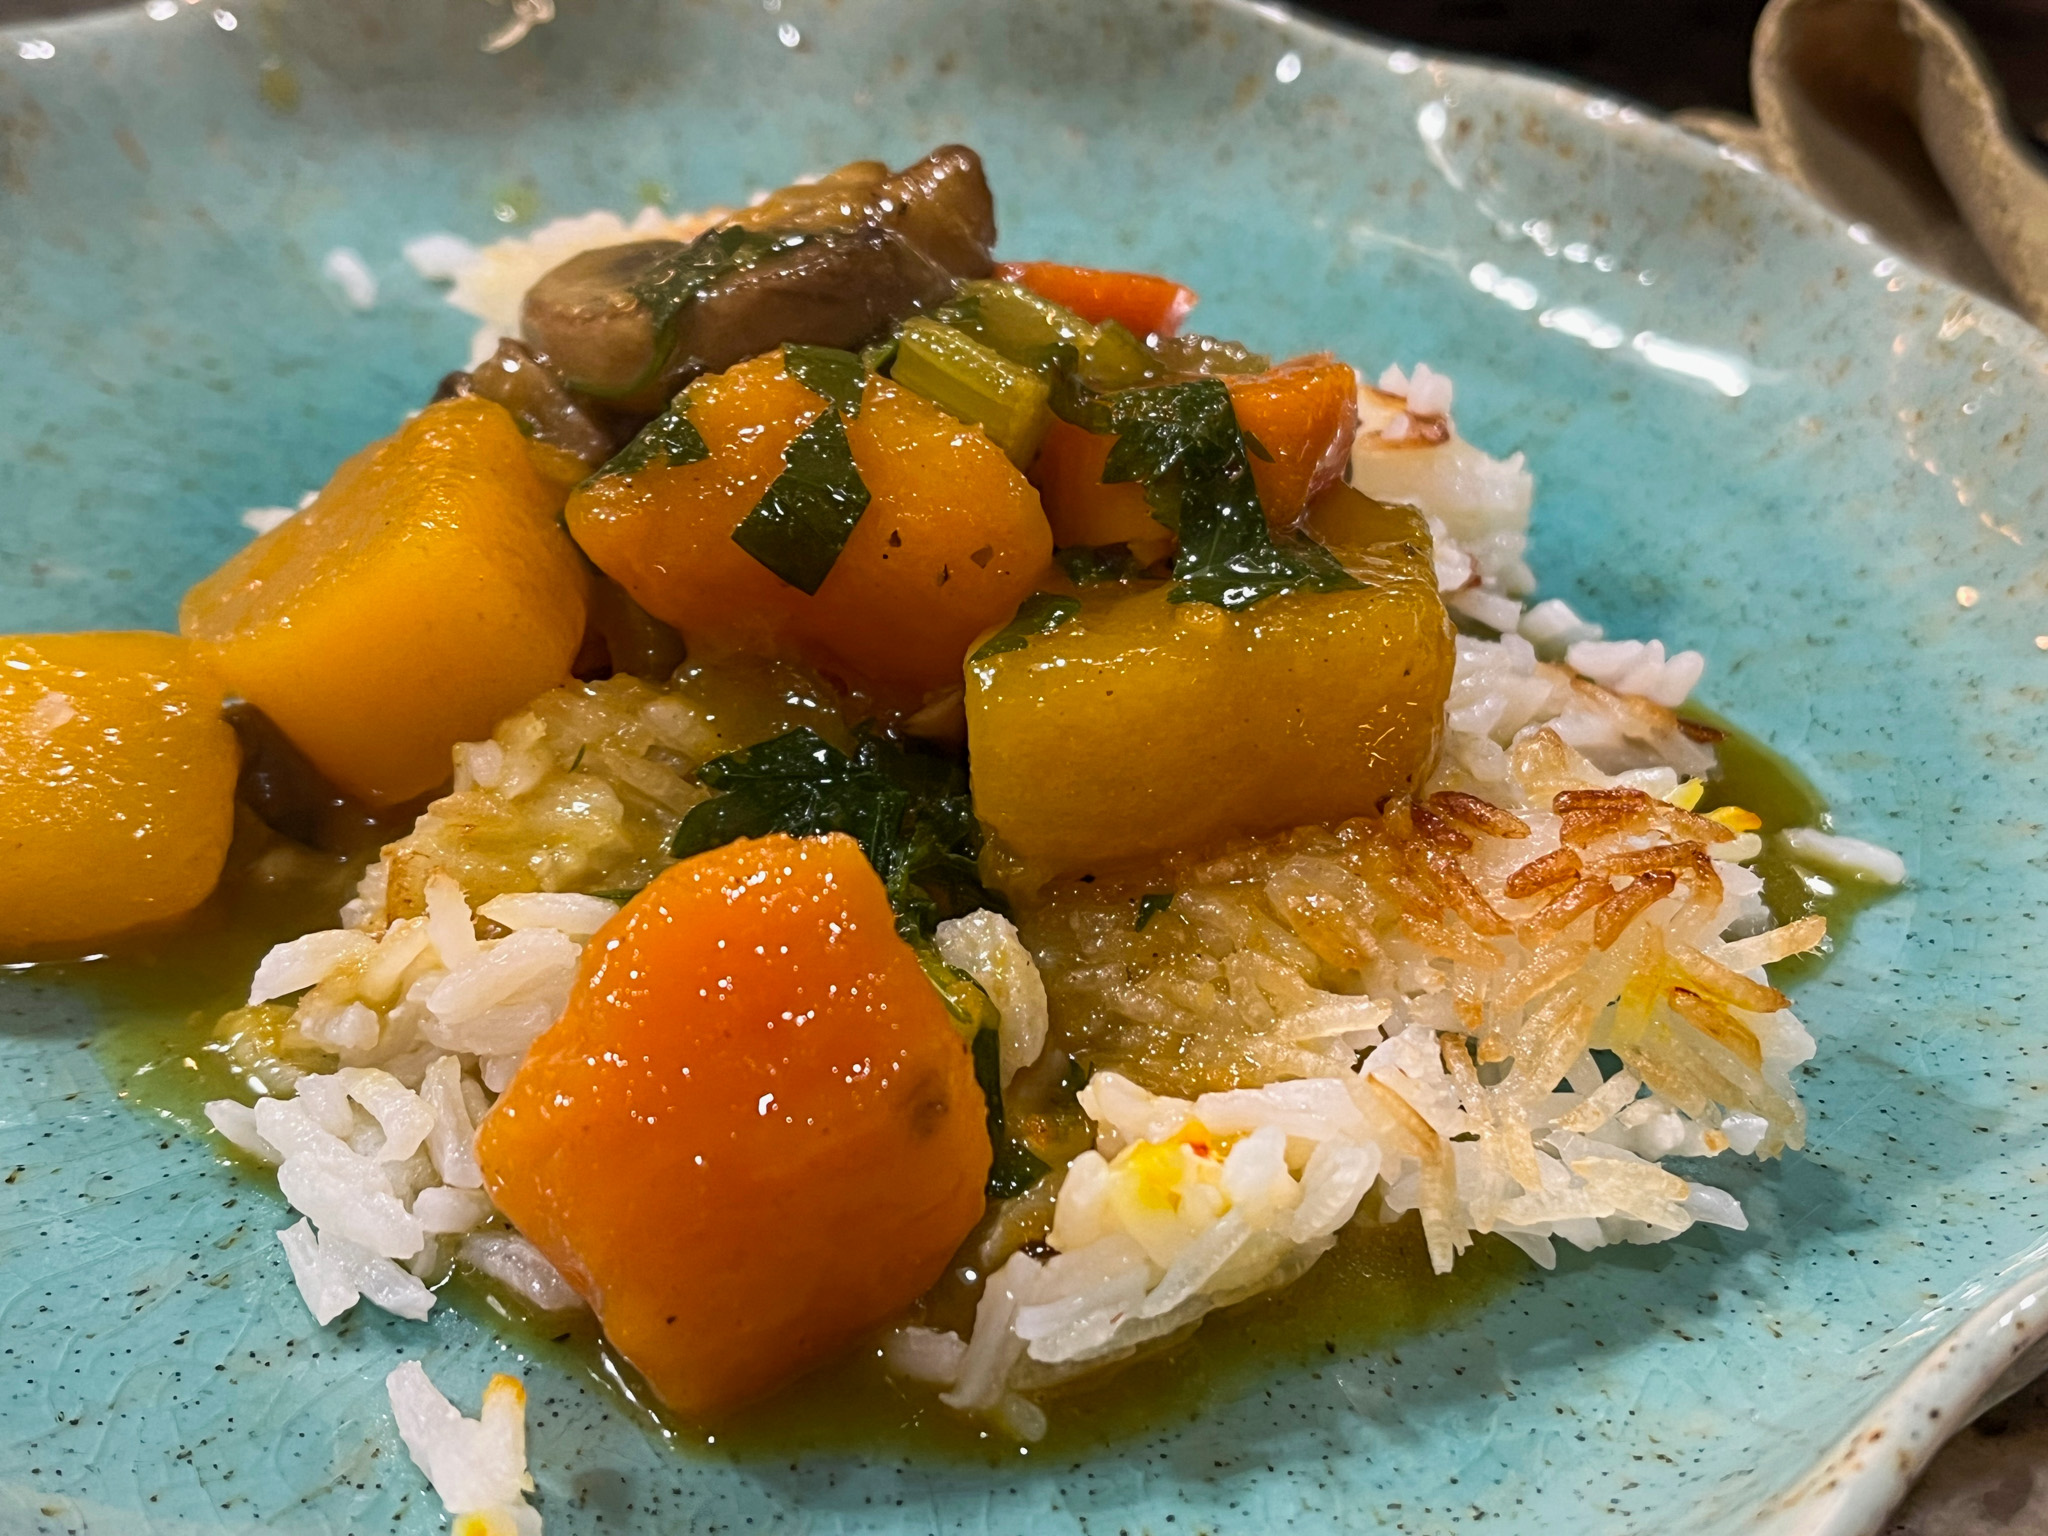
One of the tastiest and most unusual recipes I’ve made in the recent past, we loved it so much! This would be perfect as a side dish for the holidays, or as a hearty main dish for vegetarians. The idea came from Geoffrey Zakarian in FoodTv’s The Kitchen, and I just knew I had to make it. I modified it to lower the amount of fat but will give you the original version and you can do as you please. My modifications are listed in the comments.
ROOT VEGETABLE CLAFOUTIS
(from Geoffrey Zakarian)
2 carrots, diced small
2 parsnips, peeled and diced small
2 small turnips, peeled and diced small
1 sweet potato, peeled and diced small
Extra-virgin olive oil, for drizzling
Kosher salt
5 sprigs fresh rosemary
12 sprigs fresh thyme
2 tablespoons unsalted butter
2 shallots, sliced thinly
1 tablespoon chopped fresh sage
2 cups diced Honeycrisp apple
1/2 cup all-purpose flour
3 large eggs
3/4 cup half-and-half
1/2 cup grated Parmesan
Heat the oven to 400 degrees F.
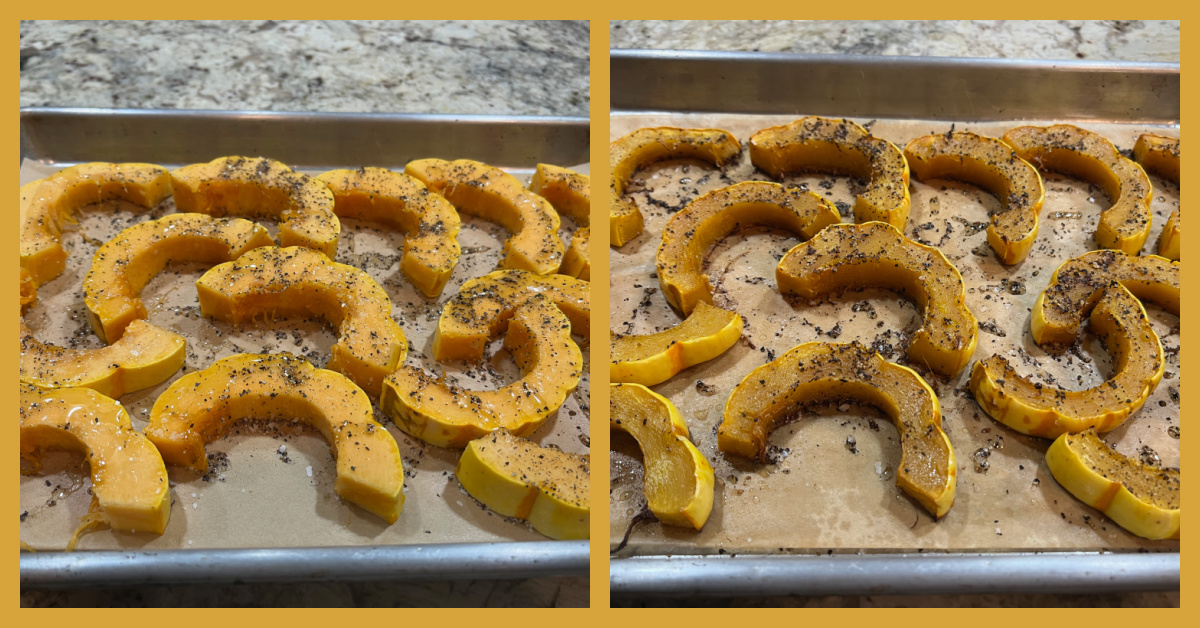
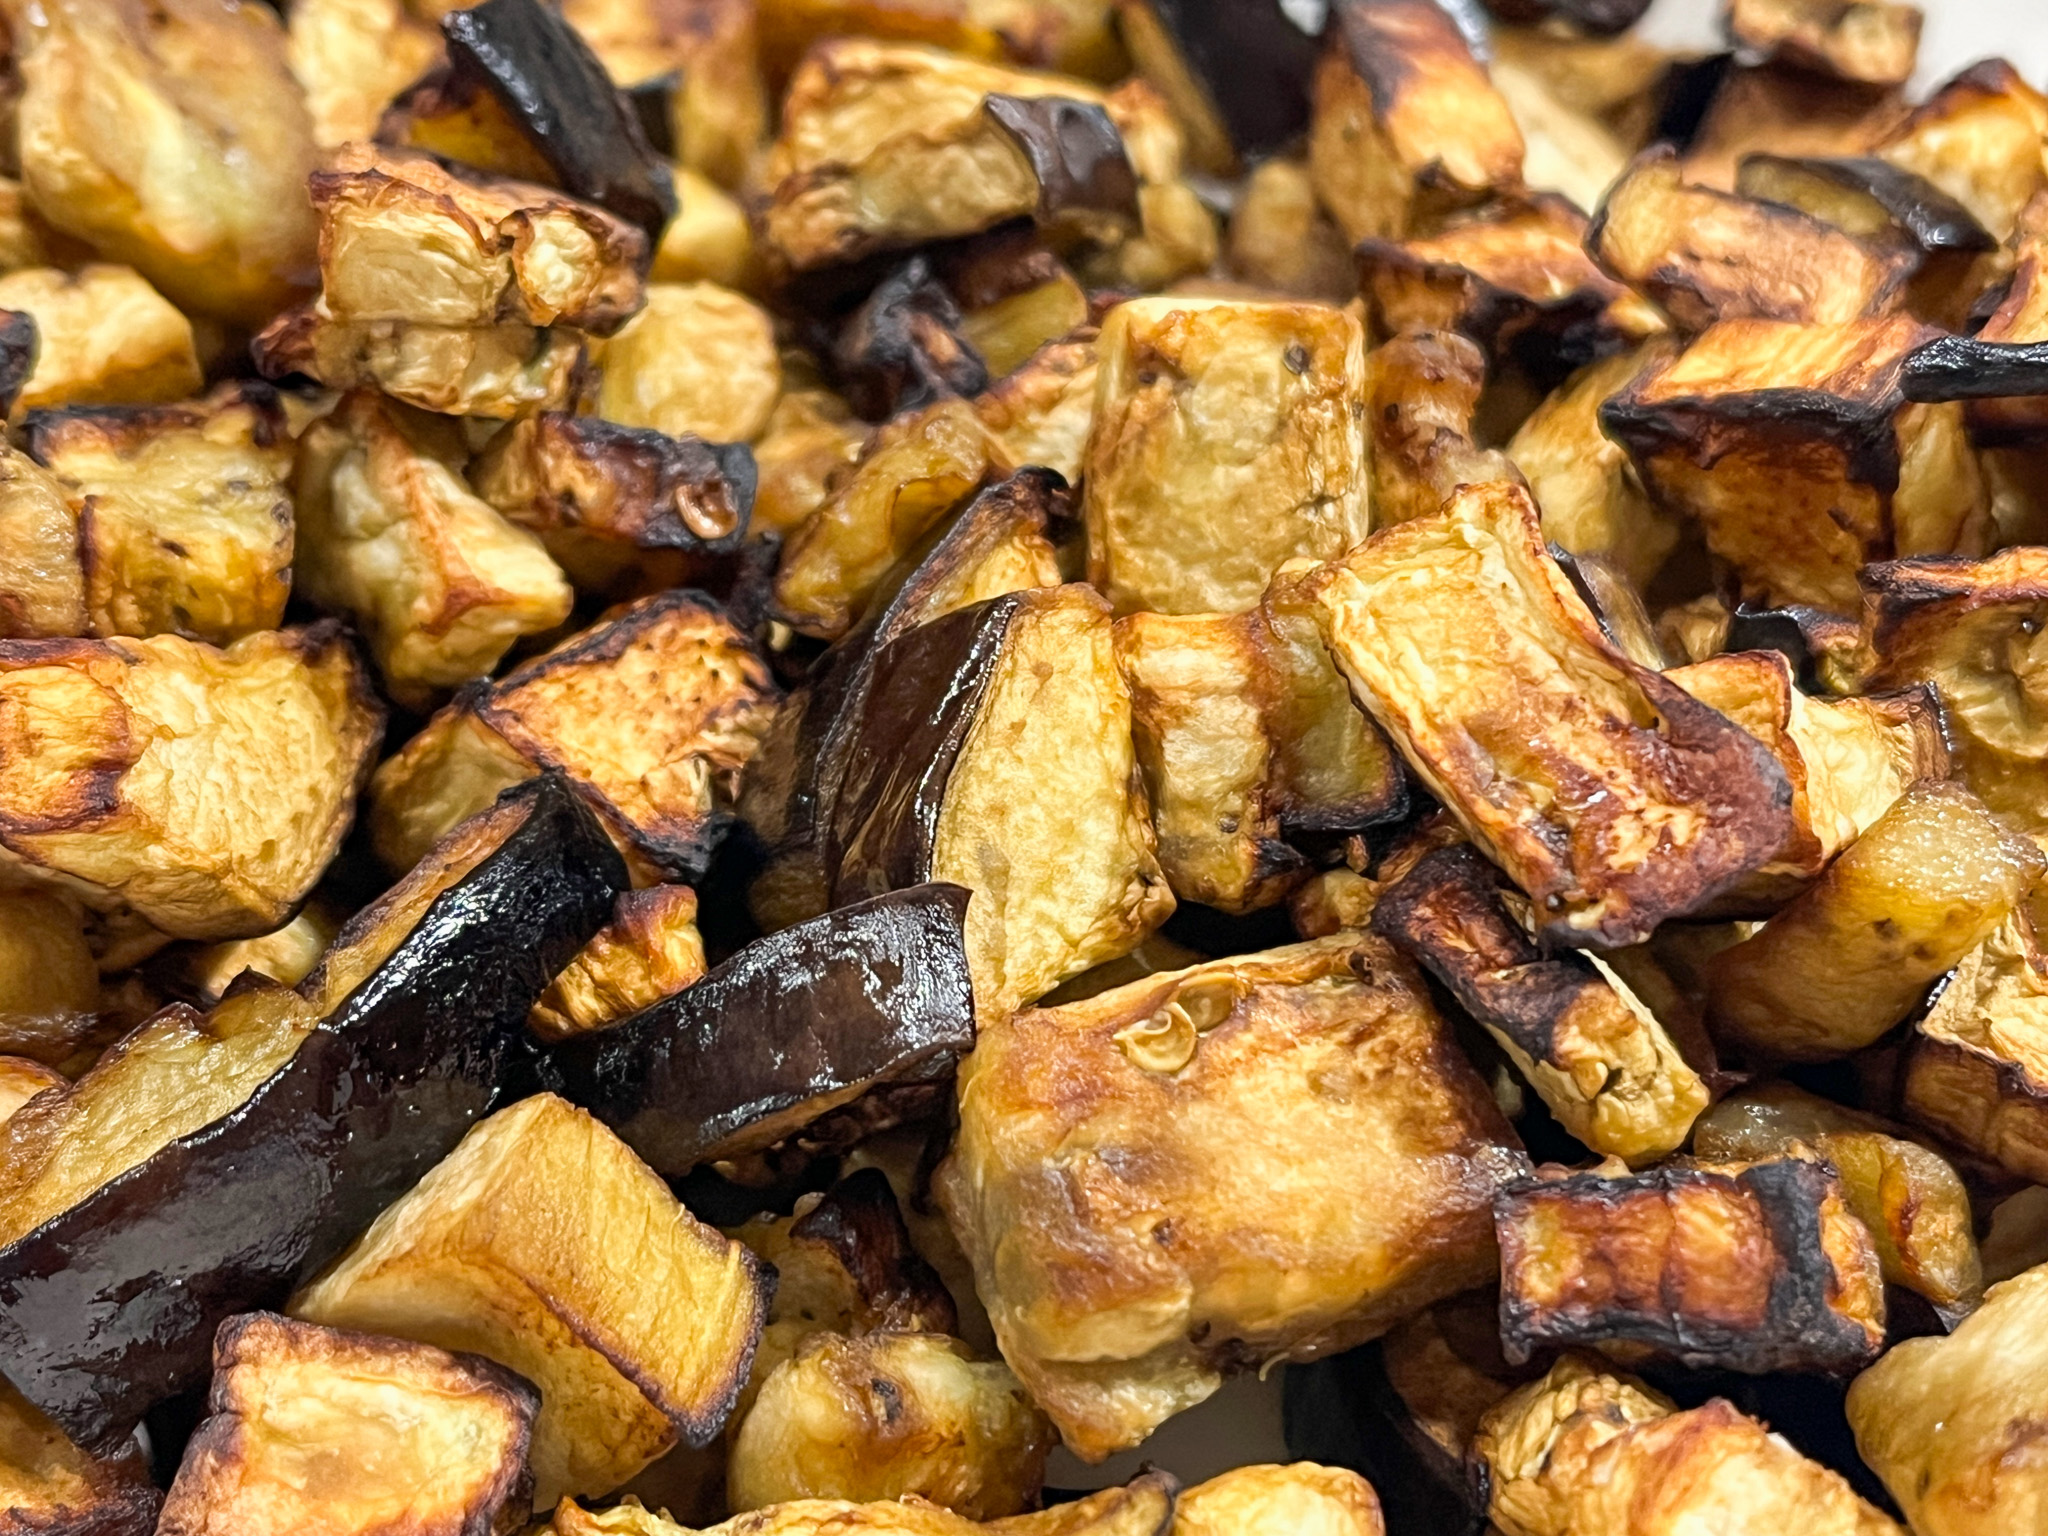
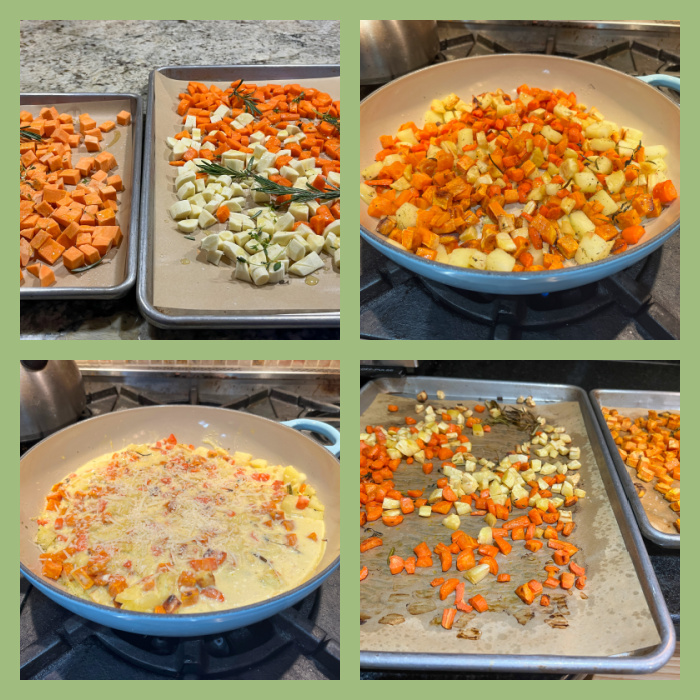
Add the carrots, parsnips and turnips to one baking sheet. Add the sweet potatoes to a separate baking sheet. Drizzle each with olive oil and sprinkle with salt. Add 2 sprigs of rosemary and 5 sprigs of thyme to each baking sheet. Roast about 30 minutes, rotating the sheets and tossing the vegetables about halfway through.
Meanwhile, melt the butter in a 10-inch cast-iron or other oven-safe sauté pan. Add the shallots, sage and some salt, and sauté until translucent, about 5 minutes. Add the apples and a pinch of salt and cook until the apples are softened but still have some bite, an additional 4 minutes.
Once the vegetables are done roasting, combine them in the sauté pan with the shallot-apple mixture. Reduce the oven temperature to 325 degrees F.
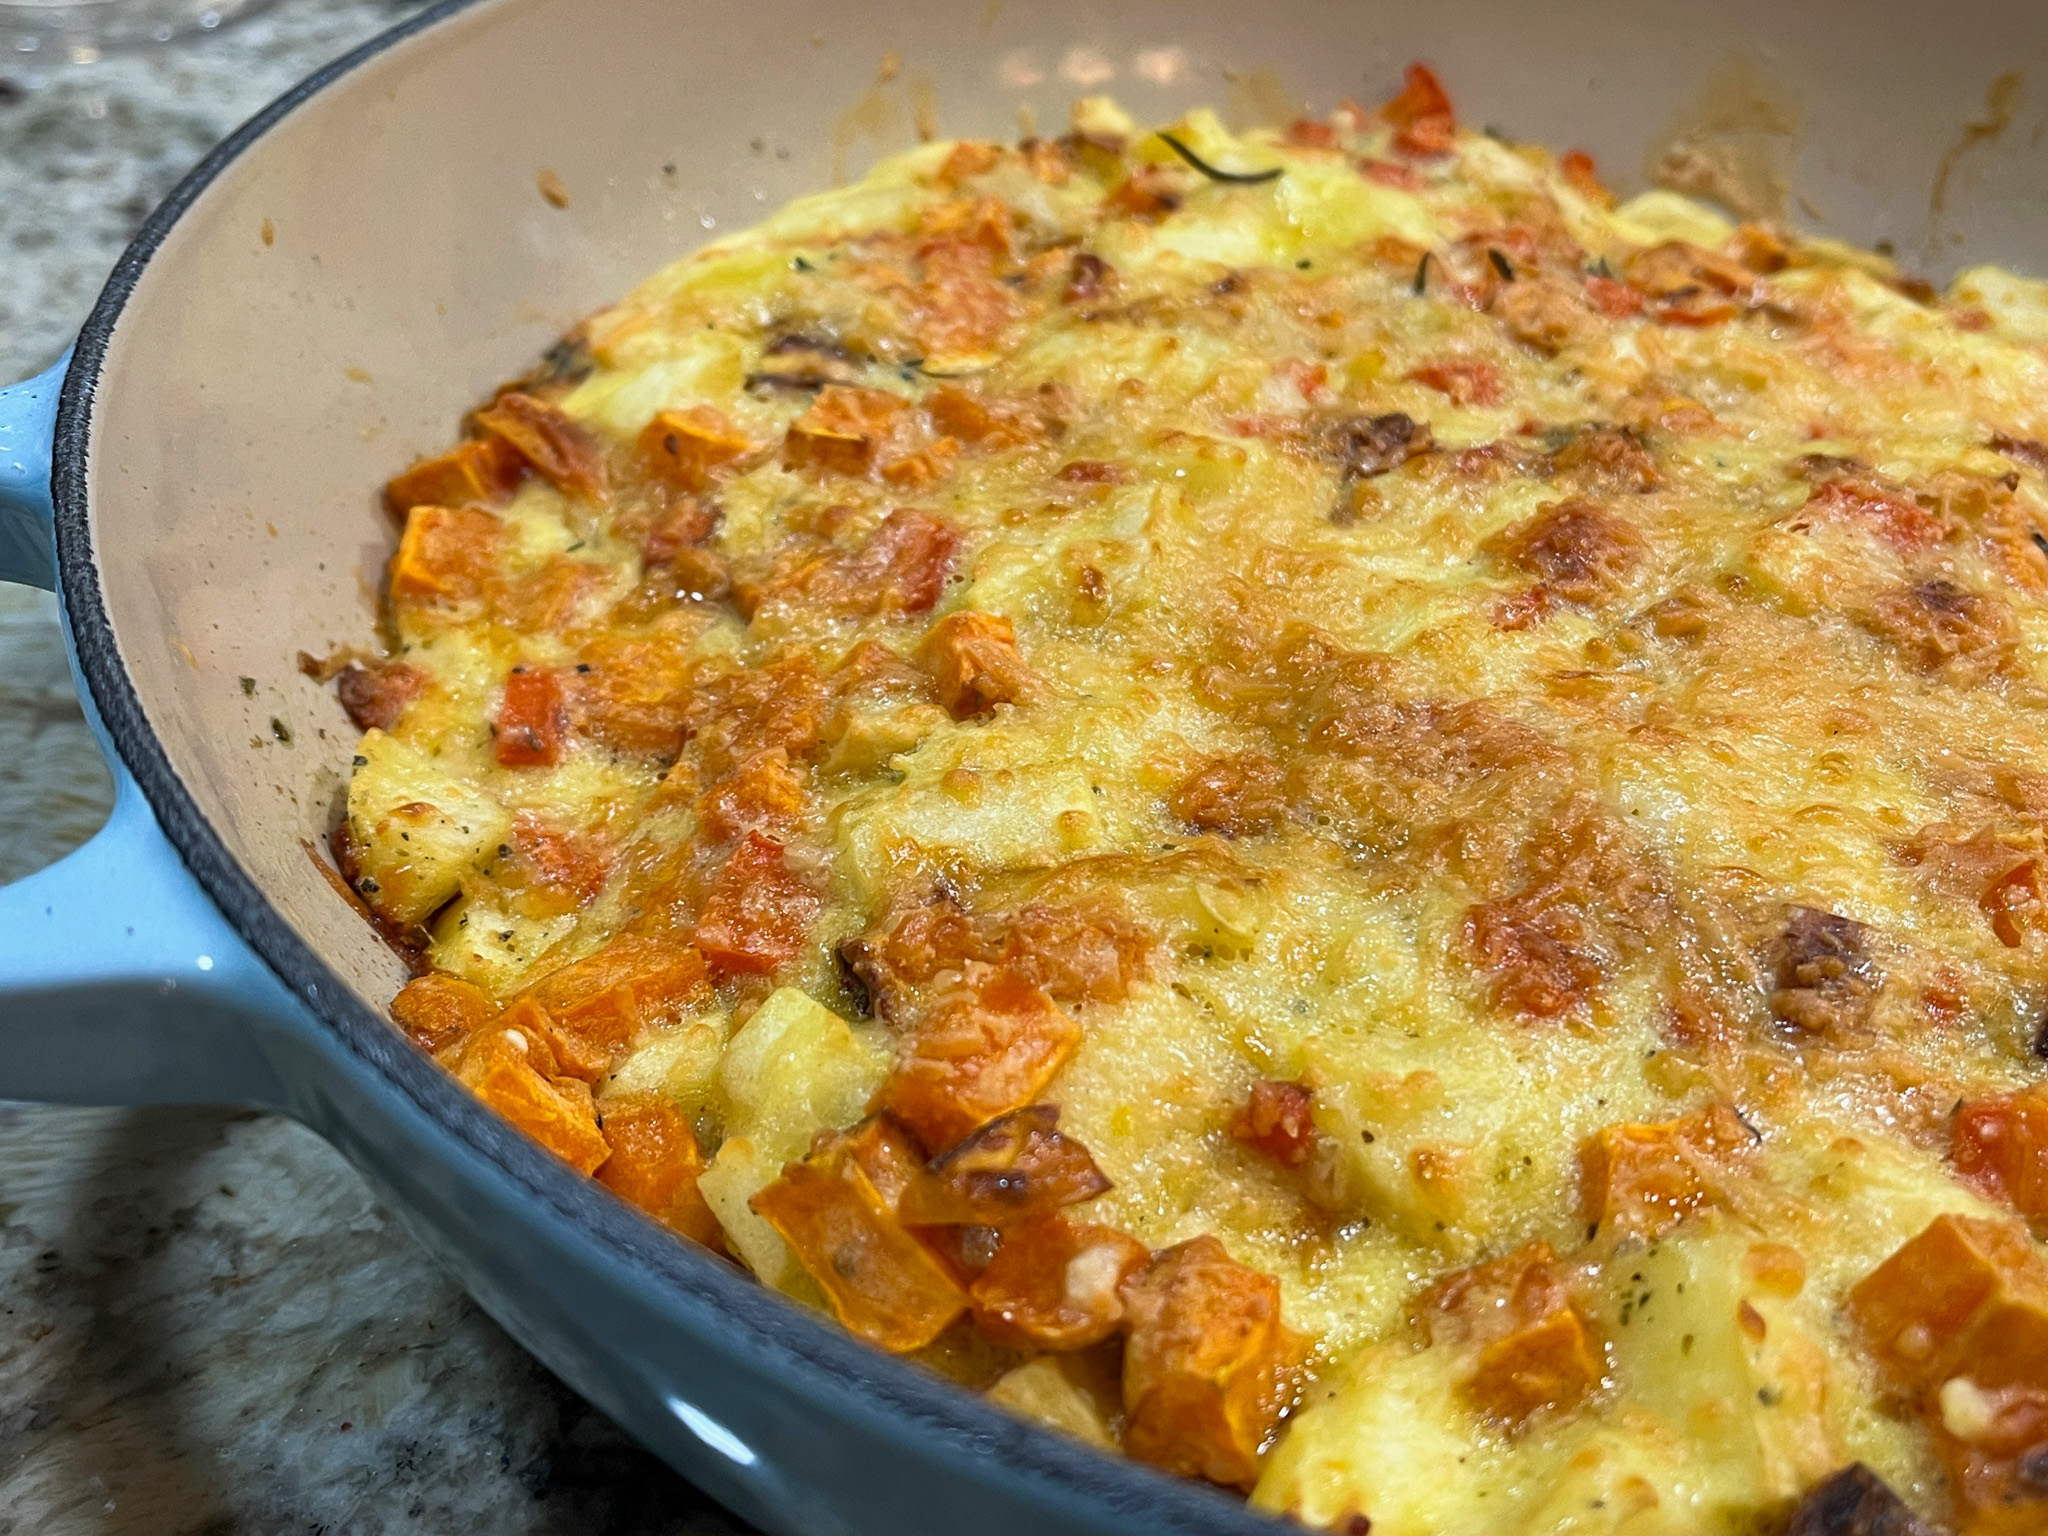
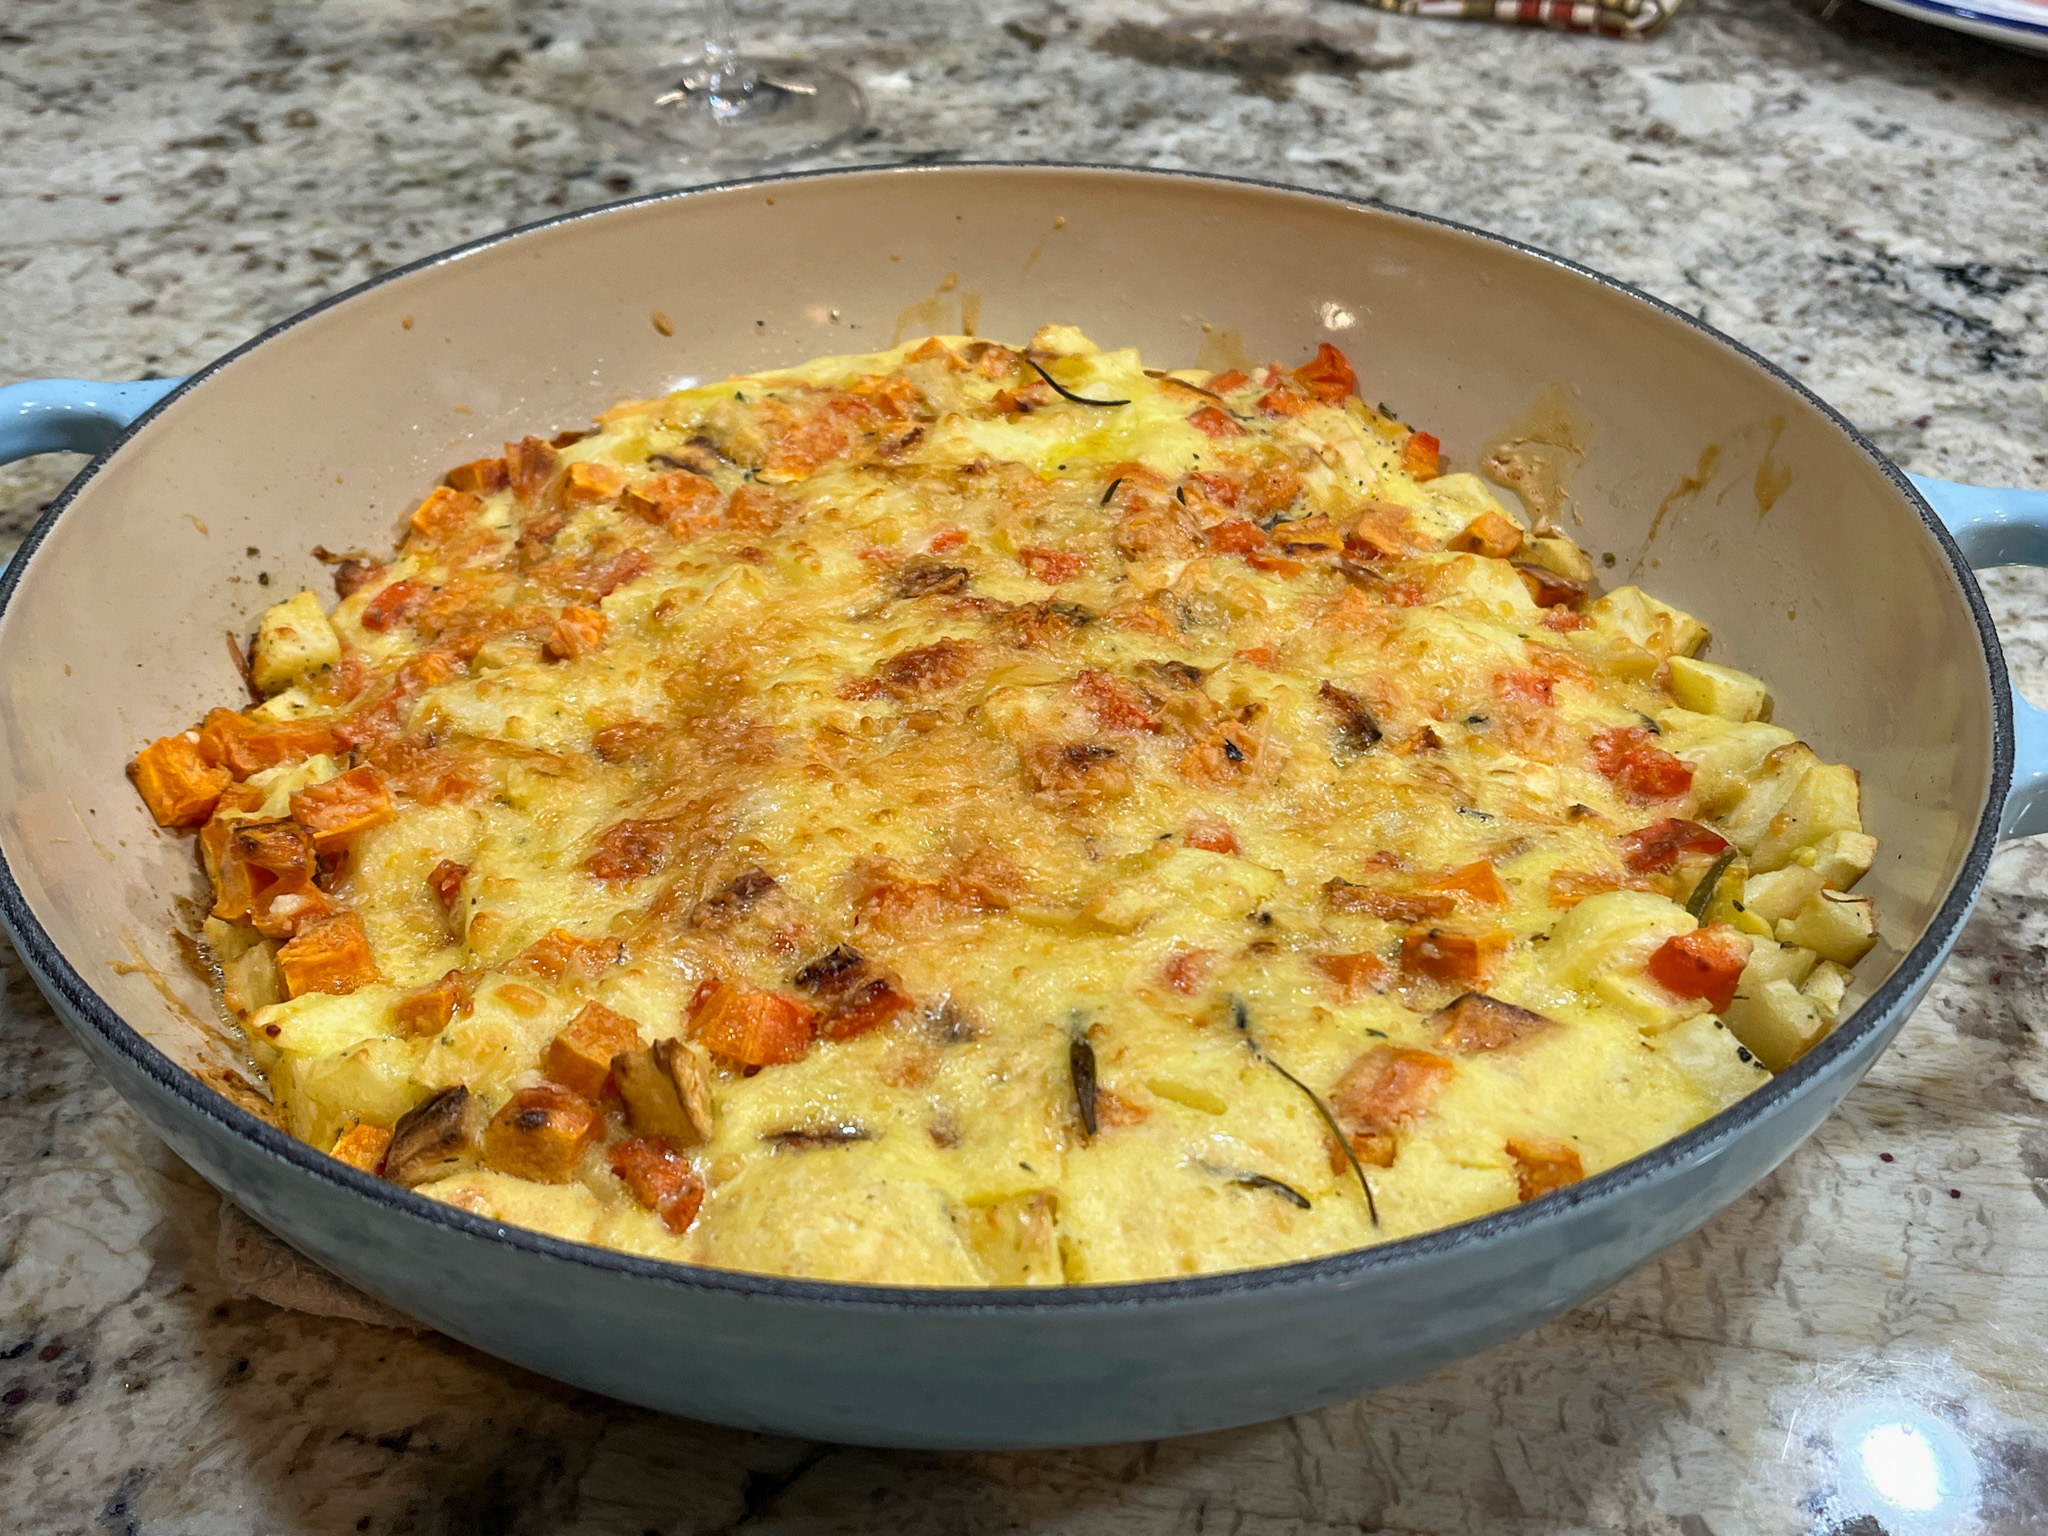
Remove the leaves of the remaining sprig rosemary and 2 sprigs thyme and chop. In a medium bowl, whisk together the flour, eggs, half-and-half, rosemary and thyme, 1/4 cup Parmesan and some salt. Pour the egg mixture evenly over the vegetables. Sprinkle the remaining 1/4 cup Parmesan over the top. Bake until golden and set, 30 to 35 minutes. Let rest 5 minutes, then serve immediately or at room temperature.
ENJOY!
to print the recipe, click here
Comments: My modifications were quite a few. I could not find turnips at the store, so I used double amount of parsnips and one extra sweet potato. I omitted the shallots and used diced celery instead (food sensitivities at play). Veggies were sautéed in olive oil instead of butter. I did not bother removing all the leaves from the stalks of rosemary and thyme, added some Herbes de Provence instead. And, finally I used half the amount of half-and-half and completed the volume with cashew milk. Next time I might try to go for cashew milk only and see what happens, but overall I think the amount of fat is not excessive. Do not omit the apples, they really make the dish shine. This savory clafoutis is absolutely delicious, and it will become part of our rotation for special meals. Leftovers kept super well, with a brief encounter with the microwave. But it is even nice at room temperature.
ONE YEAR AGO: Oreos Dressed for the Holiday Season
TWO YEARS AGO: Peppermint Wreath Macarons
THREE YEARSAGO: Cornish Hens with Yogurt-Mace Marinade
FOUR YEARS AGO: Cookies for the Holidays – Gingerbread
FIVE YEARS AGO: Incredibly Simple Times Four
SIX YEARS AGO: White Chocolate and Raspberry Mousse Cake
SEVEN YEAR AGO: Panettone Time!
EIGHT YEARS AGO: Pistachio Creme Brulee
NINE YEARS AGO: Fast and Furious Bison Chili
TEN YEARS AGO: In My Kitchen, December 2014
ELEVEN YEARS AGO: Braised Fennel with Saffron and Tomato
TWELVE YEARS AGO: Revenge of the Two Derelicts
THIRTEEN YEARS AGO: Grilling Ribbons
FOURTEEN YEARS AGO: Peppery Cashew Crunch
FIFTEEN YEARS AGO: Baked Shrimp and Feta Pasta