Surpresa de uva means “Grape Surprise”. It is essentially the most traditional of all Brazilian sweets – the brigadeiro – hiding a full grape inside. Everybody back home loves it, but I must admit this was my first time trying one. It was not “a thing” when I was growing up a few years ago (cough, cough). We loved it so much that the husband requested me to work on a “blueberry surprise.” I am on it!

SURPRESA DE UVA
(from the Bewitching Kitchen)
1 can condensed milk
1 tablespoon butter
2 tablespoons heavy cream
1/3 cup white chocolate, cut in small pieces
pinch of salt
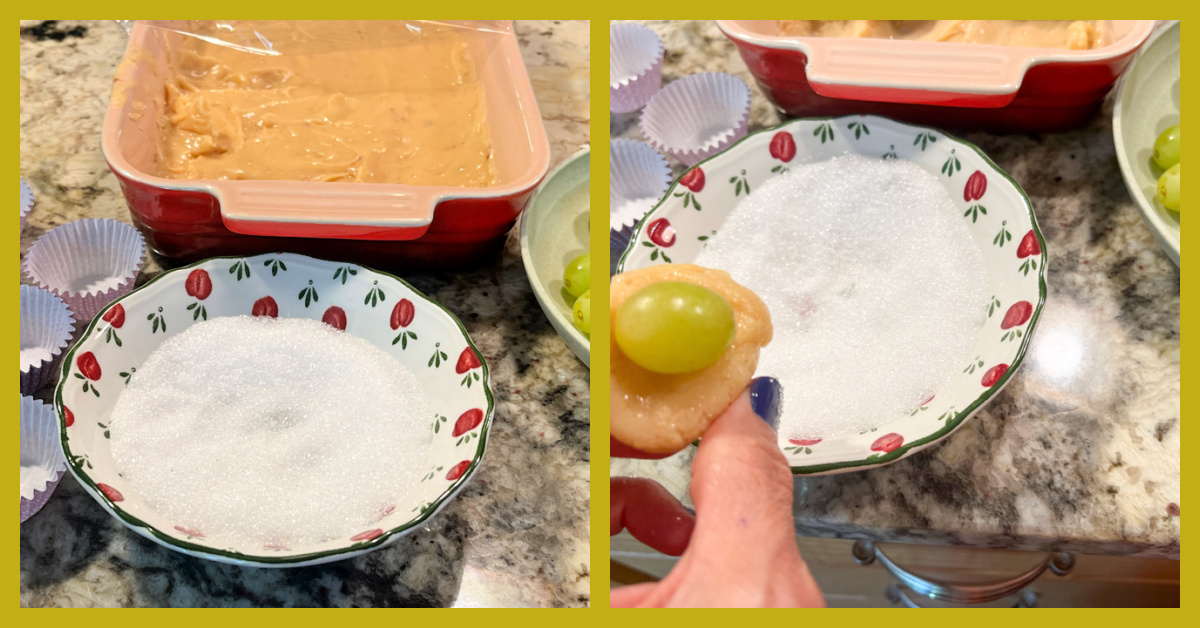
16 to 20 small seedless green grapes
sanding sugar to coat
sprinkles to decorate (optional)
Add the condensed milk, butter, heavy cream, chocolate and salt to a heavy non-stick pan and cook, stirring constantly over medium to low heat, until bubbly and the mixture starts to release from the sides of the pan. Once that happens, lower the heat as low as it will go, and keep stirring for another couple of minutes.
Remove from heat, transfer to a small baking dish to cool faster. Place in the fridge if you like to speed up the cooling process. Once at room temperature, grab small amounts with a spoon, spread on the palm of your hand and place a grape in the center. Carefully roll the mixture around (wet hands help), enclosing the grape. Roll on sanding sugar. Decorate with a sprinkle, if so desired.
They will keep at room temperature for a day or two, many days in the fridge, and even longer frozen.
ENJOY!
to print the recipe, click here
Comments: These are sooooo delicious! Brigadeiro is sweet, very sweet. The inclusion of the grape is brilliant, it cuts the sweetness with just the right amount of fresh. I envision a blueberry version in the future, trying to imagine the right flavor of brigadeiro to enclose it with. Stay tuned!


ONE YEAR AGO: Red Quinoa “Tabbouleh”
TWO YEARS AGO: Cucumber Salad with Yogurt-Harissa Dressing
THREE YEARS AGO: Sundried Tomato and Feta Cheese Torte
FOUR YEARS AGO: Hickory-Smoked Beef Tenderloin
FIVE YEAR AGO: Spaghetti Squash, Revisited
SIX YEARS AGO: Stir-fried Chicken and Cabbage in Spicy Almond Sauce
SEVEN YEARS AGO: Fifteen Years!
EIGHT YEARS AGO: Light Brioche Burger Buns
NINE YEARS AGO: Sourdough Blues
TEN YEARS AGO: Headed to Hawaii
ELEVEN YEARS AGO: A yummy Brazilian cake: Bolo de Fuba’
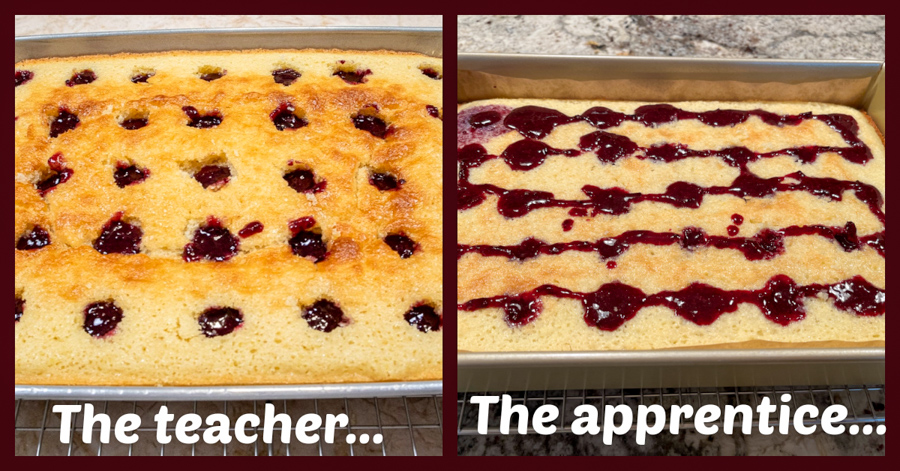
TWELVE YEARS AGO: Hidden Treasure
THIRTEEN YEARS AGO: Avocado Three Ways