I am totally in love with this cookbook! I have a soft spot for baking that is not overly sweet, which might sound strange, as I bake so many sugar cookies, macarons, and cupcakes. But a recipe that calls for adding miso to a cookie gets me dreaming. Salted caramel? Same thing. This is actually my second cookbook from Kat Lieu, and I think both would be a great Christmas gift for bakers (wink, wink).
To order 108 Asian Cookies, click here
To order Modern Asian Baking, click here
Without further ado, here is a wonderfully delicious recipe for Masala Macaroons…

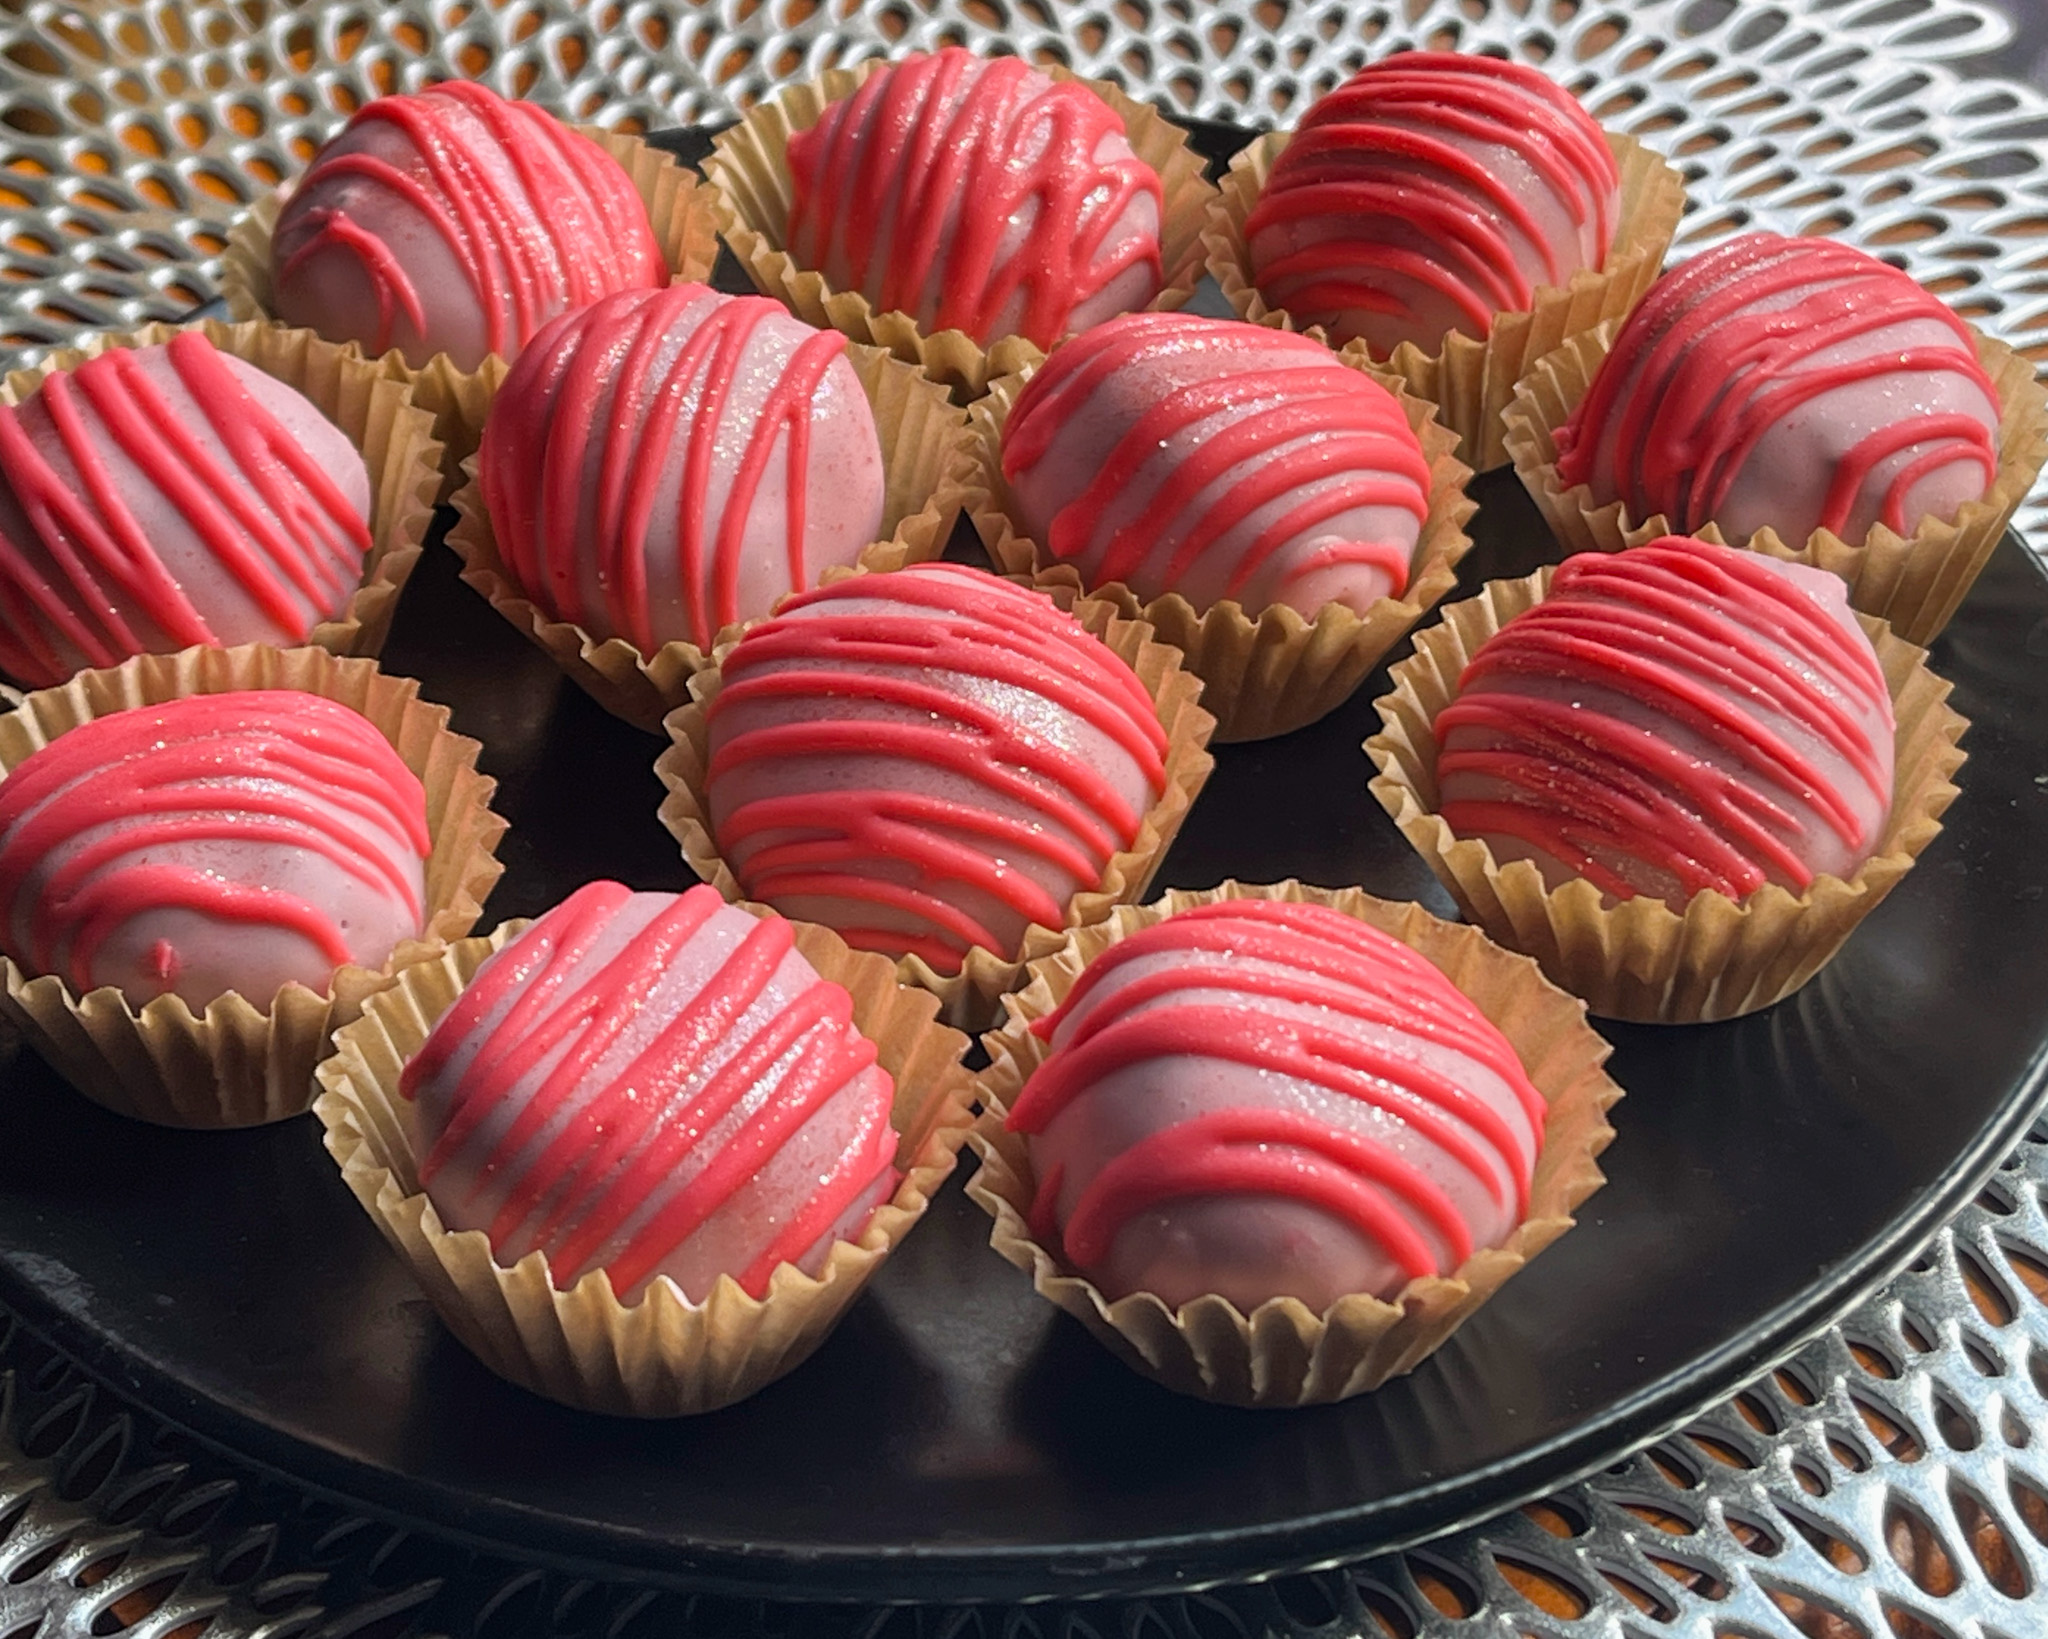
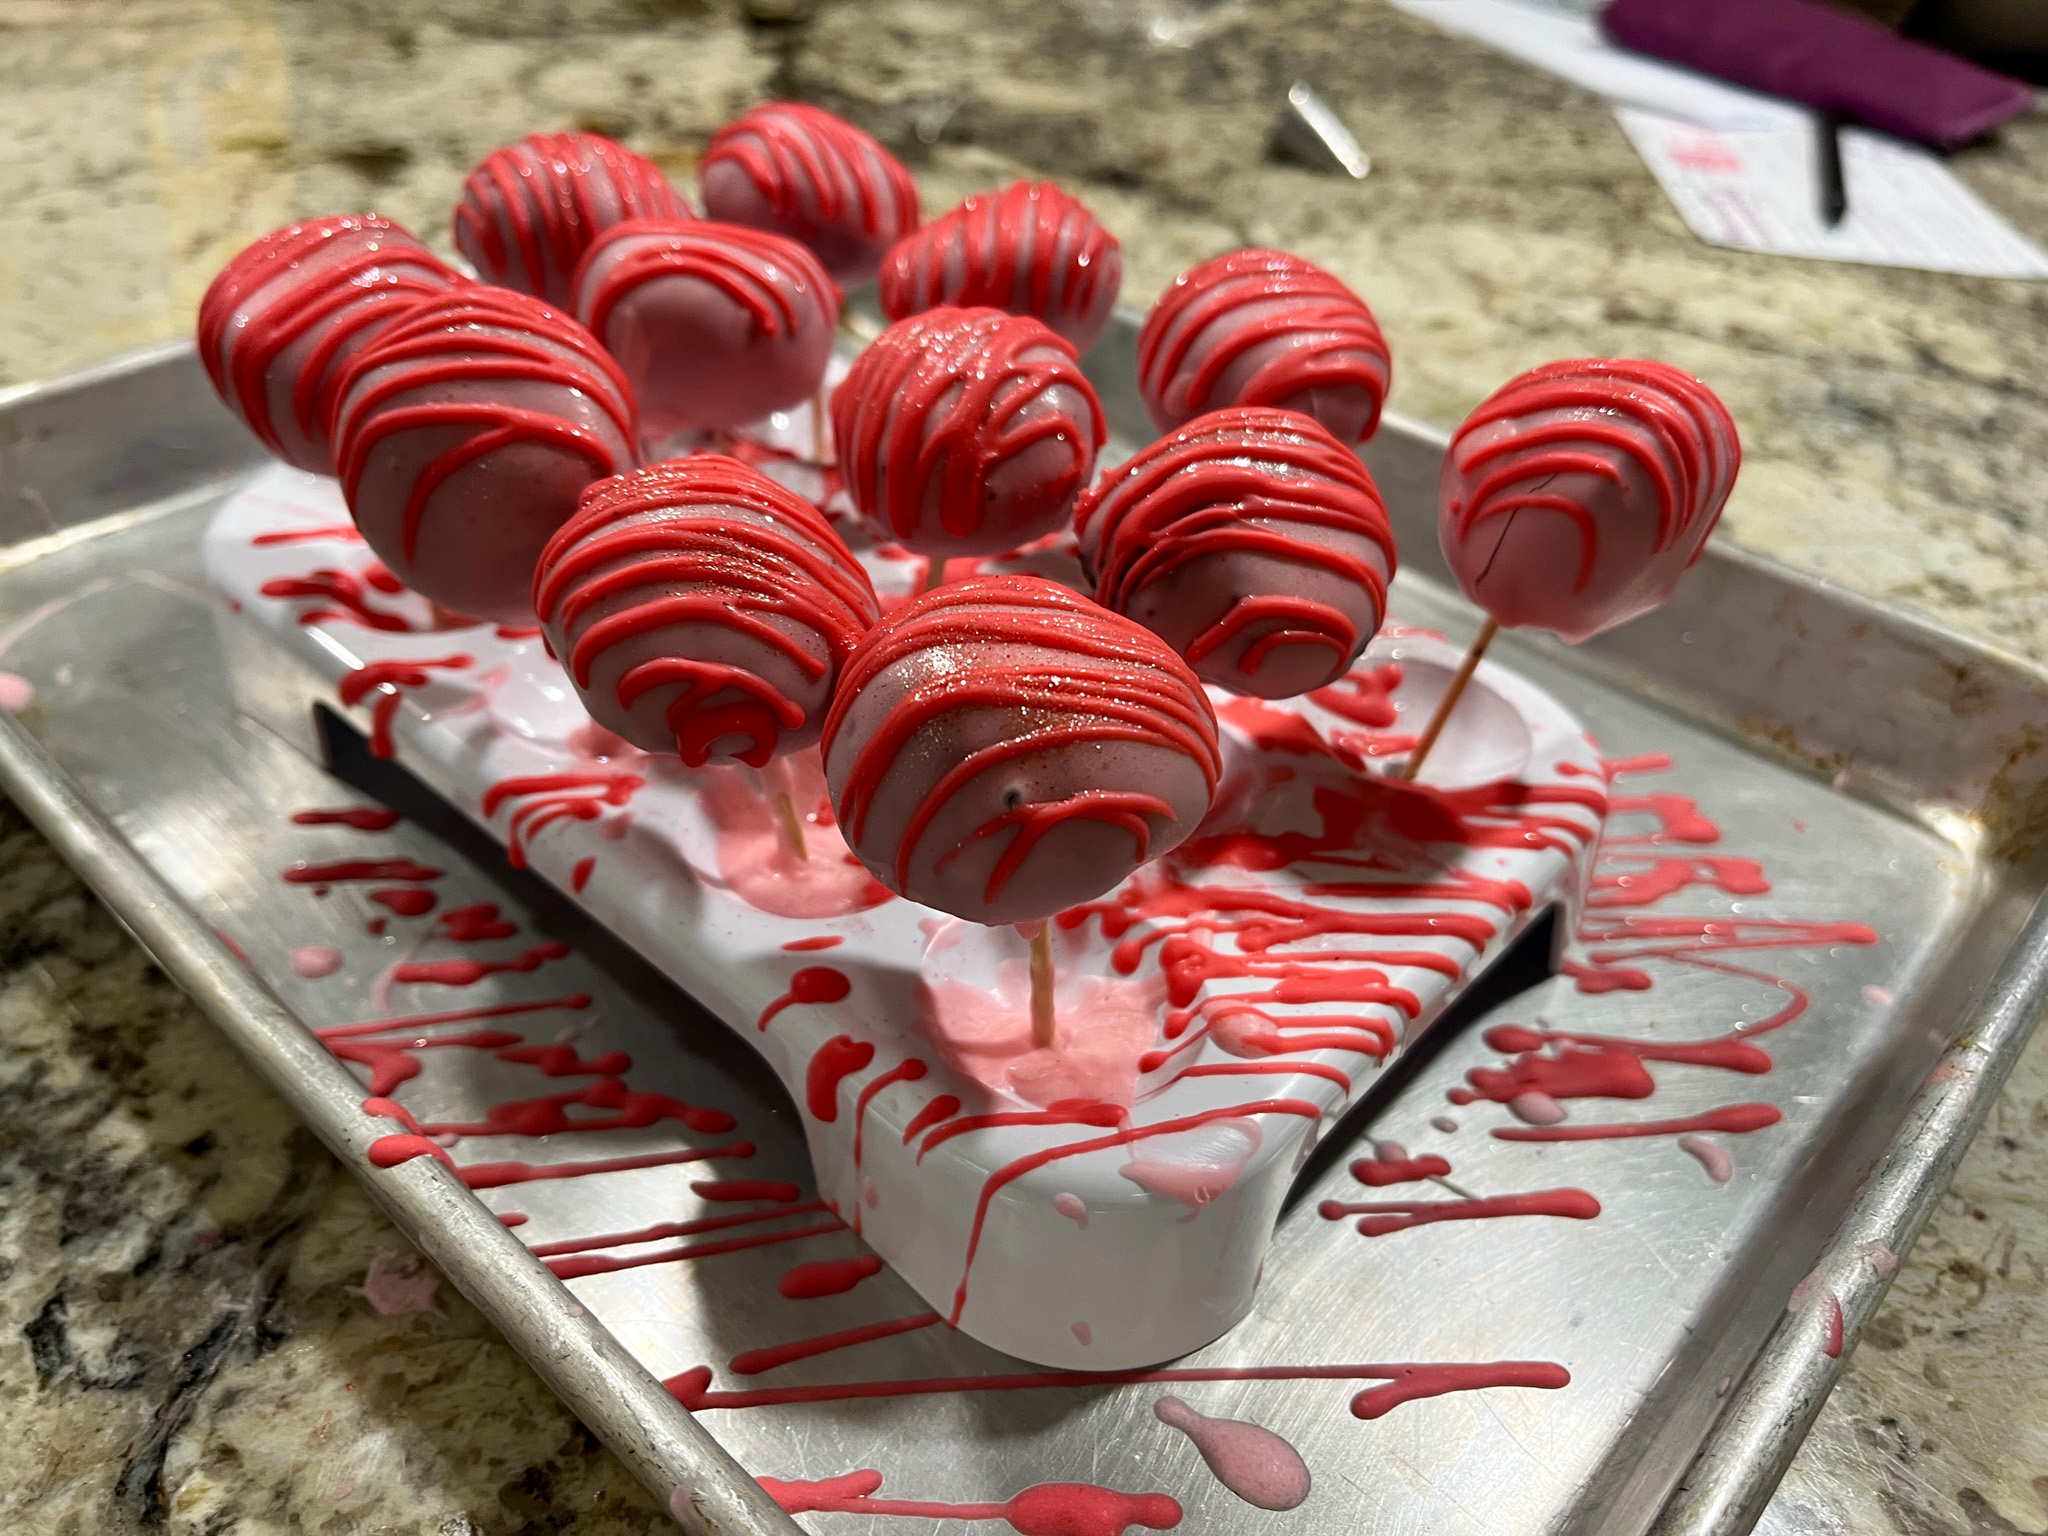
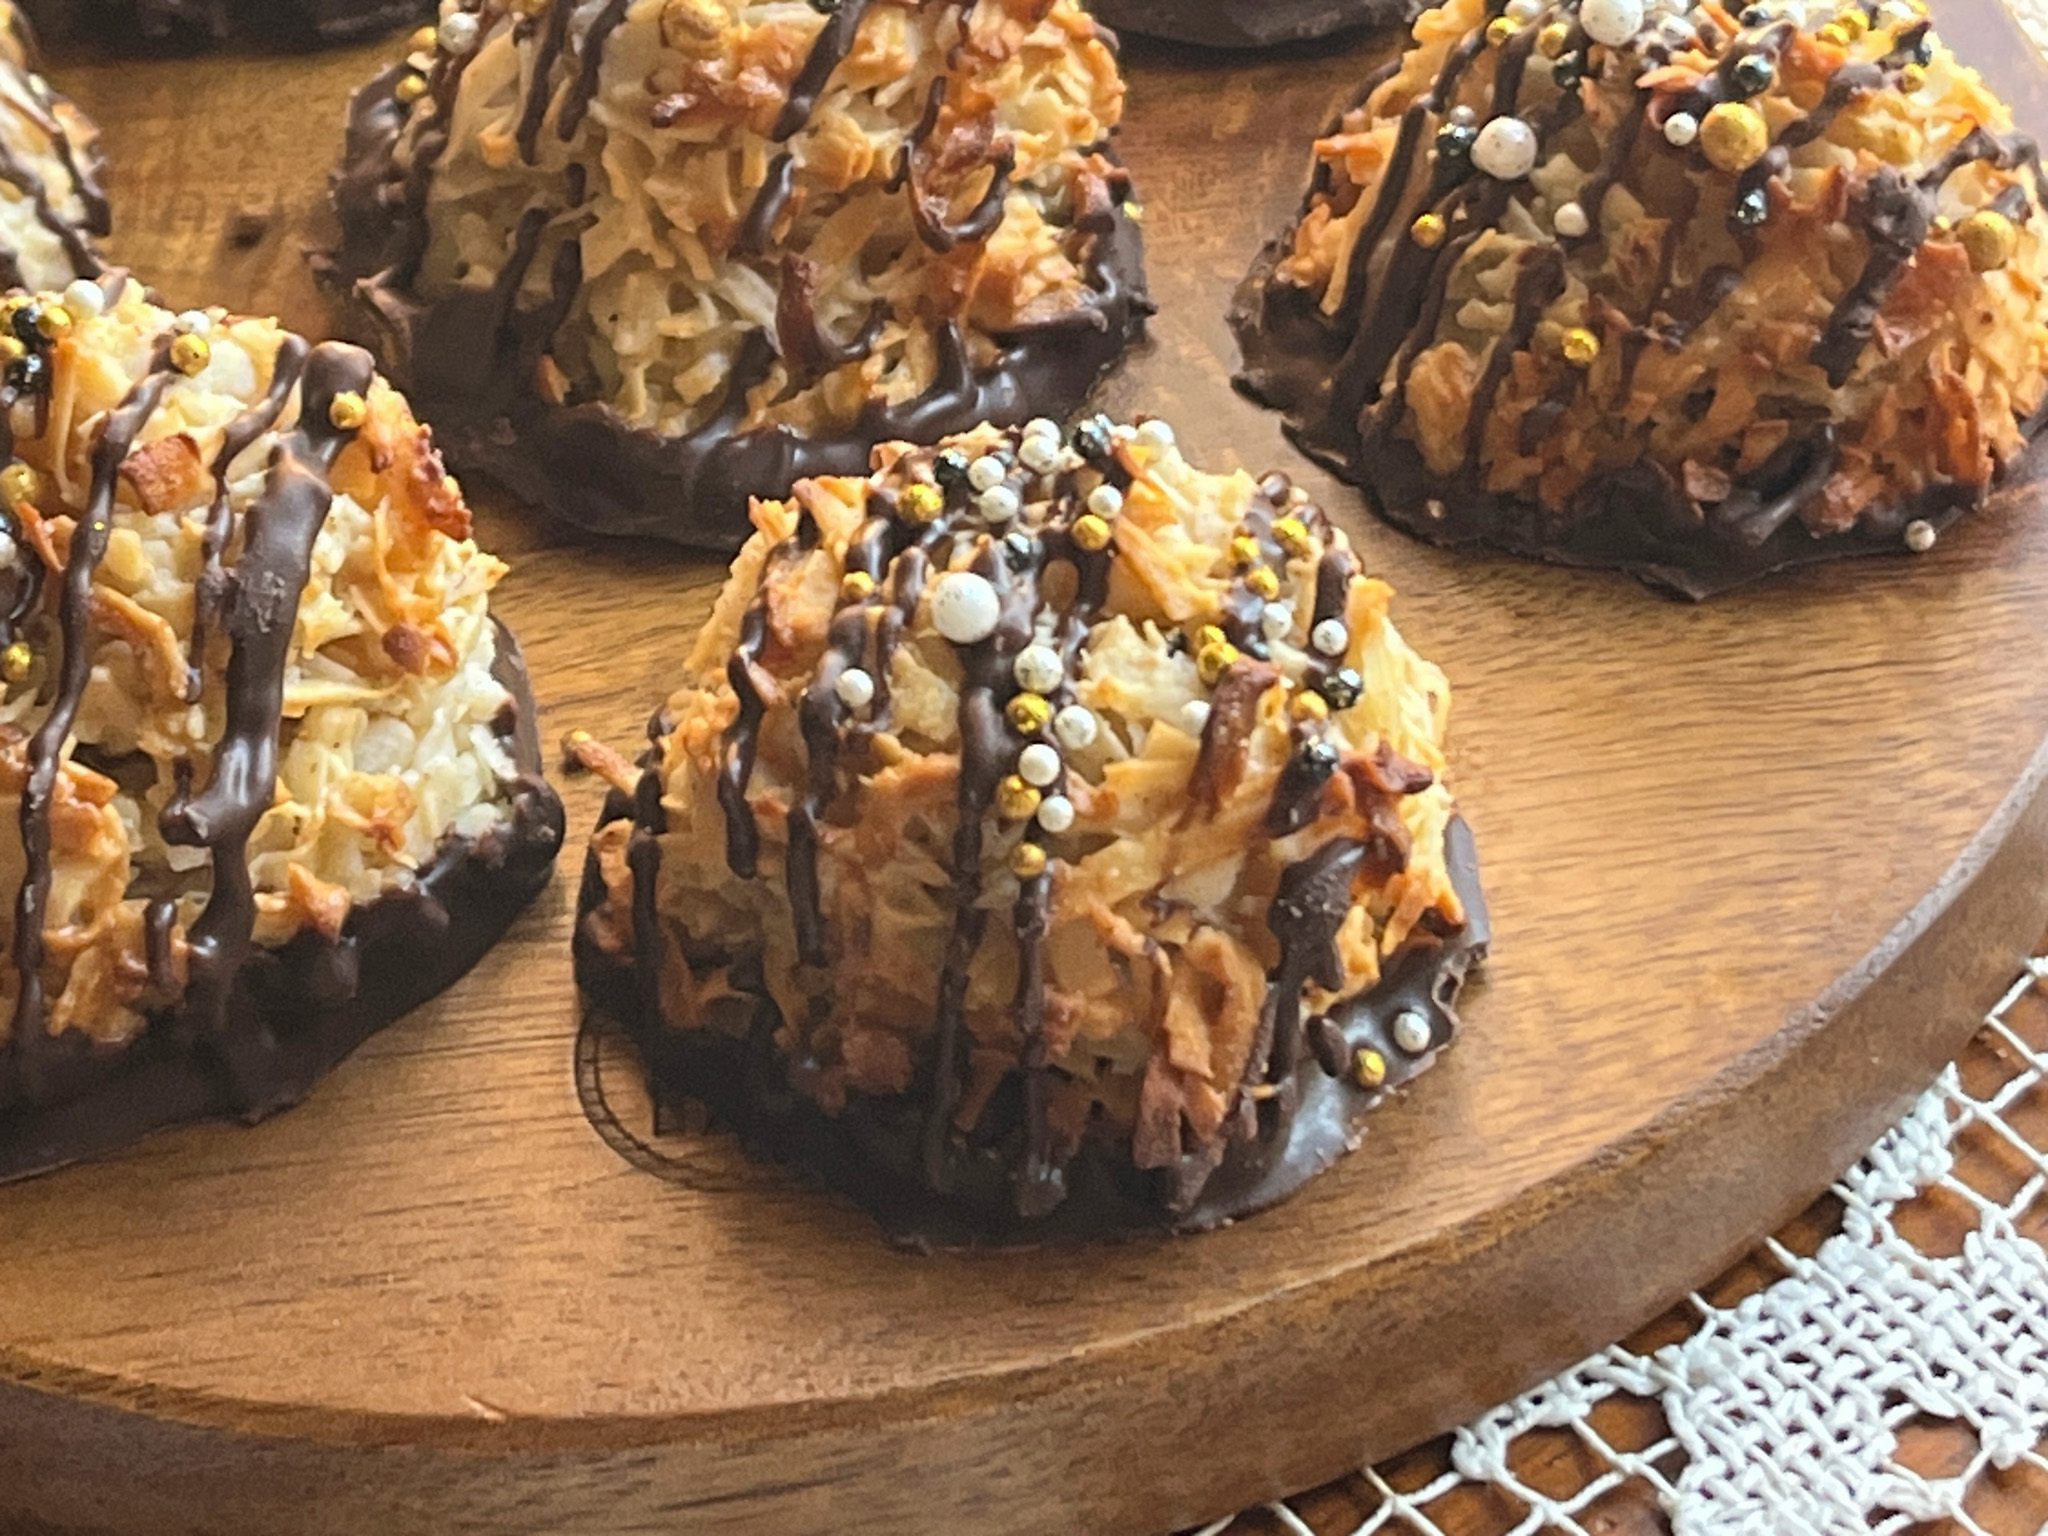
MASALA MACAROONS
(published with permission from 108 Asian Cookies)
One 14-ounce (396 g) can sweetened condensed milk
1 ripe small banana, mashed
1 teaspoon red miso
One 14-ounce (396 g) bag unsweetened shredded coconut
2 teaspoons garam masala
½ teaspoon ground cardamom
½ teaspoon ground ginger
About ⅓ cup (60 g) semisweet chocolate chips, plus more as needed
1 teaspoon neutral oil
Sea salt flakes, for garnish
Sprinkles, for garnish (optional)
Heat the oven to 350°F. Line two baking sheets with parchment paper. In a large mixing bowl, mix the condensed milk, mashed banana, and miso until combined. Add the shredded coconut, garam masala, cardamom, and ginger and mix until well combined and the dough can hold itself together.
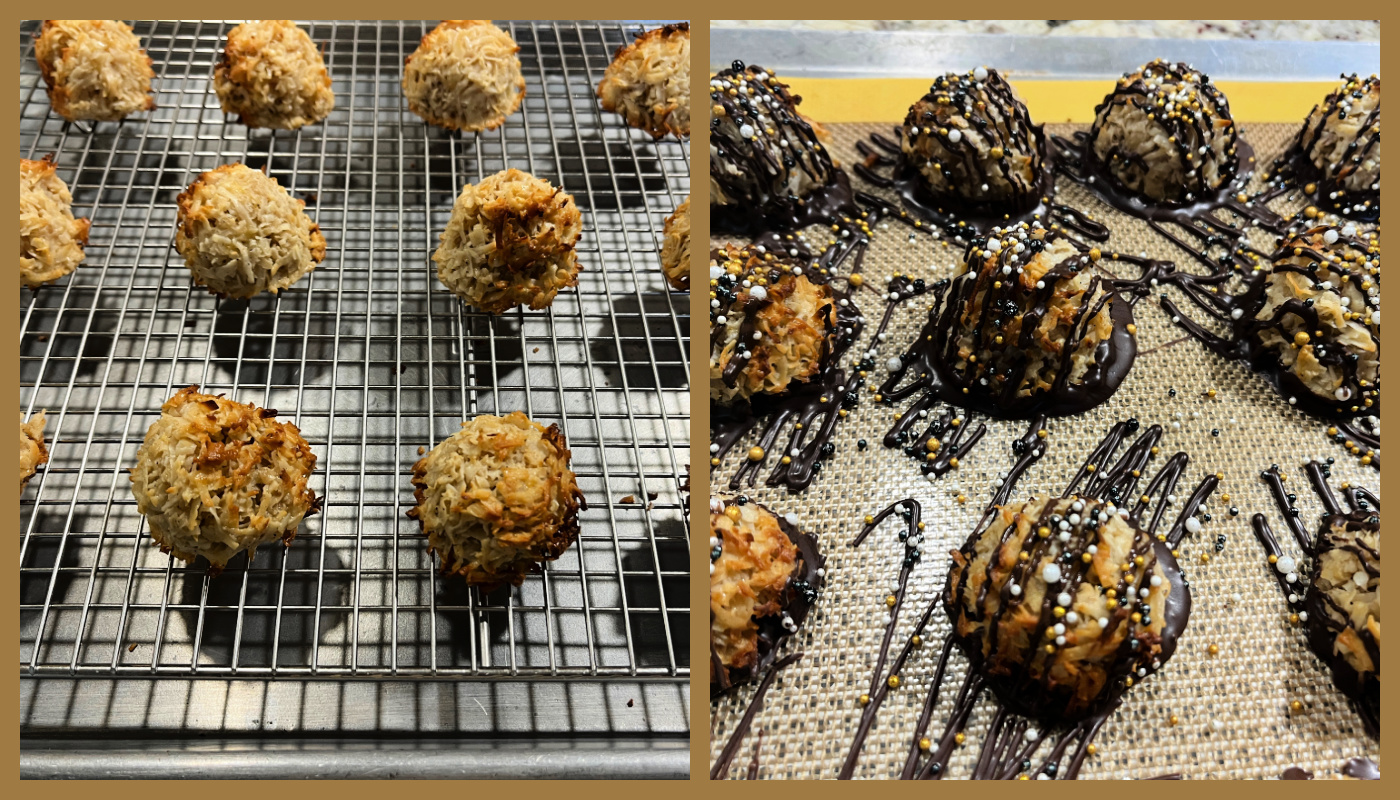
Scoop heaping tablespoons of batter for each macaroon and place on the prepared baking sheet. Keep their rounded mound shapes and give each about 1 inch of space. Bake all the macaroons until the edges are crispy and golden brown and the tops are lightly toasted, 16 to 18 minutes.
Let the macaroons set on the baking sheets for 5 minutes before transferring to a wire rack to cool completely. While the macaroons are cooling, combine the chocolate chips and oil in a medium heatproof bowl and microwave in 30-second bursts, stirring after each interval, until the chocolate is melted and smooth. Dip the bottoms of the cooled macaroons into the melted chocolate. Place them back on the parchment-lined baking sheets to set. Drizzle additional melted chocolate on top of each macaroon. Before the chocolate sets completely, sprinkle a few flakes of sea salt and sprinkles on top of each macaroon.
ENJOY!
to print the recipe, click here
Comments: These were superb, I confess to stealing one from the donation box and being happy that I did… If you don’t like coconut, of course these are not for you, but if you love them, be ready for a treat! Easy to make, rich and luscious, one will satisfy your sweet tooth, but the spices and miso tone it down substantially. Truly special… You need them in your life.
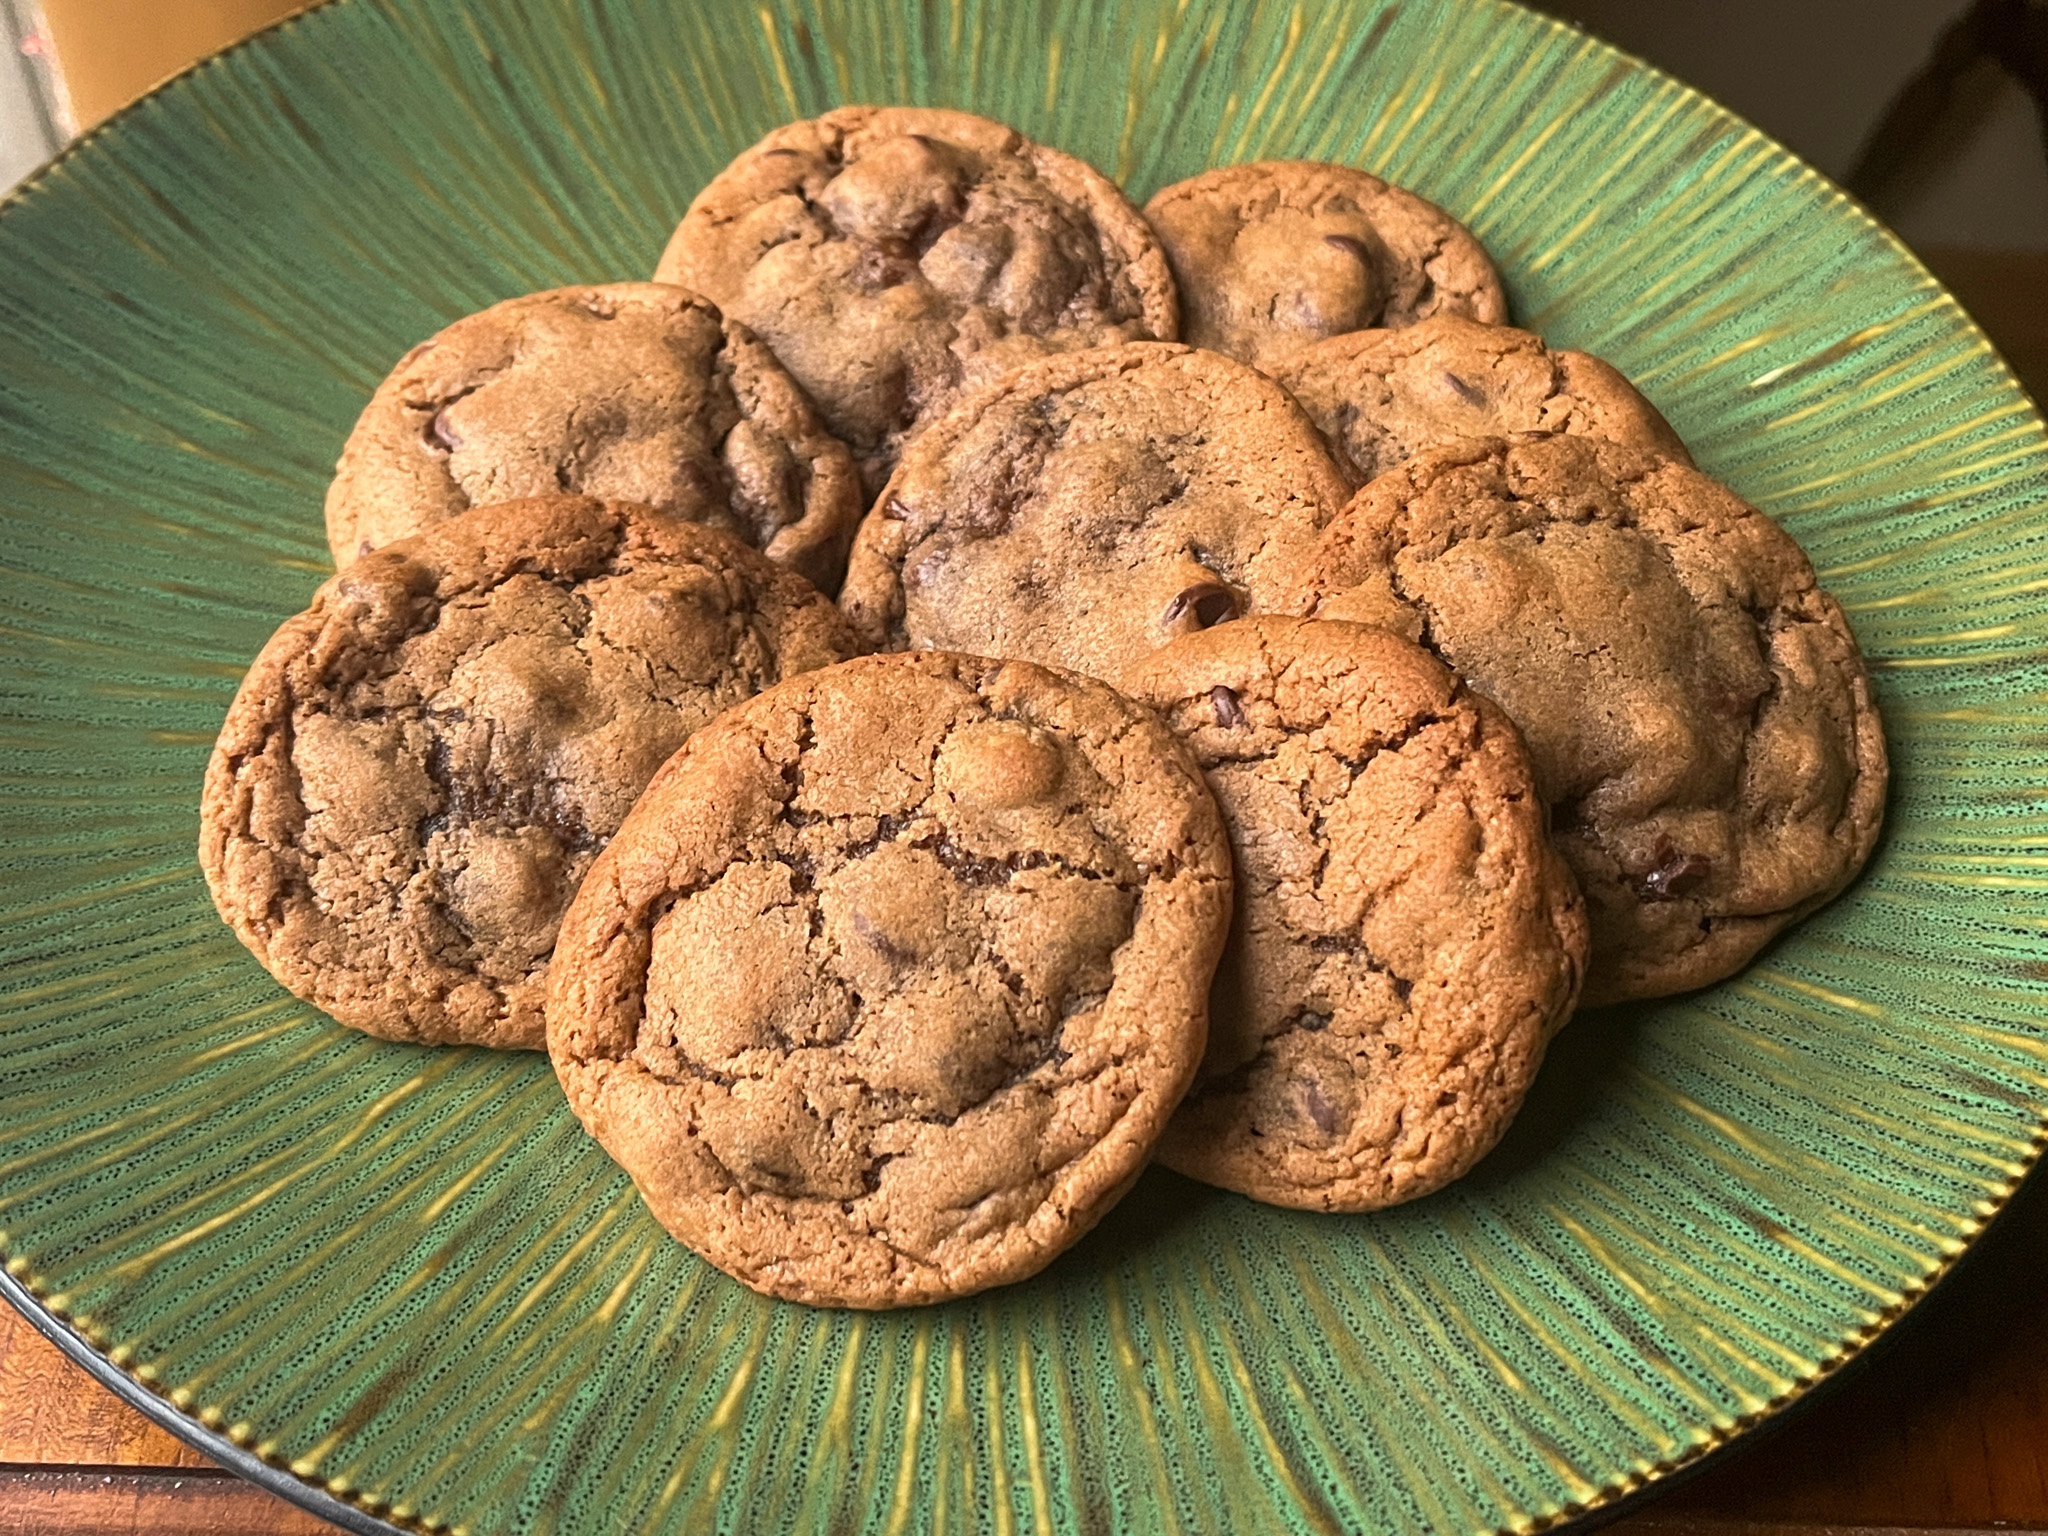
As a teaser, these are chocolate chip cookies described by Kat as Best Chocolate Chip Cookies Ever. They take Ovaltine, molasses and miso. To die for, honestly. You need these cookies and this cookbook in your life.
Big thank you to Kat for allowing me to share this recipe today!
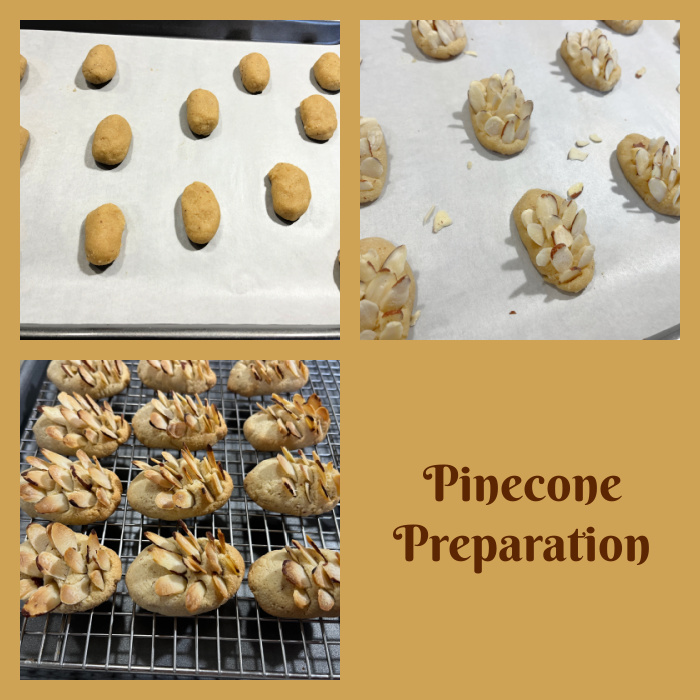
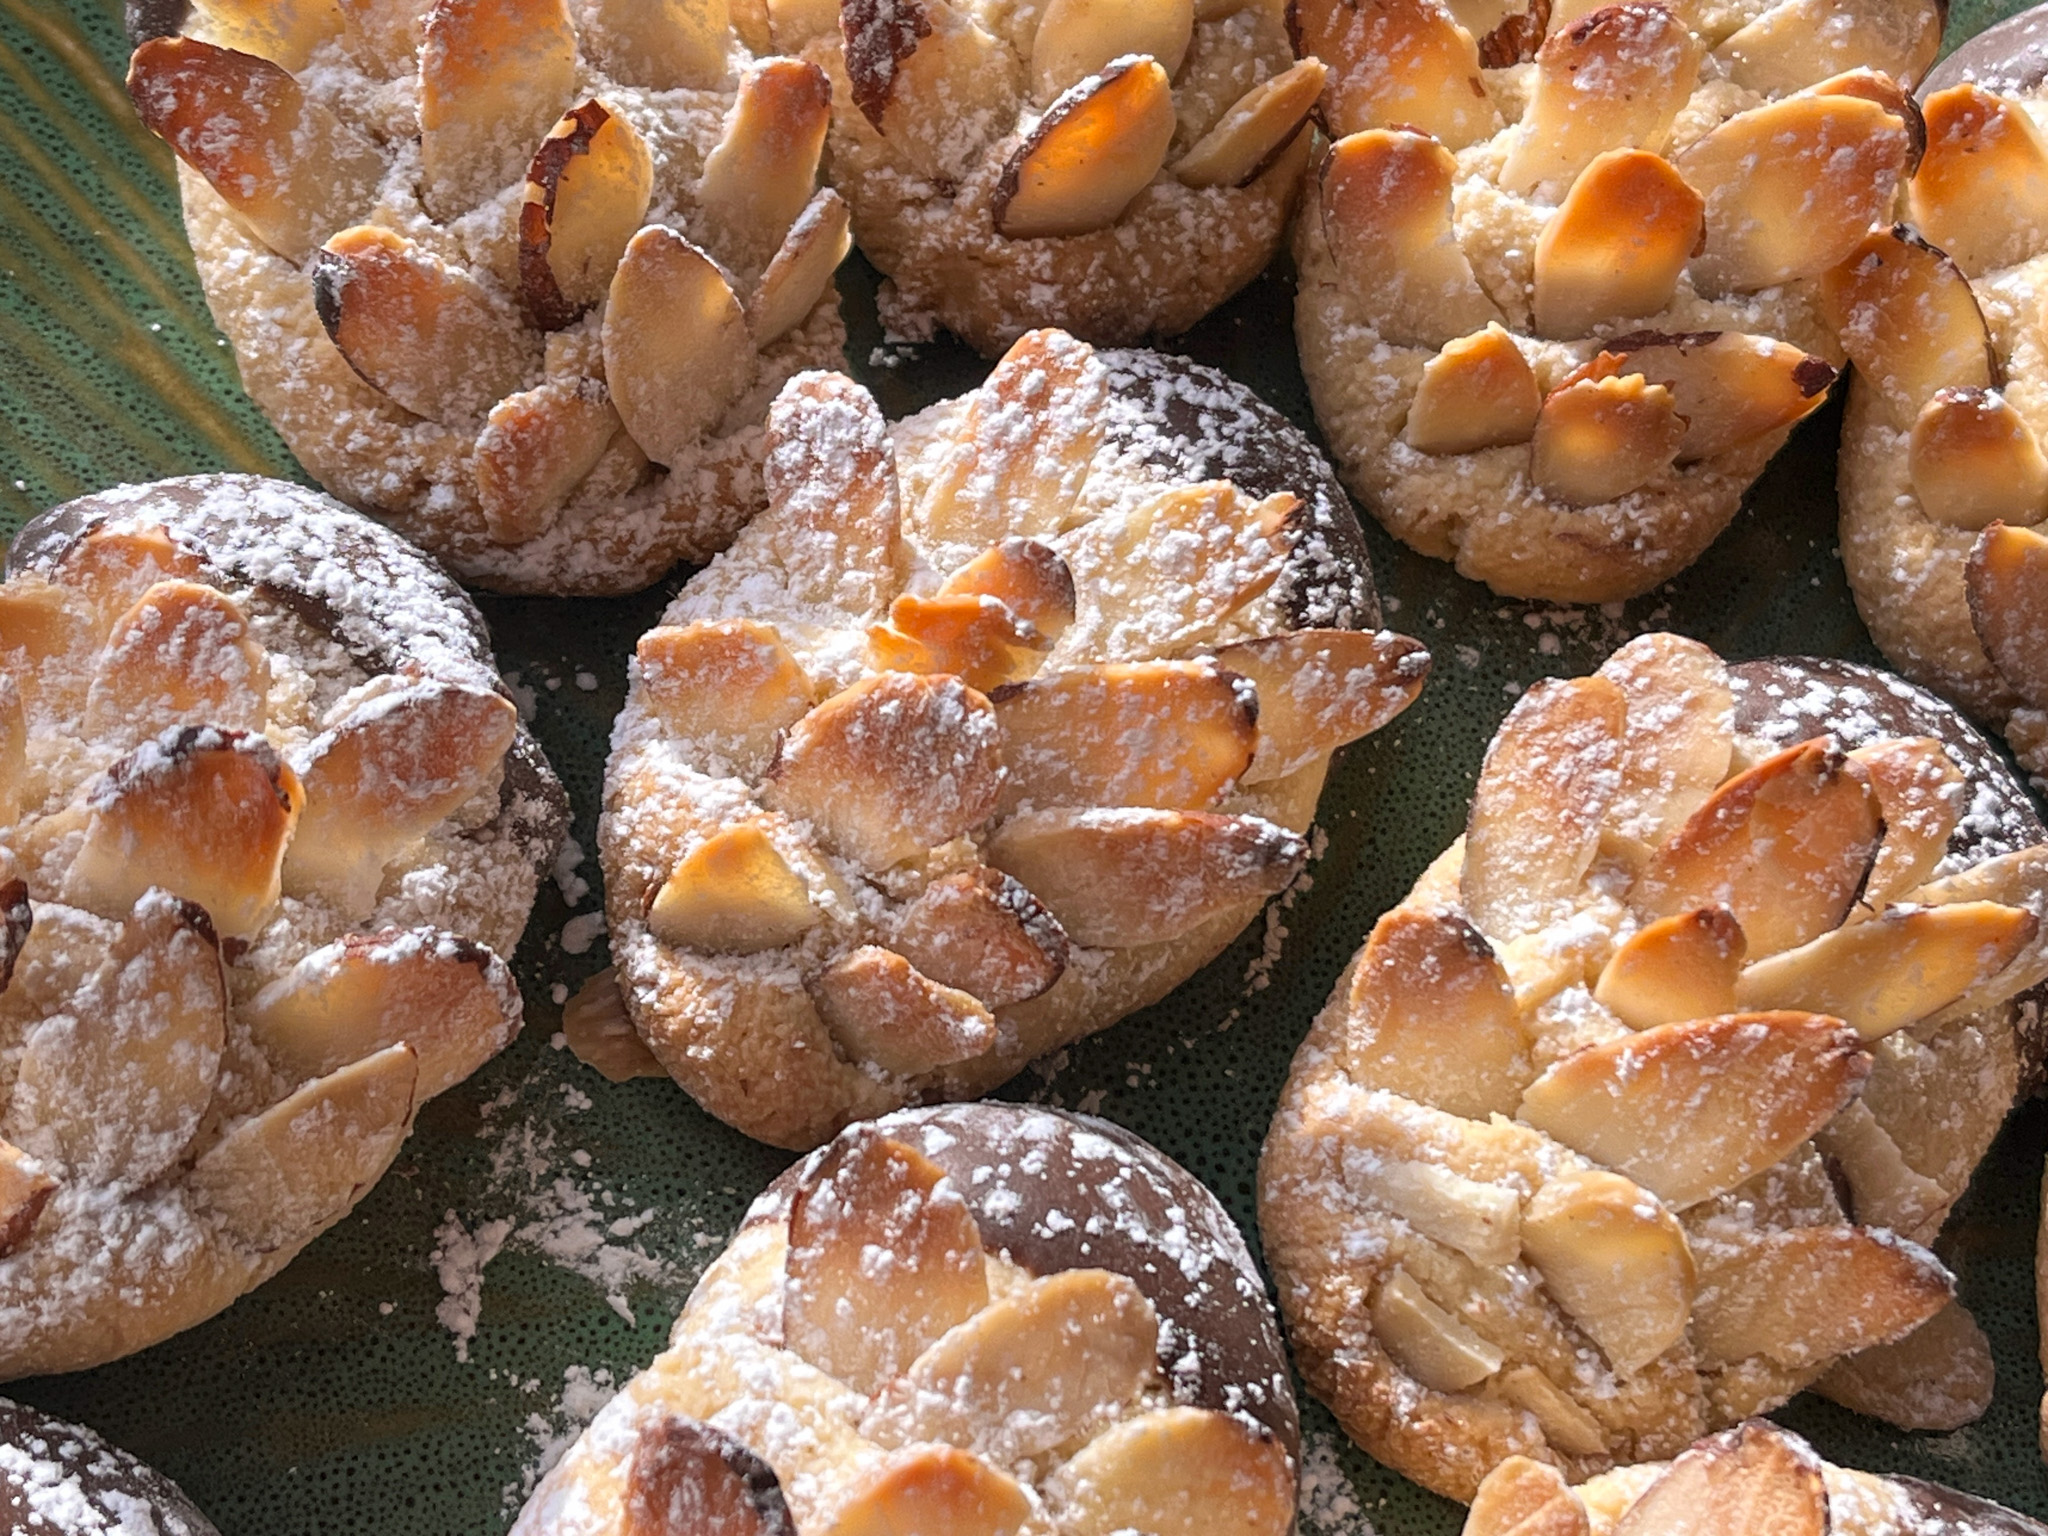
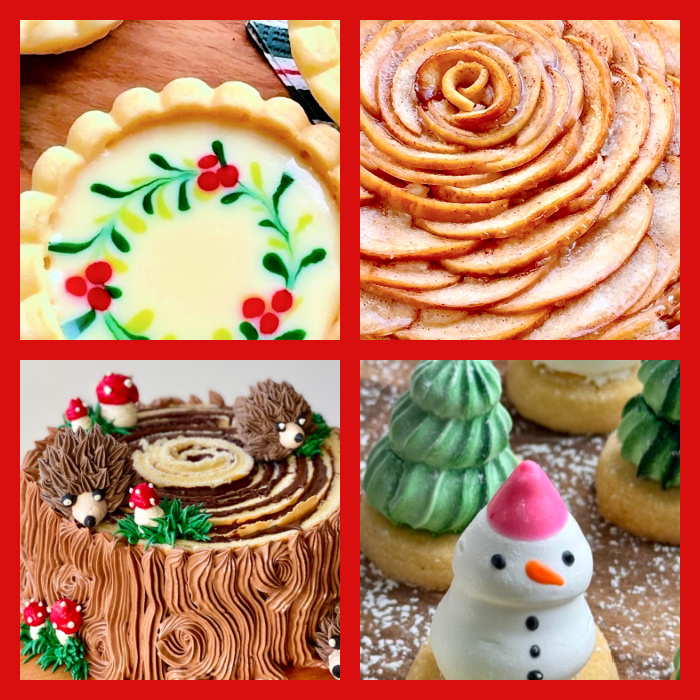
ONE YEAR AGO: Three Little Cookies for the Holidays
TWO YEARS AGO: Two Festive Cakes, Part One
THREE YEARS AGO: Broccoli Slaw Salad with Poppy Seed Dressing
FOUR YEARS AGO: Vegan Blueberry-Lemon Cheesecake
FIVE YEARS AGO: Green Tea Rice with Edamame and Butternut Squash
SIX YEARS AGO: Santa Hat Mini-Mousse Cakes
SEVEN YEARS AGO: Fun with Sourdough
EIGHT YEARS AGO: Pasteis de Nata
NINE YEARS AGO: New Mexico Pork Chile, Crockpot Version
TEN YEARS AGO: Chocolate on Chocolate
ELEVEN YEARS AGO: Double Chocolate and Mint Cookies
TWELVE YEARS AGO: The Story of my first Creme Brulle’
THIRTEEN YEARS AGO: Sourdough Mini-rolls
FOURTEEN YEARS AGO: Focaccia with Sun-dried Tomatoes and Gorgonzola
FIFTEEN YEARS AGO: Mediterranean Skewers
SIXTEEN YEARS AGO Fettuccine with Shrimp, Swiss Chard, and Tomatoes