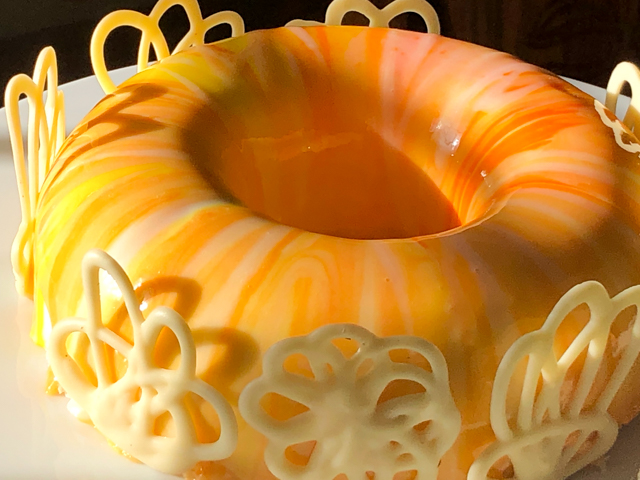
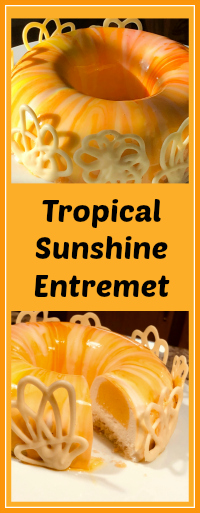
I know, winter is still with us, and it will be for a while. But I cannot resist a shout to what’s to come in a few weeks. This entremet cake celebrates summer in a tropical paradise, any paradise of your choice. Coconut and passion fruit, for a creamy and refreshing mousse cake.
TROPICAL SUNSHINE ENTREMET CAKE
(from the Bewitching Kitchen, adapted from several sources)
Silikomart mold: Lady Queen
Two days before – make passion fruit insert and freeze.
One day before – make cake layer and coconut mousse. Assemble cake and freeze.
Showtime Day – make mirror glaze, glaze cake and defrost before serving
For coconut dacquoise layer
140g egg whites
½ tsp cream of tartar
170g sugar
80g almond flour
60g desiccated coconut (I used coconut powder, a product from Sri Lanka)
28g all purpose flour, sifted
20g butter, melted and cooled
In the bowl of a stand mixer fitted with a whisk attachment, place the egg whites, cream of tartar and whisk until foamy and a trail starts to form as the beater goes through the egg whites Gradually add in the sugar until firm peaks form. Gently fold the almond meal, desiccated coconut and flour into the egg whites in 3-4 additions. Fold some of the mixture into the melted butter before adding back into the rest of the mixture and folding until combined.
Spread into a half Flexipat or a lined baking tray and bake at 400 F°C for about 9 min. Cool, freeze for 10 min and cut in the appropriate shape to fit the bottom of the mold. You will have cake leftover.
For passion fruit cremeux:
160g passion fruit juice/pulp
4g gelatin + 20ml cold water
100g sugar
4 egg yolks
20g cornstarch
120g butter, softened
1 teaspoon vanilla extract
Bloom the gelatin in cold water.
Bring the passion fruit juice to the boiling point in a saucepan. In the meantime, mix the egg yolks with sugar until pale. Add the cornstarch and mix well. Pour the hot passion fruit puree over the egg yolk mixture then return back on heat and cook on low just until thickened and it reaches 185 F.
Remove from heat and stir in the gelatin. Allow to cool down to 105F then add the butter and mix well. Pour the cremeux into the smaller mold of the kit Lady Queen.
For coconut mousse:
1 can coconut milk – approx 400ml
10g gelatin + 50ml cold water
2 egg whites
120g granulated sugar
60ml water
1 teaspoon vanilla extract
150ml heavy cream, whipped to consistency of melted ice cream
Bloom the gelatin in cold water.
Heat up the coconut milk just until warm then remove from heat and stir in the gelatin and vanilla. Let it cool while you make an Italian meringue. Boil the sugar and water in a saucepan until it reaches 240 F.
While the sugar syrup cooks, whip the whites until fluffy. Pour the hot syrup over the whipped whites and continue mixing for a few more minutes until glossy and stiff. Fold the whipped cream into the coconut milk mixture then add the meringue.
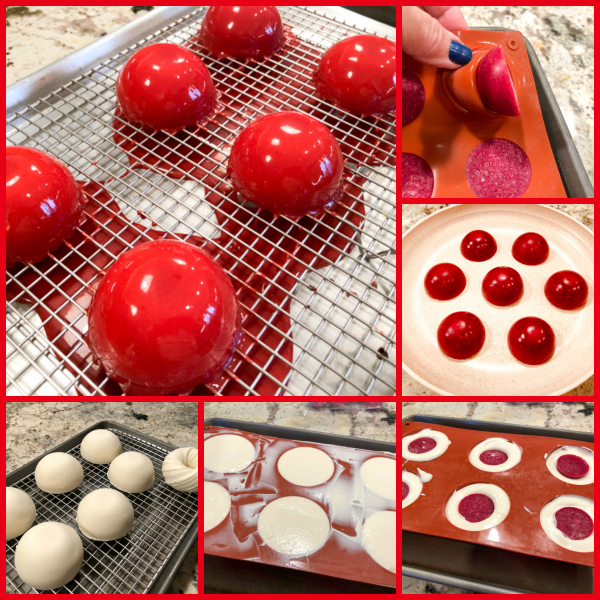
ASSEMBLE THE CAKE
Place coconut mousse in the large Lady Queen mold filling halfway. Carefully drop the frozen insert. Fill with mousse almost to the top, cover with the cake.
Freeze the whole thing overnight. Un-mold and glaze on the day you want to enjoy the cake.
For mirror glaze:
3 sheets Platinum grade sheet gelatin
120ml water
150 g liquid glucose
150 g granulated or caster sugar
1 tsp agar-agar
100 g condensed milk
150 g white chocolate, chopped fairly small
½ tsp titanium oxide (optional, but advisable)
yellow and orange gel food coloring
Put the water, sugar, liquid glucose and agar-agar in a small pan and bring to simmering point, stirring occasionally to dissolve the sugar. Remove from the heat and let it stand for about 5 minutes. This is the base syrup for the glaze. Meanwhile, soak the gelatin in some cold water for about 5 minutes. Squeeze out the excess water and stir into the hot water, sugar and liquid glucose mixture to dissolve. Stir in the condensed milk and the titanium oxide.
Put the chocolate in a medium bowl and pour this hot mixture slowly over the chocolate, stirring gently to melt it, avoid making bubbles. A stick immersion blender works great, but you must keep the blades fully submerged at all times. If bubbles are present, pass the mixture through a fine sieve. When the glaze is at around 105 F, separate a small amount to dye yellow and a small amount to dye orange. Add them on top of the white glaze, do not mix too much, just a delicate swirl with a chopstick.
The ideal temperature to glaze is 92 to 94 F. Glaze the frozen cake. Defrost 2 hours in fridge before serving.
ENJOY!
to print the recipe, click here
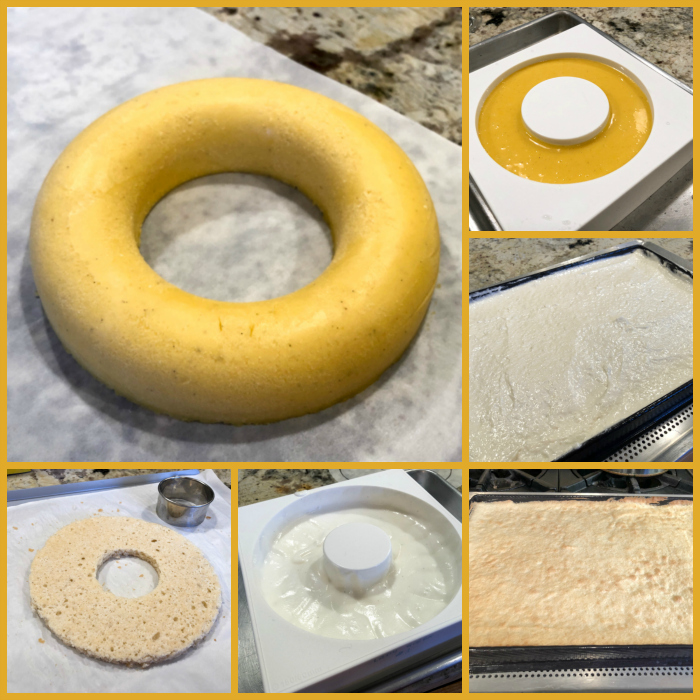
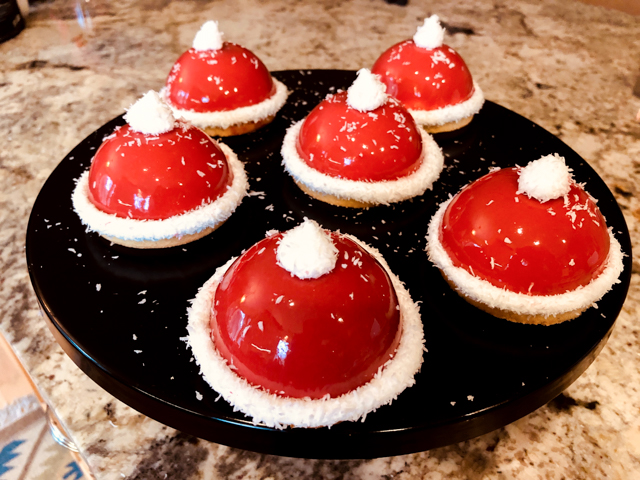
Comments: I used a Silikomart mold kit called “Lady Queen“, but you can improvise and make it in a circular mold with the insert made in a smaller ring. Or make individual semi-sphere cakes. The amounts I am giving you will leave you with some leftover coconut mousse, which freezes well in small amounts if you’d like to have a simple dessert later. The passionfruit insert is just right for the kit.
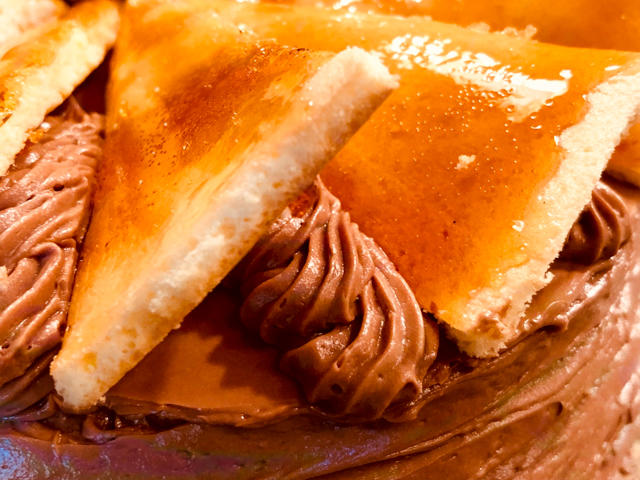
I really liked the way this cake turned out. Full disclosure: the chocolate decorations were added to hide some capital sins. I made a few wrong assumptions about the amount of glaze needed. The cake is only 7 inches in diameter, smaller than most cakes I am used to mirror-glazing, so I did a single batch of glaze. It is ok if you use a single color, but to make a white, yellow and orange with enough to cover all sides, it would be better to have about 25% more. However, I do believe you can get by with the exact amount I include in the recipe, IF you pay attention to the glaze as it drips down the sides, to notice right away if there are gaps. I was way too optimistic and careless. When I realized the gaps, it was time for a big adrenaline rush, followed by quickly scraping glaze from the baking sheet, and trying to fix as many boo-boos as possible. Good thing I had some tempered chocolate decorations in the freezer, so I put them to use. I am also quite grateful for the absence of cameras during baking disasters at home. Feels amazing to be able to deal with them without having to channel my inner Lucille Ball.
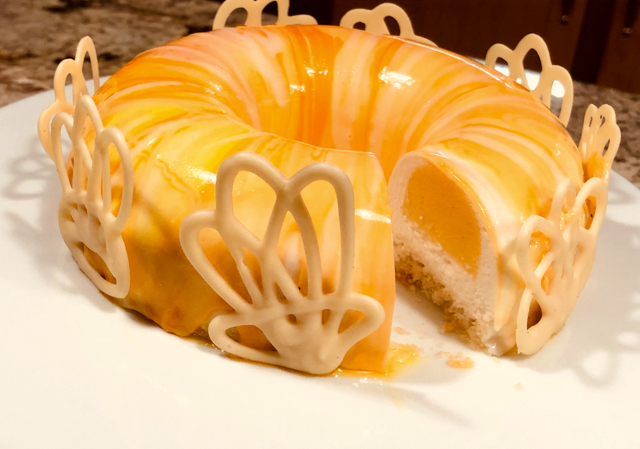
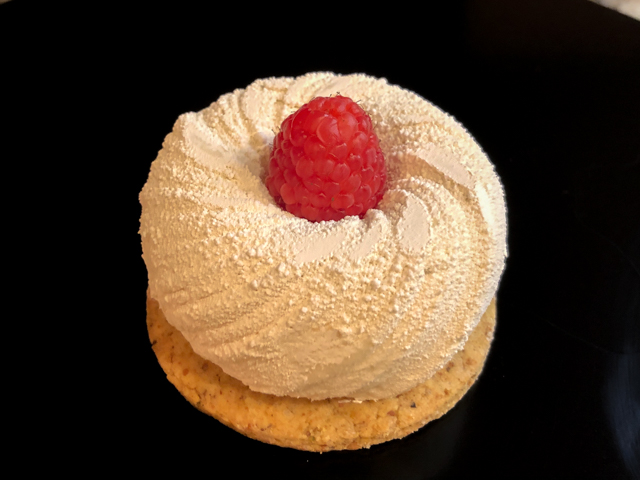
The dacquoise had a very nice coconut flavor and great texture. I think the mousse was a perfect match for the passionfruit cream, both in color and flavor. The way the mold is designed makes it for a pretty large insert, so it ended up a bit heavy and had a tendency to sink to the bottom. I believe they could have made the insert a tad smaller, but who am I to criticize Silikomart? Pouring less volume in the insert could be a solution, but it will have a higher chance to break as you un-mold it. Overall, those are minor details and I am ok with the way it all worked.
This Tropical Sunshine Entremet Cake was the first dessert in the Mondays with Sweetness 2020 series. I hope our colleagues enjoyed it.
ONE YEAR AGO: Freekeh with Zucchini and Almonds
TWO YEARS AGO: Salmon a la Wellington, re-visited
THREE YEARS AGO: The Unbearable Unfairness of Cake Baking
FOUR YEARS AGO: Hermit Cookies
FIVE YEARS AGO: Cremini Mushroom Meatloaf
SIX YEARS AGO: Ottolenghi & Tamimi’s Roast Chicken with Clementines
SEVEN YEARS AGO: Eight-Ball Zucchini: The Missing Files
EIGHT YEARS AGO: Grilling Ribbons
NINE YEARS AGO: Peppery Cashew Crunch
TEN YEARS AGO: Ossobuco Milanese: an Italian Classic